
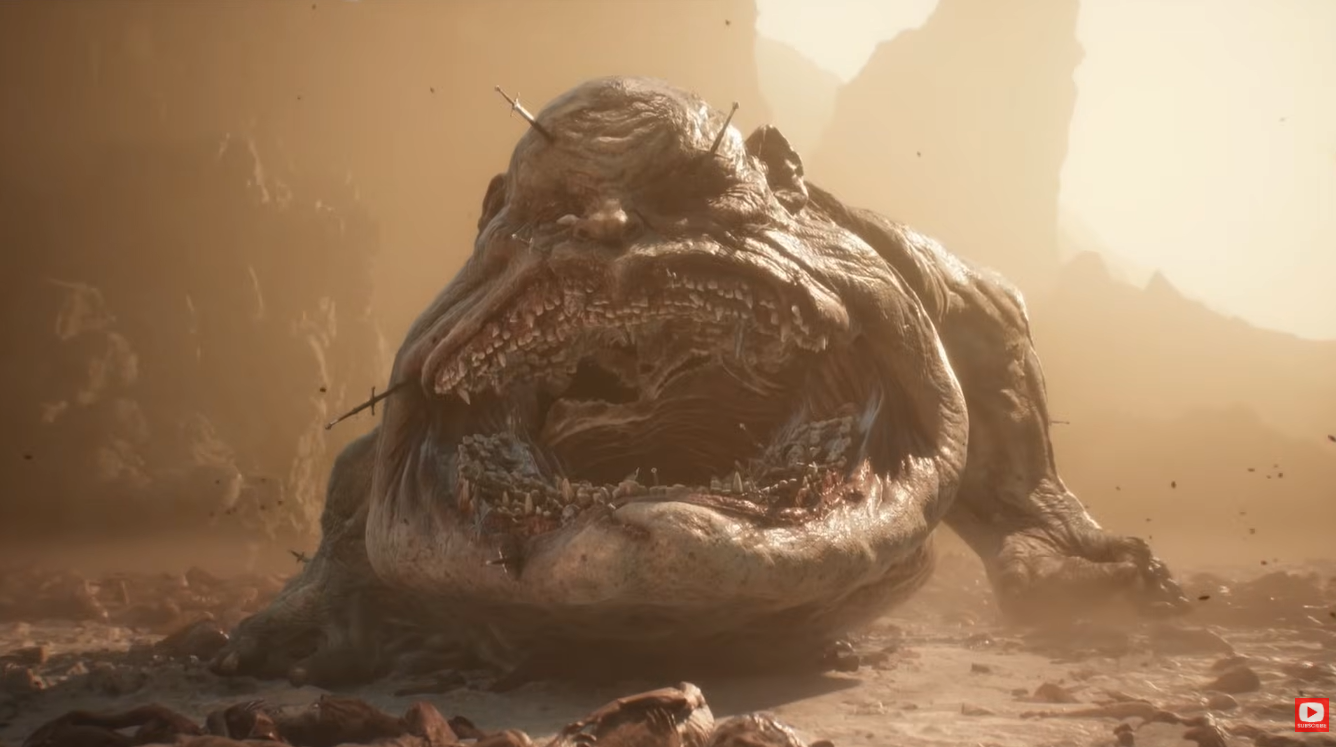
The Lost Child is the Sanguine Caverns (Gate) boss, reached from the Sanguine Shoreline route, and the safest way to beat it is to stay mobile, dodge into its heavy swings, punish from the flank or rear, and back off the moment its grab or vomit attacks start.
The Lost Child is one of the Corrupted Gate bosses in Fainweald, tucked at the end of the Sanguine Caverns, and it’s a fight that punishes greed more than anything else. It has no legs, drags itself around on one good arm, and leans on a handful of heavy, well-telegraphed attacks plus one genuinely nasty grab. Learn where to stand and when to stop hitting, and it goes down; overstay a combo and it swallows you whole.
- The Lost Child fight at a glance
- How to find the Lost Child Boss in Mortal Shell 2
- What to prepare before you enter
- Best Shell summon and weapon setup
- Reading each attack and the safe response
- How to defeat The Lost Child in Mortal Shell 2
- Rewards and where to go after
- Mistakes that make the fight harder
- Frequently Asked Questions
The Lost Child fight at a glance
| Detail | Answer |
|---|---|
| Location | Sanguine Caverns (Gate), inside the Sanguine Caverns overworld in Fainweald |
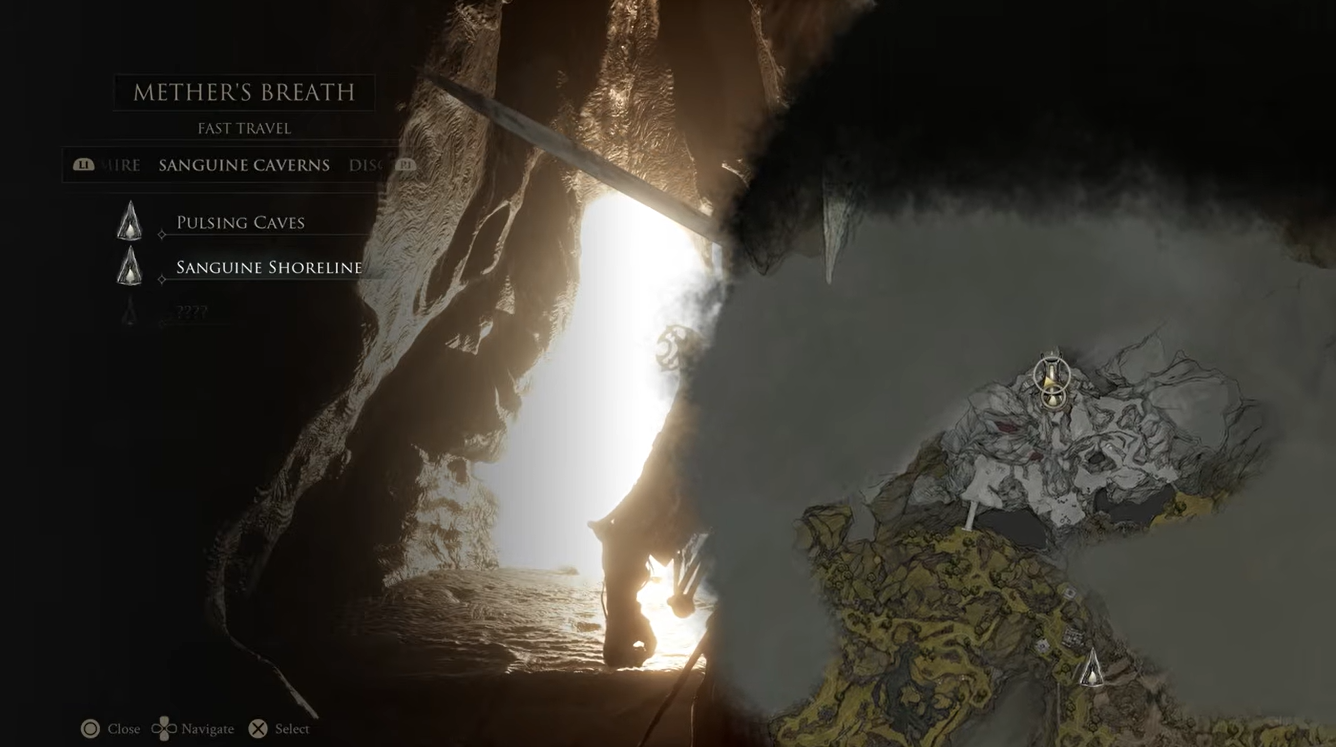
| Route anchor | Sanguine Shoreline Beacon, on past the Tarblighted Stoner miniboss |
| Recommended prep | Level your Harbinger, Shell, weapon, and Tarstones |
| Shell summon | Tiel, called with Glimpse just before the arena |
| Safest position | Its flank or rear, in the gap between the tail and arm |
| Main danger | The Digest & Excrete grab and the Belching Breath vomit |
| Rewards | Lost Clotstone Tarstone, Child’s Feeding Grounds Beacon, Ova to siphon |
Key There’s no gimmick to this boss — it rewards patience and clean positioning over aggression, so the whole fight comes down to reading a few telegraphs and never planting yourself in front of that maw.
How to find the Lost Child Boss in Mortal Shell 2
- Cleanse the Beacon: Before gaining access to the Sanguine Caverns dungeon, you need to defeat Lucian, the Thirsting Knight, in The Hidden Keep. Defeating Lucian allows you to cleanse the Stonebled Gate beacon, which clears the corruption blocking the Sanguine Caverns area.
- Head to Sanguine Caverns: Traverse the Fainweald overworld to reach the northern Corrupted Gate leading into the Sanguine Caverns.
- Reach the Boss Arena: Progress through the dungeon to the end of the caverns. You will find The Lost Child waiting in the final arena chamber.
What to prepare before you enter
| Prep | What |
|---|---|
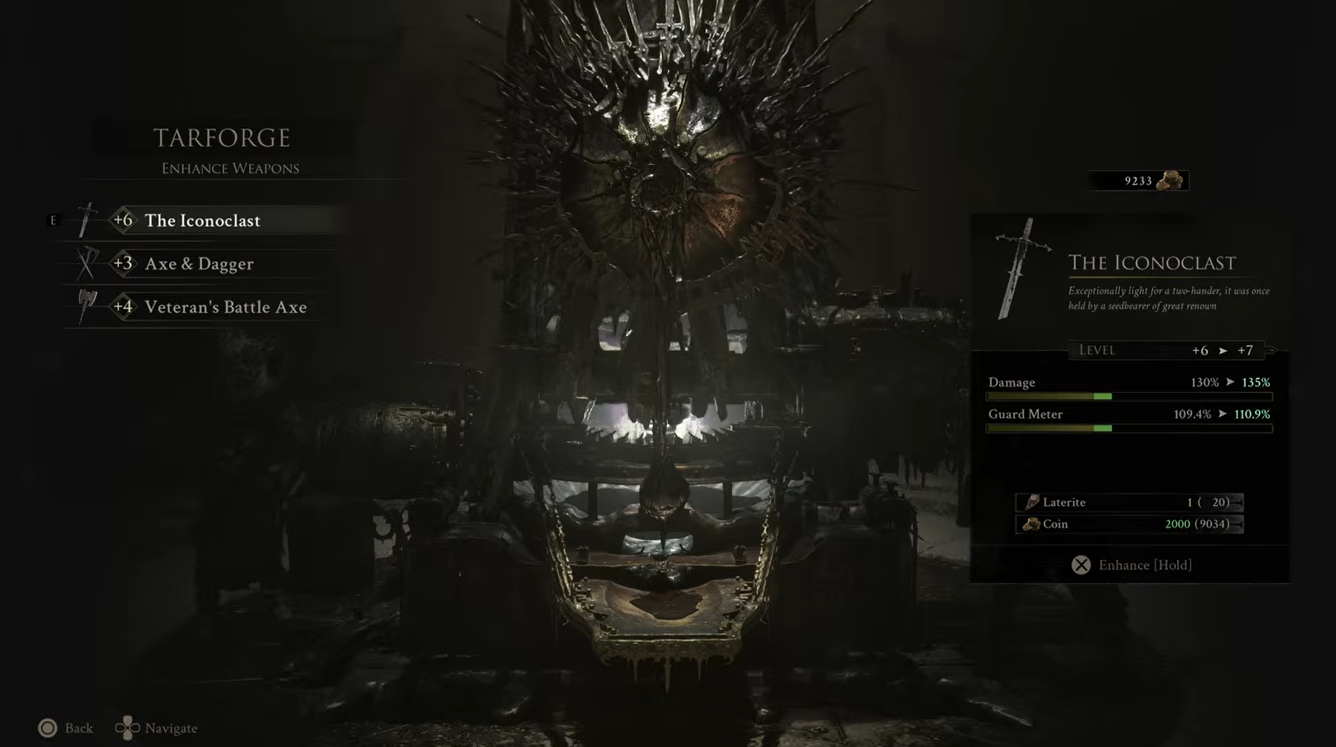
| Harbinger level | Spend Gloom at Beacons to raise the Harbinger before your attempts |
| Shell and weapon | Bring an upgraded Shell and a weapon you’re comfortable with |
| Tarstones | Slot and level your Tarstones for the damage you’ll need |
| Healing | Carry full healing — you’ll trade hits over a long fight |
| Glimpse | Keep enough Glimpse spare to summon a Shell and still afford upgrades |
None of this is a hard, gated requirement — you can walk in underleveled — but this is a challenging fight that rewards proper positioning, so the sources lean on preparation rather than a checklist. Get your Harbinger a few levels up, bring a Shell and weapon you actually trust, and slot your Tarstones for the damage you’ll want. One thing that’s easy to forget: Gloom is your white upgrade currency and it drops when you die, so spend it at a Beacon before you start throwing yourself at the boss rather than leaving a fat pile of it on the arena floor.
Best Shell summon and weapon setup
| Choice | Use |
|---|---|
| Tiel | Strongest pick; the invisible last-second dodge sets up a big shadow strike as you roll through its heavy swings |
| Proxima | Alternative for closing distance quickly when the boss jumps away and opens up at range |
| Obsidian Hammer / Veteran’s Battle Axe | Heavy Resolve builds that later pair with the Lost Clotstone this boss drops |
The standout pick here is Tiel. Its Shell ability gives you a last-second dodge that turns you invisible and sets up a high-damage shadow strike, which lines up perfectly with dodging into the belly-flop and other heavy swings — exactly the timing this fight asks for. If Tiel isn’t your Shell, Proxima is the fallback, since her ability closes distance fast for those moments the boss hops away and starts flinging ranged attacks at you. And because the Tarstone it drops feeds heavy, Resolve-based weapons, players who main those have a real incentive to clear this gate early.
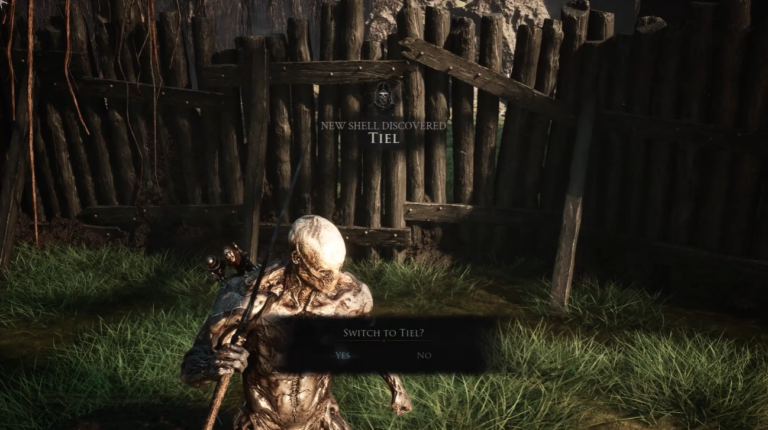
In the small cave you pass through right before the boss room, spend Glimpse to summon Tiel as a permanent spirit ally — the extra damage and distraction make the whole fight noticeably easier.
Reading each attack and the safe response
| Attack | Response |
|---|---|
| Body slam | It rears its maw up or jumps before crashing down — dodge out from under the landing spot. |
| Arm swipe | Up close it swings the good arm; keep spacing or dodge to the side to stay clear. |
| Suction / vacuum | It opens its jaws and inhales like a vacuum; get out of range, then punish from behind once it stops. |
| Belching Breath | It regurgitates half-eaten carcasses at your position; run diagonally to dodge and drift toward its flank. |
| Digest & Excrete grab | Its head winds back with a red glint before it lunges to swallow you; quick backward dodge on the cue, then punish. |
| Jump attack | It leaps and comes down hard; dodge the instant it lands and answer with a single hit. |
| Stagger / Riposte | Even with no visible meter, repeated safe hits eventually stun it — land a Riposte for a big chunk of damage. |
The Lost Child is a massive pile of flesh with a gaping, razor-toothed maw and a single working arm it uses to haul itself around the arena. Its threats split cleanly into heavy melee, a suction game, ranged vomit, and the grab — and every one of them has a tell, so the fight is really about answering each cue correctly instead of panicking.
How to defeat The Lost Child in Mortal Shell 2
Stay close but never square in front
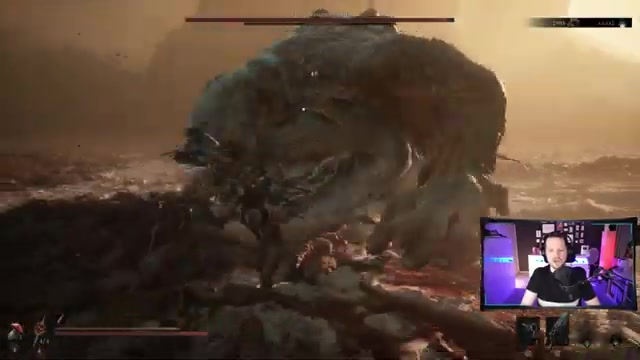
Fight from its side so the grab and the vomit can’t line straight up on you.
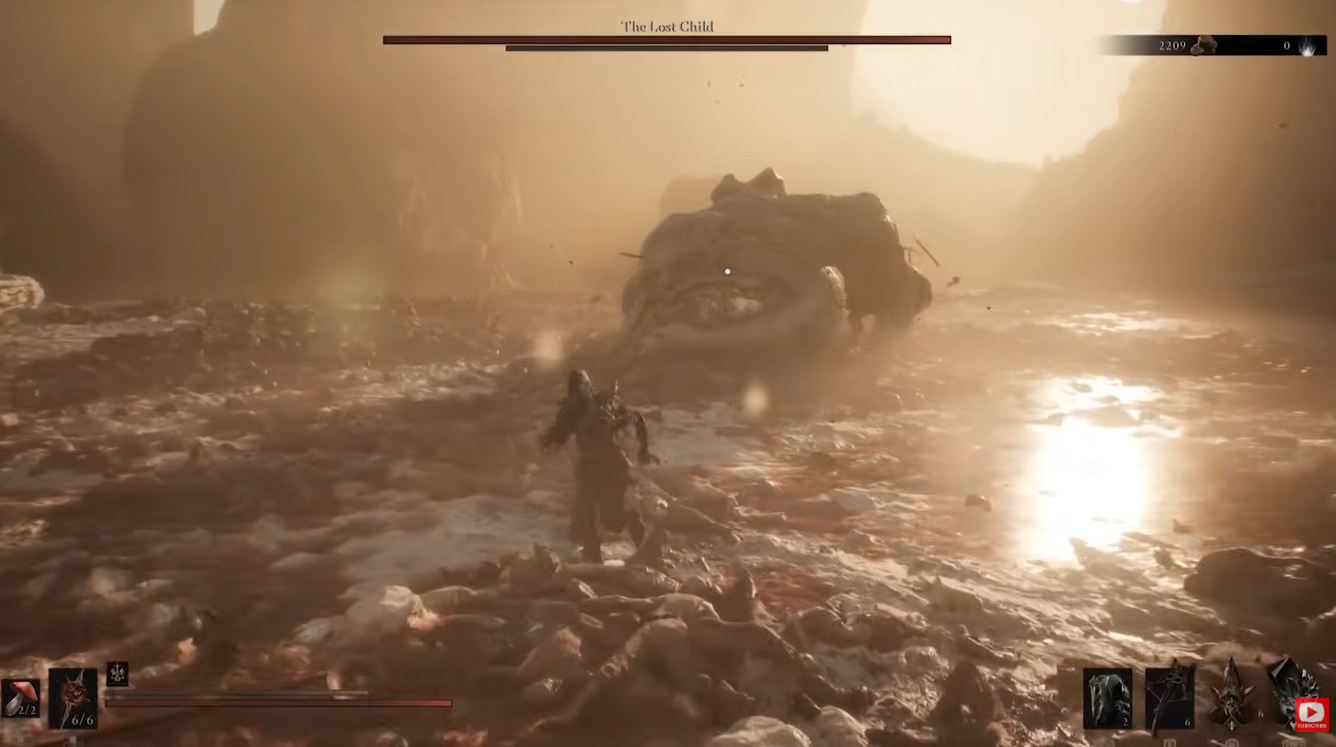
Dodge into the swings, not away
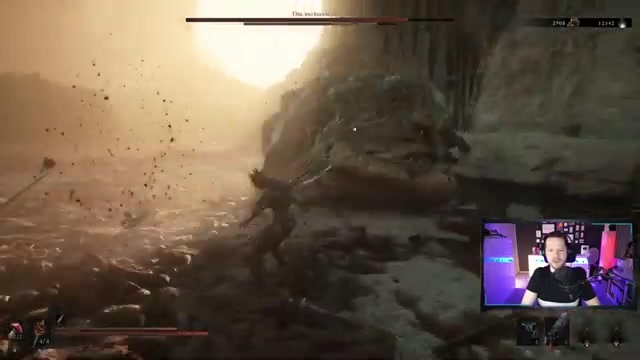
Rolling into the heavy attacks carries you toward the safe gap between its tail and arm, where you can land clean hits.
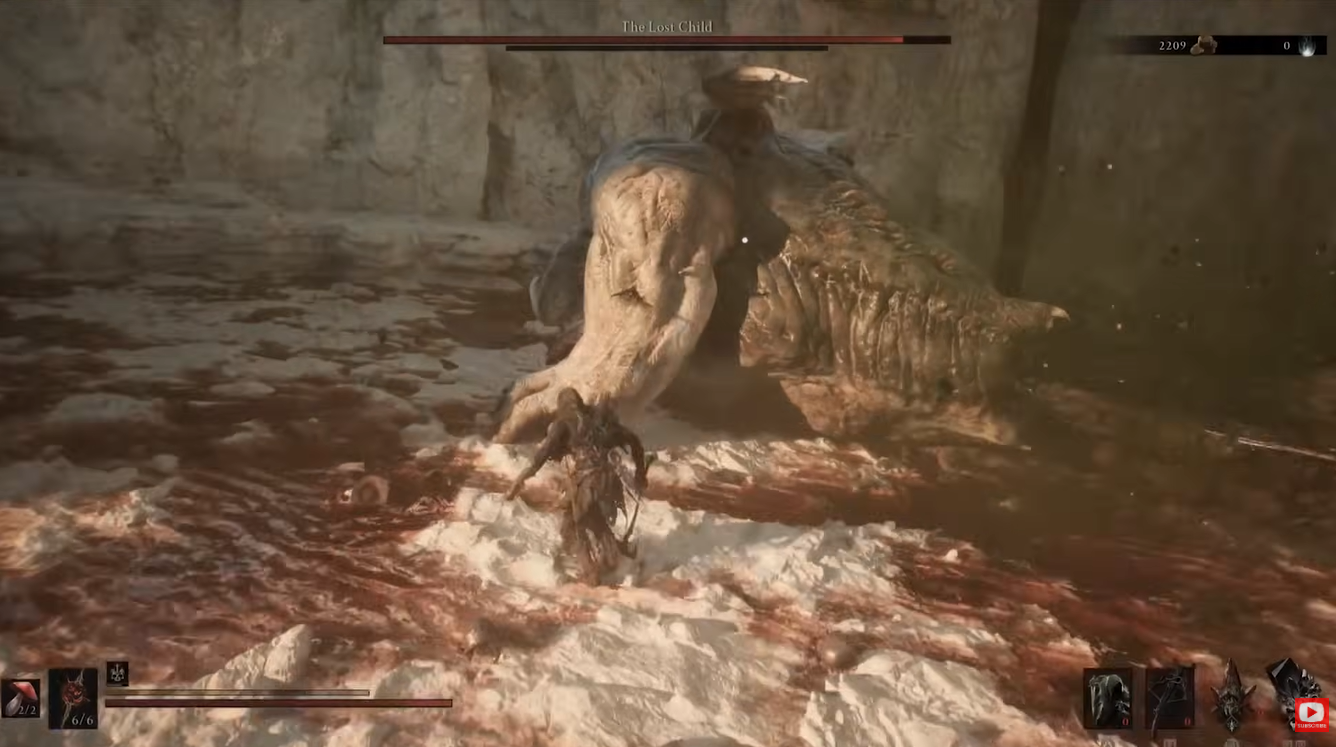
Punish in short bursts
Land two or three hits, then retreat — long, greedy combos are what get you grabbed.
Read the grab and back off
When its head rears with that red glint, dodge straight backward to slip the Digest & Excrete, then step in for a punish.
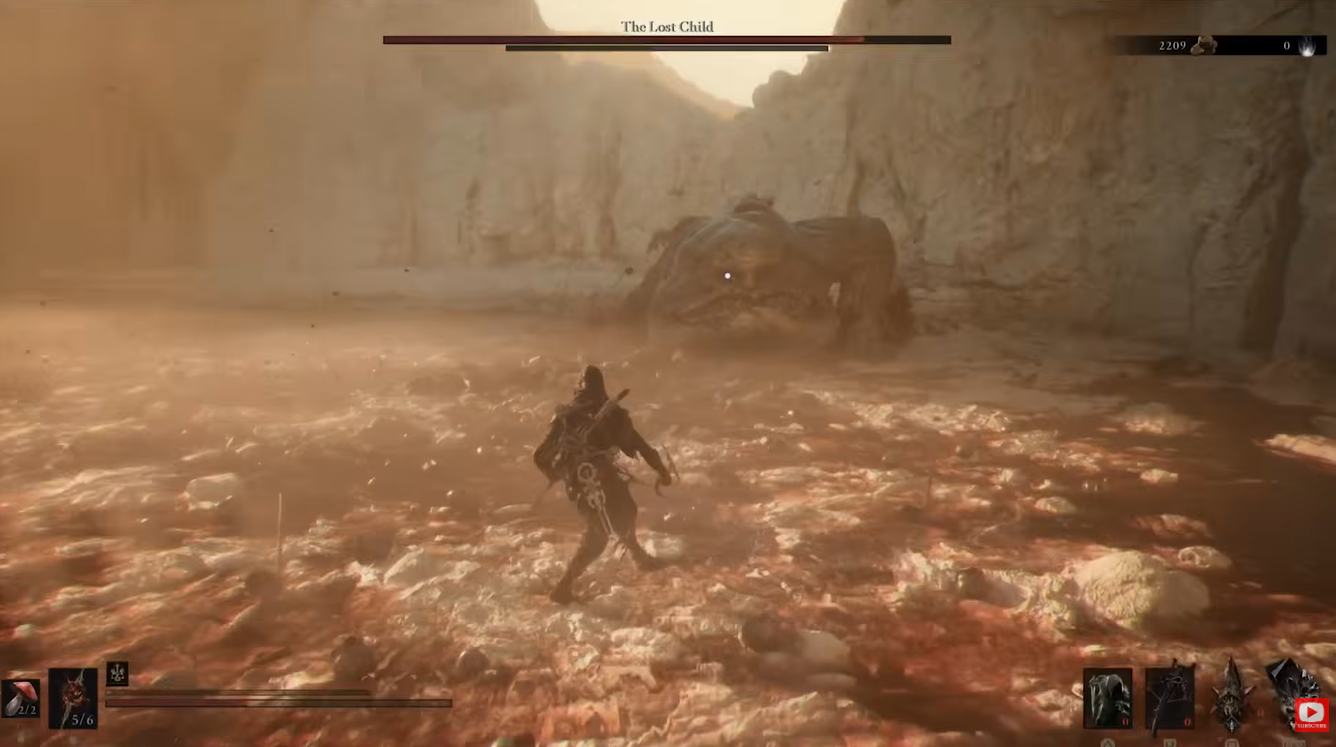
Cash stagger into a Riposte
Once your safe hits finally stun it, land the Riposte and dump Resolve while it’s wide open.
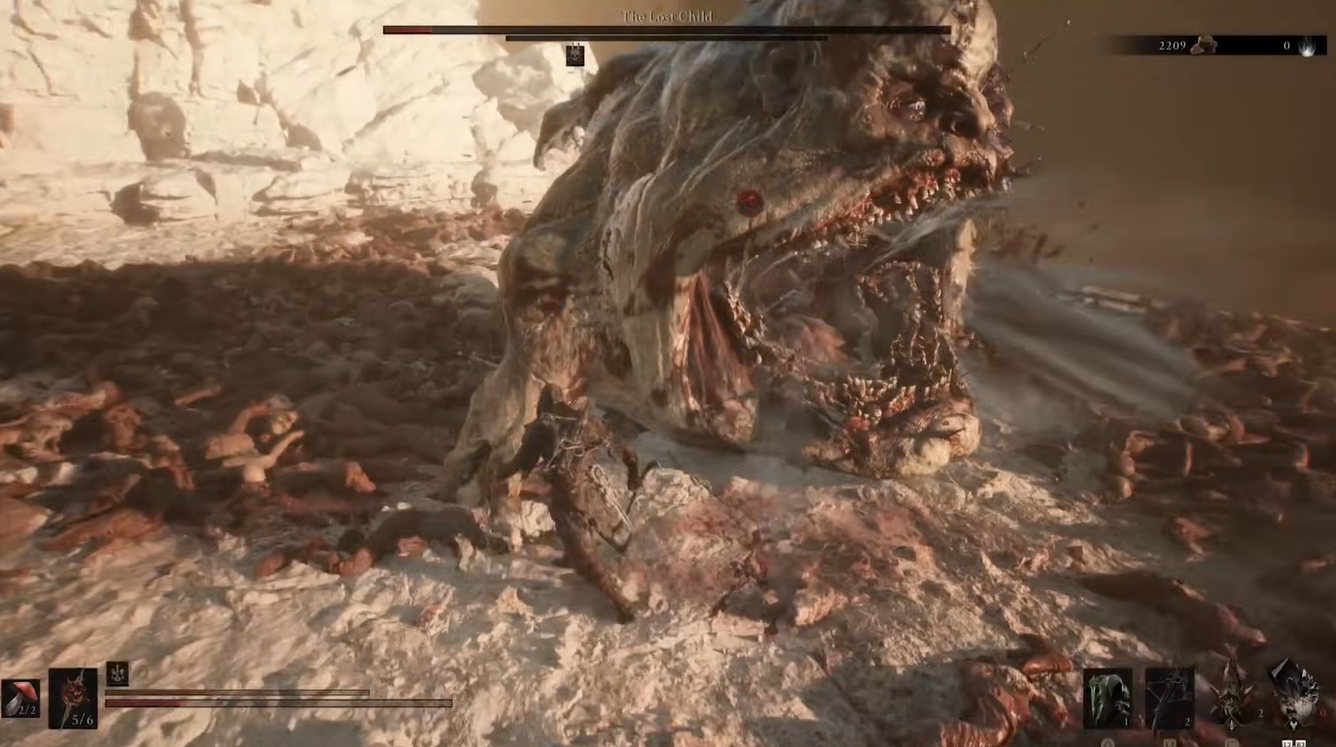
Heal only after big recoveries
Drink after a jump or a long ranged animation, never in the middle of a combo.
Rewards and where to go after
Clearing The Lost Child drops the Lost Clotstone, a Tarstone made specifically for the Obsidian Hammer and Veteran’s Battle Axe, and it leaves behind Ova you can siphon. The moment it dies, the Child’s Feeding Grounds Beacon rises out of the ground and gives you a fresh fast-travel point right there.
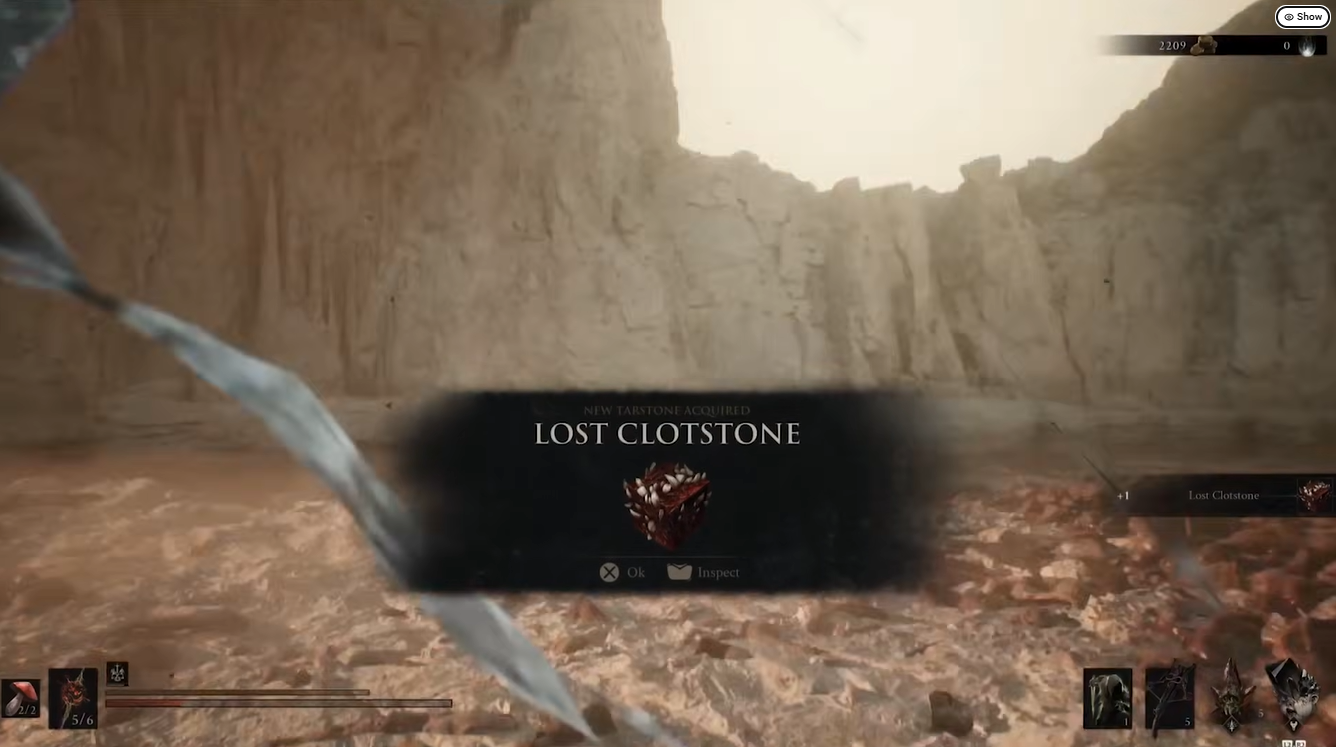
If the route continues, keep going: after you cleanse the dungeon’s final beacon, head into the innermost chamber to grab the Blackmarrow Key. That key opens the sarcophagi back in Marrow Keep, which unlock new color schemes for Shells you’ve already earned — a nice reason not to leave the gate half-finished.
Mistakes that make the fight harder
The deaths here nearly all trace back to spacing. Sitting at awkward mid-range is the worst place to be, because that’s exactly where the grab and the vomit are hardest to read — commit to close-range dodges and flank positions instead. The other big one is staying planted in front of the boss after your own combo instead of retreating and waiting for the next telegraph, which is how most players end up swallowed by the grab for huge damage.
Two more habits to break: stretching combos too long when a quick two or three hits and a retreat would’ve been safe, and skipping the summon and upgrades because Glimpse and Gloom feel precious. If you’re struggling, the extra ally damage and a couple of levels close the gap fast.
Related Mortal Shell 2 guides
Frequently Asked Questions
Can you parry The Lost Child effectively?
Yes, if you run a parry style. The arm swipe in particular is a good spot to farm blocks and parries and build up the Break bar, and stacking that with your safe hits is what stuns it for a Riposte. It’s viable rather than required, though — you can beat the boss on dodges alone, so treat parrying as a bonus for players already comfortable with it, not a mandatory mechanic.
Is The Lost Child easier after the latest balance changes?
Somewhat. Balance notes compiled around August 20, 2026 put its base damage down roughly 10% and its maximum health down roughly 15% from the beta values, so the current build is a little less punishing than early builds — treat those figures as version context rather than exact live numbers. Hotfix 2.0 on PC, which released around August 18, 2026 (some trackers list the 19th, so the rollout date varies by region), was crash, stability, and UI fixes with no listed Lost Child-specific balance changes.
What weapon should you use Lost Clotstone with?
The Obsidian Hammer or the Veteran’s Battle Axe — the Lost Clotstone is exclusive to those two. It consumes 60 Resolve to make your character spin in place and release the weapon with brutal force, so it’s a Resolve-gated burst for heavy builds. If you main a lighter, faster weapon, it does nothing for you, which is exactly why heavy-weapon players want to clear this gate early.
Video help






Leave a Reply