
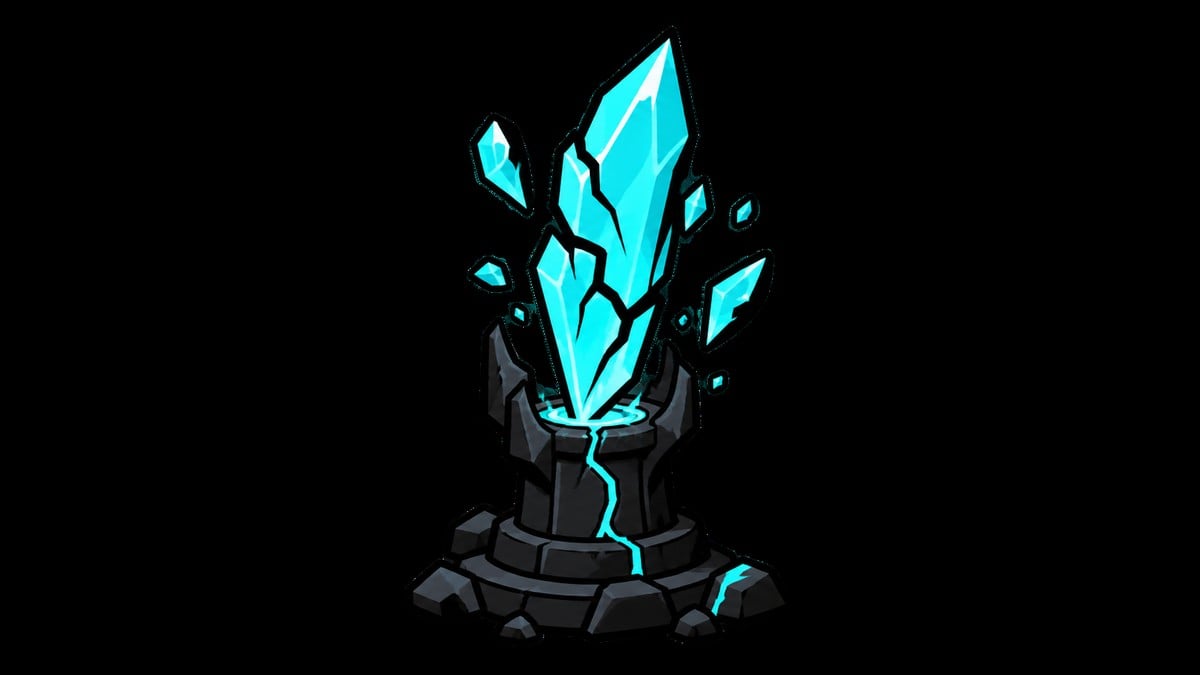
You can unlock Proxima very early by rushing from Marrow Keep to Widow’s Overlook, reaching Blackridge Pass, then entering the Shattered Beacon just north of it and interacting with Proxima’s body.
Proxima sits off the opening route through Fainweald rather than behind a long progression chain. The trip is mostly traversal, with a sequence of beacons marking the way.
Proxima Shell location in Mortal Shell 2
This route assumes you have completed the prologue and gained access to the Marrow Keep beacon. From there, you can climb out of the keep and head straight toward her location.
Key Proxima is a defense-focused Shell that makes the opening hours more forgiving. She suits direct, close-range play and gives you more room to absorb mistakes while learning enemy attacks.
Speak to Zhirelle at Marrow Keep before leaving to place Proxima’s general location on your map.
How to get Proxima Shell in Mortal Shell 2
This route runs directly from Marrow Keep to Proxima and completes the short memory sequence required for the unlock.
STEP 1/16
Start at the Marrow Keep beacon
Use the Marrow Keep beacon as your starting point.
STEP 2/16
Climb to the top of Marrow Keep
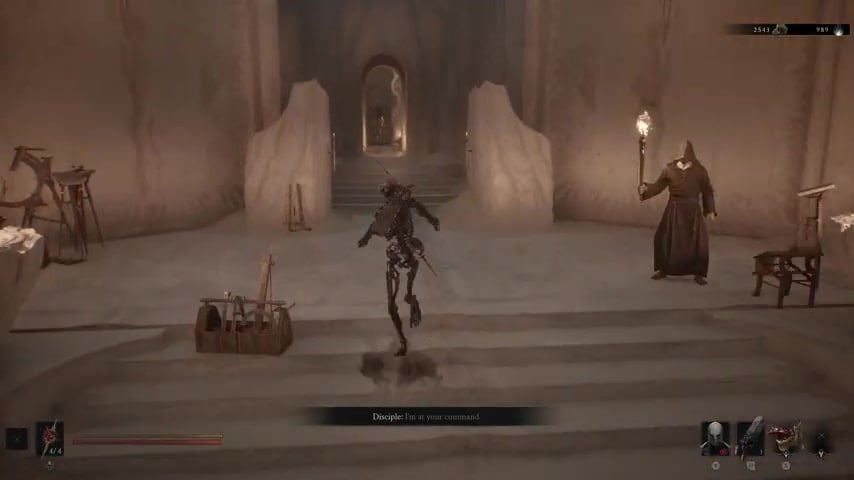
Make your way upward until you reach the launch point at the top of the keep.
STEP 3/16
Launch into the open world
Use the launcher to leave Marrow Keep and enter the open-world area.
STEP 4/16
Take the northern transporter
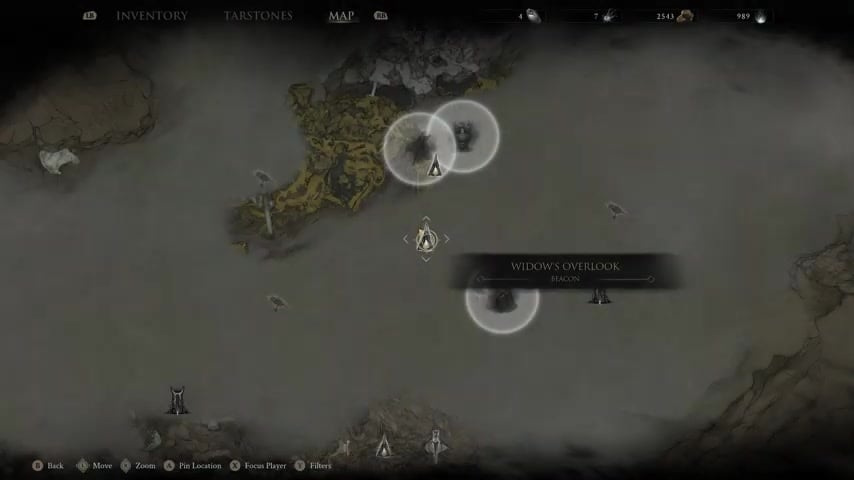
Use the northern transporter to launch directly toward the Widow’s Overlook beacon.
STEP 5/16
Continue from Widow’s Overlook
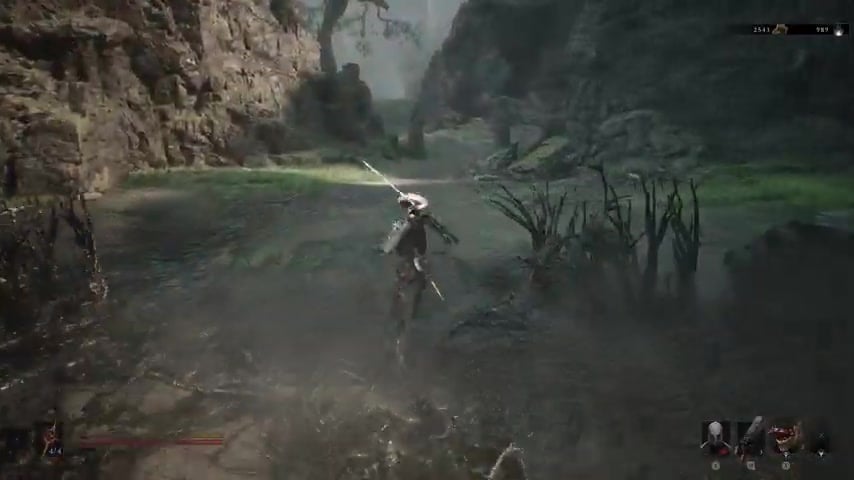
Begin the next leg of the route as soon as you land at Widow’s Overlook.
STEP 6/16
Head north toward Blackridge Pass
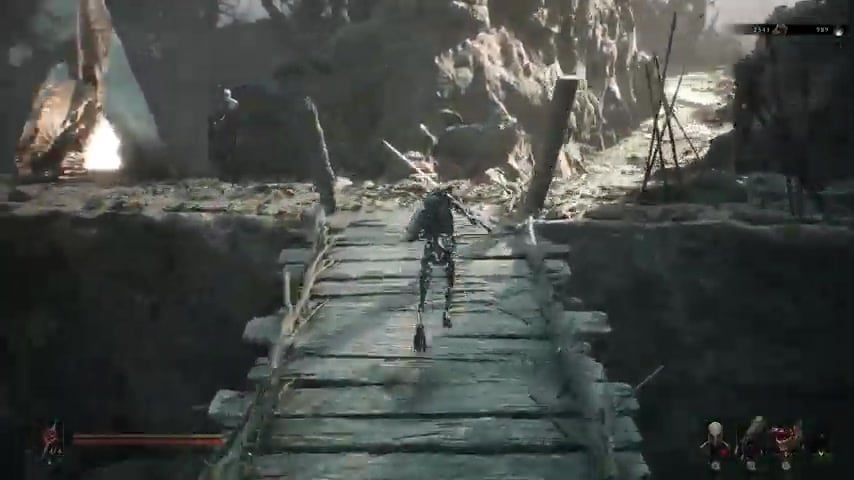
Follow the route north from Widow’s Overlook.
STEP 7/16
Reach the Blackridge Pass beacon
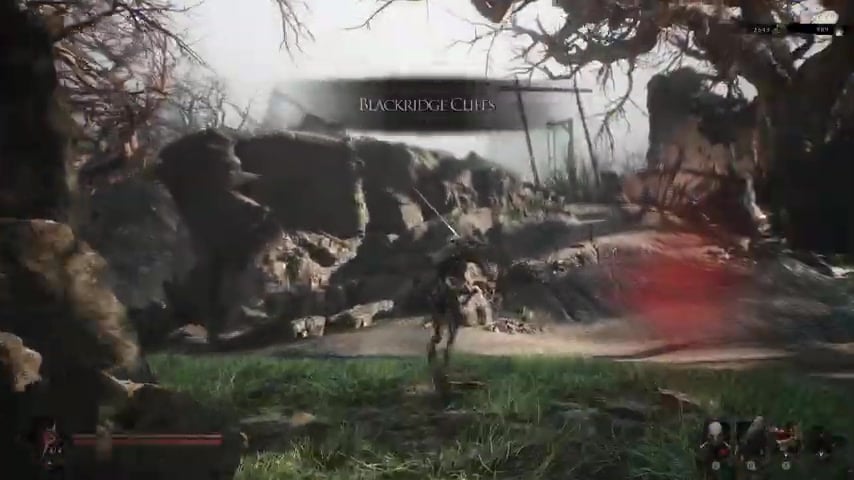
Cross the ravine and use Blackridge Pass as your next landmark.
STEP 8/16
Continue north and angle left
Move a little farther north, then climb toward the elevated area on the left.
STEP 9/16
Locate the glowing Shattered Beacon
Look for the glowing structure near an enemy; this is the Shattered Beacon entrance.
STEP 10/16
Interact with Proxima’s remains
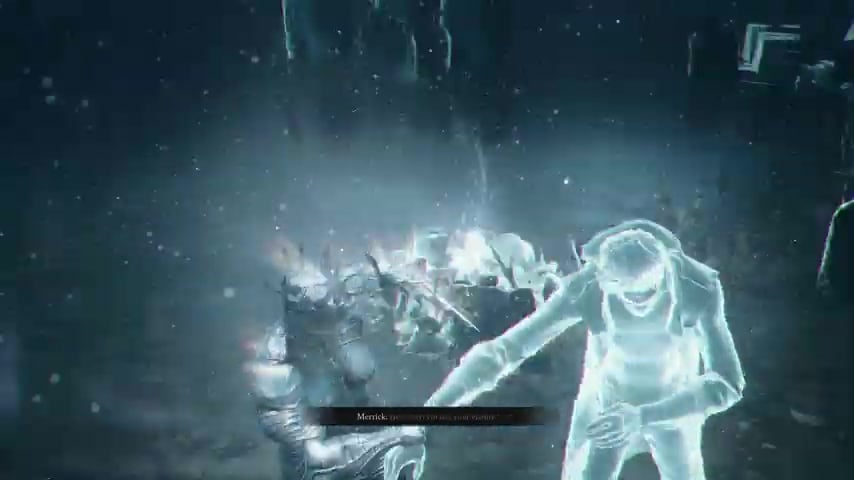
Enter the Shattered Beacon and interact with the unknown Shell inside.
STEP 11/16
Take the offering
After the short cutscene, follow the memory prompt and take the offering.
STEP 12/16
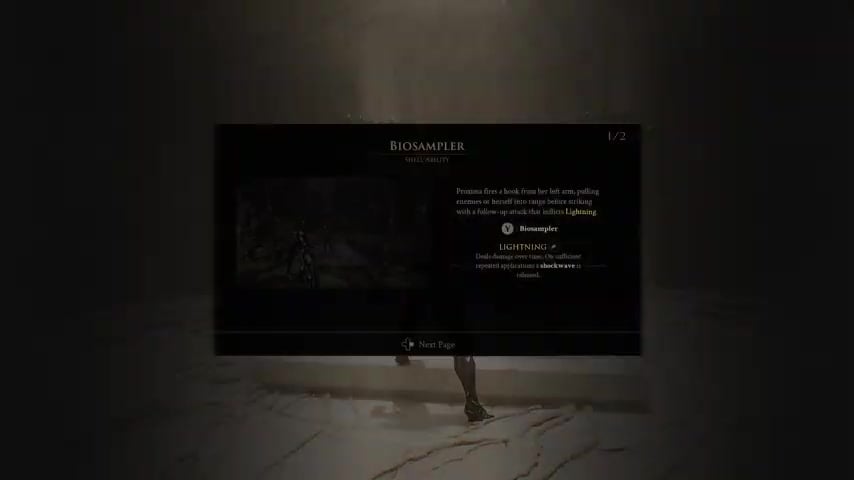
Use Biosampler on Stranger
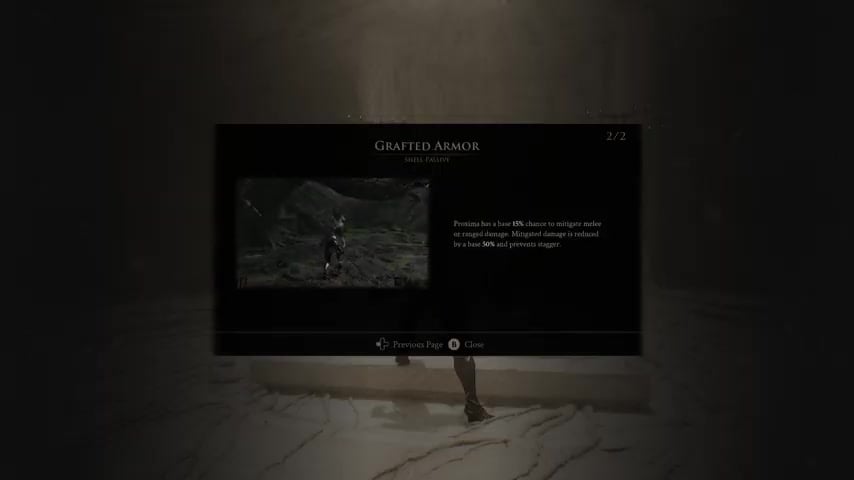
Activate Biosampler on Stranger when the memory prompts you.
STEP 13/16
Answer Stranger
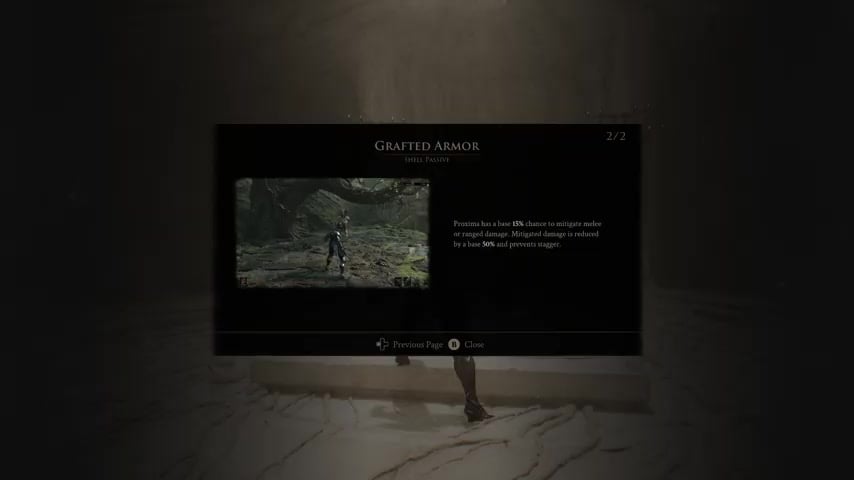
Respond to Stranger to advance the memory.
STEP 14/16
Inform Merrick
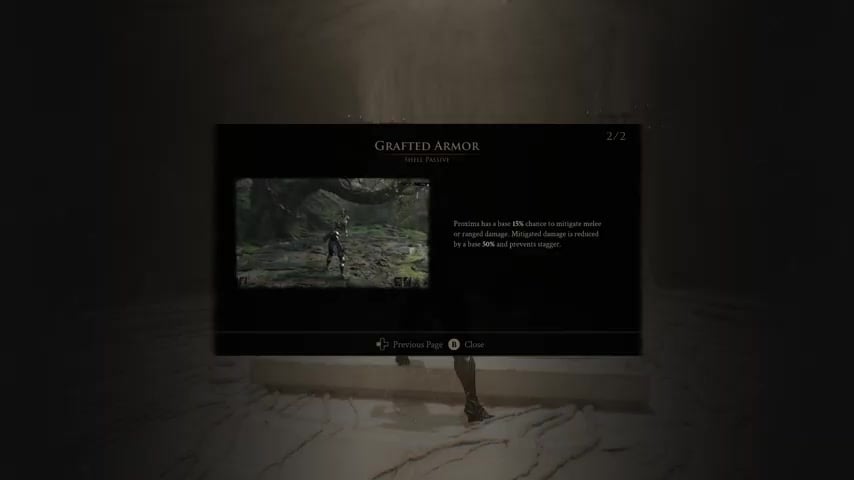
Complete the final named prompt by informing Merrick.
STEP 15/16
Exit the memory
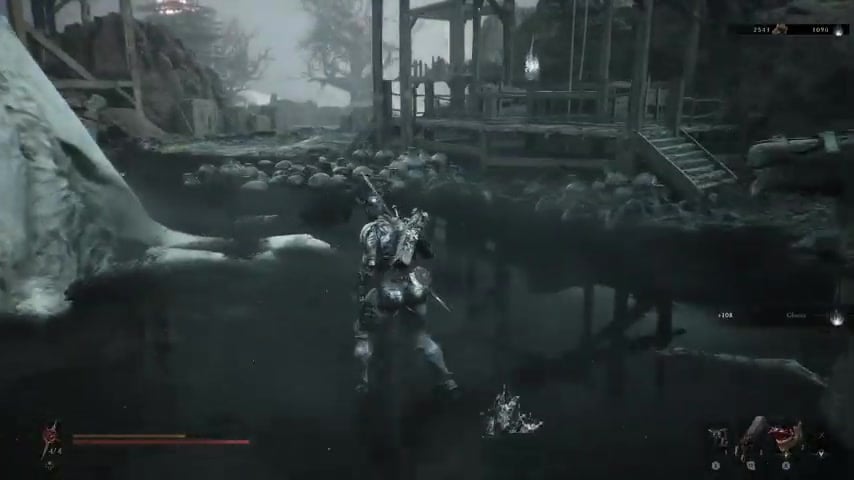
Allow the sequence to finish and return to the Shattered Beacon.
STEP 16/16
Switch to Proxima
Proxima is now unlocked and can be equipped immediately.
Video help
Proxima’s abilities after the unlock
| Ability | Effect |
|---|---|
| Biosampler | Fires a hook that pulls movable enemies toward Proxima or pulls her toward larger, immovable targets. Its follow-up strike builds Lightning on the target and deals damage over time. |
| Grafted Armor | Provides a 15% chance to mitigate melee or ranged damage. Mitigated hits deal 50% less damage and cannot stagger Proxima. |
Proxima is a tank-leaning Shell with more health and resistance than Tiel and some other Shells. Her kit favors direct engagements without forcing you into a purely defensive playstyle.
Fast-route mistakes that delay the Proxima unlock
Do not wander into Crumbling Tunnel or the other side dungeons along the route when Proxima is your only objective. Keep moving between the named beacons and turn toward the elevated Shattered Beacon after Blackridge Pass.
Proxima is not a late-game pickup, so there is no reason to postpone the run. You can also leave the Blackridge Pass beacon dungeon uncleansed: its reward of 650 coin, 1 Glimpse, and 1 Ovum can wait until after you have claimed the Shell.
Related Mortal Shell 2 guides
Frequently Asked Questions
Do you need to fight anything to unlock Proxima?
No. There is no mandatory fight or boss between you and the unlock. You can run past the nearby enemies, including the Spider-Leech guarding the beacon area, and reach Proxima on the first level.
Do you need to cleanse the Shattered Beacon?
No. The direct route reaches Proxima near the entrance and completes the memory without cleansing the dungeon. Some early instructions call for a cleanse, but it is not required for this pickup.
Can you unlock Proxima before the other Shells?
Yes. Proxima can be your first Shell after the prologue; unlocking another Shell is not a prerequisite.






Leave a Reply