

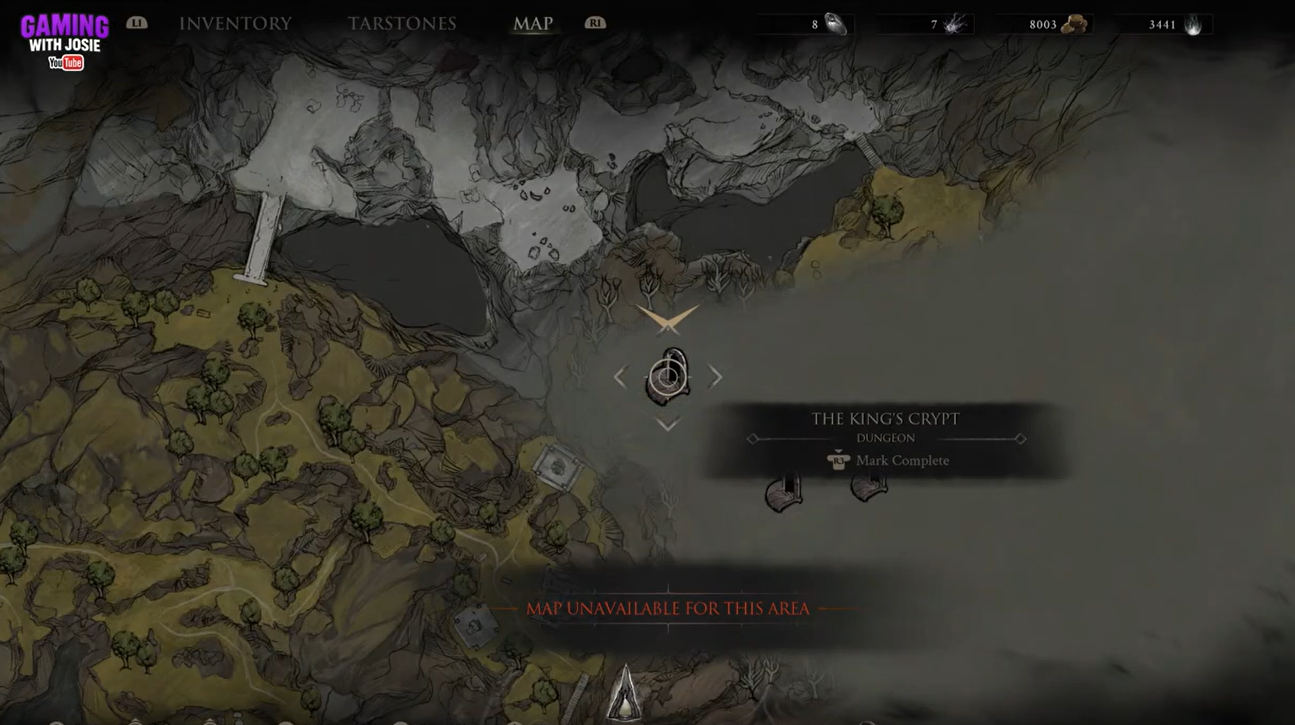
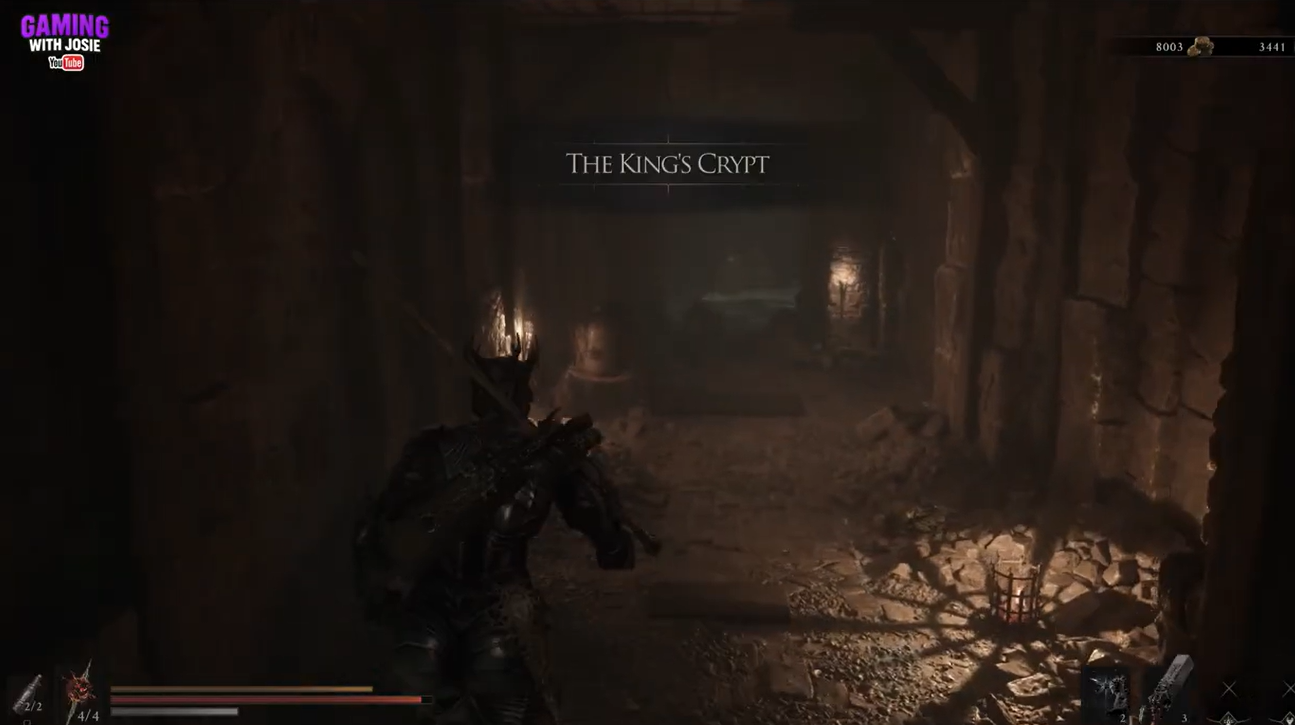
The Veteran’s Battle Axe is at the bottom of The King’s Crypt in Blackridge Pass: enter the crypt, ride the lift down, avoid the dark pressure-plate traps, drop into the final chamber, defeat the spear-wielding guard, and loot the headless corpse by the sarcophagus.
Getting through the crypt is more dangerous than finding its reward: low light masks the floor triggers, while enemies rush or detonate inside narrow corridors. Slow down between ambushes, then move decisively through the staircase traps and final drop.
Veteran’s Battle Axe location in The King’s Crypt
| Detail | Info |
|---|---|
| Dungeon | The King’s Crypt |
| Region | Blackridge Pass, within the Blackridge Cliffs area of Fainweald |
| Nearest beacon | Blackridge Pass Beacon |
| Entrance cue | North of the beacon, below a ledge; drop to the cave and pass through the illusory wall |
| Final enemy | Tough spear-wielding guard in the lowest chamber |
| Pickup location | Headless corpse beside the sarcophagus after the guard |
Key The regional wording shifts between Blackridge Pass and Blackridge Cliffs, but both refer to the same northern Blackridge area of Fainweald. Use the nearby beacon and cave entrance as your reliable landmarks.
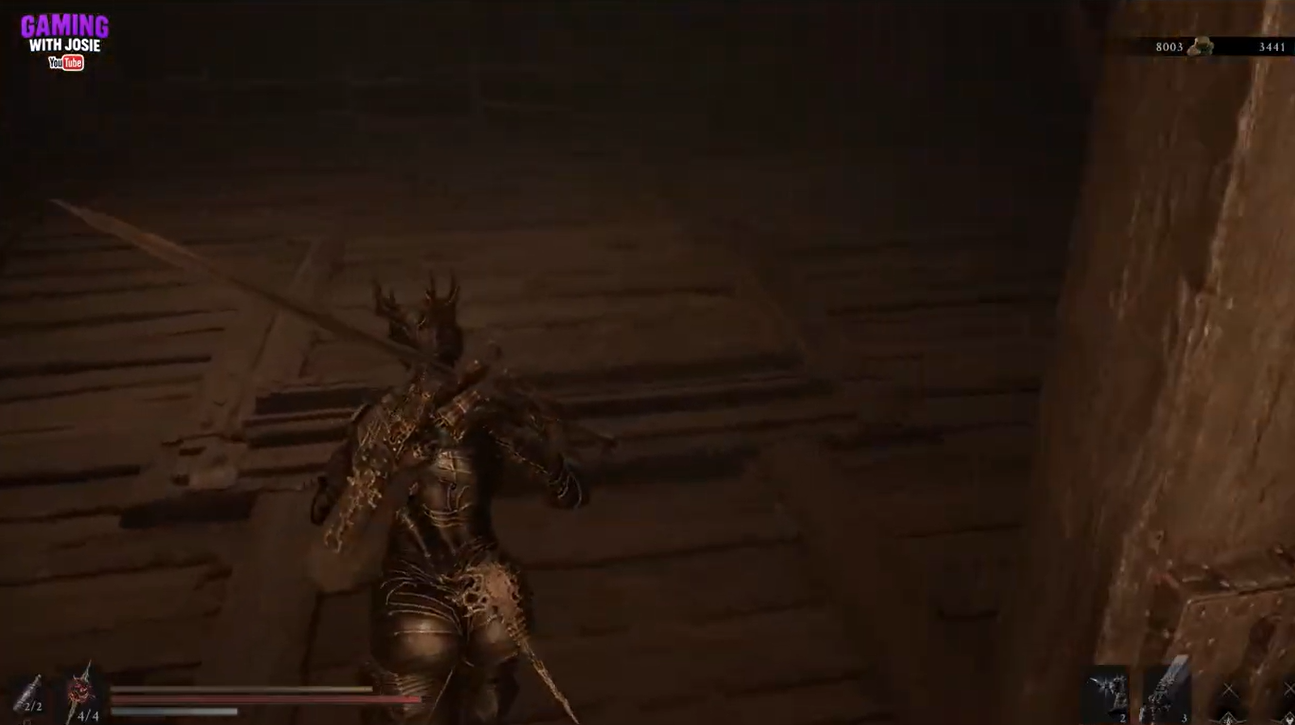
Angle the camera toward the floor as soon as the lift stops. The pressure plates are only slightly darker than the surrounding stone, making them much easier to avoid when spotted early.
How to get the Veteran’s Battle Axe in Mortal Shell 2
This route follows The King’s Crypt from its lift through every trap corridor and down to the weapon chamber.
STEP 1/17
Ride the lift down
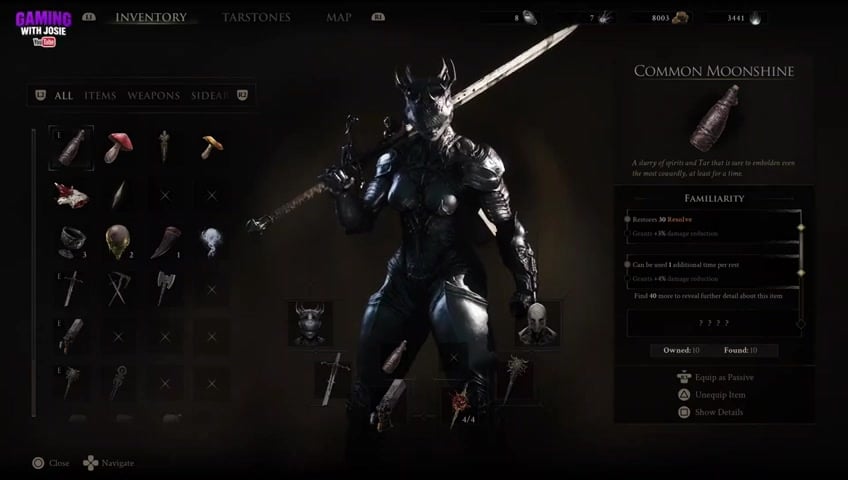
Step onto the wooden lift inside The King’s Crypt and descend to the lower level.
STEP 2/17
Identify the dark floor slabs
At the bottom, look for the darker tiles and follow the left side without stepping on them.
STEP 3/17
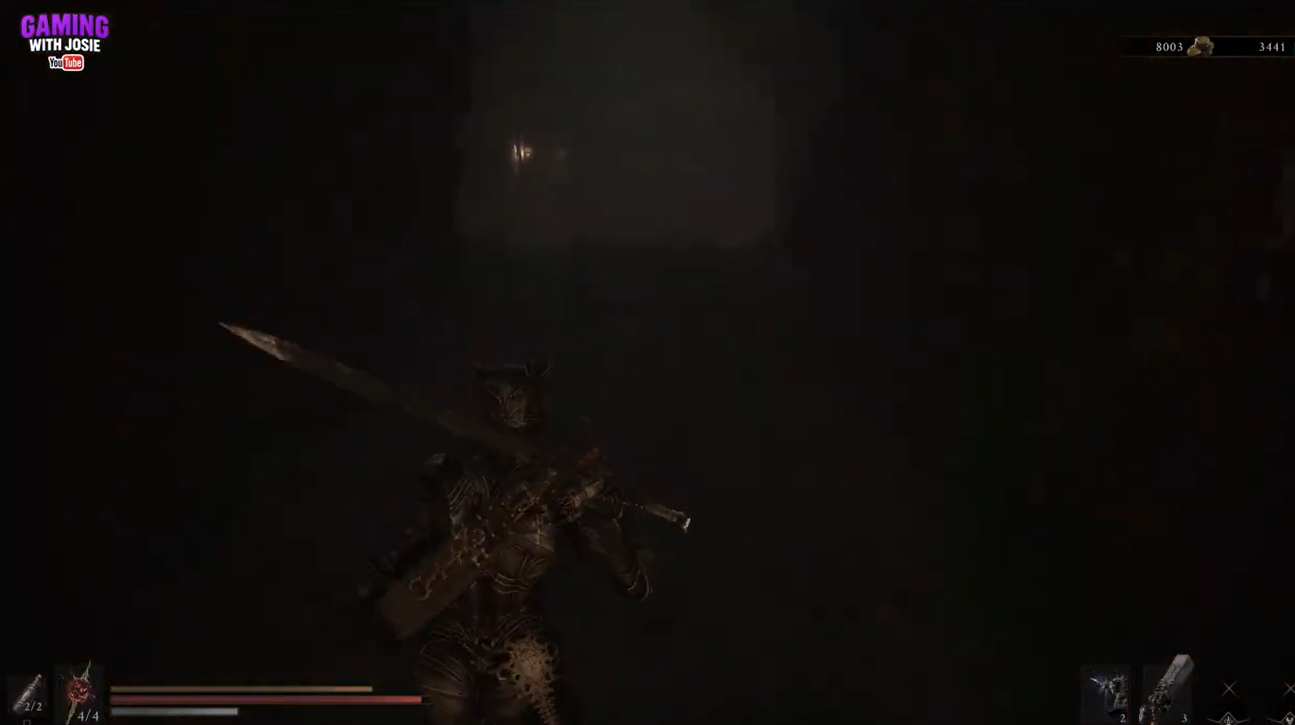
Let the first enemy trigger a trap
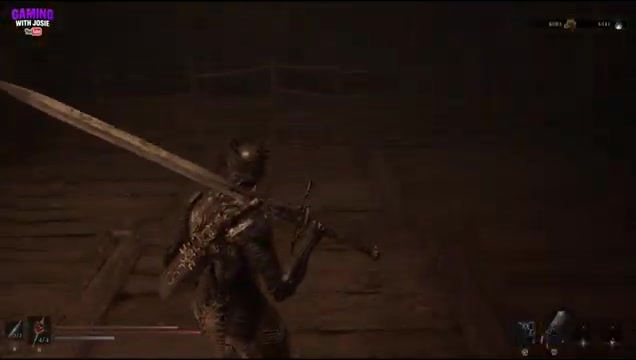
Wait for the nearby enemy to walk onto a dark slab so the pressure-plate trap hits him instead.
STEP 4/17
Shoot the enemy farther ahead
Fire at the enemy in the background and remain clear when he explodes.
STEP 5/17
Stop the left-side ambush
Continue around the plates, then kill the enemy who jumps from the passage on your left.
STEP 6/17
Take cover from the charging exploder
When an explosive enemy rushes from the right, shelter behind the wall on the left until it detonates.
STEP 7/17
Break the blocking box
Smash the wooden box and continue along the left edge while watching the floor.
STEP 8/17
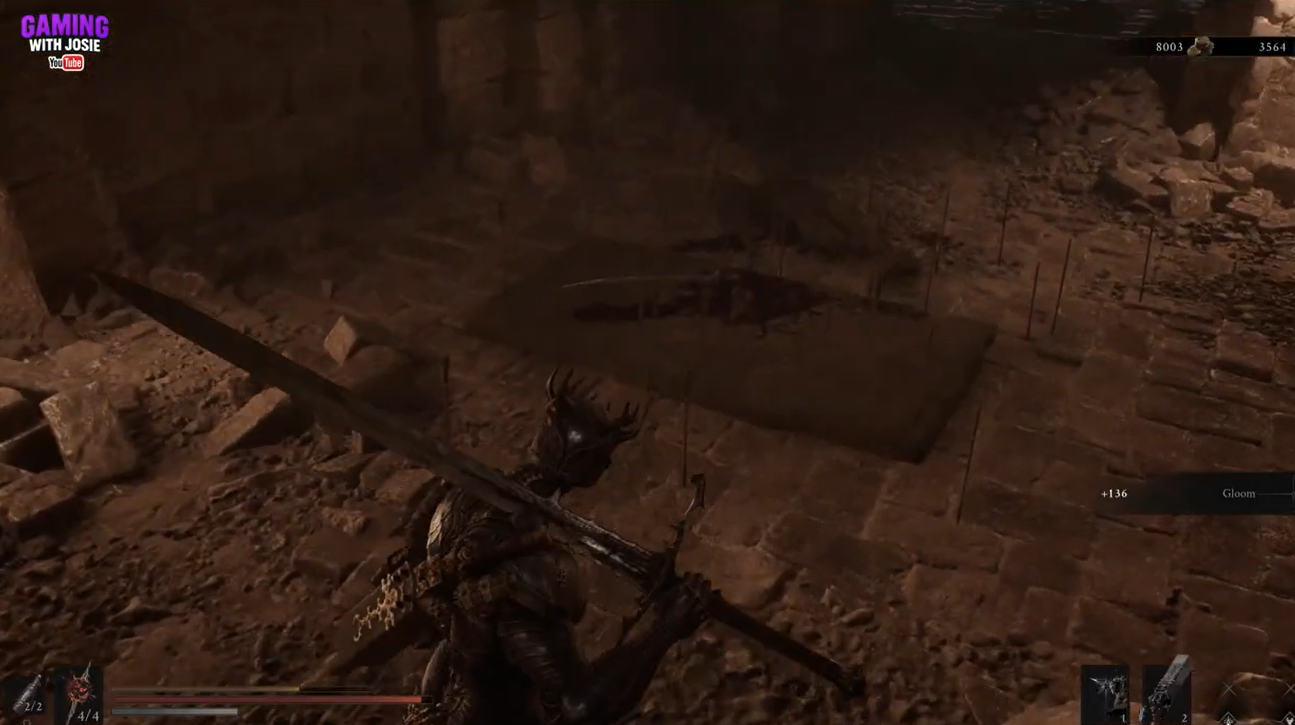
Drop to the lower passage
Follow the corridor to its end and drop from the ledge into the next section.
STEP 9/17
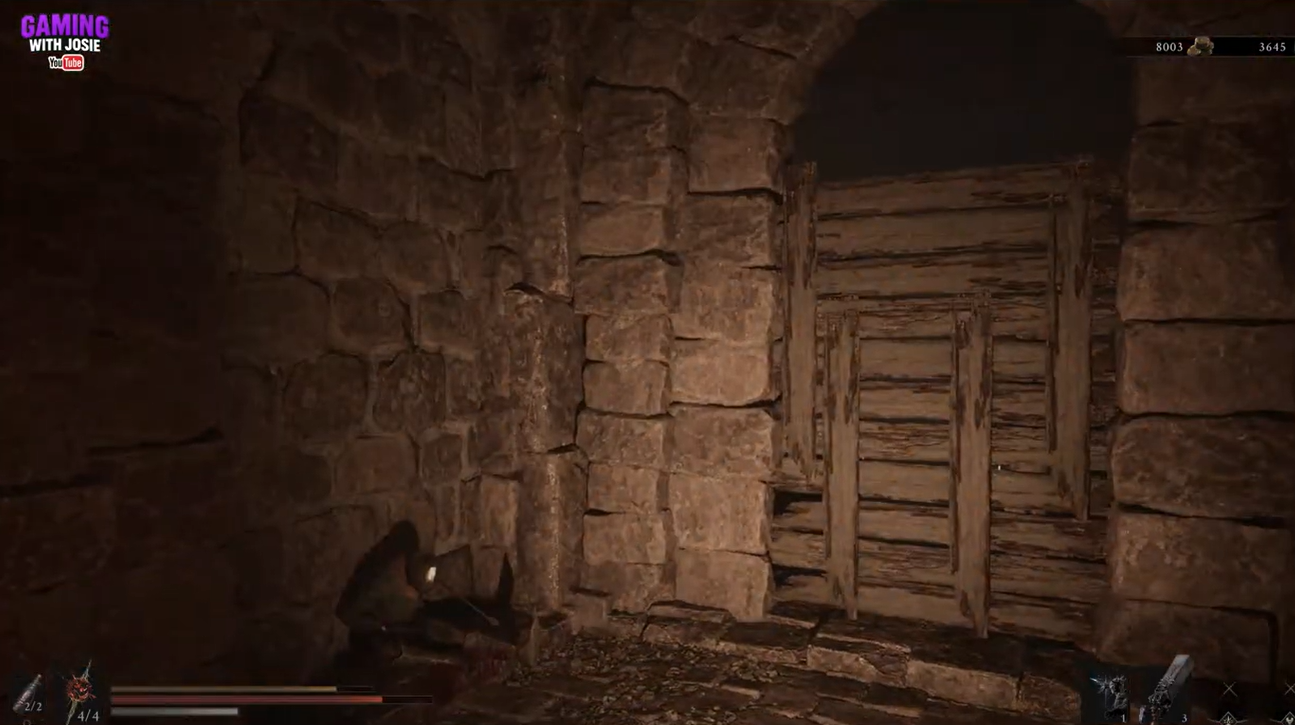
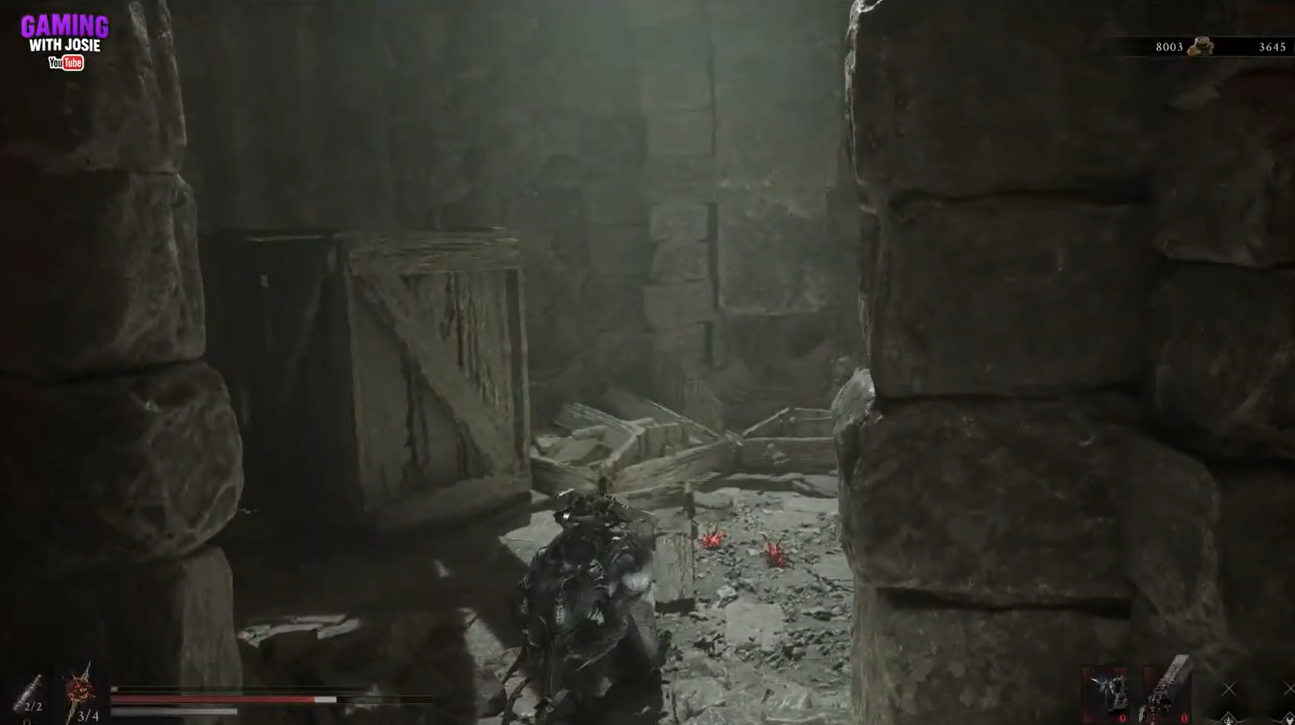
Smash through the wooden barricade
Break the wood obstructing the doorway to open the route ahead.
STEP 10/17
Back away from the next exploder
Give the charging enemy enough room to detonate without catching you in the blast.
STEP 11/17
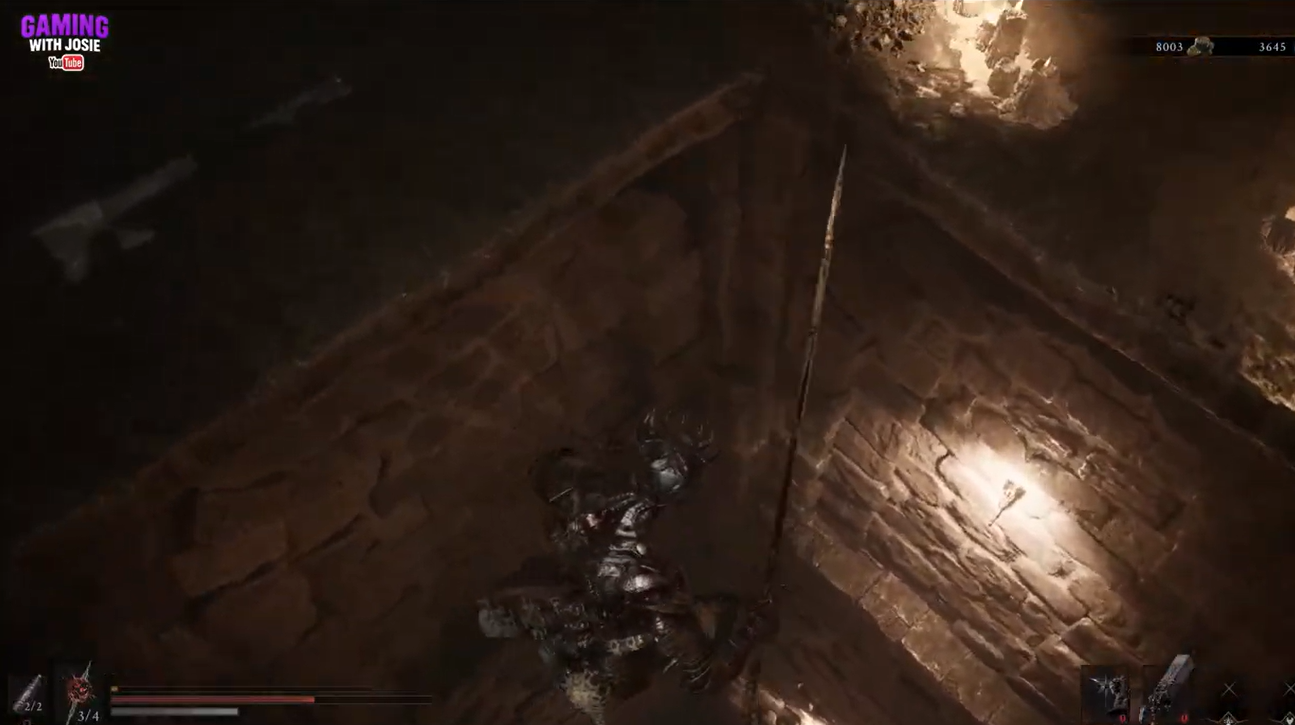
Sweep around the chamber’s left side
Keep left through the darker room and curve around toward the stone staircase.
STEP 12/17
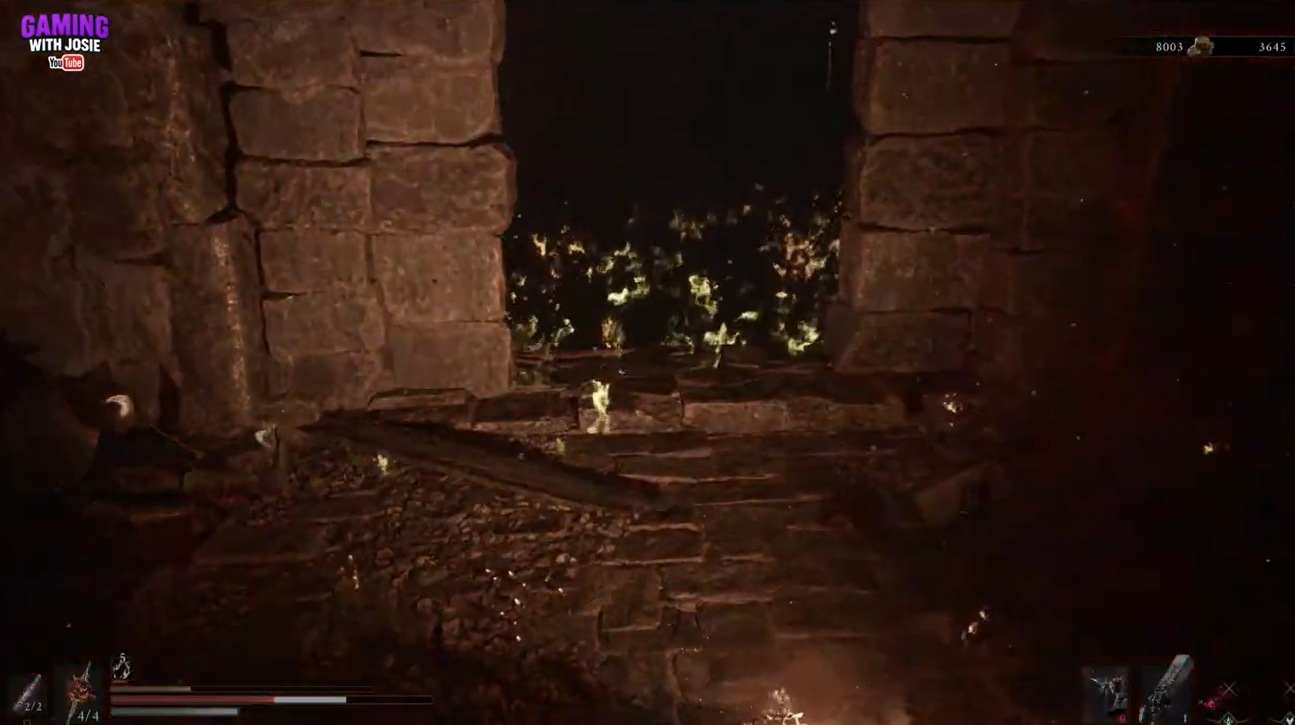
Sprint up the trapped stairs
Run continuously up the staircase to pass the cluster of floor traps before they catch you.
STEP 13/17
Detonate the explosive pods from range
Destroy the grouped explosive objects ahead without standing close to their combined blast.
STEP 14/17
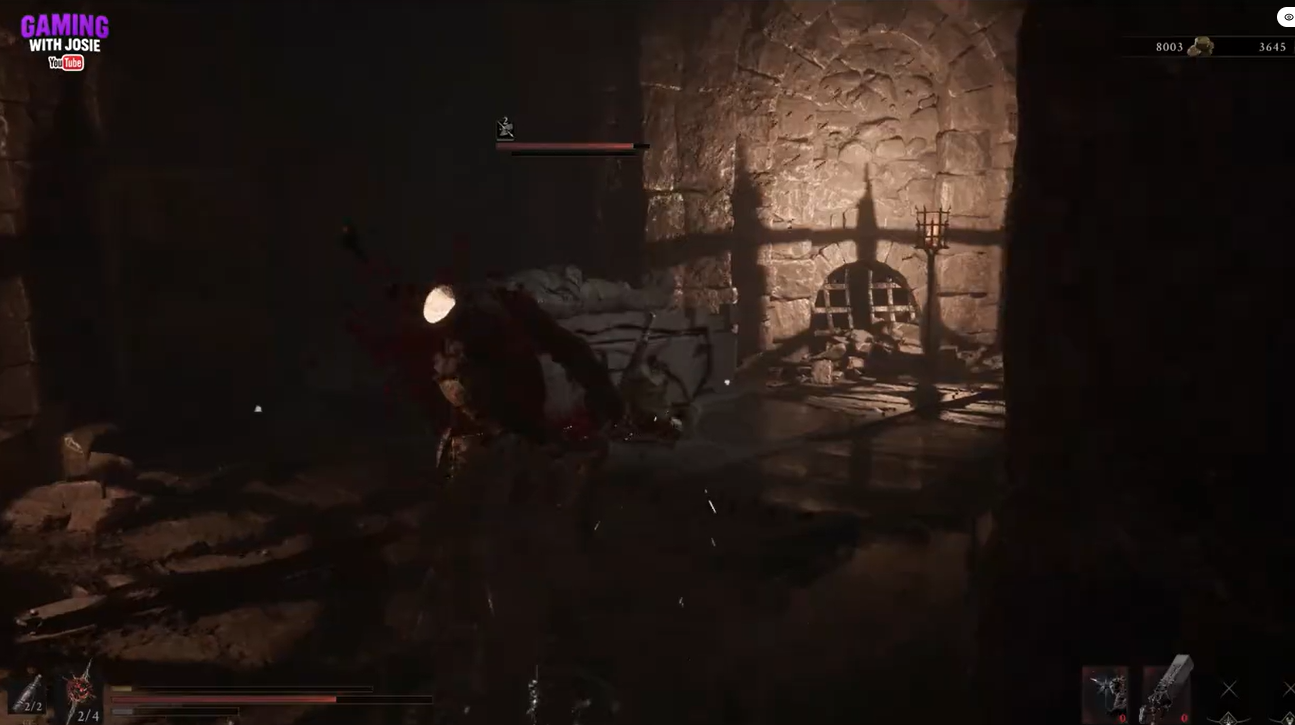
Step around the doorway bear trap
Check the floor before entering and pass beside the bear trap set in the doorway.
STEP 15/17
Drop through the final square opening
Fall into the flooded lower chamber; the hole that appears lethal is the correct route forward.
STEP 16/17
Defeat the spear-wielding guard
Kill the larger enemy protecting the tomb before approaching the corpse.
STEP 17/17
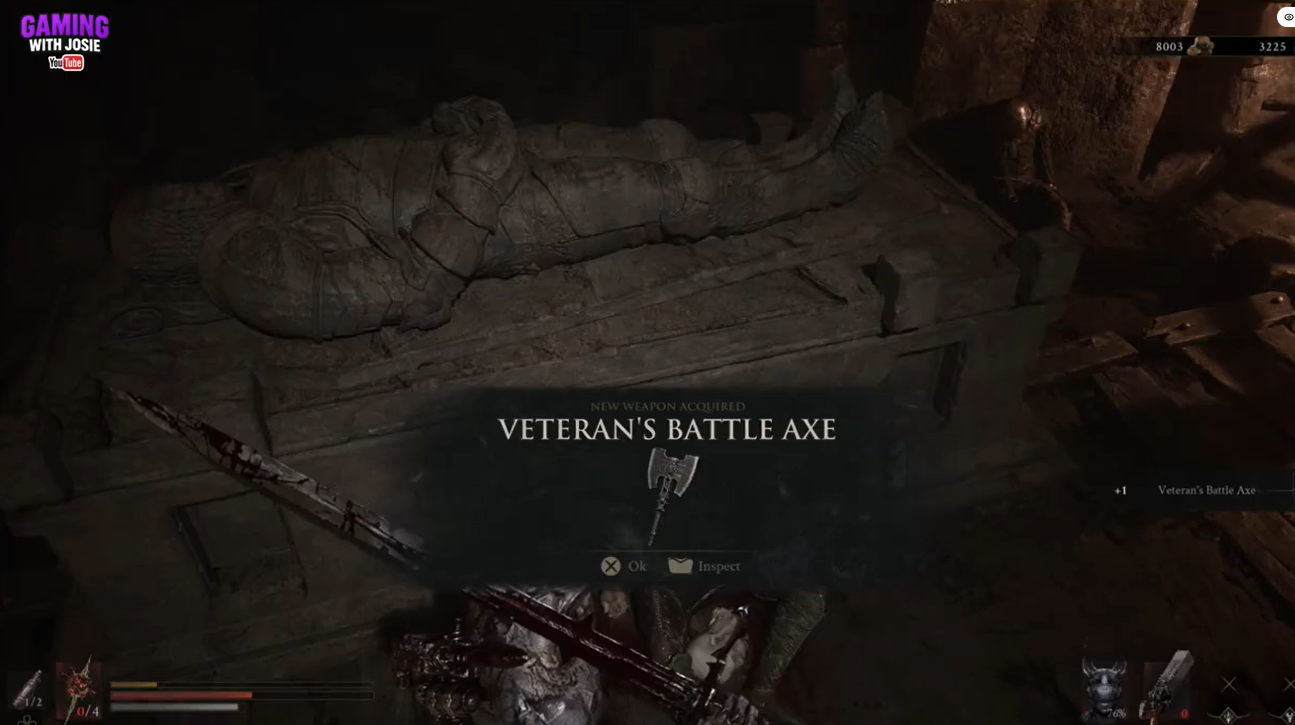
Loot the headless corpse
Interact with the body beside the sarcophagus until NEW WEAPON ACQUIRED and VETERAN’S BATTLE AXE appear.
Video help
Veteran’s Battle Axe details after the pickup
| Detail | Info |
|---|---|
| Map purchase | Merrick sells its location map in Marrow Keep for 300 Coins |
| Combat style | Heavy, slower axe with high damage and broad area-of-effect swings |
| Dungeon exit | Use the light at the bottom of the crypt to return to the entrance |
Once collected, the axe appears under the Weapons tab in your inventory and is ready to equip.
Common mistakes inside The King’s Crypt
If the cave appears to end before the dungeon begins, you have probably stopped at the illusory wall. Pass through it to reach the lift. Once below, do not treat every floor tile alike—the darker slabs activate the corridor traps.
The bear trap is easy to miss because it sits in a shadowed doorway after the stairs. The last square hole can also look like another lethal trap, but avoiding it blocks access to the weapon chamber; drop through it and prepare to fight the guard below.
Related Mortal Shell 2 guides






Leave a Reply