
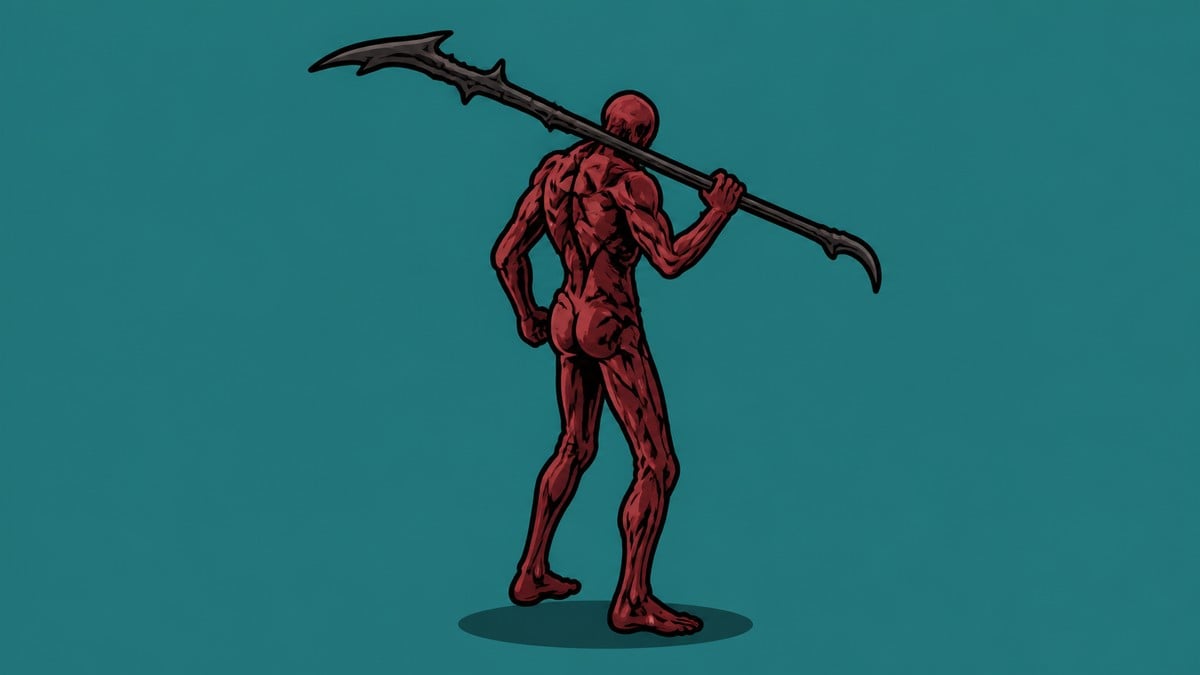
To get the Obsidian Hammer early in Mortal Shell 2, unlock Mother’s Breath, fast travel to Outskirts of Mammon, enter the Obsidianite Mines through Deserted Slums, then defeat Prophet of Profane Infinities at the bottom of the dungeon.
The Obsidian Hammer is the big, brutal great-hammer buried at the bottom of the Obsidianite Mines in Mammon, and you can go grab it long before you’re properly geared. There’s exactly one gate in the way and then a single miniboss between you and one of the heaviest weapons in the game. Here’s the full route and the fight.
Where the Obsidian Hammer drops in Mortal Shell 2
| Item | Detail |
|---|---|
| Location | Obsidianite Mines, Mammon |
| Required access | Mother’s Breath (from cleansed beacons, turned in at Marrow Keep) |
| Dungeon | Obsidianite Mines, via Outskirts of Mammon and Deserted Slums |
| Boss | Prophet of Profane Infinities |
| Reward | Obsidian Hammer, plus Paradoxical Scripture |
This is an early pickup with one requirement in front of it. Before the route opens you need Mother’s Breath, earned by cleansing beacons out in the world and turning enough of them in at Marrow Keep to clear the tainted stretches on the way down — that’s the “early but not instant” part. Everything after that is just travel and one miniboss, and the drop is guaranteed, so the run is repeatable if you die on the approach. If you want to eyeball the spot first, Merrick at Marrow Keep sells an optional location map for it (reported prices vary, around 1,200 Coins) that marks the mine without doing any of the work for you.
How to get Obsidian Hammer in Mortal Shell 2
This is one continuous run from the top of Marrow Keep down to the mine’s boss arena, and you can pull it off very early as long as you already have Mother’s Breath.
STEP 1/9
Turn in beacons for Mother’s Breath
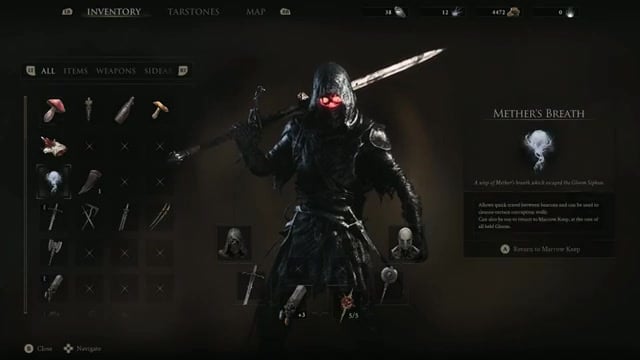
Cleanse enough beacons and hand them in at the top of Marrow Keep to unlock Mother’s Breath, which lets you clear the tainted areas along this route.
STEP 2/9
Fast travel to Outskirts of Mammon
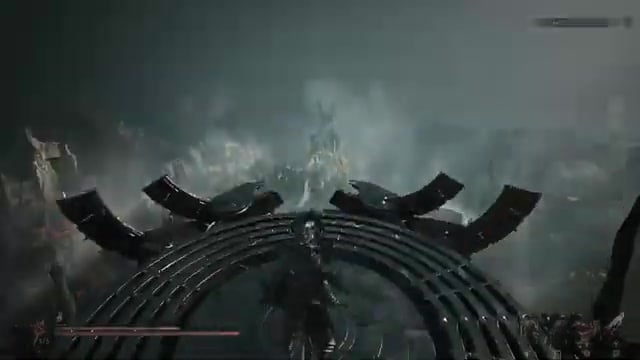
Climb to the very top of Marrow Keep, take the left path to the fast travel pad, and warp to the Outskirts of Mammon beacon that sits near the mines.
STEP 3/9
Follow the path past the traps
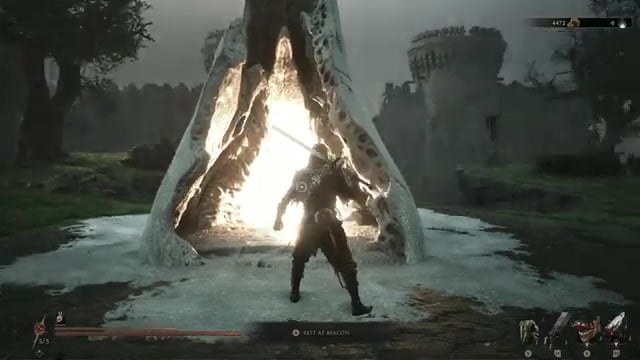
Take the descending track from the beacon, watch for the floor traps, and keep heading down across the small wooden bridges.
STEP 4/9
Cross the jump pad toward the slums
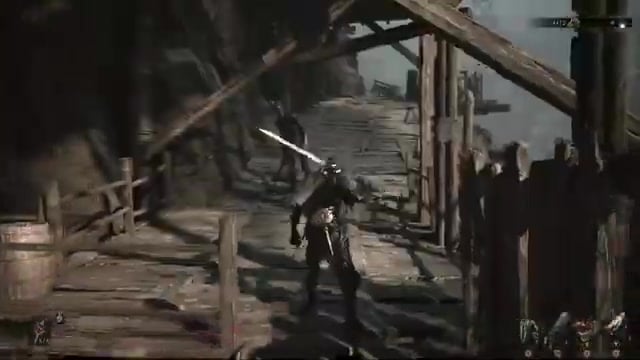
At the turning area, drop down, curl left, and launch off the jump pad — you can sprint straight past most enemies rather than fighting them.
STEP 5/9
Push into the Deserted Slums
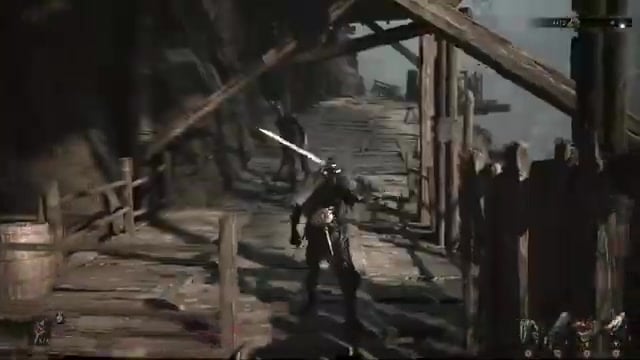
Move up into the Deserted Slums and keep heading in the same direction, ignoring the side turn-offs, dodging the one enemy that tries to knock you off the walkways.
STEP 6/9
Drop into the dungeon at the bottom edge
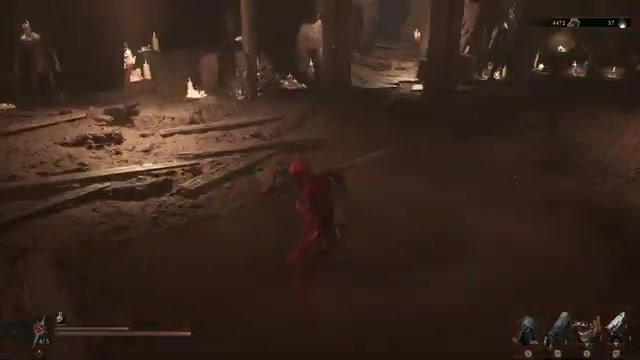
Ride the slums all the way down to the far edge, where the dungeon entrance leading into the Obsidianite Mines is waiting.
STEP 7/9
Fall through the collapsing floor
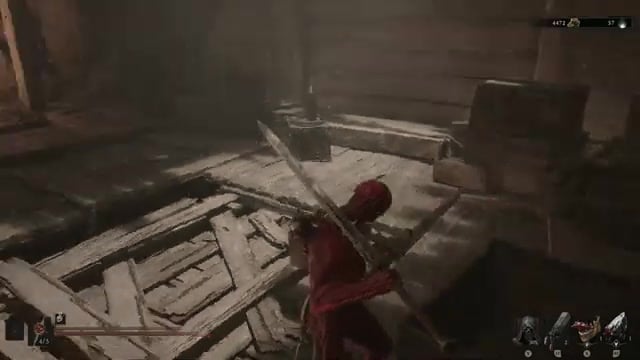
Grab the resource at the back only if it’s safe, then step onto the section of floor that breaks away to drop to the cavern below, and look around for the exit deeper into the mine.
STEP 8/9
Cross the high beam with health to spare
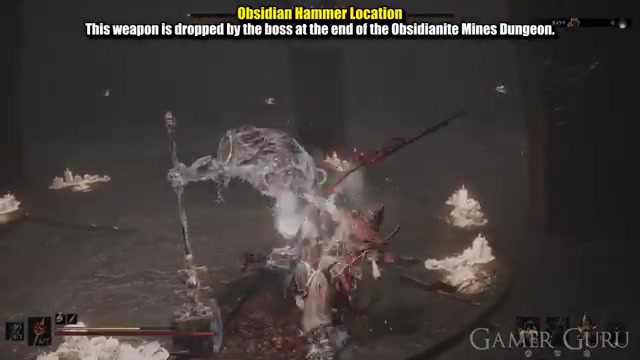
Top up on any range replens on the way, then walk the high beam knowing it chips your health before you drop down toward the arena.
STEP 9/9
Face Prophet of Profane Infinities
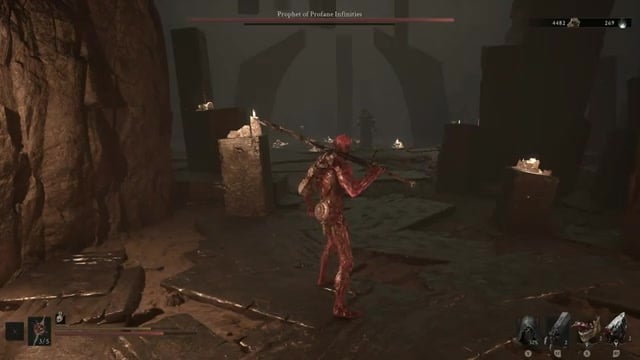
Climb the last stretch into the candle-lit arena and defeat the Prophet of Profane Infinities to claim the Obsidian Hammer.
Run, don’t fight — you can reach the boss with almost nothing on your shell by sprinting and dodging past the big mine enemies, since most of them hit like a truck and aren’t worth the risk this early.
Video help
Beating Prophet of Profane Infinities in the mine arena
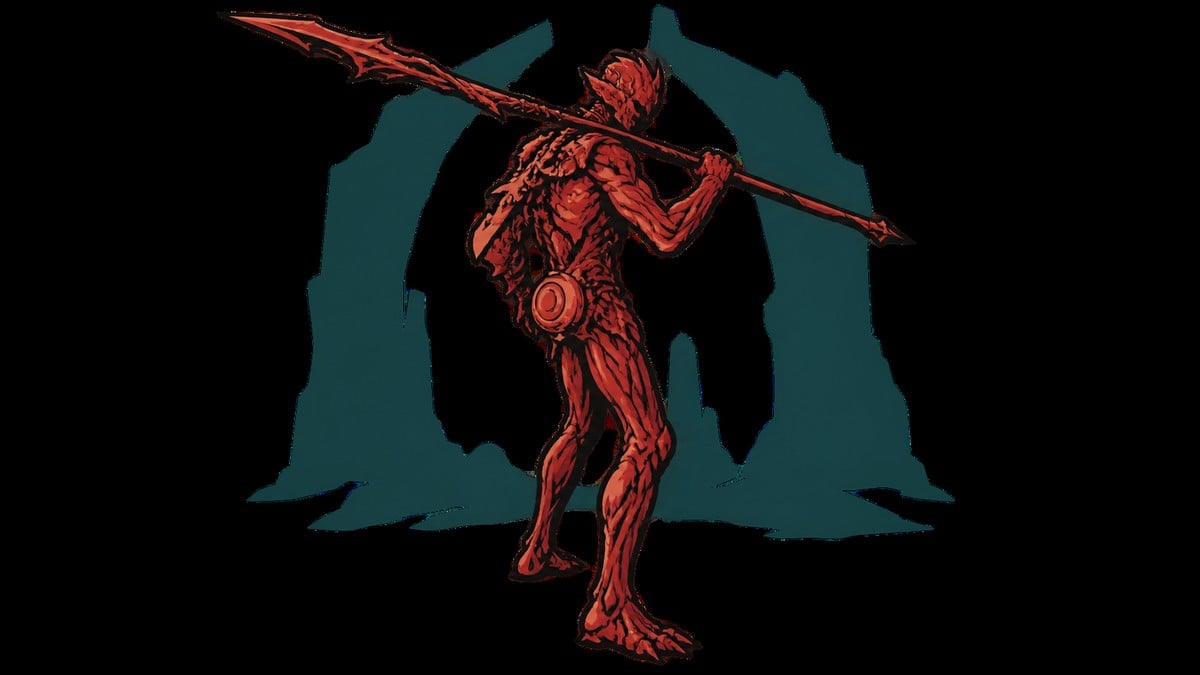
The Prophet of Profane Infinities is honestly one of the easier minibosses down here, so you don’t need a specialized build to win. The two things that actually threaten you are its short-range AoE bursts and its hammer, which hits hard enough to flatten a fragile shell in a swing or two — so keep circling the pillars and never plant yourself inside its wind-up. Leading with a sprinting attack straight into a follow-up strike works well for chunks of opening damage, but whatever punish your build trusts will get it done.
What the Obsidian Hammer is good for
The Obsidian Hammer is exactly what it looks like: a brutalist chunk of obsidianite built for weight, not speed. It swings slowly — in fact it carries the slowest attack speed of any weapon in the game — but every hit lands with huge stagger and burst damage, which makes it a monster for players who want to stun-lock enemies and delete a health bar in a couple of blows.
Key If you want fast combos or the highest practical DPS, this isn’t your weapon. That slow moveset drags its damage-per-second below the quicker options even though each individual swing is enormous, so it rewards a patient, commit-to-the-hit playstyle over one built on speed.
Upgrading the Obsidian Hammer and Tarstone options
| Upgrade range | Material |
|---|---|
| +1 to +6 | Ventrium |
| +7 to +10 | Laterite |
Once it’s yours, the upgrade path is simple to plan around. The early levels lean on Ventrium and the later ones switch over to Laterite, with Coin costs climbing at each rank while the damage steps up in small increments per level. For Tarstones, the Colossus Stone fills the weapon’s unique-ability slot, while Torpor Stone or Wretchcaller’s Stone are the infusion picks worth slotting to put Stasis or Trauma on that heavy moveset.
Related Mortal Shell 2 guides
Frequently Asked Questions
Can you get the Obsidian Hammer without fighting the boss?
No. The Obsidian Hammer only drops from the Prophet of Profane Infinities — it isn’t tucked in a chest anywhere in the mine, so there’s no way to skip the fight and still walk out with it. Players who go hunting for it usually get stuck searching the upper mine levels because they missed the collapsing-floor room that drops you down toward the arena.
Is the Obsidian Hammer worth using early if your shell is underleveled?
The trip itself is fine underleveled, since you can sprint past almost everything in the mine and only really need to survive the boss. Actually swinging the hammer that early is more of a trade-off: its slow attacks are punishing when you have few points allocated and little health, so it shines most once you can afford to stand your ground and commit to a heavy hit. If you’re still fragile, keep it for the stagger moments and lean on a faster weapon in between.






Leave a Reply