
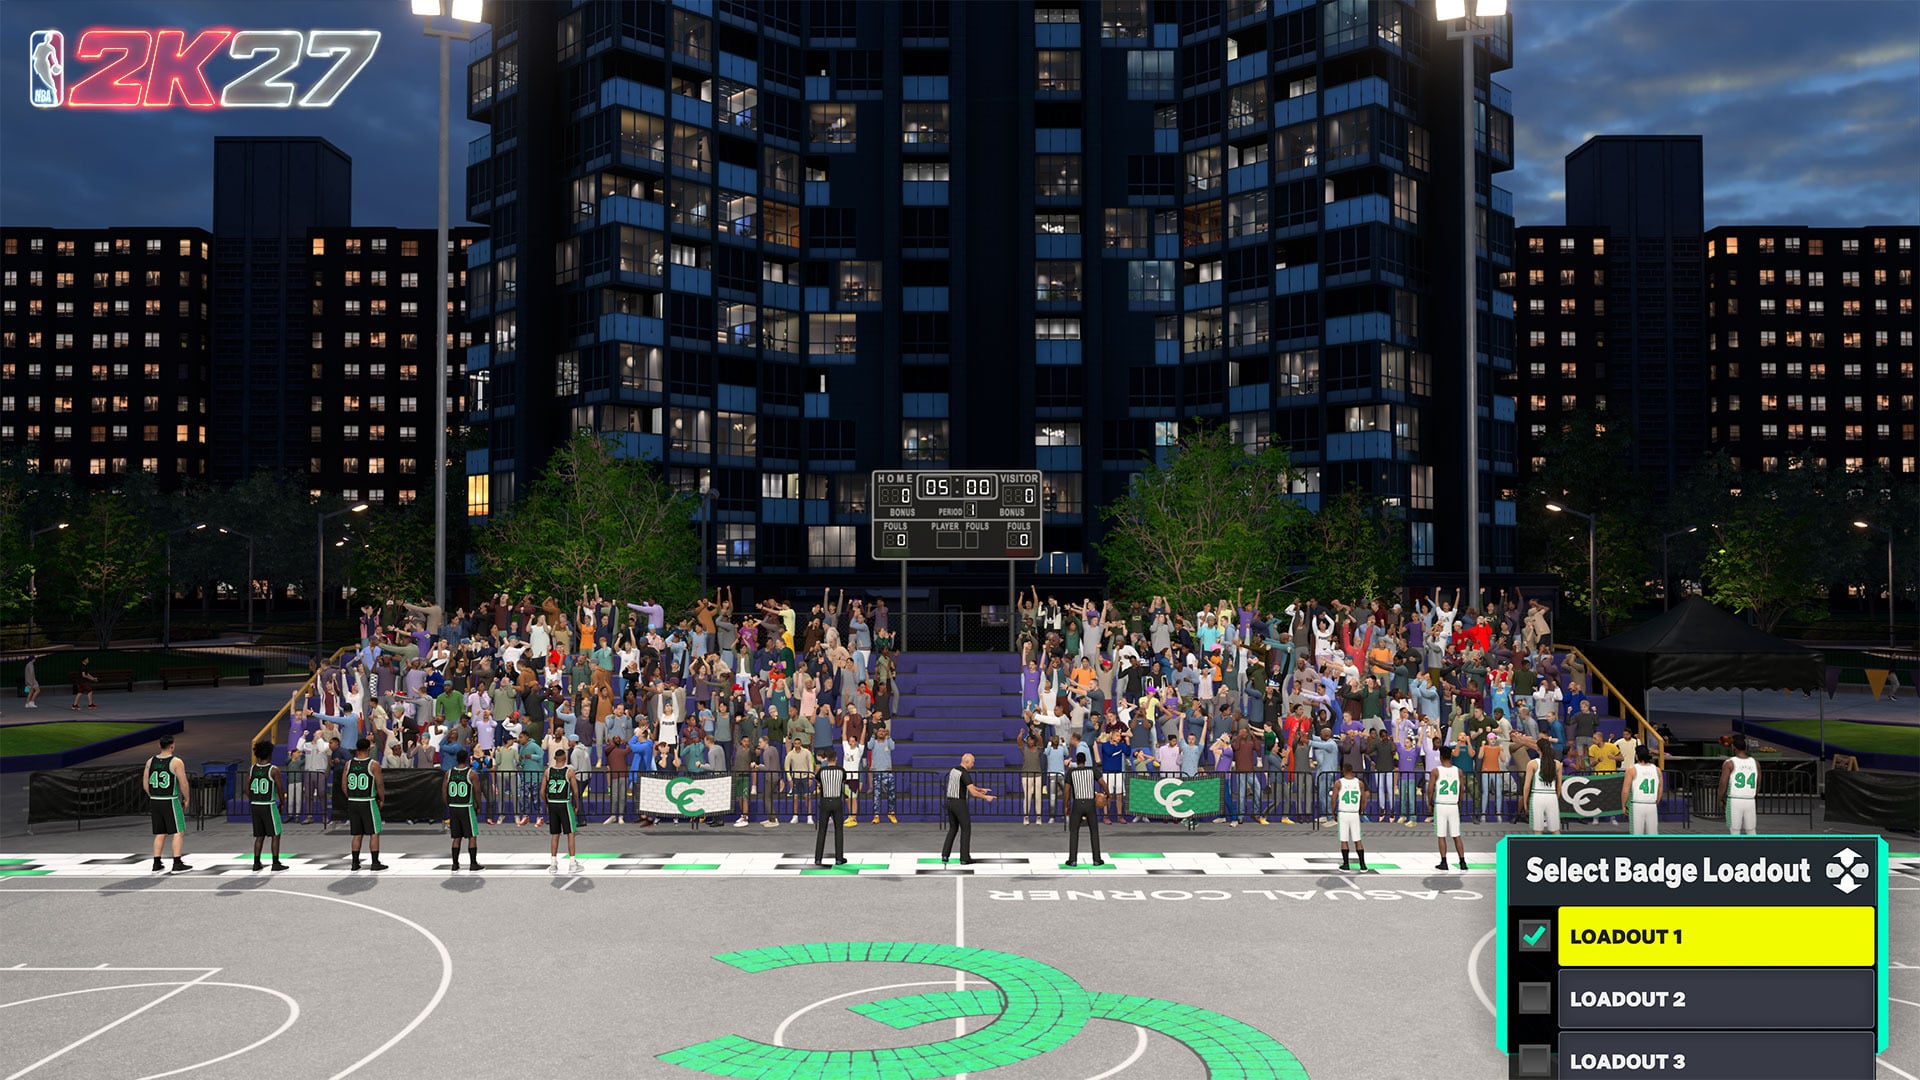
Each NBA 2K27 build starts with 20 Badge slots, while earned Badge Tokens raise equipped Badges, 16 Synergy slots provide token-free Fuse boosts and linked Reaction boosts, and Badge Loadouts let you keep alternate configurations.
The Badge system separates the Badges you can equip from the resources used to raise their levels. Synergy adds another layer by boosting one eligible Fuse Badge for the entire game and letting that Badge activate a linked Reaction boost. Once you account for those free levels, your Badge Loadouts can distribute their Tokens much more efficiently.
NBA 2K27 Badge and Synergy system map
| Mechanic | How it works |
|---|---|
| Badge slots | Every build immediately receives 20 slots for equipping Badges from a total selection of 53 Badges, including 19 new ones. |
| Badge Tokens | Tokens are invested in equipped Badges to raise their levels and can generally be reassigned. |
| Discipline meters | Tokens come from six discipline meters. Tokens earned from events remain locked to their assigned discipline. |
| Synergy slots | There are 16 slots: twelve provide a +1 boost, while four provide a +2 boost. |
| Fuse | An eligible Badge receives its Synergy boost for the full game without consuming Tokens. |
| Reaction | A Badge associated with the selected Fuse gains a one- or two-level boost after the Fuse triggers enough times. |
| Badge Loadouts | Each build starts with one loadout and can earn up to three additional loadouts through REP, Challenges, and Crews. |
Think of the system as three connected layers. Badge slots determine what your build can carry, Tokens determine where its earned Badge investment goes, and Synergy supplies conditional or full-game levels outside that Token budget. Loadouts then preserve different ways of arranging those layers, so the same build can prepare more than one Badge configuration.
Badge slots, Tokens, and discipline meter progression
An available Badge slot and an invested Badge Token do different jobs. The slot gives you space to equip a Badge; it does not automatically upgrade that Badge. A build can therefore have a Badge sitting in one of its available slots without having committed the Tokens needed to raise it to a higher level.
You earn Tokens by progressing the game’s six discipline meters. Those Tokens are the flexible part of the setup because they can generally be reassigned. Moving your investment lets you emphasize the Badges that matter to a particular configuration instead of treating every Token choice as permanent. It shifts the same investment rather than creating extra slots or additional Tokens.
Event Tokens are the exception. An event Token remains tied to its discipline, so it cannot be moved into a different discipline merely because another Badge would benefit more. When reviewing a setup, separate the flexible Tokens from those discipline-locked event Tokens before deciding how much investment is genuinely available to move.
This distinction prevents a common planning error: filling every starting slot and expecting every equipped Badge to operate as though it received a free level increase. Slots establish the breadth of your Badge selection, while earned Tokens establish the depth of the investment within that selection.
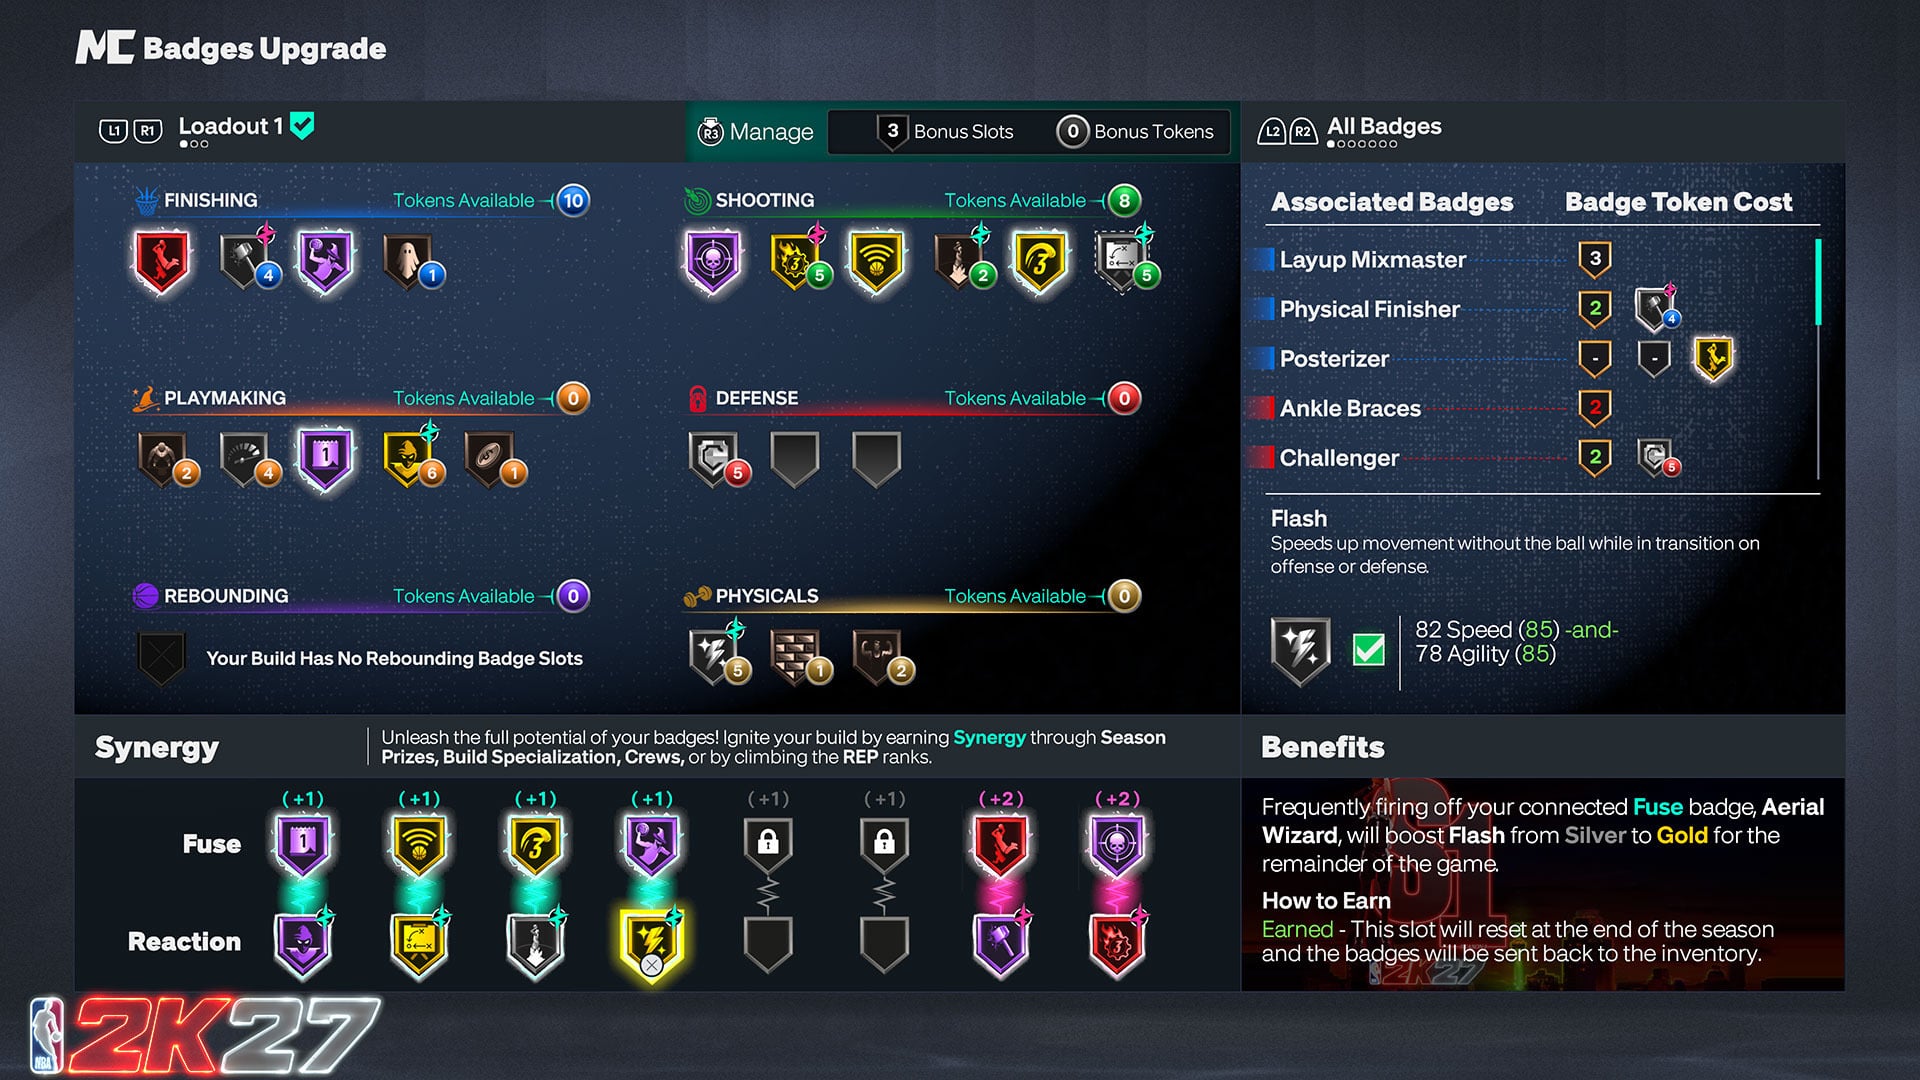
Choosing a Fuse Badge for the 16 Synergy slots
Synergy sits alongside Token investment rather than replacing the Badge-slot system. Its twelve +1 slots and four +2 slots let you assign eligible Badges at two different boost strengths. A Badge must meet its own requirements before it can occupy a Fuse slot, so Synergy cannot be used to bypass the Badge’s eligibility conditions.
Key Once an eligible Badge becomes the Fuse, it receives the slot’s boost for the full game at no Token cost. That makes the Fuse selection more than a small bonus. If you were spending Tokens to reach the same level on that Badge, the Synergy boost can release those Tokens for another part of the loadout.
Use the stronger slots where the additional level supports the loadout’s central actions, but do not choose a Fuse solely because a +2 slot is available. The better candidate is an eligible Badge that naturally activates through the way you already play. A full-game boost has the most value when the Badge is relevant throughout your normal role rather than appearing only in rare situations.
Pairing a Reaction Badge and activating its boost
A Reaction Badge must be linked to the Fuse Badge assigned to that pairing. You cannot select any Reaction from the full Badge list: the available choices are limited to the Reactions associated with that specific Fuse. Changing the Fuse can therefore change which Reaction options are available.
The Fuse receives its level increase for the whole game, but the linked Reaction follows a different activation rule. The Fuse must trigger enough times in-game before the Reaction receives its one- or two-level boost. Once activated, that Reaction boost remains in effect for the rest of the game.
There is no supported universal trigger count to apply to every pairing, so do not build a setup around an assumed number. Instead, judge the pairing by frequency: a Fuse tied to actions you perform repeatedly is more likely to activate its Reaction early enough for the boost to influence a meaningful portion of the game.
The Reaction should also reinforce the purpose of the Fuse. If the two Badges support the same intended play pattern, the permanent Fuse level helps your normal actions while those actions work toward activating the second boost. A mismatched Reaction may be technically selectable, but it can leave the eventual bonus disconnected from what the loadout is trying to accomplish.
Building alternate Badge Loadouts around Synergy
Plan each Badge Loadout around the free Fuse level before distributing reassigned Tokens. Start with the role the configuration is meant to support, select an eligible Fuse that should trigger during that role, and then choose an associated Reaction that strengthens the same pattern. The Tokens that are no longer needed to produce the Fuse level can then reinforce another equipped Badge.
This approach prevents duplicate spending. If Synergy is already supplying a level for the full game, committing Tokens as though that boost did not exist can leave another useful Badge underfunded. Treat the Fuse increase as part of the loadout’s working level structure, then allocate the flexible Token pool around it while respecting any discipline-locked event Tokens.
Every build begins with one Badge Loadout. You can earn as many as three more through REP, Challenges, and Crews, giving the build up to four configurations. Those additional loadouts are useful for preserving alternate Token distributions and Fuse/Reaction combinations instead of dismantling one setup whenever you want a different emphasis.
Give each configuration a clear job. One can center on the actions you use most often, while another can shift its flexible Tokens and Synergy pairing toward a different role or matchup. The available information does not establish a universal menu path or swapping restriction, so the important preparation is the configuration itself: make each loadout internally consistent rather than treating the extra slots as copies of the same plan.
Choose your Fuse and linked Reaction before reassigning flexible Tokens, then spend the released Token investment on a Badge that Synergy is not already boosting.
Badge and Synergy setup mistakes to fix
If an equipped Badge is weaker than expected, check whether you confused an open slot with a Token upgrade. The starting allocation gives you room to equip Badges, but level investment still comes from earned Tokens or the separate Synergy boost. Filling the slot alone does not supply either one.
If a Token cannot move where you want it, determine whether it came from an event. General reassignment does not override the discipline restriction attached to event Tokens. Rework the flexible part of the loadout around that locked investment instead of counting the event Token as universally available.
If the Fuse is boosted but the Reaction is not, the pairing may still be building toward activation. The Fuse bonus costs no Tokens and covers the full game; the Reaction bonus begins only after that Fuse has triggered enough times. A Fuse that rarely participates in your usual play will delay that second benefit.
Finally, if the desired Reaction is missing from the choices, check the selected Fuse rather than assuming every Reaction can pair with it. Reaction availability is association-based. Select a Fuse connected to the Reaction you want, then confirm that the Fuse itself meets its requirements and fits the actions the loadout is designed to produce.

Leave a Reply