
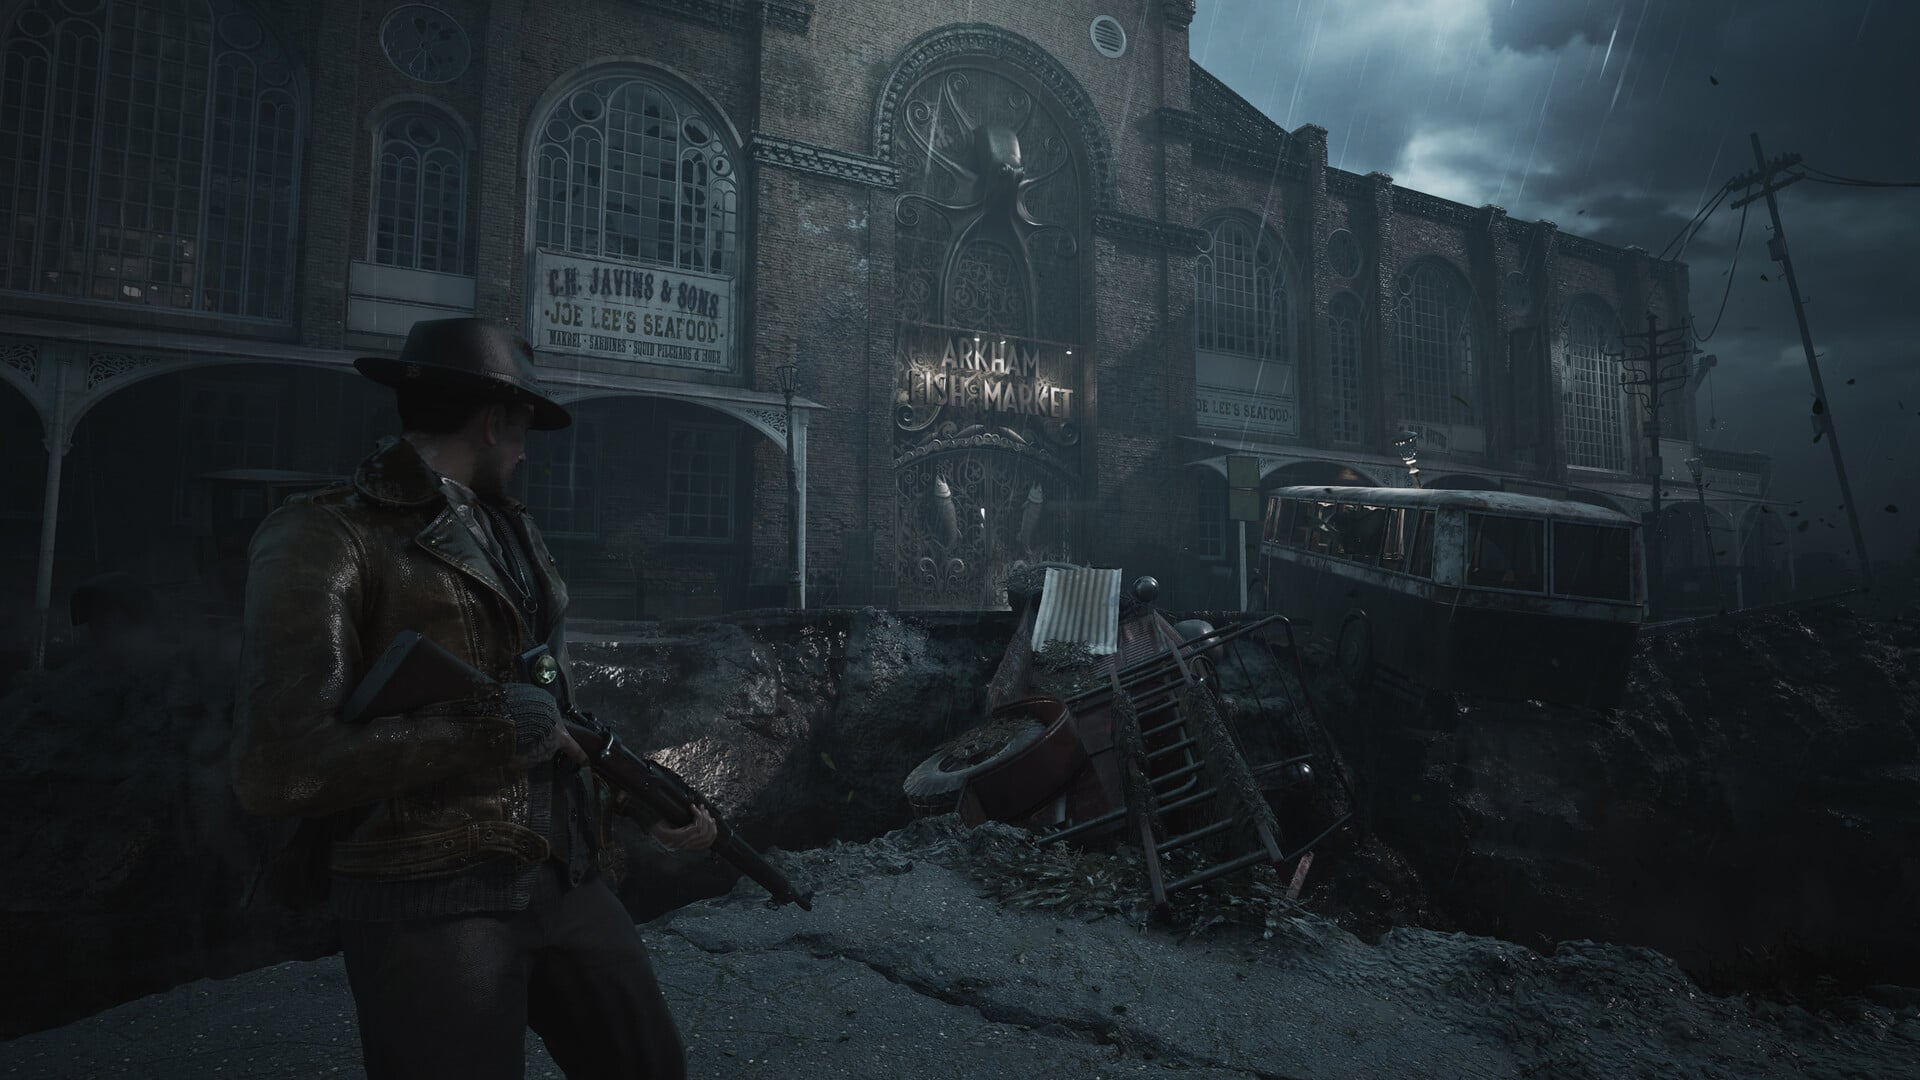
The Sinking City 2 enemy reference covers Deep One, Grindmaw, Acheronian, Lethian, Shadow, Slither, Stygian, Mi Go Teacher, Sea Tentacle, Shoggoth Humanoid 02, Shoggoth, Slither Boss, Smasher, Starfish, and Whale, with the core survival rule being to hit exposed weak points, conserve ammo, and avoid fights that do not open progress.
Arkham’s threats demand different levels of aggression, but the reliable rhythm is to create space, read the opening, and decide whether a stagger is enough. Major encounters require a larger reserve of ammunition and healing than ordinary exploration fights.
Quick answer for The Sinking City 2 enemies
Spend ammunition when a monster controls an objective, required doorway, or valuable supply route. If a weak-point hit stuns or topples it, use that pause to pass safely instead of assuming every encounter must end with a kill.
Against ordinary monsters, keep room to reposition and wait for a visible opening. Before boss-style encounters, restore your health, load your weapons, and gather accessible supplies.
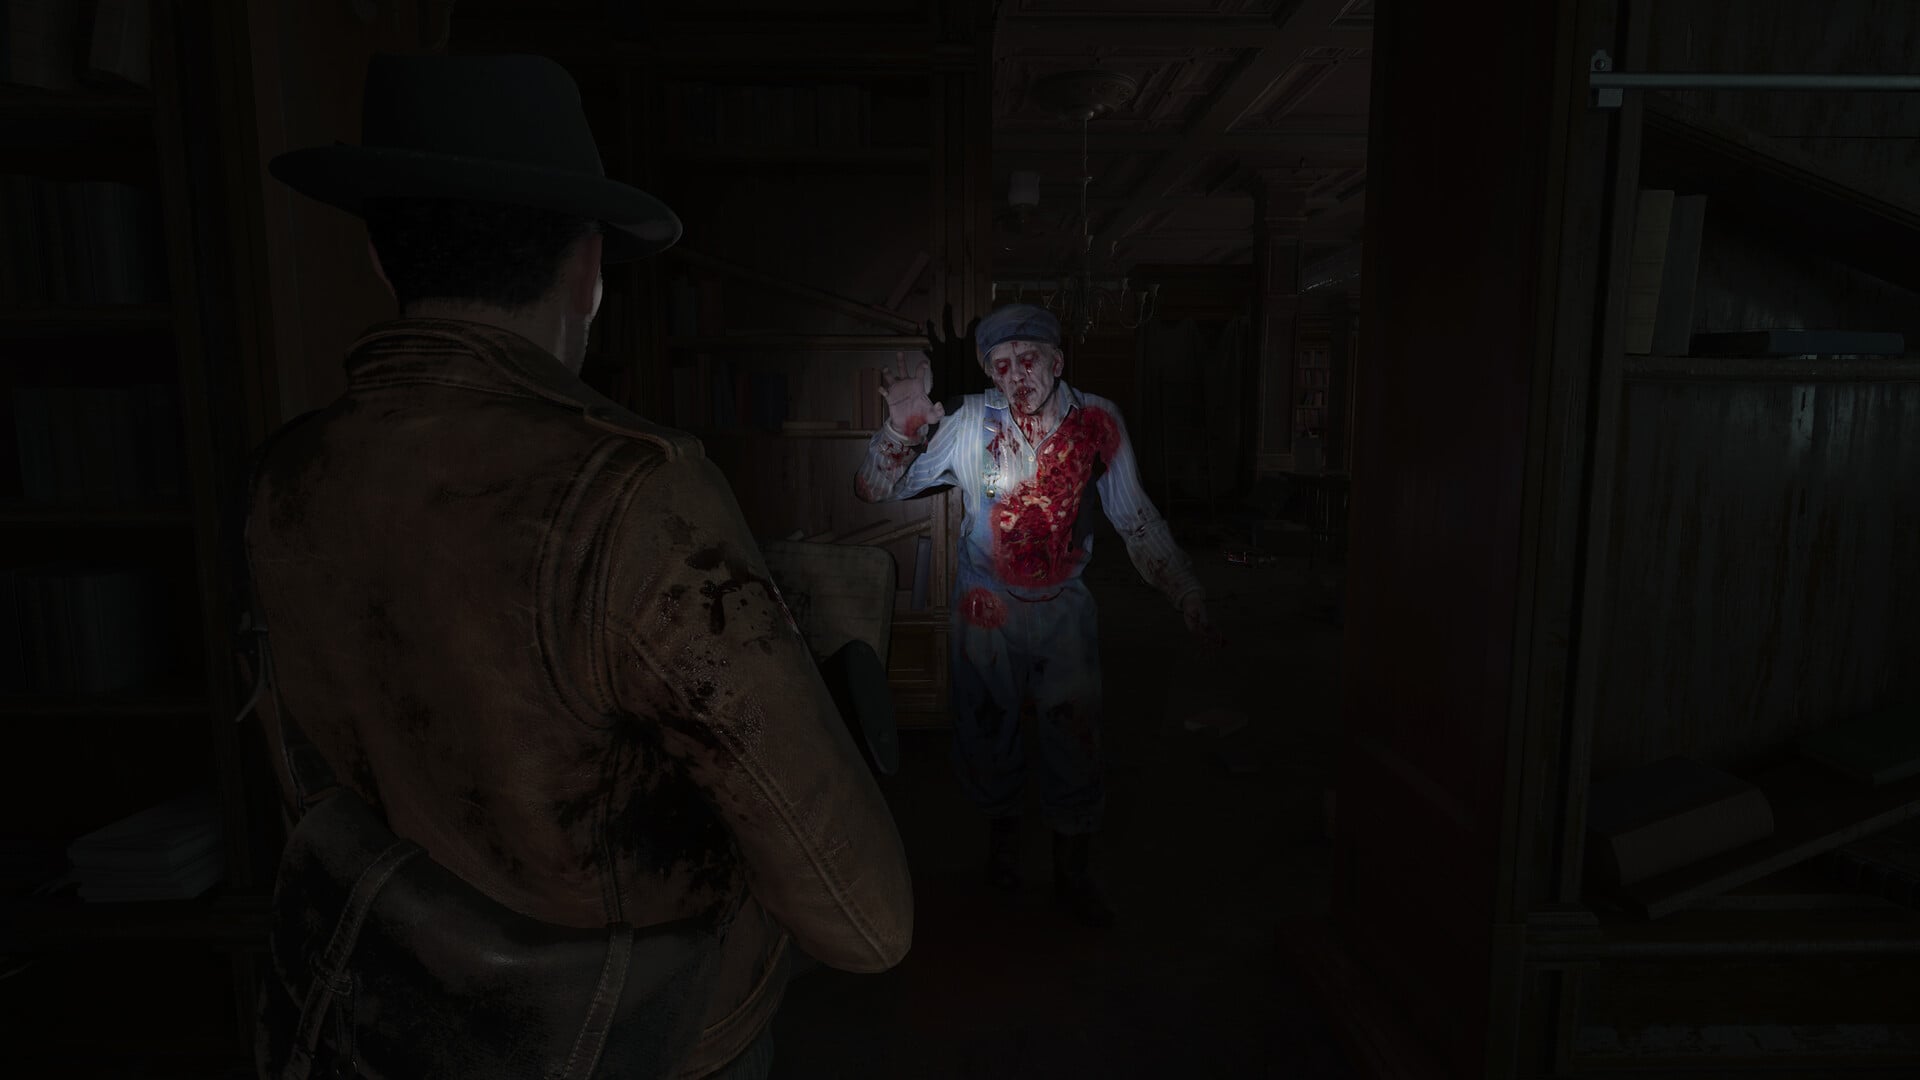
At a glance comparison of enemies and weak points
| Enemy | Best response | Weak point or opening |
|---|---|---|
| Deep One | Create space and focus on one target | Take clean shots at exposed targets |
| Grindmaw | Avoid it if the route remains open | Wait for a visible opening |
| Acheronian | Fight from range | Grenades and machine-gun fire; no confirmed slime-ball weak point |
| Lethian | Bait the spit wind-up | Tender maw while preparing to spit |
| Shadow | Avoid it or force a retreat | Enough damage causes a temporary retreat |
| Slither | Shoot the knee to topple it | Knee, breakable armor, and stronger rear weak points |
| Stygian | Stomp it when safe | Recovery after a failed jump |
| Mi Go Teacher | Keep your distance and assess | Fire only at a clearly exposed target |
| Sea Tentacle | Reposition or bypass it | Commit only during a clear opening |
| Shoggoth Humanoid 02 | Conserve ammunition until necessary | Use a visible exposed target |
| Shoggoth | Complete the arena mechanic | Eyes revealed by three arena devices |
| Slither Boss | Prepare and focus fire | Head |
| Smasher | Avoid an optional exchange | Wait for a clean opening |
| Starfish | Create space or bypass it | Use a visible weak-point window |
| Whale | Prepare or disengage | Hold fire without a clear target |
An exposed hit zone is often a control opportunity, not an invitation to empty a weapon. Once the creature staggers, reassess whether finishing it offers more value than taking the newly opened route.
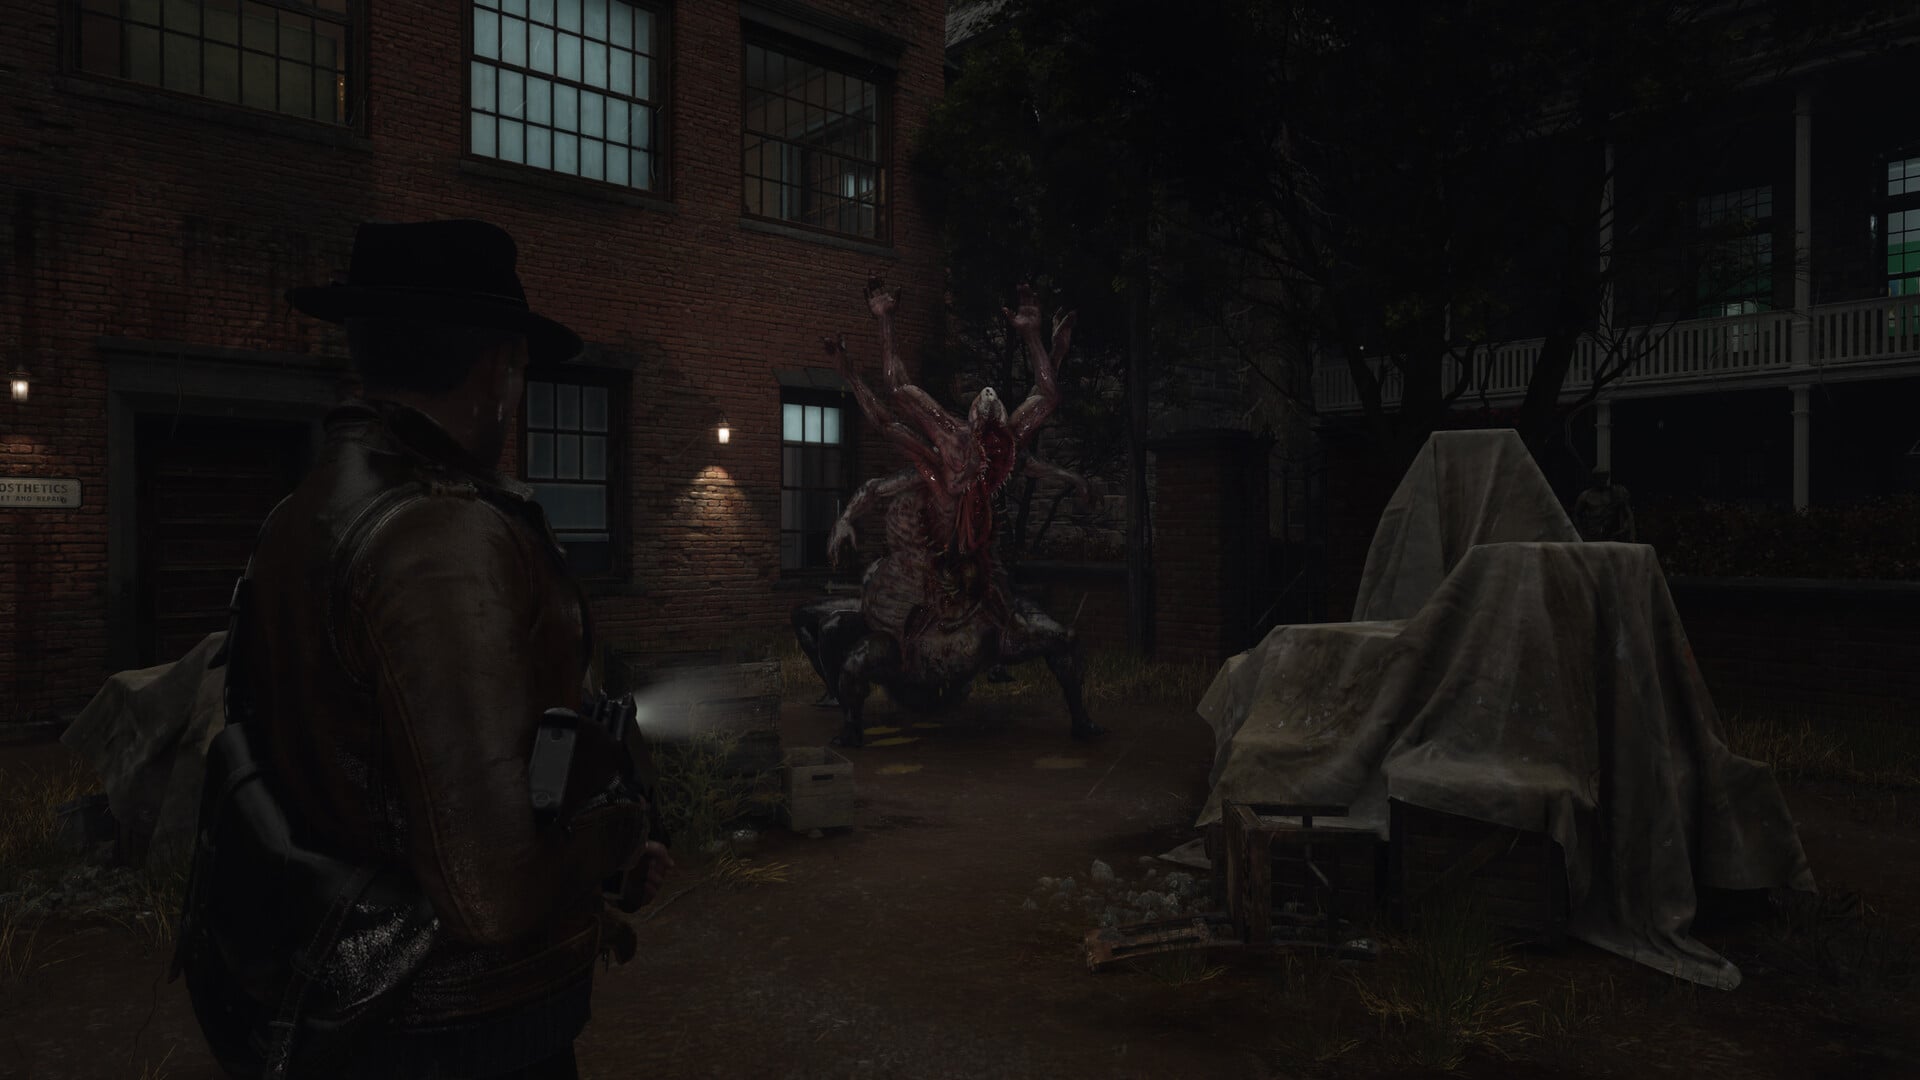
How to use this list during an encounter
Treat combat as a trade between route value and resource cost. Ammunition and healing are worth spending when an enemy prevents progress, but an optional room rarely deserves the same commitment.
Movement is part of that calculation. Keeping enough room to reposition makes weak-point shots easier and prevents a missed attempt from becoming additional healing expenditure.
| Situation | Decision |
|---|---|
| An enemy blocks the objective | Create movement space, identify its opening, and spend enough ammunition to secure the route. |
| A weak-point hit creates a stun | Move past the target unless finishing it protects something valuable. |
| A Shadow keeps draining resources | Force a temporary retreat only when necessary, then leave or finish the nearby objective. |
| A small Stygian is safely within reach | Stomp it and preserve ammunition for larger threats. |
| A wounded monster retreats into an unexplored room | Do not chase blindly; another threat may join the encounter. |
| A major encounter is ahead | Load weapons, restore health, and gather accessible supplies before committing. |
Break contact when an encounter keeps consuming supplies without opening progress. You can return if the route later becomes necessary.
Before a major encounter, search every accessible nearby space for ammunition and healing, then enter with loaded weapons and room to move.
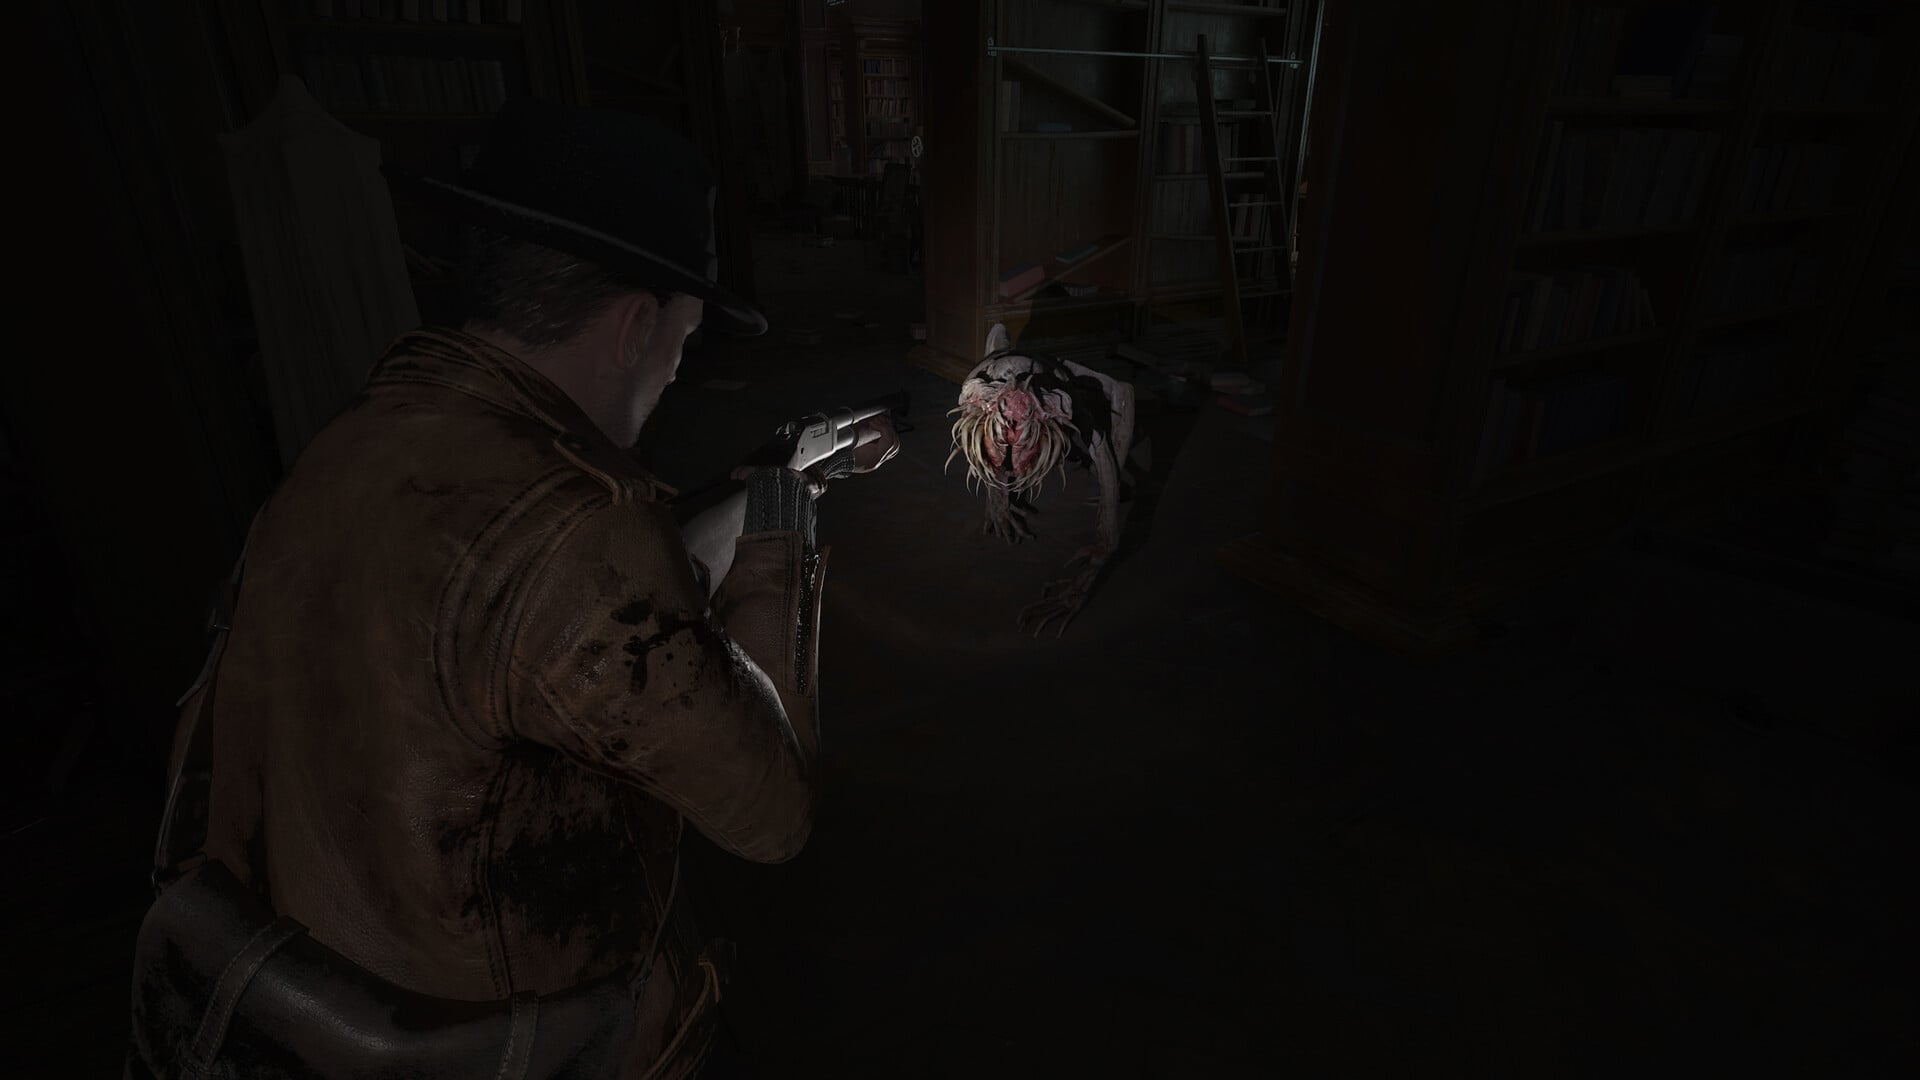
Complete reference for every named enemy
Deep One
Keep enough room to reposition and concentrate your attacks on one Deep One at a time. Stronger firearms are most valuable when the creature controls an objective or supply route; otherwise, preserve those rounds and move around the encounter.
Grindmaw
Hold the Grindmaw at a manageable distance and wait for a clearly exposed opening before firing. If it is not guarding progress, break contact rather than testing its body with expensive speculative shots.
Acheronian
Use grenades and machine-gun fire to damage the Acheronian from range. The slime ball held in its arms is not a confirmed weak point, so do not rely on shooting it to harm the creature.
Lethian
A Lethian exposes its tender maw while preparing to spit. Stay mobile until the wind-up begins, line up the mouth, and fire during that brief exposure rather than trading shots while the target is closed.
Shadow
Dealing enough damage makes the Shadow retreat temporarily, but forcing that retreat can consume considerable resources. Use the resulting absence to escape or finish the nearby objective rather than treating it as a permanent kill.
Slither
A bullet to the knee topples a Slither, giving you time to finish it or flee. Some Slithers cover their weak points with armor that breaks with a bullet, while stronger forms can carry weak points on their back; reposition instead of continuing to fire into protected flesh.
Stygian
Stomp skittering Stygians when you can approach safely and save your ammunition for larger threats. A Stygian needs a moment to recover after a failed jump attack, creating the cleanest window to close in or escape.
Mi Go Teacher
Keep your distance from the Mi Go Teacher and hold fire until a clear target or attack opening appears. If the creature is not controlling your path, movement is more economical than trying to discover a fixed hit zone through repeated shots.
Sea Tentacle
Reposition until the Sea Tentacle presents a clean attack window or leaves enough space to pass. Avoid pouring ammunition into its main mass without a visible target, especially when the route around it remains usable.
Shoggoth Humanoid 02
Create space around Shoggoth Humanoid 02, wait for an exposed target, and exploit any stagger. Reserve sustained fire for an encounter that directly blocks the route.
Shoggoth
During the major Shoggoth encounter, activate all three strange devices in the arena to make the creature reveal its eyes, then shoot those eyes. Filling the creature with ammunition before completing the device sequence will not replace the encounter mechanic.
Slither Boss
The Slither Boss does not require the Shoggoth’s device sequence. Its weak point is the head, so maintain enough space to aim and concentrate your available firepower there.
Smasher
Give the Smasher room and fire only when you have a clean exposed target. If the exchange starts consuming supplies without opening the route, disengage before it becomes an ammunition drain.
Starfish
Create distance from the Starfish and look for a visible weak-point window before committing rounds. Bypass it when the surrounding space allows, preserving ammunition for enemies tied directly to progress.
Whale
Begin the Whale encounter with distance and observation rather than immediate sustained fire. Shoot only when an exposed target becomes clear, and leave an optional encounter if it consumes reserves without producing progress.
Enemy handling priorities by situation
| Priority | Use it when |
|---|---|
| Fight | A creature blocks an objective, required route, or mandatory encounter. |
| Stun | An attack wind-up or exposed hit zone offers enough time to pass safely. |
| Avoid | Ammunition is low, the route is open, or the exchange is draining supplies. |
| Stomp | A small skittering threat is within safe melee range and no larger enemy can punish the approach. |
| Prepare | An armored opening, ranged threat, or boss arena requires careful timing and a larger reserve. |
Change priorities as soon as the room changes. A creature worth avoiding in an open corridor can become worth stunning when it corners you, while a successful stagger can turn a planned fight into a clean escape.
Frequently Asked Questions
Should every monster be killed?
When killing a monster is worthwhile
No. Monsters generally provide nothing for defeating them, so bypass optional encounters when possible and save your resources for mandatory fights.
Do weak points have numeric damage multipliers?
How to judge weak-point damage
No universal multiplier, exact HP table, or detailed hitbox chart is available. Judge a weak point by the stagger, topple, retreat, or damage opening it produces.
Is this the final official in-game enemy codex?
What this named roster represents
No. It is a combat reference for the named roster, not a final official codex or proof that every entry is reachable through every release path.
What should I do when a weak point is armored or hidden?
Opening protected weak points
Strip breakable protection with a controlled shot, then target what it reveals. If an attack animation exposes the weak point, stay mobile and hold fire until that animation begins.






Leave a Reply