
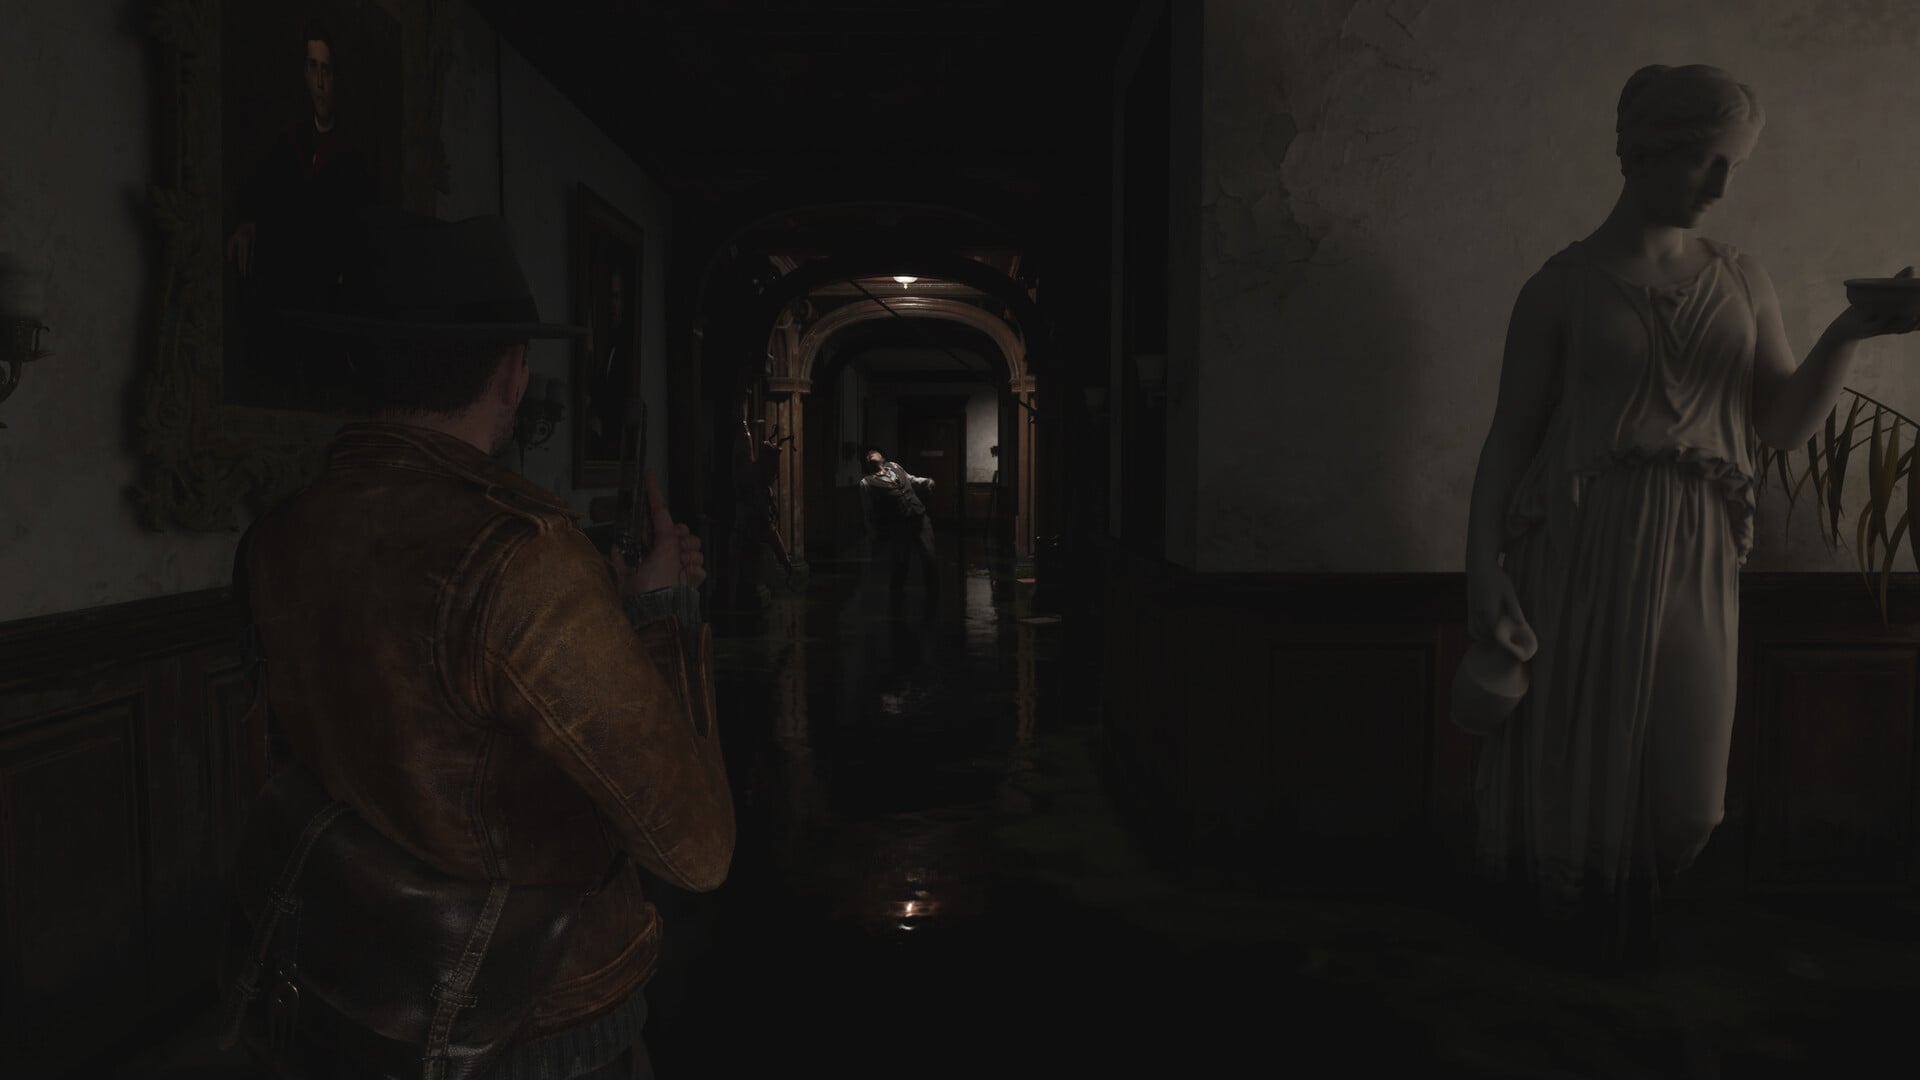
The Sinking City 2 location list is best used as a spoiler-aware Arkham reference covering major hubs, interior maps, safe rooms, piers, boats, traversal routes, and named rooms rather than a linear walkthrough.
Arkham mixes district-scale hubs with multi-floor interiors and water links, so broad place names and local floor labels solve different routing problems. The groups below keep those layers separate while staying light on story details.
Quick answer
This is a location, map, and named-area index, not a door-by-door collectible route or a fixed count of final gameplay content. Match each entry against the labels available on your in-game map during the current chapter.
At a glance comparison
| Area | What to check |
|---|---|
| Arkham Machinery | Safe rooms and traversal routes |
| Church | Safe rooms, traversal routes, Chapel, and Graveyard |
| Devils Reef | Piers, boats, safe rooms, traversal routes, and the hotel |
| Devil’s Reef Hotel | Hotel rooms and the basement Generator Room |
| Ezra Manor | Safe rooms and traversal routes |
| Holloway Manor | Named manor location |
| Fish Market | Floor maps, safe rooms, piers, boats, and traversal routes |
| Hospital | Floor layouts, safe rooms, piers, boats, and traversal routes |
| Akeley Memorial Hospital | Treatment Room, Chapel, Basement, and floor maps |
| Necropolis | Safe rooms, piers, boats, and traversal routes |
| Ship | Safe rooms, piers, boats, and traversal routes |
| R.M.S. Phorcys | Named ship location and Expedition Map |
| Smugglers Hideout | Piers and boats |
| Street Dungeon | Safe rooms, piers, boats, and traversal routes |
| University Annex | Safe rooms, piers, boats, and connected interiors |
| Library Annex | Interior map and named rooms |
Major areas, individual buildings, and floor maps operate at different scales. Use the area name for broad routing, then switch to room and floor labels when checking whether an interior branch remains unexplored.
How to use this list
Collect each available local map first, then sweep the interior floor by floor. Check side rooms while their connecting stairs, doors, and shortcuts are fresh in your mind, especially before advancing the chapter objective.
Use safe rooms as reset points for another search pass. Track piers and boats separately from interior paths, since water links and traversal routes can connect parts of Arkham that do not appear to meet inside a building.
| Goal | Best focus |
|---|---|
| Story progress | Follow the active objective after checking nearby maps and side rooms |
| Collectible cleanup | Sweep one named floor at a time and inspect uncleared rooms |
| Safe-room access | Find the local safe room before starting a longer interior route |
| Route planning | Pair piers and boats with routes returning to streets or adjoining interiors |
Pair every new interior map with an immediate floor sweep. Missing rooms are much easier to spot while the surrounding layout is still fresh.
Complete reference
Entries beginning with “All” are category checklists for their named areas, not numerical totals. Open the relevant group upon entering an area and compare its rows with the labels and icons available during that visit.
Arkham Machinery
| Entry | Type |
|---|---|
| All safe rooms in Arkham Machinery | Safe rooms |
| All traversal routes in Arkham Machinery | Traversal routes |
Church
| Entry | Type |
|---|---|
| All safe rooms in Church | Safe rooms |
| All traversal routes in Church | Traversal routes |
| Chapel | Named interior |
| Graveyard | Named exterior |
Devils Reef
| Entry | Type |
|---|---|
| All piers and boats in Devils Reef | Piers and boats |
| All safe rooms in Devils Reef | Safe rooms |
| All traversal routes in Devils Reef | Traversal routes |
| Devil’s Reef Hotel | Named landmark |
| Room 202 | Hotel room |
| Room 204 | Hotel room |
| Room 215 | Hotel room |
| Room 303 | Hotel room |
| Generator Room | Basement room |
Ezra Manor
| Entry | Type |
|---|---|
| All safe rooms in Ezra Manor | Safe rooms |
| All traversal routes in Ezra Manor | Traversal routes |
Fish Market
| Entry | Type |
|---|---|
| All piers and boats in Fish Market | Piers and boats |
| All safe rooms in Fish Market | Safe rooms |
| All traversal routes in Fish Market | Traversal routes |
| Arkham Fish Market – 1st Floor | Map pickup |
| Arkham Fish Market – 2nd Floor | Map pickup |
| Arkham Fish Market – Basement | Map pickup |
Hospital and Akeley Memorial Hospital
| Entry | Type |
|---|---|
| All piers and boats in Hospital | Piers and boats |
| All safe rooms in Hospital | Safe rooms |
| All traversal routes in Hospital | Traversal routes |
| Akeley Memorial Hospital | Named landmark |
| First Floor | Map pickup |
| Second Floor | Map pickup |
| Basement | Map pickup and named sub-area |
| Treatment Room | Named hospital room |
| Chapel | Named hospital room |
Necropolis
| Entry | Type |
|---|---|
| All piers and boats in Necropolis | Piers and boats |
| All safe rooms in Necropolis | Safe rooms |
| All traversal routes in Necropolis | Traversal routes |
Ship and expedition spaces
| Entry | Type |
|---|---|
| All piers and boats in Ship | Piers and boats |
| All safe rooms in Ship | Safe rooms |
| All traversal routes in Ship | Traversal routes |
| R.M.S. Phorcys | Named ship |
| Expedition Map | Map pickup |
Smugglers Hideout
| Entry | Type |
|---|---|
| All piers and boats in Smugglers Hideout | Piers and boats |
Street Dungeon
| Entry | Type |
|---|---|
| All piers and boats in Street Dungeon | Piers and boats |
| All safe rooms in Street Dungeon | Safe rooms |
| All traversal routes in Street Dungeon | Traversal routes |
University Annex and Library Annex
| Entry | Type |
|---|---|
| All piers and boats in University Annex | Piers and boats |
| All safe rooms in University Annex | Safe rooms |
| Library Annex | Map pickup and named interior |
| Annex Registry | Named room |
| Corridor | Named interior space |
| Conference Room | Named room |
| Reading Hall | Named room |
Residential and manor interiors
| Entry | Type |
|---|---|
| Residential Map, Floor 1–2 | Map pickup |
| Bathroom | Named room |
| Bedroom | Named room |
| Holloway Manor | Named manor |
How locations connect with chapter progression
The Sinking City 2 takes place in flooded 1920s Arkham, where semi-open districts feed into multi-floor buildings, underground spaces, and routes across the water. Story transitions and rising floodwaters can change how these spaces connect.
Finish the optional rooms you care about before completing a major objective, and treat the map in your current story state as the authority on available shortcuts and return routes.
Named map pickups and floor layouts
| Map | Area |
|---|---|
| Residential Map, Floor 1–2 | Residential building |
| Library Annex | University Annex |
| Expedition Map | Ship and expedition sequence |
| Arkham Fish Market – 1st Floor | Fish Market |
| Arkham Fish Market – 2nd Floor | Fish Market |
| Arkham Fish Market – Basement | Fish Market |
| First Floor | Hospital interior |
| Second Floor | Hospital interior |
| Basement | Hospital interior |
Map pickups provide local floor layouts rather than replacing the wider Arkham map. Match their exact titles to the current interior, particularly where several levels share stairs, shortcuts, or similarly named rooms.
Frequently Asked Questions
Can locations become inaccessible after story progression?
Yes. Earlier spaces can close after a chapter advances, and there is no chapter select for revisiting them. Clear the side rooms and pickups you want before triggering the chapter’s final transition.
Is this a collectible route or only a location index?
It is a location index. For a precise pickup order, pair it with a chapter-specific route covering documents, evidence, ERC Crates, Pens, weapon attachments, Tales of Arkham radios, and Ex Oblivione Documents.
Which location types should I check before leaving an area?
Check safe rooms, piers and boats, and any remaining traversal routes. Collectible icons turn blue after collection, so unresolved markers also reveal where another sweep is needed.
Should I trust demo-era puzzle codes in the current game?
No. The 4-7-2 Saint Mary’s Hospital combination and the 9-3-6 Fish Market combination came from the demo and should not be used as current puzzle guidance.






Leave a Reply