
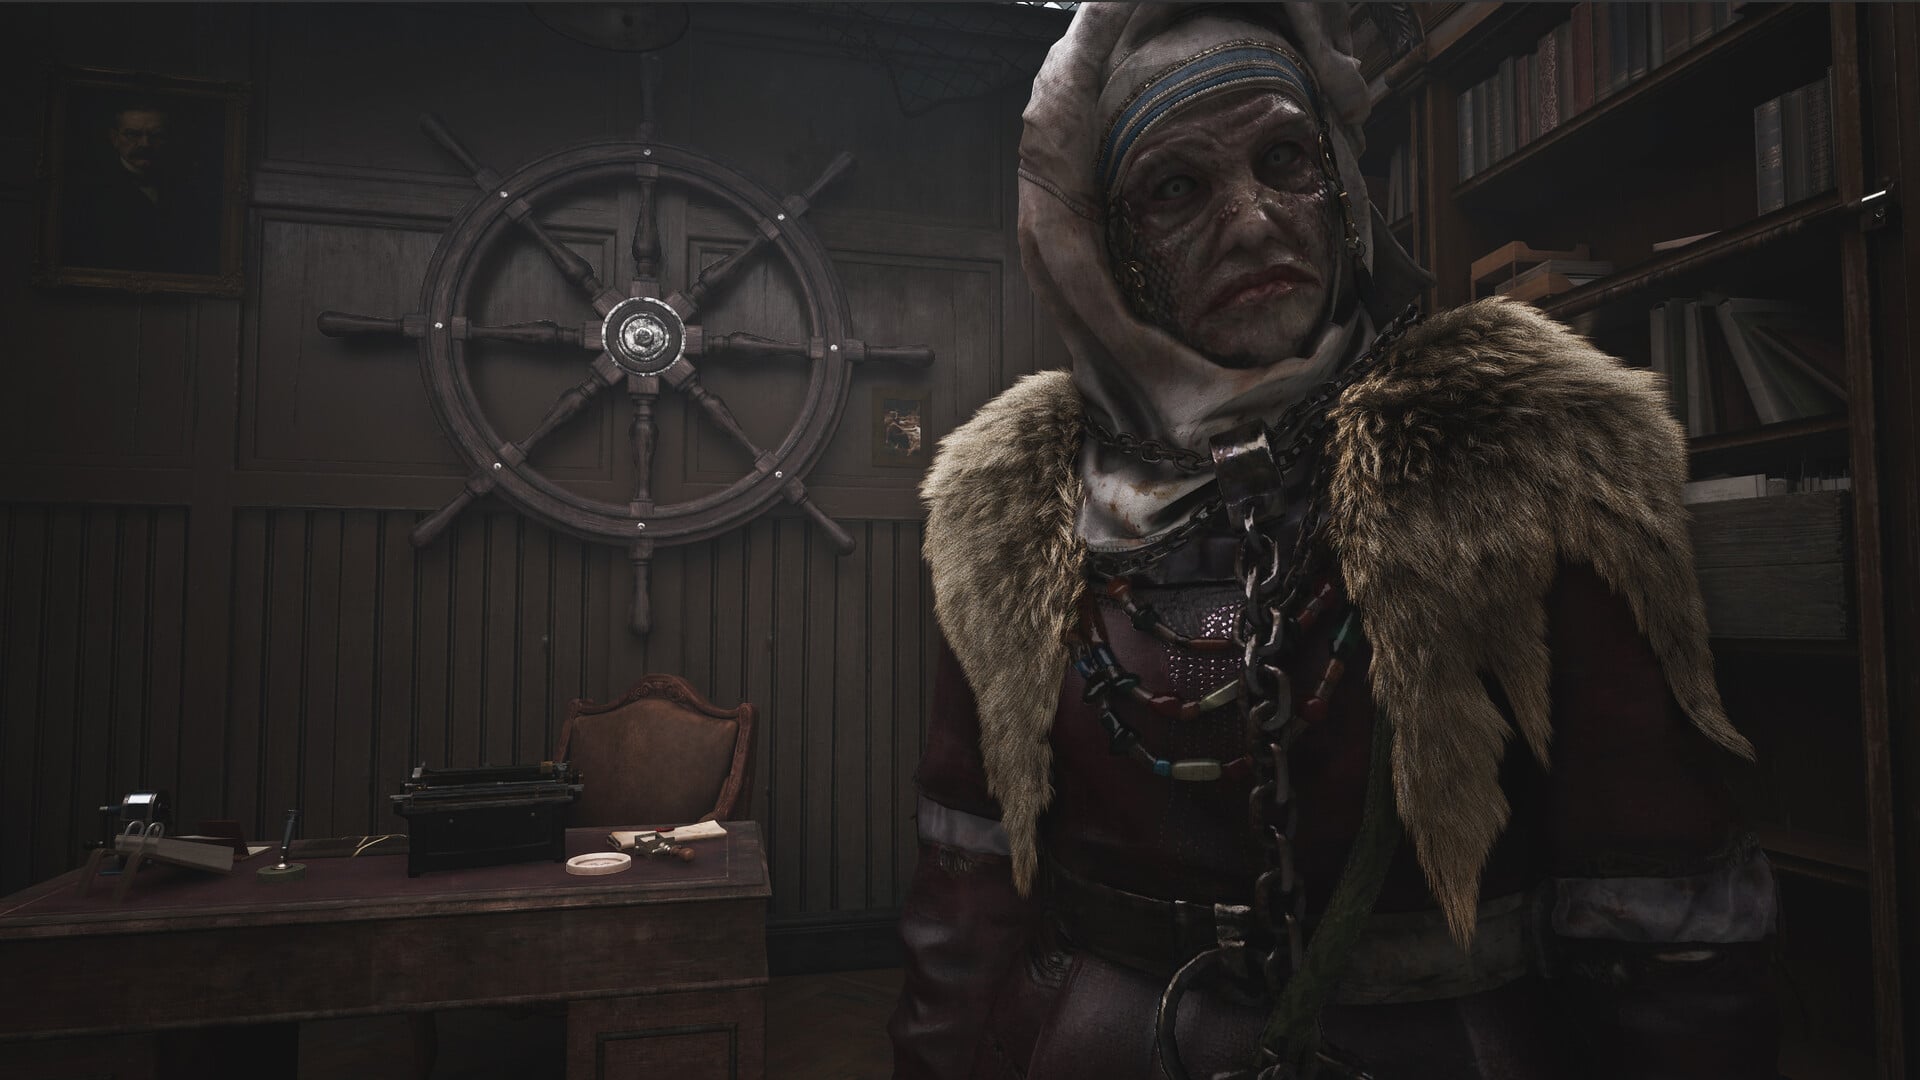
The Sinking City 2 main-objective index is a spoiler-light lookup reference for matching visible objectives, rooms, route beats, puzzle items, posters, and notes to their case chapter, not a fixed count of released, reachable, or required gameplay content.
The reference groups entries under five known main case chapters: A New Day, The Wake-Up Call, A Sight For Sore Eyes, Time And Tide, and Cold Comfort; it separately includes The Holloway Manor as optional content. Its player-facing labels range from numbered rooms and short location names to full objective prompts and environmental text.
Quick answer
Open the disclosure for your active case chapter, then search for the exact tracker, room, item, poster, or note wording visible in your game. A matching row identifies the relevant case group, but it is not necessarily the next action in a fixed progression sequence.
Case chapters at a glance
| Case chapter | What to look for |
|---|---|
| A New Day | Opening apartments, household rooms, the floodgate, and the library-annex route |
| The Wake-Up Call | Hotel, church, library, printing house, crane, boat, and Lorelei objectives |
| A Sight For Sore Eyes | Hospital rooms, prosthetics areas, Prism targets, and the boat escape |
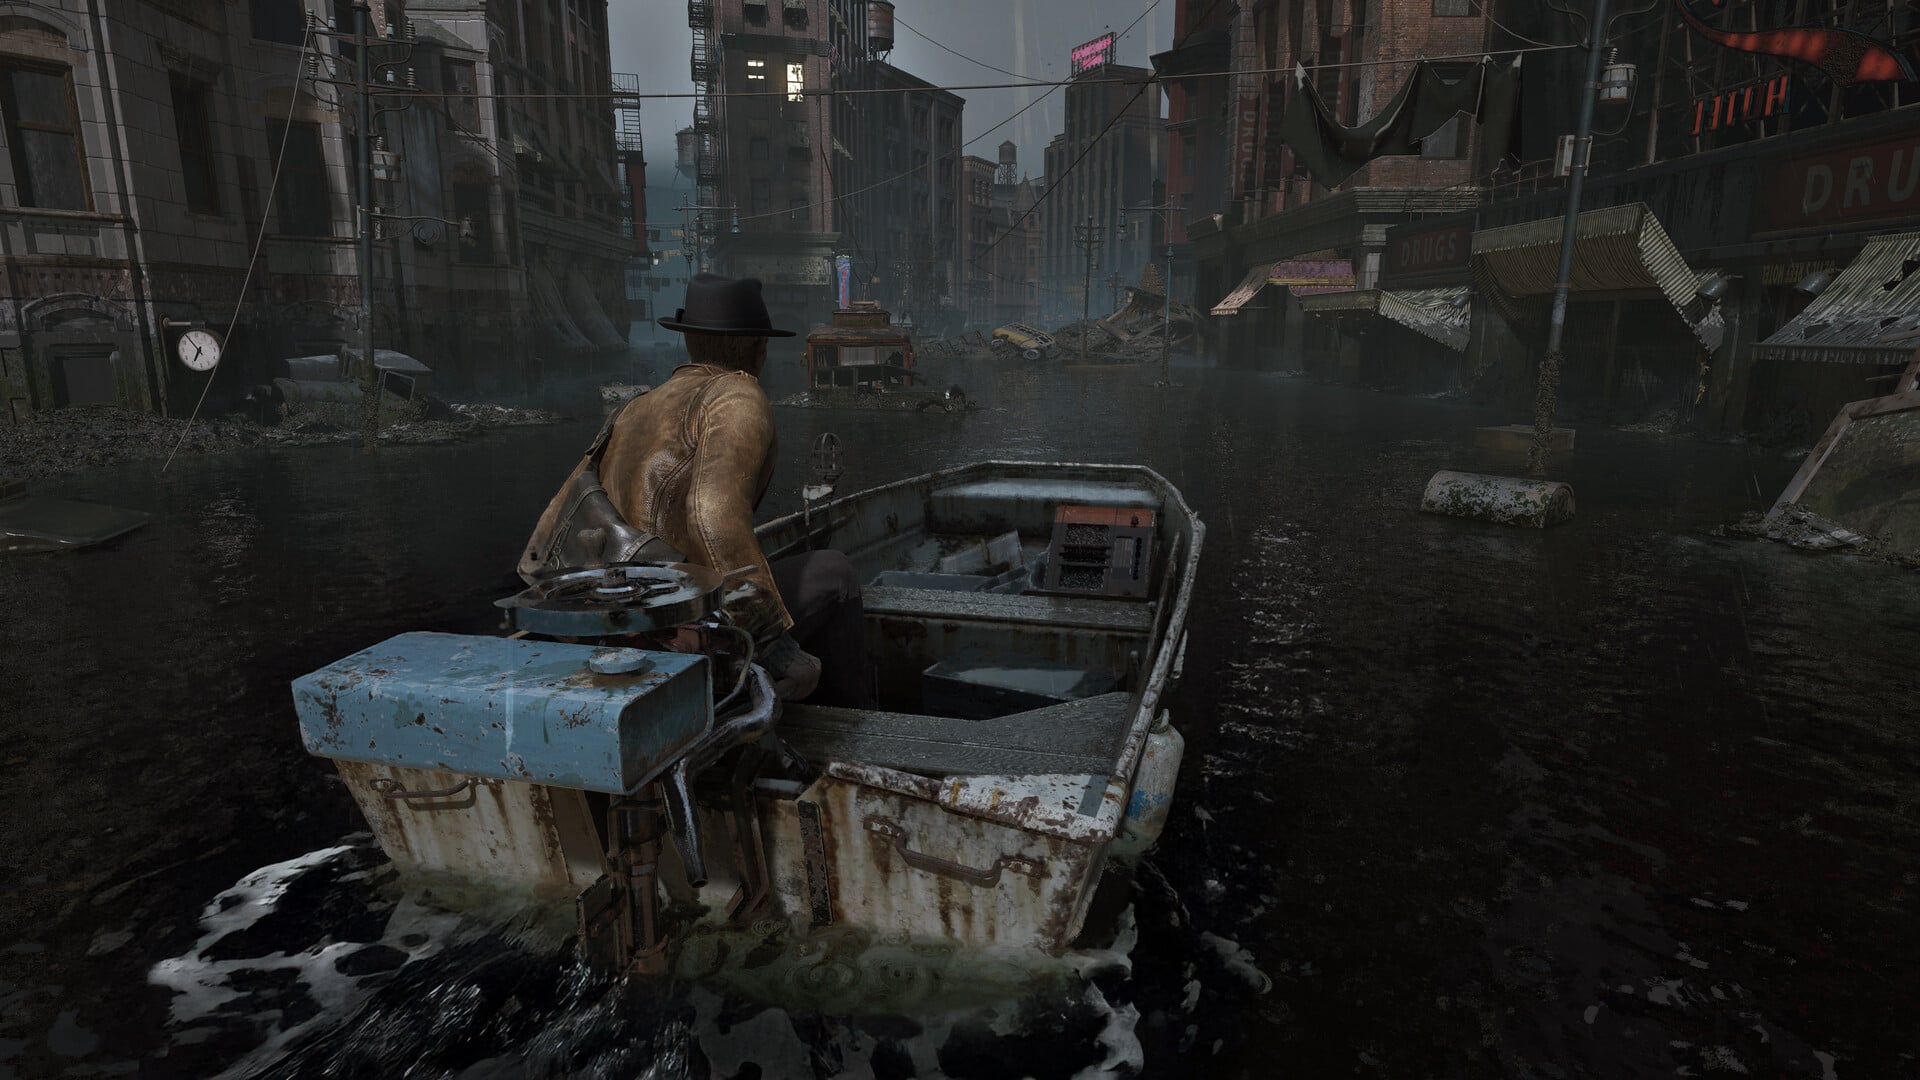
| Time And Tide | Fish market, wrecked ship, Leyden Jars, sea-creature labels, and the Antikythera |
| Cold Comfort | Expedition areas, the temple and portal, Faye objectives, and Slither Prime |
| The Holloway Manor | Optional manor rooms, a secret passage, heirlooms, museum trips, and the curse |
These broad themes distinguish the major groups without revealing puzzle solutions, codes, route order, rewards, or endings. Keep later chapter disclosures closed to avoid learning upcoming destinations and objectives.
How to use this list
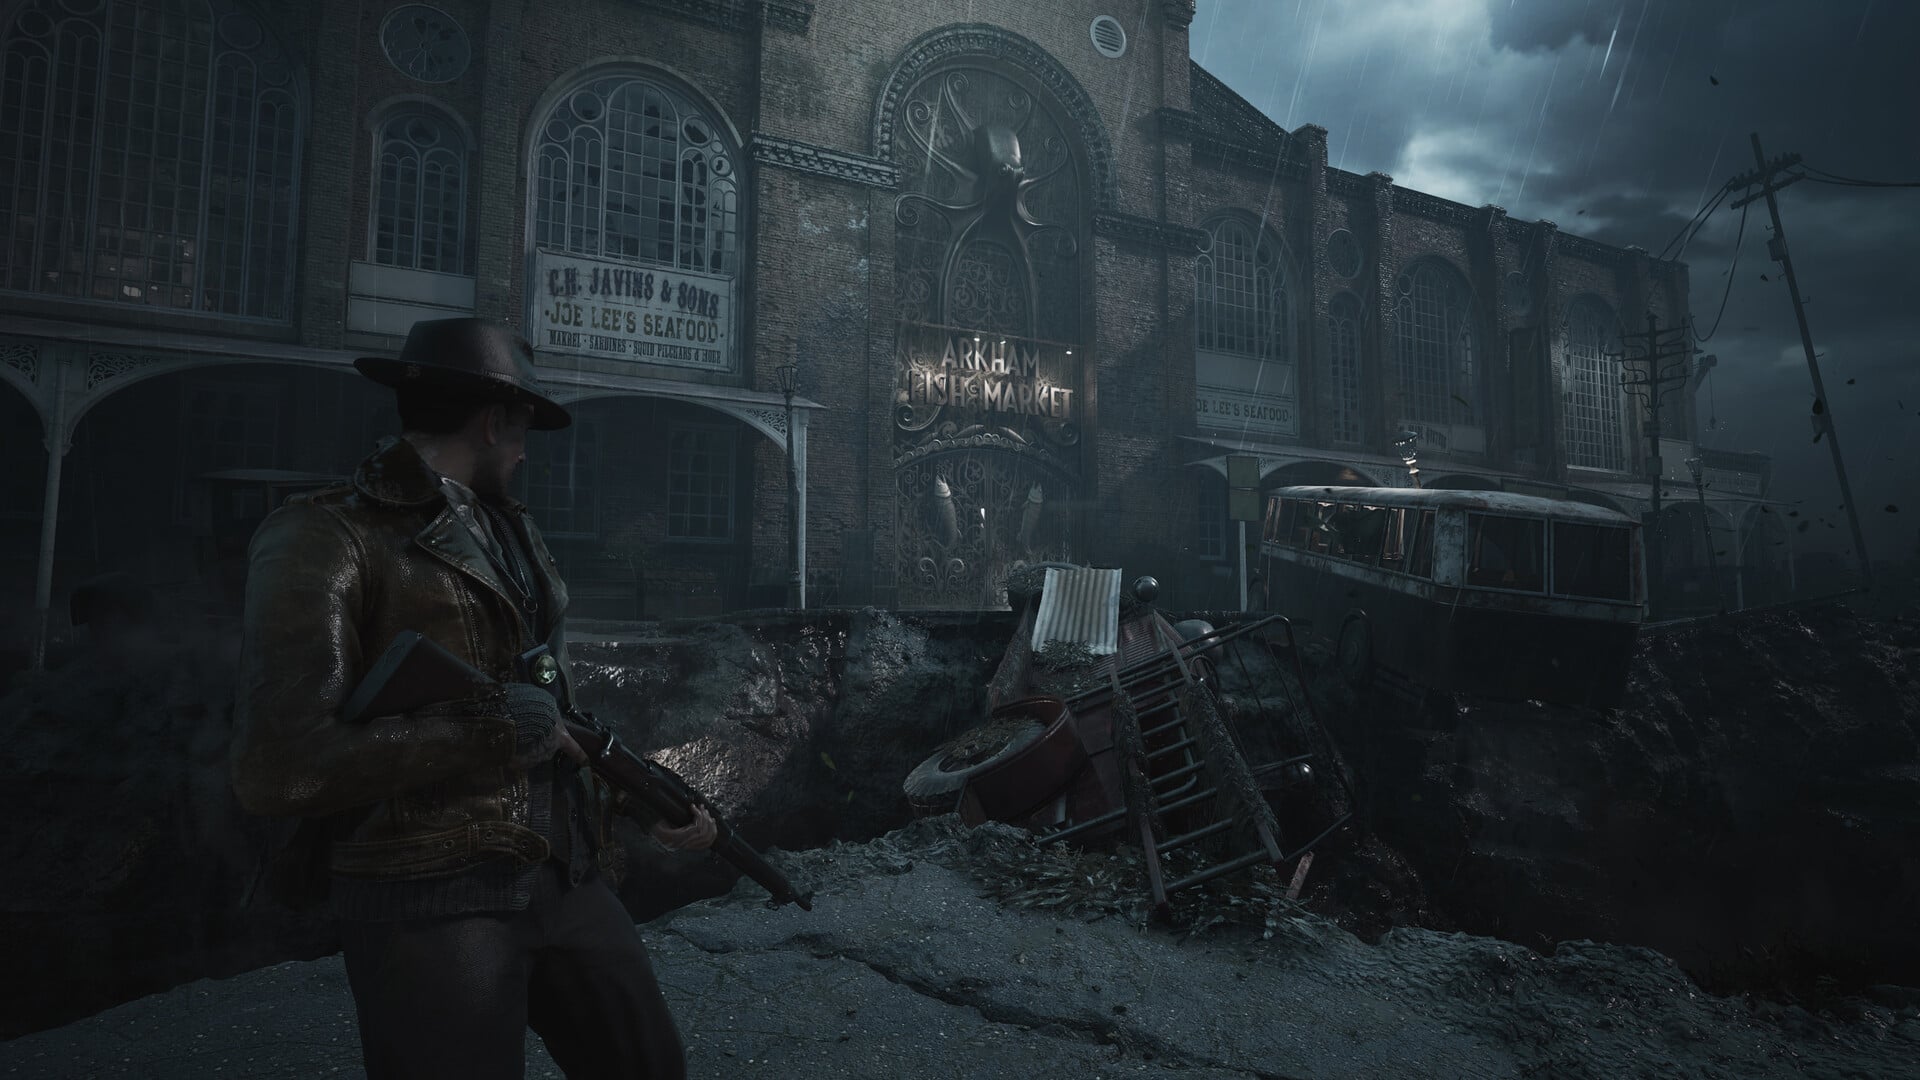
Begin with the active case chapter and match the most specific wording available. An action such as Activate the Portal is easy to isolate, while broad labels such as Kitchen or Storage need the chapter name and nearby rooms for context.
When backtracking, search for a numbered room, named office, puzzle item, or long note before relying on a generic location. If the tracker text is absent or worded differently, use the nearest room or associated item to find the appropriate group.
| Repeated entry | Case chapter to check |
|---|---|
| Crypt | Cold Comfort or The Wake-Up Call |
| Gallery | Cold Comfort or The Wake-Up Call |
| Kitchen | A New Day, The Holloway Manor, or The Wake-Up Call |
| Living Room | A New Day, The Holloway Manor, or The Wake-Up Call |
| Locker Room | A Sight For Sore Eyes or Time And Tide |
| Staff Room | A Sight For Sore Eyes or The Wake-Up Call |
| Storage | A Sight For Sore Eyes or The Wake-Up Call |
| Guard Post | A New Day or Time And Tide |
| Director’s Office / Director’s Office | The Wake-Up Call or Time And Tide |
| Find Faye’s Body | A Sight For Sore Eyes, Time And Tide, or Cold Comfort |
If you remember a destination or puzzle item rather than the case title, use this route finder before opening the longer tables.
| If you are looking for | Check |
|---|---|
| Apartments, the floodgate, or the library annex | A New Day |
| The hotel, library, printing house, crane, or Lorelei | The Wake-Up Call |
| The hospital, prosthetics areas, Prism, or boat escape | A Sight For Sore Eyes |
| The fish market, Leyden Jars, wrecked ship, or Antikythera | Time And Tide |
| The expedition, portal, Faye, or Slither Prime | Cold Comfort |
| The mansion, museum, heirlooms, or Ezra | The Holloway Manor |
Use your browser’s Find command with the full objective phrase instead of searching for a broad word such as “Room” or “Storage.”

Complete reference by case chapter
A New Day objectives and locations
| Entry | Case chapter |
|---|---|
| Apt. 1 | A New Day |
| Apt. 2 | A New Day |
| Apt. 5 | A New Day |
| Apt. 6 | A New Day |
| Arkham Music Festival – 1929 CANCELED DUE TO FLOOD | A New Day |
| Bedroom for sublet. Ask for Lavinia Whateley. | A New Day |
| Best Prices — Since 1908! | A New Day |
| Bid farewell | A New Day |
| Dining | A New Day |
| Feed tonic | A New Day |
| Fix the gate mechanism | A New Day |
| Foyer | A New Day |
| Give eye drops | A New Day |
| Guard Post | A New Day |
| Kitchen | A New Day |
| Last night’s walk. Wish you were here. | A New Day |
| Living Room | A New Day |
| No Trespassing | A New Day |
| Open the floodgate | A New Day |
| Opulent Building | A New Day |
| Radio Shop | A New Day |
| Reach the Miskatonic Library Annex | A New Day |
| Remove mask | A New Day |
| They Laugh at Short Circuits Arkham Electrician Renewable Fuses | A New Day |
| W. Gilman, Calvin Rafferty, Faye A. Bennett, J. H. Armitage, F. C. Ashley, Dr. F. Morgan. March 1926 | A New Day |
| Wash face | A New Day |
| Wear layers. The water chills you to the bone. | A New Day |
| Workroom | A New Day |
The Wake-Up Call objectives and locations
| Entry | Case chapter |
|---|---|
| 201 | The Wake-Up Call |
| 202 | The Wake-Up Call |
| 203 | The Wake-Up Call |
| 204 | The Wake-Up Call |
| 301 | The Wake-Up Call |
| 303 | The Wake-Up Call |
| 304 | The Wake-Up Call |
| Apparatus Bay | The Wake-Up Call |
| Archive | The Wake-Up Call |
| Bar | The Wake-Up Call |
| Book Depository | The Wake-Up Call |
| Bring Lorelei to Corentin | The Wake-Up Call |
| Cabaret Floor | The Wake-Up Call |
| Classroom | The Wake-Up Call |
| Conference Room | The Wake-Up Call |
| Corridor | The Wake-Up Call |
| Crypt | The Wake-Up Call |
| Day Room | The Wake-Up Call |
| Director’s Office | The Wake-Up Call |
| Empty House | The Wake-Up Call |
| External Storage | The Wake-Up Call |
| Find a crane gear | The Wake-Up Call |
| Find gasoline | The Wake-Up Call |
| Find the Ritual Book in the Annex | The Wake-Up Call |
| Find the Source of the Noise | The Wake-Up Call |
| Fix the crane | The Wake-Up Call |
| Gallery | The Wake-Up Call |
| Generator Room | The Wake-Up Call |
| Kitchen | The Wake-Up Call |
| Leave the Apartment with Faye | The Wake-Up Call |
| Library | The Wake-Up Call |
| Linen Storage | The Wake-Up Call |
| Linotype Room | The Wake-Up Call |
| Living Room | The Wake-Up Call |
| Lobby | The Wake-Up Call |
| Main Office | The Wake-Up Call |
| Move the Whale | The Wake-Up Call |
| Nave | The Wake-Up Call |
| Open the floodgate | The Wake-Up Call |
| Open the Lorelei Lock | The Wake-Up Call |
| Press Room | The Wake-Up Call |
| Professor’s Apartment | The Wake-Up Call |
| Reach Lorelei the Siren | The Wake-Up Call |
| Reading Hall | The Wake-Up Call |
| Registry | The Wake-Up Call |
| Restricted Section | The Wake-Up Call |
| Restroom | The Wake-Up Call |
| Return to the Boat | The Wake-Up Call |
| Saloon | The Wake-Up Call |
| Save the Woman at the Devil’s Reef Hotel | The Wake-Up Call |
| Staff Room | The Wake-Up Call |
| Stage | The Wake-Up Call |
| Storage | The Wake-Up Call |
| Study 1 | The Wake-Up Call |
| Study 2 | The Wake-Up Call |
| Transfer Lorelei to the Boat | The Wake-Up Call |
| Trap Room | The Wake-Up Call |
| Watch Room | The Wake-Up Call |
| Wine Cellar | The Wake-Up Call |
A Sight For Sore Eyes objectives and locations
| Entry | Case chapter |
|---|---|
| Access the Anatomical Theater | A Sight For Sore Eyes |
| Anatomical Theater | A Sight For Sore Eyes |
| Asylum Gates | A Sight For Sore Eyes |
| Chapel | A Sight For Sore Eyes |
| Chapel Courtyard | A Sight For Sore Eyes |
| Charge the Prism at Three Stations (Prism) | A Sight For Sore Eyes |
| Emergency Exit | A Sight For Sore Eyes |
| Escape the Anatomical Theater | A Sight For Sore Eyes |
| Examination Room | A Sight For Sore Eyes |
| Find Another Way into the Theater | A Sight For Sore Eyes |
| Find Faye’s Body | A Sight For Sore Eyes |
| Find the other half of the face | A Sight For Sore Eyes |
| Find the prosthetic workbench | A Sight For Sore Eyes |
| Founders’ Hall | A Sight For Sore Eyes |
| Gazebo | A Sight For Sore Eyes |
| General Ward | A Sight For Sore Eyes |
| Head Surgeon’s Office | A Sight For Sore Eyes |
| Inner Yard | A Sight For Sore Eyes |
| Isolation Wards | A Sight For Sore Eyes |
| Locker Room | A Sight For Sore Eyes |
| Lower Yard | A Sight For Sore Eyes |
| Maintenance Room | A Sight For Sore Eyes |
| Manipulations | A Sight For Sore Eyes |
| Medical Records | A Sight For Sore Eyes |
| Morgue | A Sight For Sore Eyes |
| Nurse Station | A Sight For Sore Eyes |
| Observation Ward | A Sight For Sore Eyes |
| Operating Room | A Sight For Sore Eyes |
| Orthotic Consulting | A Sight For Sore Eyes |
| Outpatient Room | A Sight For Sore Eyes |
| Parking | A Sight For Sore Eyes |
| Pharmacy | A Sight For Sore Eyes |
| Priest Room | A Sight For Sore Eyes |
| Prosthetics Lobby | A Sight For Sore Eyes |
| Prosthetics Workshop | A Sight For Sore Eyes |
| Reach the Boat | A Sight For Sore Eyes |
| Reach the Boat before the Slither | A Sight For Sore Eyes |
| Reassemble the Face Mask | A Sight For Sore Eyes |
| Reception | A Sight For Sore Eyes |
| Resource Stash | A Sight For Sore Eyes |
| Sacristy | A Sight For Sore Eyes |
| Staff Room | A Sight For Sore Eyes |
| Storage | A Sight For Sore Eyes |
| Survive the Onslaught | A Sight For Sore Eyes |
| Therapeutic Garden | A Sight For Sore Eyes |
| Treatment Room | A Sight For Sore Eyes |
| Upper Hall | A Sight For Sore Eyes |
| Use the Prism at the Eye (Prism) | A Sight For Sore Eyes |
| Waiting Area | A Sight For Sore Eyes |
| Wireless Room | A Sight For Sore Eyes |
Time And Tide objectives and locations
| Entry | Case chapter |
|---|---|
| Abandoned Office | Time And Tide |
| Accounting Office | Time And Tide |
| Anglerfish | Time And Tide |
| Auction Room | Time And Tide |
| Broken Hold | Time And Tide |
| Cargo Hold | Time And Tide |
| Charge the Depleted Leyden Jar (Depleted Leyden Jar; Leyden Jar) | Time And Tide |
| Coelacanth | Time And Tide |
| Cold Storage | Time And Tide |
| Come one, come all! Become An Adventurer! Join Ma’s dungeon and fight dragons! | Time And Tide |
| Construction Site | Time And Tide |
| Crew Cabin | Time And Tide |
| Cutting Area | Time And Tide |
| Director’s Office | Time And Tide |
| Dispel the magic ward | Time And Tide |
| East Gallery | Time And Tide |
| East Pier | Time And Tide |
| East Staircase | Time And Tide |
| Entrance Hall | Time And Tide |
| Explore the Wrecked Ship | Time And Tide |
| Fangtooth | Time And Tide |
| Find Faye’s Body | Time And Tide |
| Find Faye’s Body and the Eye | Time And Tide |
| Find the handwheel (Handwheel) | Time And Tide |
| Find three Leyden Jars (Leyden Jar) | Time And Tide |
| Find three Leyden Jars – 1/3 (Leyden Jar) | Time And Tide |
| Find three Leyden Jars – 2/3 (Leyden Jar) | Time And Tide |
| Find three Leyden Jars – 3/3 (Leyden Jar) | Time And Tide |
| Fishing Goods | Time And Tide |
| Fishing Shop | Time And Tide |
| Get Past the Three Starfish | Time And Tide |
| Get the Antikythera from the Workshop (Antikythera) | Time And Tide |
| Goblin Shark | Time And Tide |
| Guard Post | Time And Tide |
| Gulper Eel | Time And Tide |
| Jewelry Storage | Time And Tide |
| Jewelry Workshop | Time And Tide |
| Lanternfish | Time And Tide |
| Locker Room | Time And Tide |
| Logistics Office | Time And Tide |
| Ma Fishface’s Shop | Time And Tide |
| Market Floor | Time And Tide |
| Old Shop | Time And Tide |
| Open Cold Storage | Time And Tide |
| Orlop | Time And Tide |
| Packing Area | Time And Tide |
| Pub | Time And Tide |
| Retrieve the charged jar | Time And Tide |
| Return the Antikythera to Ma Fishface (Antikythera) | Time And Tide |
| Salt Storage | Time And Tide |
| Search 2F for Leyden Jars (Leyden Jar) | Time And Tide |
| Shipping Records | Time And Tide |
| Side Entrance | Time And Tide |
| Stop the steam leak | Time And Tide |
| The Tyde Runners | Time And Tide |
| Upper Deck | Time And Tide |
| Warehouse | Time And Tide |
| Weighing Station | Time And Tide |
| West Gallery | Time And Tide |
| West Staircase | Time And Tide |
Cold Comfort objectives and locations
| Entry | Case chapter |
|---|---|
| Activate the Portal | Cold Comfort |
| Cavern | Cold Comfort |
| Columbarium | Cold Comfort |
| Corniche | Cold Comfort |
| Crypt | Cold Comfort |
| Defeat Slither Prime | Cold Comfort |
| Enter the Temple | Cold Comfort |
| Expedition Camp | Cold Comfort |
| Find Faye’s Body | Cold Comfort |
| Gallery | Cold Comfort |
| Main Tent | Cold Comfort |
| Portal Room | Cold Comfort |
| Restore Faye | Cold Comfort |
| Unknown Location | Cold Comfort |
| Upper Storage | Cold Comfort |
The Holloway Manor objectives and locations
| Entry | Case chapter |
|---|---|
| Ancestral Path | The Holloway Manor |
| Archives A | The Holloway Manor |
| Archives B | The Holloway Manor |
| Basement Kitchen | The Holloway Manor |
| Boiler Room | The Holloway Manor |
| Butler’s Pantry | The Holloway Manor |
| Cabinet | The Holloway Manor |
| Cave | The Holloway Manor |
| Closet | The Holloway Manor |
| Defeat the Shadow to Stop the Curse | The Holloway Manor |
| Dining Room | The Holloway Manor |
| Fetch the Medallion from the Museum | The Holloway Manor |
| Find the Living Room | The Holloway Manor |
| Game Room | The Holloway Manor |
| Go through the Portrait to the Museum | The Holloway Manor |
| Guest Bathroom | The Holloway Manor |
| Investigate the Secret Passage | The Holloway Manor |
| Kitchen | The Holloway Manor |
| Library | The Holloway Manor |
| Living Room | The Holloway Manor |
| Museum | The Holloway Manor |
| Nursery | The Holloway Manor |
| Old Utility Room | The Holloway Manor |
| Parlor Room | The Holloway Manor |
| Pursue Ezra Before It’s Too Late | The Holloway Manor |
| Return One More Heirloom to the Museum | The Holloway Manor |
| Return the Cane to the Museum | The Holloway Manor |
| Return the Medallion to Ezra | The Holloway Manor |
| Return the Mirror to the Museum | The Holloway Manor |
| Return the Pistol to the Museum | The Holloway Manor |
| Return Three Heirlooms to the Museum | The Holloway Manor |
| Return Two More Heirlooms to the Museum | The Holloway Manor |
| Servants’ Quarters | The Holloway Manor |
| Shrine | The Holloway Manor |
| Speak to Ezra Holloway | The Holloway Manor |
| Trophy Room | The Holloway Manor |
| Utility Room | The Holloway Manor |
| Vestibule | The Holloway Manor |
| Wardrobe | The Holloway Manor |
| Wine Storage | The Holloway Manor |
| Yard | The Holloway Manor |
The tables preserve capitalization and punctuation, including numbered rooms, apostrophes, dashes, and full poster or note text. Terms in parentheses—such as Prism, Leyden Jar, Handwheel, and Antikythera—are associated item names for the same entry rather than additional objectives.
Spoilers and launch-window labels
Labels can reveal character names, bosses, later destinations, and puzzle items. Keep future case groups closed if you want to preserve those discoveries.
Wording can differ by version or player-facing state. When the text in your copy does not match exactly, compare your active case, nearby room names, and associated item names instead of treating the index as a final-release progression checklist.
Frequently Asked Questions
Are optional side cases part of the main chapter list?
No. Smaller optional investigations sit outside this main chapter index. The Holloway Manor appears here because it has a substantial set of supplied labels, but it is bonus or optional content, not a required core-story chapter.
Why does the case chapter matter when a label appears more than once?
Identical wording can refer to unrelated places or goals. After finding a repeated label, check one nearby unique entry—such as a named office, numbered room, item, or character objective—to identify the correct instance.
How can I avoid puzzle and story spoilers while using the reference?
Search for text already visible on your screen and open only its matching disclosure. The index omits puzzle codes, ordered solutions, rewards, and ending details, so you do not need to inspect later groups.
Why is a listed label missing from my objective tracker?
Some entries are environmental labels, room names, posters, or readable notes rather than tracked actions. Look for the nearby location or associated puzzle-item name and continue following the active case until the relevant state appears.






Leave a Reply