

The Sinking City 2 evidence, clues, and key items are easiest to track by area first, because many notes double as puzzle hints, route unlocks, safe-code clues, or investigation context.
Documents that appear unrelated can feed the same lock, ritual, or mechanism, so collecting a local cluster before solving anything saves unnecessary backtracking. This reference covers the named entries across 11 area buckets without assigning them a fixed collectible total.
Quick answer
This list is spoiler-light rather than spoiler-free. It avoids endings and major outcomes, but entry names and summaries reveal local puzzles, creatures, rituals, and story context.
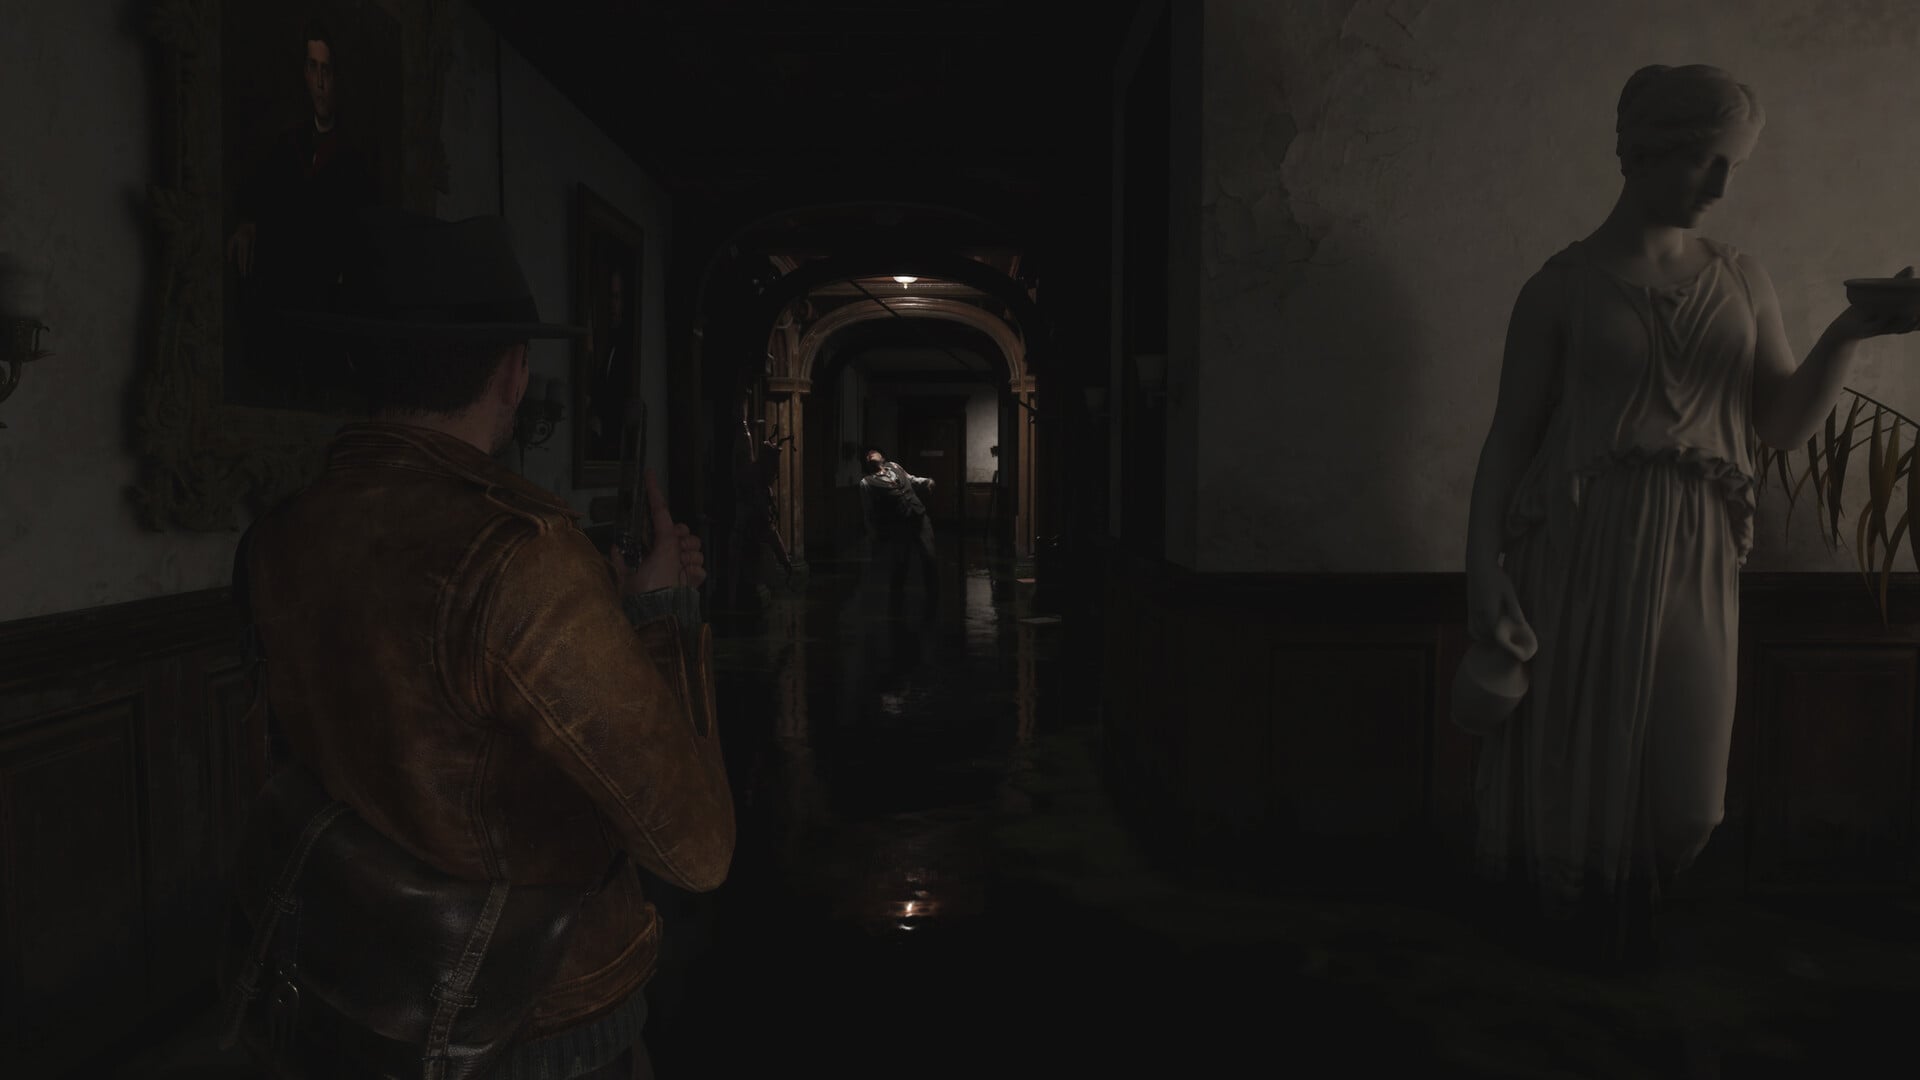
At a glance: areas and their clue focus
| Area | What to check |
|---|---|
| Arkham Machinery | Crane parts, gate wiring, radio fuses, Printing House machinery, and the Custom “Red” Franklin. |
| Church | Star doctrine, the faith trial, the bell-year clue, and the mausoleum printing plate. |
| Devils Reef | Hotel records, Lorelei tokens and chests, Old Freddie, ammunition, and safe clues. |
| Ezra Manor | Holloway portraits, inheritance records, family deaths, the séance, and Mother Ulmata. |
| Fish Market | The Cold Room, Ezekiel’s buoy, Leyden Jars, starfish locks, the Eye, and the melodic ward. |
| Hospital | Storage digits, Wireless Room testimonies, Prism Stations, the Eye, and surgeon route items. |
| Necropolis | Local evidence and quest objectives associated with the area. |
| Ship | The Phorcys arrival order and its connection to cages, captives, and jewelry production. |
| Smugglers Hideout | Hidden supplies, sacrifice records, captives, Grindmaws, and blood-charged jewelry. |
| Street Dungeon | Local evidence and quest objectives associated with the underground route. |
| University Annex | Expedition correspondence, diving equipment, the City Below, and Antarctic gear. |
The area buckets keep nearby discoveries together. The later puzzle cross-reference reunites documents that influence the same mechanism in different rooms or locations.
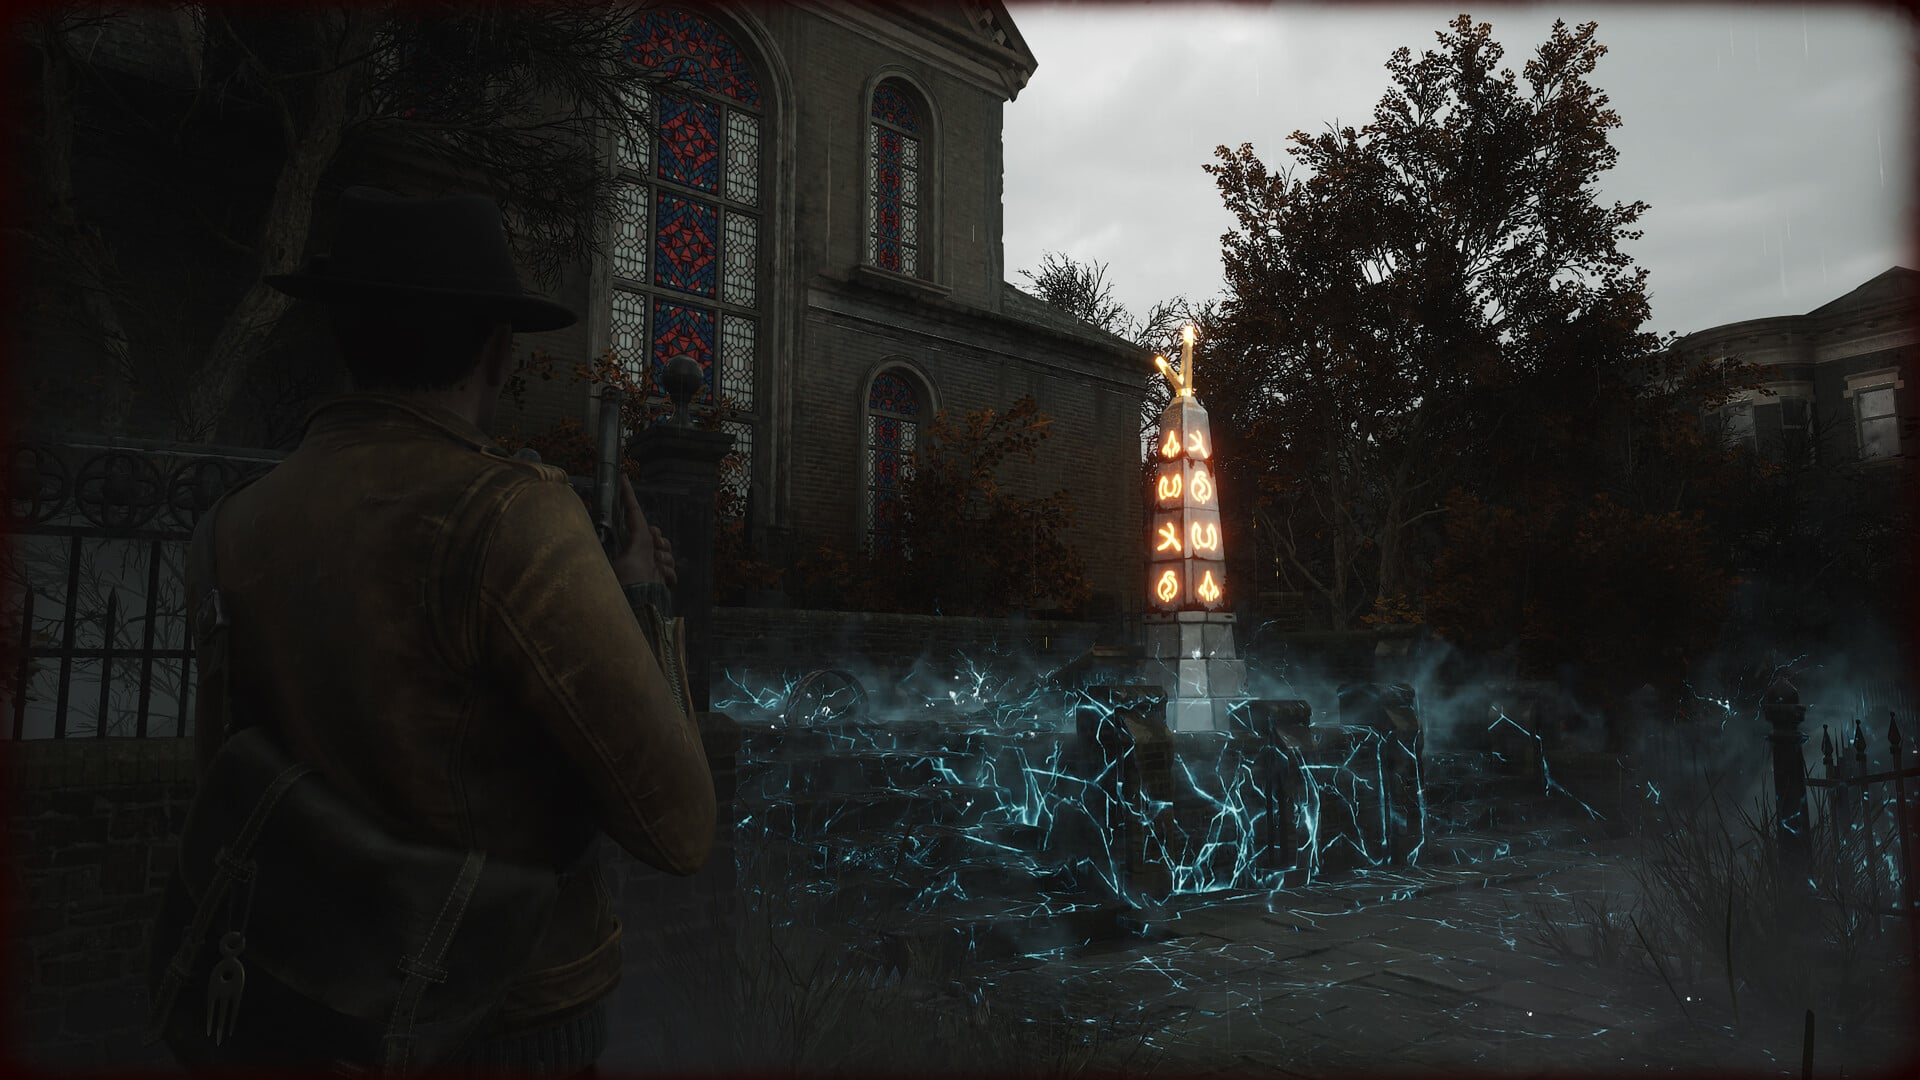
How to use this list while playing
Open the section for your current area and match its names against nearby documents, doors, devices, and quest prompts. Collect the surrounding records before committing to a lock: one note may identify the mechanism, while another provides its order, correction, component, or code.
| Need | Use the list this way |
|---|---|
| Continue along a route | Prioritize entries mentioning keys, gates, cranes, wards, portals, locked rooms, or machinery. |
| Solve a code or device | Gather the entire named clue cluster before entering values or moving components. |
| Finish an investigation | Read connected diaries, testimonies, portraits, sermons, and notices together in the Investigation tab. |
| Clean up local context | Search the current room, adjoining floor, and nearby objective space before crossing into another major area. |
Finish the local document sweep before spending time on a lock. The missing piece may be an order hint, correction, or mechanism name rather than another number.
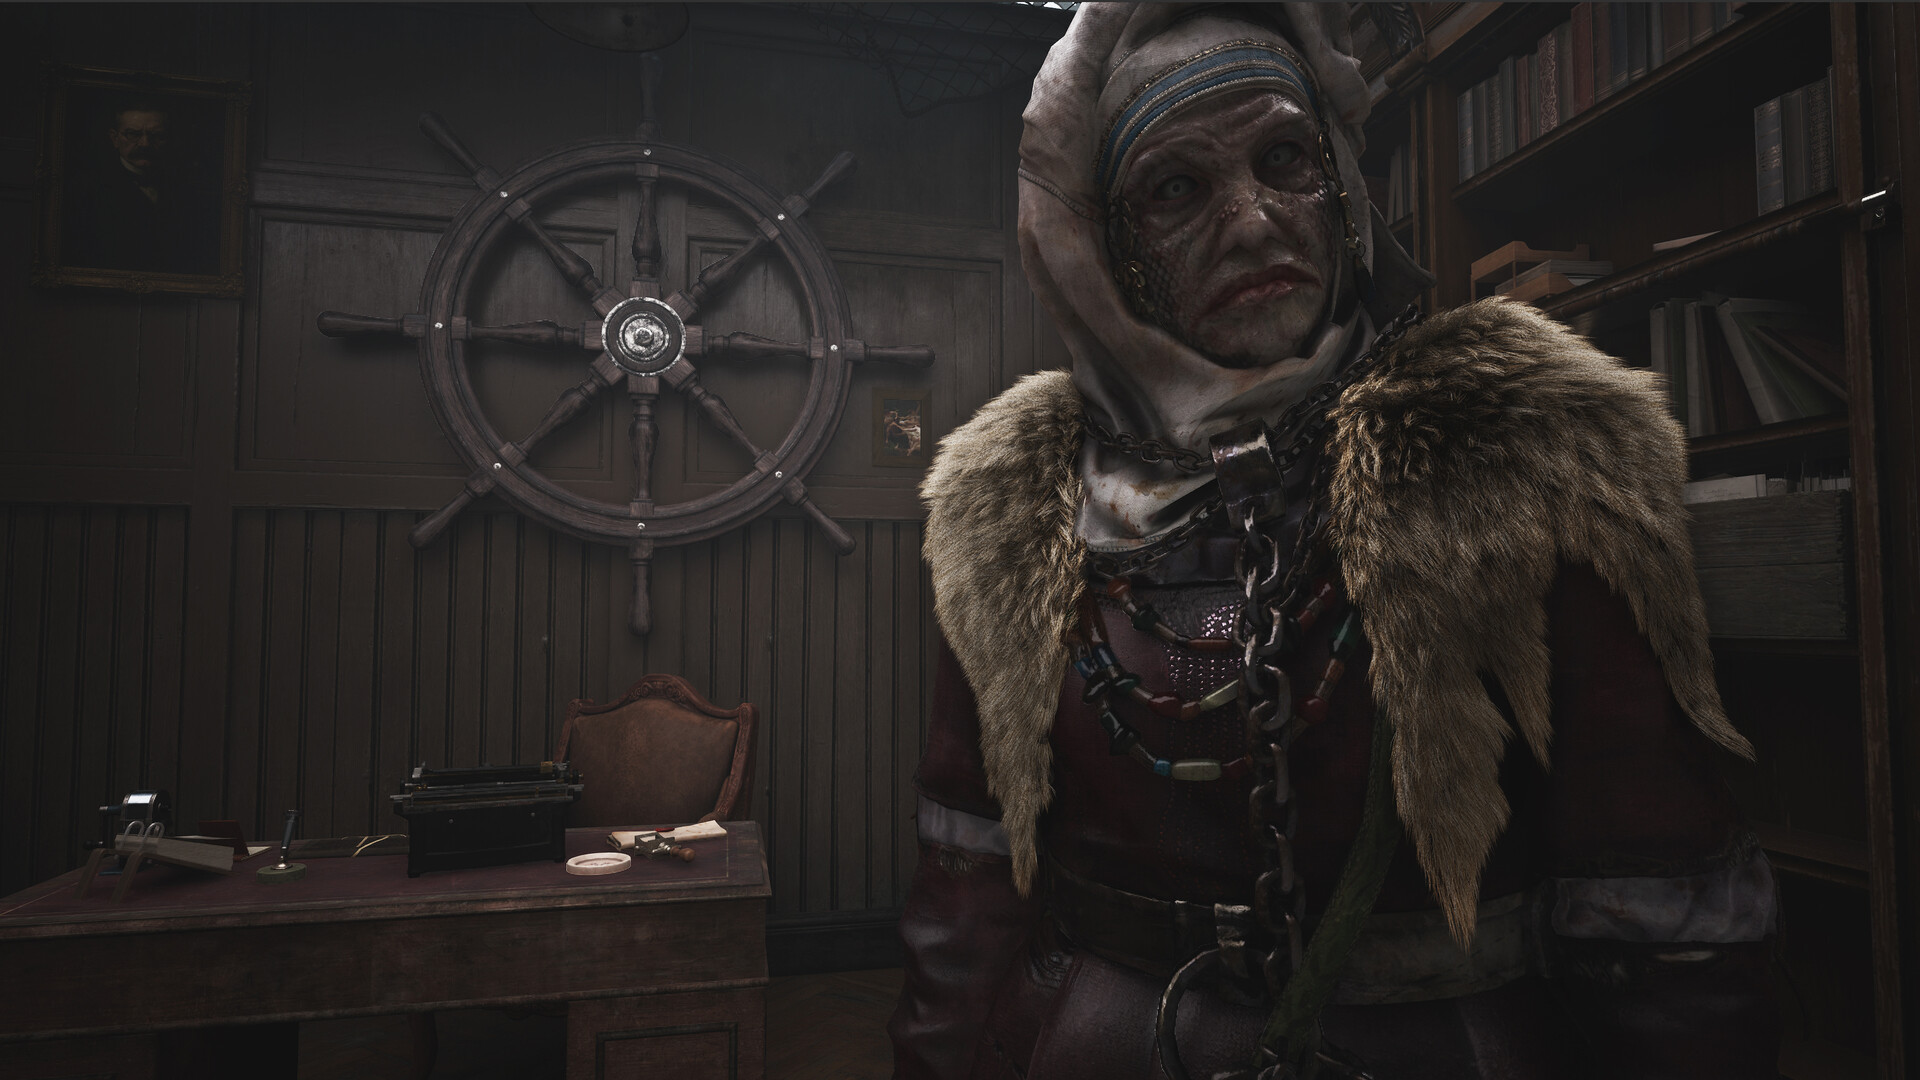
Complete reference by area and puzzle
Expand an area, then open individual summaries when you need the clue’s meaning. The Use column separates route items and puzzle information from lore and investigation material.
Arkham Machinery
| Entry | Use |
|---|---|
| All evidence and quest locations in Arkham Machinery | Area reference for the Arkham Machinery evidence and objective sweep. |
A Broken Crane
Read note summaryA whale blocks the route to the Devil’s Reef Hotel. The crane can lift it away, but the machine is missing fuel and a gear. |
Route blocker and machinery objective. |
About the Custom “Red” Franklin
Read note summaryThe Custom “Red” Franklin Press operates only with peculiar double-sided plates. A print made with the silver side gains Dreamlands essence, while the golden side provides a strong offensive boost. |
Printing mechanism instructions. |
Floodgate Lock
Read note summaryThe passage lever has been locked to stop unchecked traffic. Its number is “the year of the bell.” |
Floodgate lever code clue. |
Gate Fuses and Wires
Read note summaryFuses act as connectors between wires of the same color. Mixing the wire colors prevents the evacuation gates from working. |
Gate-wiring puzzle clue. |
Gate Switchboard
Read note summaryThe floodgate panel uses renewable radio fuses that can burn out quickly. Spare fuses are kept in the shop across the street. |
Points toward the gate’s required component. |
Letter to Boss
Read note summaryCecil entered the Printing House for the latest Weird Wonders, found an ornate silver plate, and withdrew after encountering creatures. |
Printing-plate lead and location context. |
Soggy Note
Read note summaryPeter directs Jeffrey toward machine parts in the church graveyard and leaves him a key to access them. |
Connects the graveyard key to the machine parts. |
| Electrical Fuses | Key item used to restore the gate circuit. |
Church
| Entry | Use |
|---|---|
| All evidence and quest locations in Church | Area reference for the Church evidence and objective sweep. |
A Call Upon Believers
Read note summaryA sermon calls on believers to free the Spirit of the Star, release the Trident from its elevated prison, bring it to the Star’s shrine, and invoke the beings that imprisoned the Star. |
Ritual and Trident puzzle clue. |
Notes on the Path
Read note summaryThe writer interprets “Stand resolute before the Star’s Gaze” as a trial requiring the penitent to remain steadfast through three gazes. |
Sequence and behavior clue for the faith trial. |
Report on the Bell
Read note summaryThe old bell was reinstalled and wired to an apparatus without being damaged. Its construction and installation occurred half a decade after the church was built. |
Date clue paired with Floodgate Lock. |
The First Vision
Read note summaryThe Star identifies the marks of Gyrh, Tsog-Nar, Yig, and Cthylla, then describes the Trident waiting beneath the Star’s gaze to be blessed and lead the way to its light. |
Symbol-identification and ritual-order clue. |
| Printing Plate C | Key item found in the mausoleum and used with the Custom “Red” Franklin press. |
Devils Reef and hotel records
| Entry | Use |
|---|---|
| All evidence and quest locations in Devils Reef | Area reference for the Devils Reef evidence and objective sweep. |
Eulogy for Old Freddie
Read note summaryThe Tyde Runners remember Old Freddie as a singer who guided sailors through deadly waters. His masterpiece is The Fisherman’s Love, and his cleaned bones are sealed behind his holy face. |
Song, identity, and hidden-container clue. |
Game Room Policy
Read note summaryAn April 1915 staff notice orders that all ammunition brought by guests must be placed in the Game Room safe. |
Identifies the safe’s contents. |
Hotel Ledger
Read note summaryThe Staff Key must remain at the front desk. Tokens for Lorelei’s event are stored in the Staff Room under the care of Heloise and Eel-Boy. |
Connects the Staff Key to the Lorelei tokens. |
Lorelei Chests
Read note summaryThree chests are scattered throughout the hotel. Each requires a Lorelei token and contains one part of the key needed to meet Queen Lorelei. |
Three-chest key assembly objective. |
Old Freddie – Ex Voto
Read note summaryA basement fresco honors Old Freddie of the Tyde Runners and describes his heavenly song as a guide to salvation. |
Identity clue for the song mechanism. |
Safe Code Letter
Read note summaryHeloise tells Eel-Boy that extra firepower is inside the safe. Its code comes from Baby, One More Tide, with the added hint that “the beasts with eight have three.” |
Primary Game Room safe clue. |
Sacrifice (and Safe!)
Read note summaryThe note describes captives being fed to Grindmaws so gold objects can gain power. Its postscript corrects the safe’s final number: it is 6, not 16. |
Safe-code correction and smuggler lore. |
The 16 Punishments of the Sailor
Read note summaryThe numbered punishments are: I, Confined to Ship; II, Forfeiture of Pay; III, Bread and Water; IV, Deprivation of Alcohol; V, Mast-heading; VI, Gagging; VII, Caning; VIII, Clapping in Irons; IX, Tar and Feathering; X, Imprisonment in the Brig; XI, Flogging with Rope; XII, Flogging with Cat o’ Nine Tails; XIII, Flogging Around the Fleet; XIV, Marooning; XV, Hanging from the Yardarm; and XVI, Keelhauling. |
Numbered reference used by the safe clue chain. |
‘Baby, One More Tide’ Lyrics
Read note summaryThe song mentions a bat’s wings, a curled tail, fearful octopus hearts, and the rising tide. Those creature details provide the imagery for the linked code. |
Lyric-based safe clue. |
| Staff Key | Hotel route item used to reach the Staff Room. |
| Lorelei Tokens | Key items from the Staff Room that open the three Lorelei chests. |
Ezra Manor and the Holloway family
| Entry | Use |
|---|---|
| All evidence and quest locations in Ezra Manor | Area reference for the Ezra Manor evidence and objective sweep. |
Biography of Bertrand Holloway
Read note summaryClarence Holloway’s 1822 biography praises his father Bertrand, recalls his cavalry charge at Cowpens on January 17, 1781, and mentions the portrait, uniform, and pistol associated with him. |
Family-history and portrait clue. |
Catherine’s Portrait
Read note summaryA portrait depicts Catherine Holloway, wife of Alastair Holloway. |
Identity item for the Holloway ritual trail. |
Cryptic Riddle
Read note summaryThe Red Idol riddle invokes a sanguine heart, shattered limbs, a mother’s prayer, the unyielding sea, a kneeling god, time, sacrifice, a held spark, and a sister in ice. |
Multi-stage prize and artifact clue. |
Journal Entry on the Holloway Wives
Read note summaryA pregnant Holloway woman records unexplained pain and bruises while tracing the wives who came before her, including Catherine and Sylvia Holloway. |
Family-line investigation material. |
Letter About A Curse
Read note summaryA manor resident asks Mr. R. for help with a hereditary curse and something stirring beneath the house, offering access to the family collection in return. |
Manor objective and curse context. |
Letter from a Nervous Maid
Read note summaryA maid describes the master wandering at night after a tragedy, speaking as though someone answers him and rearranging furniture because he believes his fate can still be mended. |
Room-state and haunting context. |
Letter from the Medium
Read note summaryThe medium warns that contacting the dead can open a lasting door. The ritual requires an untouched spirit board, a likeness of the departed, and candles arranged according to the supplied instructions. |
Séance setup clue. |
On The Holloway Inheritance
Read note summaryEzra Holloway refuses to sell a late-18th-century cane with a silver handle because it has passed from father to son since Alastair Holloway. |
Identifies the inherited cane and its owner line. |
Staff Notice: Candle Removal
Read note summaryThe staff must remove every candle used when Lady Holloway attempted to summon Catherine. The notice says the ritual stirred a presence that now watches the household. |
Aftermath of the séance. |
The Book of Mother
Read note summaryAlastair Holloway pledges his bloodline to Mother Ulmata. The covenant promises strength and freedom from pain to the sons while demanding the sacrifice of those who bear them. |
Core record of the Holloway curse. |
The Clarence Holloway Affair
Read note summaryDorian Holloway’s 1845 diary rejects the official account of Clarence’s supposed suicide. Clarence’s body was never found, and he had become obsessed with a mirror belonging to Dorian’s mother. |
Disappearance and keepsake investigation. |
Fish Market, the Eye, and Leyden Jars
| Entry | Use |
|---|---|
| All evidence and quest locations in Fish Market | Area reference for the Fish Market evidence and objective sweep. |
About Ezekiel
Read note summaryEzekiel refused to reveal the guarded buoy’s code. He repeatedly said that the eel and lantern come first, although he sometimes confused their order. |
Buoy sequence clue. |
Departure
Read note summaryJM orders most of the group to leave while a rearguard protects the market. The unstable Eye is allowing strange creatures through, so a security system has been installed around it. |
Eye security and market-state information. |
Find More Jars!
Read note summaryThe note asks whether all jars were recovered from Harcourt’s former second-floor shop in the East Wing near the pub. A melodic magical ward now blocks that shop. |
Leyden Jar lead and ward location clue. |
From Ezekiel’s Wife
Read note summaryEzekiel suffers visions, sleepwalks, and speaks of fish giving instructions. He says the Angler has the last word and links the Coelacanth to marked trophies. |
Additional creature and order language for the buoy. |
Frozen Statue
Read note summaryA hostile-looking sea-creature statue stands in Cold Storage with its chest split open, as if someone attempted to damage it. |
Cold Storage investigation clue. |
Key for the Cold Room
Read note summaryJ. orders the market kept secure and says the Snowflake key will be kept in the auction room. |
Cold Room route clue. |
Old Shop Ward
Read note summaryA melodic barrier blocks a second-floor office. Faye believes a song can break it and suggests finding the renowned person capable of composing music with that power. |
Connects the sealed shop to Old Freddie’s song. |
Regarding Leyden Jars
Read note summaryThe letter recalls experiments in which Leyden Jars acted as polarity catalysts, bridging a creature’s hemispheric nervous pathways and triggering motor activity in selected tissue. |
Describes the jars’ biological mechanism. |
The Fish Market Eye
Read note summaryThe Eye is described as a portal and energy source through time and space. Jewelry dipped in blood before it gains power, but the portal is unstable and its devices must remain active. |
Eye mechanism and jewelry ritual. |
Use Jars Responsibly!
Read note summaryStarfish devices lock restricted doors and cannot be dismantled. Only Leyden Jars open them, and depleted jars can be recharged on the electric table. |
Starfish-door instructions. |
| Leyden Jar | Rechargeable key item used on starfish locks. |
| Fish Eye Key | Route key collected beside the Cold Room door and associated with the Eye path. |
| Bolt Cutter | Route tool found with Find More Jars! in the Weighing Station. |
Hospital storage, Wireless Room, and Prism system
| Entry | Use |
|---|---|
| All evidence and quest locations in Hospital | Area reference for the Hospital evidence and objective sweep. |
Gerda Lost Her Head
Read note summaryA survivor describes shooting worm clusters from Gerda’s body, triggering an explosive head mutation and red-bile attack before discovering swollen pustules across her back. |
Creature behavior and combat context. |
Memo with Digit ‘8’
Read note summaryA hostile message declares that everything is ready and states plainly that eight comes last. |
Final-position storage-code clue. |
Note About Wireless Room
Read note summaryThe radio broadcasts messages about the Timeless Dawn, the correct frequency, and the origin of the flood. Faye proposes investigating the Wireless Room. |
Wireless Room objective lead. |
Note with Digit ‘0’
Read note summaryA witness warns that the Head Surgeon is not human and describes an unnatural buzzing. A hand-drawn zero appears on the side of the note. |
Hospital storage digit clue. |
Note with Digit ‘3’
Read note summaryThe writer condemns Thaddeus Lowe’s obsession with his supposedly valuable brain. A hurried addendum states that 3 occupies the second position. |
Second-position storage-code clue. |
Occult Symbol
Read note summaryA blue symbol appears etched into reality, forming an impossible connection between beings and objects. |
Rune reference for Prism Station alignment. |
Prism Station Reset Protocol
Read note summaryPower loss or Prism removal pauses the Eye. A full reset requires charging the Prism at all three colored Stations, reinserting it at the Eye, and waiting for the protective barrier to shut down. |
Eye barrier reset procedure. |
Prism System Schematic
Read note summaryThe Hospital map marks the Treatment Room, Chapel, and Basement as Stations. The Anatomical Theater is labeled The Eye. |
Prism route map. |
Station Manual + Occult Symbol
Read note summaryInsert the Prism, align one symbol on each of a Station’s three rings with the illuminated triangle, and let energy flow into it. The manual connects nearby glowing runes to the Station system. |
Prism charging and ring-alignment instructions. |
Testimony of ‘Ambrose Pence’
Read note summaryPence puts the primary frequency between 10 and 20 Hz, associates it with Friday bad luck, and says the tertiary frequency is double the sum of the first two. He calls Dunwich half-correct. |
Wireless frequency logic. |
Testimony of ‘Cornelius Wright’
Read note summaryWright says the secondary frequency exceeds the primary, puts the primary above 20 Hz, and warns against believing Pence. |
Wireless testimony to compare with the others. |
Testimony of ‘Silas Dunwich’
Read note summaryDunwich says to round the primary frequency to the nearest ten and halve it to obtain the secondary. He places the tertiary below 30 Hz and calls Wright consistently wrong. |
Wireless arithmetic and truthfulness clue. |
| Prism | Key item charged at three Stations and returned to the Eye. |
| Vertebral Key | Route key collected from the desk in the Head Surgeon’s Office. |
| Head Surgeon’s Face Mask | Key item used to unlock access to the Head Surgeon’s Office. |
Necropolis
| Entry | Use |
|---|---|
| All evidence and quest locations in Necropolis | Area reference for the Necropolis evidence and objective sweep. |
Ship and the Phorcys
| Entry | Use |
|---|---|
| All evidence and quest locations in Ship | Area reference for the Ship evidence and objective sweep. |
Prepare For Phorcys
Read note summaryThe Phorcys is bringing allies from the sea. When it arrives, the cages and living captives must be moved inside while jewelers continue producing crowns and bracers. |
Arrival order and captive-operation information. |
Smugglers Hideout
| Entry | Use |
|---|---|
| All evidence and quest locations in Smugglers Hideout | Area reference for the Smugglers Hideout evidence and objective sweep. |
Carruthers The Crook
Read note summaryA starving resident confronts Carruthers and discovers that his wardrobe conceals a marked supply box containing pills. |
Hidden-supply investigation clue. |
The Slaughter
Read note summaryA captive describes Grindmaws killing people while blood is poured over jewelry. When a bracer breaks, the creatures kill the jeweler brought in to repair it. |
Captive account of the jewelry ritual. |
Street Dungeon
| Entry | Use |
|---|---|
| All evidence and quest locations in Street Dungeon | Area reference for the Street Dungeon evidence and objective sweep. |
University Annex and the City Below
| Entry | Use |
|---|---|
| All evidence and quest locations in University Annex | Area reference for the University Annex evidence and objective sweep. |
Motivational Note – July 14, 1929
Read note summaryThe expedition must wait for a lake to drain before crossing a portal. Worms and unstable terrain have complicated the journey, but the writer urges Wilmarth and Carter to continue. |
Expedition state and portal context. |
Stock Boy’s Letter – April 25, 1929
Read note summaryRobert is sent to the surface to collect a diving suit from Alan at the Fish Market after a professor nearly drowned while crossing an alien gate. |
Diving-suit and surface-route clue. |
Telegram Text – May 6, 1929
Read note summaryA telegram from the City Below describes an impassable abyss beyond the diving-suit route, a possible temple, falling temperatures, and a request for gear from Dyer’s Antarctic expedition. |
Expedition objective and equipment lead. |
Puzzle, code, and mechanism connections
| Puzzle | Relevant entries |
|---|---|
| Floodgate lever | Floodgate Lock and Report on the Bell connect the lock to the bell’s installation year. The resulting code is 2137. |
| Hospital storage lock | Note with Digit ‘0’, Note with Digit ‘3’, Memo with Digit ‘8’, and the remaining local digit clue resolve to 1308. |
| Wireless Room brains | The testimonies of Ambrose Pence, Cornelius Wright, and Silas Dunwich resolve to primary 13, secondary 05, and tertiary 36. |
| Game Room safe | Game Room Policy, Safe Code Letter, ‘Baby, One More Tide’ Lyrics, Sacrifice (and Safe!), and The 16 Punishments of the Sailor resolve to 1496. |
| Prism and the Eye | Prism System Schematic, Station Manual + Occult Symbol, Prism Station Reset Protocol, and Occult Symbol. Charge the Prism at the Treatment Room, Chapel, and Basement, then reinsert it at the Anatomical Theater’s Eye. |
| Leyden Jar doors | Regarding Leyden Jars, Use Jars Responsibly!, Find More Jars!, and Old Shop Ward. Leyden Jars open starfish locks and recharge on the electric table. |
| Ezekiel’s buoy | About Ezekiel and From Ezekiel’s Wife. Use the named creatures and explicit order phrases: the eel and lantern come first, while the Angler has the last word. |
| Lorelei chest route | Hotel Ledger and Lorelei Chests lead from the Staff Key to the Lorelei Tokens. Three token-locked chests provide the three pieces of the meeting key. |
| Broken crane | A Broken Crane identifies both missing requirements: fuel and a gear. Restoring them clears the whale from the Devil’s Reef Hotel route. |
| Custom “Red” Franklin press | About the Custom “Red” Franklin, Letter to Boss, and Printing Plate C. Plate orientation determines whether a print gains Dreamlands essence or an offensive boost. |
Position words such as first, second, and last carry as much weight as the symbols and numbers. When a result seems inconsistent, reread the entire cluster before changing the mechanism.
Frequently Asked Questions
Is this evidence and key-item list spoiler-free?
No. It leaves major outcomes undisclosed, but opening every summary will expose monster transformations, Holloway family history, sacrifices, occult practices, and the purpose of several restricted rooms.
Is every evidence or clue entry required for progression?
No. Some documents support optional investigations that can lead to extra loot or Talent points, while route keys and mechanism notes directly open paths. An entry can still be valuable even when the main objective does not require it.
Can skipped evidence always be collected later?
Later access is not universal across every route and transition. Search each floor and adjoining objective space before leaving, and create a Safe Room save before a major move if you want a dependable return point.
Why are key items grouped beside lore notes?
The inventory object and its instructions often form one usable clue. A key may open the room containing a second item, while a nearby letter supplies the order, orientation, symbol, or charging method needed after that item is collected.






Leave a Reply