
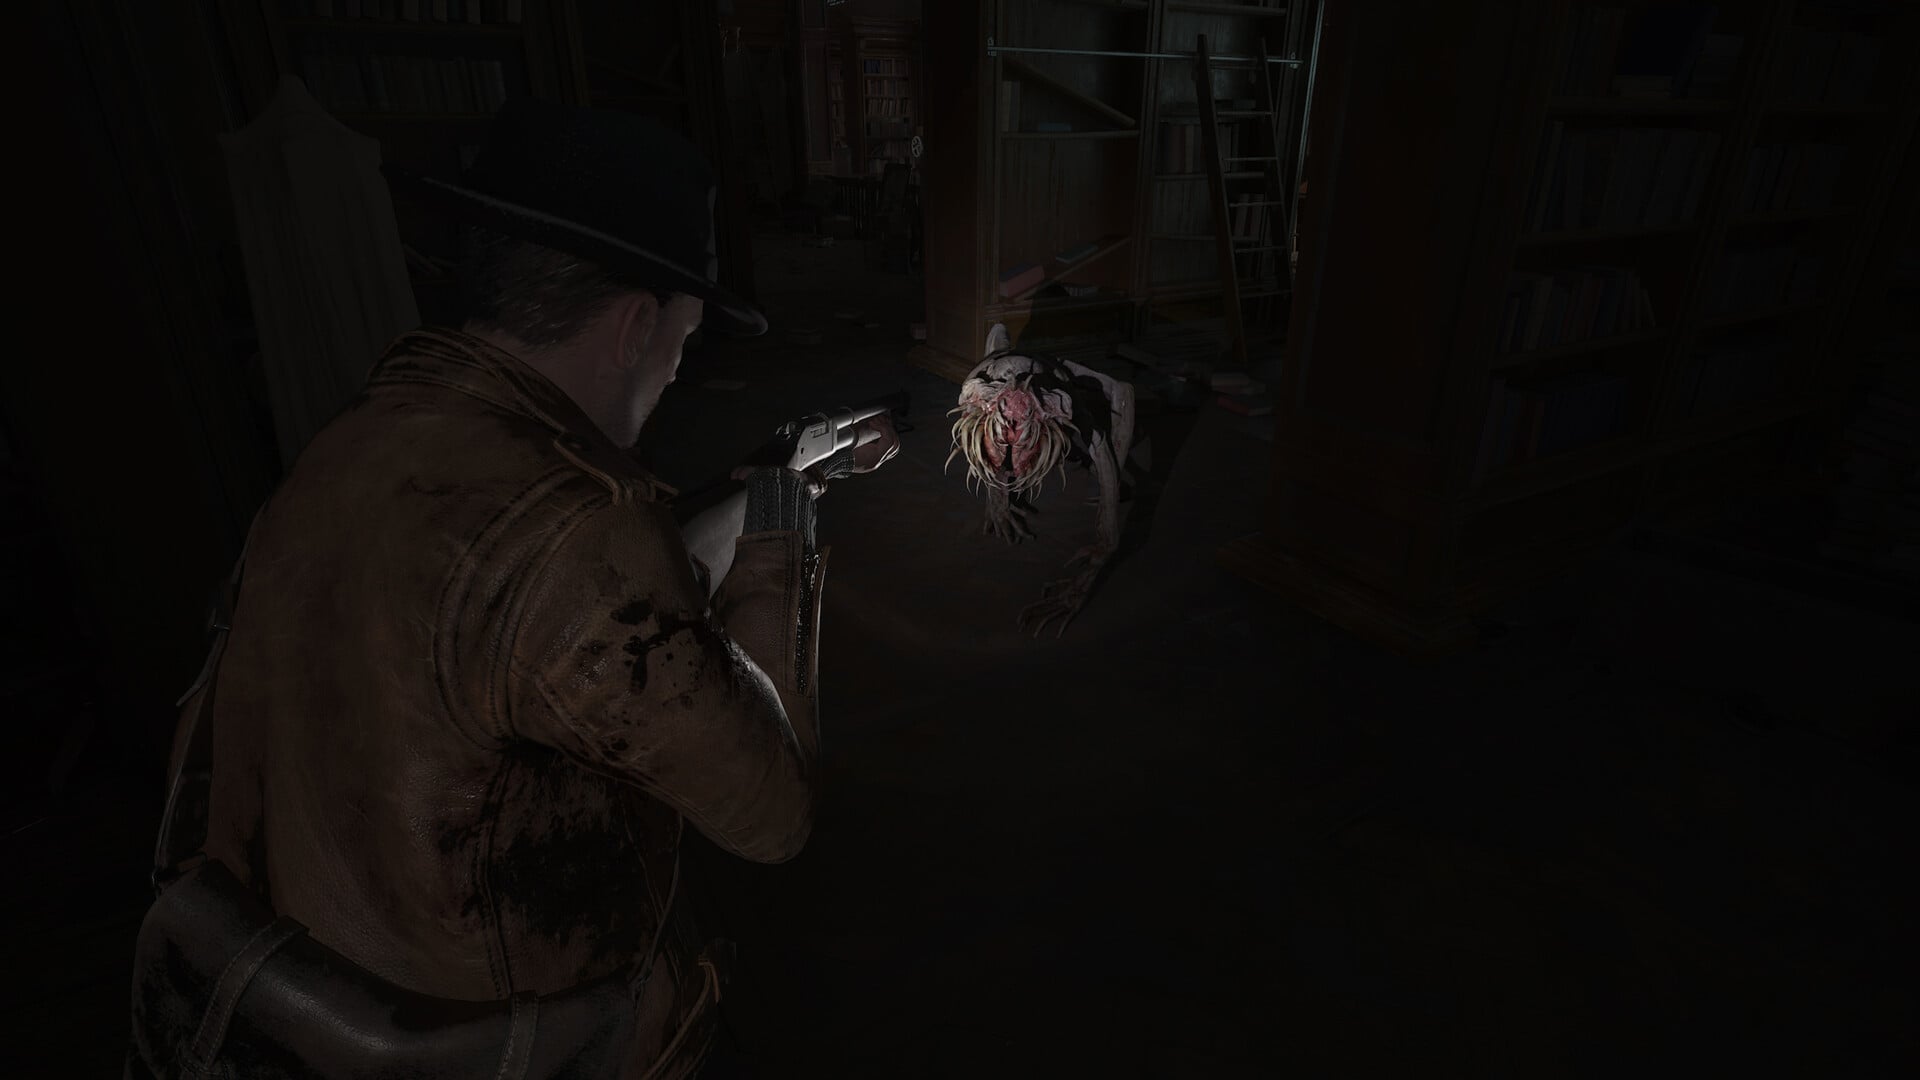
The Sinking City 2 lets PC players rebind keyboard and mouse controls through Options > Controls > Change Keyboard Mapping, while controller settings, camera speed, sensitivity, stick dead zones, and validation warnings are handled in the broader Controls menu.
The control menu separates direct actions from global shortcuts, interface navigation, camera tuning, and analog-stick behavior. This makes it possible to change an awkward combat key without disturbing controller sensitivity or mouse-look speed.
Quick answer: where to change controls and keybinds
On PC, open Options > Controls > Change Keyboard Mapping. Each action can have a Primary binding and a Secondary binding, allowing two inputs to trigger the same command.
Required actions must retain a valid Primary assignment. Use the validation option before leaving the mapping screen, especially after replacing a conflicting key or clearing an existing binding.
Control areas at a glance
| Area | What to check |
|---|---|
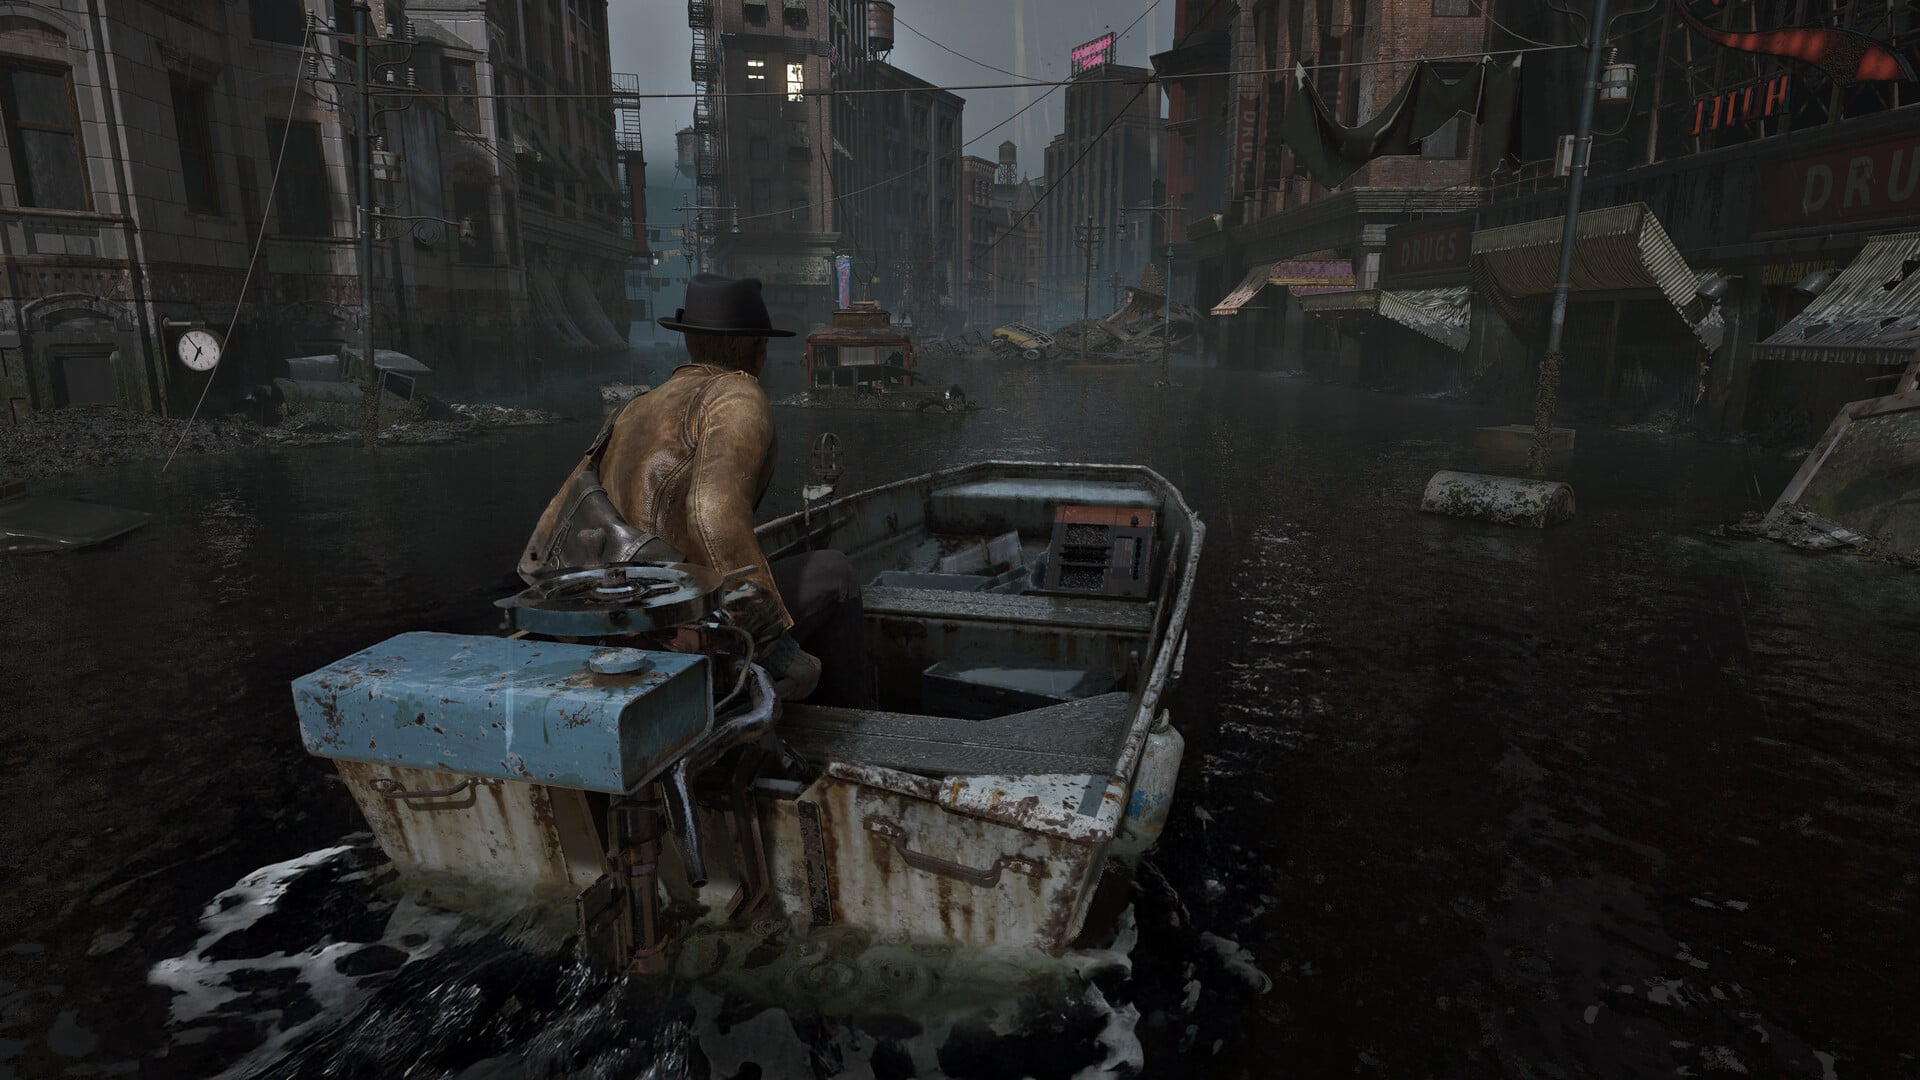
| Movement and boat controls | Directional movement, boat steering, running, acceleration, and camera movement. |
| Combat controls | Aiming, firing, reloading, melee attacks, Stomp, and Dodge. |
| Exploration controls | Interact, Flashlight Toggle, Focus Camera, and Investigation. |
| Global shortcuts | Map, Inventory, Codex, Talents, Crafting, and quick-access slots. |
| Interface navigation | Directional menu movement, selection, tab switching, resetting, and validation. |
| Controller layout | Gamepad assignments, analog-stick swapping, and touch-pad button actions. |
| Camera tuning | Separate horizontal and vertical speeds for looking and aiming. |
| Stick dead zones | Inner-circle, outer-circle, and axial behavior for each analog stick. |
| Rebinding warnings | Conflicts, unbound actions, missing Primary inputs, and unsaved changes. |
Keyboard mapping changes which input performs an action. Camera speeds, controller sensitivities, and dead zones instead change how an existing input responds.
Complete reference for controls, keybinds, and settings
Default assignments can change after updates, so treat the active in-game Controls screen as final if it differs from the entries below.
Keyboard mapping fields and rebinding messages
| Control or setting | Use |
|---|---|
| Action | Names the command whose assigned inputs are being viewed or changed. |
| Primary | Contains the action’s main binding. |
| Secondary | Provides an alternate input for the same action. |
| Global | Groups shortcuts for major screens and quick-access actions. |
| Press Any Key | Waits for the key or mouse button that will become the selected binding. |
| Not Bound! | Marks a binding slot that currently has no assigned input. |
| Already Bound to | Identifies another action already using the selected input. |
| All primary bindings must be set! | Appears when a required Primary slot has been left empty. |
| Warning: There are actions with no valid binding! | Flags a layout containing one or more unusable action assignments. |
| Any changes to control settings will be lost. | Warns that unsaved edits will be discarded when leaving the screen. |
| Change Keyboard Mapping | Opens the PC action-binding editor from Options > Controls. |
Movement and boat controls
| Control or setting | Use |
|---|---|
| Move Forward/Boat Forward | Moves forward on foot or drives the boat forward; default PC key: W. |
| Move Backward/Boat Reverse | Moves backward on foot or reverses the boat; default PC key: S. |
| Move Left/Boat Left | Moves or steers left; default PC key: A. |
| Move Right/Boat Right | Moves or steers right; default PC key: D. |
| Run/Boat Accelerate | Runs or accelerates the boat; default PC key: Shift. Press the Left Stick to run on controller. |
| Move Character/Steer Boat | Controls character movement or boat steering with the controller’s Left Stick. |
| Move Camera | Changes the viewing direction with the assigned mouse or analog-stick input. |
Combat and exploration controls
| Control or setting | Use |
|---|---|
| Interact | Interacts with objects, pickups, and supported puzzle elements; default PC key: E. |
| Aim Weapon | Raises the equipped weapon; default PC input: Right Mouse Button and controller input: LT. |
| Fire Weapon | Fires the equipped weapon; default PC input: Left Mouse Button. |
| Reload Weapon | Reloads the equipped weapon; default PC key: R. |
| Melee Attack | Performs the standard melee attack; default PC inputs: Left Mouse Button or Left Alt. |
| Stomp | Performs the dedicated stomp action; current PC defaults are Ctrl and the lower side mouse button. |
| Dodge | Performs an evasive move; default PC key: Space. |
| Flashlight Toggle | Turns the flashlight on or off; default PC key: F. |
| Focus Camera | Activates the focused camera view; default PC key: X and controller input: LB. |
| Fire Weapon (When Aiming)/Stomp | Fires while aiming or performs Stomp when the controller action’s other context applies. |
Global shortcuts and quick access
| Control or setting | Use |
|---|---|
| Investigation | Opens the investigation interface; default PC key: C. |
| Codex | Opens the Codex; default PC key: L. |
| Map | Opens the Map; default PC key: M and controller input: View Button. |
| Pause | Opens the pause menu with the controller’s Menu Button. |
| Inventory | Opens the Inventory; default PC keys: Tab or I. |
| Talents | Opens the Talents screen; default PC key: B. |
| Crafting | Opens the Crafting screen; default PC key: T. |
| Quick Access Slot 1 | Activates the first quick-access slot; default PC key: 1. |
| Quick Access Slot 2 | Activates the second quick-access slot; default PC key: 2. |
| Quick Access Slot 3 | Activates the third quick-access slot; default PC key: 3. |
| Quick Access Slot 4 | Activates the fourth quick-access slot; default PC key: 4. |
Interface controls
| Control or setting | Use |
|---|---|
| Interface | Groups the inputs used to operate menus and other interface screens. |
| Move Up | Moves the interface selection upward. |
| Move Down | Moves the interface selection downward. |
| Move Left | Moves the interface selection to the left. |
| Move Right | Moves the interface selection to the right. |
| Select/Accept | Confirms a menu selection. |
| Reset/Validate | Resets the active mapping or validates current changes, as indicated by the prompt. |
| Quick Slot Select | Confirms a quick-access slot selection. |
| Switch Left | Moves to the adjacent option, tab, or category on the left. |
| Switch Right | Moves to the adjacent option, tab, or category on the right. |
| Hold | Keeps an action active for as long as its assigned input remains pressed. |
| Toggle | Switches an action or state with each press rather than requiring a held input. |
Controller, camera, sensitivity, and dead-zone settings
| Control or setting | Use |
|---|---|
| Keyboard and Mouse | Identifies settings that affect keyboard and mouse input. |
| Check Controller Settings | Opens the controller layout and related gamepad options. |
| Swap the Analogue Sticks | Exchanges the assigned roles of the left and right analog sticks. |
| Swap the Touch Pad Button Actions | Swaps the actions assigned to the touch-pad button. |
| Look Camera Speed: X-Axis | Adjusts horizontal camera speed when looking around with the mouse. |
| Look Camera Speed: Y-Axis | Adjusts vertical camera speed when looking around with the mouse. |
| Aim Camera Speed: X-Axis | Adjusts horizontal camera speed while aiming with the mouse. |
| Aim Camera Speed: Y-Axis | Adjusts vertical camera speed while aiming with the mouse. |
| Look Sensitivity: X-Axis | Adjusts horizontal stick sensitivity when looking around with a controller. |
| Look Sensitivity: Y-Axis | Adjusts vertical stick sensitivity when looking around with a controller. |
| Aim Sensitivity: X-Axis | Adjusts horizontal stick sensitivity while aiming with a controller. |
| Aim Sensitivity: Y-Axis | Adjusts vertical stick sensitivity while aiming with a controller. |
| Stick Dead Zones | Groups the inner-circle, outer-circle, and axial thresholds for both analog sticks. |
| Left Stick: Axial Dead Zone | Adjusts how far the left stick must be pushed before diagonal movement begins. |
| Left Stick: Inner Circle Dead Zone | Adjusts how far the left stick must move before camera movement begins. |
| Left Stick: Outer Circle Dead Zone | Adjusts the point at which the left stick is treated as being at full tilt. |
| Right Stick: Axial Dead Zone | Adjusts the right stick’s threshold for registering diagonal input. |
| Right Stick: Inner Circle Dead Zone | Adjusts how far the right stick must move before its input begins registering. |
| Right Stick: Outer Circle Dead Zone | Adjusts the point at which the right stick is treated as being at full tilt. |
How to use this list when adjusting controls
Set up the commands used under pressure before arranging menu shortcuts. Movement, aiming, firing, reloading, dodging, interacting, and stomping should be reachable without forcing your hand away from its normal position.
| Situation | Best adjustment |
|---|---|
| A combat action feels awkward | Give it a comfortable Primary input, then reserve Secondary for a useful alternate. |
| The menu displays Already Bound to | Find the action named by the warning, reassign one of the conflicting commands, and validate again. |
| An action displays Not Bound! | Assign an input to its empty Primary field before validating the layout. |
| A Primary binding is missing | Review each action row rather than relying on Secondary assignments to complete the layout. |
| Mouse look feels too fast or slow | Change Look Camera Speed on the affected axis without altering controller sensitivity. |
| Mouse aiming feels too fast or slow | Adjust Aim Camera Speed independently from ordinary mouse-look speed. |
| Controller aiming feels uncomfortable | Tune Aim Sensitivity after establishing a comfortable Look Sensitivity. |
| The camera or character moves while a stick is idle | Raise the affected Inner Circle Dead Zone only until the unwanted movement stops. |
| Diagonal input begins too early or late | Adjust the affected Axial Dead Zone in small increments. |
| Full stick movement registers too early or late | Correct the affected Outer Circle Dead Zone. |
| Controller detection is unreliable | Test the controller through a direct USB connection instead of a wireless adapter. |
Change one axis or threshold at a time, test it during the action that felt wrong, and return to the menu only if that specific response still needs work. This keeps a drift correction from becoming an aiming or diagonal-movement problem.
Validate after changing each control category. If the menu finds a conflict or missing Primary binding, you will know which recent group contains the problem.
Frequently Asked Questions
Must Stomp be rebound separately from Melee Attack?
Yes. Stomp and Melee Attack are separate commands, so changing the standard melee binding does not move the input used to stomp grounded enemies or applicable breakables.
What does Already Bound to mean when changing a key?
Already Bound to names the action currently occupying your chosen input. Check both its Primary and Secondary slots, move the assignment you no longer want, and then retry the new binding.
Why is a layout rejected when an action has a Secondary binding?
A Secondary input does not replace a required Primary assignment. Restore the empty Primary field before using Reset/Validate.
Should mouse camera speed and controller sensitivity be tuned separately?
Yes. Mouse camera speed and controller stick sensitivity belong to different input families, while looking and aiming also have independent controls. Tune only the device, mode, and axis causing the problem.
Can controller buttons be fully remapped on console?
Console versions support custom controller layouts, but the exact remapping range can vary by platform. Platform-reserved inputs, including touch-pad or share-button functions, may remain outside the in-game reassignment options.






Leave a Reply