Creating a new user account is one of the first things that you are required to do when you’re setting up Windows 11. But whether you’re going for a local (offline) account or a Microsoft account is something that will depend entirely upon you and the features that you expect to get.
You can also create and add a new user account, again both local as well as online, for someone else accessing your system. Here is everything you need to know to create a new user account on Windows 11.
Online vs Local User Accounts on Windows 11
Before we get started with creating a new user account on Windows 11, let’s consider the differences between an online and a local account, and the benefits and drawbacks of the two.
What do you get with a Microsoft (online) account?
In a sentence, the best Windows experience that Microsoft has to offer. If you’re creating a new user account by signing in to your Microsoft account, you can easily migrate from one PC to another without having to worry about starting anew every time. With an online account, you get system-wide syncing (with all your personalized settings, browser history, and much more) that affords a convenience not possible with a local account.
You can access and download apps from the Microsoft Store as well and all your Microsoft apps, such as MS Word, Excel, PowerPoint, and other apps that are part of the Office Suite will also remain synced up.
What do you get with a local (offline) account?
The offline equivalent, by definition, doesn’t offer the sync services offered by a Microsoft account, nor does it let you access the applications that are dependent on MS account integration.
You also won’t be able to migrate your saved settings from one PC to another. That means every time you switch PCs, you will have to start anew. On top of that, whenever you need to download an app from the Microsoft Store, you will be required to sign in to your Microsoft account.
However, the one advantage that you get is the ability to remove the account password. Although not recommended, this lets you boot directly to the operating system.
Now that you have an idea about what to expect from an online and an offline user account, let’s see how you can create one and add a new user on Windows 11.
Related: List of Windows 11 Shortcuts
Create a new user on Windows 11 (Online)
Here are a couple of ways to create and add a new user on Windows 11 wth their Microsoft Account. Note that you don’t need to have an outlook email id for this. You can also sign in with any other email service.
Method 1: Using Settings
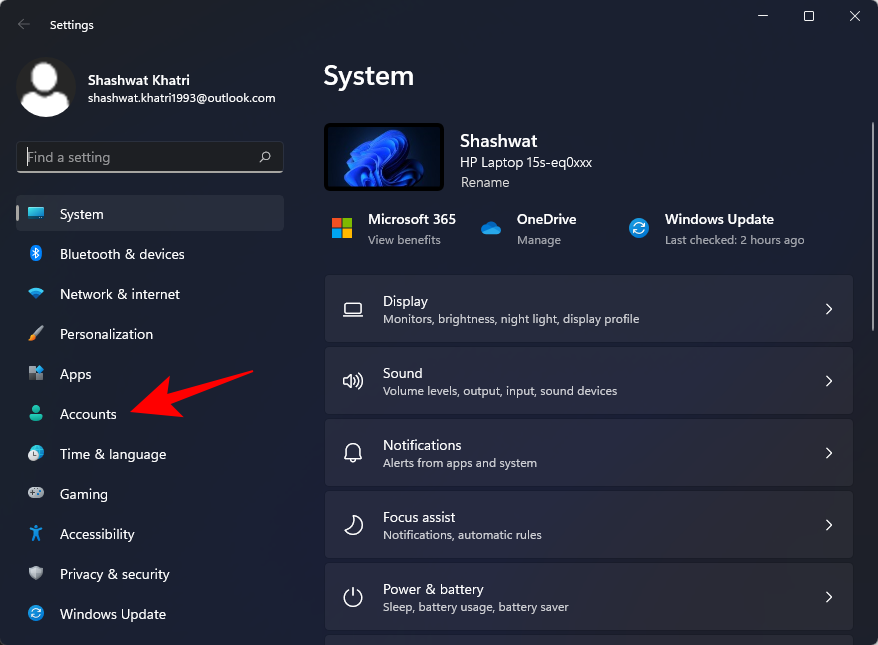
- Press
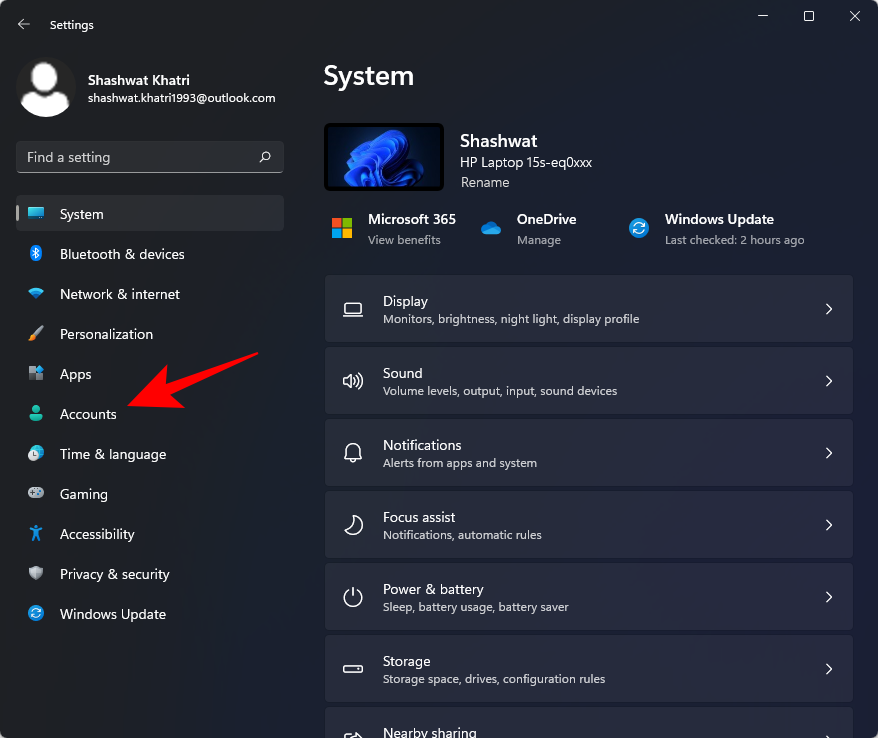
Win+Ito open Settings. Then click on Accounts in the left panel.
- Click on Other users on the right.
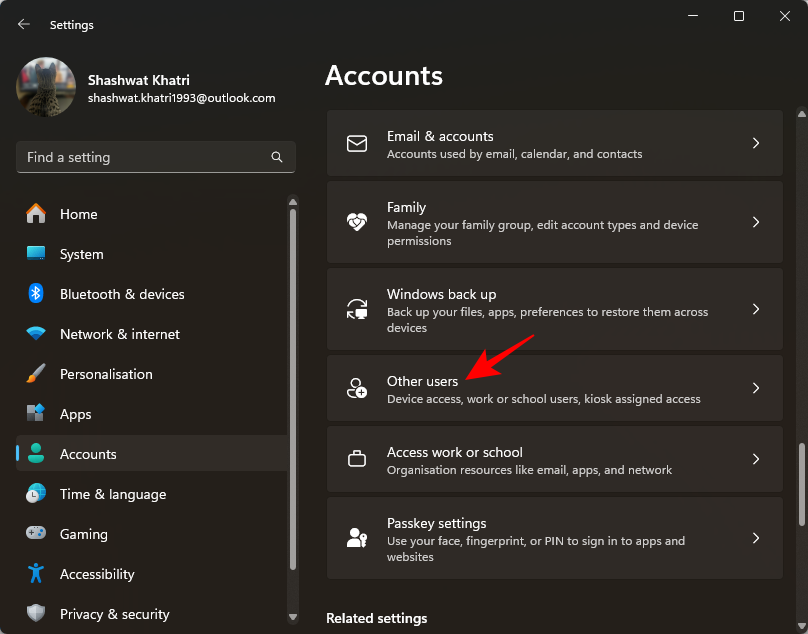
- Under ‘Other users’, click on Add account.

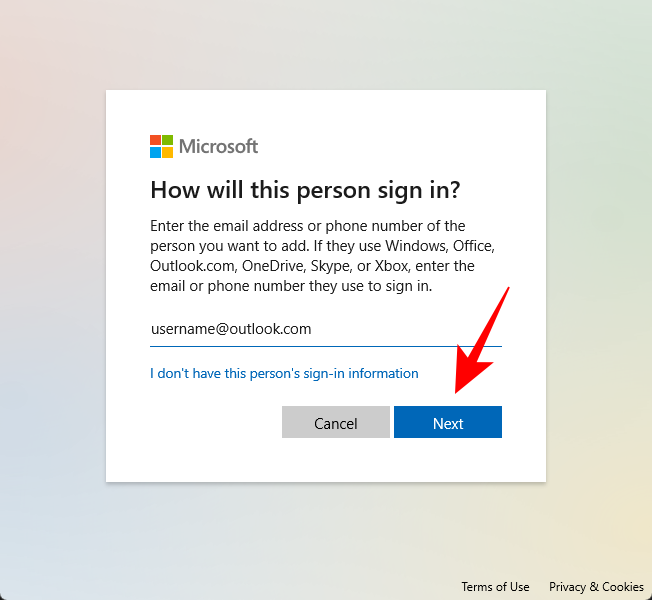
- This will open a new Microsoft sign-in window. Enter your email here and click Next.
- Click Finish.
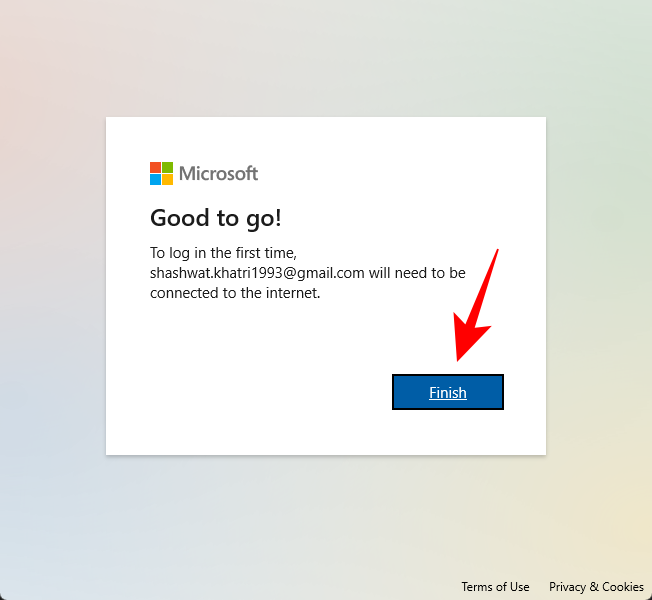
And that’s it. You won’t have to enter any other details. The new user will need to do that when they log in for the first time.
Related: How to Restart Windows Explorer on Windows 11
Method 2: When installing Windows 11
If you’re installing a fresh copy of Windows 11, you can add your Microsoft account straight from the Windows 11 OOBE itself. Here’s how:
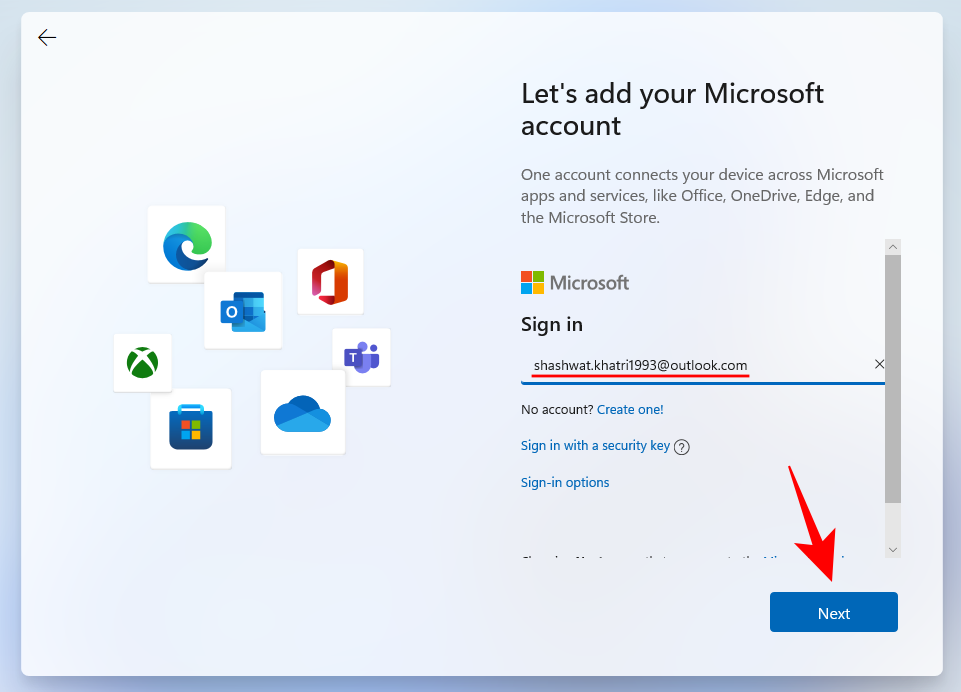
- Go through the OOBE instructions, and when you get to the “Let’s add your Microsoft account”, enter your Microsoft account, and click Next.
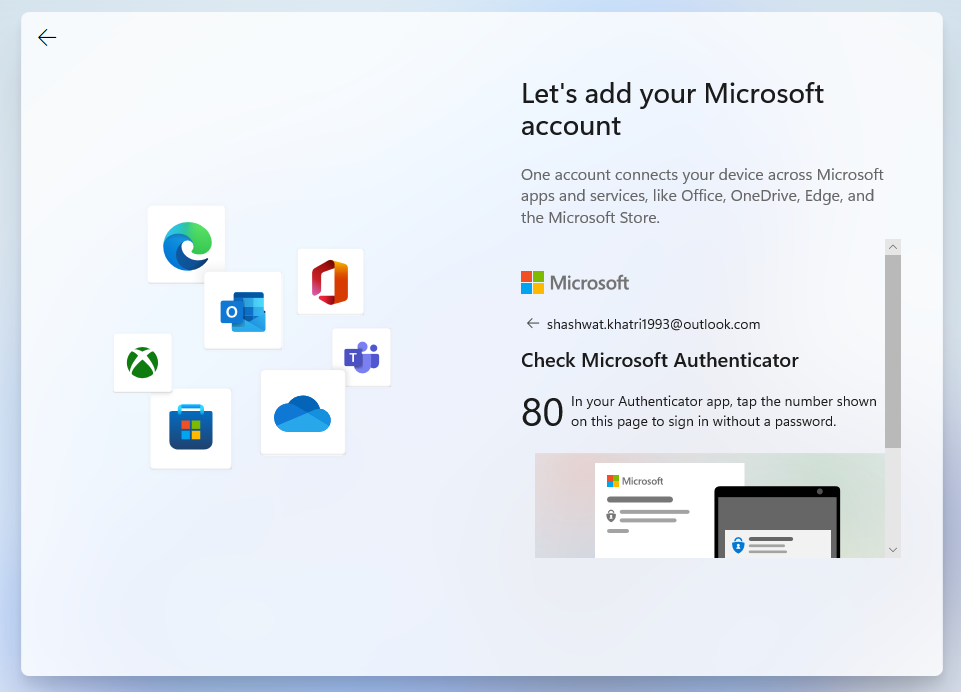
- Then confirm your identity with your password. In our example, we have Microsoft Authenticator connected to our account so we’re using that to do so.
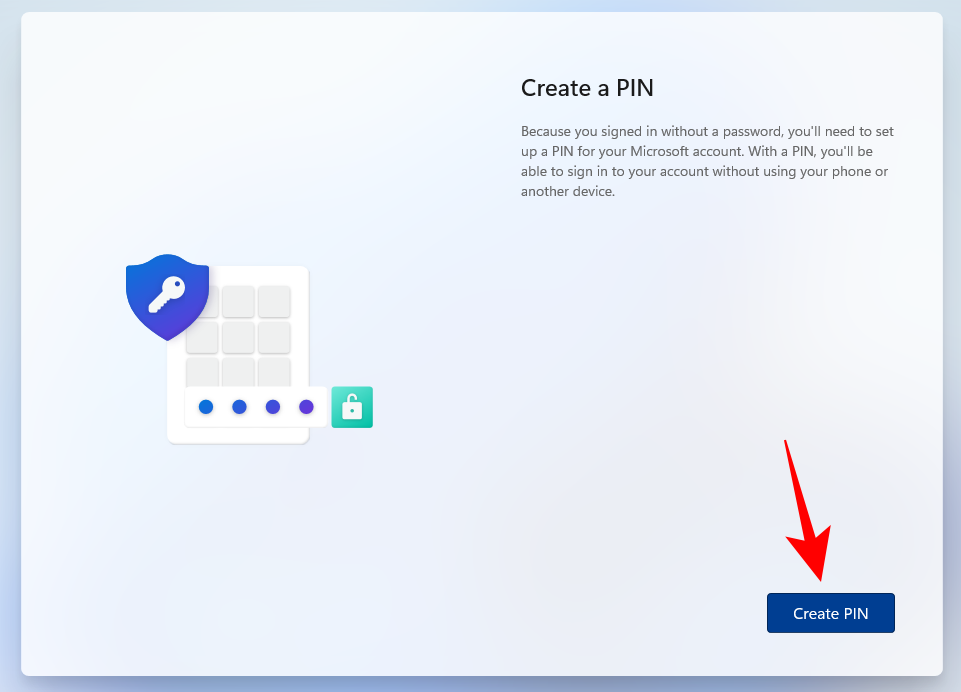
- Now, click on Create Pin.
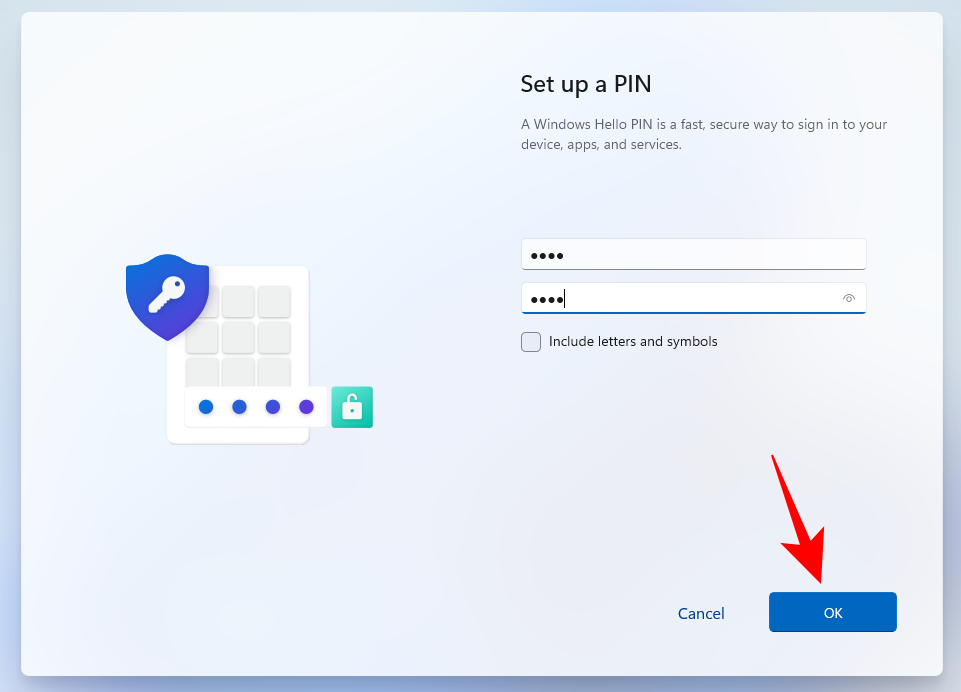
- Enter your PIN, then click OK.
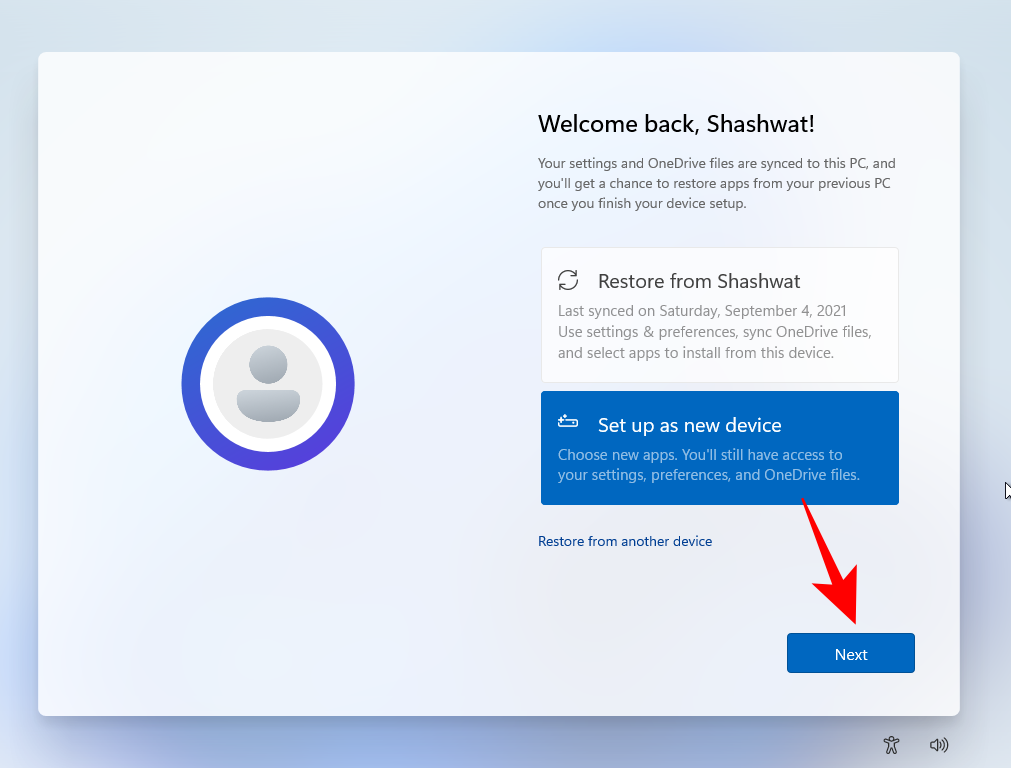
- You will now have the option to either ‘Restore’ your settings and OneDrive files from your previous PC or ‘Set up as new device’. Choose the option that you want and click Next to go ahead with further on-screen instructions to create a new user account on your freshly installed Windows 11 PC.
Related: How To Change Administrator Windows 10
Create a new user on Windows 11 (Offline)
Now, let’s take a look at all the ways in which you can create and add a local account on Windows 11.
Method 1: Using Settings
- Press
Win+Ito open Settings. Then click on the Accounts in the left panel.
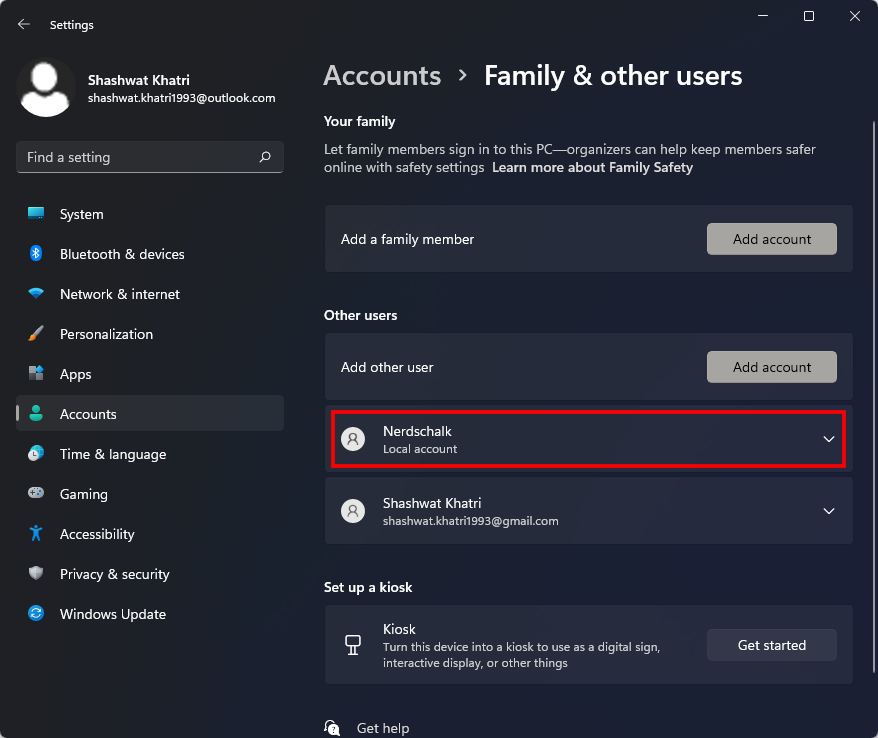
- Then select Other users on the right.
- Under “Other users” click on Add account.
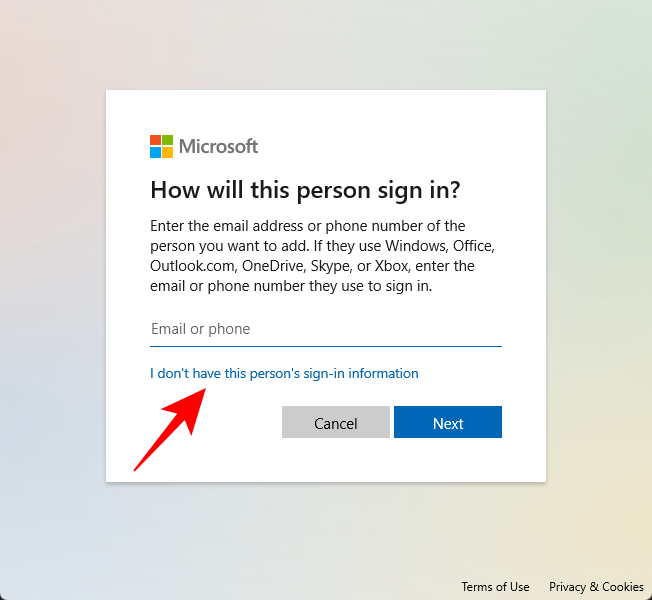
- Click on I don’t have this person’s sign-in information.
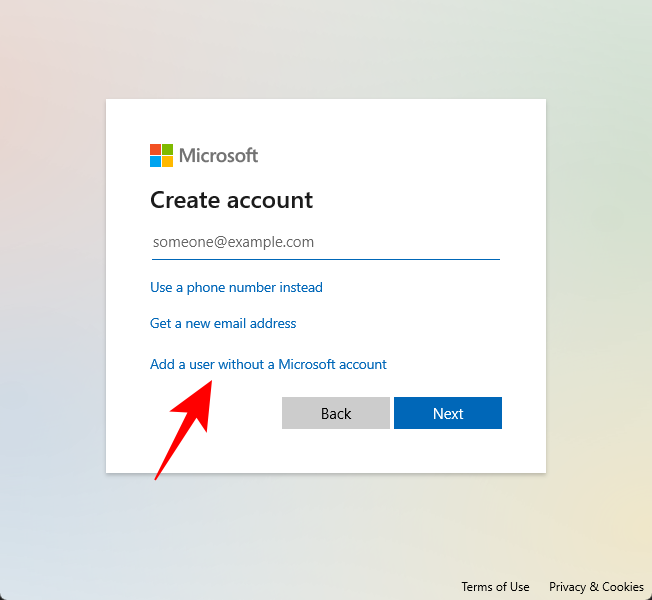
- Then click Add a user without a Microsoft account.
- Enter the user name and the password. You can choose not to enter any passwords if you wish. Once done, click Next.

- And that’s it. You have now created a new local account on Windows 11.
Method 2: Using User Accounts (netplwiz)
You can also use the ‘User Accounts’ windows of the Control Panel to add a new offline account. Here’s how:
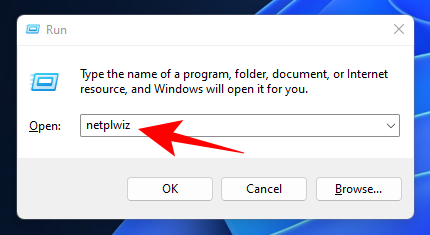
- Press
Win + Rto open the RUN window. Then type netplwiz and hit Enter.
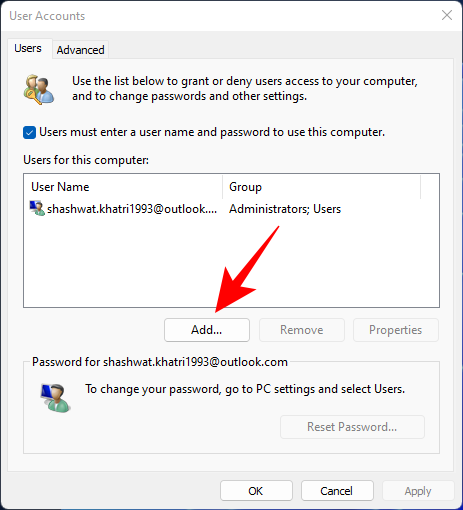
- Click on Add.
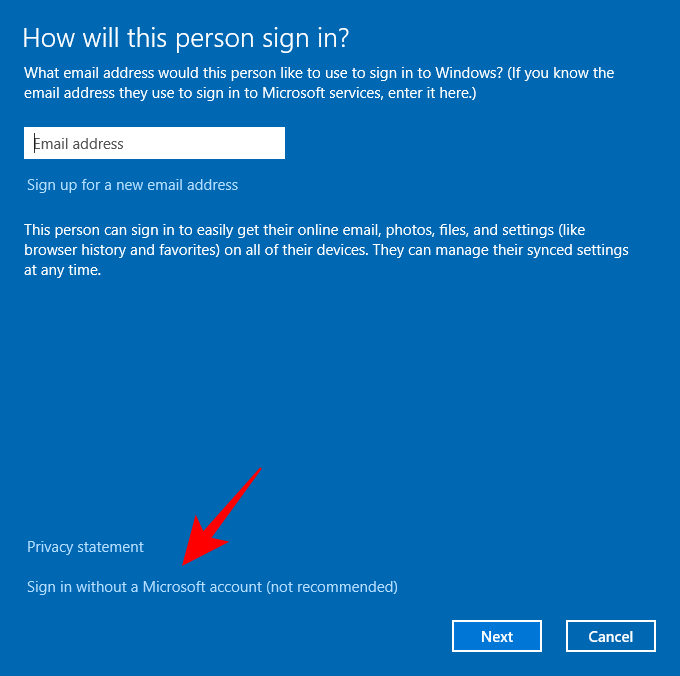
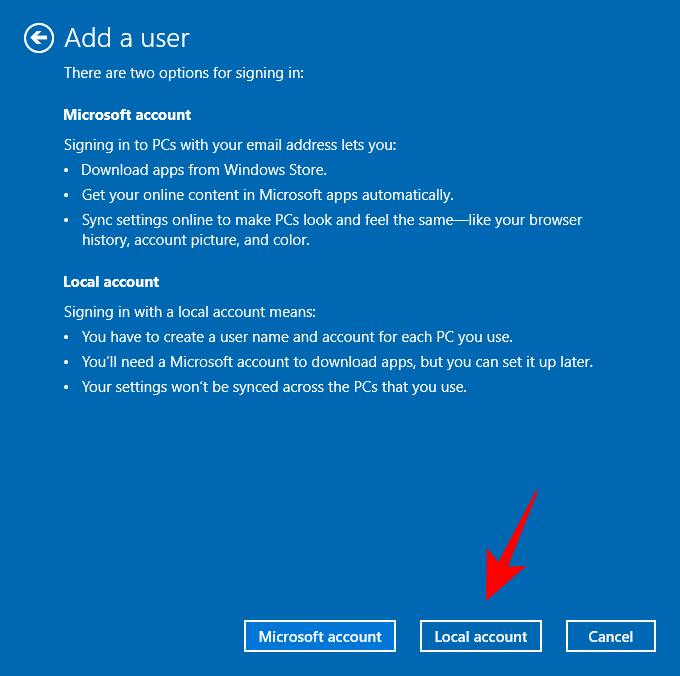
- Now click on Sign in without a Microsoft account at the bottom.
- Click on Local account.
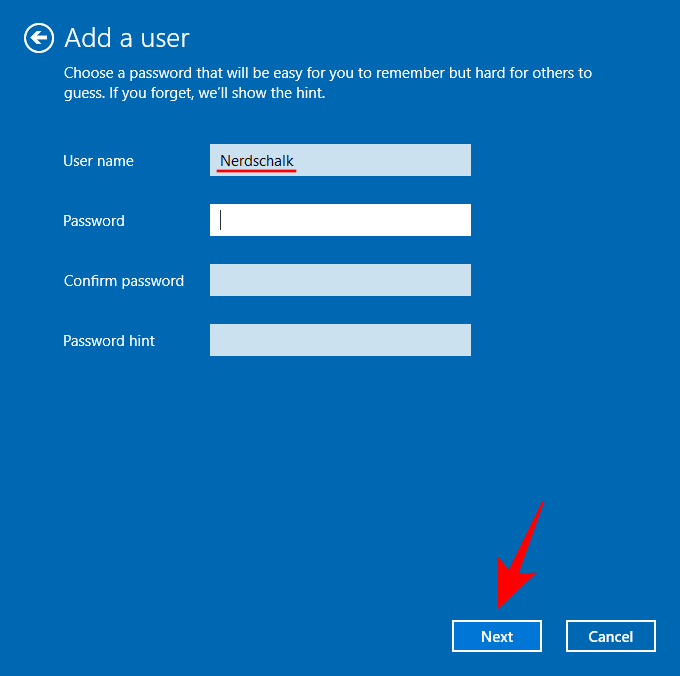
- Enter the user name and the password (or leave the password field blank if you’d rather not have one for this account). Then click Next.
- Your new local account is now created. Click Finish.

Method 3: Using the Command Prompt
For those who prefer using Windows terminals, here’s how you can add an offline local Windows 11 account using the Command Prompt.
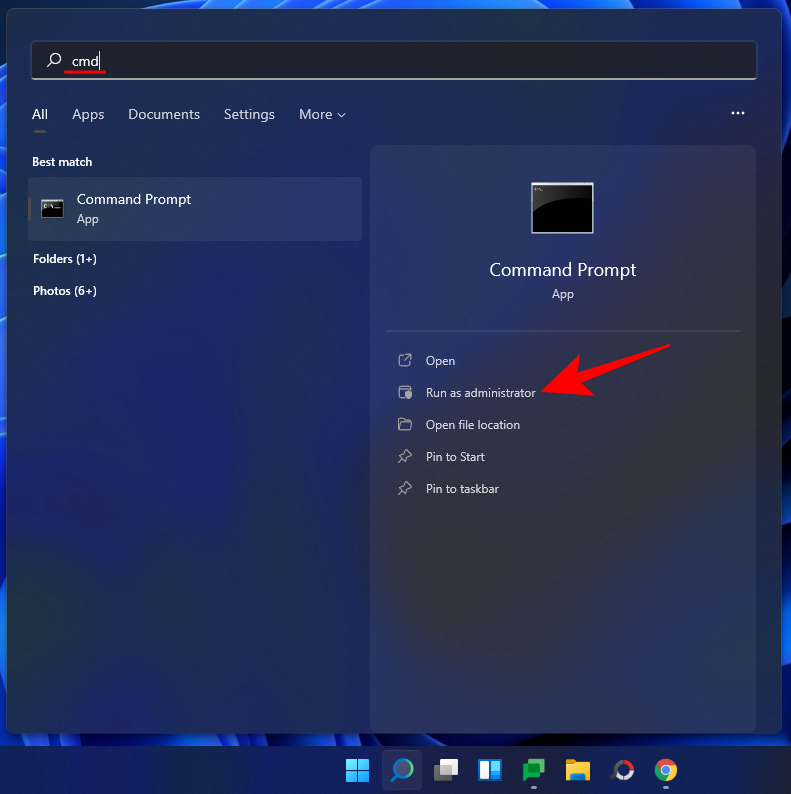
- Firstly, press Start, type cmd, and then click on Run as administrator.
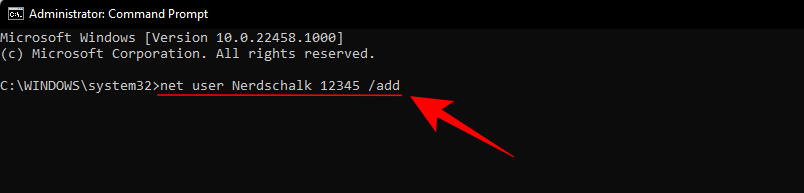
- Now enter the following command:
net user "UserName" "Password" /add
Make sure to replace “Username” and “Password” with the actual username and password that you wish to add and press Enter..
- If you don’t want to add a password, simply type the following command:
net user "UserName" /add
Again, make sure to replace “Username” with the one that you want for your offline/local account, and press Enter.

Your new local account is now created.
Method 4: Using the Local Users and Groups utility
Now, let’s see how to achieve the same thing with the Local Users and Groups utility.
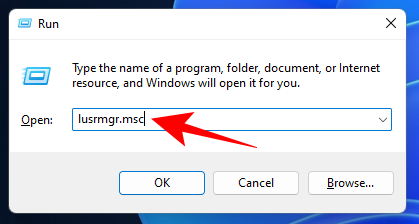
- Press
Win + Rto open the RUN dialog box. Then type lusrmgr.msc, and hit Enter.
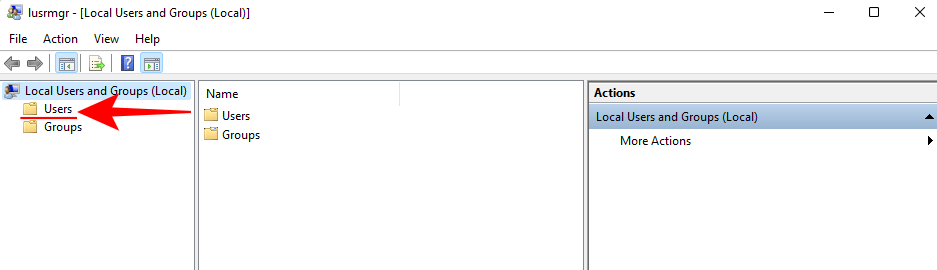
- This will open the Local Users and Groups utility. Click on Users in the left panel.
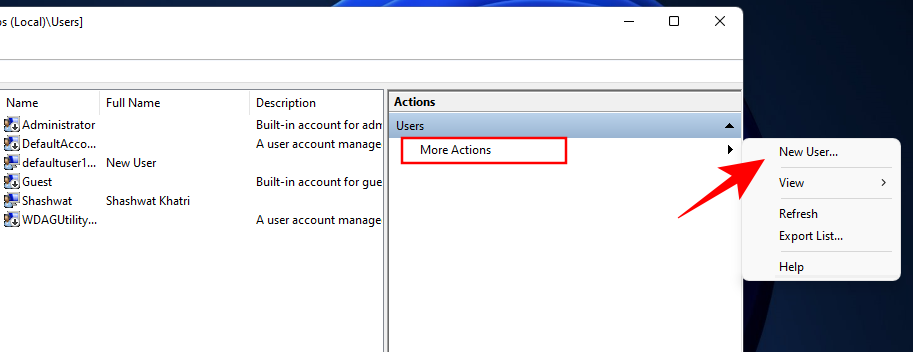
- Now, in the right panel, click on More Actions and select New User.
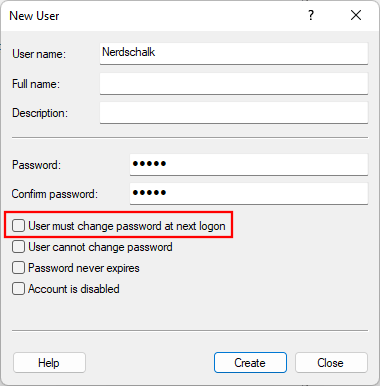
- In the new window that opens up, enter the ‘User name’ and ‘Password’.
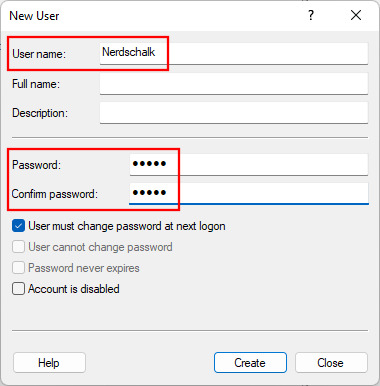
- If you want to keep this password set permanently, uncheck the box that says Users must change password at next logon.
- Then click Create.
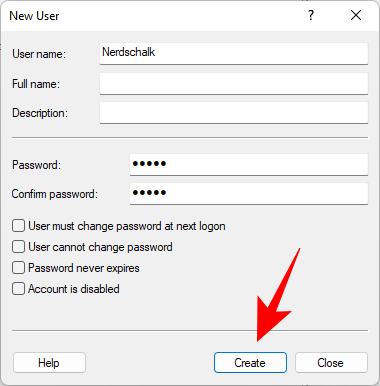
- You should see the new account added to the list of accounts on your PC.

Method 5: When installing Windows 11
Windows 11 also gives you the option to create an offline account when you’re setting it up first.
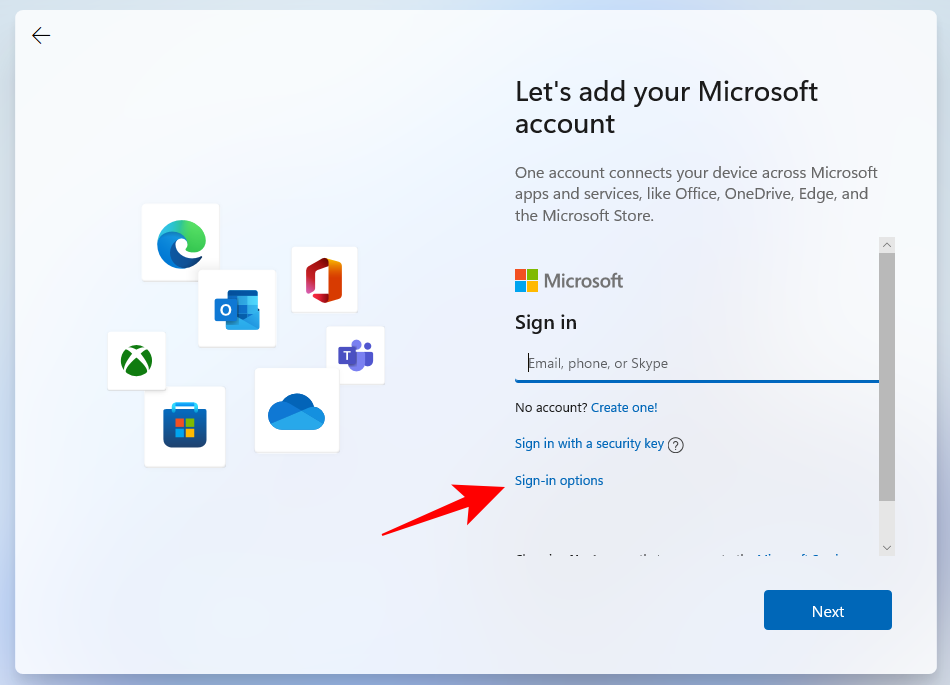
- During the initial OOBE setup, when you come across the “Let’s add your Microsoft account” screen, click on Sign-in options.
- Then select Offline account.
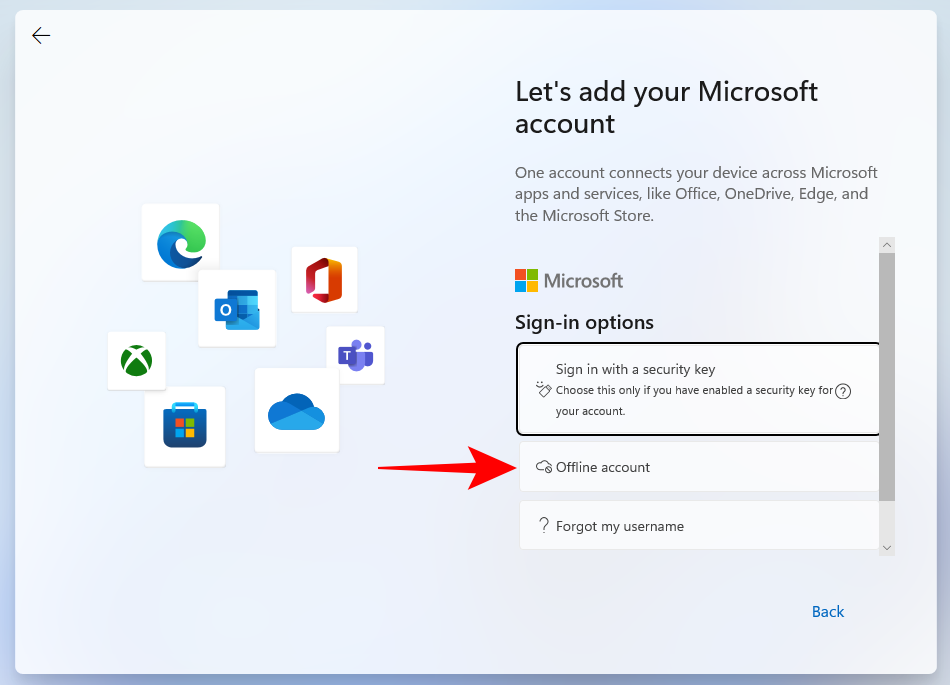
- Then click Skip for now.
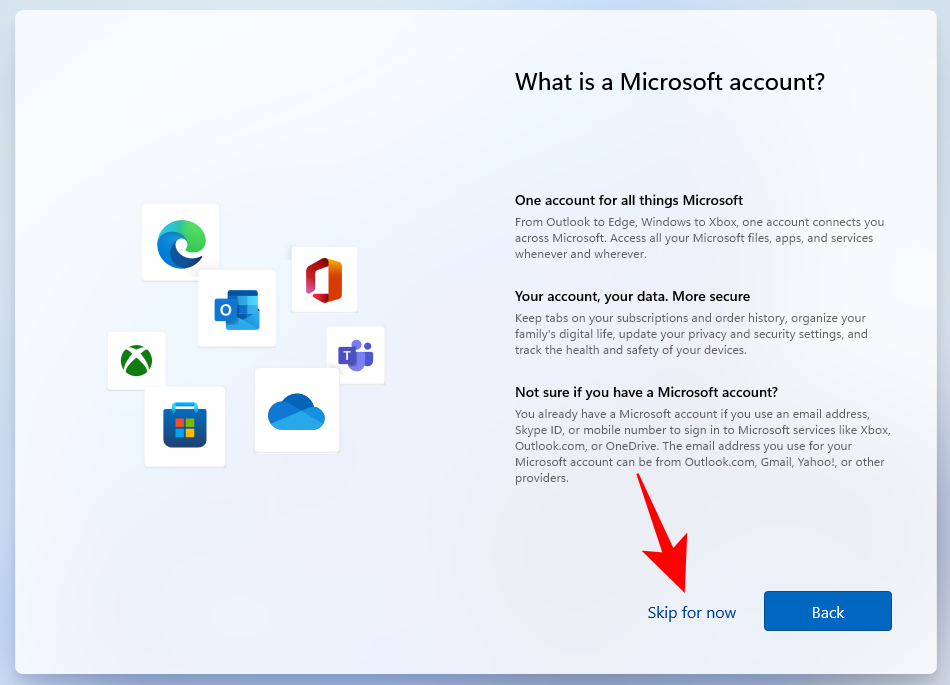
Then continue with the rest of the instructions to set up your local Windows 11 account.
Switch from an online Windows 11 account to an offline account
If you’re already using an online Windows 11 account, you have the option to switch to change it to a local account instead. Here’s how:
- Press
Win+Ito open Settings. Then click on Accounts in the left panel.

- Then click on Your info.

- Under “Account settings” click on Sign in with a local account instead.

- Click Next.

- Enter your PIN/password.
- Enter a new password if you wish. Then click Next.

- Click on Sign out and finish.

Switching from an online Windows 11 account to an offline account doesn’t mean that you have to set up your account from the start. All your personal settings are data will be preserved. You will only be letting go of the Microsoft account integration and so won’t get any of the benefits associated with it.
Switch from an offline Windows 11 account to an online account
Now, if you have an offline or a local Windows 11 account, be it created by you or someone else, you can integrate your Microsoft account with it and avail the benefits associated with it. Here’s how to switch from an offline to an online account on Windows 11.
- Press
Win + Ito open Settings. Then click on Accounts in the left pane.

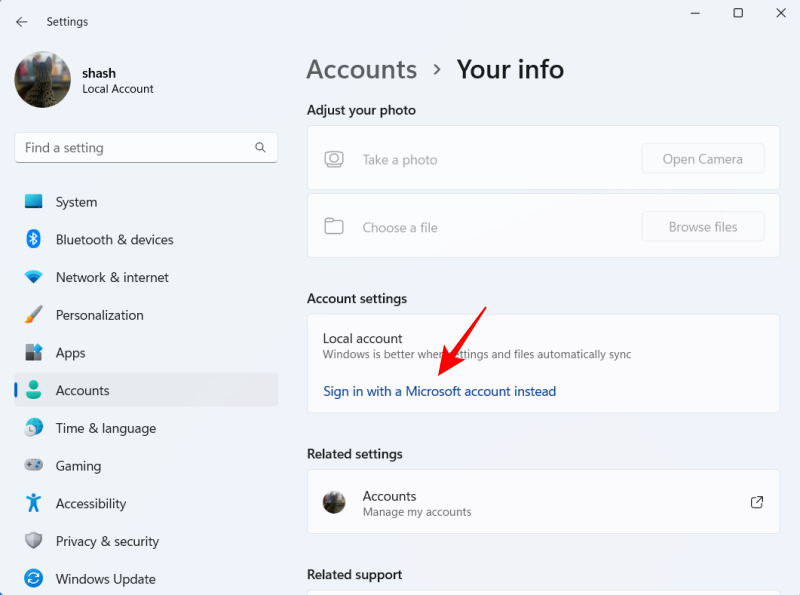
- Then click on Your info.

- Under ‘Account settings’ click on Sign in with a Microsoft account instead.
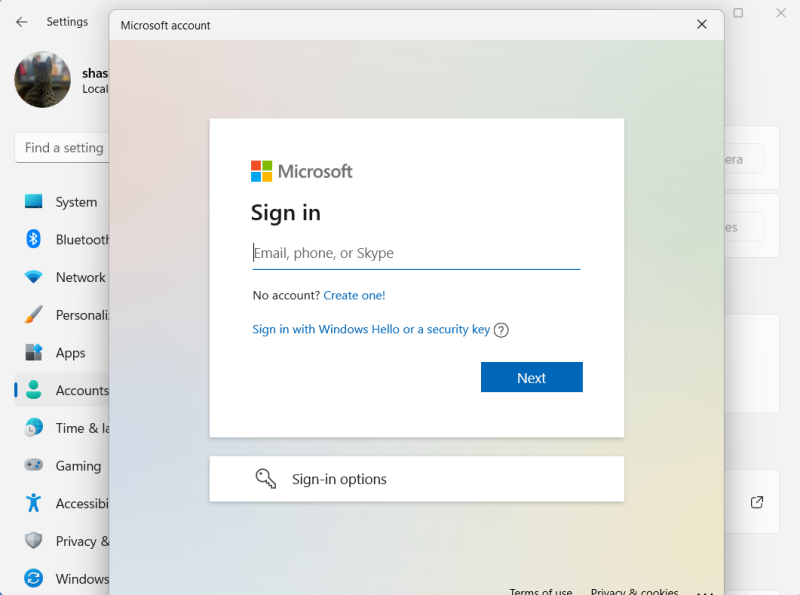
- Enter your email id, then click Next.
- Confirm your identity. Then type in your current Windows password (if you don’t have a password set, leave this field blank). Click Next.

- Click Next.

- Add a new PIN, then click OK.
And that’s it! You have now switched your offline account to an online one.
FAQ
With a lot of users installing Windows 11 for the first time, there are a lot of queries concerning setting up a user account or creating and adding new accounts. Here we answer a few commonly asked questions.
Can I set up Windows 11 Home without a Microsoft account?
For Home users, Windows 11 OOBE doesn’t have a screen to select a local account time when setting it up for the first time. However, there’s a simple way to get around this. When you come upon the screen where it asks you for internet and your Microsoft account, simply press Alt + F4 to close this bit.
Doing so will lead you straight to the local account setup page. Apart from that, you can always add a local account later through the ways mentioned in our guide above (Create a new user on Windows 11 – Offline).
Can I switch from a local account to a Microsoft account on Windows 11?
Yes, you can switch from a local account to a Microsoft account. Refer to the section “Switch from an offline Windows 11 account to an online account” in our guide above.
So these were the ways that you can create and add a new user on Windows 11, both locally as well as with a Microsoft account, switch between the two, and give the newly created account administrator privileges if you wish.
RELATED
- How to Disable Windows Search on Windows 11
- Where Do Windows 11 Screenshots Go? [Windows 10, too]
- How to Uninstall Apps on Windows 11
- How to Remove the Evaluation Copy Watermark on Windows 11
- How to delete temporary files in Windows 11
- Does Windows 11 Have Ads?
- How to Change User Folder Name in Windows 10
- Where is ‘My Computer’ Located on Windows 11?


