
The screenshot feature has been a part of Windows for a while now. Being able to capture what you see on your screen is an important function if you’re working on a project, or when you want to share information on your screen on a community forum, or if you are working on an article like this one.
But where do the screenshots go? Well, the answer to that will depend entirely on how you’ve taken the screenshot. Here’s everything you need to know about the storage location of screenshots on Windows and how to go about fixing issues related to it.
A Note about Windows 10 compatibility: The guides on this page have been compiled using Windows 11, thus the screenshots show Windows 11 UI. But these guides totally work on Windows 10, too. So, feel free to use the guides on Windows 11 as well as Windows 10 PC.
Where are screenshots stored in Windows 11 (or 10)?
There are multiple ways in which one can take a screenshot. So, there are different places where the captured screen is saved. This is the same on Windows 11 as it is on Windows 10. So, if you know how to take screenshots on Windows 10, you won’t find any trouble doing the same on its successor. Here is how you can find your screenshots…
1. When using the Print Screen key only
If you’re only using the Print Screen key, the screenshot is captured and copied to the clipboard only. You can paste the screenshot in any app that lets you do so. For instance, MS Paint is regularly used to save a screenshot taken this way.
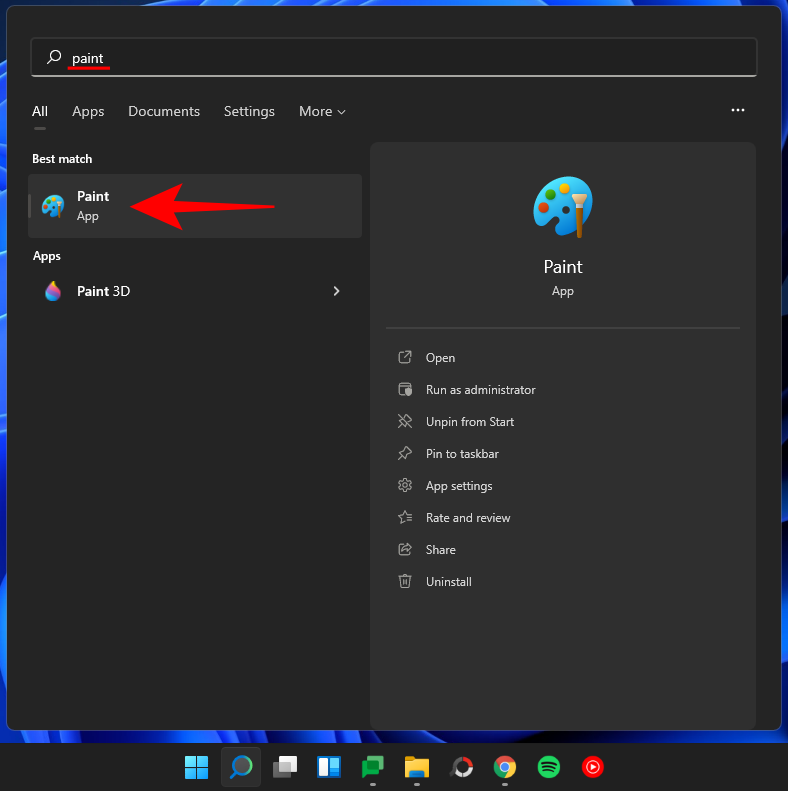
To save a screenshot from the clipboard on your hard disk, open the MS Paint app on your PC first. To do this, press Start, type Paint, and select the Paint app from the search results.
Then simply press Ctrl + V to paste the image you took using the Print Screen key into Paint.

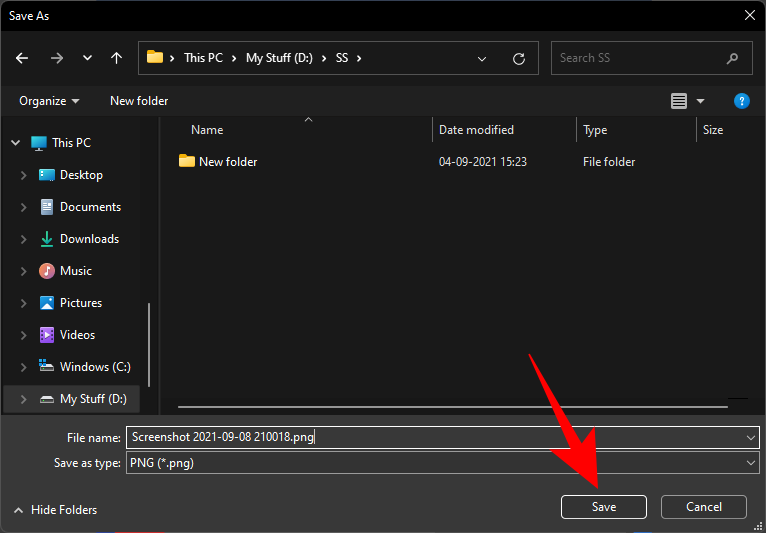
Now press Ctrl + S to save the screenshot to your hard disk. In the pop-up window, type the filename you want for the screenshot, choose the location you want to save it to, and then hit the Save button to save it on your hard disk.

2. When using Snipping Tool
The Snipping Tool lets you take a screenshot by pressing Win + Shift + S. Doing so dims the screen slightly and the options to take a snapshot of the screen appear at the top.

Once you take a screenshot, you get a notification at the bottom right corner of the screen.

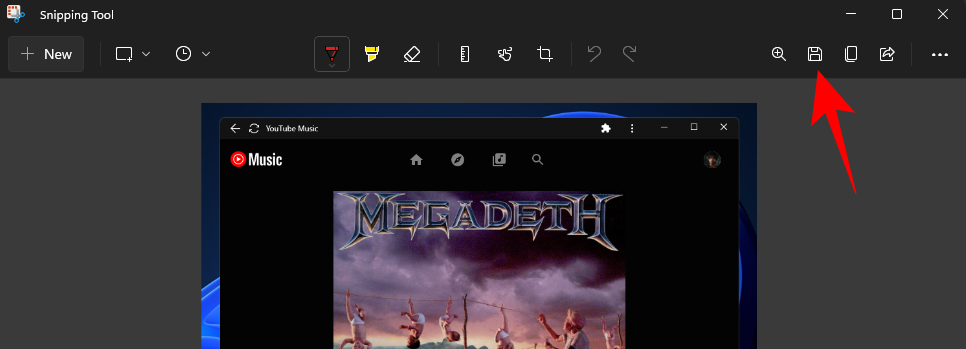
The image is saved to the clipboard by default, which means you can paste it into a program that lets you do so. Or, if you click on the notification that appears at the bottom right corner, the screenshot will open in the Snipping Tool where you can start editing it. To save it, you can click on the Save icon towards the top right.
You can then specify where you want to save the screenshot.
3. When using Win + Print Screen
If you’re using the Win + Print Screen hotkey combination to secretly snap a screenshot (this method doesn’t give any indication that a screenshot has been taken), you will find the screenshots in the following folder:
C:\Users\(username)\OneDrive\Pictures\Screenshots
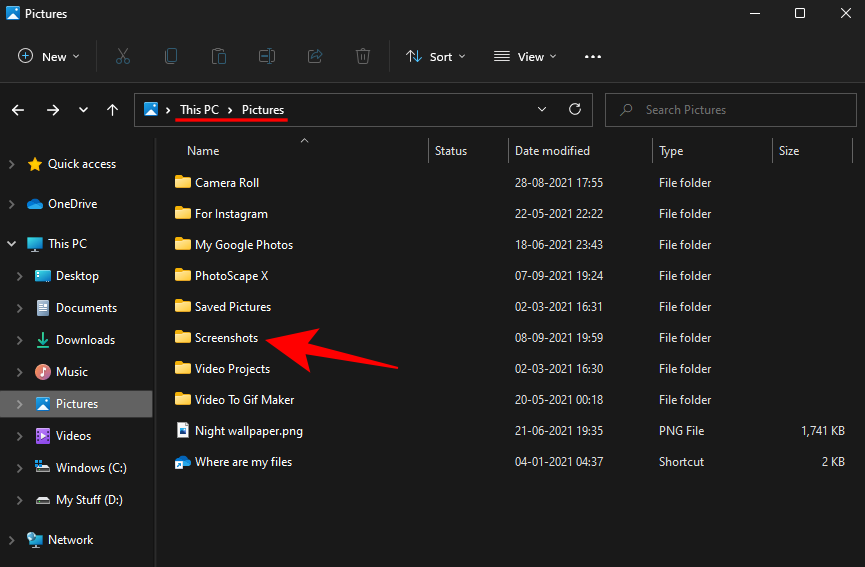
The ‘Pictures’ folder is easily accessible from the File Explorer. In it, you should find a ‘Screenshots’ folder that houses all the screenshots that are taken this way. If you’re unable to find it, look at the fix for it further down the guide.
4. When using the Xbox Game Bar
Though it may not be the first choice for taking screenshots, you can also take screenshots using the Game Bar. If you’re a gamer, you may be using this method to capture screenshots and videos. You can capture the active window on your screen with Win + Alt + Prt Scr. Or, you can open the Game Bar by pressing Win + G and click on the camera icon to capture the active window.

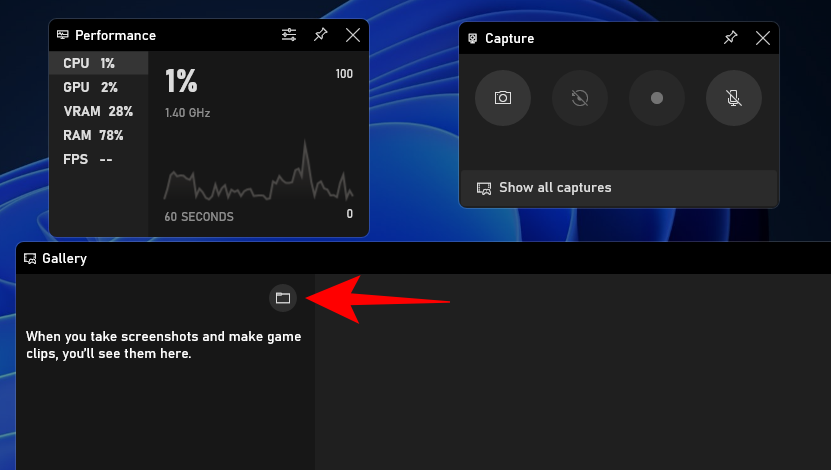
Either way, you will get a ‘Screenshot saved’ notification from the Game Bar. You can click on it to open the Game Bar gallery.

Here, in the ‘Capture’ window, click on Show all captures.

Then click on the folder icon.
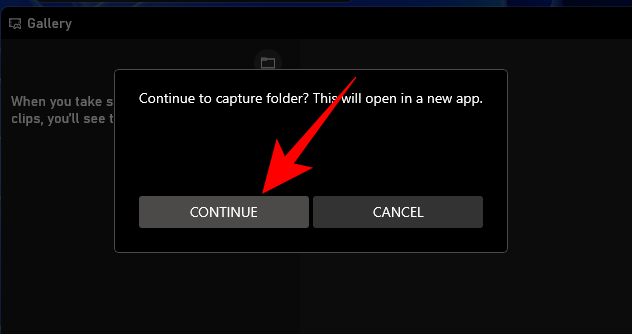
Click Continue.
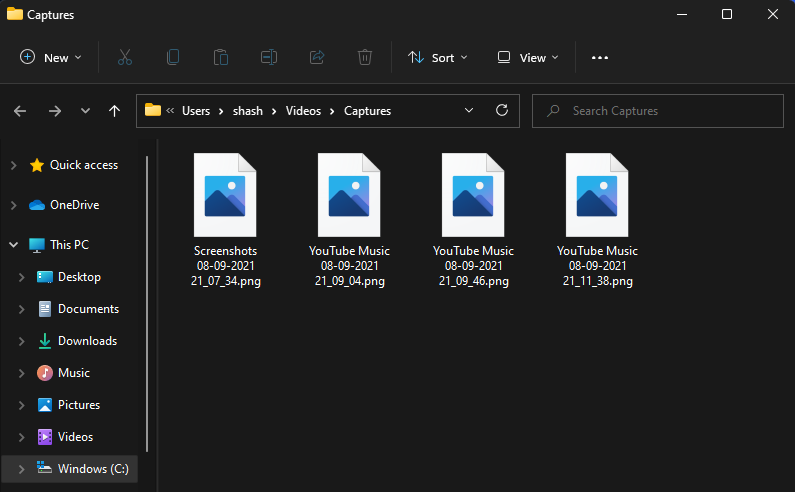
This will open up the default location for screenshots and videos captured using the Game Bar, which is:
C:\Users\(username)\Videos\Captures
How to change the screenshots folder location in Windows 11?
If you’re using the Win + Prt Scr hotkey combination to capture the screen, the default location where screenshots are saved (‘Screenshots’ folder inside the ‘Pictures’ folder) can be a little hard to get at, especially if you’re constantly taking screenshots and want to get to the location faster.
If you want, you can change the default location where the screenshots are saved. Here’s how to go about it:
Open File Explorer and go to the location where you’d like your screenshots to be saved. Create a folder there named ‘Screenshots’.

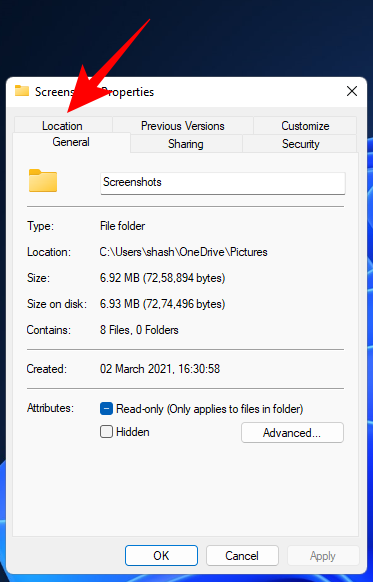
Then navigate to the ‘Pictures’ folder that contains the default ‘Screenshots’ folder. Right-click on it and select Properties.

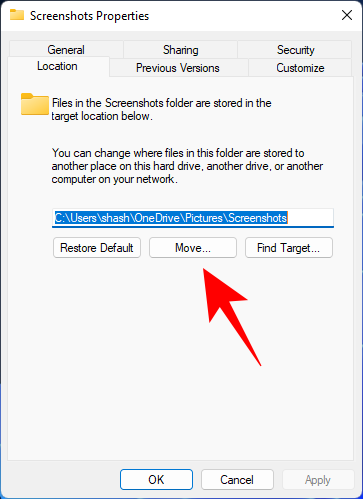
Then, switch to the Location tab.
Click on Move.
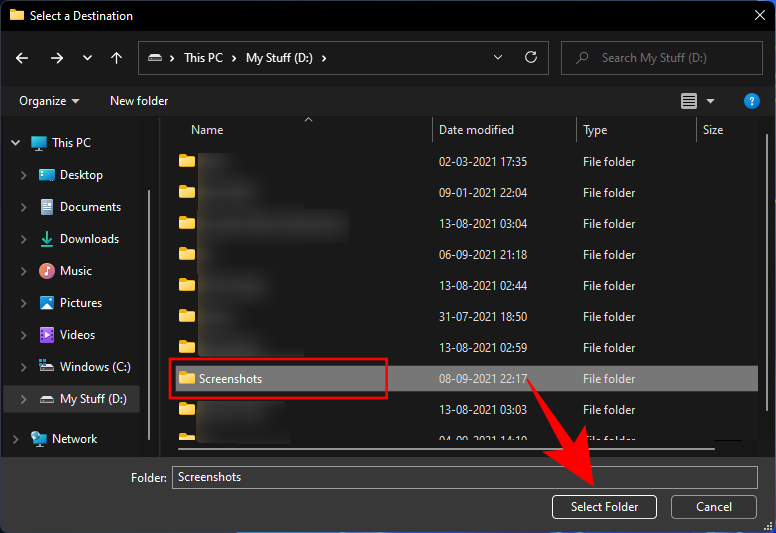
Now, navigate to the newly created Screenshots folder, select it, and click on Select folder.
Click OK.
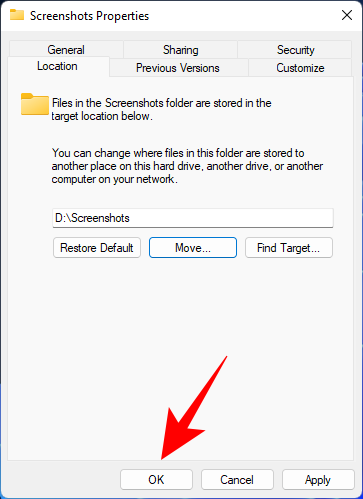
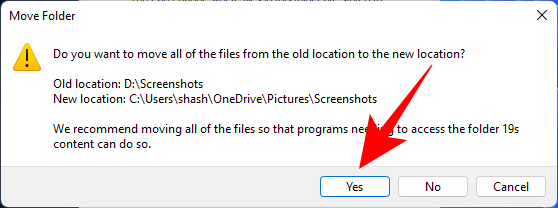
When asked to confirm, click Yes.

And that’s it! All your screenshots taken with the Win + Prt Scr key combination will be stored in the new location from now on.
Restore original screenshots folder location
Restoring the original screenshot folder location is a cinch. Right-click on your current screenshot folder and select Properties.

Then switch to the Location tab.

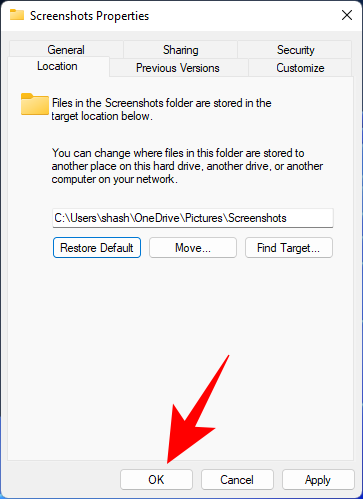
Click on Restore Default.

And just like that, the location of the screenshots folder will go back to the default ‘Pictures’ folder. Click OK to confirm.
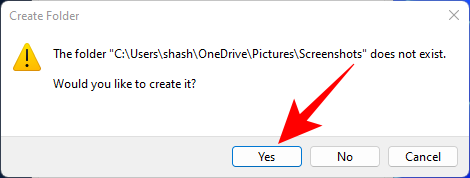
If the folder doesn’t exist any longer, Windows will ask you if you’d like to create it. Click Yes.
Click on Yes to confirm the move.
Fix: Windows not saving captured screenshots
First of all, see point number 1 above that by default, the screenshot is copied to your clipboard when you press only the Print Screen key to take a screenshot. It is not designed to be saved to your hard disk. So, to save it, you will have to copy it from your clipboard to an app like MS Paint.
Fix: Screenshots folder missing
Some users have found the ‘Screenshots’ folder missing from its default location. This can be quite a problem if you’re used to taking screenshots this way and don’t want to switch to a new method. Here’s how to fix this issue:
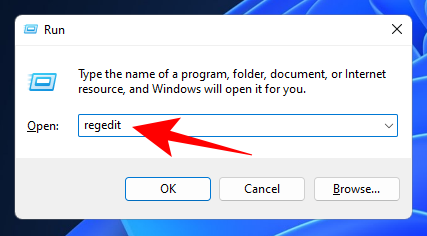
Press Win + R to open the RUN dialog box, type regedit, and hit Enter.
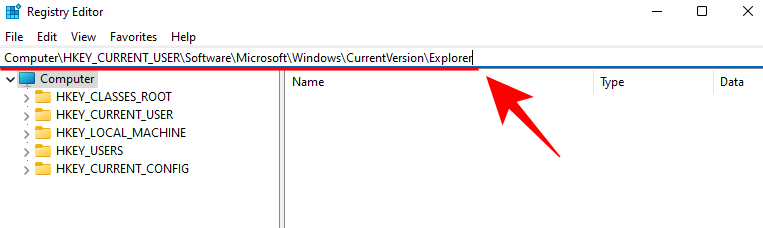
Now, navigate to the following registry address:
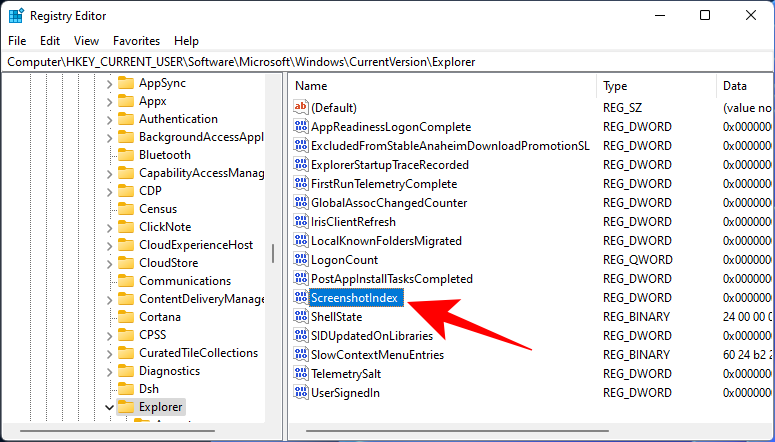
Computer\HKEY_CURRENT_USER\Software\Microsoft\Windows\CurrentVersion\Explorer
Alternatively, simply copy the above and paste it into Registry Editor’s address bar.
On the right, look for a DWORD value called ScreenshotIndex.
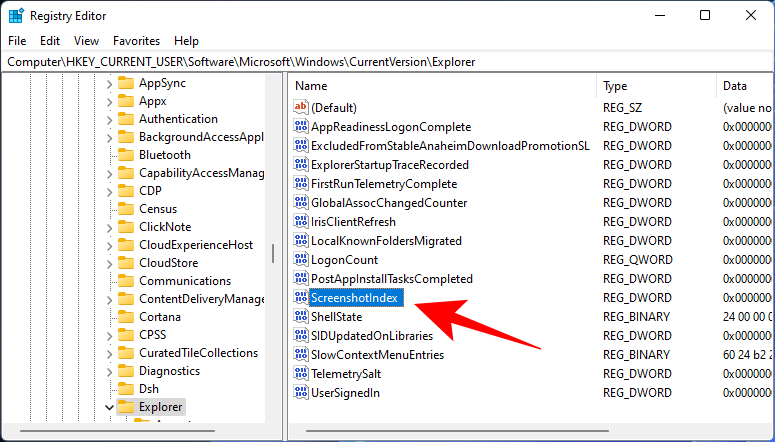
It’s possible that it may be missing, which is why the screenshots folder is missing too. But you can create one easily. Right-click on empty space, select New, then select DWORD (32-bit) Value.

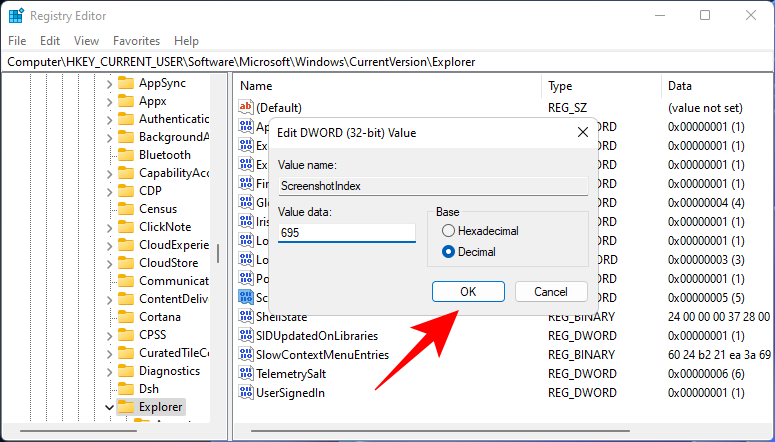
Name this “ScreenshotIndex” and double-click on it to change its value.
Select the Decimal base. Then key in 695 as the Value data.

Then click OK.
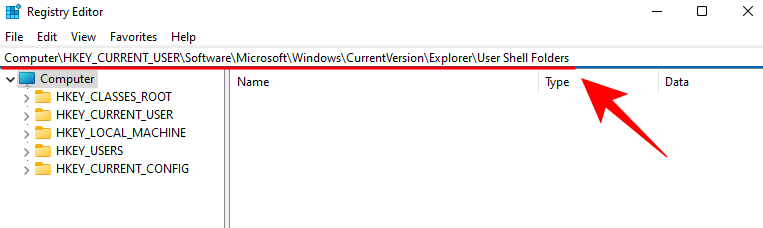
Now it’s time to set this DWORD key to the right profile settings. For this, first of all, navigate to the following address:
Computer\HKEY_CURRENT_USER\Software\Microsoft\Windows\CurrentVersion\Explorer\User Shell Folders
Alternatively, you can copy the above and paste it into the registry editor’s address bar.
Then, on the right, find {B7BEDE81-DF94-4682-A7D8-57A52620B86F} and double-click on it.
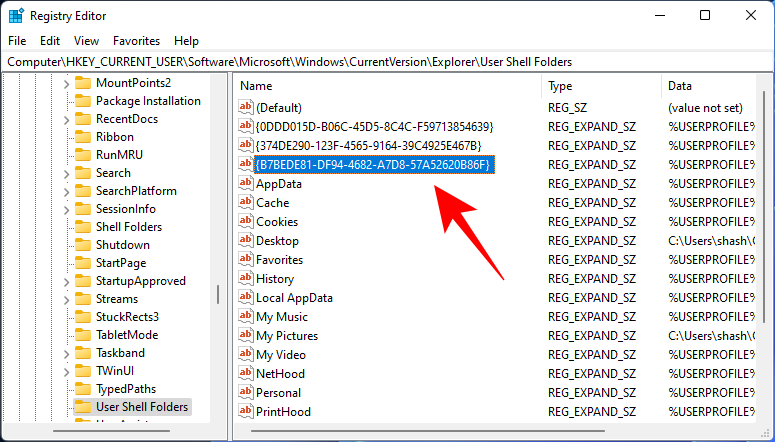
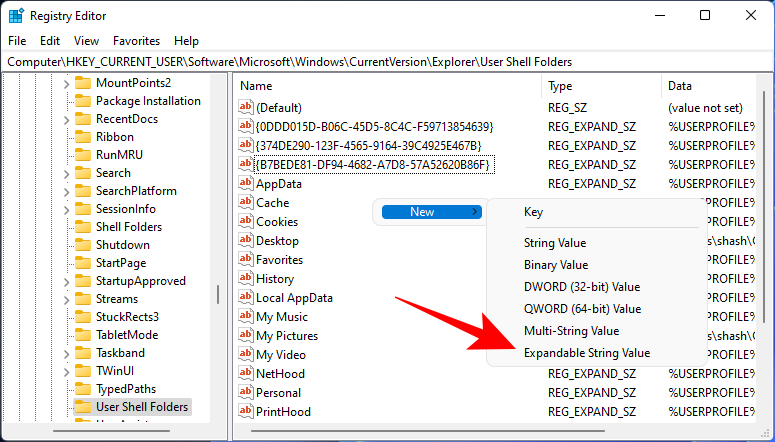
If you don’t find it here, right-click on empty space, select New, then Expandable String Value.
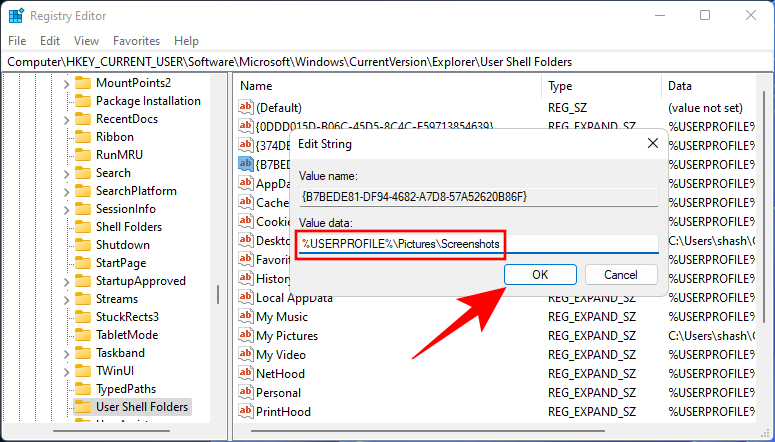
Name this {B7BEDE81-DF94-4682-A7D8-57A52620B86F}. Then double-click it to modify its value data. Type the following in the ‘Value data’ field:
%USERPROFILE%\Pictures\Screenshots
Click OK.
Once you’ve finished these steps, close the Registry Editor and restart your system. You should now be able to capture the screenshots and find them where they ought to be.
Frequently Asked Questions (FAQs):
Let’s take a look at some of the common queries that users tend to have regarding the screen capture function and the location of the screenshots.
How do I capture an active window? (Use Alt + PrtScr)
If you want to capture an active window, press Alt + Prt Scr. This will screenshot the active window that is in the foreground and save it to the clipboard.
What are the hotkeys for taking screenshots?
Here are all the hotkey combinations for taking screenshots on Windows 11:
Prt Scr– copies the screenshot to the clipboard.Win + Prt Scr– saves the screenshot to the default Screenshots folder.Alt + Prt Scr– screenshots the active window and saves it to the clipboard.Win + Shift + S– opens the Snipping tool.Win + Alt + Prt Scr– captures active window and saves it to the Game Bar’s default ‘Captured’ location.
We hope you were able to find the location of your saved screenshots, regardless of how you took them.


One response to “Where Do Windows 11 Screenshots Go? [Windows 10, too]”
Tremendous help – “Fix – Screenshot Folder Missing” article helped me a lot. Thanks a lot.