

The two full boss fights are Shoggoth and Slither Prime: use devices to expose Shoggoth’s eyes, shoot Slither Prime’s glowing head, and use the wider reference to prepare for other enemies and encounters.
Shoggoth tests whether you can control an arena mechanic under pressure, while Slither Prime tests movement, aim, and crowd management. The broader index covers named enemy types and Arkham area entries without treating every entry as a formal boss.
- Quick answer
- At a glance: bosses and named enemies
- How to use this list while exploring Arkham
- How to beat Shoggoth
- How to beat Slither Prime
- Complete reference for bosses, enemies, and encounters
- Arkham location preparation checklist
- Preparation priorities before boss arenas
- Frequently Asked Questions
- More The Sinking City 2 guides
Quick answer
Against Shoggoth, activate the three strange devices and shoot the eyes they expose. Against Slither Prime, keep moving, clear summoned enemies before they surround you, and return fire to the glowing head whenever the arena opens up.
For everything else, conserve ammunition, exploit visible weak points, and disengage from fights that are draining supplies without blocking your route.
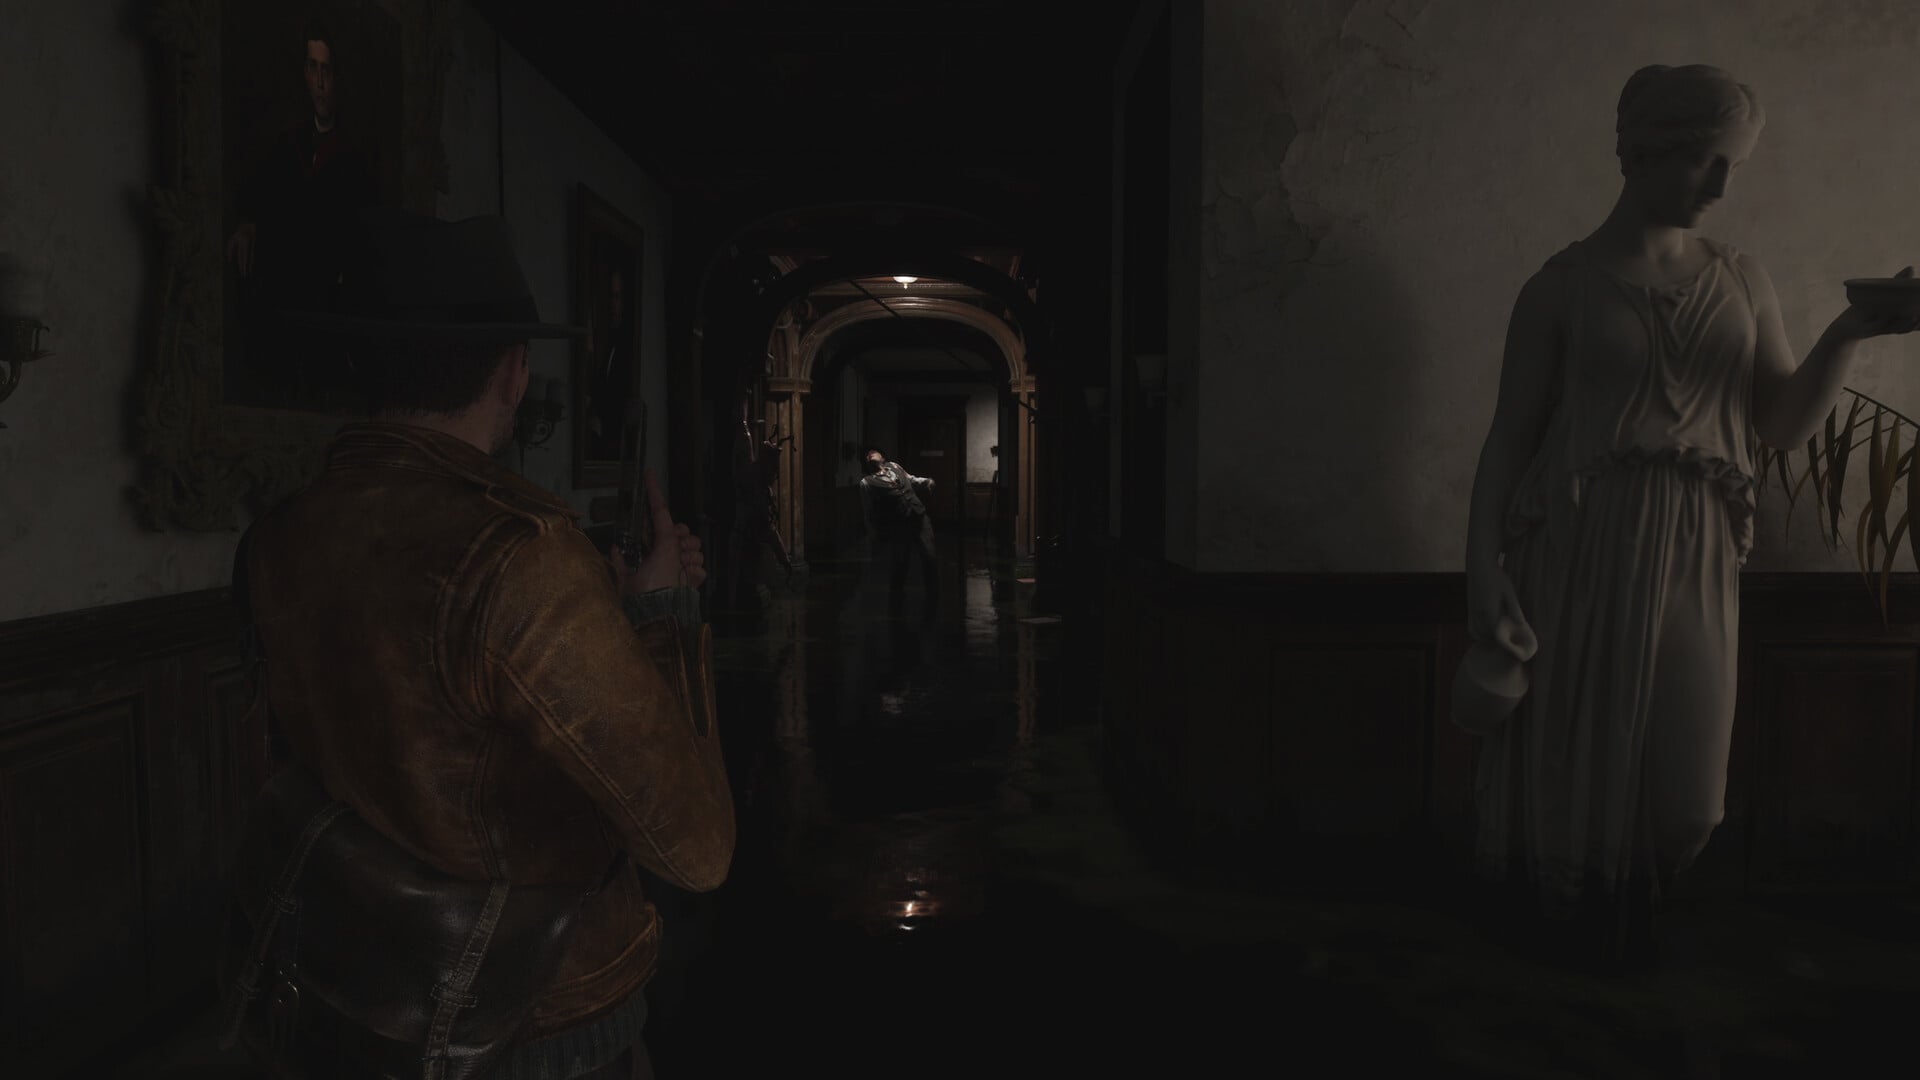
At a glance: bosses and named enemies
| Enemy or boss | Best approach | Watch for |
|---|---|---|
| Shoggoth | Cycle through the three devices and shoot the exposed eyes. | Faster, more aggressive pressure after each damage cycle. |
| Slither Prime | Target the glowing head and interrupt damage to clear summons. | Enemies surrounding you while you focus on the boss. |
| Deep One | Maintain distance and attack through clear openings. | Pressure that leaves little room to reload. |
| Grindmaw | Bait a committed attack, dodge, and punish the recovery. | Spending ammunition before learning its reach. |
| Acheronian | Interrupt what it is holding, then shift aim to its chest. | An incoming slime projectile. |
| Lethian | Hold fire for the weak-point opening during its spit preparation. | Mistiming the short attack window. |
| Shadow | Spend enough damage to force a retreat only when necessary. | A heavy resource cost for a temporary result. |
| Slither | Topple it first, then attack exposed or rear weak points. | Armor covering the target on stronger variants. |
| Stygian | Use stomps when safe and punish a missed jump. | Beginning a stomp while another attack is coming. |
| Mi Go Teacher | Observe its range and retain a retreat lane before firing. | Committing supplies from a trapped position. |
| Sea Tentacle | Stay outside its immediate reach and attack through safe openings. | Remaining stationary within its threat area. |
| Shoggoth Humanoid 02 | Create space and test visible weak points with controlled shots. | Burning ammunition while holding one position. |
| Slither Boss | Keep moving and follow the encounter’s visible weak-point cues. | Close-range pressure and tunnel vision. |
| Smasher | Dodge its committed attack and answer during recovery. | Being caught while healing or reloading. |
| Starfish | Maintain an escape lane and take deliberate shots. | Losing track of nearby threats. |
| Whale | Reposition before committing ammunition. | Firing without a clear damage opening. |
The strongest general pattern is to observe first and spend ammunition second. Enemies with exposed weak points reward deliberate aim, while heavy attackers are easier to punish after they commit to an animation.
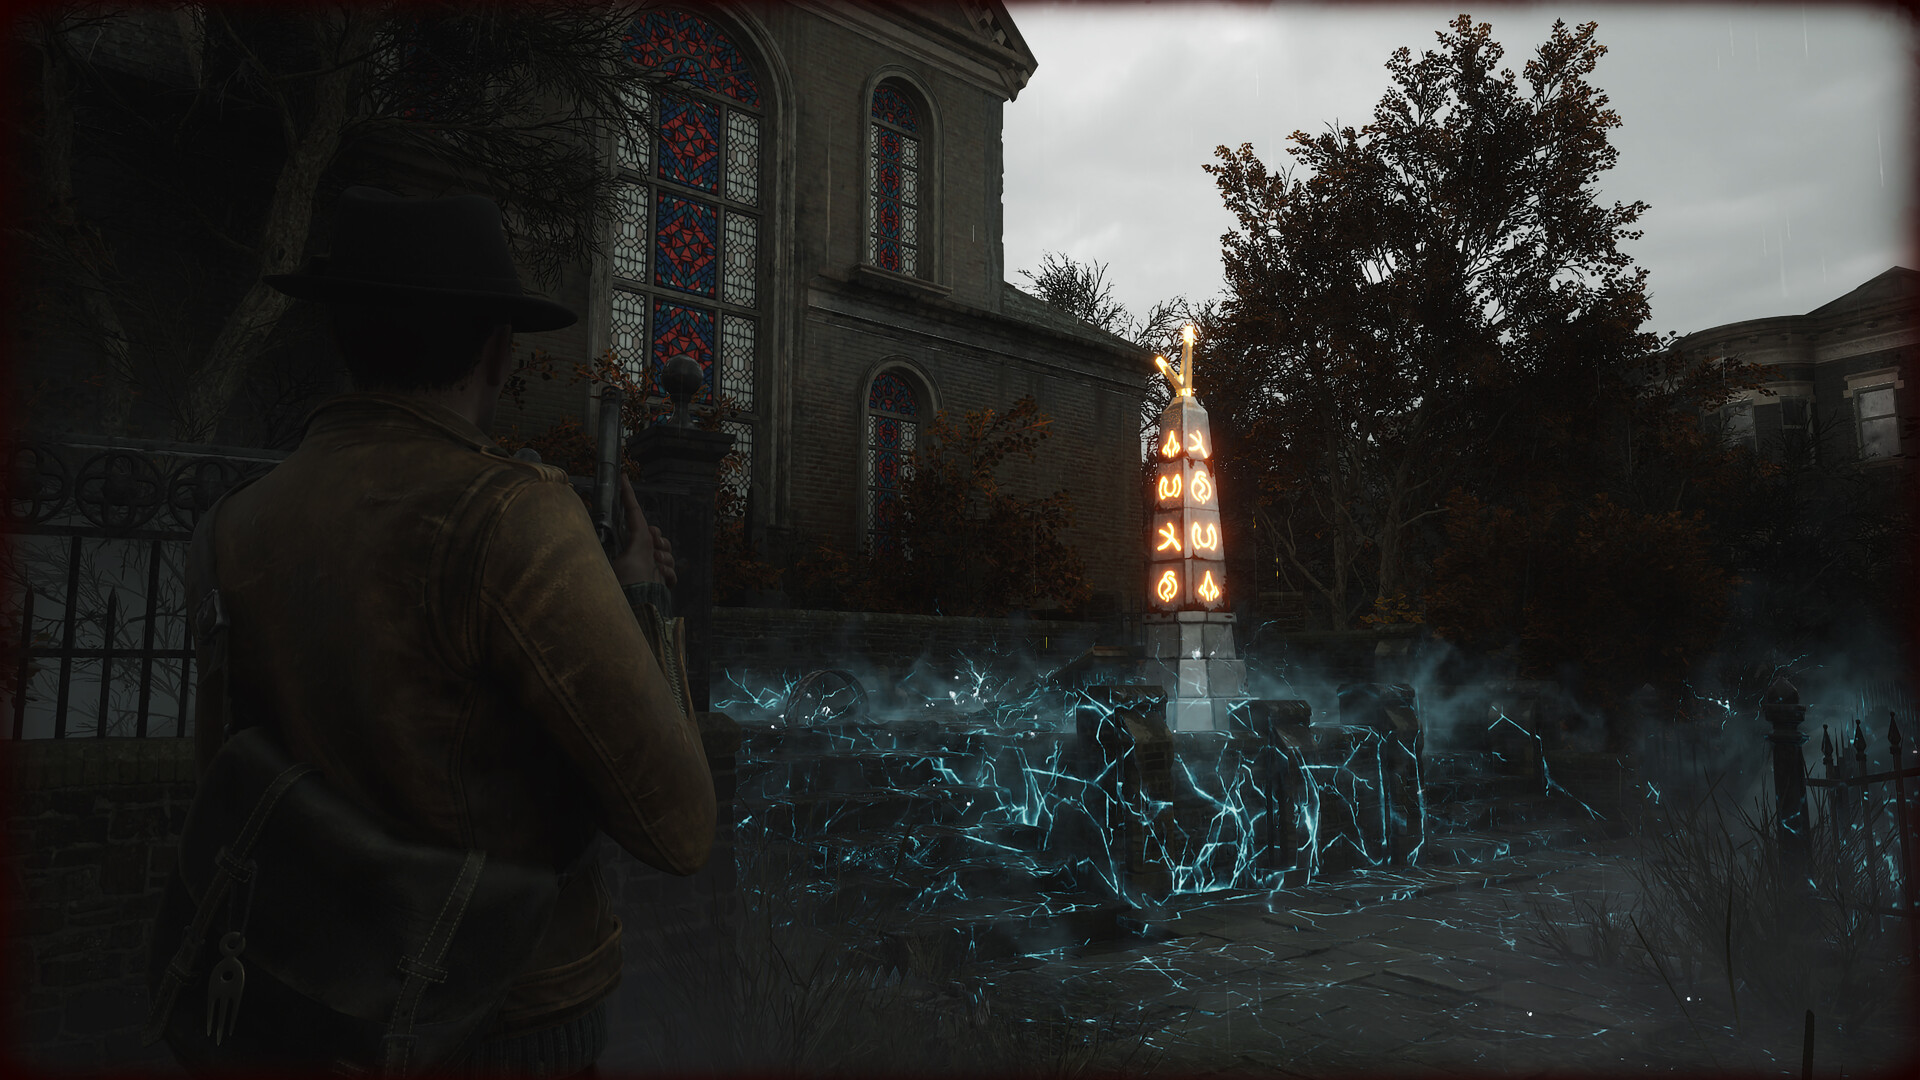
How to use this list while exploring Arkham
This is a combat-planning reference, not a route that asks you to kill everything. Make manual saves before major encounters, use safe rooms to restock, and preserve ammunition on the approach so a boss attempt does not begin with an already-depleted inventory.
Once combat starts, prioritize weak-point shots over continuous fire. If summons or fast enemies begin closing from several directions, clear enough of them to restore a movement lane before returning to the primary target.
| Situation | Best decision |
|---|---|
| A boss arena or major drop lies ahead | Save manually, heal, reload, and restock before entering. |
| A safe room is available | Settle your loadout and replace supplies before continuing. |
| An enemy exposes a weak point | Commit accurate shots during the opening instead of firing constantly. |
| A small isolated threat can be stomped safely | Conserve ammunition and finish it without shooting. |
| Summoned enemies are surrounding you | Break away from boss damage and clear a movement lane. |
| A costly fight is not required | Flee or disengage rather than draining ammunition and healing. |
| No reliable damage window is visible | Reposition and observe instead of forcing ineffective shots. |
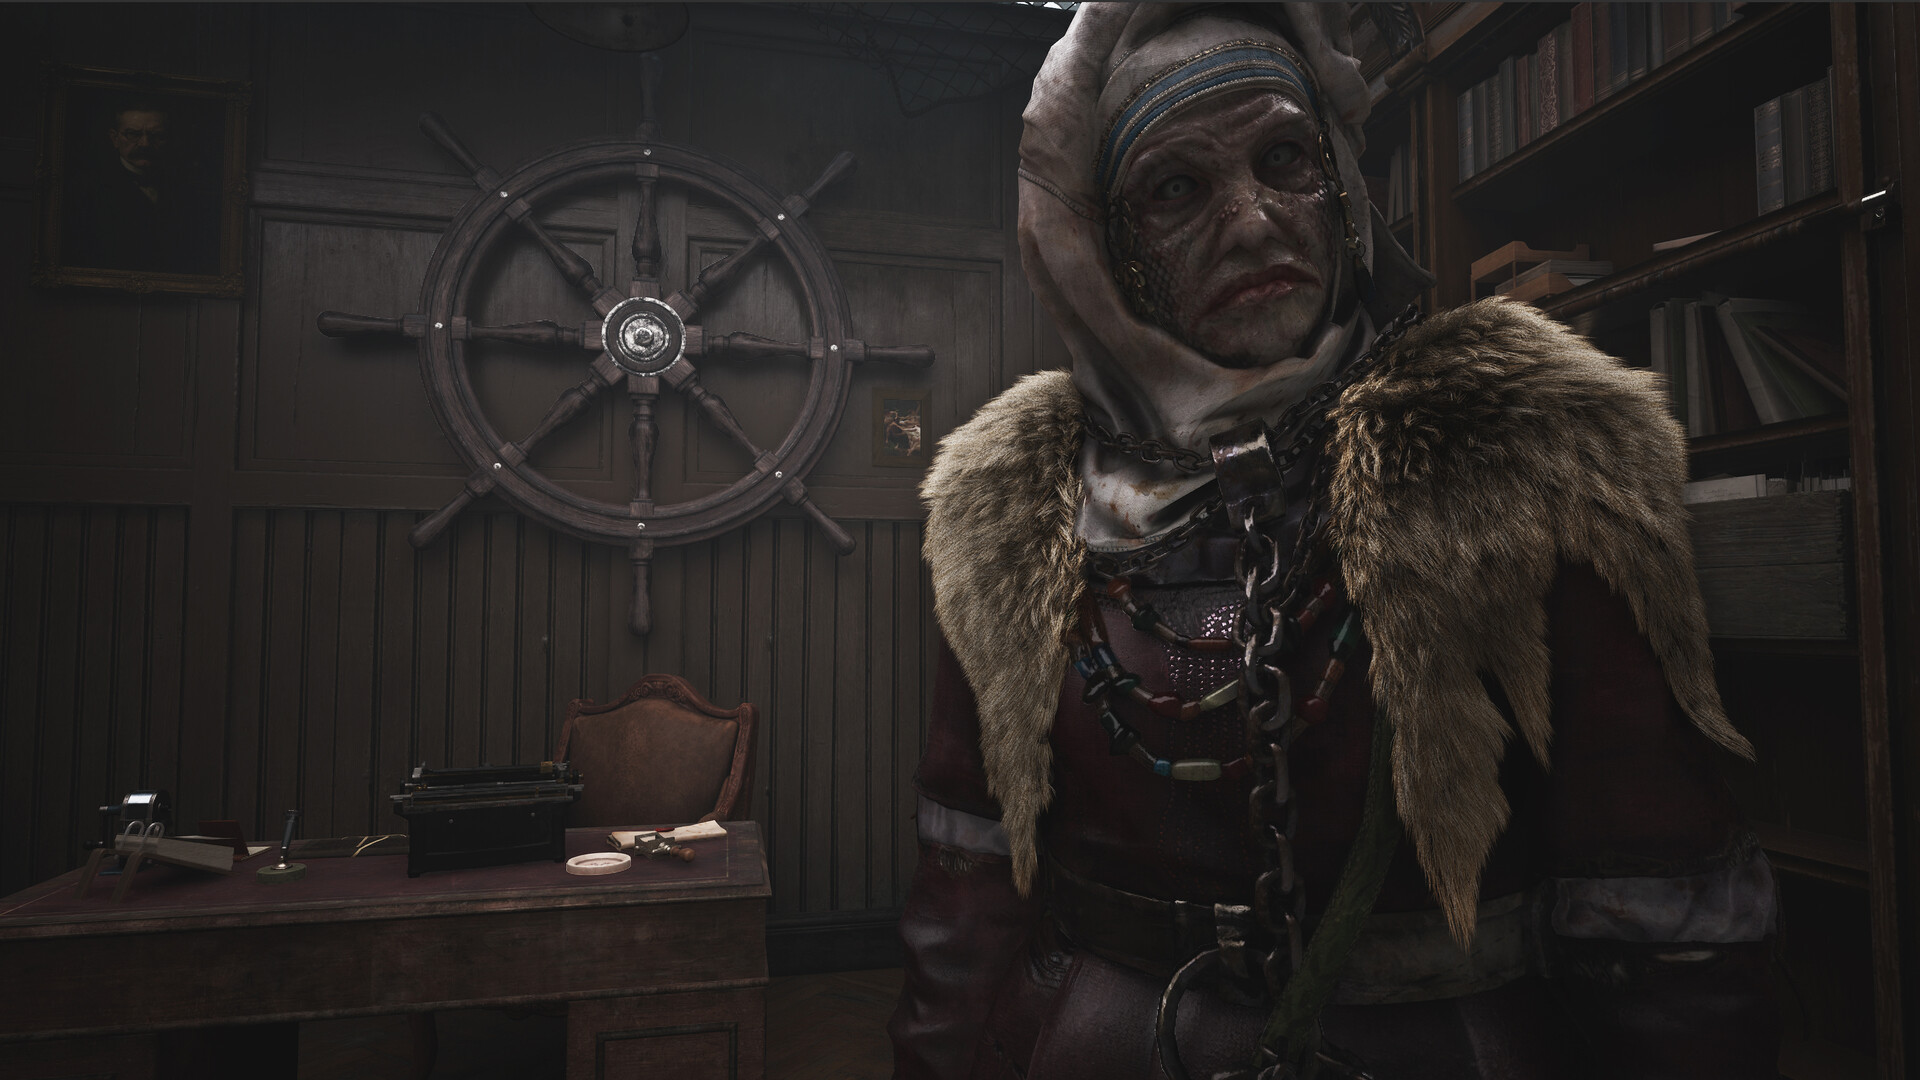
How to beat Shoggoth
Raw direct gunfire will not reliably progress this fight. The three strange devices control Shoggoth’s damage windows, so your route through the arena matters as much as your aim.
Restock and make a manual save
Use the safe room before the arena to replenish ammunition and healing, then save before advancing.
Locate the three strange devices
Scan the arena and learn a movement route between all three devices before committing to sustained fire.
Activate devices while moving
Reach each strange device without camping beside one or waiting in place for Shoggoth to approach.
Shoot the exposed eyes
When a device forces Shoggoth’s eyes into view, focus your shots on them before the damage window closes.
Repeat as aggression escalates
Continue cycling between device activations and eye damage while leaving enough space to dodge the increasingly frenzied attacks.
Do not stare at Shoggoth while waiting for an opening or remain beside one device. Rotate through the arena, heal only after creating space, and begin moving again as soon as an eye-damage window ends.
How to beat Slither Prime
As the final boss, Slither Prime replaces Shoggoth’s device puzzle with a direct test of target priority. Its glowing head is your primary target, but sustained damage becomes unsafe whenever additional enemies crowd the arena.
Restock before entering
Collect supplies from the preceding safe area and begin with loaded weapons and available healing.
Aim at the glowing head
Fire directly into Slither Prime’s illuminated head whenever you have a clear lane.
Clear summoned enemies
Break away from the boss and thin the additional enemies before they can surround you.
Sprint and dodge
Keep moving through open space, time your dodges, and avoid standing still or backing straight away.
Return to head damage
Reacquire the glowing head as soon as the crowd is under control and resume focused fire.
Follow Faye
After defeating Slither Prime, follow Faye to continue the ending sequence.
A controlled damage window is more valuable than attempting to race the boss while its summons remain active. Keep enough open ground available to sprint, dodge, and reload without becoming trapped.
Complete reference for bosses, enemies, and encounters
The entries below combine named Arkham areas, regular enemies, elite threats, and boss labels. Area names identify encounter coverage rather than fixed spawn maps, guaranteed rewards, campaign order, or an unchanging roster.
| Entry | Tactic or use |
|---|---|
| Arkham Machinery | Area encounter entry; use it to track preparation and combat coverage. |
| Church | Area encounter entry; assess supplies before taking on its current threats. |
| Devils Reef | Area encounter entry; preserve a retreat route while checking combat spaces. |
| Ezra Manor | Area encounter entry; save and review resources before pushing deeper. |
| Fish Market | Area encounter entry; retain ammunition for threats that block progress. |
| Hospital | Area encounter entry; keep healing available before committing to combat. |
| Necropolis | Area encounter entry; mark cleared routes and avoid unnecessary resource loss. |
| Ship | Area encounter entry; maintain room to retreat and reload. |
| Smugglers Hideout | Area encounter entry; check movement lanes before engaging clustered threats. |
| Street Dungeon | Area encounter entry; prepare before entering restricted combat spaces. |
| University Annex | Area encounter entry; review ammunition, healing, and escape options. |
| Deep One | Keep your distance and wait for an unobstructed attack opening. |
| Grindmaw | Probe its range, dodge a committed attack, and answer during recovery. |
| Acheronian | Exploit its held slime and chest weak points as detailed below. |
| Lethian | Attack during the exposed-maw window described below. |
| Shadow | Judge whether forcing a temporary retreat is worth the resources. |
| Slither | Use its topple, armor-break, and rear weak-point opportunities. |
| Stygian | Conserve ammunition through safe stomps and recovery-window attacks. |
| Mi Go Teacher | Observe its reach and retain an escape path before spending ammunition. |
| Sea Tentacle | Stay mobile and attack only while maintaining safe spacing. |
| Shoggoth Humanoid 02 | Create distance and test visible weak points with deliberate shots. |
| Shoggoth | Activate all three arena devices and attack the eyes they expose. |
| Slither Boss | Maintain movement and react to the weak-point cues shown during the encounter. |
| Slither Prime | Damage the glowing head while controlling summoned enemies. |
| Smasher | Bait its commitment, dodge clear, and punish the recovery. |
| Starfish | Keep an escape lane and avoid firing without a clear target. |
| Whale | Reposition before attacking and preserve ammunition when no opening appears. |
Acheronian slime ball and chest weak points
When an Acheronian holds a slime ball in its arms, shoot the ball before it can be used against you. The hit harms the creature instead, while the more delicate flesh around its chest provides another target when you have a clean angle.
Lethian spit opening
A Lethian exposes its tender maw while preparing to spit. Wait for the maw to open, fire into it, and move before the incoming attack reaches you.
Shadow retreat and resource cost
Dealing enough damage makes a Shadow retreat temporarily, but forcing that retreat consumes considerable resources. Commit only when it blocks necessary progress or when the breathing room is worth the ammunition and healing.
Slither topple, armor, and rear weak points
A bullet to a Slither’s knee topples it, giving you time to finish the enemy or flee. A bullet can also break armor protecting a weak point. Stronger Slither may have weak points on their backs, so use a topple or dodge to reach the proper angle instead of repeatedly firing into the front.
Stygian stomp and failed-jump recovery
Stomp on skittering Stygians when the surrounding space is safe to conserve ammunition. A Stygian needs a moment to recover after missing a jump attack, creating an opening to stomp, shoot, or move beyond its next leap.
Arkham location preparation checklist
| Location | Use |
|---|---|
| Arkham Machinery | Mark when reached and check combat supplies before proceeding. |
| Church | Record your progress and preserve a route back to safety. |
| Devils Reef | Check ammunition, healing, and available movement lanes. |
| Ezra Manor | Make a manual save before committing scarce resources. |
| Fish Market | Identify threats that can be bypassed or disengaged from. |
| Hospital | Review healing reserves before entering another fight. |
| Necropolis | Track cleared paths without treating every fight as mandatory. |
| Ship | Keep a retreat and reload route available. |
| Smugglers Hideout | Check for crowd pressure before committing to one target. |
| Street Dungeon | Prepare for restricted movement before engaging. |
| University Annex | Review supplies and save progress before pushing onward. |
Use the checklist as a preparation aid as you reach each named area. Your immediate priorities should come from the enemies and weak-point cues present in the current room.
Preparation priorities before boss arenas
Treat the approach to an arena as part of the fight. Avoid spending valuable supplies on optional threats immediately beforehand, then enter with a clear plan for healing, movement, and target selection.
| Priority | Use |
|---|---|
| Ammunition | Reserve it for weak points, boss-damage windows, and dangerous groups. |
| Healing | Enter healthy and recover only after creating movement space. |
| Manual saves | Create a clean retry point before crossing into the arena. |
| Safe rooms | Restock and settle your loadout before leaving their protection. |
| Movement lanes | Preserve open ground for sprinting, dodging, and escaping summons. |
| Weak-point discipline | Wait for the correct target instead of firing into protected flesh. |
| Disengagement | Leave resource-draining fights when defeating the threat is unnecessary. |
If repeated attempts consume supplies without producing a clear damage window, reload the pre-arena save and change your target priority before spending more.
Frequently Asked Questions
Do Shoggoth and Sloggoth refer to the same encounter?
Both names refer to the arena-device encounter involving exposed eyes. This guide uses Shoggoth, while Sloggoth is an alternate spelling players may encounter.
Is every complete-reference entry a formal boss?
No. The index intentionally combines area entries, standard enemies, elite threats, encounter labels, and full boss fights so it can function as a wider combat checklist.
Are Slither Boss and Slither Prime the same enemy?
Treat Slither Boss and Slither Prime as separate labels unless the name displayed in your game identifies them as the same encounter. Follow the visible weak point and behavior attached to the label on screen.
What should I do if a patch changes an enemy’s behavior?
Prioritize the current visible weak-point cues and attack recovery windows over an older damage rhythm. Patches can alter behavior, balance, resources, and encounter availability.






Leave a Reply