
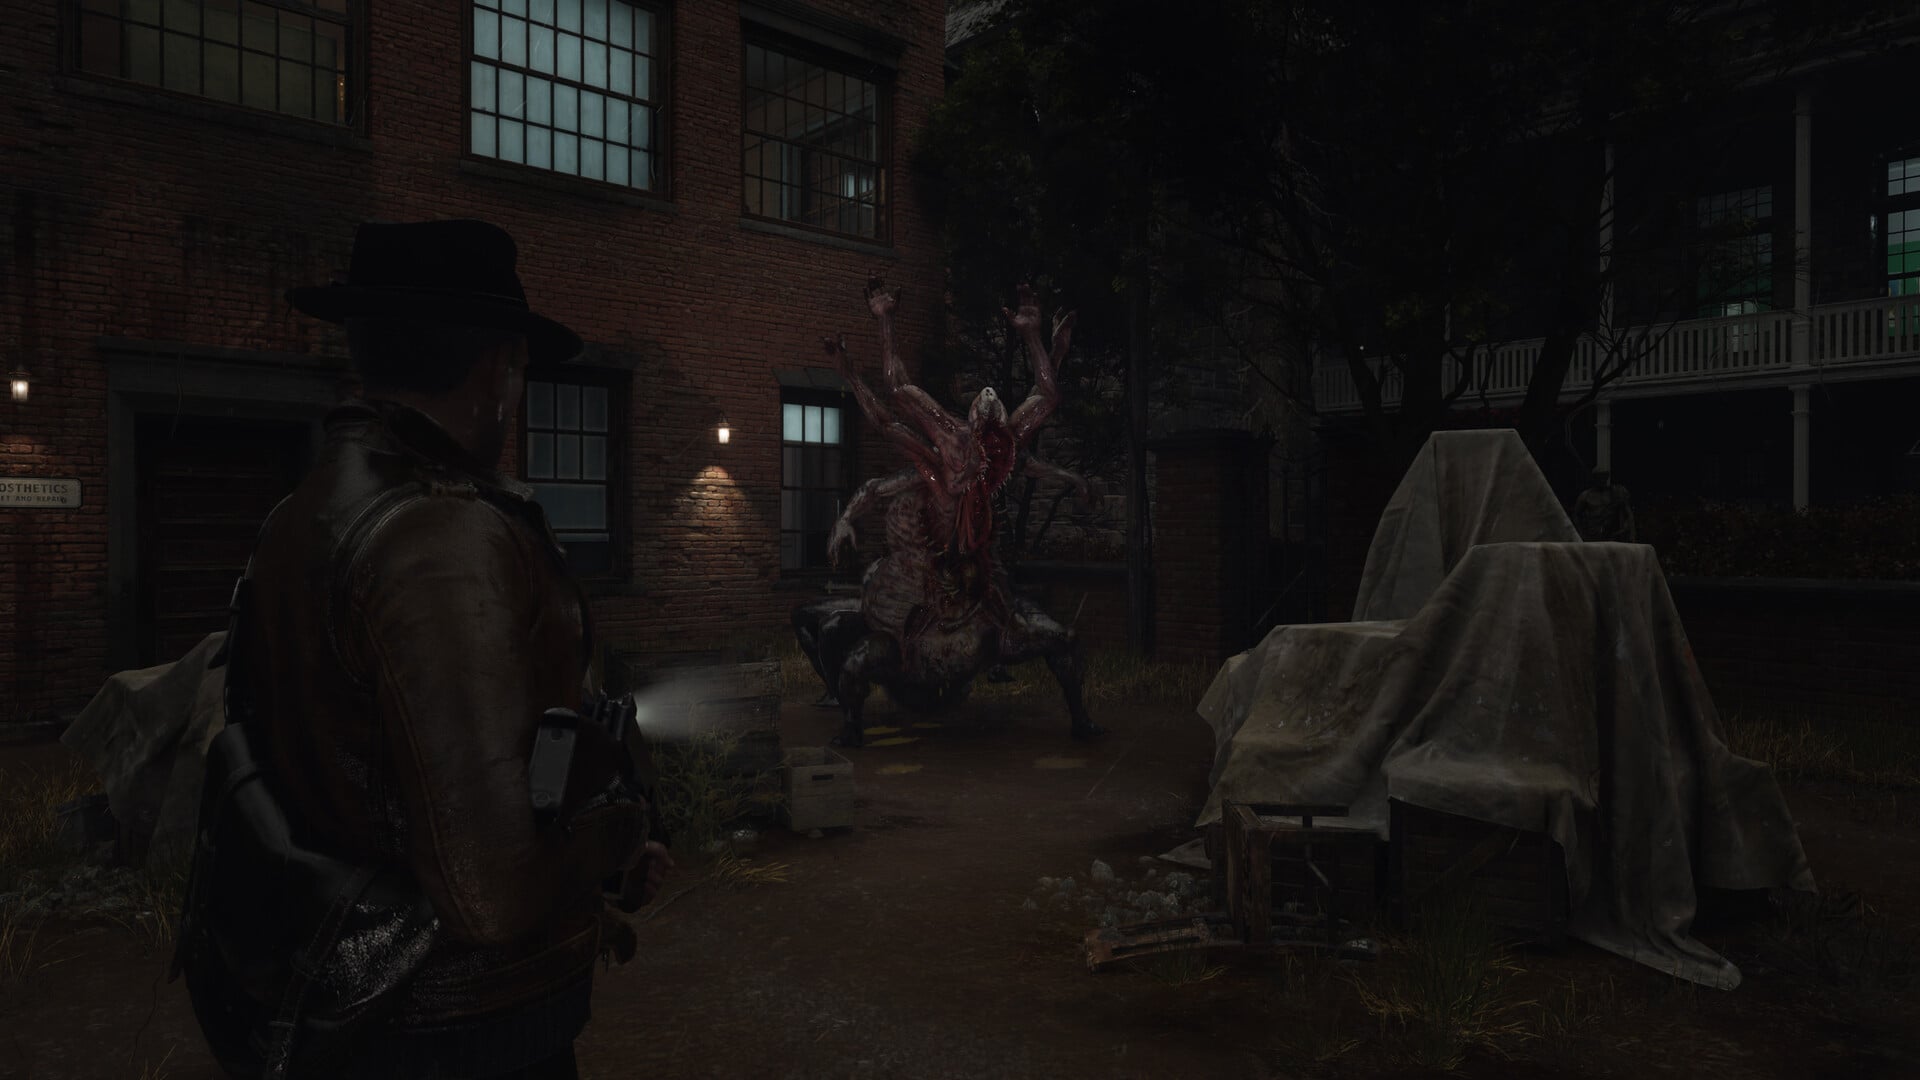
The Sinking City 2 Photo Mode includes camera controls, depth of field, color grading, screen effects, frames, logos, grids, UI hiding, and a complete filter list that includes Black and White, Sepia, Retro, Negative, Pixelated variants, and more.
Photo Mode separates photographic controls from stylized treatments, letting the same scene support a natural composition or a heavily altered horror image. Because lighting changes throughout Arkham, judge each adjustment through the live preview instead of relying on one fixed recipe.
Quick answer: Photo Mode controls in The Sinking City 2
Use the camera and focus controls to establish framing, perspective, and the focal plane. Then shape the scene through color grading, screen effects, and a named Filter.
Frames and logos handle presentation, while Grid assists composition and Hide UI prepares the final capture.
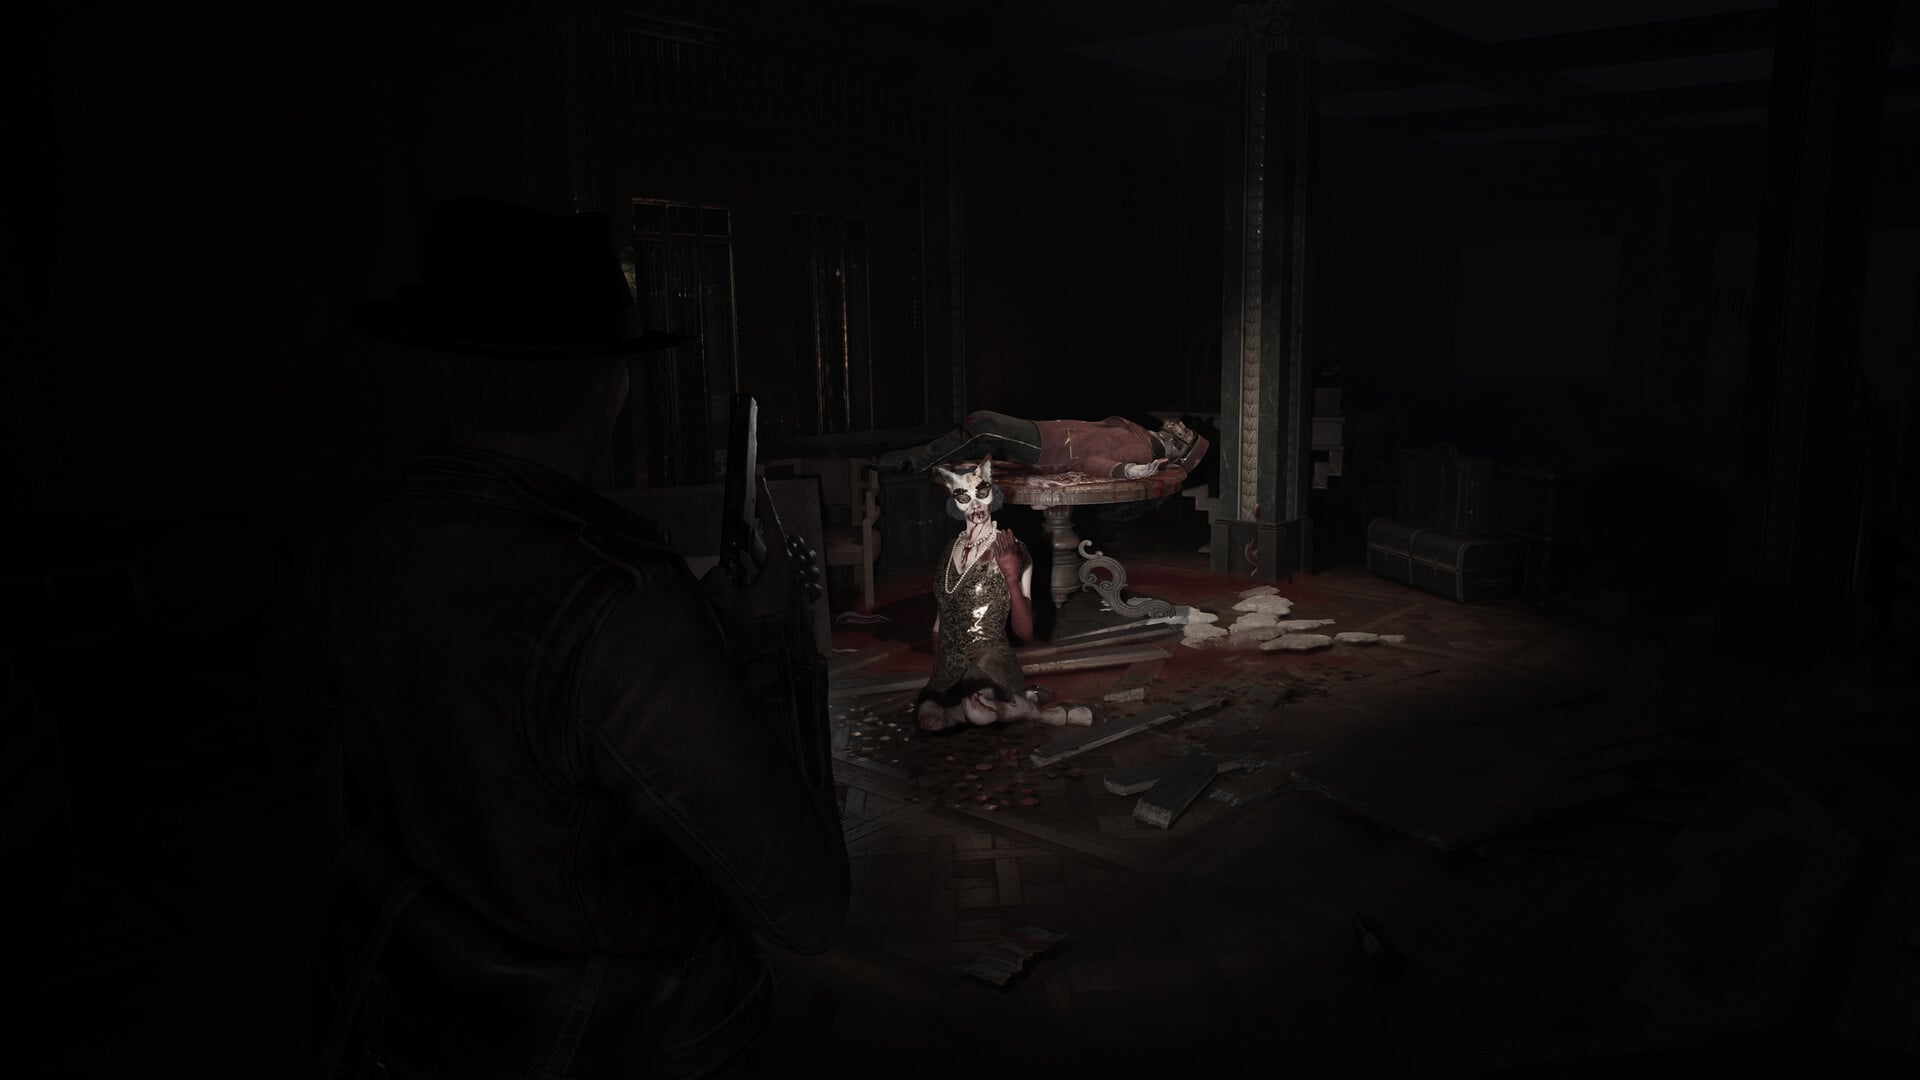
Photo Mode settings at a glance
| Group | Use |
|---|---|
| Composition | Reframe the scene with Angle, Field of View, Roll, and Sensor Width. |
| Focus | Control subject separation through Depth of Field, Aperture, and Focus Distance. |
| Color and exposure | Adjust brightness, midtones, contrast, saturation, temperature, tint, and color balance. |
| Screen effects | Add grain, vignette, aberration, sharpening, and other image-wide treatments. |
| Stylized filters | Transform the image with monochrome, retro, negative, pixelated, and color-based looks. |
| Overlays | Add frames or logos, then adjust their size, alignment, and position. |
| Capture cleanup | Use composition guides while preparing a clean, interface-free image. |
A dependable editing order is camera, focus, color, effects, and overlays. Leaving dramatic filters until later makes it easier to spot muddy shadows, lost highlights, or misplaced focus.
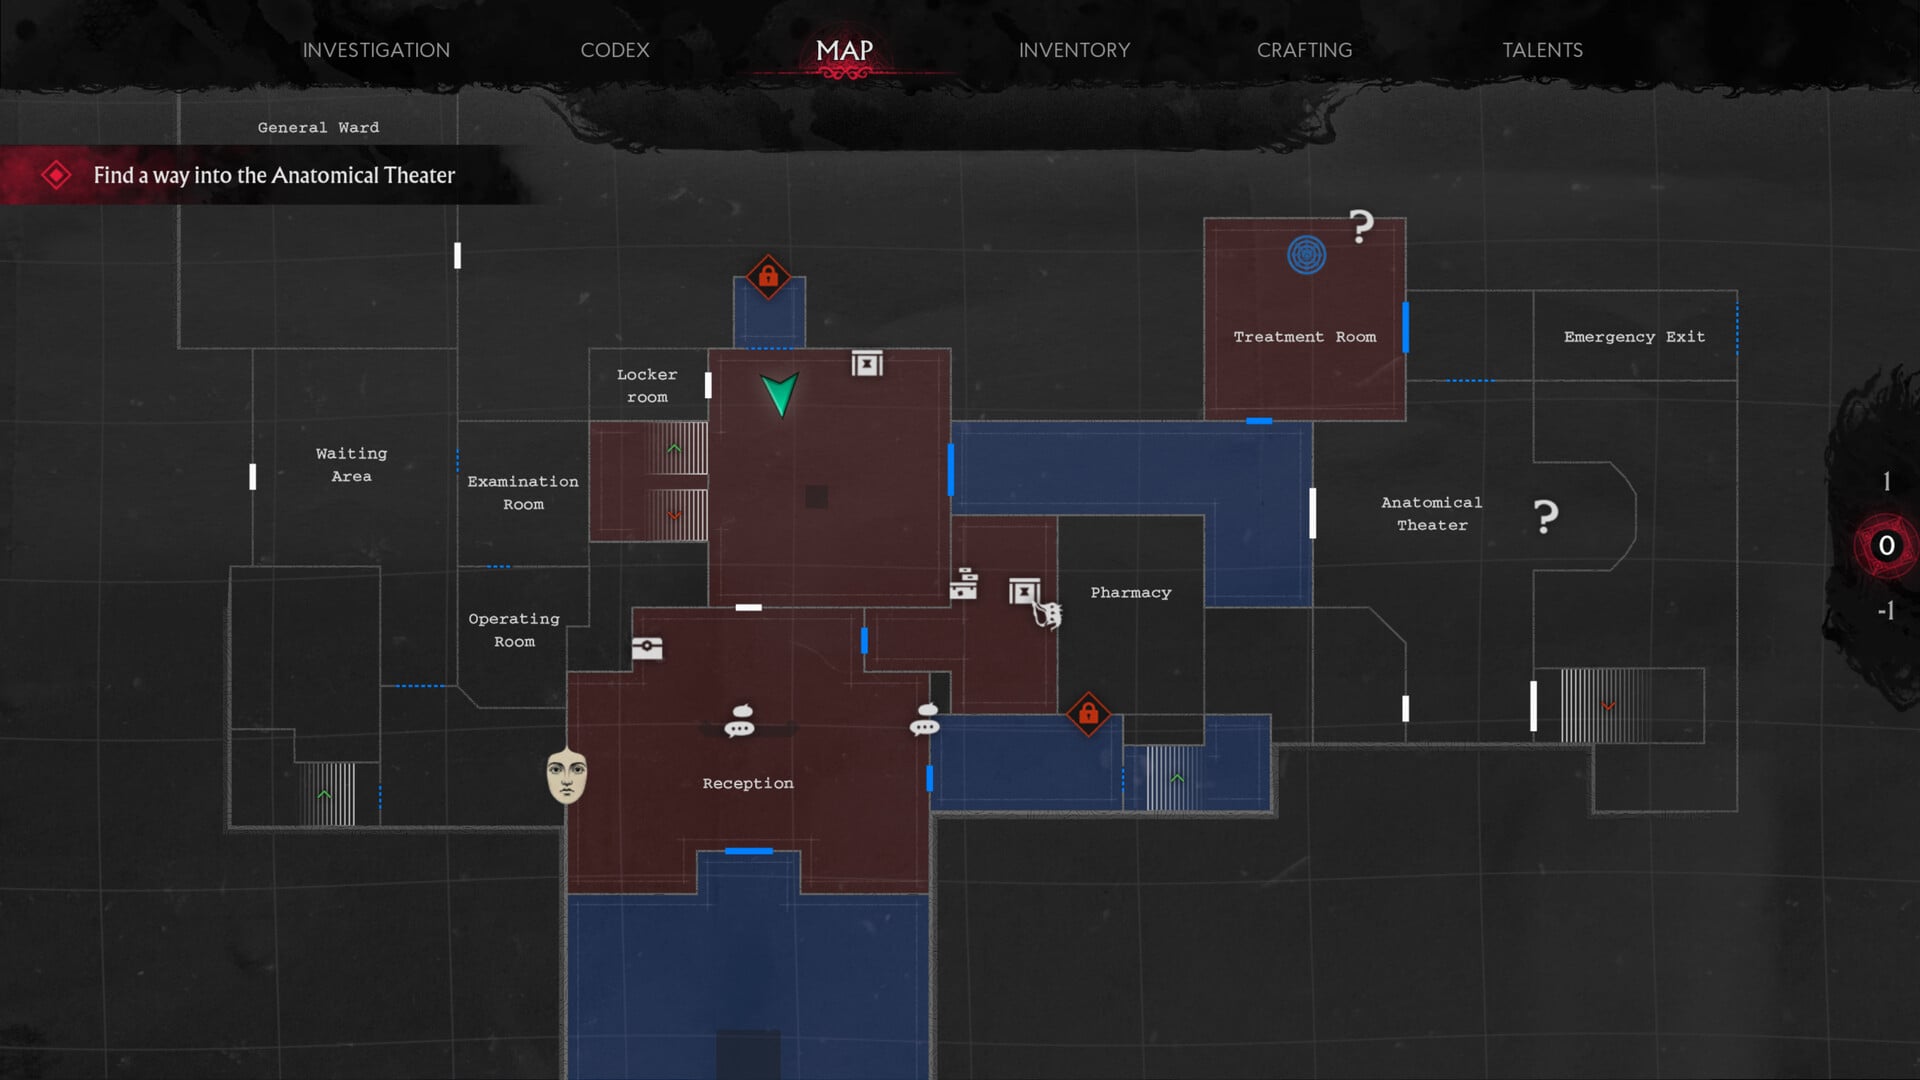
How to use Photo Mode settings for better horror screenshots
Choose controls according to the image’s subject rather than changing every available setting. A creature reveal depends on deliberate framing and focus, while an empty Arkham street draws more from controlled color, contrast, and atmosphere.
| Goal | Use |
|---|---|
| Cinematic monster shot | Frame with Field of View and Roll, then place the focal plane with Focus Distance and Depth of Field. |
| Gloomy street scene | Shape the atmosphere with Temperature, Tint, Saturation, and a restrained Vignette. |
| Clean evidence-style capture | Use Field of View and Grid for clear framing, with neutral Color Grading that preserves important details. |
| Retro film look | Start with Retro or Sepia, then layer Film Grain and Vignette. |
| Character portrait | Pair Aperture and Focus Distance with Field of View or Sensor Width to separate the subject from the environment. |
| Stylized social shot | Try Vibrant or Red and Cyan, then add a Frame or positioned Logo. |
| Low-fi horror | Combine a Pixelated variant with Film Grain, Negative, or adjusted Filter Intensity. |
| Graphic poster | Use Outline or Inverted Draw with Red, then position overlays through alignment and size controls. |
Keep the face, creature, clue, or silhouette anchoring the image readable before pushing dramatic effects. If that focal point disappears, reduce the effect instead of rebuilding an otherwise strong composition.
Lock the camera and focus before applying a filter. This prevents a dramatic grade from disguising soft focus, muddy shadows, or lost highlight detail.
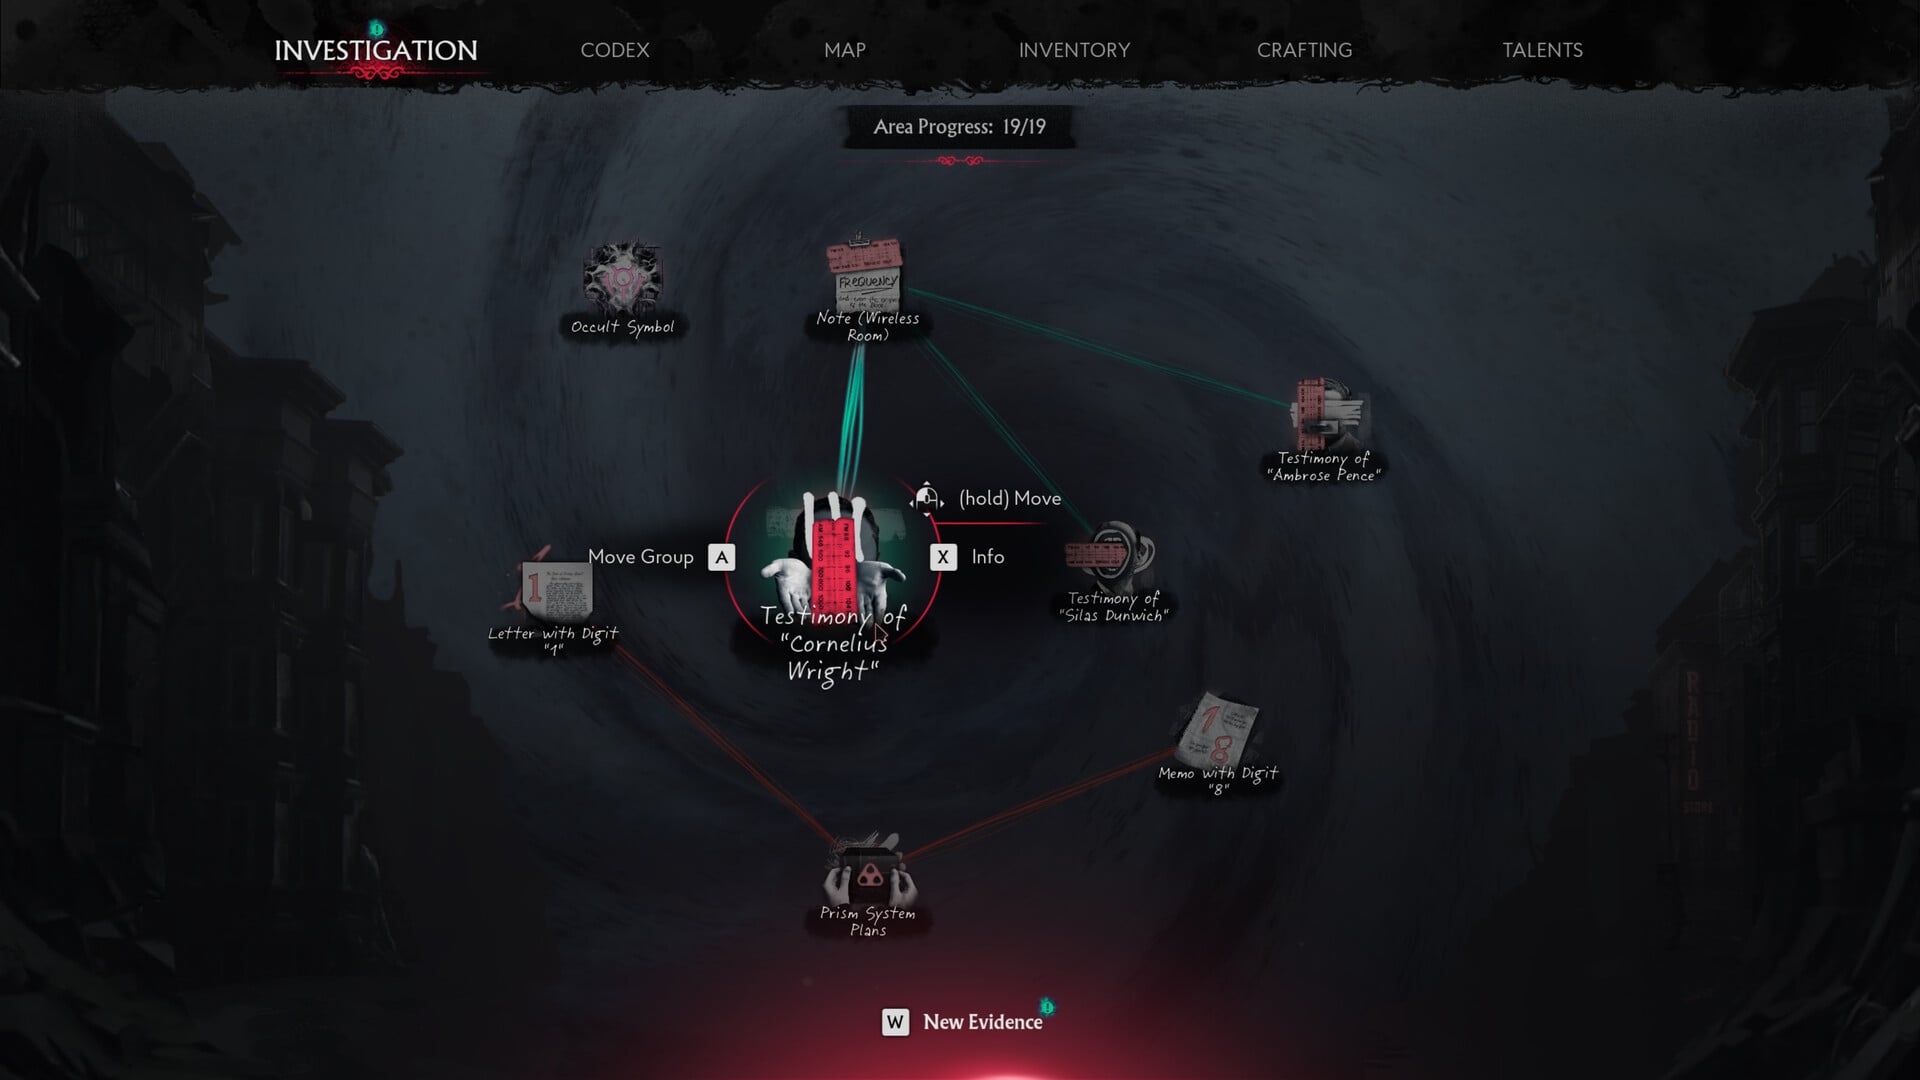
Complete Photo Mode reference
This index groups the options by function rather than presenting them as the in-game menu order.
Show the Photo Mode option index
| Option | What it changes |
|---|---|
| Camera and focus | |
| Angle | Changes the angle of the active camera or adjustable visual element. |
| Aperture | Controls the simulated lens opening used with depth-of-field blur. |
| Depth of Field | Separates focused areas from blurred foregrounds or backgrounds. |
| Field of View | Widens or tightens the visible scene without moving the subject. |
| Focus Distance | Moves the plane of sharp focus nearer to or farther from the camera. |
| Roll | Tilts the camera around its viewing axis for level or canted framing. |
| Sensor Width | Changes the simulated sensor framing and lens presentation used with Field of View. |
| Color and exposure | |
| Blue | Adjusts the blue contribution within the image’s color controls. |
| Brightness | Raises or lowers the image’s overall lightness. |
| Color Balance | Balances color contributions to correct or deliberately tint the shot. |
| Color Grading | Provides the broader controls used to shape the image’s color treatment. |
| Contrast | Changes the separation between light and dark areas. |
| Gamma | Adjusts midtone visibility without behaving exactly like overall Brightness. |
| Green | Adjusts the green contribution within the image’s color controls. |
| Red | Adjusts the red contribution within the image’s color controls. |
| Saturation | Controls the overall strength of colors. |
| Temperature | Moves the image between cooler and warmer light. |
| Tint | Adds a complementary color shift for correction or atmosphere. |
| Screen-effect controls | |
| Aberration Offset | Changes the displacement of the color separation used by the aberration effect. |
| Desaturate | Reduces color strength as an adjustable treatment. |
| Film Grain | Adds a textured, film-like noise layer over the image. |
| Intensity | Changes the strength of the currently selected compatible effect. |
| Screen Effects | Provides access to image-wide effects applied after camera composition. |
| Sharpness | Changes the apparent definition of edges and fine details. |
| Vignette | Shades the outer portion of the frame to draw attention inward. |
| Filters and stylized treatments | |
| Black and White | Applies a monochrome filter without normal scene color. |
| Cold | Applies a cool-toned color treatment. |
| Desaturated | Applies a named preset with subdued color. |
| Filter | Selects the named filter applied to the image. |
| Filter Intensity | Controls how strongly the selected filter affects the original image. |
| Heat | Applies a heat-styled color treatment. |
| Inverted Draw | Applies an inverted drawing-style treatment. |
| Negative Black/White | Combines monochrome color with inverted tonal values. |
| Negative | Inverts the image’s normal color and tonal relationships. |
| Outline | Emphasizes visible edges with an outline-style treatment. |
| Pixelated (128) | Applies the named 128 pixelation variant. |
| Pixelated (256) | Applies the named 256 pixelation variant. |
| Pixelated (64) | Applies the named 64 pixelation variant. |
| Red and Cyan | Applies a split red-and-cyan color treatment. |
| Retro | Applies a vintage-styled grade. |
| Sepia | Applies a warm brown monochrome-style treatment. |
| Vibrant | Applies a stronger, more colorful treatment. |
| Warm | Applies a warm-toned color treatment. |
| Frames, logos, and positioning | |
| Frame | Selects a decorative border or presentation format. |
| Horizontal Alignment | Chooses how the selected overlay aligns across the image width. |
| Horizontal | Adjusts the selected element’s horizontal position. |
| Instant | Applies the named instant-photo frame format. |
| Instant Wide Black | Applies a wide instant-photo frame with a black treatment. |
| Instant Wide | Applies the wider version of the instant-photo frame. |
| Logo | Selects or enables a logo overlay for the shot. |
| Size | Resizes the selected frame, logo, or compatible overlay. |
| Vertical Alignment | Chooses how the selected overlay aligns across the image height. |
| Vertical | Adjusts the selected element’s vertical position. |
| Composition and capture view | |
| Grid | Displays a composition guide for positioning subjects and horizons. |
| Hide UI | Removes the Photo Mode interface from the capture view. |
Flexible starting combinations
These combinations are creative directions rather than fixed presets. Let the scene’s lighting determine how far each control is pushed, especially when several treatments affect the same shadows or colors.
| Look | Settings |
|---|---|
| Oppressive realism | Cold or Desaturated, added Contrast, restrained Saturation, and light Film Grain. |
| Detective archive | Black and White, controlled Gamma, Vignette, and an Instant Wide Black frame. |
| Unnatural presence | Green or Red and Cyan with Tint, Aberration Offset, and selective Sharpness. |
| Dreamlike isolation | Depth of Field, Focus Distance, softened Contrast, and a gentle Warm or Cold grade. |
| Graphic poster | Outline or Inverted Draw with Red, a positioned Logo, and a carefully sized Frame. |
| Low-fi horror | A Pixelated variant paired with Negative or Negative Black/White and adjusted Filter Intensity. |
When combining treatments, adjust the strongest visual change first. A heavy stylized filter can make smaller saturation, tint, or sharpness changes unnecessary.
Frequently Asked Questions
Does The Sinking City 2 Photo Mode include HDR at launch?
No. HDR is absent from the launch visual options and is planned for a free post-launch update, but that update does not have a set release date.
What are the exact Photo Mode slider ranges?
Exact ranges and default values are not established for every control. Read the values displayed in the current in-game menu and tune them against the live preview, since the useful setting depends on the scene.
How do you capture a clean screenshot without HUD, frame, or logo clutter?
Compose with Grid if needed, disable the decorative Frame and Logo, and activate Hide UI immediately before taking the screenshot.
Which controls should you change first in a very dark scene?
Begin with Brightness and Gamma to recover important shadow detail. Adjust Contrast afterward, then use Temperature or Tint to establish the mood without making the subject unreadable.






Leave a Reply