

The Parasitic Stone sits in a chest at the back of Martyr’s Tomb, the small dungeon near Widow’s Overlook past the Great Arbiter of Flesh, and it builds Leech stacks on your kills for extra survivability rather than direct damage.
The Parasitic Stone is one of the first real power spikes you can grab in Mortal Shell 2, and it’s tucked away close to where you start. You reach it from the Widow’s Overlook Beacon, drop into the tiny Martyr’s Tomb dungeon, and open a single chest — no boss kill required, since the mini-boss on the way can be skipped. While you’re down there you also pick up the Obsidian Lathe, so it’s a two-item detour worth taking early.
Parasitic Stone location and what Leech does
| Need | Answer |
|---|---|
| Starting point | Widow’s Overlook Beacon |
| Where it is | Chest at the back of Martyr’s Tomb |
| Nearby landmark | Past the Great Arbiter of Flesh mini-boss |
| Getting out | Shoot the device above the metal grate |
This is a fixed chest reward, not a random enemy drop, so the route is the same every run. The Great Arbiter of Flesh mini-boss guards the approach, but you can walk straight past it and still reach the tomb. The one thing worth knowing before you go in: Leech does not hit harder — it stacks temporary maximum health as you kill, which is exactly what you want while you’re still fragile in the early game.
How to get Parasitic Stone in Mortal Shell 2
Key This is a short trip from the Beacon into a one-room dungeon, so the whole thing takes a couple of minutes if you skip the fight.
STEP 1/8
Set off from Widow’s Overlook
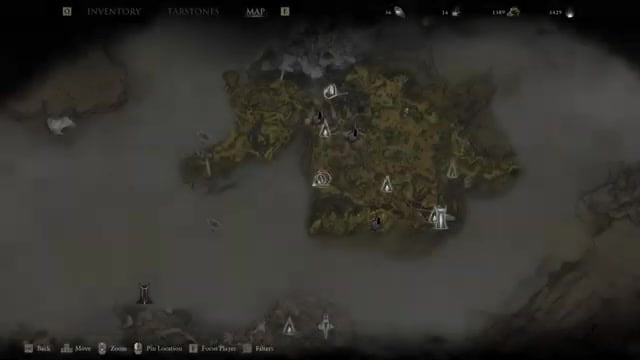
Start at the Widow’s Overlook Beacon and make your way toward the dungeon to the south.
STEP 2/8
Pass the Great Arbiter of Flesh
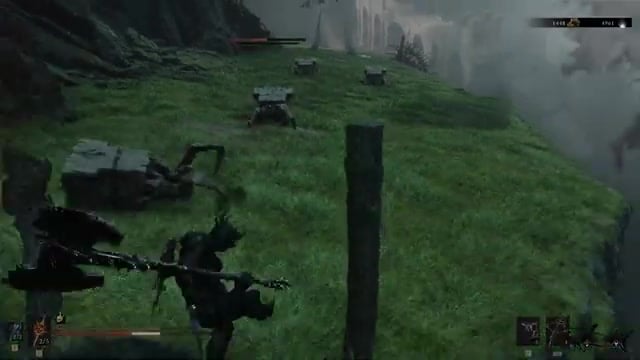
A mini-boss blocks the approach, but you can slip past without fighting it at all.
STEP 3/8
Clear the path into the dungeon
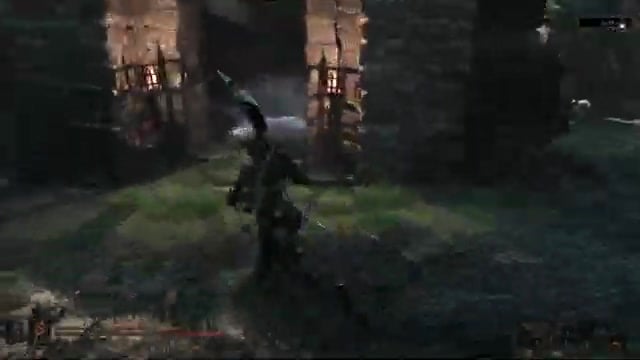
A few enemies wait outside the entrance, so thin them out or just push straight through.
STEP 4/8
Enter Martyr’s Tomb

The dungeon is very small, so you’re only moments from the room that holds the stone.
STEP 5/8
Press the button to lift the gate
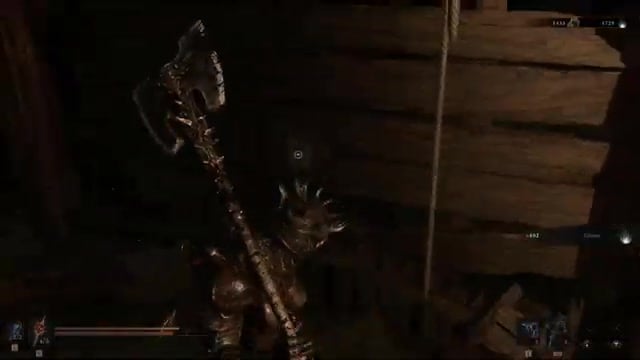
Hit the button to raise the gate sealing the back room.
STEP 6/8
Watch for the enemy inside
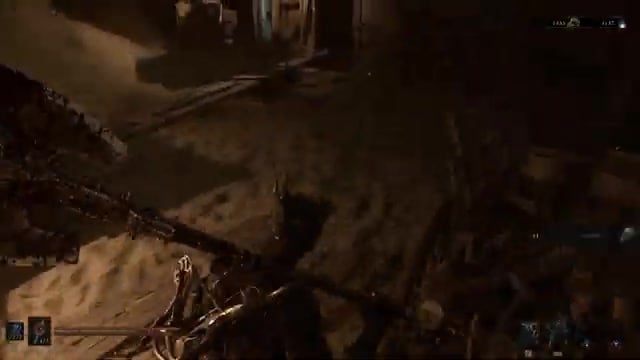
An enemy is waiting in the opened room, so step in ready to swing.
STEP 7/8
Grab both items
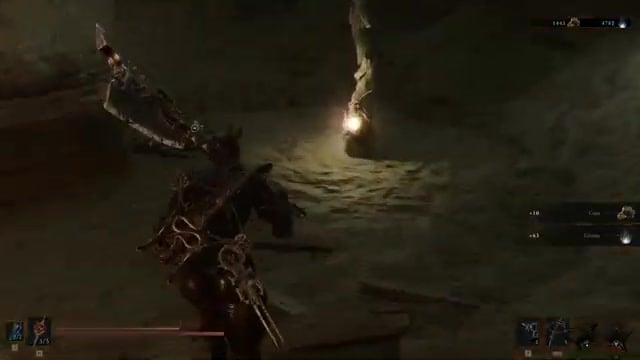
Loot the Parasitic Stone and the Obsidian Lathe — there’s also a letter to pick up.
STEP 8/8
Shoot the device above the grate to exit

The room can trap you on the way out, so shoot the device on top of the gate to open your path.
Video help
How Parasitic Stone’s Leech stacks scale
| Upgrade state | Leech per kill |
|---|---|
| Base | Killing enemies grants Leech |
| Upgraded | 1 Leech stack per kill |
| Higher upgrade | 2 Leech stacks per kill |
| Max upgrade | 3 Leech stacks per kill |
The Parasitic Stone is a Combat Tarstone that you infuse into a weapon, and every enemy you slay while it’s equipped grants Leech. Those stacks read as bonus maximum health sitting above your health bar, and they decay over time — they clear when you rest at a Beacon or when you die, though some players report the buff can carry through death if the weapon holding the stone isn’t equipped at that moment. To keep the effect running, keep chaining melee kills rather than resting. It now works across every weapon too, so you’re not locked into a specific loadout to use it.
Upgrading the Tarstone raises how many stacks each kill hands you, up to a ceiling of 3 per kill:
Equip the Parasitic Stone on your main weapon and rack up melee kills before you rest, since the Leech stacks decay over time and clear the moment you sit at a Beacon.
Where to head after grabbing the stone
| Item | How to get |
|---|---|
| Parasitic Stone | Chest at the back of Martyr’s Tomb |
| Obsidian Lathe | Same dungeon; used for Tarforge upgrades |
| Unwieldy Stone | Merrick in Marrow Keep for 2,000 coins |
The Obsidian Lathe you looted in the same dungeon feeds Tarforge upgrades, so it pairs naturally with leveling the Parasitic Stone into its higher Leech ranks. If you want a second source of the effect, the Unwieldy Stone is another Leech option you can buy later, giving you a build that stacks survivability across two weapons.
Related Mortal Shell 2 guides






Leave a Reply