
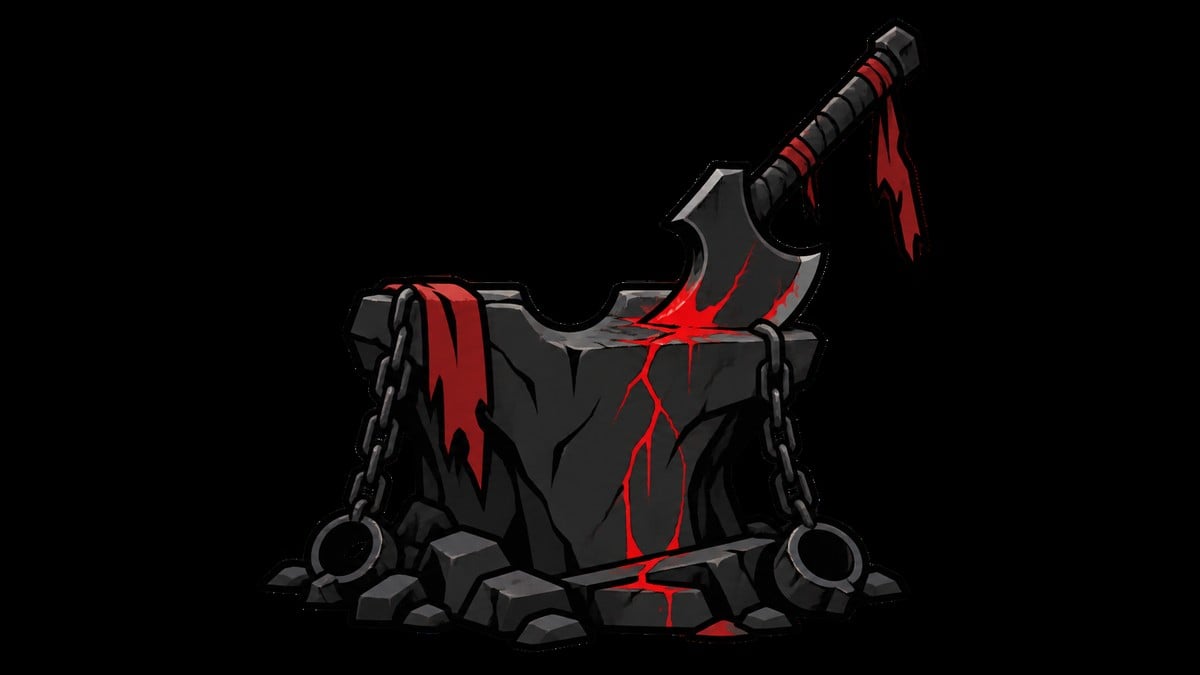
The Headsman’s Stone is in a chest near the Road to Absolution after you unlock Mether’s Breath, cleanse the Marrow Keep corruption path, and travel to the Outskirts of Mammon.
Key Headsman’s Stone makes successful melee critical hits more damaging. Reaching it requires a progression item followed by a short descent from the Outskirts of Mammon.
Headsman’s Stone location and route requirements
| Thing | Detail |
|---|---|
| Item type | Support Tarstone |
| Required unlock | Mether’s Breath |
| Starting point | Outskirts of Mammon beacon |
| Area | Road to Absolution |
| Chest landmark | Stone ruins behind a large tree near the cliff edge |
The chest sits southeast of the Outskirts of Mammon beacon, among the ruins near the Road to Absolution. Look for a large tree beside a stone altar structure; the chest is tucked against the ruins behind it.
Getting Mether’s Breath at the Gloom Siphon

Collect Ovum by progressing through the game, unlocking beacons, and clearing their surrounding areas. Bring the Ovum back to the Gloom Siphon in Marrow Keep.
Use the Gloom Siphon to turn in the collected Ovum. The interface displays “1 Ovum Siphoned” during the interaction and shows Mether’s Breath when the progression item becomes available.
Its inventory description calls it “A wisp of Mether’s breath which escaped the Gloom Siphon.” Once it is in your inventory, return to the upper level of Marrow Keep.
How to get Headsman’s Stone in Mortal Shell 2
This route clears the blocked portal and follows the lower cliffside path to the hidden chest.
STEP 1/10
Return to upper Marrow Keep
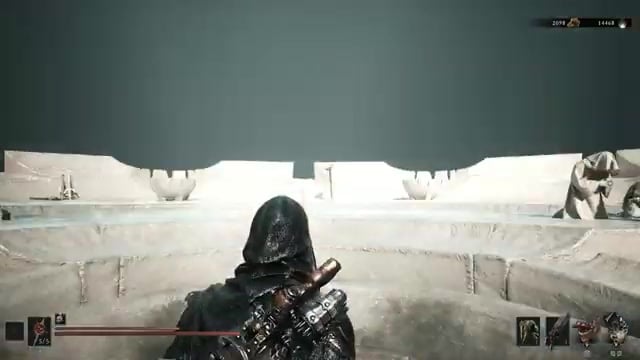
Ride the central lift to the top level and enter the circular chamber.
STEP 2/10
Clear the corruption on the left
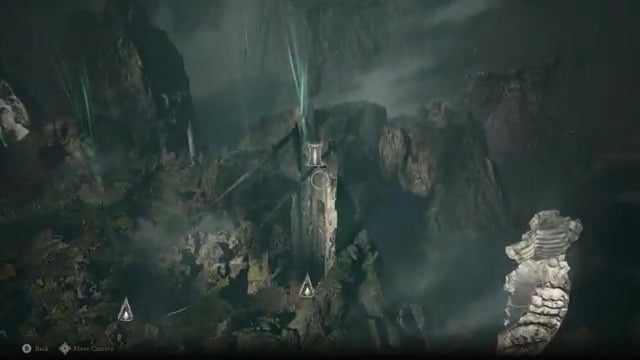
Turn left and use Mether’s Breath at the black branch barrier to cleanse the corruption.
STEP 3/10
Enter the opened portal
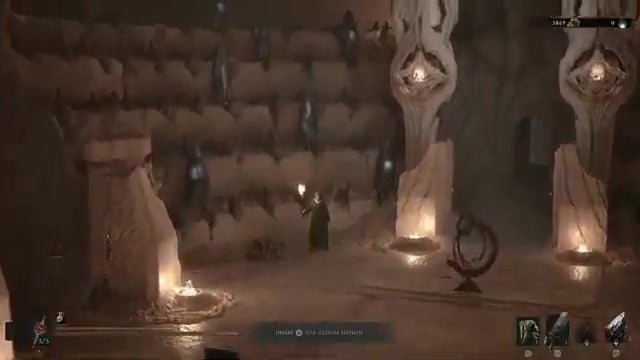
Step onto the circular portal platform after the corruption disappears.
STEP 4/10
Travel to the Outskirts of Mammon
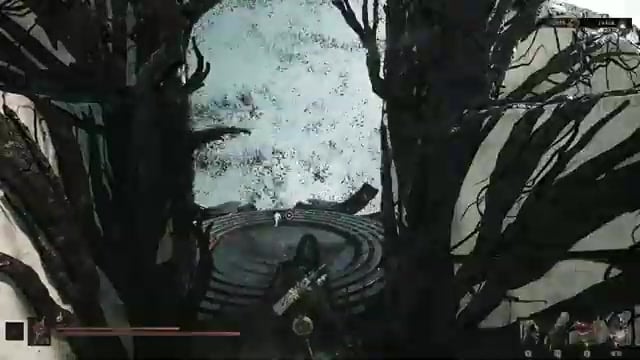
Select the Outskirts of Mammon and arrive at its beacon.
STEP 5/10
Follow the descending road
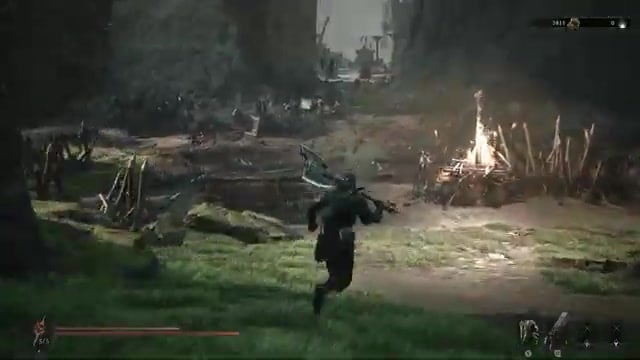
Run down the grassy and ruined path leading away from the beacon.
STEP 6/10
Enter the Road to Absolution
Continue along the rubble-strewn route until the Road to Absolution location name appears.
STEP 7/10
Drop from the stone edge
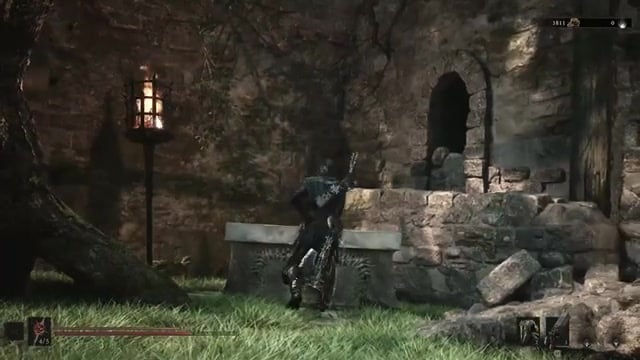
Jump onto the lower rock surface, then descend again to the grassy ground below.
STEP 8/10
Follow the lower cliffside path
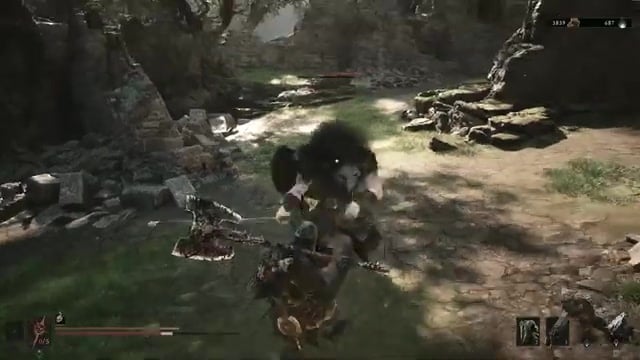
Move along the grassy edge carefully and avoid falling from the cliff.
STEP 9/10
Circle the large tree
Go around the tree toward the stone altar structure and adjoining ruins.
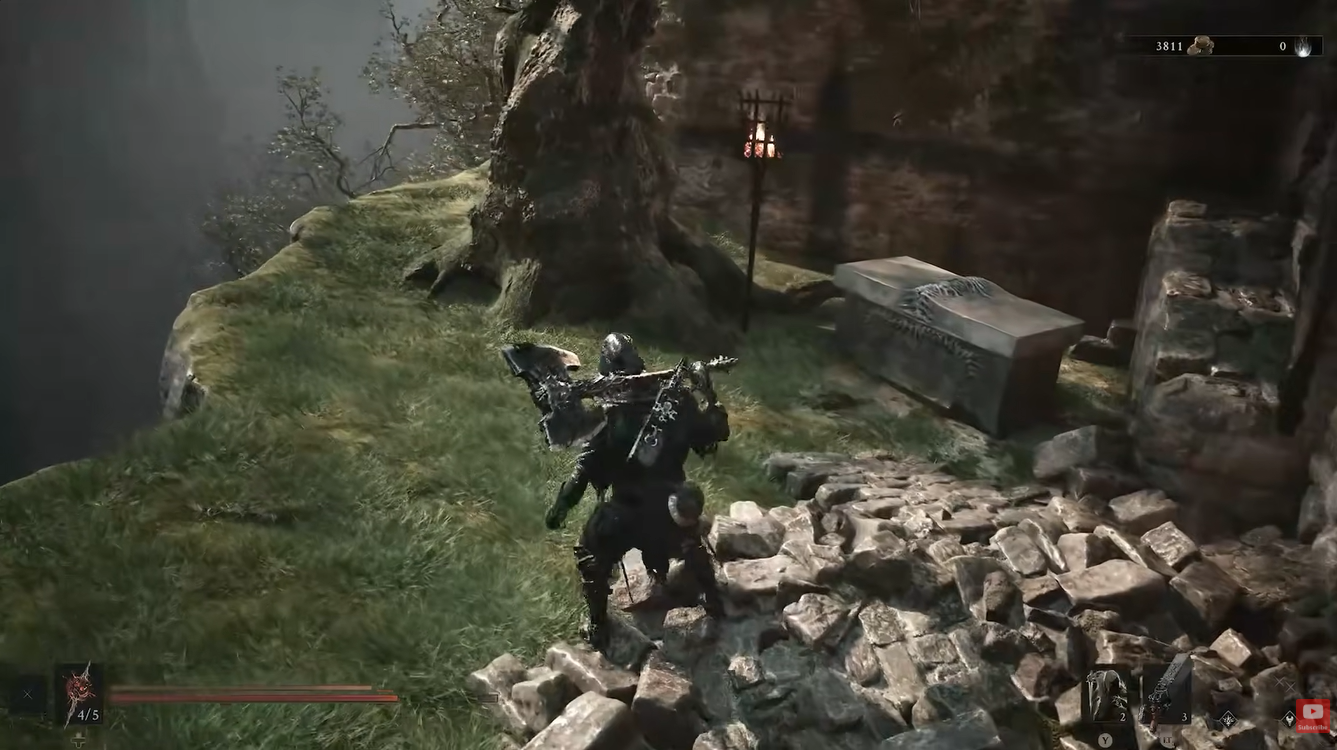
STEP 10/10
Open the hidden chest
Open the stone chest behind the tree to collect Headsman’s Stone.
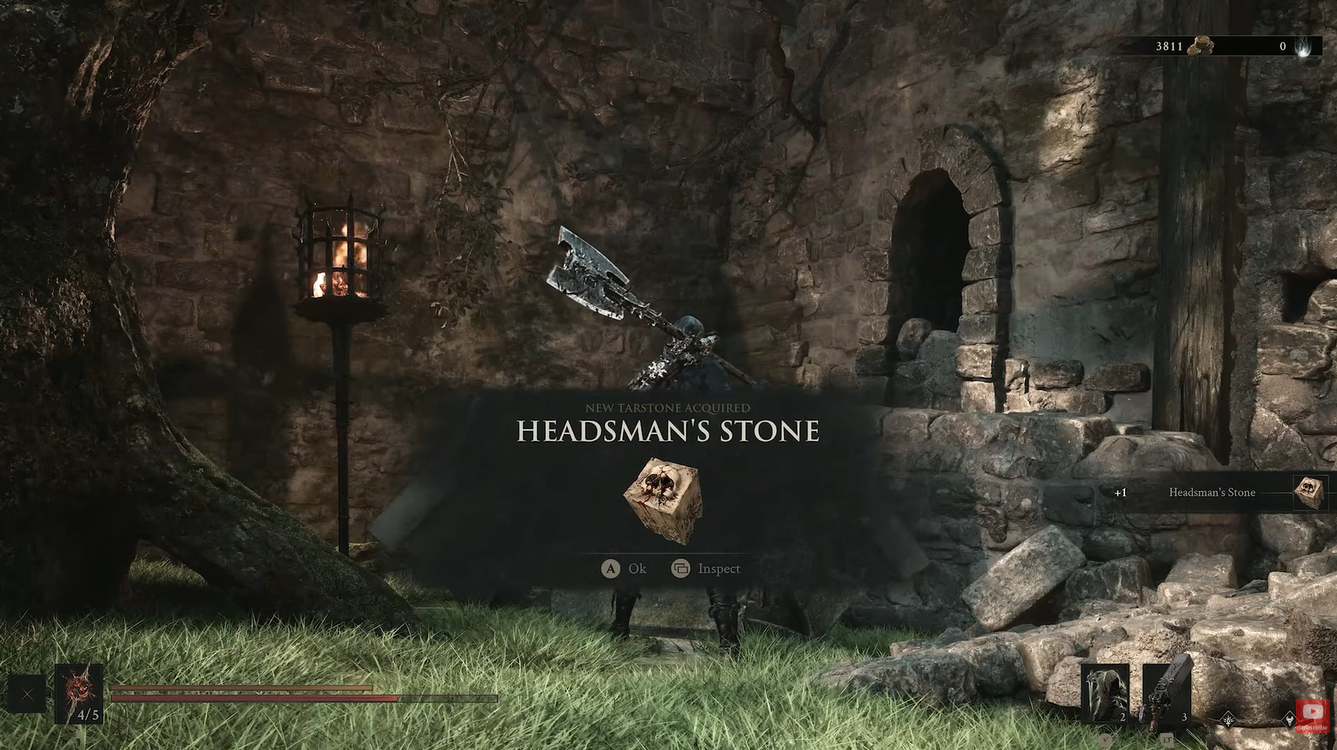
Sprint past the enemy groups if you only want the Tarstone; fighting them is optional, so keep moving toward the Road to Absolution.
Video help
Headsman’s Stone effect and crit pairings
| Tarstone | Use |
|---|---|
| Headsman’s Stone | At Level 1, melee attacks deal +5% Critical Damage |
| Auspicious Stone | Raises melee Critical Chance so attacks crit more frequently |
| Grudge Stone | Provides guaranteed critical attacks on its hit cycle |
Equip Headsman’s Stone on a melee setup that already produces critical attacks consistently. It increases the payoff from each crit, making it a natural companion for effects that improve melee critical chance or generate guaranteed crits.
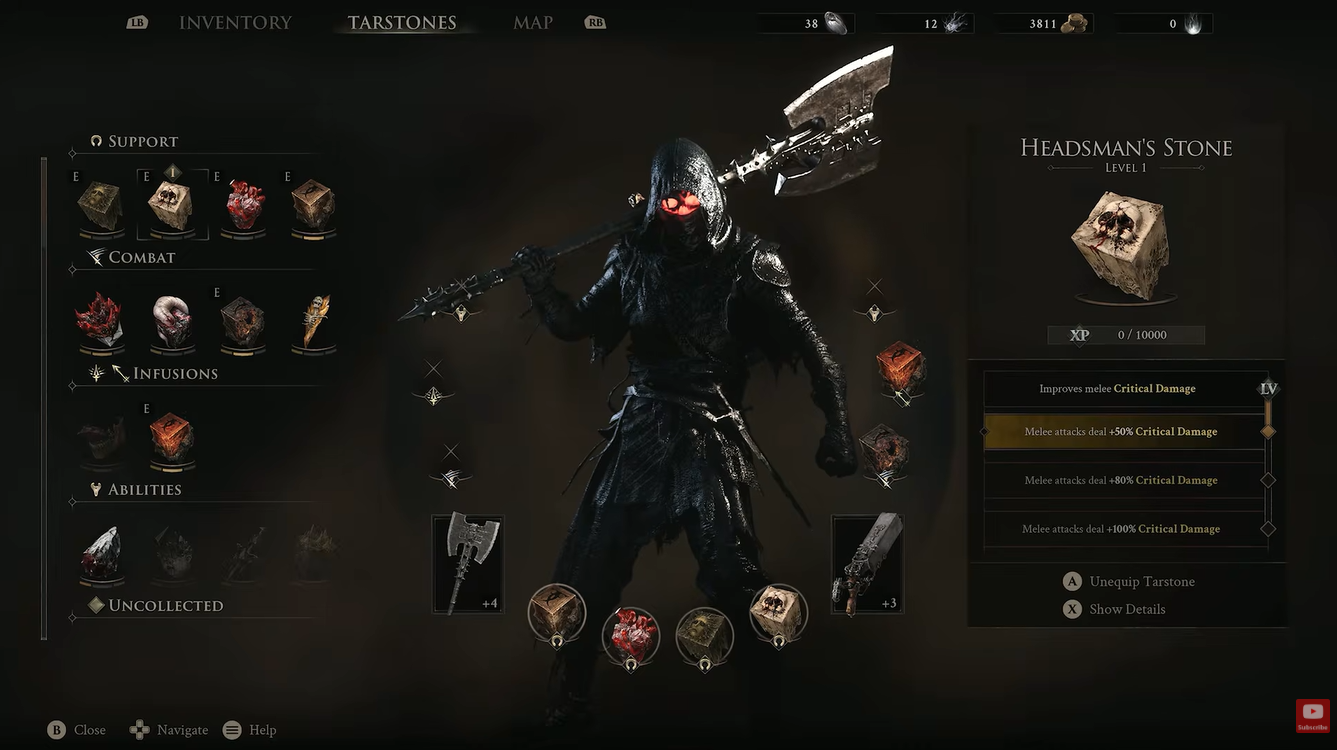
Launch-week values list Headsman’s Stone at +50%, +80%, and +100% Critical Damage for Levels 2, 3, and 4. Check its current Tarstone screen before planning upgrades around those higher-level values.
Headsman’s Stone route and build mistakes
Do not waste time checking merchant inventories or saving Coin for this Tarstone. It is a field pickup obtained by opening the hidden chest near the Road to Absolution.
Keep it out of ranged-focused setups because its bonus applies specifically to melee critical damage. Extra crit damage also does not create critical hits, so combine it with adequate crit chance or a guaranteed-crit effect instead of stacking damage alone.
Related Mortal Shell 2 guides
Frequently Asked Questions
Can you get Headsman’s Stone before unlocking Mether’s Breath?
No. Mether’s Breath is needed to remove the corruption blocking the Marrow Keep portal that leads toward the Outskirts of Mammon route.
Does Headsman’s Stone boost ranged critical damage?
No. Headsman’s Stone affects melee attacks. For a ranged-focused critical build, look for ranged options such as Deadeye Stone or Marksman’s Stone instead.






Leave a Reply