

To exit Martyr’s Tomb in Mortal Shell 2, look above the locked gate and shoot the small plate on the wooden wall; if you cannot fire, break the nearby orange Resolve root until you have enough Resolve for one shot.
Martyr’s Tomb is one of the smallest dungeons in Mortal Shell 2, and it has a nasty habit of trapping players the moment they grab their loot. The gate seals behind you in the chest room, there are no floor buttons to press, and the way out is a single shot most people never think to aim for. Here’s exactly where to point it.
Shoot the plate above the sealed gate

Once the portcullis drops behind you in the burial chamber, the only thing that reopens it is a small metal plate mounted on the wooden wall directly above the gate. Different players describe it as a plate, a device, or a pressure switch, but the position is the same every time — up high, over the exit you came through.
Key You trip it with your sidearm. One clean hit on the plate raises the gate and restores the path back out. There is no lever, no hidden floor button, and nothing else in the room to interact with, so don’t waste time hunting the chamber for another switch.
How the gate traps you inside Martyr’s Tomb
You’ll find Martyr’s Tomb inside the ruined chapel near the Widow’s Overlook Beacon, out on the outskirts of the Mushroom Village. Clear or run past the enemies outside, step through the fog-covered basement entrance, then head down the spiral staircase and take the elevator down. The tunnel at the bottom opens into an antechamber packed with cultists.
Wipe them out and look for a secret wall switch hidden behind breakable crates. Pressing it raises the portcullis into the main tomb. The catch is that stepping inside seals that portcullis behind you — a mutated cultist lunges from your right as it shuts, and once you’ve cleared him and opened the chest, you’re locked in with no obvious way back.
How to exit from Martyr’s Tomb in Mortal Shell 2
Turn back to the sealed gate
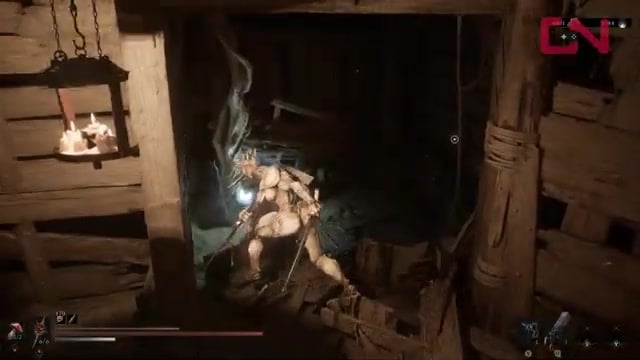
Face the portcullis you entered by — there are no buttons on the chamber floor.
Look up above the gate
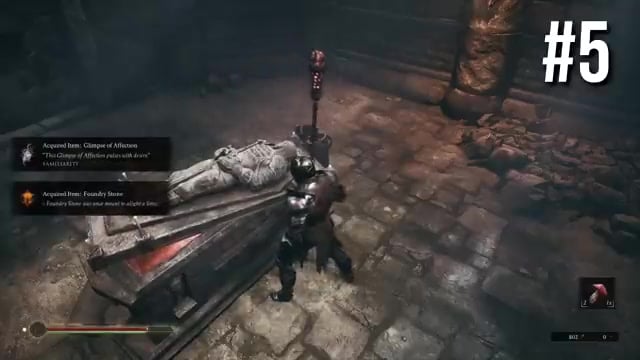
Find the small metal plate set into the wooden wall directly over the exit.
Shoot the plate
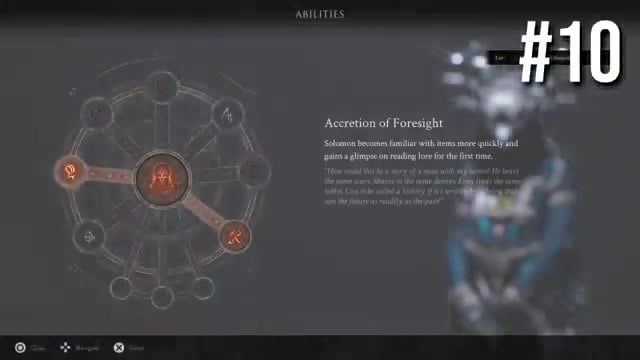
A single sidearm shot trips the switch and raises the portcullis.
Walk back out
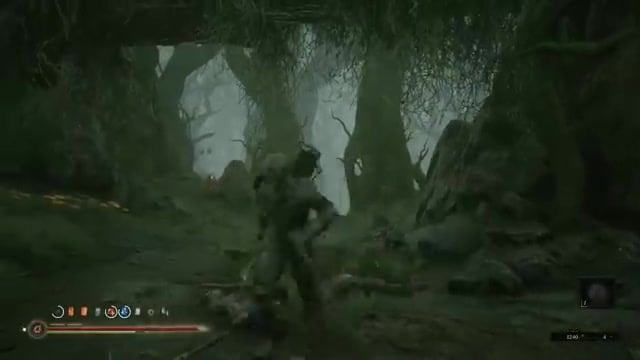
Head through the reopened gate and leave the way you came — tunnel, elevator, then the stairs.
No ammo or Resolve? Farm the root first
| Problem | Fix |
|---|---|
| Can’t find a switch in the room | There’s no floor button — look up and shoot the plate on the wall above the gate. |
| No sidearm ammo or Resolve | Strike the orange Resolve root nearby until its bulb breaks and grants Resolve for one shot. |
| Gate shut after opening the chest | That’s normal — the plate above the gate is the only thing that reopens it. |
The mistakes that cost people time are almost always the same: searching the floor for a button that isn’t there, panicking over empty ammo instead of breaking the root, and assuming a shut gate means the run is bricked.
Out of ammo? Break the orange Resolve root next to the gate for enough Resolve to fire one shot — you can never actually be soft-locked in this room.
Chest rewards and where to head next
The bone chest that seals you in is worth the scare: it holds the Obsidian Lathe and the Parasitic Stone. Grab both before you shoot your way out.
One last thing to save you a wrong turn — if you came looking for the Great Martyr’s Blade, this isn’t the place. That weapon lives in Martyr’s Prison, a completely separate dungeon, and the similar name sends players to the wrong location all the time.
Video help
Related Mortal Shell 2 guides






Leave a Reply