
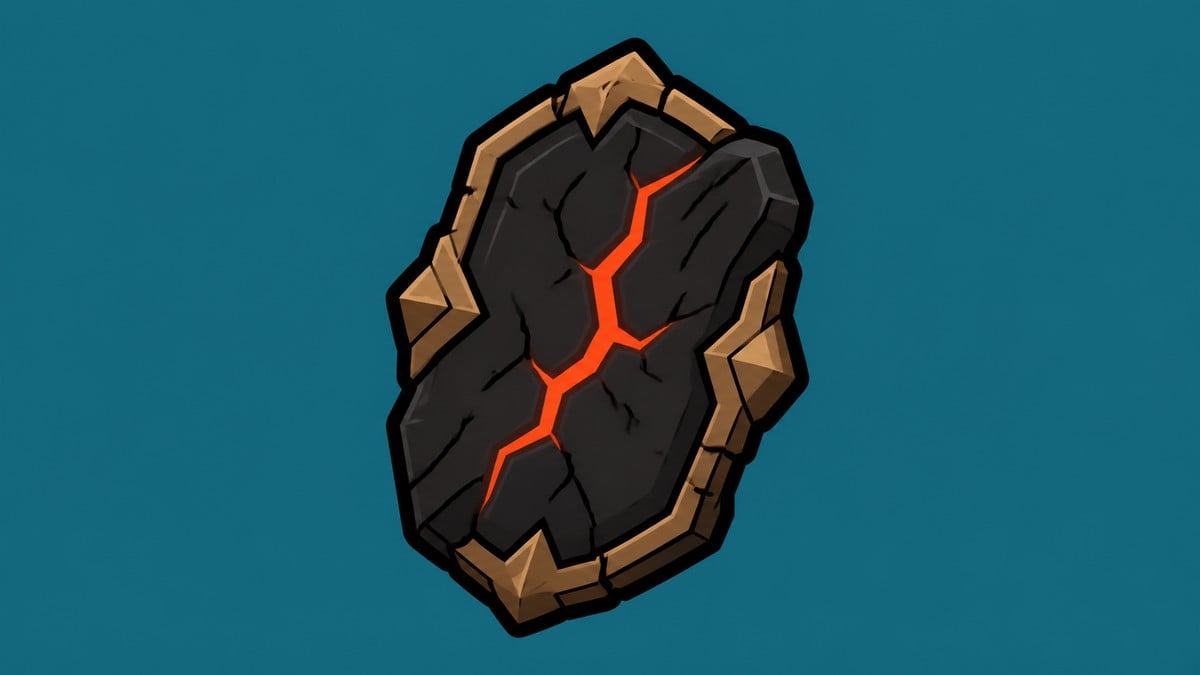
Siegebreaker’s Stone is inside the locked offering chest in the first Sunken Village arena, reached early by cleansing the Mushroom Village Gate beacon from Widow’s Overlook, then lighting the courtyard’s candle offerings before you open the chest.
This is one of the earliest Support Tarstones you can grab for a ranged build, and it’s an easy detour once you know the way in. The whole trip runs beacon to beacon out of Widow’s Overlook, and the only real obstacle is a chest puzzle that asks you to light a couple of offerings first. Here’s the early path and how to pop the chest.
Where to find Siegebreaker’s Stone in Mortal Shell 2
| Detail | Answer |
|---|---|
| Location | Offering chest, first Sunken Village arena (Glutted Mire) |
| Nearest beacon | Mushroom Village Gate, out of Widow’s Overlook |
| Unlock requirement | Light the candle offerings the chest lists (usually two) |
| Tarstone type | Support Tarstone |
| Main effect | Increases ranged attack stagger damage |
Siegebreaker’s Stone lives in the offering chest tucked into the first arena of Sunken Village, part of the wider Glutted Mire region. You don’t need to be deep into the game to reach it — the nearest checkpoint is the Mushroom Village Gate beacon, a short beacon-to-beacon run from Widow’s Overlook. The catch is the chest itself, which stays sealed until you light the candle offerings around it.
How to get Siegebreaker’s Stone in Mortal Shell 2
Key The route runs beacon to beacon out of Widow’s Overlook, with one mandatory cleanse before the gate to Sunken Village will open.
STEP 1/7
Set out from Widow’s Overlook
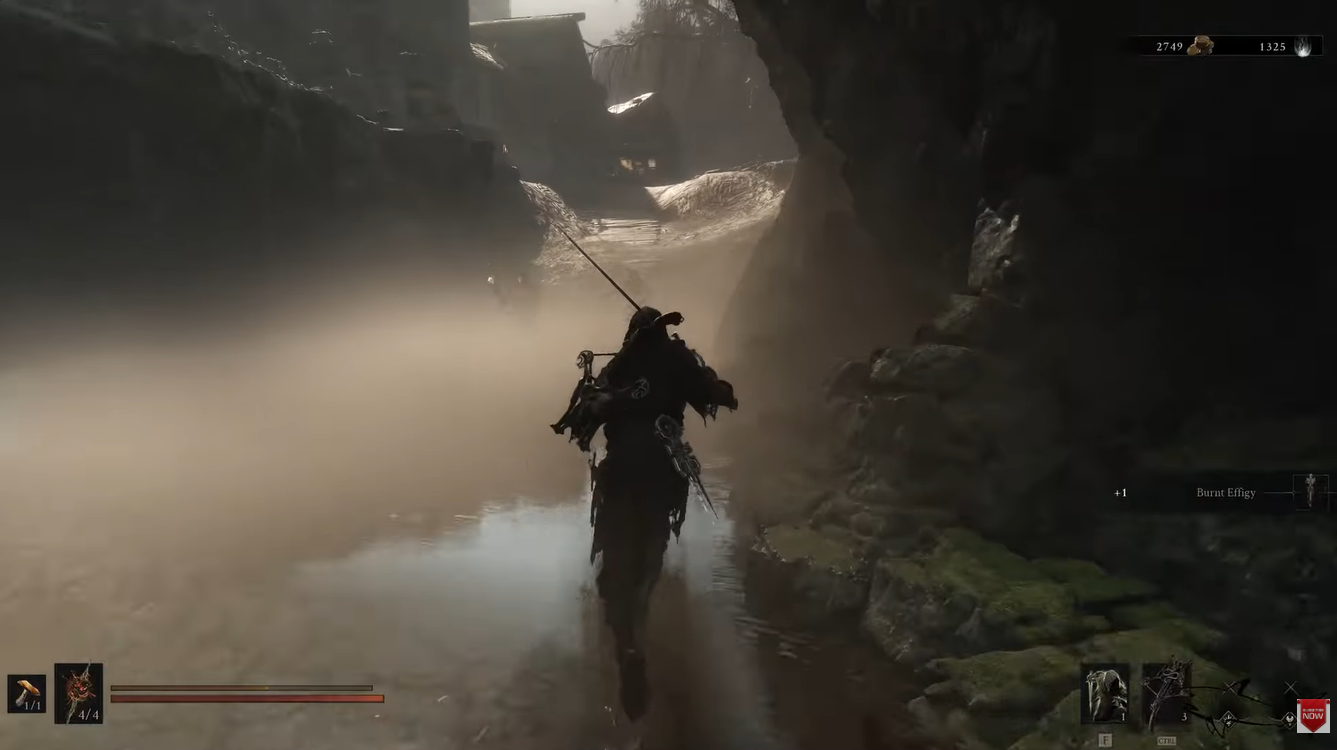
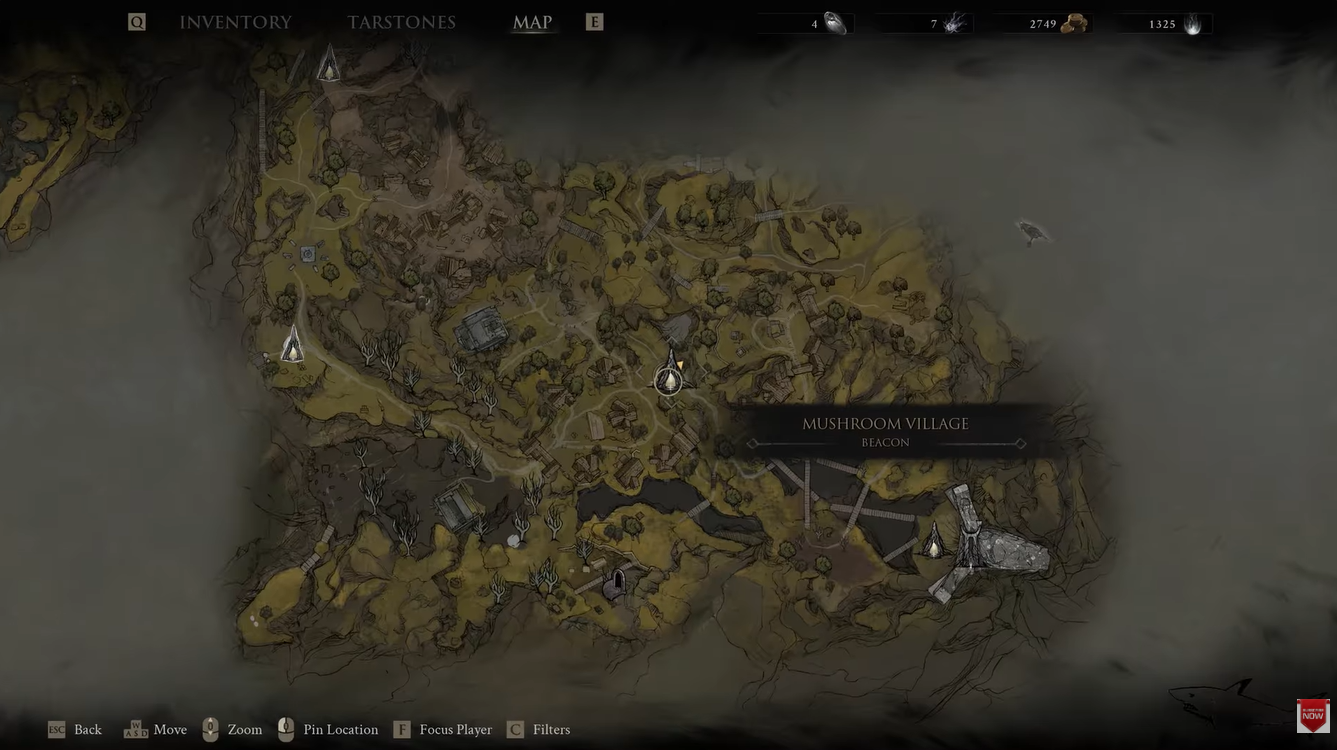
Start at the Widow’s Overlook beacon and follow the path down toward Mushroom Village.
STEP 2/7
Reach the Mushroom Village beacon
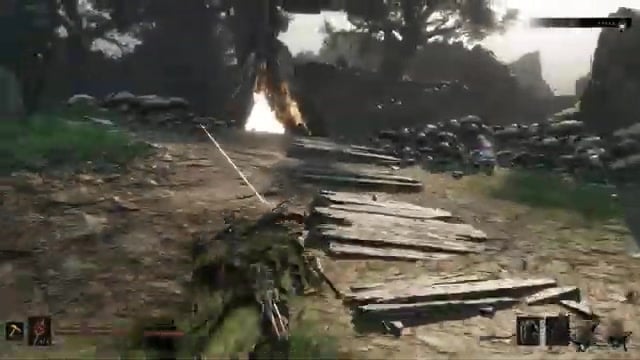
Work through the swampy paths and dodge the aggressive enemies until you hit the Mushroom Village beacon.
STEP 3/7
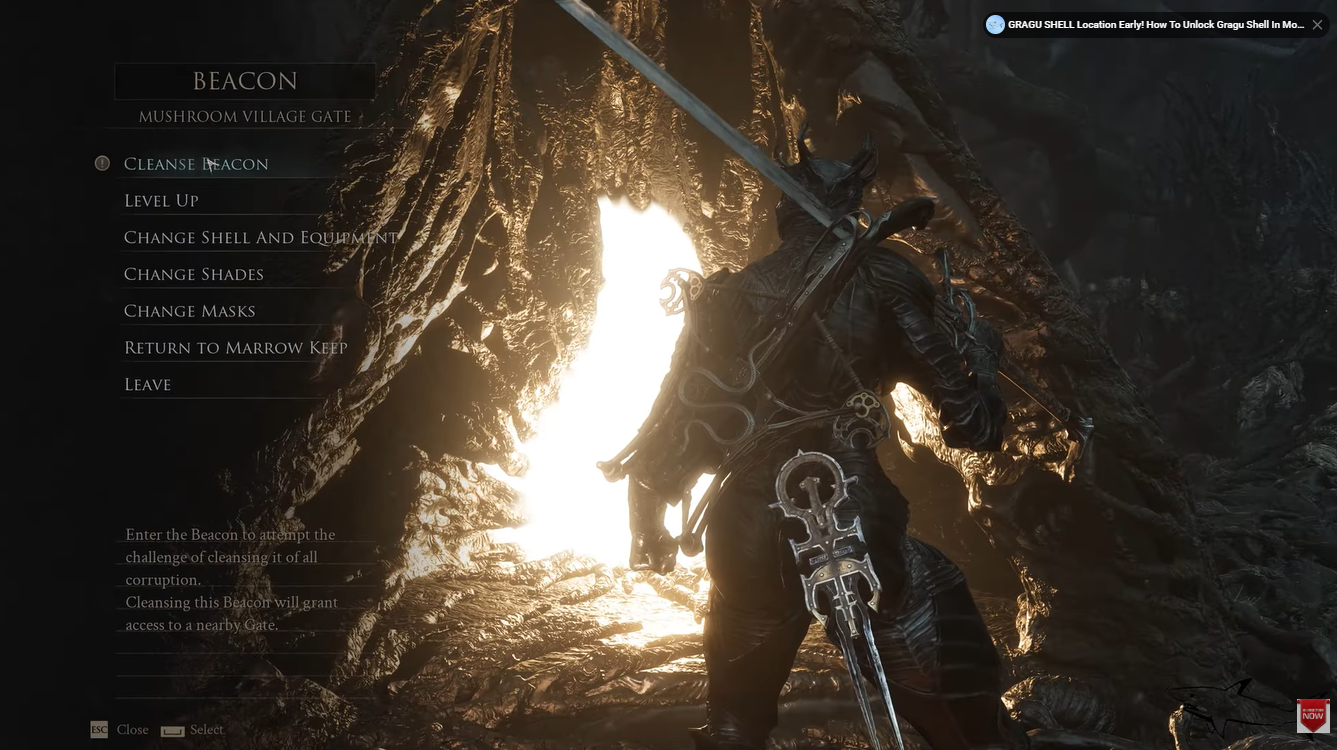
Cleanse the Mushroom Village Gate beacon
At the gate beacon you must cleanse it — that means clearing the illusory dungeon inside and beating Vrannic, the Grand Illusionist.
STEP 4/7
Pass through the opened corrupted gate
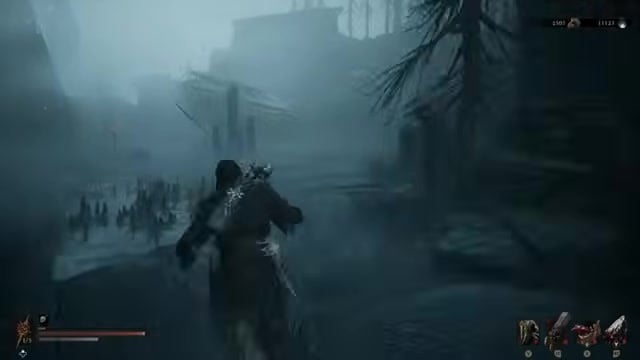
Cleansing the beacon opens the corrupted gate outside, so step through it toward Sunken Village.
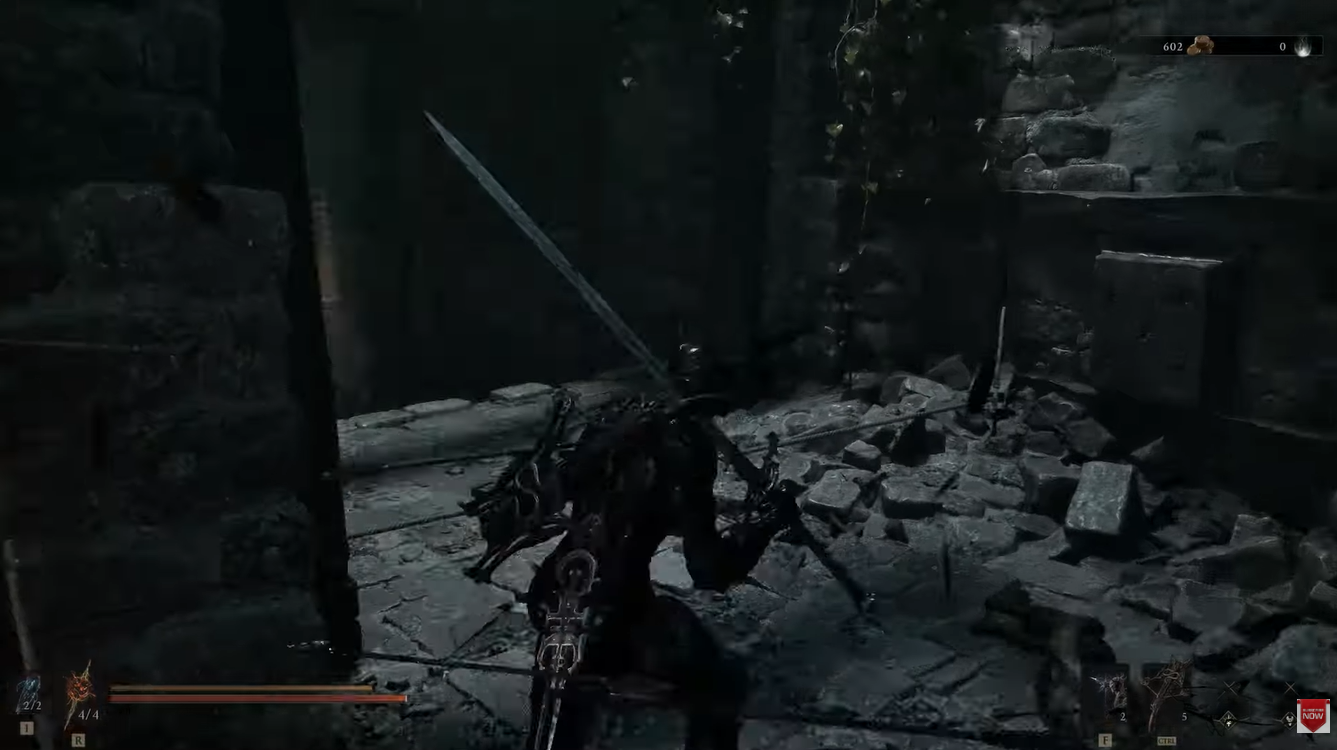
STEP 5/7
Enter Sunken Village and clear the arena
Push into the foggy Sunken Village and wipe out the enemies in the first courtyard, watching for the bee swarm.
STEP 6/7
Light the offerings the chest asks for
Interact with the chest to see how many offerings it needs, then light the candle altars scattered around the courtyard.
STEP 7/7
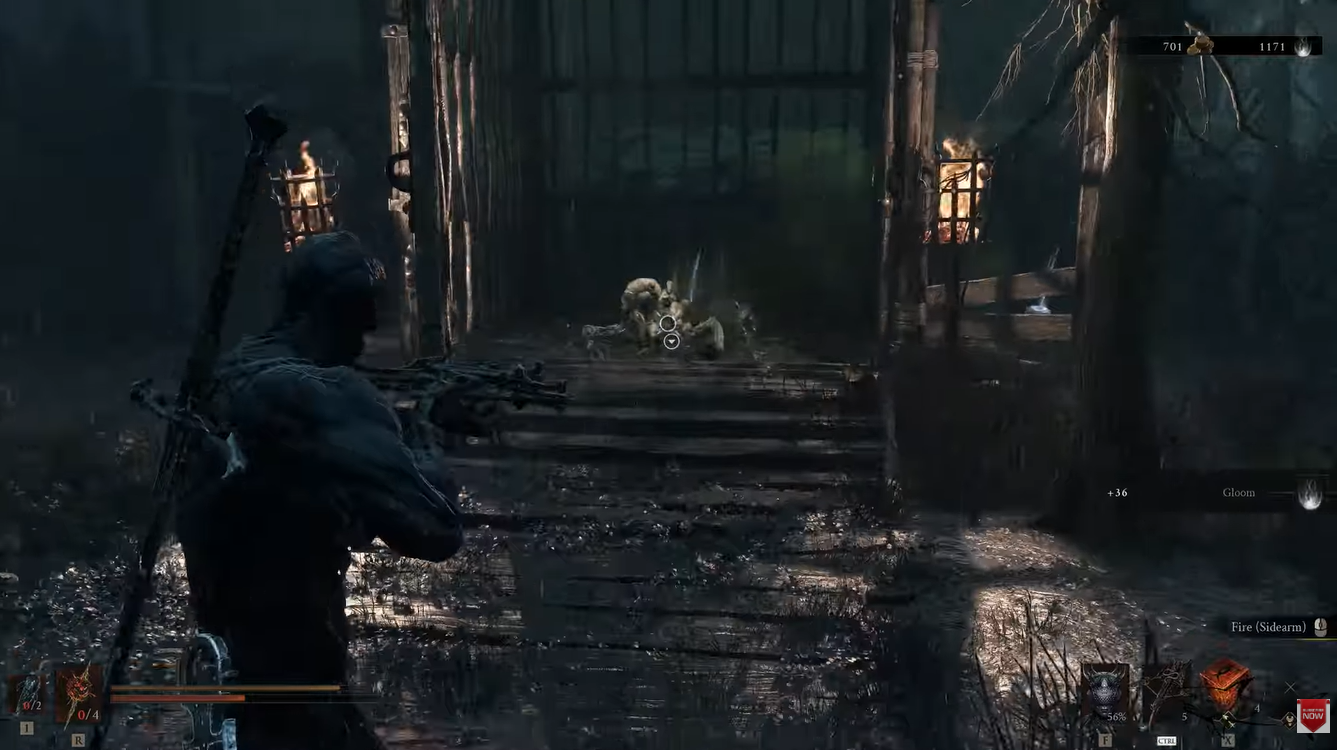
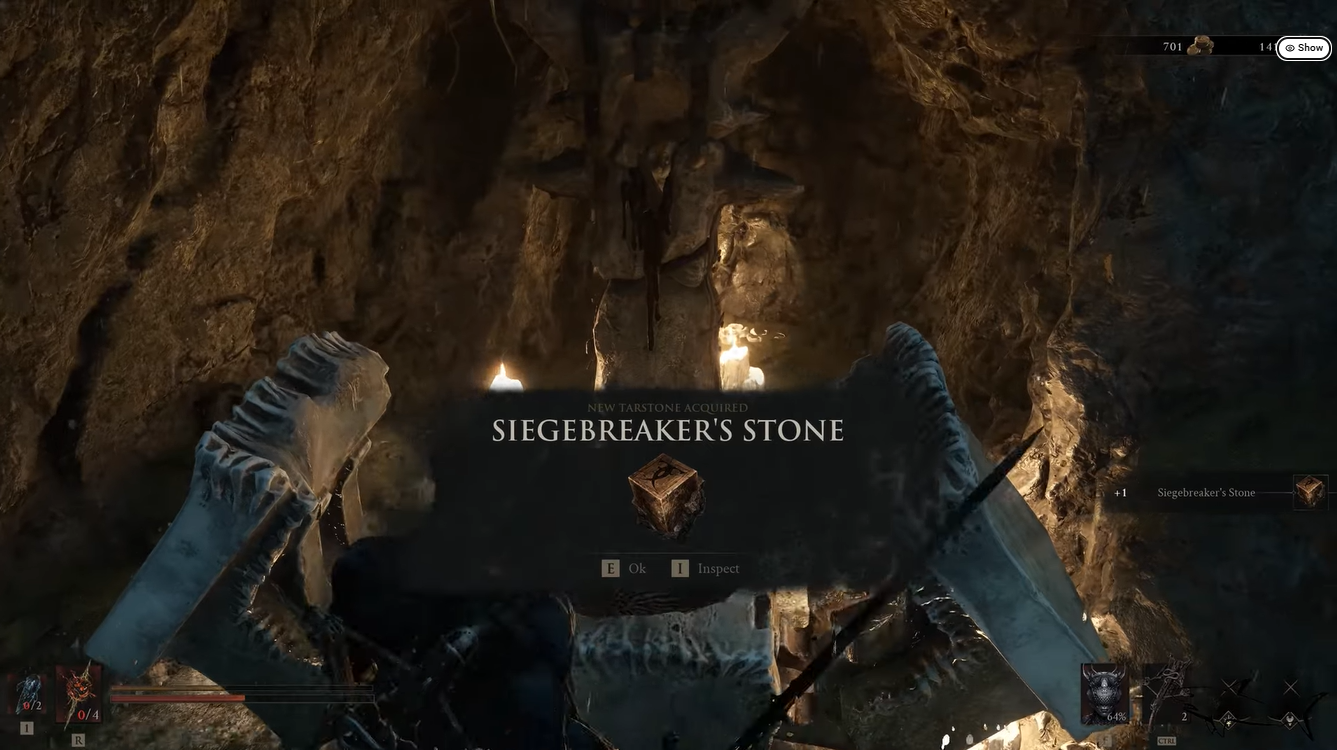
Open the chest for Siegebreaker’s Stone
With the offerings lit, return to the chest in the cave alcove and claim the Siegebreaker’s Stone Tarstone.
Video help
How to get 2 offerings to open the chest
When you reach the first courtyard, clear it out fully before you go near the chest — enemies keep pressing, and a stray bee swarm will interrupt you otherwise. Interacting with the chest brings up an offering prompt that tells you exactly how many candle altars you still need to light; most players see a 2 Offerings Needed prompt, though a few end up needing three. Trust the counter on screen over any fixed number.
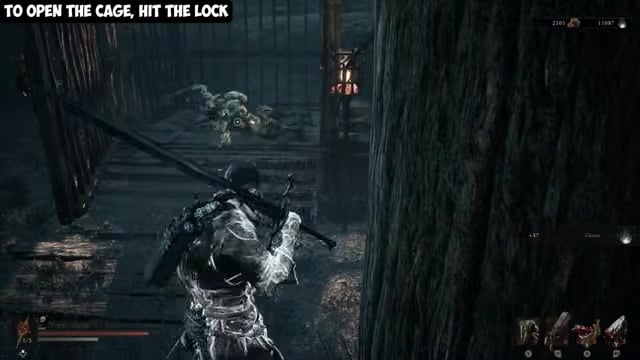
One offering sits on a railing at the top of the wooden steps across from the chest, and another is on a broken stone pillar out in the open middle of the arena, near the casters and the upgrade materials. If your prompt asks for a third, look for the caged altar nearby — break the cage open, deal with the enemy inside, then light its candle. Once every candle the prompt listed is burning, walk back to the chest and open it for the stone.
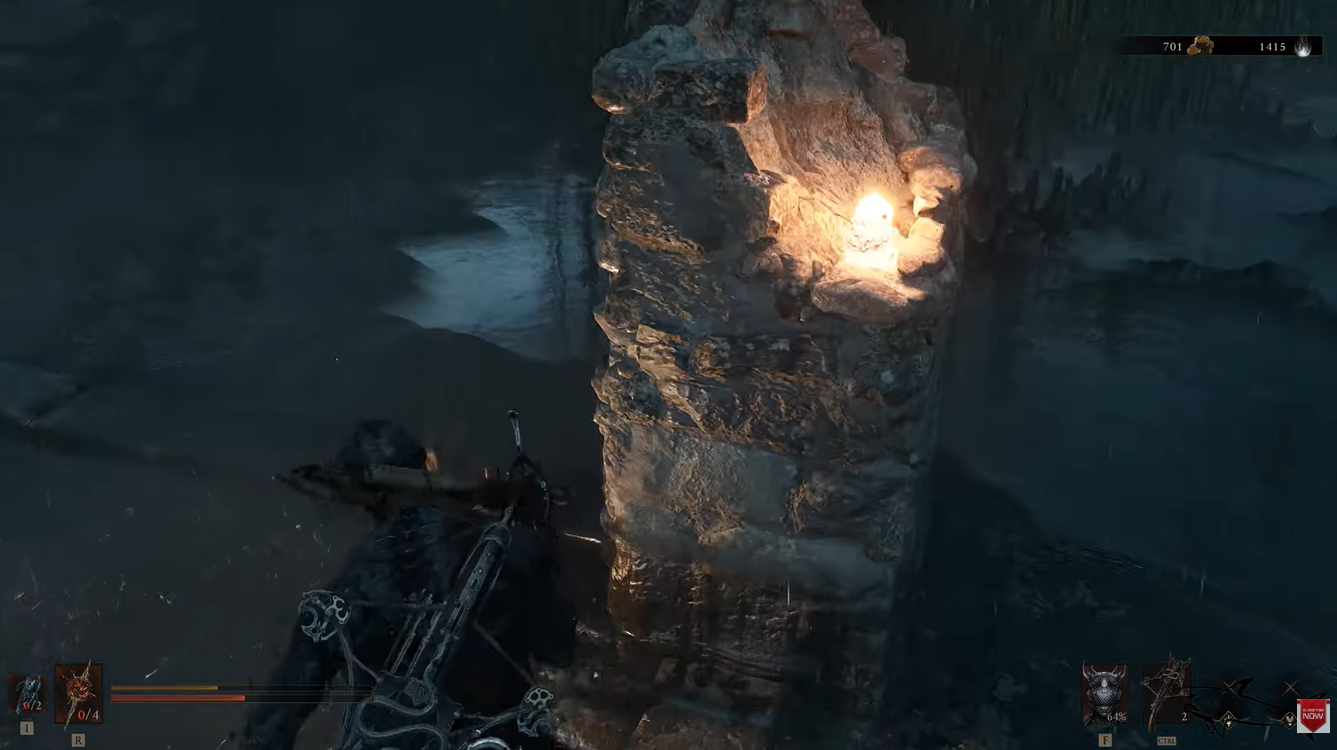
Break the caged altar’s lock instead of hunting for a key — that offering is the one most players walk past, and there’s no key to find in the first place.
What Siegebreaker’s Stone does
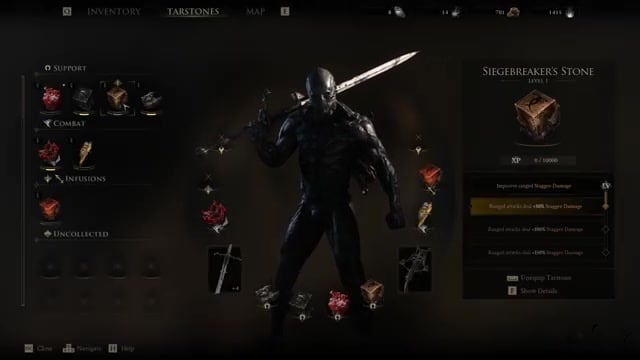
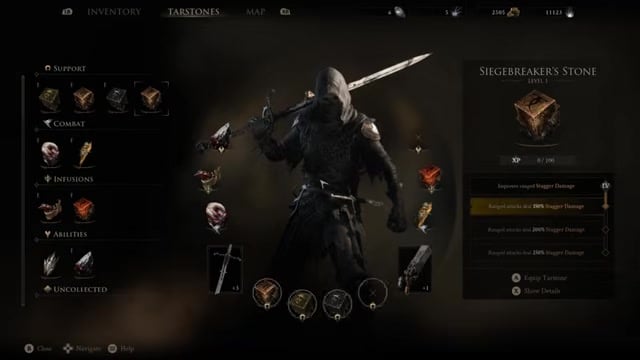
Siegebreaker’s Stone is a Support Tarstone, and its whole job is ranged pressure — it increases the stagger damage your ranged attacks and sidearms deal. That’s stagger specifically, not raw damage: it fills an enemy’s break bar faster so they buckle sooner and open themselves up to a riposte, but it does nothing for your melee swings or elemental hits. Slot it and every shot you land chips harder at that break threshold, and upgrading the stone raises the stagger bonus further at each level, so it keeps paying off as you sink materials into it.
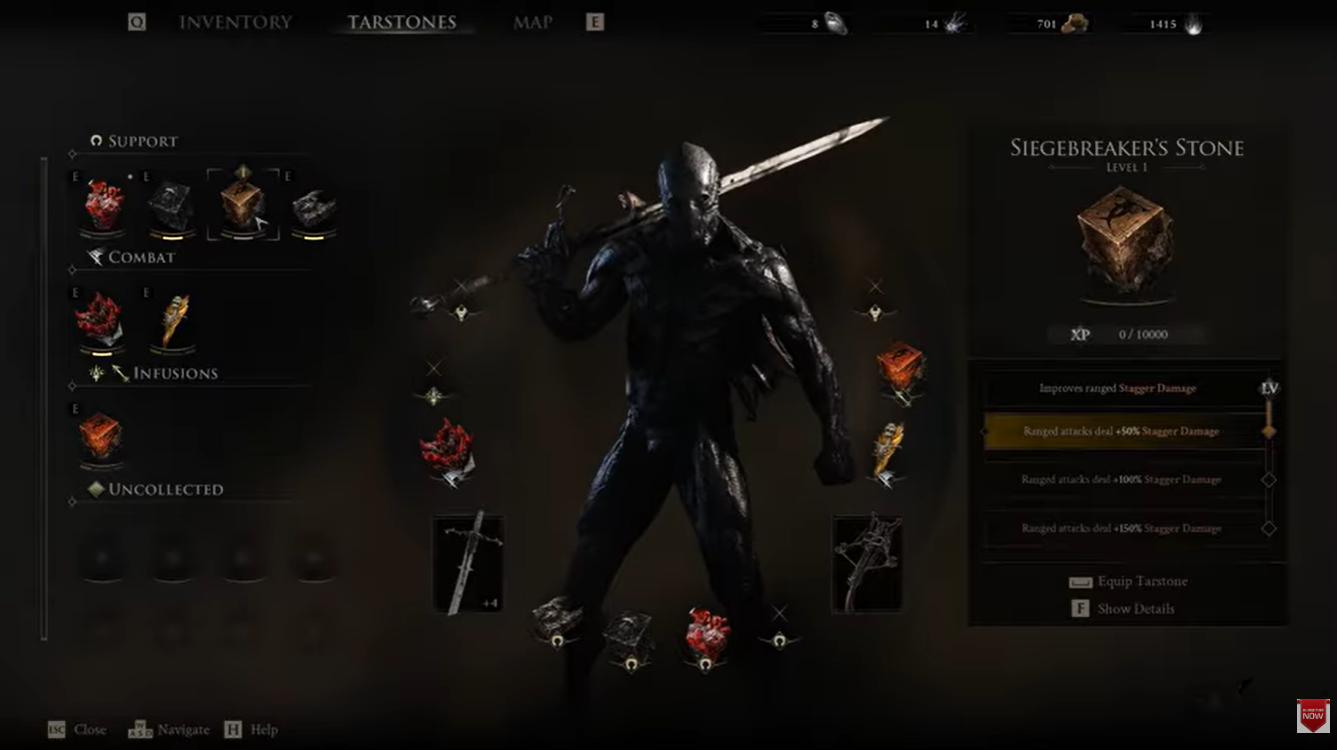
When to equip Siegebreaker’s Stone
Equip it the moment you start leaning on ranged tools. It’s tailor-made for a sidearm-heavy style, and it climbs in value next to hard-hitting ranged weapons like the Ballistazooka or the Salvaged Trebuchaxe. If you’d rather round out a build than stack pure offense, it also sits comfortably beside a defensive Support stone such as the Bulwark Stone. Either way, treat it as the ranged-stagger piece of your kit rather than a fix for melee.
If the chest stays locked
A chest that won’t open almost always comes down to one thing: a candle you walked past is still unlit. Re-run the courtyard until the prompt’s counter is fully satisfied, because the chest will not open even one offering early. And don’t let the area’s name throw you off the trail — the same chest and the same Siegebreaker’s Stone turn up whether the spot is labeled Sunken Village, Glutted Mire, or Seeping Mire.
Related Mortal Shell 2 guides






Leave a Reply