

To unlock Genessa, The Wayward in Mortal Shell 2, reach Revenant Graves in the Ruins of Mammon, touch the Sester’s Censer, defeat Sester Secundus, then return to Marrow Keep and offer the Censer to Sester Genessa.
This compact quest combines an exploration leg, a hidden boss arena, and a final hand-in. Following the spectral Sesters’ gaze will keep you on the right path once you enter Revenant Graves.
Genessa, The Wayward unlock requirements
| Requirement | Detail |
|---|---|
| Unlock location | Revenant Graves, Ruins of Mammon |
| Key item | Sester’s Censer |
| Boss | Sester Secundus |
| Hand-in point | Sester Genessa at Marrow Keep |
| Required cost | No Tar or Glimpses |
Unlike most Shells, Genessa, The Wayward is not claimed from a corpse. Her quest revolves around obtaining a specific item and delivering it to its owner.
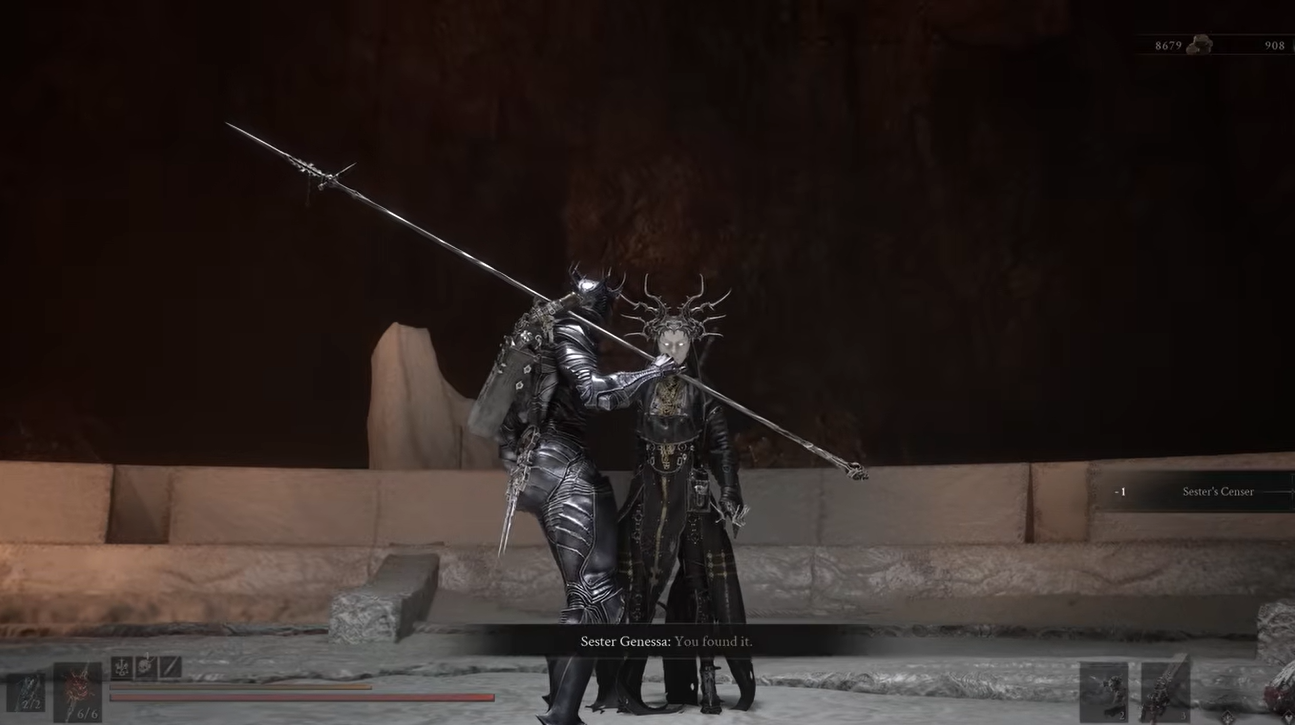
How to unlock Genessa, The Wayward in Mortal Shell 2
Key Start from the demonstrated Mammon route, complete the Revenant Graves encounter, and bring its reward back to Genessa.
STEP 1/8
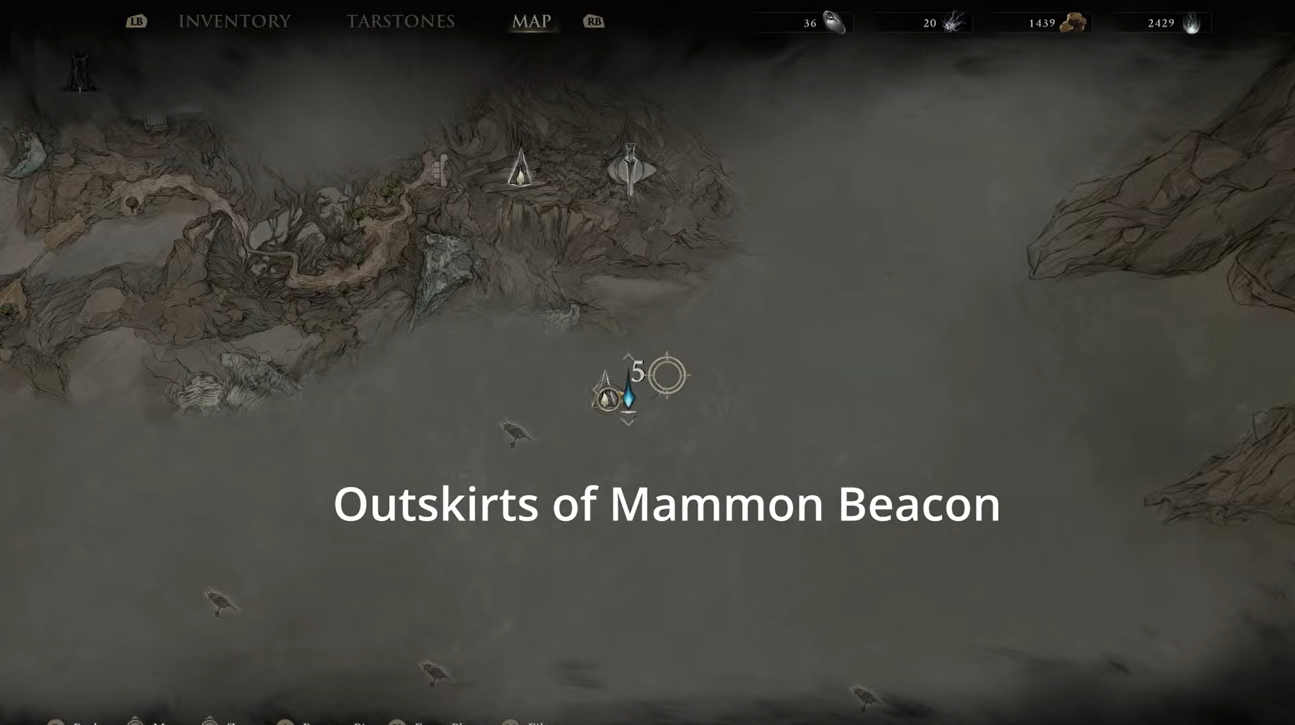
Fast travel to Outskirts of Mammon Beacon
Open the map and travel to Outskirts of Mammon Beacon.
STEP 2/8
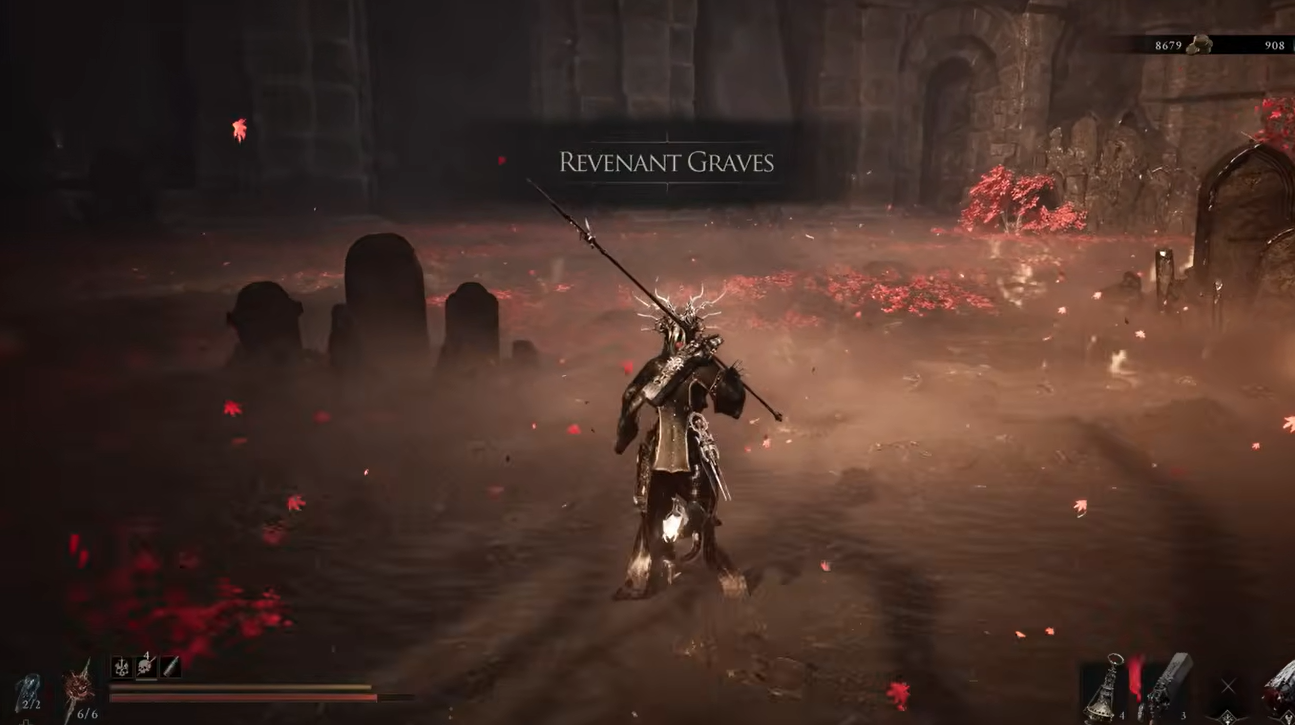
Reach Revenant Graves
Cross the wooden bridges, continue through the forest and portal, then defeat the two Gloombound Ritualists in the red-petaled clearing.
STEP 3/8
Touch the Censer
Approach the glowing red object between the spectral Sesters and accept the Touch The Censer? prompt.
STEP 4/8
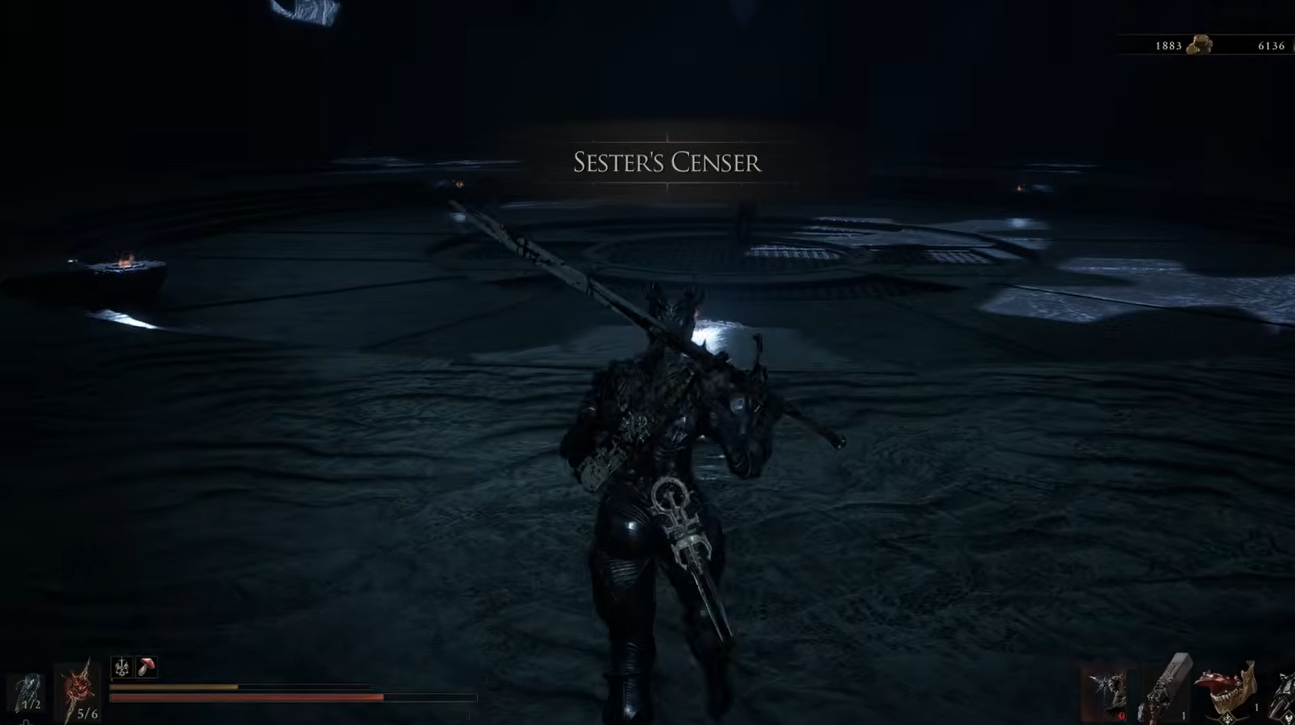
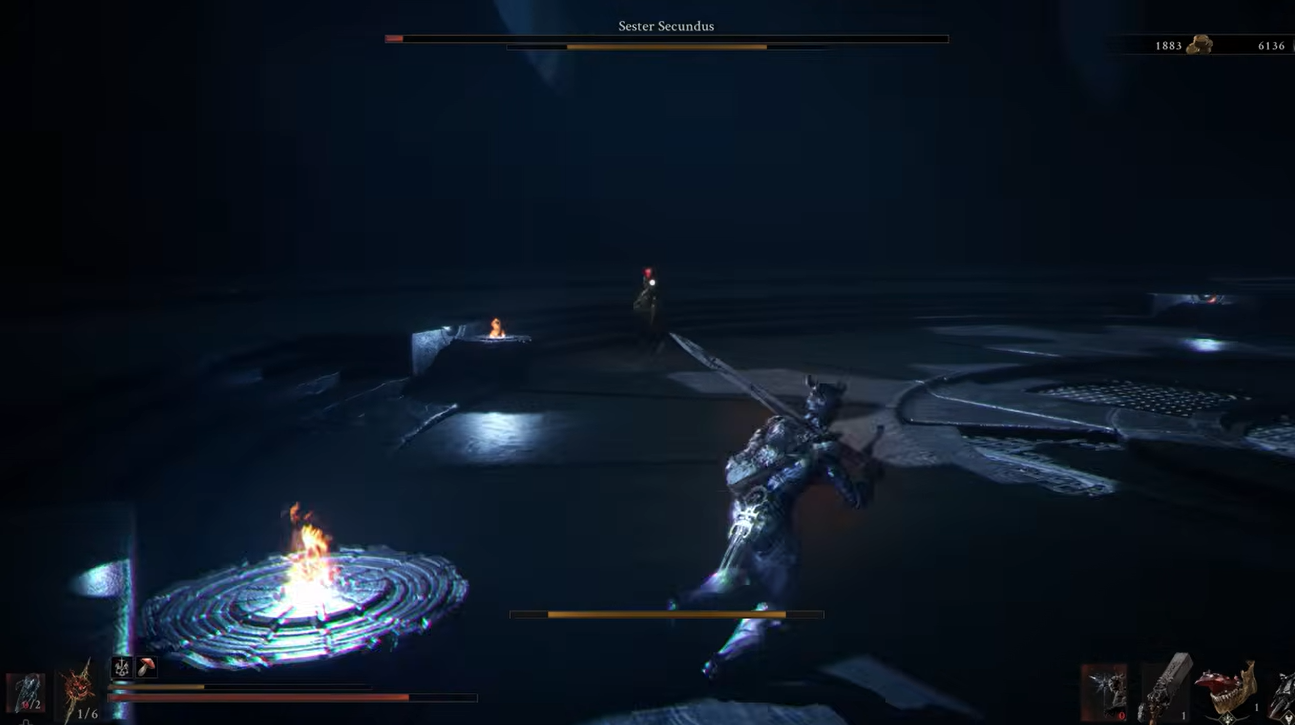
Defeat Sester Secundus
Enter the circular arena and defeat Sester Secundus.
STEP 5/8
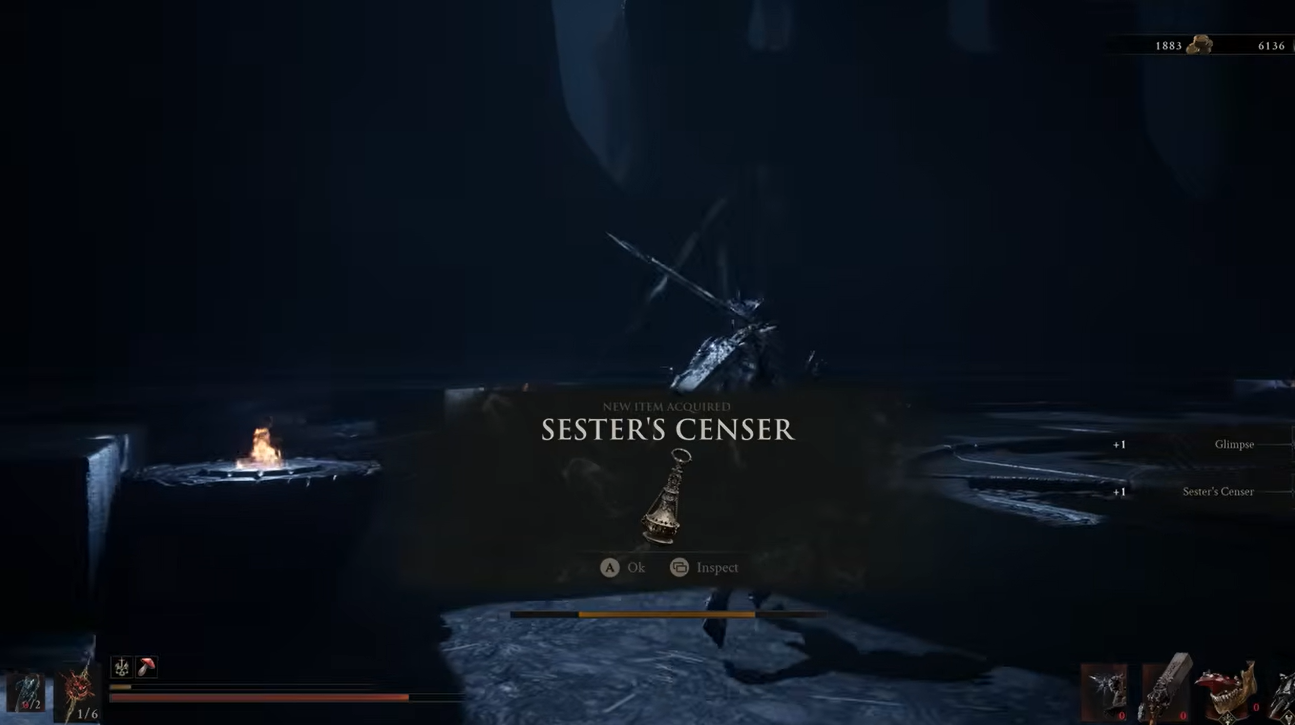
Collect Sester’s Censer
Claim the Sester’s Censer awarded after the boss falls.
STEP 6/8
Return to Marrow Keep
Fast travel back to Marrow Keep and find Sester Genessa below the Beacon via the wooden ramp.
STEP 7/8
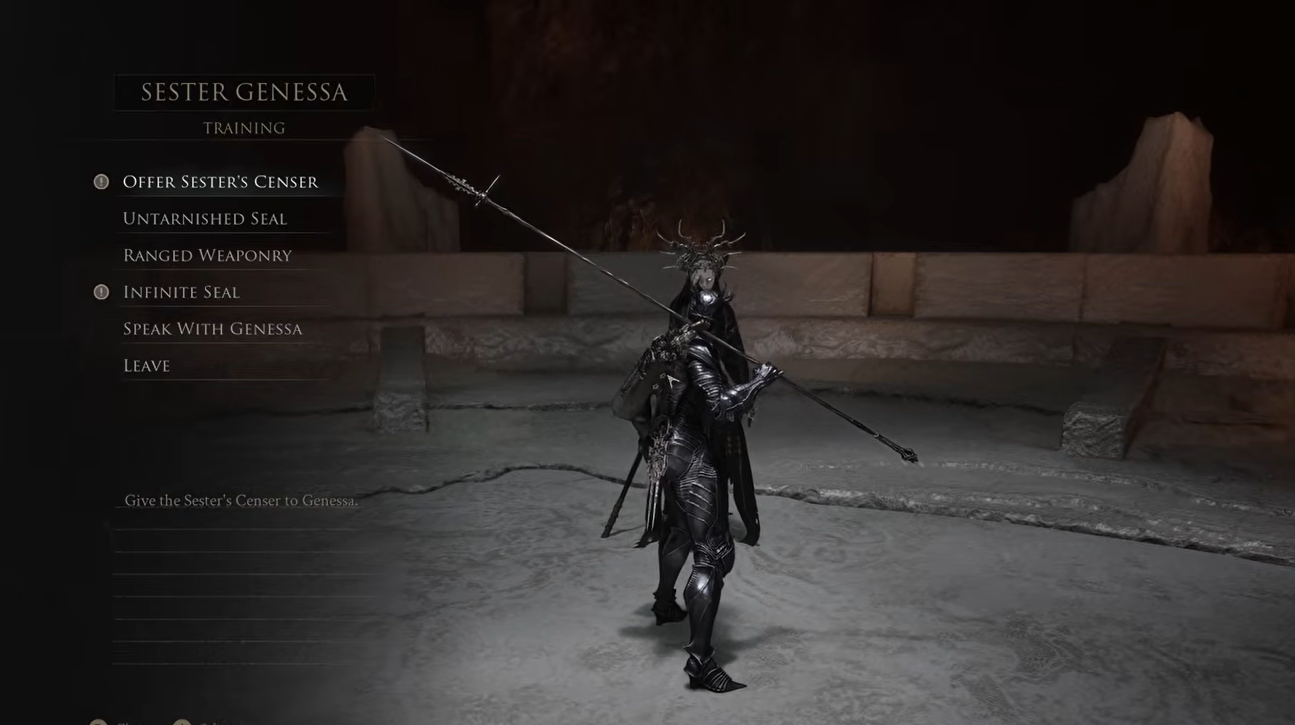
Offer the Censer to Genessa
Speak with Sester Genessa and select Offer Sester's Censer.
STEP 8/8
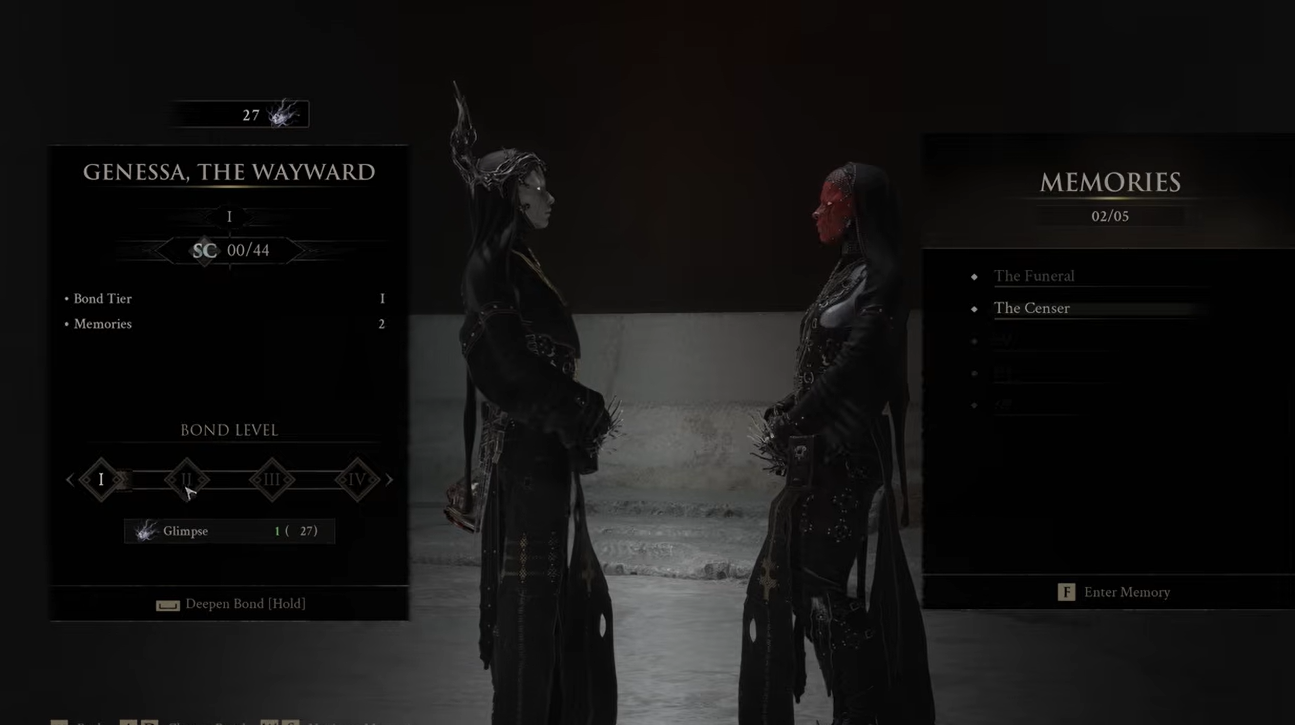
Finish Genessa’s memory
Let the memory sequence conclude to add Genessa, The Wayward to your playable Shells.
If Abbey Entrance Beacon is already active, start there and head northwest into Revenant Graves. The longer demonstrated route begins at Outskirts of Mammon Beacon and approaches the same Censer location.
Video help
What happens after you offer the Censer
Handing over the Censer begins a Shell memory in which you temporarily play as Genessa. Once the sequence ends, you can switch to Genessa, The Wayward and use her as a regular playable Shell.
Genessa’s identity centers on summoning doubles that fight alongside her, including replicas capable of copying her attacks. After obtaining the Shell, interact with Genessa again to access and develop its upgrade path.
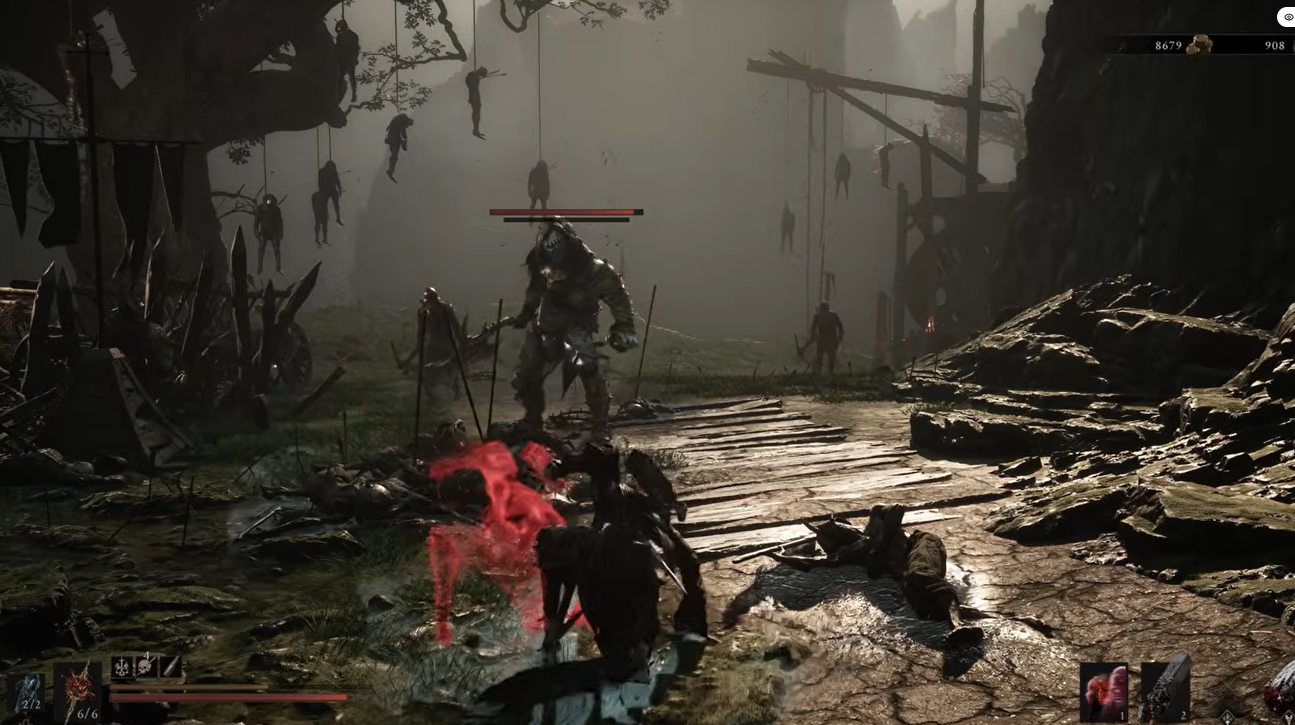
Wrong turns around Revenant Graves and Marrow Keep
Interact with the glowing lantern, not the spectral Sester figures surrounding it. Those figures act as signposts by facing the object. If the interaction is unavailable, finish clearing the enemies tied to the clearing first.
The in-game item name is Sester’s Censer. References to a “sensor” or Sester’s Chalice point to this same boss-gated quest item; there is no separate object to collect elsewhere.
Deliver the item to Sester Genessa at Marrow Keep. “Meadow’s Keep” and “Stray Sester” are misleading labels for this hand-in. A Shell location marker also cannot replace the encounter: you must touch the Censer and defeat Sester Secundus before Genessa accepts the offering.
Related Mortal Shell 2 guides
Frequently Asked Questions
Do you need to spend Glimpses with the Shellkeeper to find Genessa?
No. Spending Glimpses with Zhirelle only provides an optional Shell location marker; you can travel directly to Revenant Graves without purchasing the hint.




Leave a Reply