
Use Obsidian Genessa with Black Needle, Common Moonshine, and fully upgraded Stray Doubles. Keep your duplicates active, poke Hexapod once or twice, retreat, recast from a safe distance, and take every execution riposte.
Beat Hexapod by refusing every direct trade. This Withered Shoals gate boss can end a careless run in one blow, but Obsidian Genessa and fully upgraded Stray Doubles turn the fight into a controlled poke-and-retreat loop. Your duplicates absorb fatal hits while you chip down the boss with Black Needle and reset before each dangerous exchange.
- The Obsidian Genessa loadout at a glance
- Reaching Hexapod in the Withered Shoals
- How to run the Black Needle poke-and-retreat plan on Hexapod
- Why the poke-and-reset loop stays safe
- Reading Hexapod’s attacks and punish windows
- Backup routes without the Genessa build
- Common mistakes that get you killed
The Obsidian Genessa loadout at a glance
| Slot | Use |
|---|---|
| Shell | Obsidian Genessa, for its Stray Doubles fatal-hit protection |
| Weapon | Black Needle, which carries a permanent phantom that adds stagger |
| Quick item | Common Moonshine, to rebuild resolve for more duplicates |
| Skill | Stray Doubles, fully upgraded for two fatal-hit saves |
| Passive | Grisha Remnant, optional extra value on the chance it procs |
| Tarstones | Acolyte’s Stone, Nightgrasp Stone, Grudge Stone |
| Sidearm | Pistol equipped but unused in the winning run |
Key Build the entire loadout around keeping Stray Doubles active. The duplicates are your real health bar, Common Moonshine restores the resolve spent summoning them, and Black Needle delivers enough damage per poke to keep every exchange short. Keep the pistol holstered: it adds damage, but the phantoms are far more important, and the winning run never needs the sidearm.
Reaching Hexapod in the Withered Shoals

Start at the Nameless Pass Beacon in the Withered Shoals, then follow the nearby path into the dark, foggy water chamber that serves as Hexapod’s arena. Hexapod is one of the region’s more manageable major bosses, making it a strong early target for this build.
Defeating Hexapod drops the Hexapod Core, a Tarstone that pairs with the Axatana. Once slotted, it spends 60 Resolve to carve through enemies with a rapid string of strikes. The fight also awards a chunk of Gloom that you can spend on leveling at a Beacon.
How to run the Black Needle poke-and-retreat plan on Hexapod
Run the same short loop throughout the fight: jab, disengage, rebuild resolve, recast your duplicates, and cash in every execution riposte. Your doubles cover mistakes, but disciplined resets win the fight.
STEP 1/7
Enter with Stray Doubles active

Fully upgraded Stray Doubles absorbs up to two fatal hits. Summon your duplicates before touching the boss so both saves are ready for the opening exchange.
STEP 2/7
Poke once or twice, then retreat
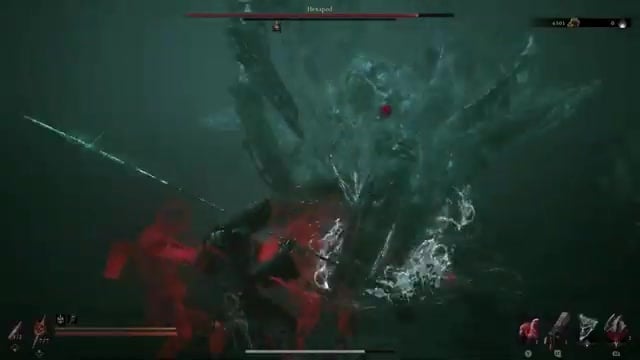
Land one or two quick Black Needle jabs, then dodge out immediately. Never stay for a longer combo, because one Hexapod hit can erase a low-health Genessa.
STEP 3/7
Charge resolve with every hit
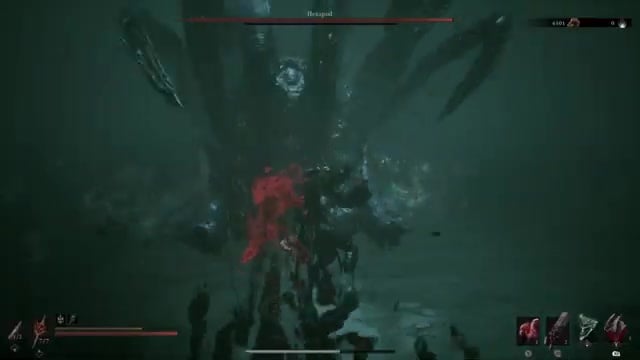
Every poke builds the resolve needed to summon another set of duplicates. Keep landing controlled hits instead of waiting at range until your resolve runs dry.
STEP 4/7
Recast duplicates from range
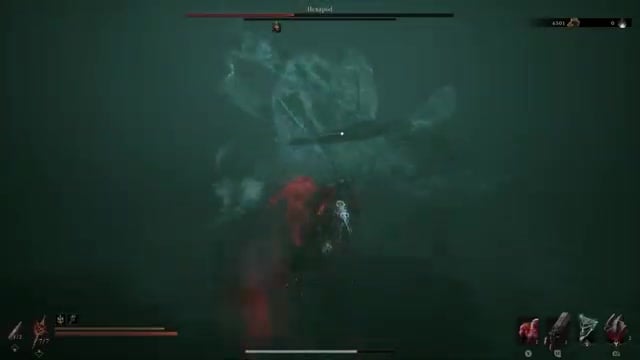
As soon as your doubles are spent, retreat well beyond Hexapod’s reach and summon them again before re-engaging.
STEP 5/7
Give ground in the second phase
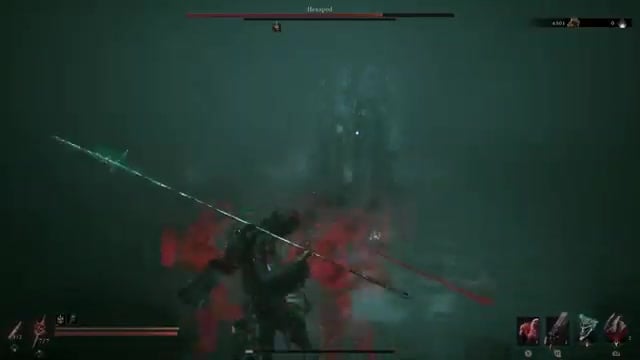
Hexapod’s later phase adds wilder, longer combos and ranged projectiles. Create more space, spend more time running and dodging, and only step in for the same short pokes.
STEP 6/7
Take every execution riposte
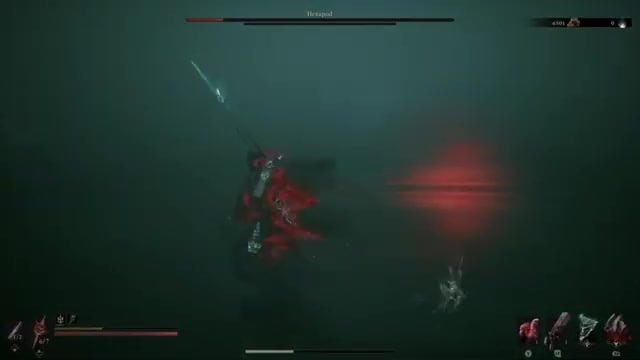
When the fatal-riposte prompt appears, close the distance and trigger it for a large, safe burst of damage.
STEP 7/7
Finish and grab the Hexapod Core
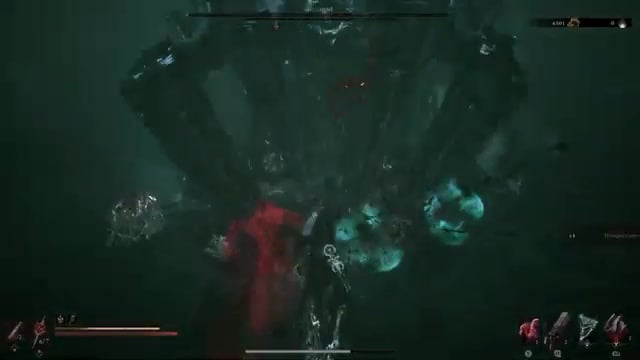
Trigger the final execution to kill Hexapod and collect the Hexapod Core.
Re-summon Stray Doubles from a safe distance before they run out, so a fatal hit is always absorbed instead of ending your run.
Video help
Why the poke-and-reset loop stays safe
This loop works because you never trade evenly with Hexapod. Black Needle carries a permanent phantom, so each spear poke gains extra stagger as the phantom strikes alongside you. One input lands like several hits, letting you step in, attack once or twice, and escape before Hexapod answers.
Greed is the only real danger. Once your Stray Doubles disappear, a single clean hit can kill a low-health Genessa. The moment the duplicates drop, create distance and recast them instead of attempting one more attack. Repeat that rhythm and Hexapod never gets a fair exchange.
Reading Hexapod’s attacks and punish windows
| Tell | Response |
|---|---|
| Tentacles spread wide, head exposed | Long startup — time your dodge, then poke |
| Lateral tentacle swipes | Dodge backward or i-frame through them |
| Three-tentacle frontal stabs | Dodge sideways |
| Fingers unfurl all at once | Unblockable incoming — stop attacking and dodge away |
| Jumps back, red icon flashes | Squid Surge ram — sidestep it, then punish the whiff |
| Recovering in front after a stagger | Unblockable grab — don’t stand in its face |
| Burrows underground when low | Dodge sideways as it digs toward you |
Hexapod constantly turns to face you, so take quick jabs between its swings instead of trying to circle into a long flank attack. Before its melee strike, it spreads its tentacles wide and exposes its head, giving you a long tell to dodge and counter. Stay out of the space directly in front of it while it recovers from a stagger, because it can immediately use an unblockable grab. Move to the side before committing to the follow-up.
Backup routes without the Genessa build

If you have not assembled the full loadout, use these approaches to replace the missing pieces. They are substitutes, not upgrades over the Obsidian Genessa plan.
Spend a Glimpse to summon Proxima before entering the arena. She pulls aggro and creates safe attack windows by taunting Hexapod. Coat your weapon with a status Tarstone — Burn, Lightning, or Stasis — to stack extra damage during stagger openings. With Tiel, perfect dodges turn you invisible and set up Shadow Strike punishes, which pair naturally with the Axatana after you collect the Hexapod Core.
Common mistakes that get you killed
Entering without active duplicates leaves the first hard hit free to kill you. Recasting too close to Hexapod is nearly as dangerous, so create plenty of distance before summoning replacements. Two tells punish greed hardest: when all its fingers unfurl or the red icon flashes after a backward jump, stop attacking and dodge immediately. After a stagger, avoid overcommitting directly in front of the boss or its unblockable grab will catch you.
If the boss drop is missing after the kill, it is tucked out of view. Return to the menu, load back in, and jump down to find the pickup sitting close by.
Related Mortal Shell 2 guides






Leave a Reply