

What to know
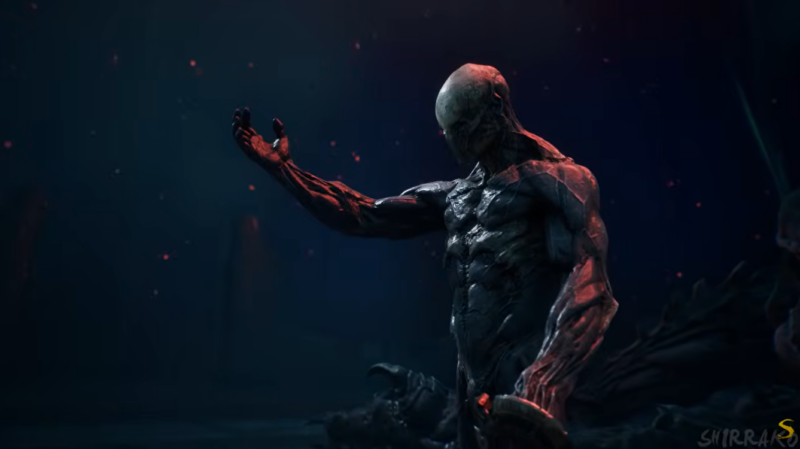
- Zmey the Unbidden is the final boss of Mortal Shell 2 and appears at the end of the Unfound Path.
- The boss uses Cosmic Flame attacks to control the arena, with Blade Slam and Cascading Flare being two of the most important patterns to recognize.
- Dodging sideways and waiting for recovery windows is safer than constantly chasing Zmey or committing to long melee combos.
- Defeating Zmey unlocks “It’s over now?” trophy.
If you have reached Zmey the Unbidden, you are at the final boss of Mortal Shell 2. The encounter is a significant change from many of the earlier fights because Zmey combines close-range pressure with large Cosmic Flame attacks that can control where you stand in the arena. The boss can look overwhelming at first, but its patterns become much easier to manage once you stop treating every opening as a chance to attack.
| Quick overview | Details |
|---|---|
| Final boss | Zmey the Unbidden |
| Location | The Unfound Path |
| Requirements | Collect all 168 Ova pieces to access the Unfounded Path |
| Main threat | Cosmic Flame attacks |
| Notable attacks | Blade Slam, Cascading Flare and red-icon melee attack |
| Recommended approach | Dodge, reposition and punish recovery windows |
| Useful Shells | Tiel or Genessa |
| Night Mode option | Seedbearer’s Scripture can help against Cosmic Flames |
| Unique boss reward | None currently listed |
| Achievement | “It’s over now?” |
| After the fight | Continue your current save or begin New Game Plus later |
Zmey the Unbidden location in Mortal Shell 2
Collect all 168 Ova pieces to unlock the Unfounded Path. It is found in the Gloom Siphon room at Marrow Keep.
Zmey is located at the end of the Unfound Path, the final area associated with the game’s endgame progression.
Orrem, the Reclaimed, the Monolith and the Malborn Offspring are the major encounters you need to overcome on the way through the Unfound Path. Clearing these encounters removes the obstacles preventing access to the central route and eventually leads you toward Zmey.
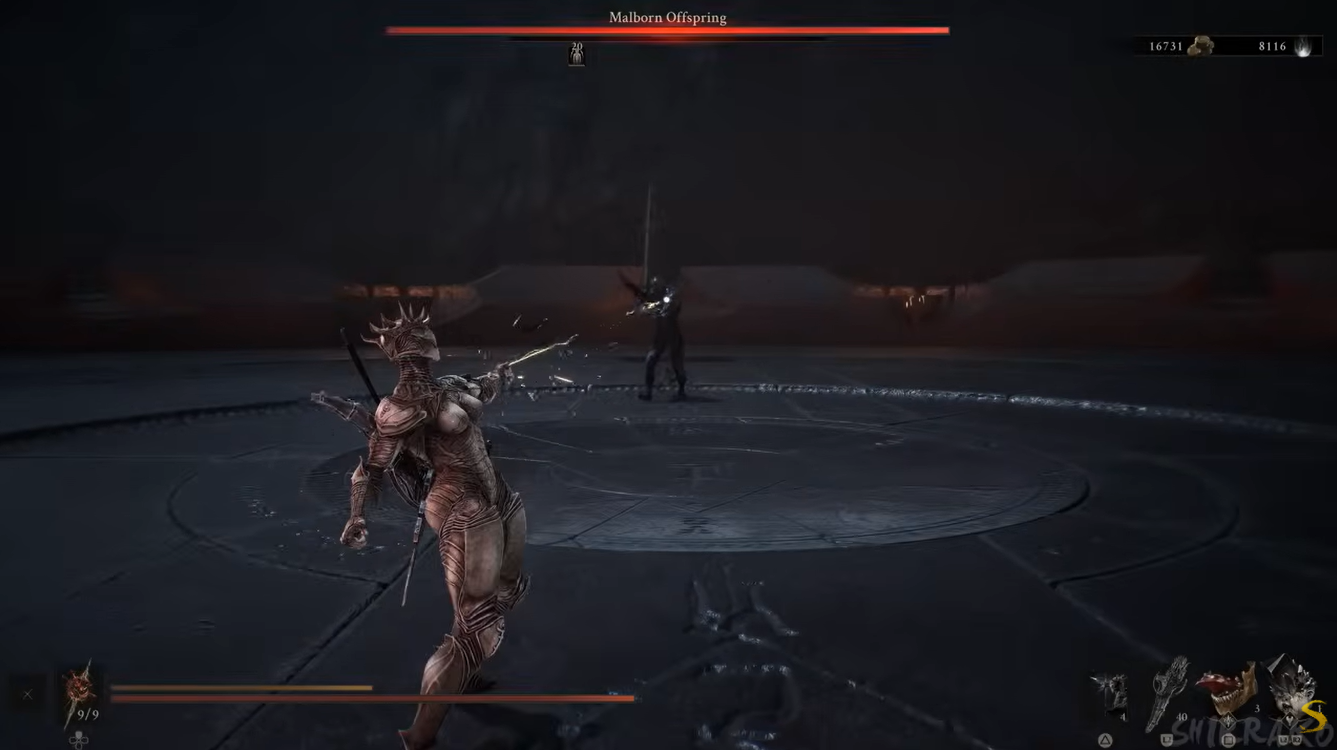
Before committing to Zmey, it is worth making sure your primary weapon and Shell are properly upgraded. Mortal Shell 2’s combat does not use a conventional stamina bar, instead putting more emphasis on its Posture system, defensive timing and Shell abilities. That means you can attack and dodge freely, but repeatedly taking hits or failing to manage your defensive options can still leave you vulnerable.
Mortal Shell 2 Zmey’s attack types and patterns
Zmey’s most important attacks revolve around Cosmic Flames. The boss can use these flames to force you away from its body, punish players who chase too aggressively and restrict safe areas of the arena.
Blade Slam
Blade Slam is one of the easiest Zmey attacks to recognize once you know what precedes it. The boss can jump away from you before performing the attack, sending Cosmic Flames along a straight line.
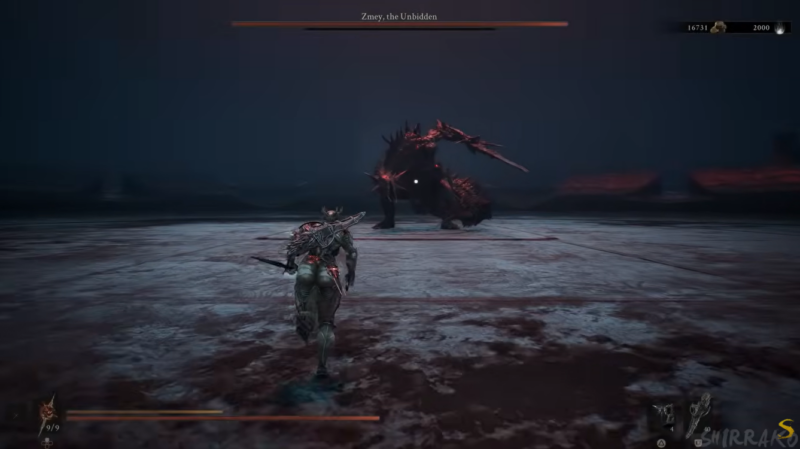
The main danger is following Zmey immediately after it retreats. If you chase the boss without waiting for the next animation, you can move directly into the incoming flame attack.
The safest response is generally to dodge sideways. Because the flames travel in a straight line, moving laterally gets you out of their path without requiring you to create a huge amount of distance. Once the attack finishes, Zmey gives you a better opportunity to move back in and attack.
Cascading Flare
Cascading Flare works differently. Rather than sending flames down a single line, Zmey can stop and create Cosmic Flames around your position for several seconds.
This attack is particularly dangerous if you become focused on dealing damage. Trying to finish a long combo while the flames are active can cost you far more health than the extra hits are worth.
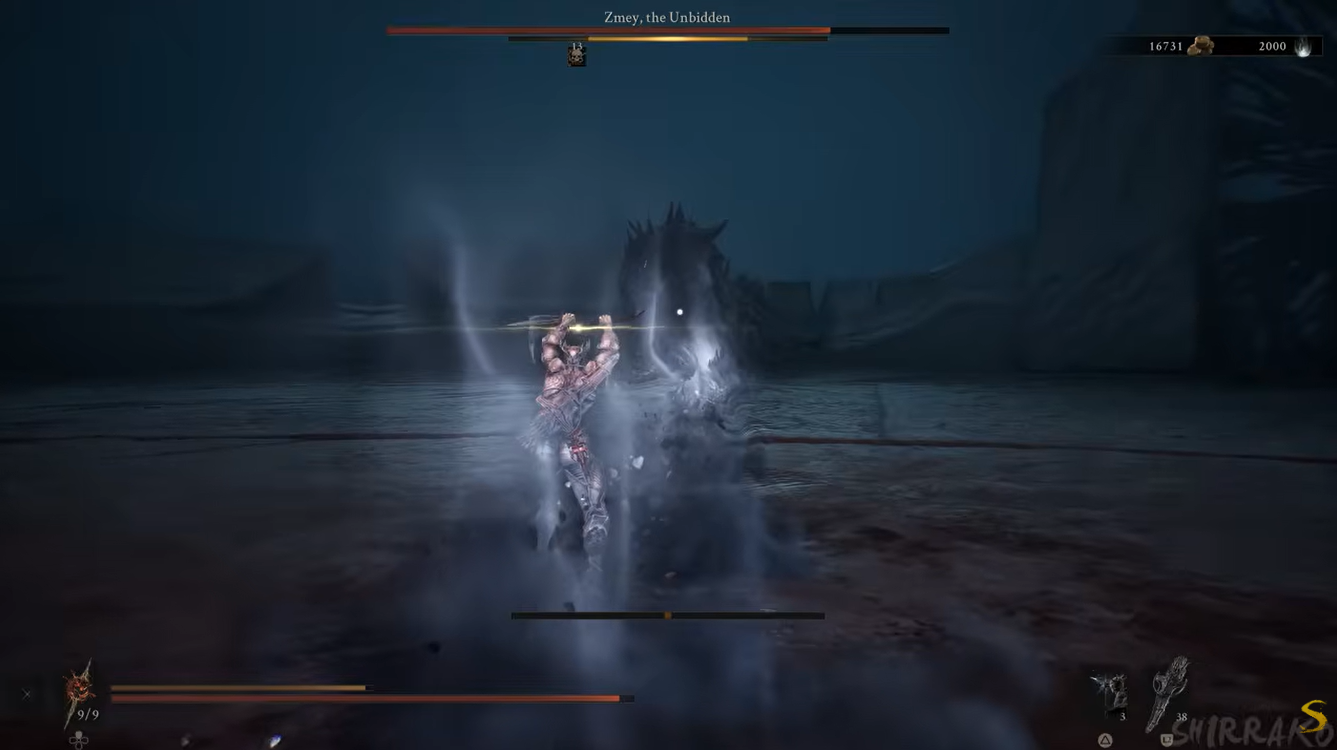
When Zmey begins this pattern, movement should take priority over damage. Create enough space to remain outside the dangerous area and wait for the flames to disappear before returning to melee range.
Players who have obtained Seedbearer’s Scripture through Night Mode have another option here, it is recommended for its effects for helping mitigate the threat from Zmey’s Cosmic Flames.
Close-range red attacks
Zmey is not only a ranged threat. Staying underneath or directly beside the boss for too long can expose you to a close-range attack signaled by the game’s red attack indicator.
This is especially important because Mortal Shell 2’s red attacks are designed to demand a defensive response rather than simply allowing you to trade damage. When you see the indicator, stop extending your attack string and prepare to evade.
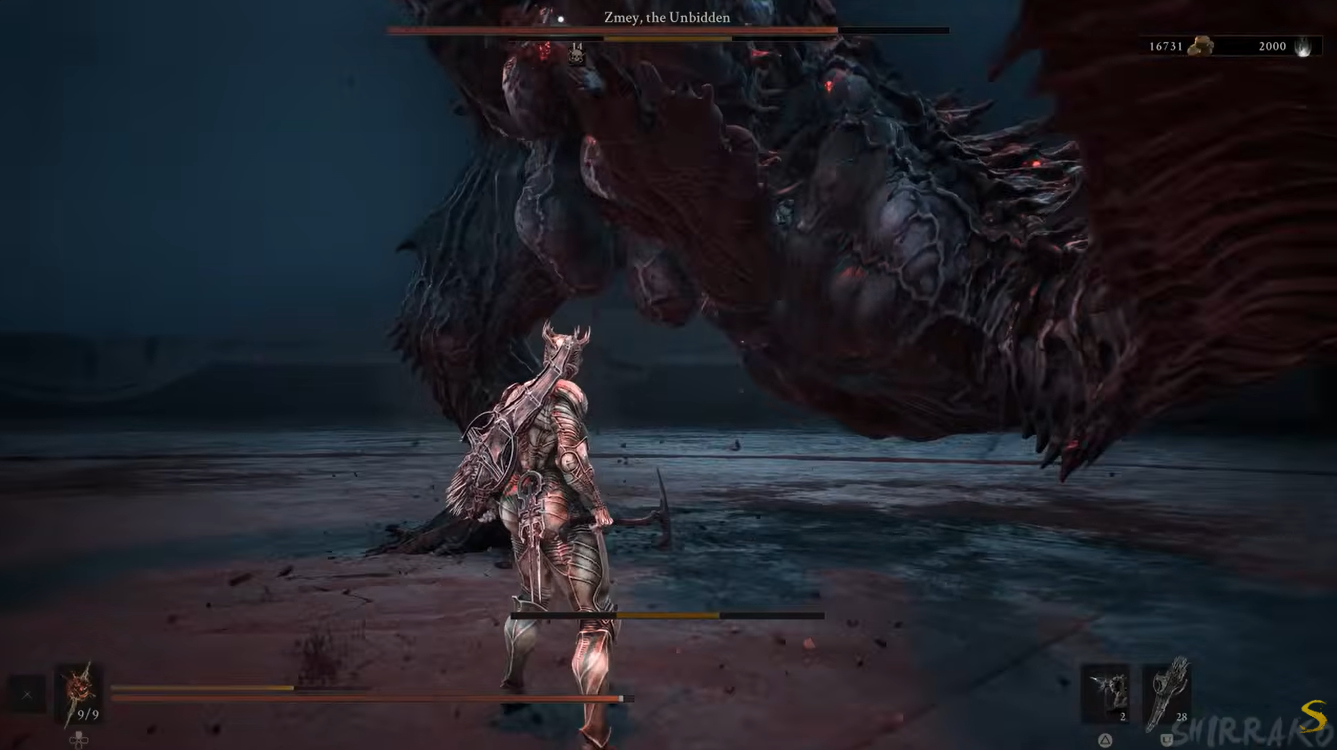
The same principle applies throughout the encounter: Zmey’s size can make it tempting to remain underneath the boss and attack continuously, but doing so gives you less time to react to its next animation.
Retreats and repositioning
Zmey’s movement itself is an important part of its attack pattern. A retreat is not necessarily a safe opportunity for you to sprint forward. In particular, the boss can use its backward movement as the setup for Blade Slam.
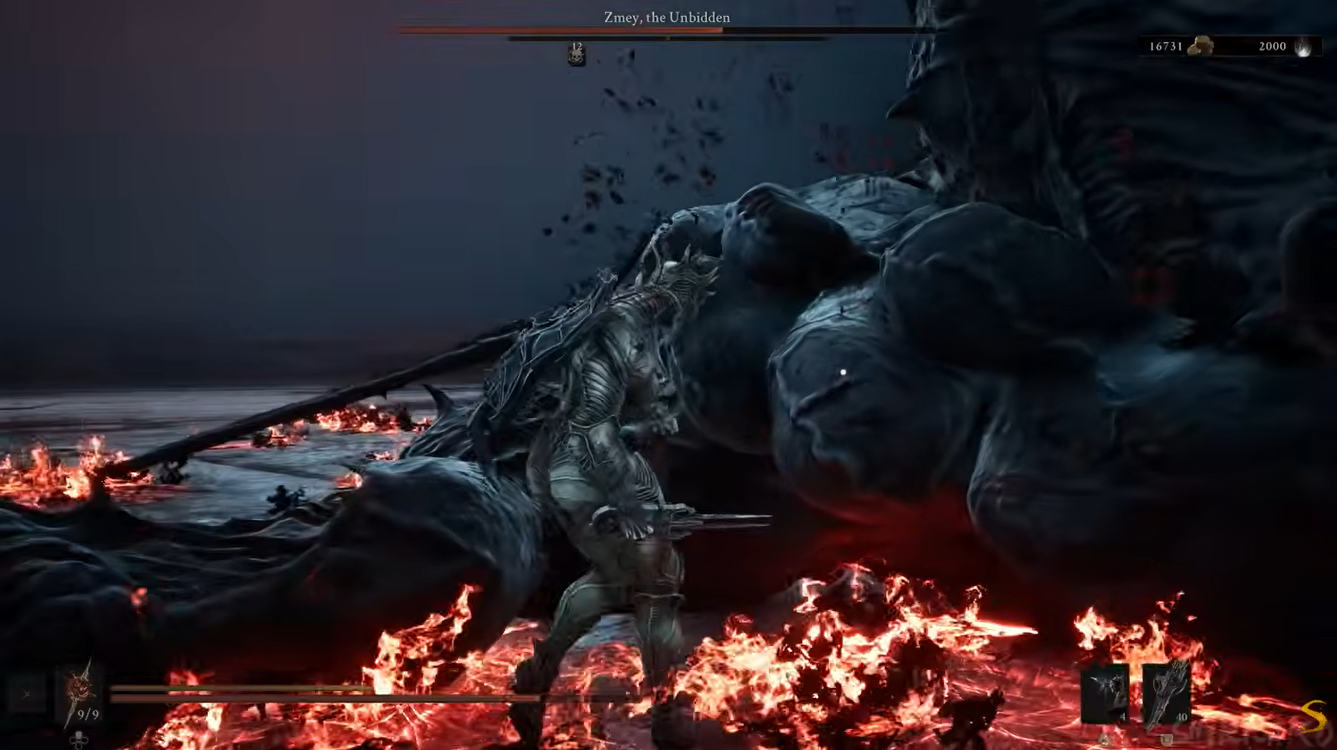
Instead of thinking of every gap as something you need to close immediately, treat Zmey’s movement as information. Wait to see which attack follows the repositioning, then react accordingly.
This is one of the biggest differences between a controlled Zmey fight and a chaotic one.
How to beat Zmey the Unbidden
- Keep your distance when Zmey retreats. Don’t automatically chase the boss when it jumps away. Watch for the follow-up animation, especially the setup for Blade Slam.
- Dodge Blade Slam sideways. When the Cosmic Flames travel in a straight line, lateral movement is the safest response. Once the flames pass, move back toward Zmey and punish its recovery.
- Move immediately when Cascading Flare begins. Don’t try to finish a greedy combo while the flames are appearing around you. Staying alive gives you another opportunity to attack after the effect ends.
- React to the red attack indicator. If Zmey signals a close-range red attack, disengage instead of trying to trade hits.
- Keep your attacks short. You don’t need to empty an entire combo every time you get close. A few reliable hits followed by a defensive reset is safer than committing to an animation and being caught by the next attack.
- Use your Shell’s strengths. Tiel is particularly useful for this encounter because his mobility and stealth can create additional opportunities to disengage and re-enter the fight.
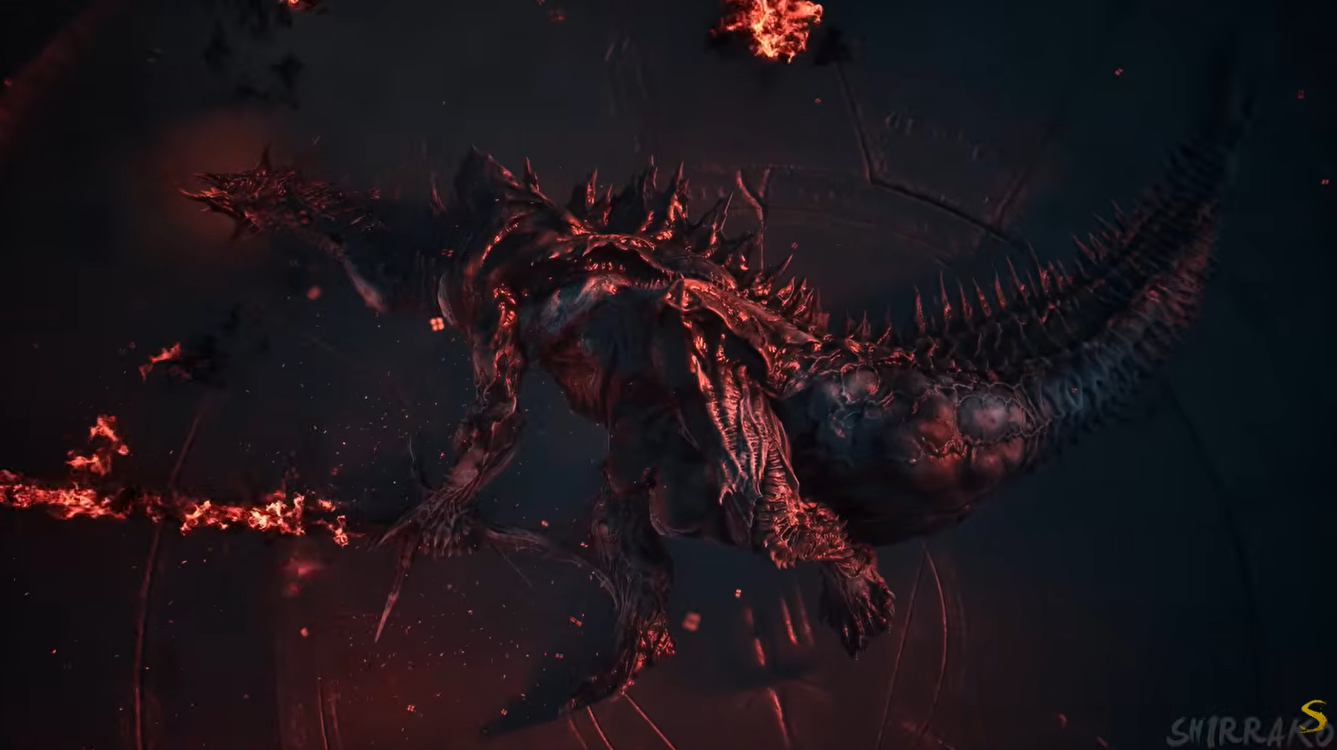
Zmey rewards and the “It’s over now?” achievement
The main confirmed achievement for the encounter is “It’s over now?”, which is unlocked by defeating Zmey the Unbidden. The achievement does not require a special weapon, difficulty setting or finishing technique; defeating the boss is the requirement.
There is no unique reward for Zmey. This is worth noting because several other major bosses do have named rewards. For example, the Monolith gives the Monolith Fragment, the Malborn Offspring gives the Offspring Trophy and Orrem gives Orrem’s Head.
What to do after the final boss
Defeating Zmey does not mean you have to immediately start New Game Plus. After the final boss is defeated, you can continue playing your current save and return to unfinished areas.
This is useful if you still need to find weapons, sidearms, Shells, Tarstones, memories or other collectibles. Mortal Shell 2 has a substantial collection and progression system, and the achievement list includes separate goals for finding and unlocking many of these items.
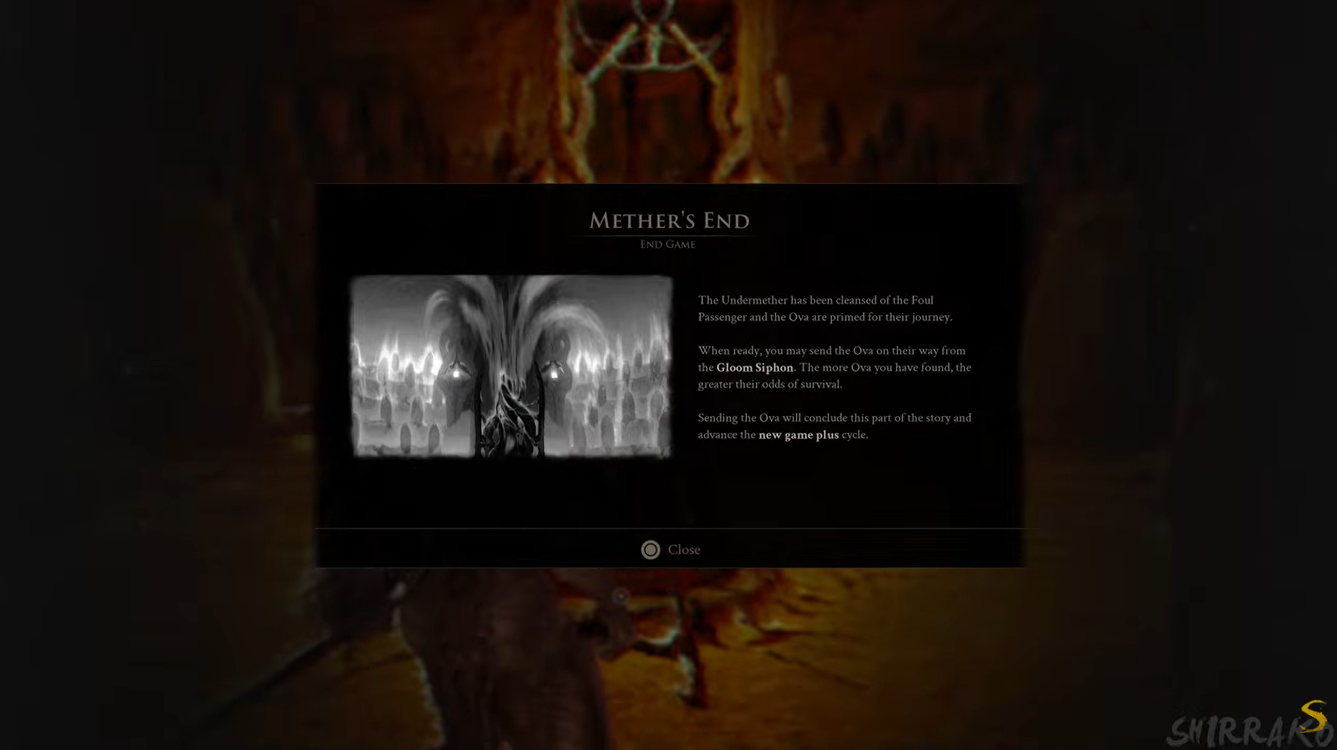
When you are ready to move into another cycle, return to the siphoning machine in Marrow Keep.
Choosing “Send Ova” at the machine takes you into New Game Plus. If you are not ready, simply avoid selecting that option and continue with your existing progression.
That distinction is important because defeating the final boss and beginning New Game Plus are effectively two separate decisions. You can treat Zmey as the conclusion of the main story while still using the current world to finish your remaining objectives.
Recommended build, glands, and shells for Zmey in Mortal Shell 2
For the final boss fight in Mortal Shell 2 against Zmey the Unbidden, the key challenges are managing his high-mobility airborne maneuvers, dodging wide AOE Cosmic Flames (such as Cascading Flare), and handling long multi-hit combos.
1. Recommended Shell Options
- Genessa (Best for Safety & Aggro Control):
- Why: Her active ability lets you summon Faithful Doubles. In a fight where Zmey aggressively tracks and pursues you across the arena, your summons distract the boss, giving you safe windows to deal heavy damage or heal without taking counterattacks.
- Tiel (Best for Mobility & High Burst):
- Why: Zmey regularly opens up distance by jumping back or launching aerial attacks. Tiel’s Shadow Dash and perfect-dodge stealth passive allow you to rapidly close gaps, avoid wide-area fire traps, and deliver massive critical damage from stealth during recovery frames.
- Eredrim (Best for Pure Survival/Tanking):
- Why: Offers the highest maximum HP pool and stagger capability (Shoulder Bash). If you struggle with dodging or memorizing Zmey’s attack rhythms, Eredrim gives you enough health buffer to survive punishing hits that would instantly kill squishier shells.
2. Recommended Build & Loadout
Weapons & Sidearm
- Primary Weapon — Axatana or Axe & Dagger:
- Axatana: Excellent gap-closer moves and high-speed multi-hit combos to shred the boss when he lands.
- Axe & Dagger: Low stamina overhead with strong stance damage to knock Zmey out of his preparation animations.
- Sidearm — Troubadour’s Lute:
- Highly recommended for fast Resolve generation, allowing you to cycle weapon skills more frequently during downtime.
Tarstone & Gear Synergy
- Support Tarstones:
- Auspicious Stone: Increases Melee Critical Chance.
- Headsman’s Stone: Boosts Melee Critical Damage.
- Bulwark Stone / Shattering Stone: For passive damage mitigation or extra stagger buildup.
- Combat / Infusion / Ability Tarstones:
- Parasitic Stone: Grants Leech stacks on hit/kills to passively keep your HP high.
- Arbiter’s Prize / Hexapod Core: High-damage Resolve dumps to use right as Zmey recovers from a landing or stagger.
Video Help:






Leave a Reply