

Smert is the strongest Shell for pure dominance, Genessa is the best mix of power and fun, Gragu is the easiest boss-cheese option, and Sariel is the weakest pick for most players.
The eight long-term Shells cover radically different combat rhythms, including time-stop burst, spectral summons, armored tanking, evasive back attacks, status-heavy AoE, and parry setups. Your ideal choice depends as much on how you defend yourself as how much damage you want to deal.
- Mortal Shell 2 Shell tier list
- How Bond investment changes the ranking
- Smert ranks first with unstoppable time control
- Genessa ranks second with lethal spectral doubles
- Gragu ranks third with repeatable stagger pressure
- Lazlo leads A tier through armor and fiery AoE
- Tiel becomes an A-tier dodge assassin
- Proxima controls groups with lightning and stasis
- Eredrim rewards parries, break damage, and preparation
- Sariel is a high-risk C-tier specialist
- All Shell locations in Mortal Shell 2
- Frequently Asked Questions
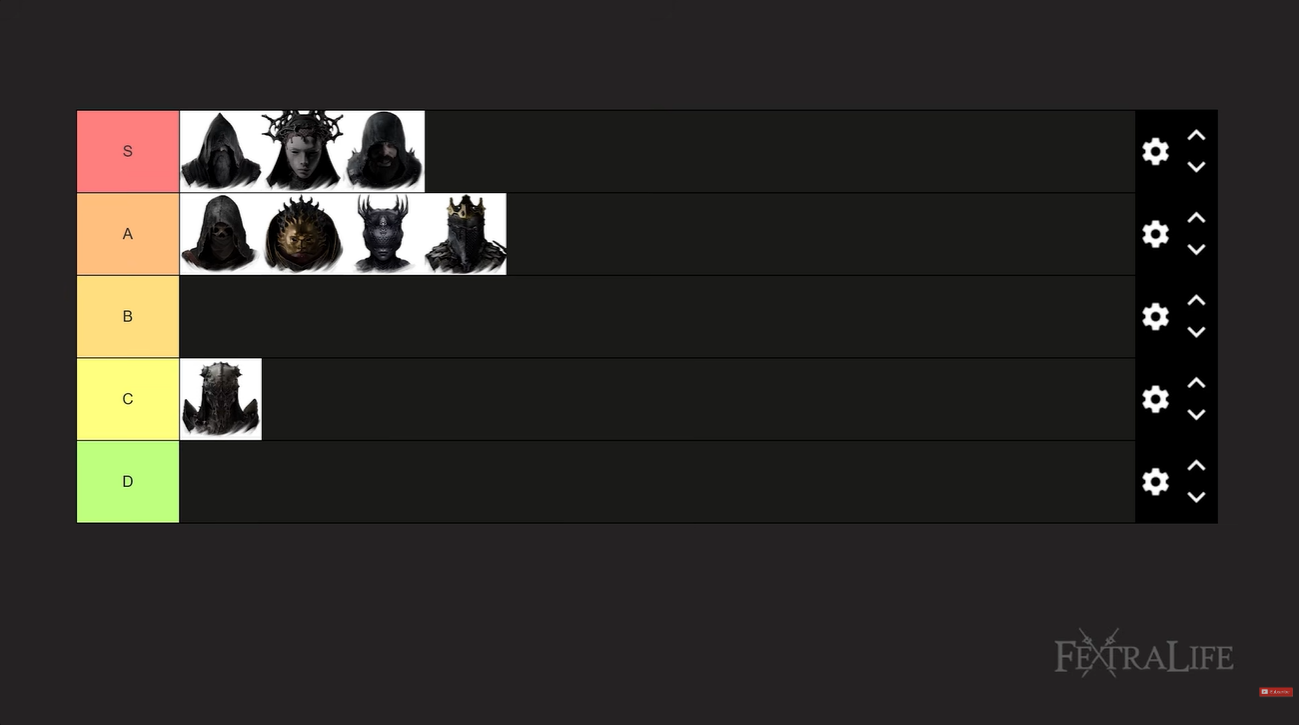
Mortal Shell 2 Shell tier list
| Tier | Shells |
|---|---|
| S | Smert, Genessa, Gragu |
| A | Lazlo, Tiel, Proxima, Eredrim |
| C | Sariel |
| Player type | Best Shell |
|---|---|
| Best overall and easiest win | Smert |
| Most enjoyable S-tier pick | Genessa |
| Tank | Lazlo |
| Dodge assassin | Tiel |
| Lightning AoE specialist | Proxima |
| Parry and break specialist | Eredrim |
| Summoner | Genessa |
| Boss-staggering bruiser | Gragu |
| Weakest for most players | Sariel |
Key When two Shells occupy the same tier, choose around your preferred defense first. A powerful kit will still feel awkward if it expects dodges, parries, summons, or resource management that you dislike.
How Bond investment changes the ranking

Shells improve through Bond Tiers I through IV, purchased with Glimpse through Zhirelle the Shellkeeper in Merow Keep. Several kits become dramatically stronger after their defining passives unlock, so a newly acquired Shell does not necessarily represent its final ranking.
This list values boss performance more heavily than ordinary exploration. Nearly every Shell can clear regular groups effectively, but Smert, Genessa, and Gragu possess loops that can deny bosses opportunities to use their normal mechanics. The lower-ranked Shells remain viable; they simply demand more setup, execution, or investment.
Test a Shell’s core active before spending Glimpse deeply: Bond upgrades strengthen its existing combat rhythm, but they will not make an unwanted playstyle enjoyable.
Smert ranks first with unstoppable time control
| Works best for | Watch out for |
|---|---|
| Easiest wins, boss control, and low weapon investment | A repetitive loop with little conventional combat |
Smert the Wraith sits at the top of S tier because Miracle can stop enemies from participating in the fight. Activating it sacrifices half of Smert’s current health and places him in an unarmed stance while time is frozen. Each strike applies Chaos, which detonates for massive damage when Miracle ends.
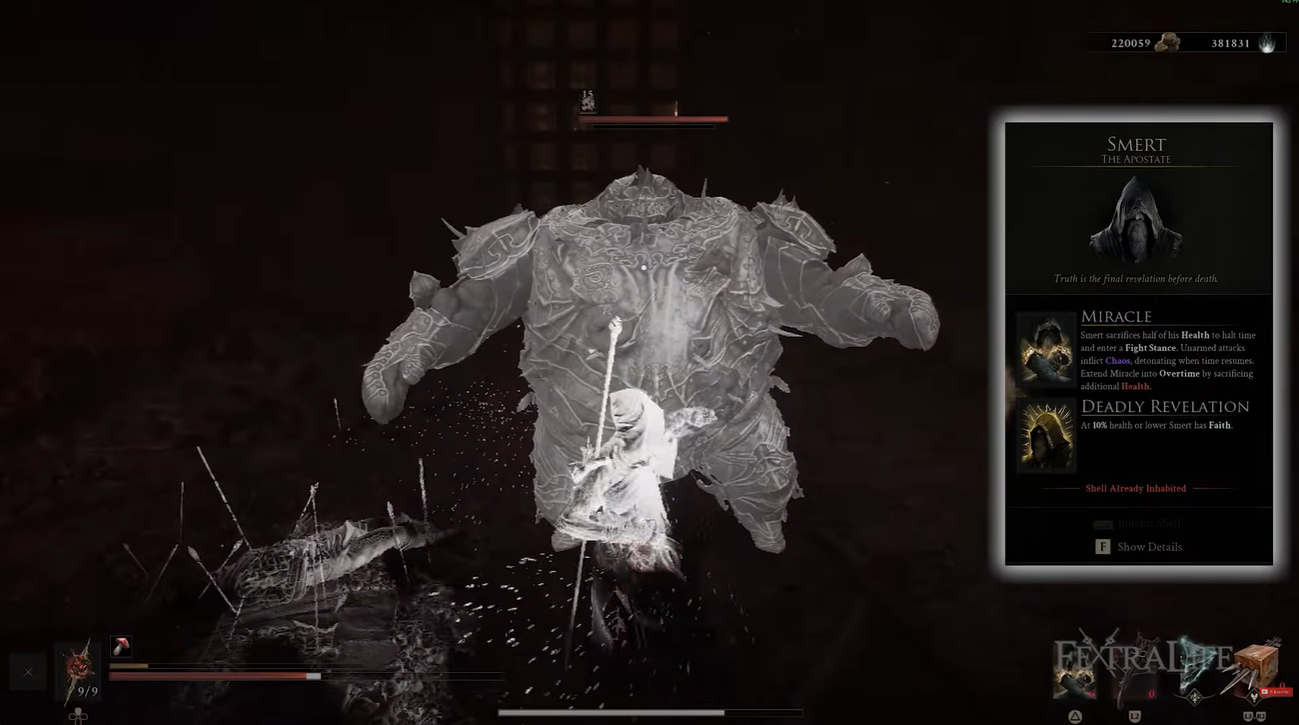
Because the health cost uses his current health, each successive activation consumes a smaller absolute amount. With Deadly Revelation and its supporting upgrades, Smert can chain Miracle, build Chaos, detonate it, and immediately freeze time again. His health is tied for the lowest in the roster, but that weakness matters far less when enemies never receive a turn.
The result can trivialize both groups and bosses without demanding a highly upgraded weapon. Smert is the clearest choice for pure dominance, although bypassing so many enemy mechanics also makes him one of the least interactive Shells.
Genessa ranks second with lethal spectral doubles
| Works best for | Watch out for |
|---|---|
| Ranged summoning, boss pressure, and controlled aggression | Stray form prevents Shell re-entry until a beacon rest |
Genessa the Wayward is the best recommendation for players who want S-tier strength without reducing every battle to the same time-stop loop. Faithful Doubles summons spectral copies that charge a target and strike up to three times with Genessa’s equipped weapon. They can sometimes reproduce its weapon skill as well.
Their attacks apply Phantom, which later detonates for AoE damage. The doubles can be cast from range, pressure bosses, damage groups, and draw enemy attention, giving Genessa a safe opening to attack while her target is distracted.
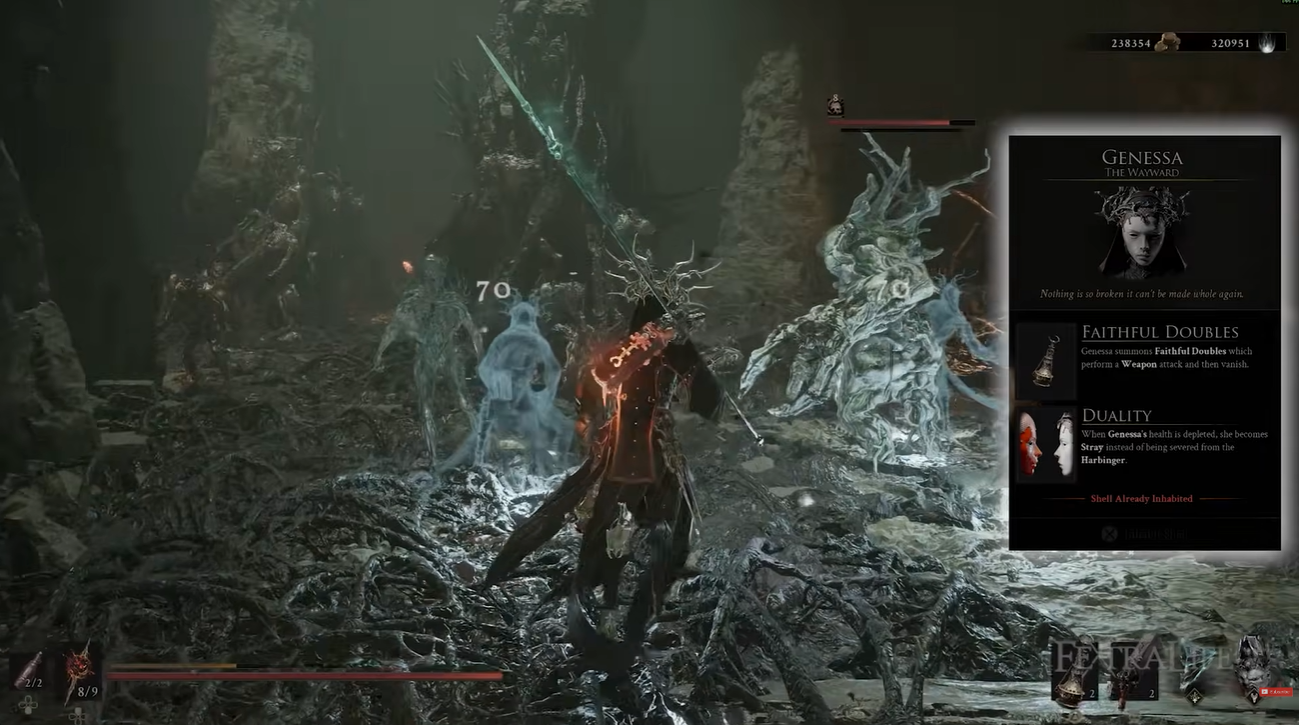
Duality changes her recovery state after she is severed from her Shell. Instead of becoming the Harbinger, she enters Stray form, losing Faithful Doubles but gaining copies that mimic her melee and ranged attacks. The serious drawback is that she cannot re-enter her Shell until she rests at a beacon. Even with that risk, Genessa offers the strongest combination of safety, boss pressure, spectacle, and active play.
Gragu ranks third with repeatable stagger pressure
| Works best for | Watch out for |
|---|---|
| Sustain-heavy progression, boss cheesing, and weapon flexibility | Weak post-beacon starts and repetitive ability use |
Gragu the Unstable replaces normal healing with Revered Heart. He begins a beacon run without the usual healing supply and replenishes his recovery resources by killing enemies. That creates a weak starting point after resting, but successful exploration can leave him with more healing between checkpoints than other Shells.
Staggering Blow is the centerpiece of his kit. The attack can be charged for heavy single-target damage and stagger, modified to eliminate smaller enemies while granting a Revered Heart, or expanded into an AoE strike. At higher investment, kills made while carrying the maximum supply of Revered Hearts can restore Resolve, allowing Staggering Blow to fund repeated uses.
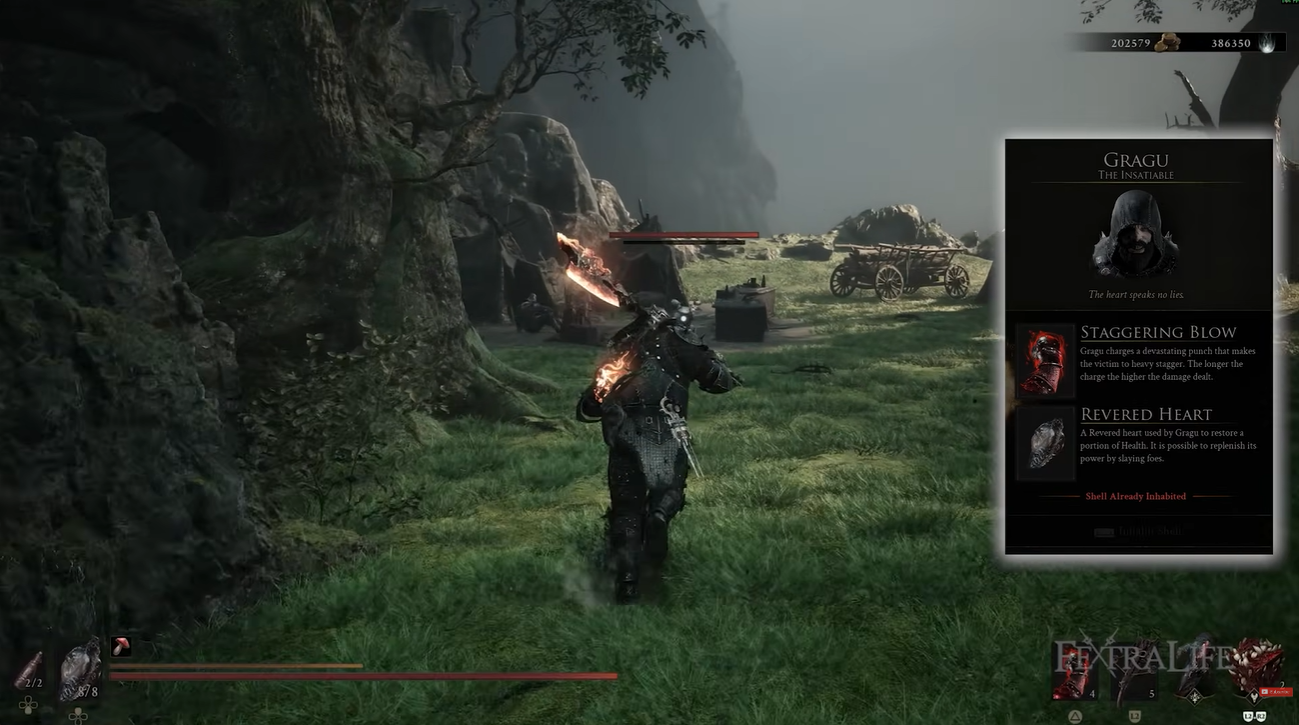
This loop can knock down or stagger many bosses before they establish their offense, making Gragu an excellent escape hatch for difficult encounters. His S-tier placement is the most contested in the roster: the sustain and boss control are exceptional, but repeatedly using one ability can feel cumbersome against groups and monotonous over a full run.
Lazlo leads A tier through armor and fiery AoE
| Works best for | Watch out for |
|---|---|
| Armored tanking, Burn builds, and frequent crowd-clearing AoE | Reduced protection after Overheat and limited boss lockdown |
Lazlo the Untamed has the roster’s highest HP and strongest damage reduction while his armor is active. He spends Resolve on Retribution, releasing an AoE shockwave that damages enemies, deals break damage, and applies Burn stacks.
Each use raises his Heat. Reaching maximum Heat activates passive bonuses to damage, Resolve generation, and damage reduction, giving Lazlo an incentive to remain at that threshold. Casting Retribution again causes an Overheat, unleashing a larger burning shockwave before temporarily removing his armor during a roughly 7-to-10-second cooldown.
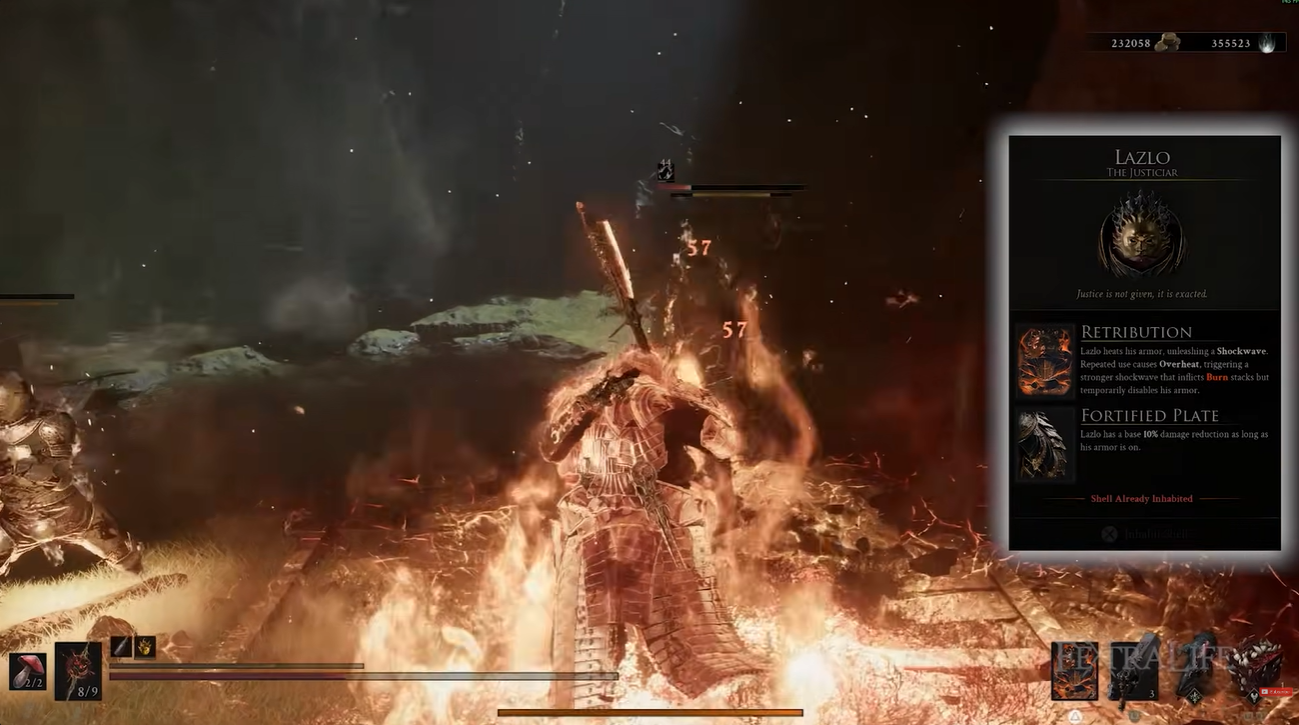
That rhythm makes Lazlo outstanding when pushing into crowded areas: build Heat, exploit the maximum-Heat bonuses, Overheat when the larger blast is worthwhile, then protect yourself until the armor returns. He stays below S tier because certain bosses cannot be interrupted or staggered reliably by this loop, forcing him to engage with their attacks normally.
Tiel becomes an A-tier dodge assassin
| Works best for | Watch out for |
|---|---|
| Dodging, back attacks, critical burst, and Poison | Low HP and a delayed power spike |
Tiel the Acolyte has very low HP and is built to avoid attacks rather than absorb them. A correctly timed dodge activates Shadow Dash, turning him invisible, dealing stagger damage, and creating an opening for a counterattack. This makes him the natural melee choice for players who prefer dodging to deflecting.
Lingering Shadow provides stealth and lets Tiel reposition behind a target. His passives reward those back attacks, while his poison synergy allows him to detonate accumulated Poison stacks for additional damage over time.
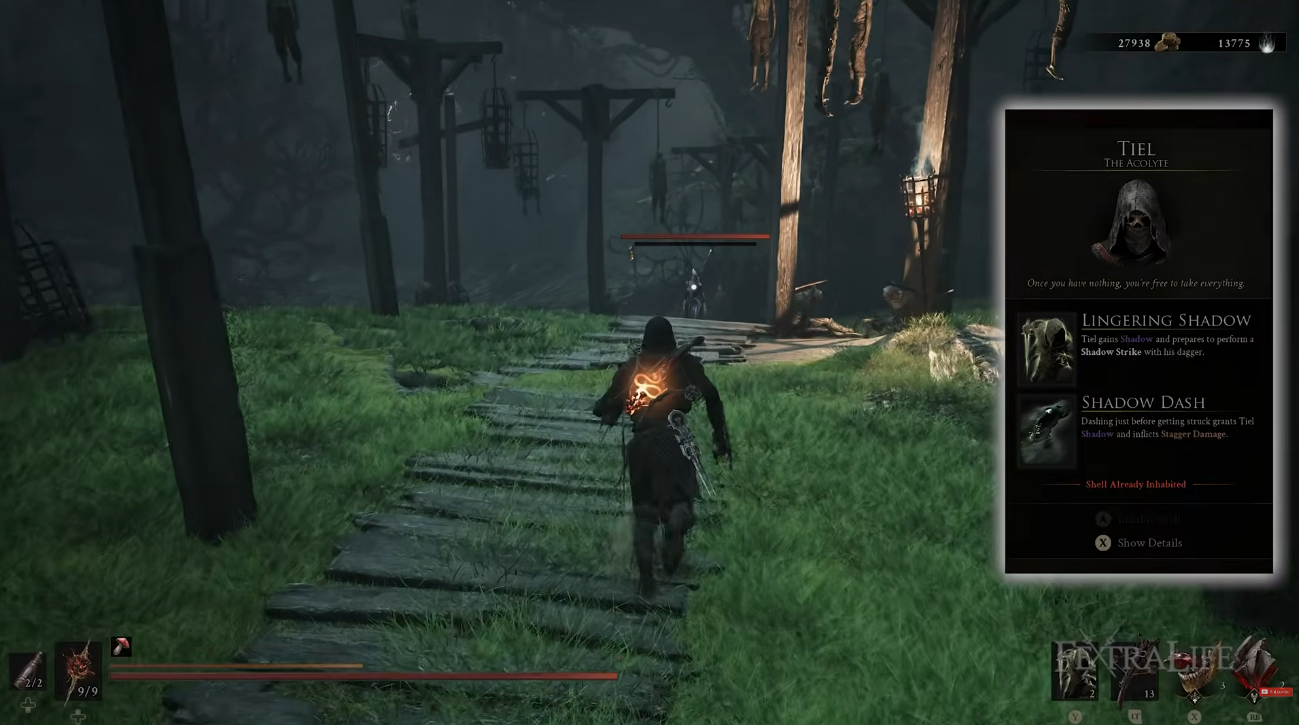
His defining boss damage arrives deeper in the Bond tree. Ambush adds 50% back-attack damage, 25% critical-hit chance, and 120% critical damage from behind. Critical Role then empowers the next attack after emerging from Shadow. Since those upgrades sit primarily in Bond Tiers III and IV, Tiel’s early performance undersells how quickly he can melt bosses later.
Proxima controls groups with lightning and stasis
| Works best for | Watch out for |
|---|---|
| Fast lightning AoE, Stasis, and mobile crowd control | Chance-based armor and weaker single-target finishing power |
Proxima the Biocatalyst has middle-of-the-roster HP and Grafted Armor, which carries a 15% chance to reduce incoming melee or ranged damage by 50%. Its chance-based activation can be improved, but it remains too inconsistent to make her a dependable tank.
Most of her offense revolves around Biosampler. It can pull a target toward Proxima or move her toward the target, then deliver a lightning-infused AoE attack capable of triggering Shock almost immediately. Shock produces another area explosion, while later upgrades add more lightning application, knockback, Stasis, and increased damage against affected enemy types.
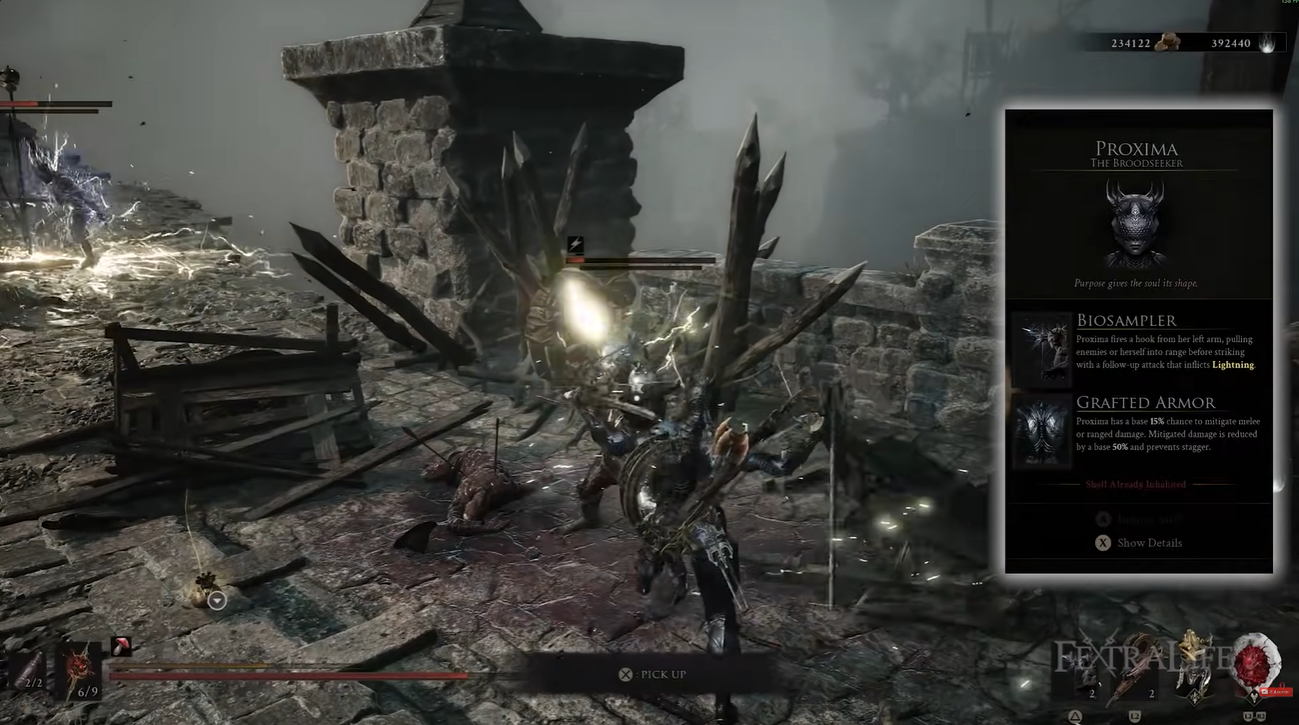
A supporting passive doubles both the damage and radius of Shock against targets, allowing overlapping explosions to tear through groups. Biosampler eventually becomes the natural destination for most of her Resolve, but its excellent landscape control does not delete bosses as consistently as the stronger A- and S-tier kits.
Eredrim rewards parries, break damage, and preparation
| Works best for | Watch out for |
|---|---|
| Parries, ripostes, Frost, and break-focused melee | Boss knowledge and Slaughter setup are essential |
Eredrim the Venerable has the second-highest HP among the eight Shells. His Executioner passive builds as many as 100 Slaughter stacks through successful ripostes. Higher Slaughter lowers the health threshold at which his attacks execute enemies, while supporting passives can add effects such as explosions or damage reduction.
Shoulder Bash focuses break damage on one target, whereas Ethereal Diapason applies it across an area. Their direct damage is secondary to breaking enemies so Eredrim can riposte them and continue building Slaughter. Cost-reduction passives help him repeat both abilities, and Frost adds another damage opportunity against frozen targets.
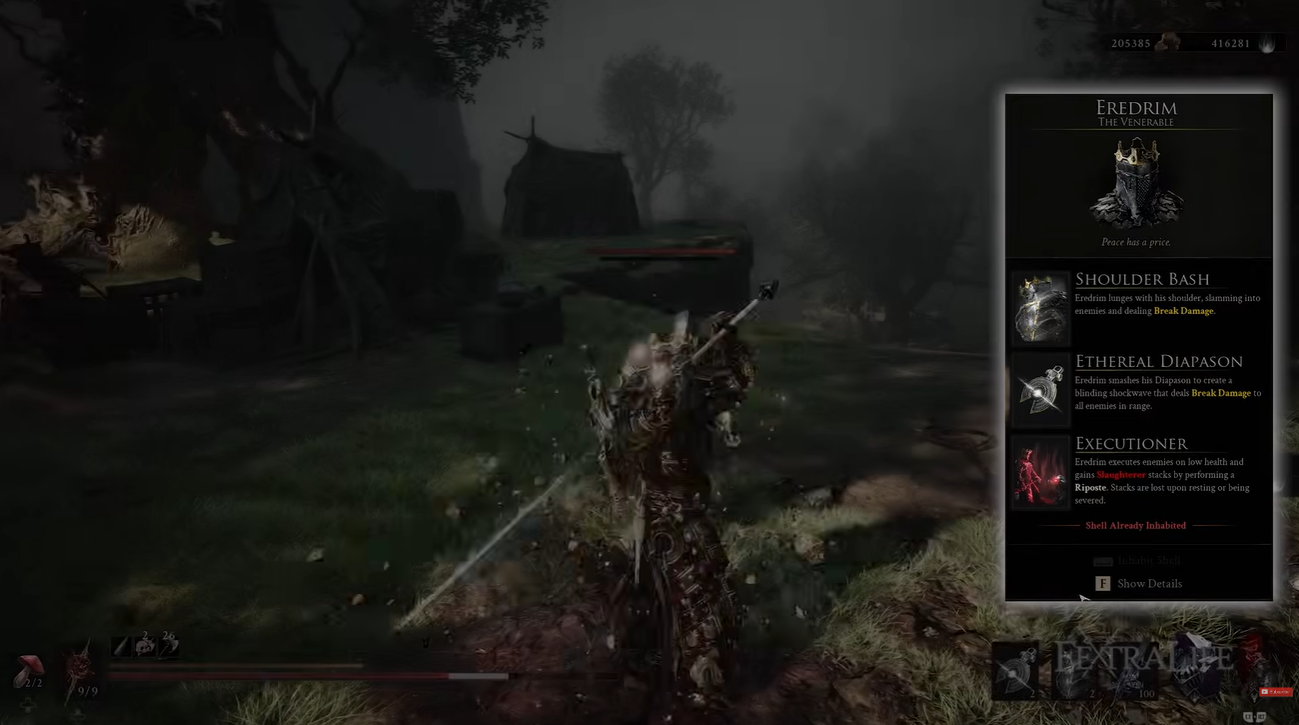
Eredrim is powerful but fair: Slaughter contributes less when its stacks are not carried into a boss encounter, and his best boss offense depends on recognizing attacks and landing parries. That reliance on encounter knowledge keeps him at the end of A tier despite his durability and break potential.
Sariel is a high-risk C-tier specialist
| Works best for | Watch out for |
|---|---|
| Curse timing, reflected damage, and aggressive health recovery | Maximum-Pain setups are difficult and dangerous to maintain |
Sariel the Penitent fires Exodus of Thorns from range, damaging a target while applying Curse and inflicting Pain on himself. Curse prevents the afflicted target’s next melee attack from damaging Sariel and reflects that damage back. Its duration can be extended to 30 seconds, and damaging one cursed enemy can spread damage to other cursed targets.
Purge changes how he recovers from attacks. When Sariel has no Pain, 50% of incoming damage becomes a white Pain segment within his health bar. He can restore that portion through melee attacks, conserving normal healing and recovering health spent on Exodus of Thorns.
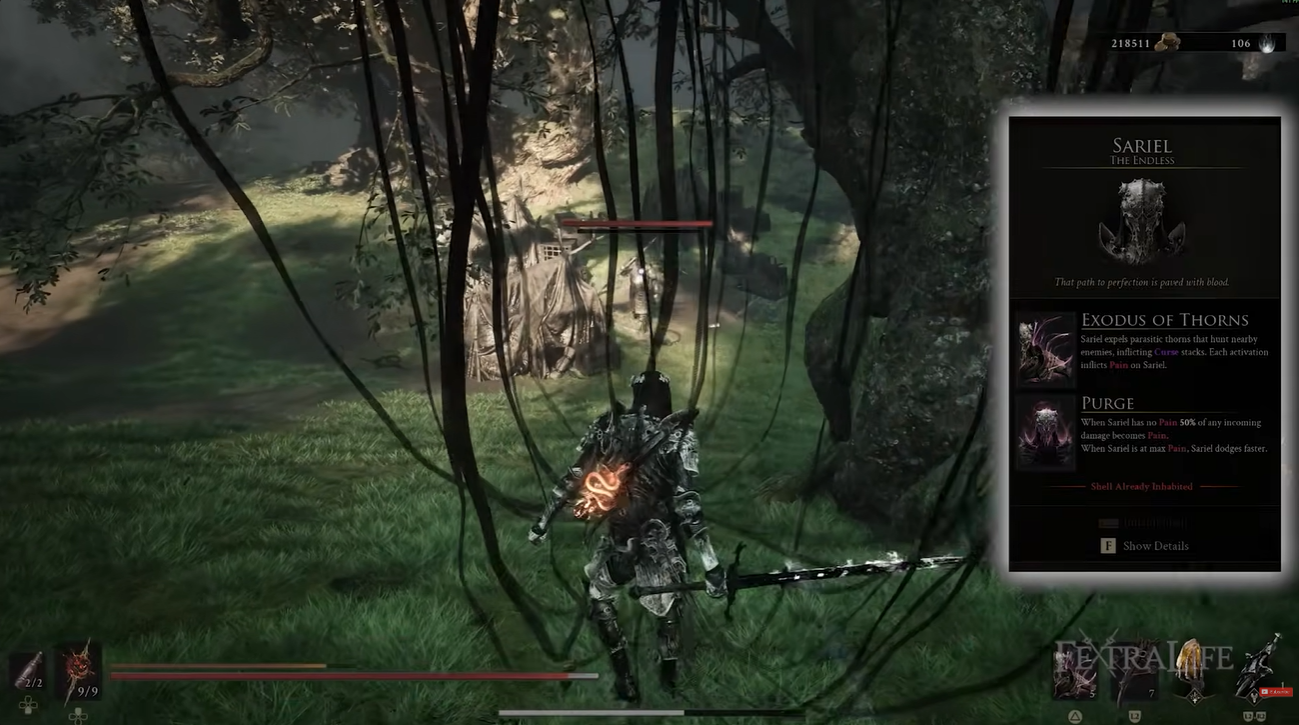
The problem is his reliance on maximum-Pain passives. Reaching and maintaining that state is difficult, and the reduced safety can expose Sariel to a one-hit death before the payoff arrives. Full Bond investment raises his ceiling enough to place him higher for specialists, but most players receive more immediate offense, control, and survivability from every other Shell.
All Shell locations in Mortal Shell 2
| Shell | Where to find it |
|---|---|
| Tiel the Acolyte | Southeast of Widow’s Overlook Beacon; the corpse is reachable quickly by running past the intervening enemies. |
| Proxima the Biocatalyst | Inside the shattered beacon northeast of Blackridge Pass Beacon. |
| Eredrim the Venerable | Defeat the Warden inside Citadel of Penance, near Citadel of Penance Beacon. |
| Gragu the Unstable | At One Legged Wolf Tavern. Retrieve the Heart of Vatra to the east and bring it back to recruit him. |
| Smert the Wraith | Southwest of Outskirts of Nochte Beacon. |
| Lazlo the Untamed | Inside High Lord’s Keep, due west of High Lord’s Courtyard Beacon. |
| Genessa the Wayward | Recover her item in Revenant Graves beyond the boss encounter, then take it to Merow Keep. The route lies northwest of Abbey Entrance Beacon. |
| Sariel the Penitent | Inside Chamber of Becoming, south of The Silent Steps Beacon. |
You do not need to fight every ordinary enemy along these routes. Several corpses can be reached by running directly from the listed beacon, although Eredrim and Genessa have encounter requirements and Gragu requires the Heart of Vatra.
Related Mortal Shell 2 guides
Frequently Asked Questions
Does the prologue body count as one of the eight ranked Shells?
No. Harros the Vassal is the prologue body, bringing the number of playable bodies to nine, but he is lost early and cannot be selected for most of the game. The ranking covers the eight permanent Shells available through the Shell Keeper or beacons.
Which Shell should a new player invest Glimpse into first?
Tiel is the most practical first investment because he is available near the opening route and develops into a potent boss killer. If you are comfortable delaying a deeper commitment, Smert offers the strongest late-game return, while Genessa is the better long-term choice for players who still want varied combat.
Which Shell is best if I dislike parrying?
Choose Tiel if you enjoy timing dodges and staying in melee range. Pick Genessa if you would rather create safe openings with summons, or Smert if you want to bypass most defensive timing by freezing enemies before they attack.
Video help






Leave a Reply