

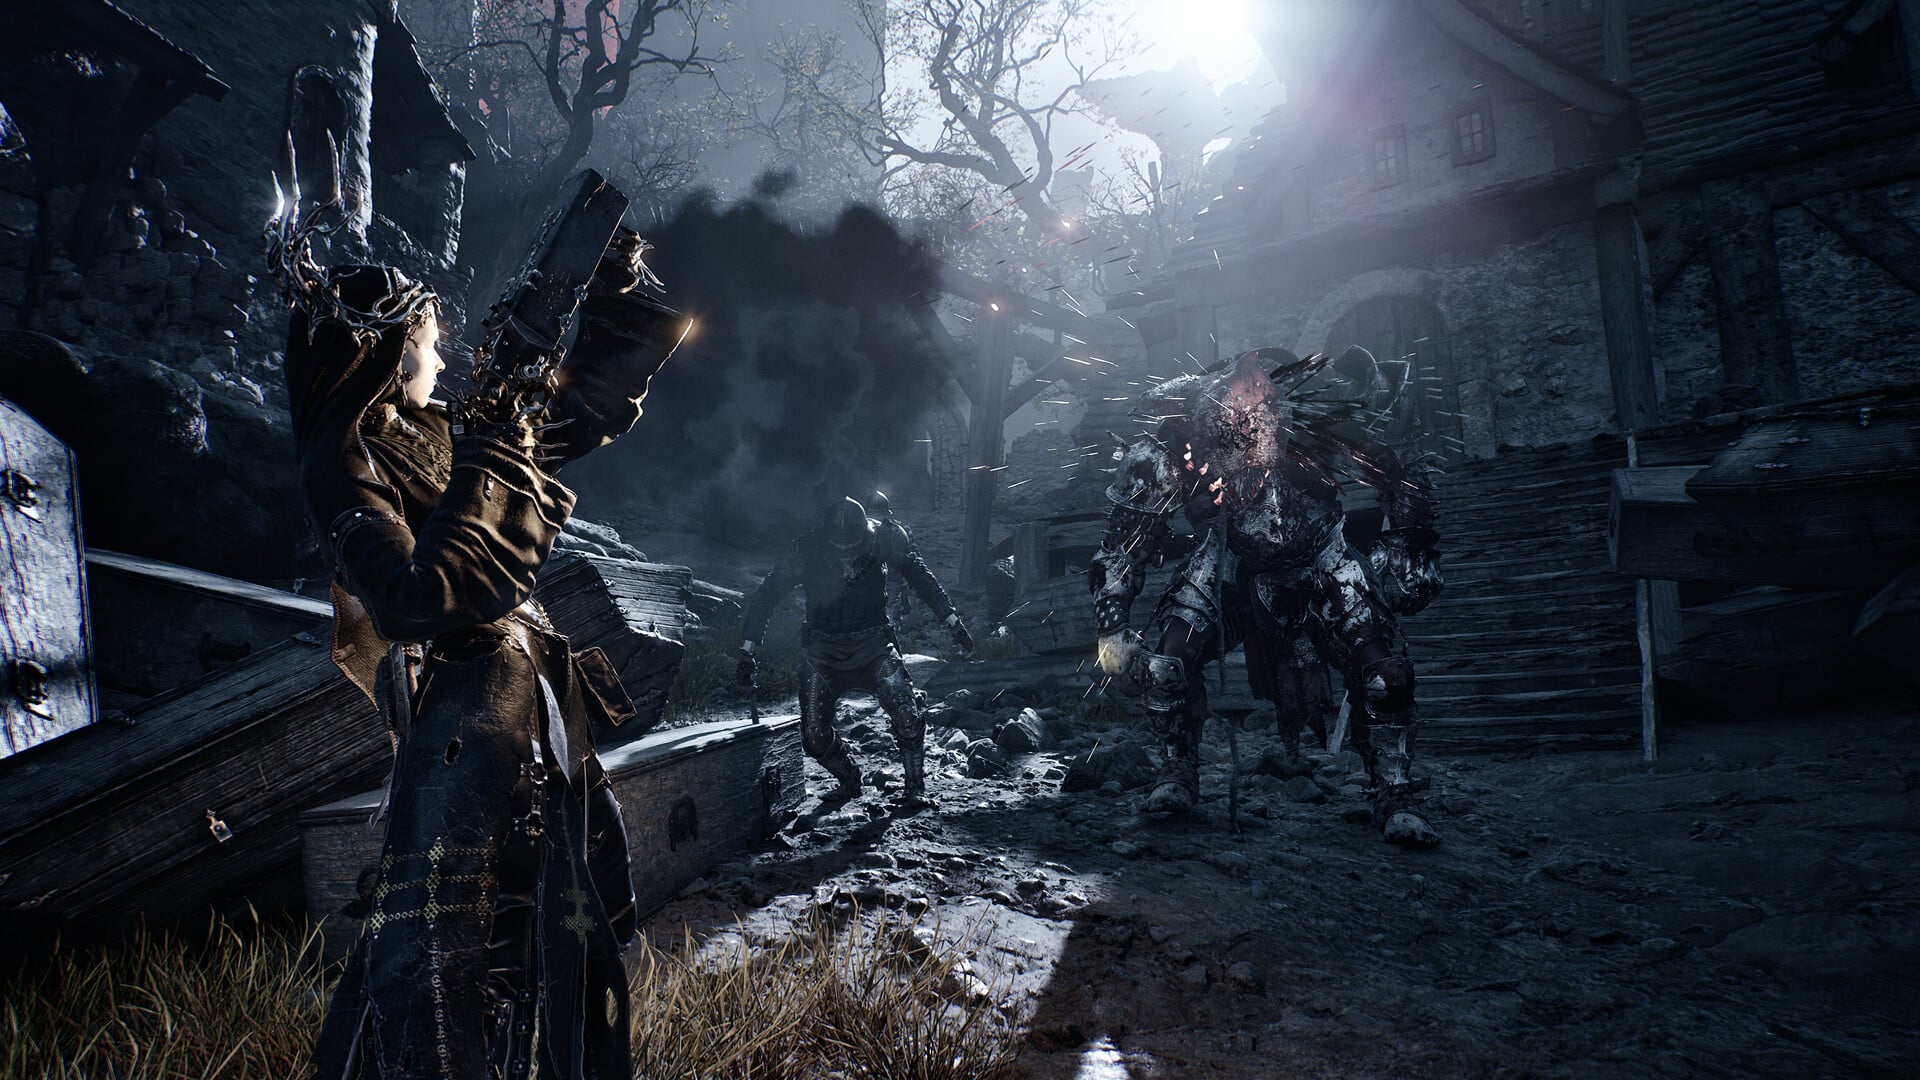
The Axatana is one of the most flexible weapons in Mortal Shell 2 because it does not force you to choose between speed and power. Its katana form lets you pressure enemies with rapid attacks, while its axe form gives you heavier strikes when you need more impact. The best part is that you can obtain it much earlier than its unusual design might suggest.
This makes the weapon particularly attractive if you want to build around fast melee attacks without giving up the option of using heavier attacks against tougher targets. Recent player discussions also continue to highlight the Axatana as one of the standout weapons in the game, particularly when paired with the right Tarstones.
| Quick overview | Details |
|---|---|
| Weapon | Axatana |
| Region | Mammon |
| Location | Forgotten Tower |
| Nearest major area | Sester’s Refuge |
| Main weapon forms | Dual katanas and battle axe |
| Light attacks | Katana form |
| Heavy attacks | Axe form |
| Boss required | No major boss |
| Important route mechanic | Shoot the distant bell with your sidearm |
| Notable Tarstone pairing | Duality Stone |
| Advanced Tarstone | Hexapod Core |
| Best general strength | Versatility between speed and power |
Mortal Shell 2 Axatana location
The Axatana is located inside the Forgotten Tower, a structure south of Sester’s Refuge in the Mammon region. The route is more complicated than simply walking into the tower because the initial approach requires you to activate a traversal path using a bell and then use a jump gate.
In this guide, we will see how to reach the Axatana location from the start, Marrow Keep.
How to get Axatana in Mortal Shell 2
Step 1: Start at Marrow Keep & Travel to the Outskirts of Mammon
- Begin at Marrow Keep: Interact with the central altar/pedestal to initiate fast travel.
- Select Destination: Fast travel directly to Outskirts of Mammon.
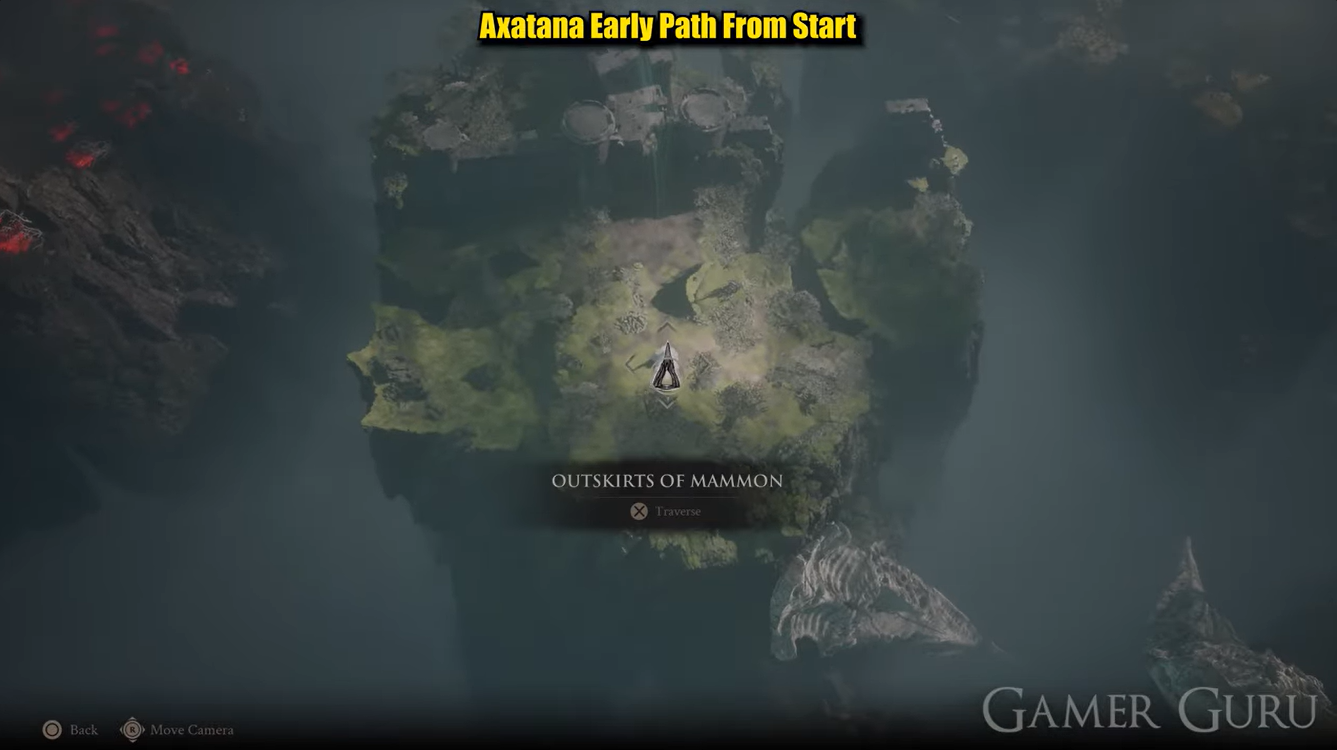
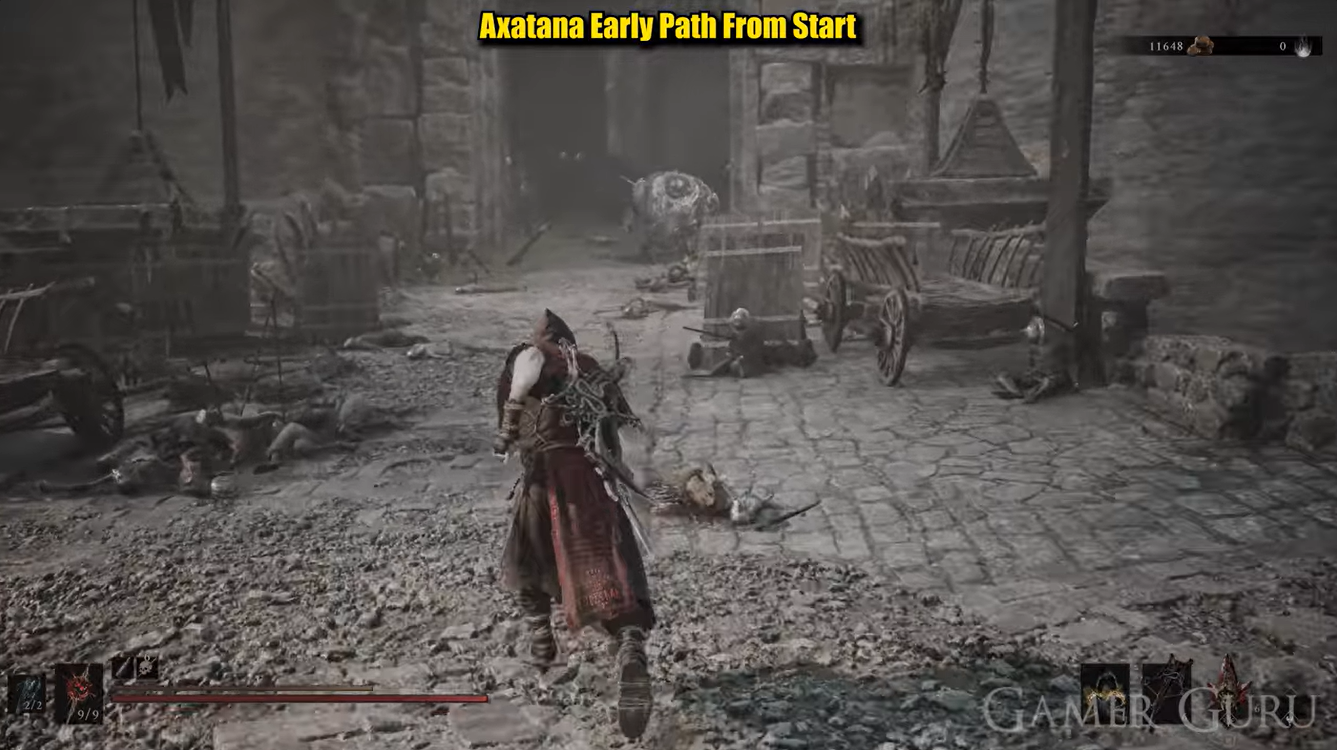
Step 2: Traverse the Outskirts & Road to Absolution
- Spawn & Head Forward: Upon landing in the Outskirts, run straight down the main pathway past the burning fires and enemies.
- Follow the Path: Continue sprinting along the dirt path past enemy camps and barricades into the Road to Absolution area.
- Cross the Edge: Follow the wooden structures toward the cliff edge where white cloth-draped pillars are standing.
Step 3: Fast-Travel via the White Pillars (First Jump)
- Locate White Pillars: Approach the two large white-draped pillars at the edge of the cliff.
- Teleport/Jump: Step into the gap between them to trigger the fast-travel transition.
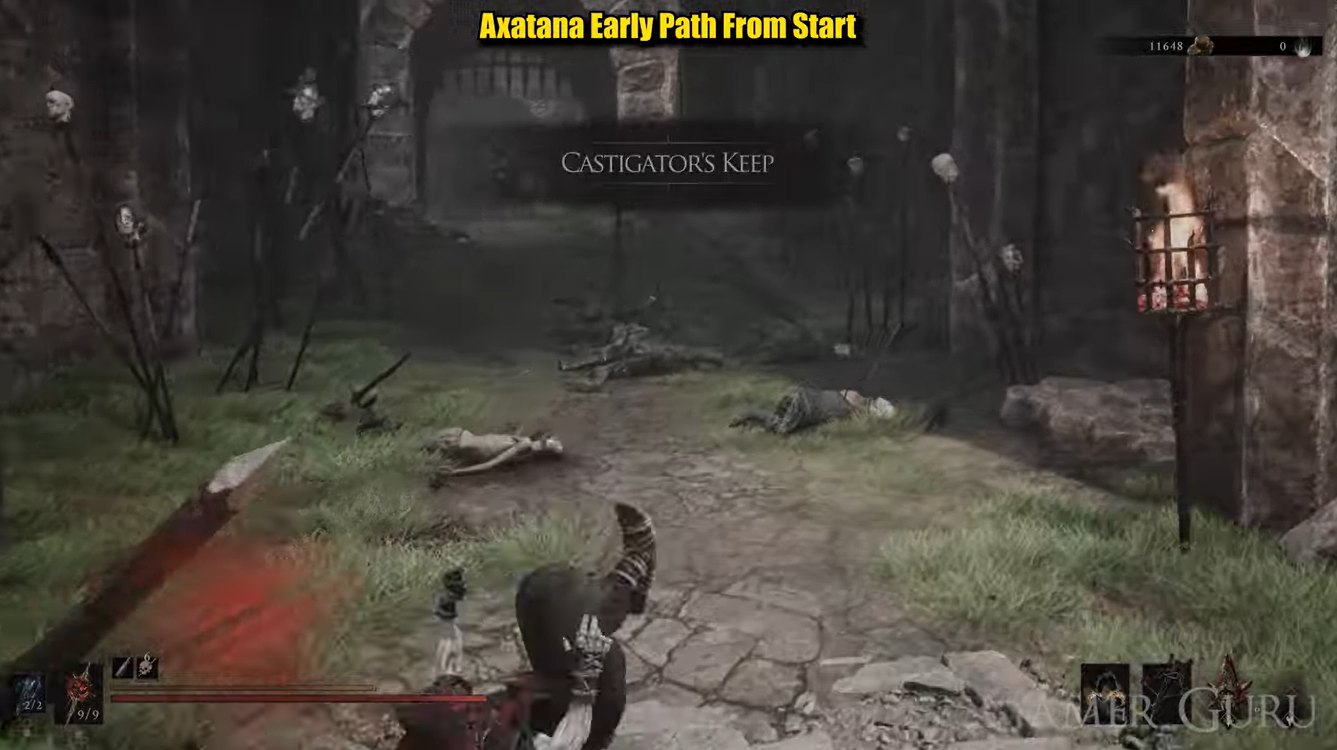
Step 4: Navigate to Castigator’s Keep
- Move Forward: Run straight past the siege tower and cart along the stone walkway.
- Enter the Keep: Pass through the archway into Castigator’s Keep.
- Cross the Wooden Bridge: Sprint straight across the wooden catwalks and bridges, bypassing enemies.
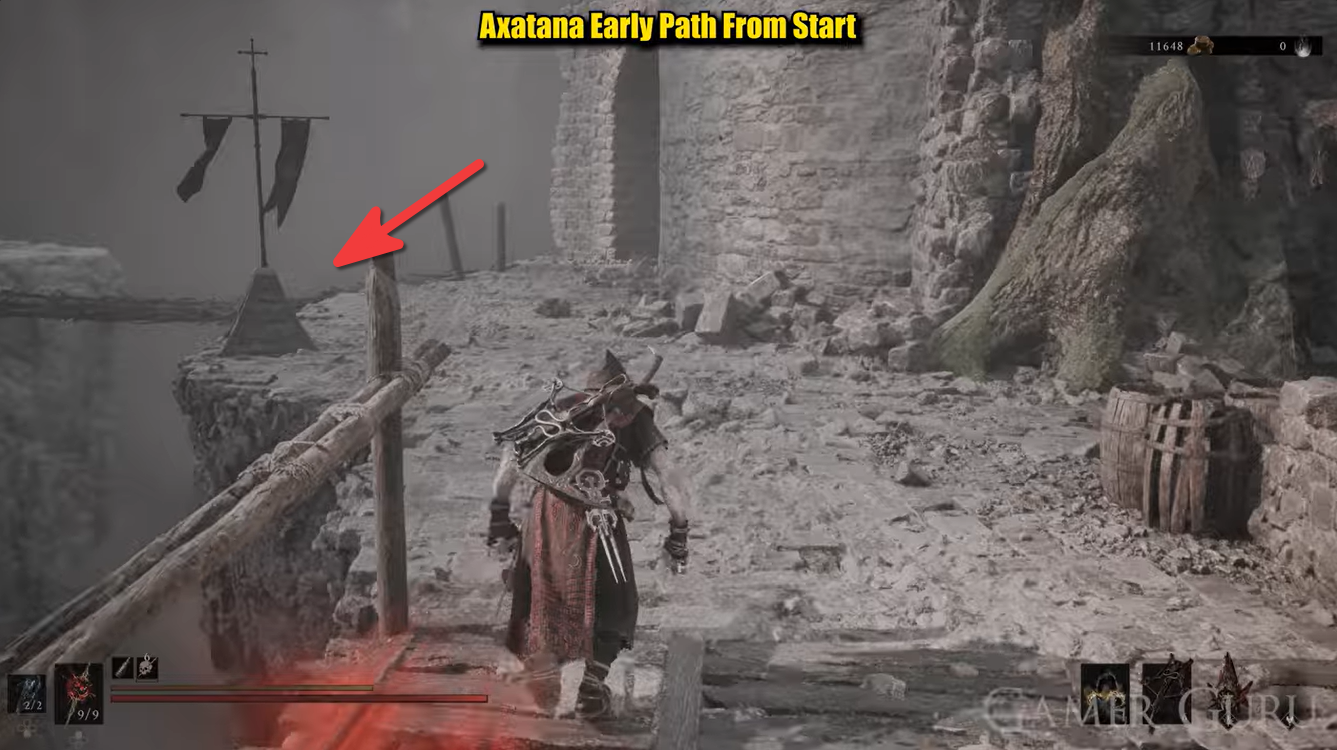
Step 5: Second Pillar Jump
- Reach the Next Cliff: Keep following the snowy path past enemy cultists toward the edge of the snowy platform.
- Drop Down & Continue: Drop down the small ledge, bypass the enemy group ahead, and run to the next set of white-draped pillars.
- Teleport: Step through the white pillars again to teleport across.
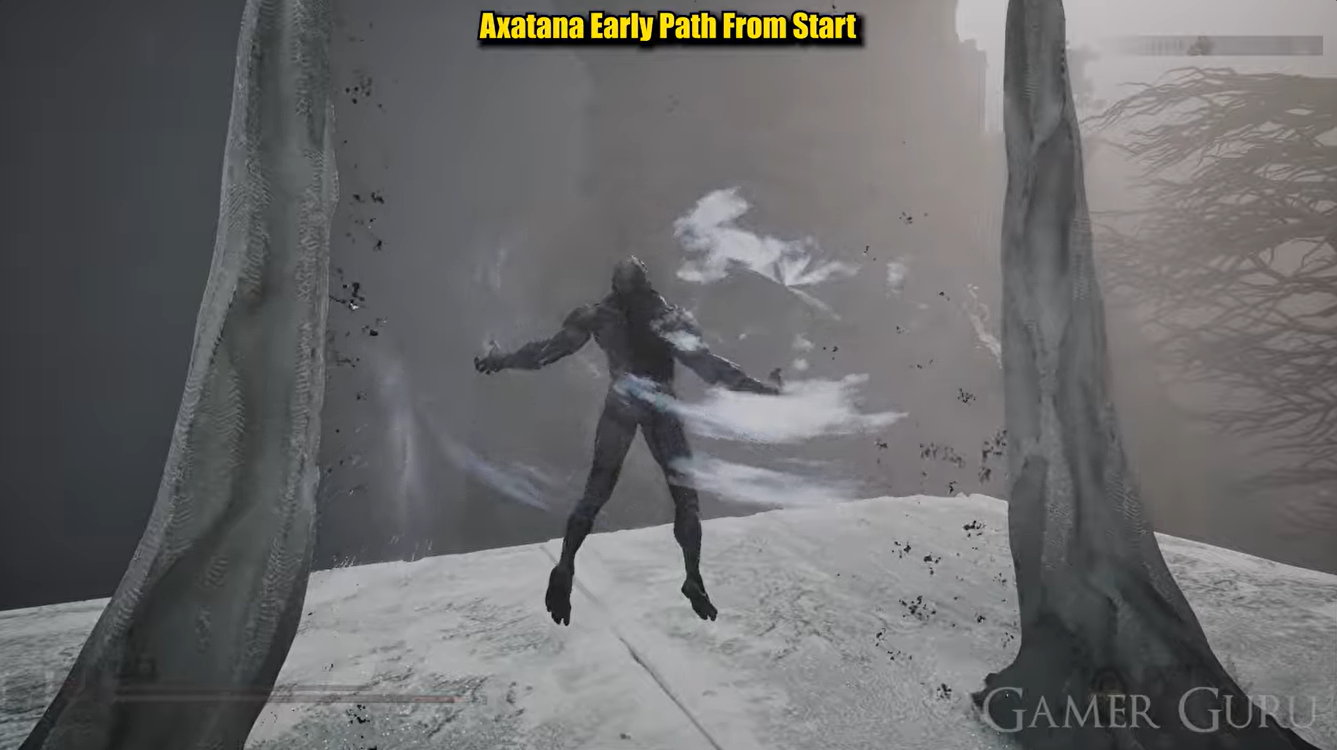
Step 6: Reach the Forgotten Tower
- Enter the Tower: Run forward from where you land and head inside the doorway to enter the Forgotten Tower.
- Go Up the Stairs: Head inside, turn right, and ascend the stone stairs.
- Exit to the Balcony: Pass through the upper doorway leading back outside.
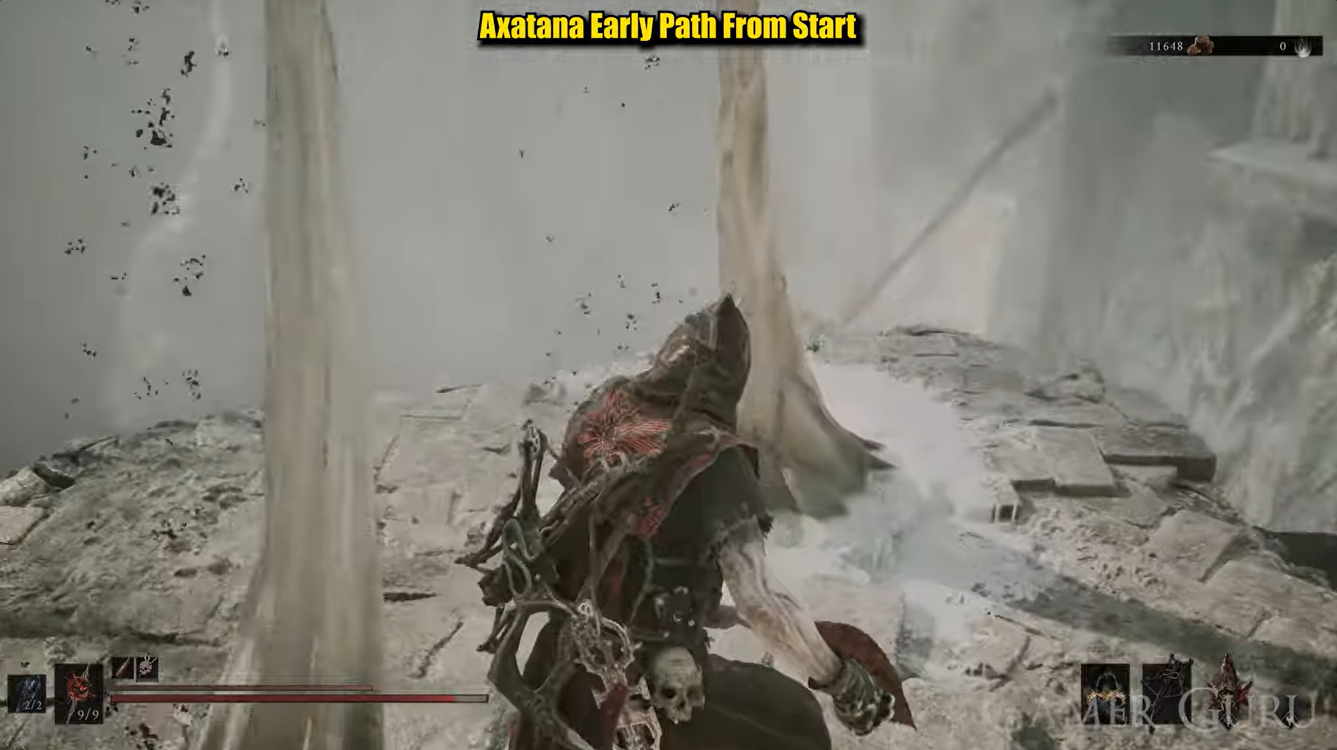
Step 7: Final Pillar Jump & Gate Opening
- Use Final Pillars: Step between the white pillars on the outer walkway to jump to the gate area.
- Open the Gate Switch: Turn left and interact with the wall lever/switch to open the gate.
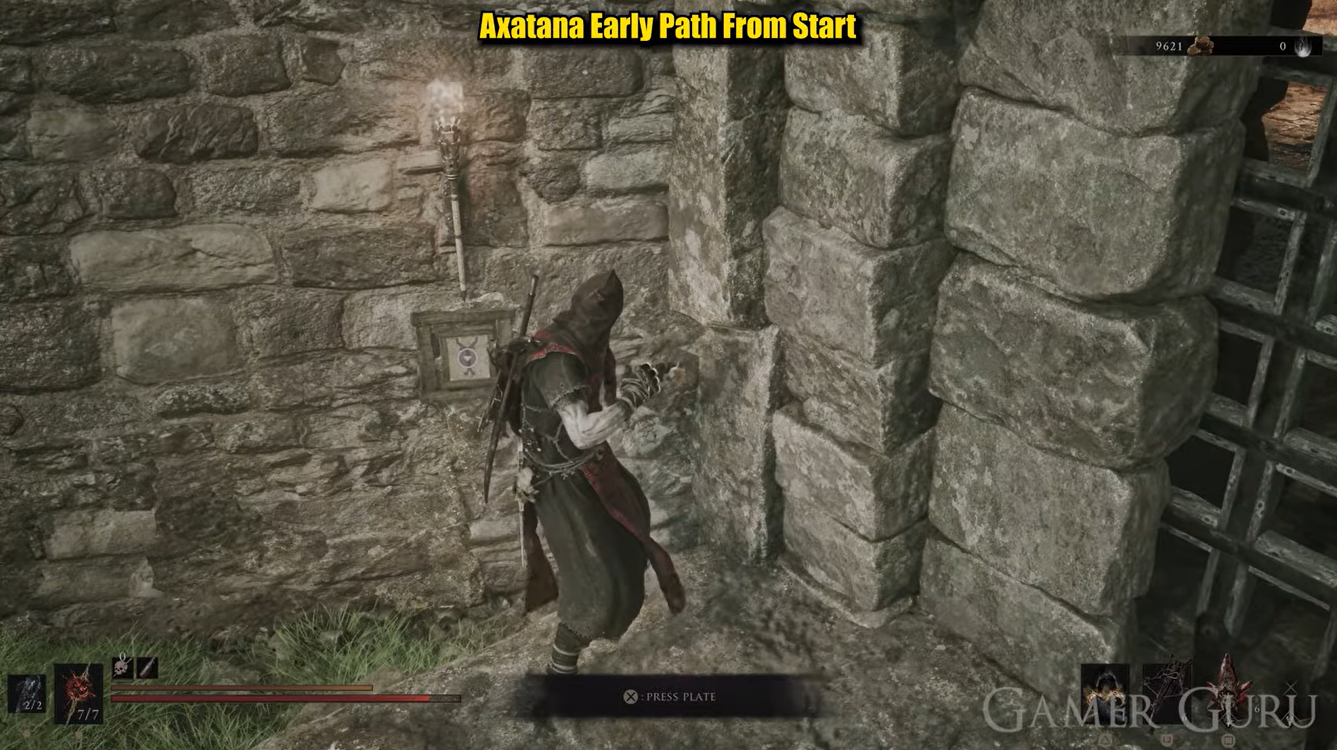
Step 8: Defeat Enemy & Collect the Axatana
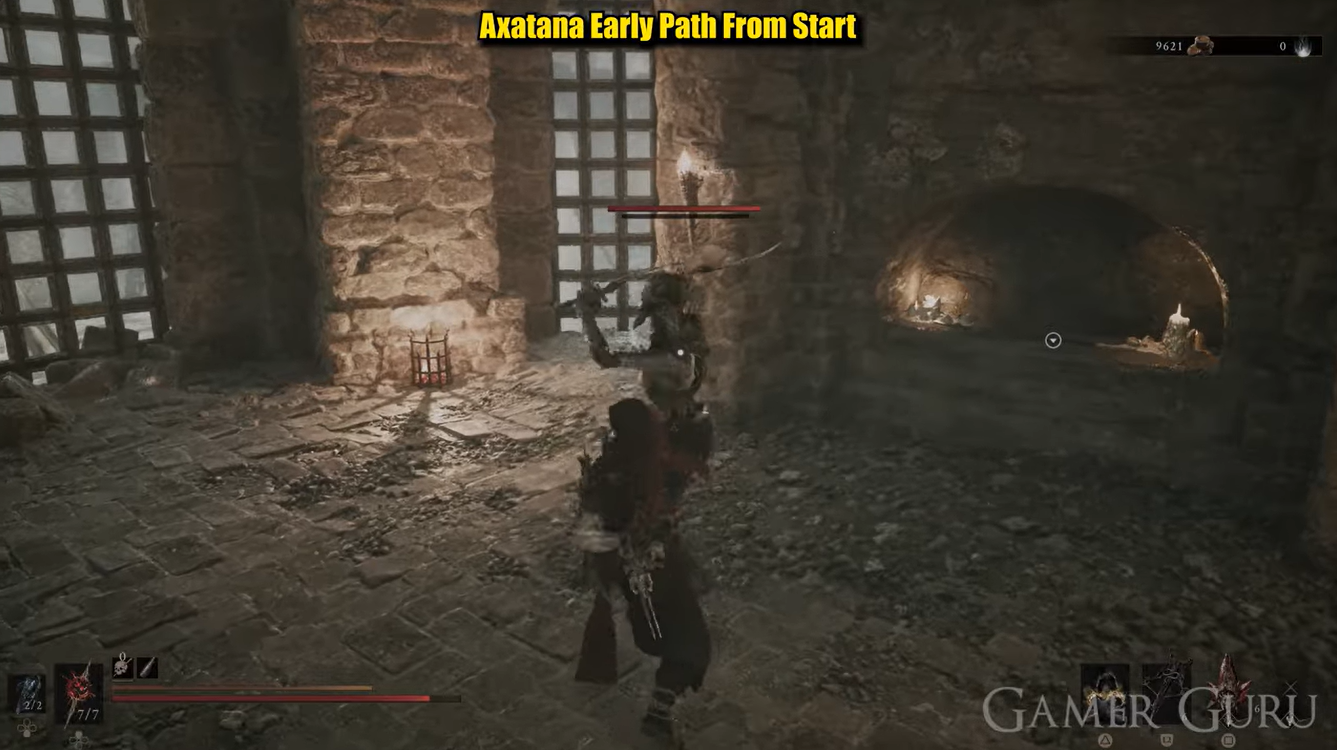
- Defeat the Guardian: Enter through the opened gate and defeat the enemy waiting inside.
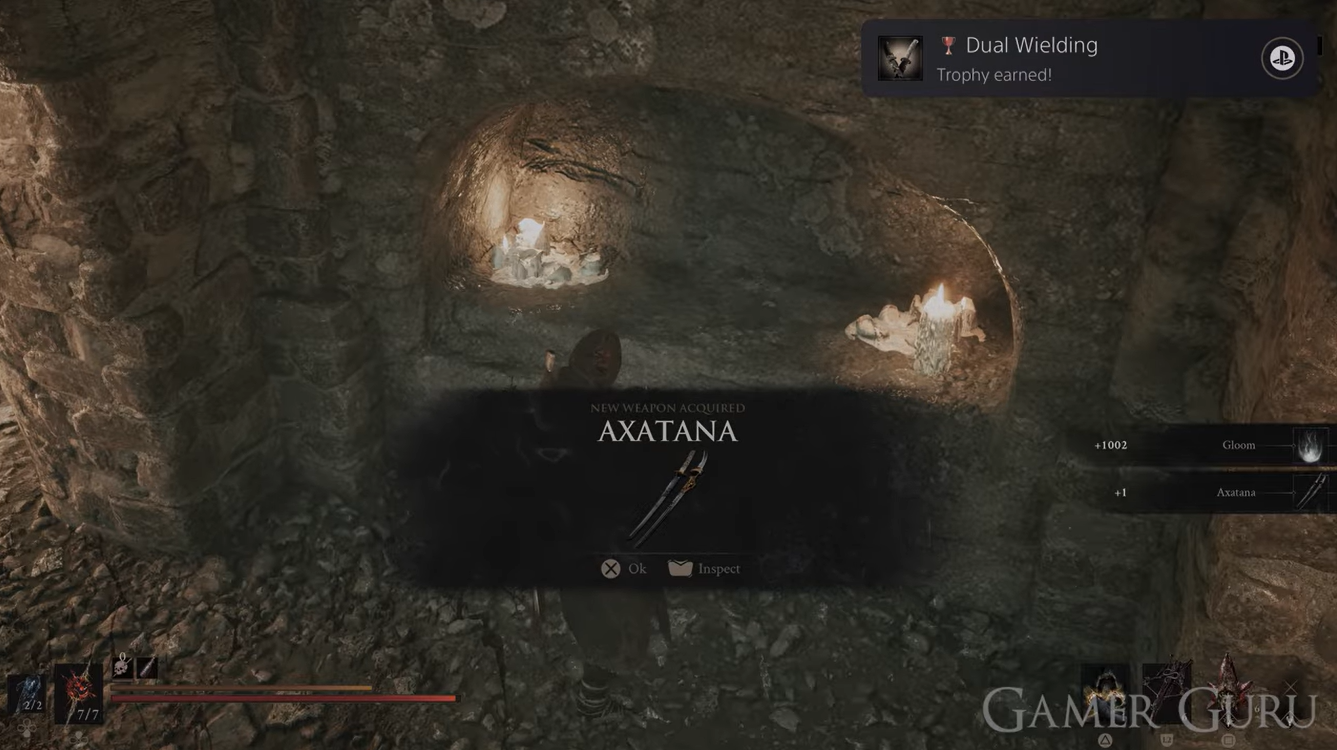
- Loot the Weapon: Approach the wall alcove/fireplace in the back of the room and pick up the Axatana.
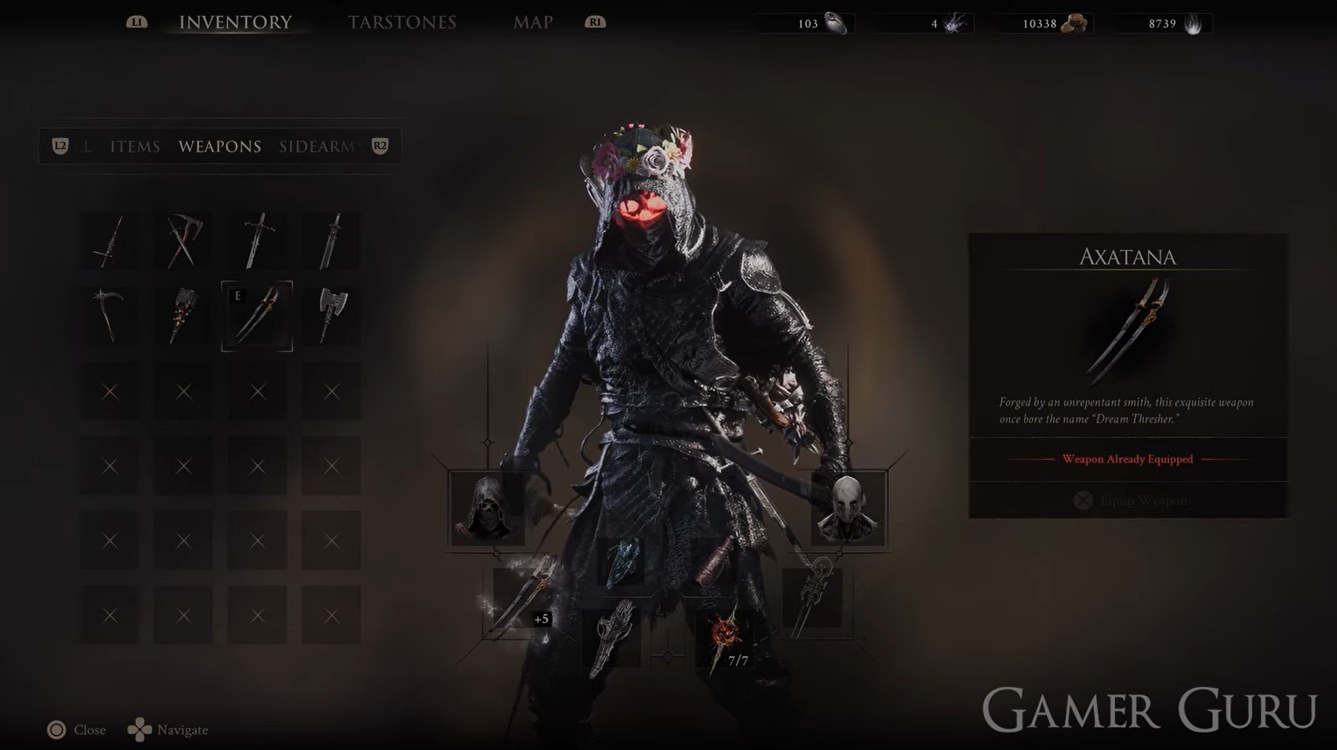
- Equip & Enjoy: Open your inventory to equip the dual-wield Axatana weapon.
How the Axatana’s two forms work
The defining feature of the Axatana is its transformation between two weapon configurations. In its faster configuration, it functions as two katanas, while its heavier attacks transform the weapon into a battle axe.
The katana side is the natural choice when you want to maintain pressure. Fast attacks make it easier to punish smaller openings, build sustained damage, and keep enemies under pressure. This is also why the Axatana benefits particularly well from Tarstones that reward repeated light attacks.
That versatility is its biggest advantage. You can change the weapon’s approach according to the enemy rather than changing weapons every time the situation changes.
How to use Duality Stone with the Axatana
One of the most interesting early combinations for the Axatana is Duality Stone. Current information identifies Duality Stone as a Combat Tarstone compatible with both the Axatana and Axe & Dagger. Its defining effect is that it makes eligible light attack combos strike twice.
This is particularly valuable because the Axatana’s katana configuration already encourages rapid light-attack strings. Duality Stone effectively pushes that characteristic further, rewarding you for committing to the weapon’s fast-combo playstyle.
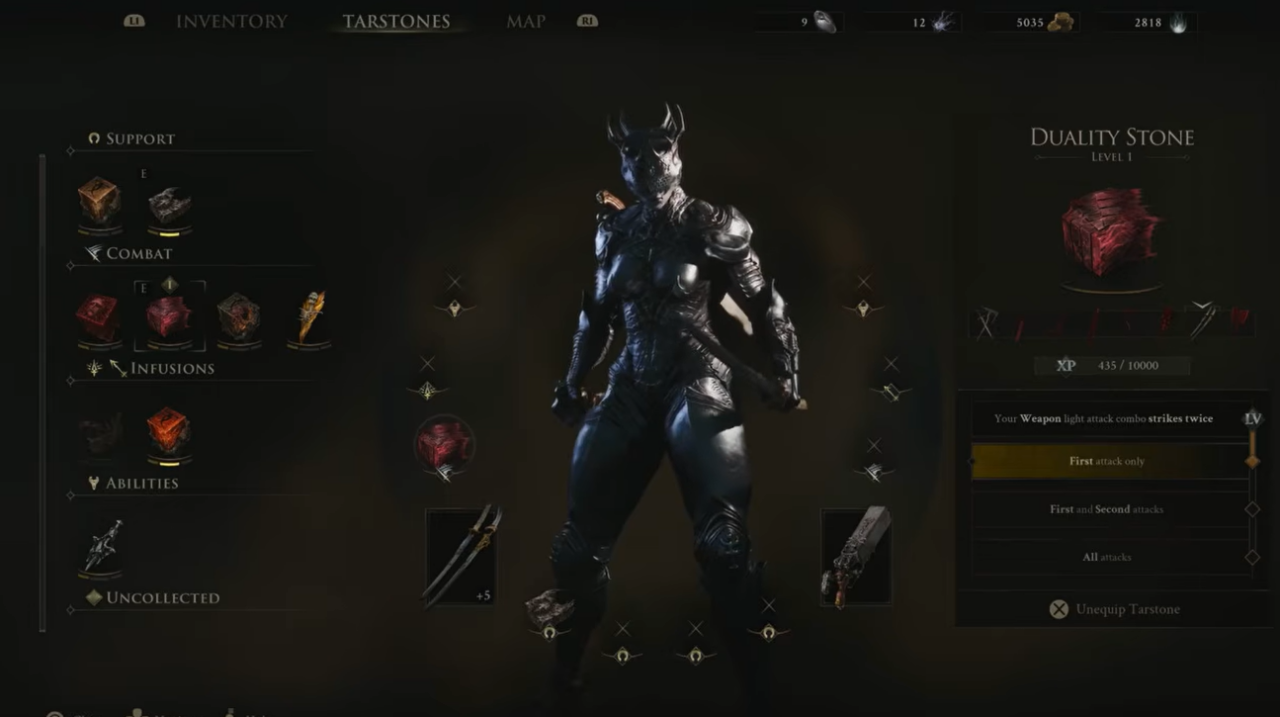
The important limitation is that Duality Stone is not a universal damage increase. Its effect specifically benefits the standing light attack combo. It does not simply double every Axatana attack, so switching to heavy attacks or relying on running attacks will not provide the same benefit.
For that reason, the most effective approach is to use the katana form when you have a safe opening, stay close enough for the complete light string to connect, and switch tactics when the enemy becomes too dangerous to remain in melee range.
How to unlock the Axatana’s Hexapod Core ability
The Axatana also has access to the Hexapod Core, a powerful Tarstone obtained from the Hexapod encounter in the Withered Shoals. The current boss information identifies Hexapod Core as an Axatana-exclusive Tarstone that consumes 60 Resolve to unleash a rapid sequence of attacks.
This gives the weapon an additional endgame-oriented option beyond its normal moveset. Instead of simply improving basic attacks, Hexapod Core gives you a dedicated Resolve-consuming attack designed around a rapid succession of strikes.
The Hexapod fight itself takes place in the Withered Shoals, and defeating the boss is what rewards the Core.
| Axatana reward | How you obtain it | Main purpose |
|---|---|---|
| Axatana | Forgotten Tower | Main weapon |
| Duality Stone | Ravaged Tomb chest | Improves compatible light-combo damage |
| Hexapod Core | Defeat Hexapod | 60-Resolve rapid attack |
| Wounding Stone | Early chest near Widow’s Overlook | Builds Perforation for sidearm follow-up |
Wounding Stone is also compatible with Axatana, alongside weapons such as Black Needle, Axe and Dagger, The Iconoclast, and Great Martyr’s Blade. Its Perforation effect builds through melee strikes and is then exploited with a sidearm shot, making it another possible direction if you want to build around melee-to-ranged damage sequences.
Why the Axatana is worth getting early
The strongest argument for getting the Axatana early is not simply its damage. It is the amount of flexibility you gain from having two distinct attack styles in one weapon.
You can use the katana configuration against enemies that leave short openings, then rely on the axe configuration when you need heavier attacks. That flexibility also gives you more freedom when experimenting with Shell abilities and Tarstones.
Recent community discussion around Mortal Shell 2 has been especially positive about the weapon’s versatility. Players have highlighted its speed, range, and ability to stagger enemies despite its fast weapon class, while others have already been experimenting with combinations such as Duality Stone and other Tarstone effects.
At the same time, you should not treat the Axatana as an automatic answer to every encounter. Its strongest attacks still require you to understand enemy openings, and repeatedly committing to long strings can leave you vulnerable if you misread an attack.
Video Help:






Leave a Reply