

Use the Vatra’s Seal to turn your heavy attacks into safe stone-counter hits, then repeat that loop while backing off more often once the Great Arbiter of Flesh drops below half health.
The Great Arbiter of Flesh punishes rushed attacks, but his aggression also creates reliable counter opportunities. Control each exchange with one repeatable Vatra’s Seal sequence, then slow the pace when his attack patterns intensify.
- Where to find the Great Arbiter of Flesh and when to fight
- Vatra’s Seal setup before entering the arena
- How to beat the Great Arbiter of Flesh in Mortal Shell 2
- How the fight changes below half health
- Deadliest Great Arbiter of Flesh attacks
- Rewards for defeating the Great Arbiter of Flesh
- Frequently Asked Questions
Where to find the Great Arbiter of Flesh and when to fight
From Widow’s Overlook Beacon, turn south and follow the descending path toward Mushroom Village to the east. The Great Arbiter of Flesh patrols the muddy, gravestone-filled clearing along this route.
| Detail | Answer |
|---|---|
| Closest Beacon | Widow’s Overlook Beacon |
| Area | Fainweald, in a dirt clearing south or southeast of the Beacon |
| Optional status | Not required for main story progression |
| Key nearby reward | Gloombound Flame on a stone stele in the arena |
| Reason to return later | Tiel or Proxima provides a stronger Shell for the encounter |
If the encounter feels too punishing when you first arrive, continue south to collect the Map of Fainweald and unlock Tiel. Finishing the Ritual Grounds before returning also gives you more time to strengthen your character and learn the combat systems.
Vatra’s Seal setup before entering the arena
Equip the Vatra’s Seal before engaging. Activating it during a heavy attack turns you to stone, allowing the Arbiter’s incoming strike to release your heavy counter as he enters recovery.
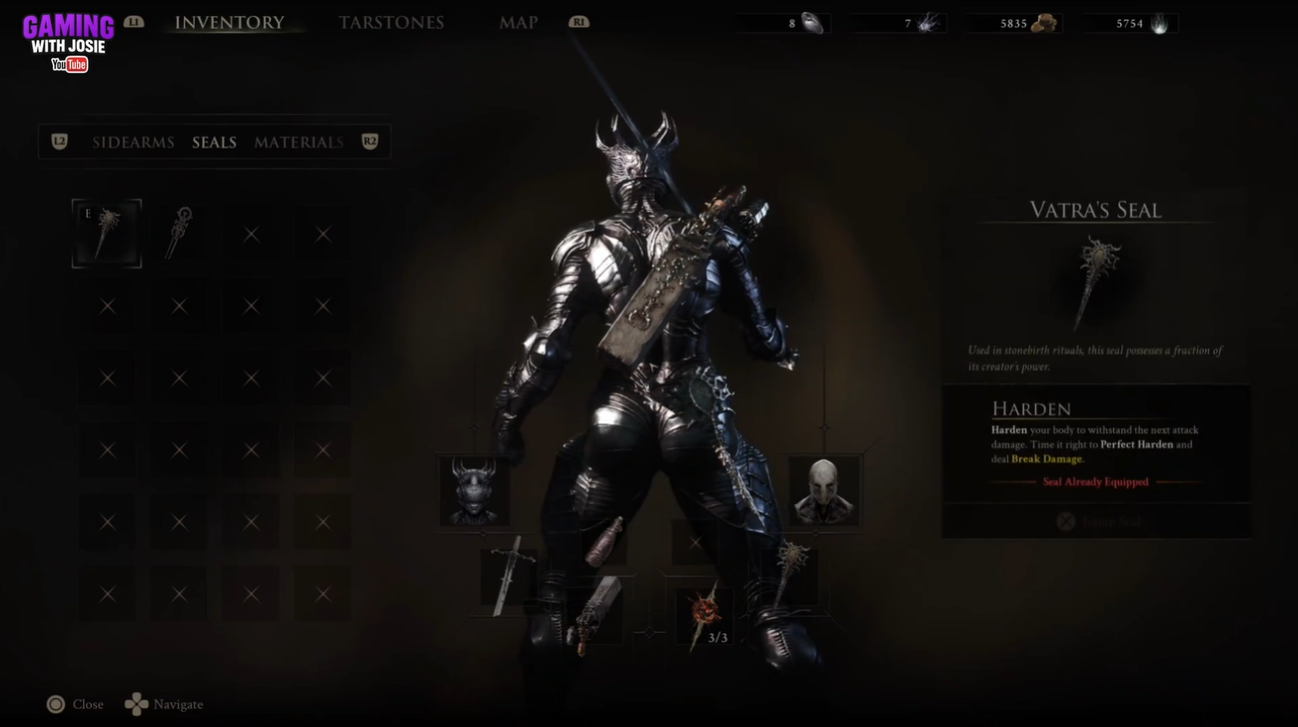
Keep your sidearm ready for chip damage while approaching. Harden and normal guarding can help against regular swings, but neither protects you from the Arbiter’s unblockable grab; move out of its reach instead.
How to beat the Great Arbiter of Flesh in Mortal Shell 2
This sequence converts the boss’s attacks into safe heavy-hit opportunities while limiting how long you remain within melee range.
STEP 1/10
Equip the Vatra’s Seal
Open your Seals and equip the Vatra’s Seal before approaching the arena.

Approach the boss | Gaming With Josie/YouTube
STEP 2/10
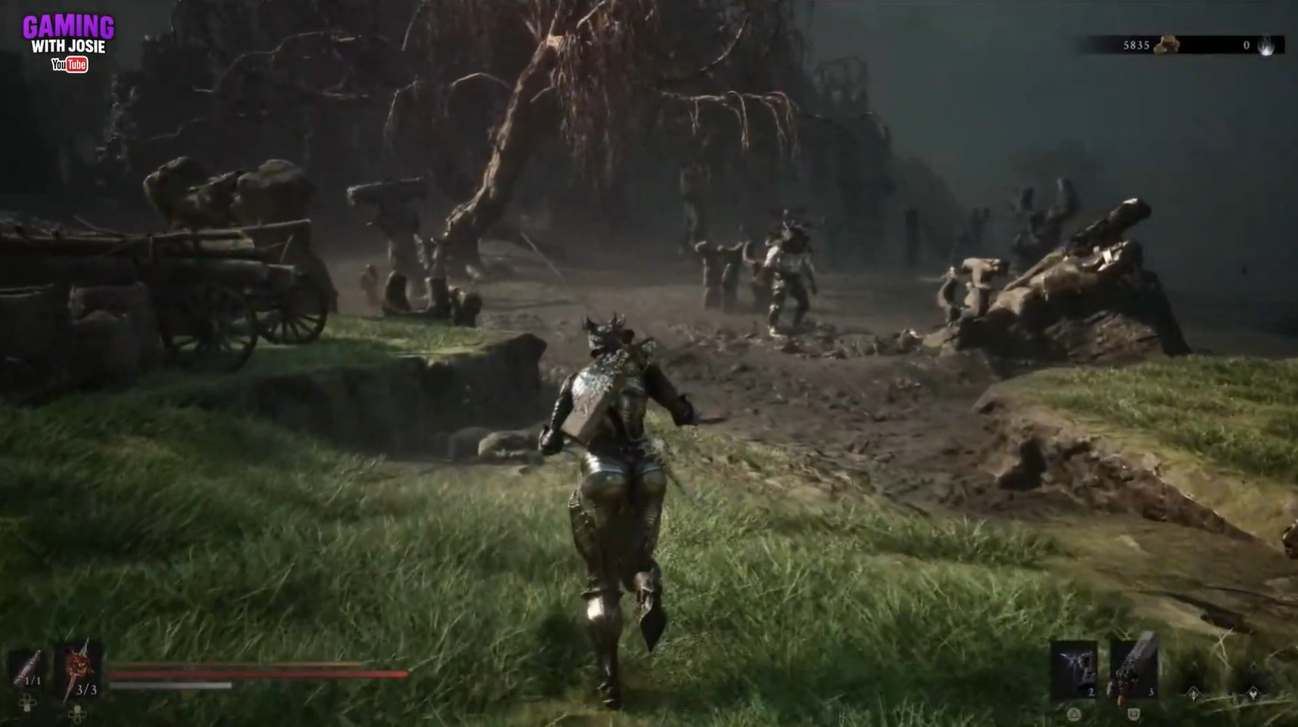
Approach the boss
Move toward the Great Arbiter of Flesh while leaving yourself enough space to read his first attack.
STEP 3/10
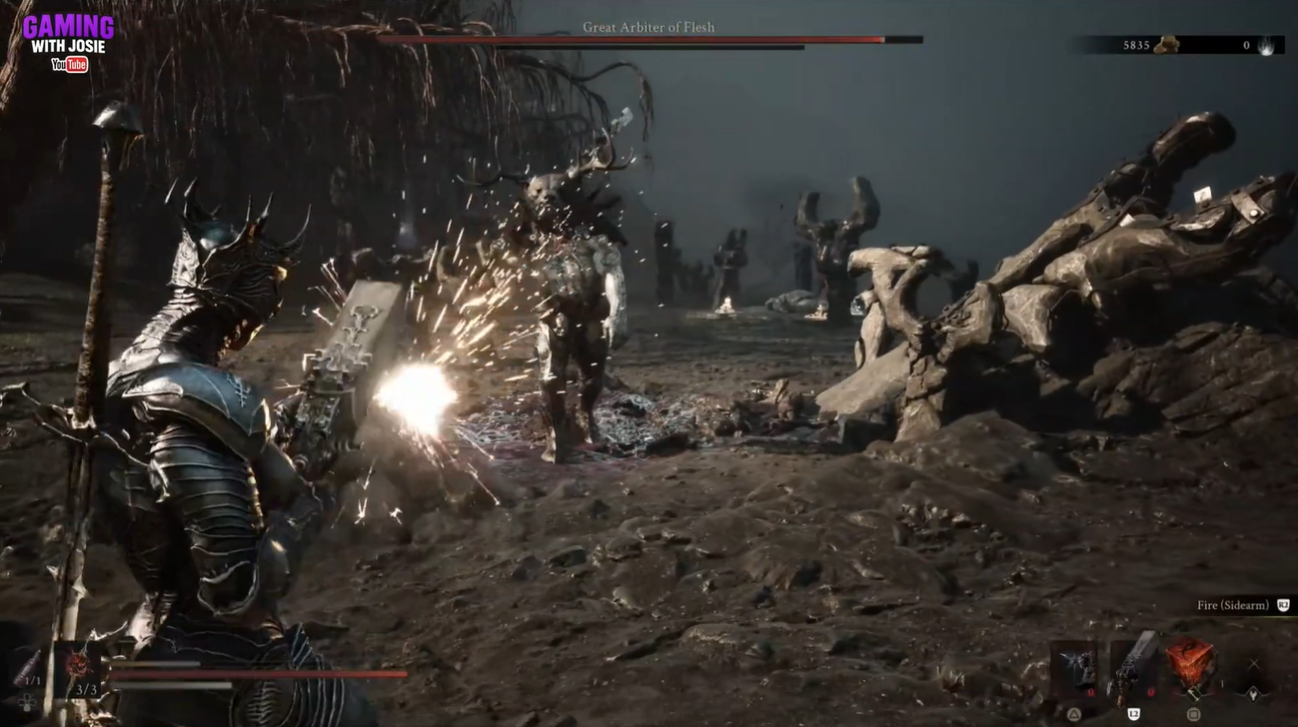
Fire your sidearm
Land several sidearm shots to remove some health before entering melee range.
STEP 4/10
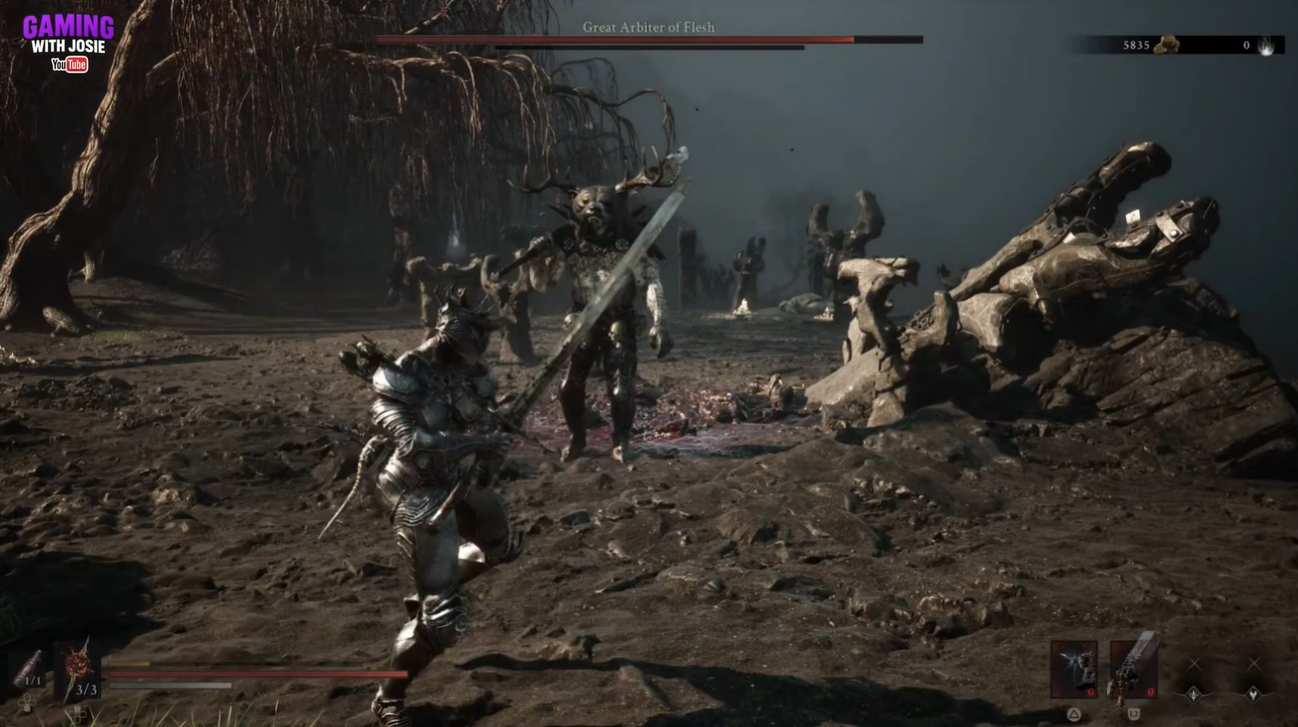
Begin a heavy attack
Start charging or swinging your heavy attack as the boss prepares to engage.
STEP 5/10
Trigger the stone counter
Activate the Vatra’s Seal during the heavy attack to turn your Shell to stone.
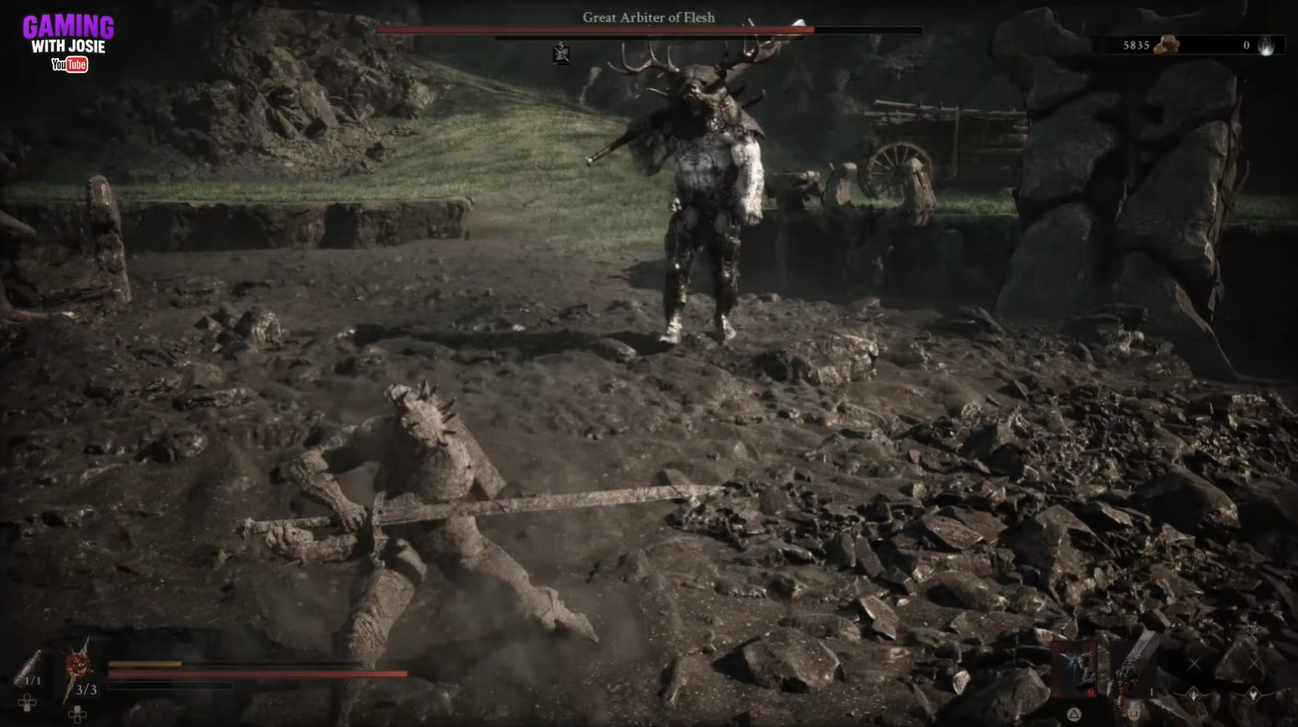
STEP 6/10
Let the boss hit the stone form
Hold your position and allow his incoming melee strike to trigger the counter.
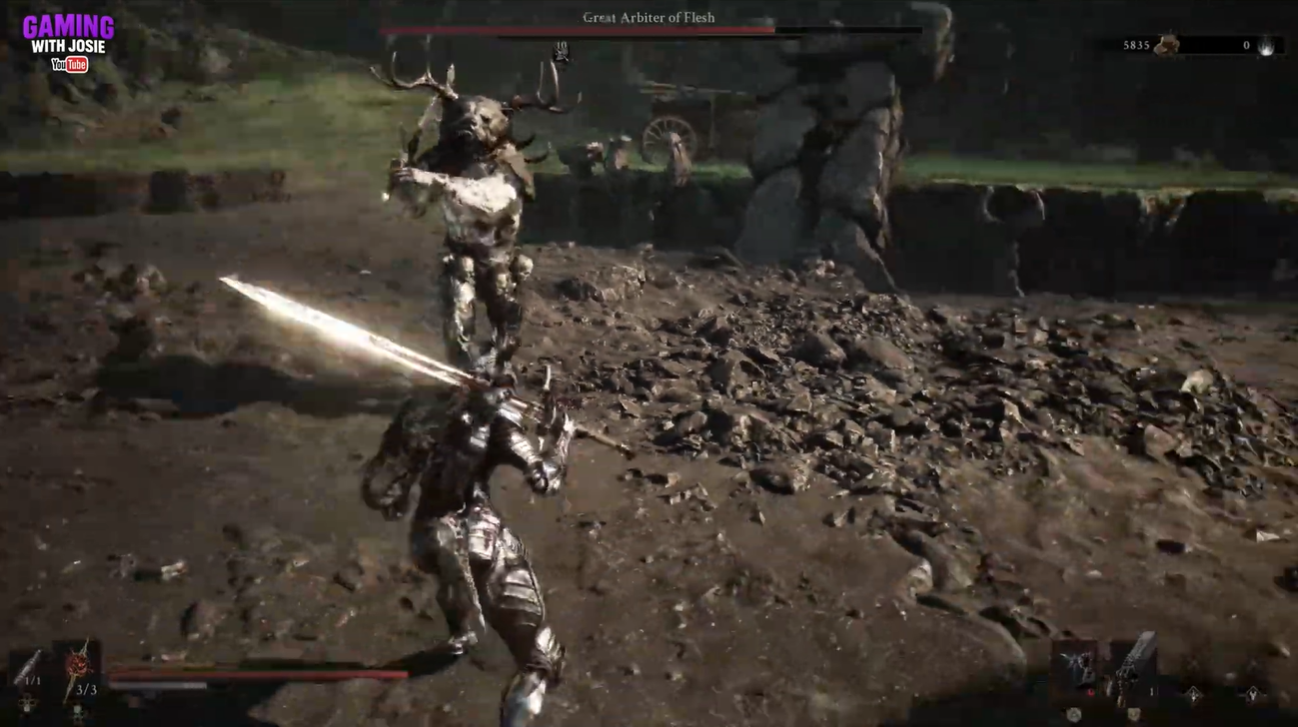
STEP 7/10
Land the heavy attack
Your Shell exits stone form and delivers the prepared heavy attack during the boss’s recovery.
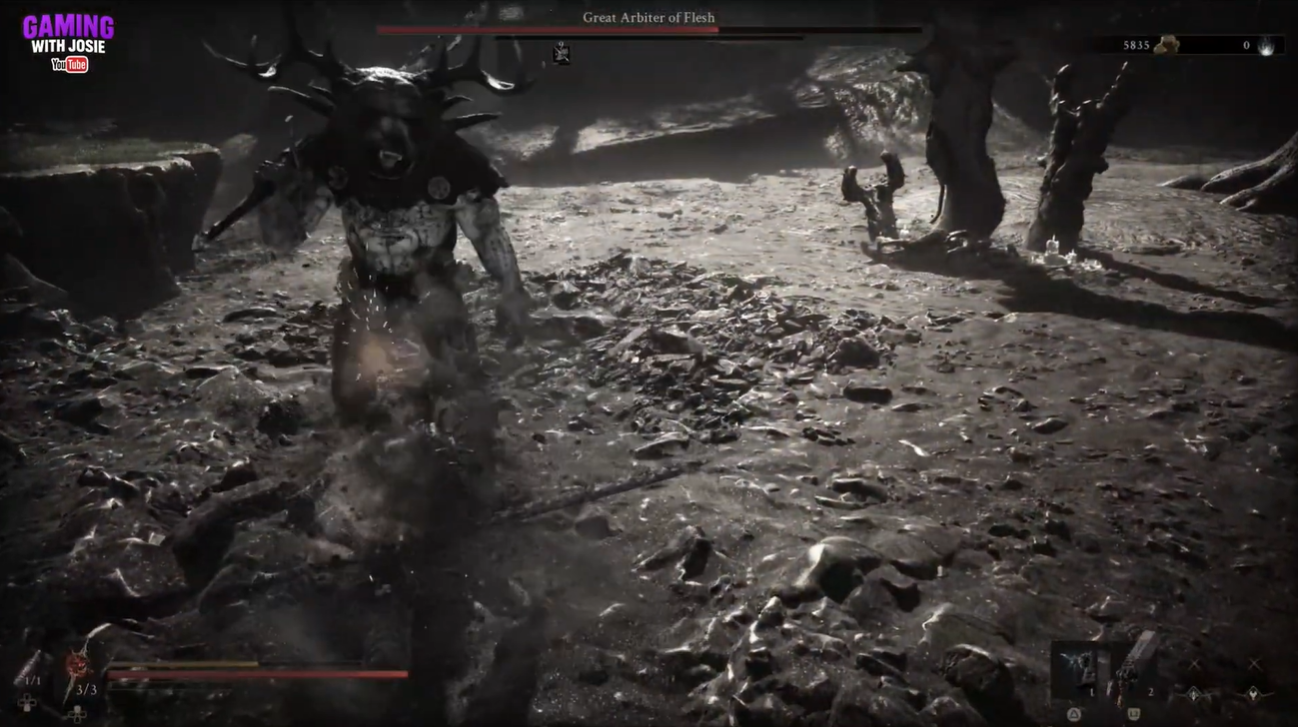
STEP 8/10
Add recovery hits
Use his remaining cooldown to land a short follow-up without committing to a long attack string.
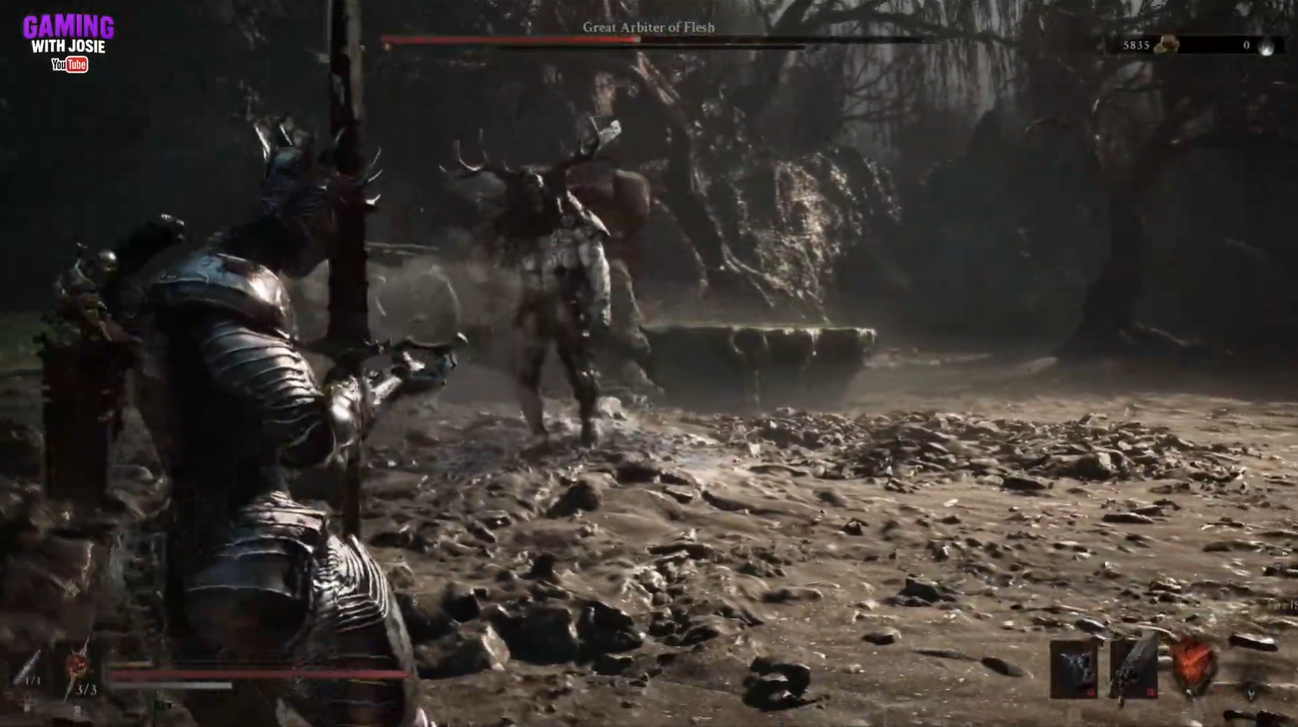
STEP 9/10
Back away safely
Disengage immediately after the punish so his next attack does not catch you at close range.
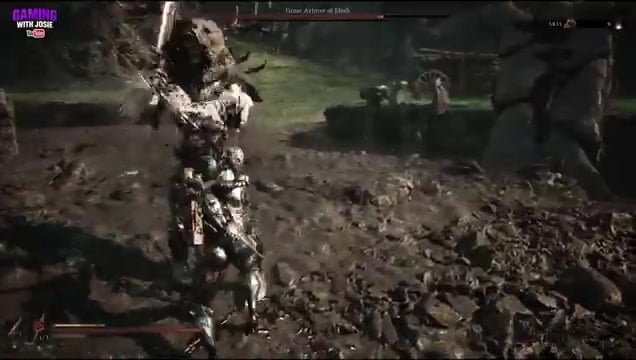
STEP 10/10
Repeat the counter loop
Cycle through the heavy attack, stone trigger, counter hit, brief follow-up, and retreat until the fight enters its second half.
Video help
How the fight changes below half health
Below half health, the Great Arbiter of Flesh becomes more erratic, charges more frequently, and commits to heavier attack strings. Dodge away and rebuild your spacing more often than you did during the opening half.
Do not force a Vatra’s Seal counter against every approach. Return to mid-range, wait for a clear attack, and restart the loop only when you can complete the counter and retreat without being trapped in the next string.
Put a gravestone between you and the boss after a messy exchange to break his line of sight and rebuild your spacing before re-engaging.
Deadliest Great Arbiter of Flesh attacks
The Arbiter is most dangerous when he baits an early reaction or keeps you nearby after an apparent punish window. Match each threat with a deliberate response rather than trying to trade damage.
| Attack | Response |
|---|---|
| Unblockable grab | Dodge beyond its reach; Harden and standard guarding will not stop it. |
| Feint swing | Wait for the twist and react to the actual strike direction instead of dodging or parrying the first motion. |
| Multi-spin combo | Back well away, or interrupt it with a Perfect Guard, Parry, or Harden only if your timing is reliable. |
| Cliff edge | Fight toward the center and avoid evasive movement that could carry you off the ledge. |
| Overcommitting after a punish | Take the brief recovery hits available, then disengage before the next attack string begins. |
Rewards for defeating the Great Arbiter of Flesh
Defeating the Great Arbiter of Flesh awards Arbiter’s Prize, a Tarstone obtained from this encounter.
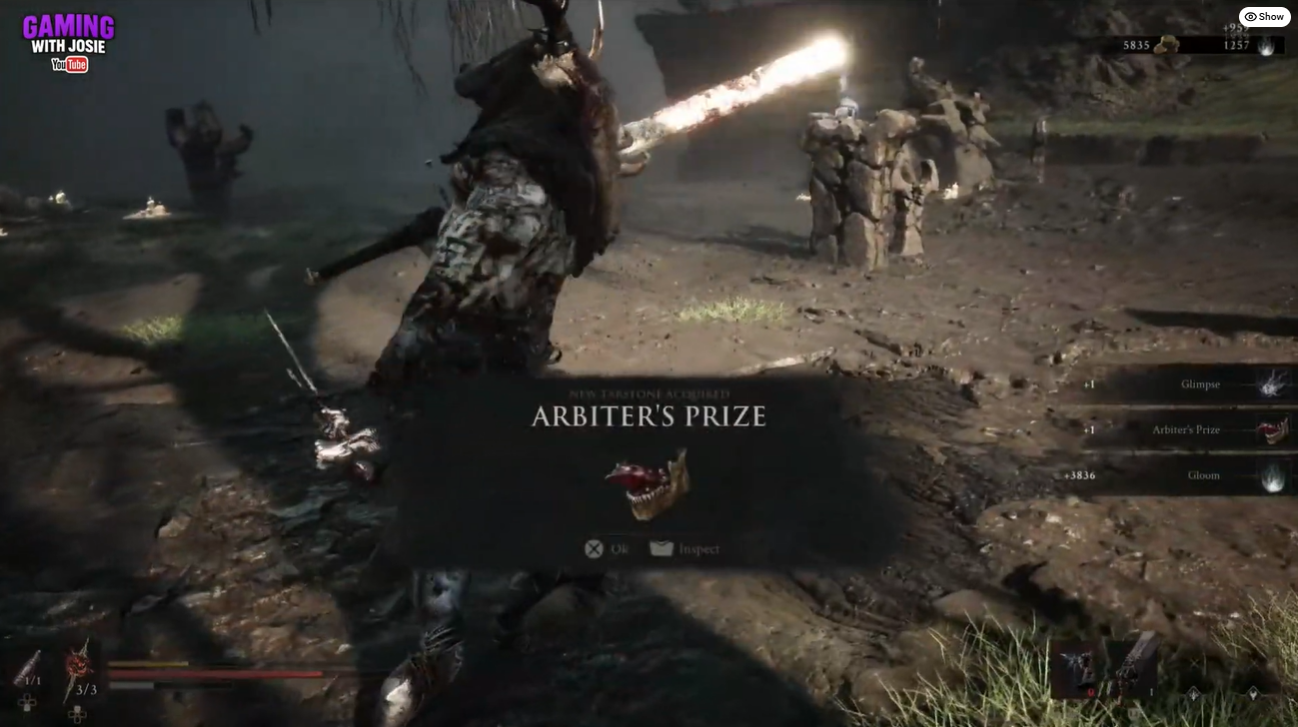
The Gloombound Flame rests on the arena’s stone stele and can be collected without killing the boss. Bring it to the lantern or brazier atop Marrow Keep, reached by elevator, to summon Thestus and gain the ability to enter or leave Night Mode.
Related Mortal Shell 2 guides
Frequently Asked Questions
Can you get the Gloombound Flame without killing the Great Arbiter of Flesh?
Yes. Sprint into the arena, interact with the stone stele holding the Flame, and leave without completing the boss fight.
Is the Great Arbiter of Flesh required for story progression?
No. You can bypass the clearing and continue along the regional route, returning whenever you want Arbiter’s Prize.
Should you return after unlocking Tiel or Proxima?
Yes, if your starting Shell is struggling. Tiel is buried in a shallow grave south of the arena, while the route toward Proxima lies to the north; either gives you a stronger Shell before the rematch.




Leave a Reply