

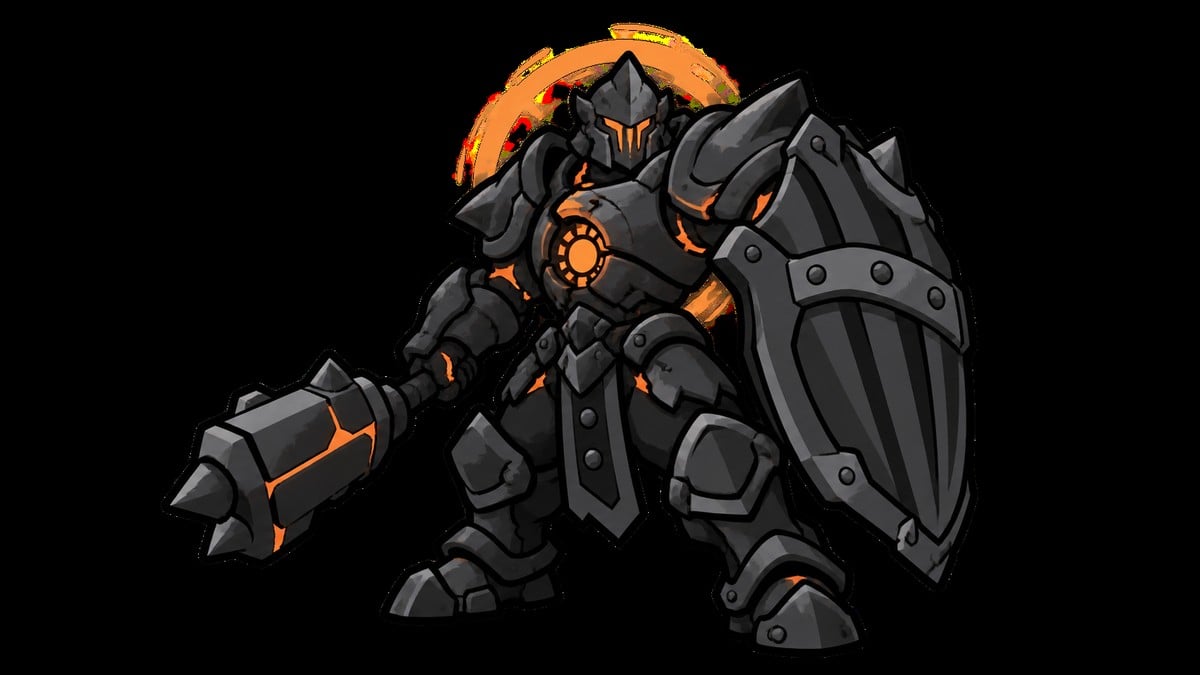
Lazlo plays best as a burn-focused tank built around cycling Retribution shockwaves — keep his Heat Meter high for stacked damage reduction, then use the armor-down window for fast melee pressure with a Burn-infused Veteran’s Battle Axe.
Lazlo, the Justiciar has the largest health pool of any shell in the game, and this build leans all the way into that. You are not dodging fights — you are heating up, dropping fire shockwaves, and cashing in a short vulnerable window for heavy melee damage before your armor snaps back on. Here is the full loadout, the Heat cycle that powers it, and how to run the rotation in a real fight.
The complete Lazlo loadout
| Slot | Pick |
|---|---|
| Shell | Lazlo, the Justiciar |
| Active ability | Retribution (Heat / Overheat shockwave) |
| Core passives | Warmed Up, Temperament, Incandescence, Breaker, Inflamed, Rush |
| Weapon | Veteran’s Battle Axe, Burn-infused |
| Weapon skill | Lost Clotstone (axe throw) |
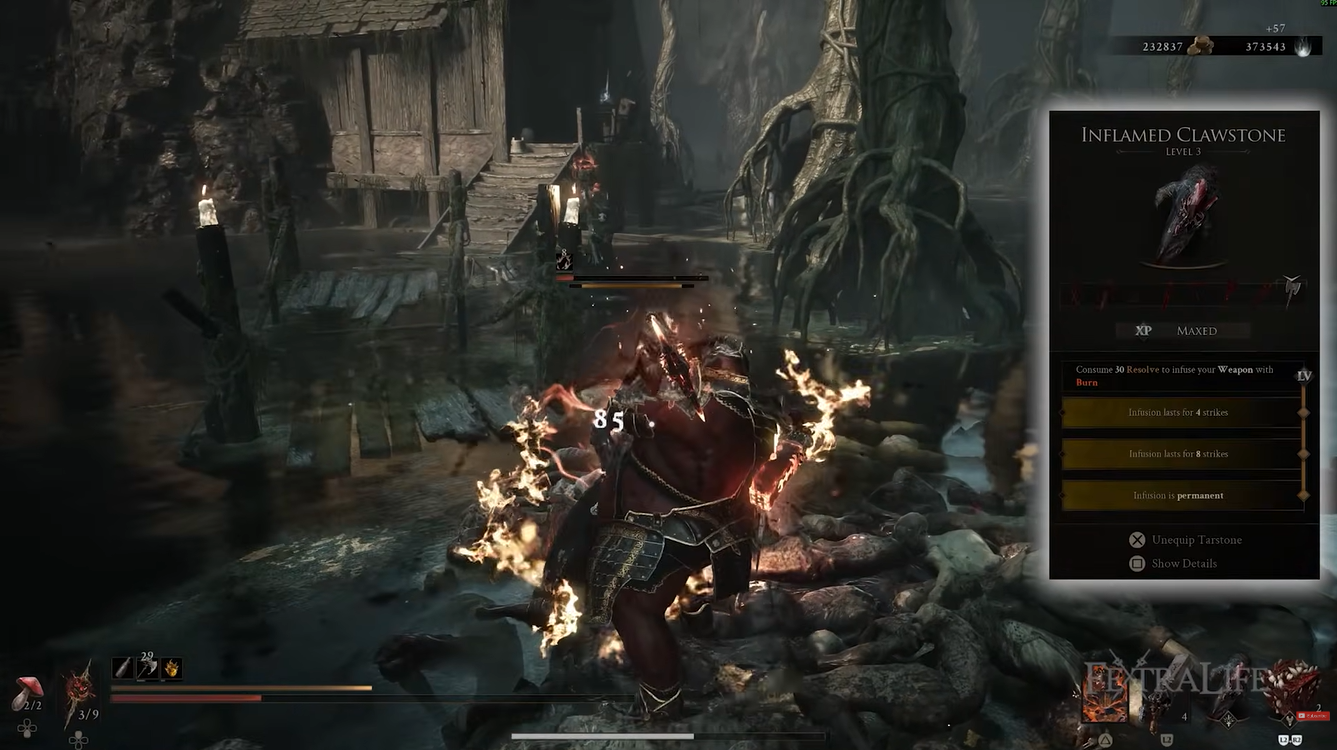
| Tarstones | Thief’s Stone + Inflamed Clawstone |
| Support stones | Auspicious, Headman’s, Bulwark, Berserker’s |
| Sidearm / ranged | Flexible |
| Consumable | Common Moonshine |
Key Everything here feeds one idea: stay heated for the damage reduction, then punish enemies with Burn and crits while your armor recharges. The weapon and stone slots are locked to the melee-plus-fire plan, but the sidearm and ranged slots are genuinely free because you almost never spend Resolve outside of Retribution.
How Lazlo’s Heat and Overheat cycle works
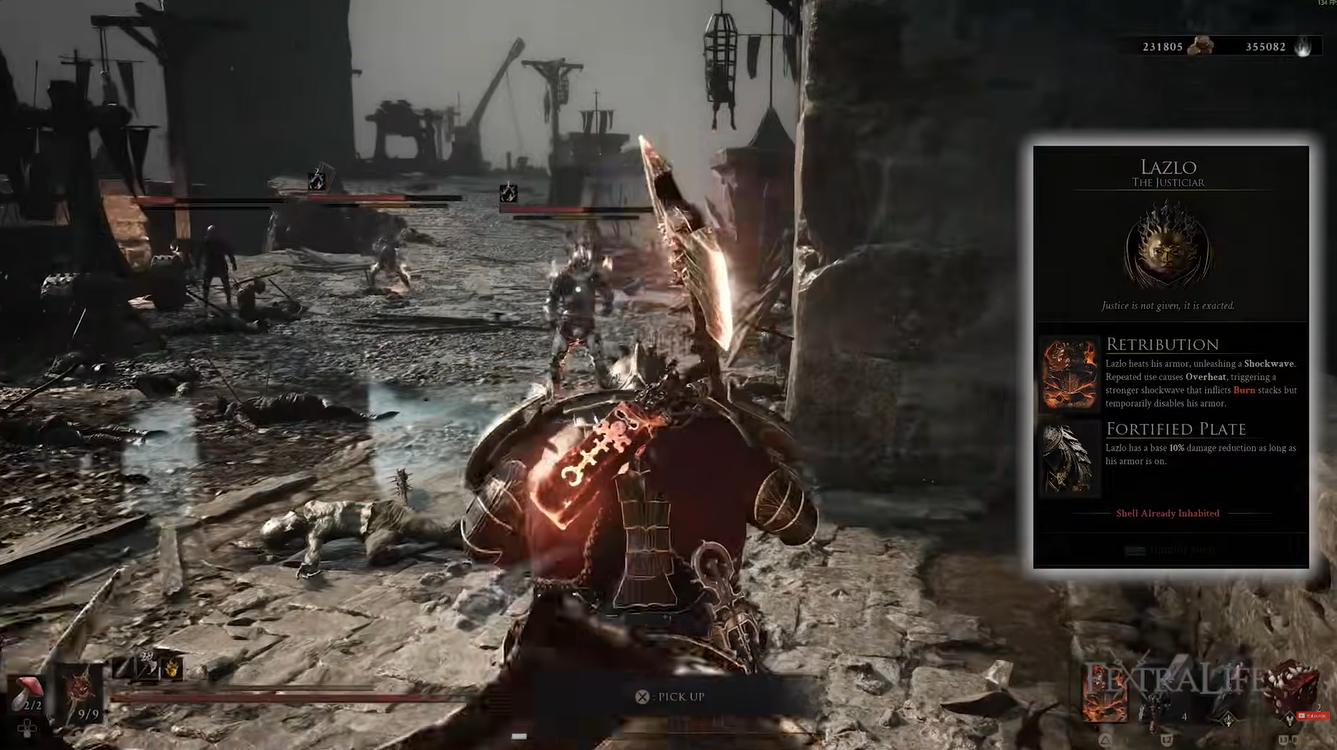
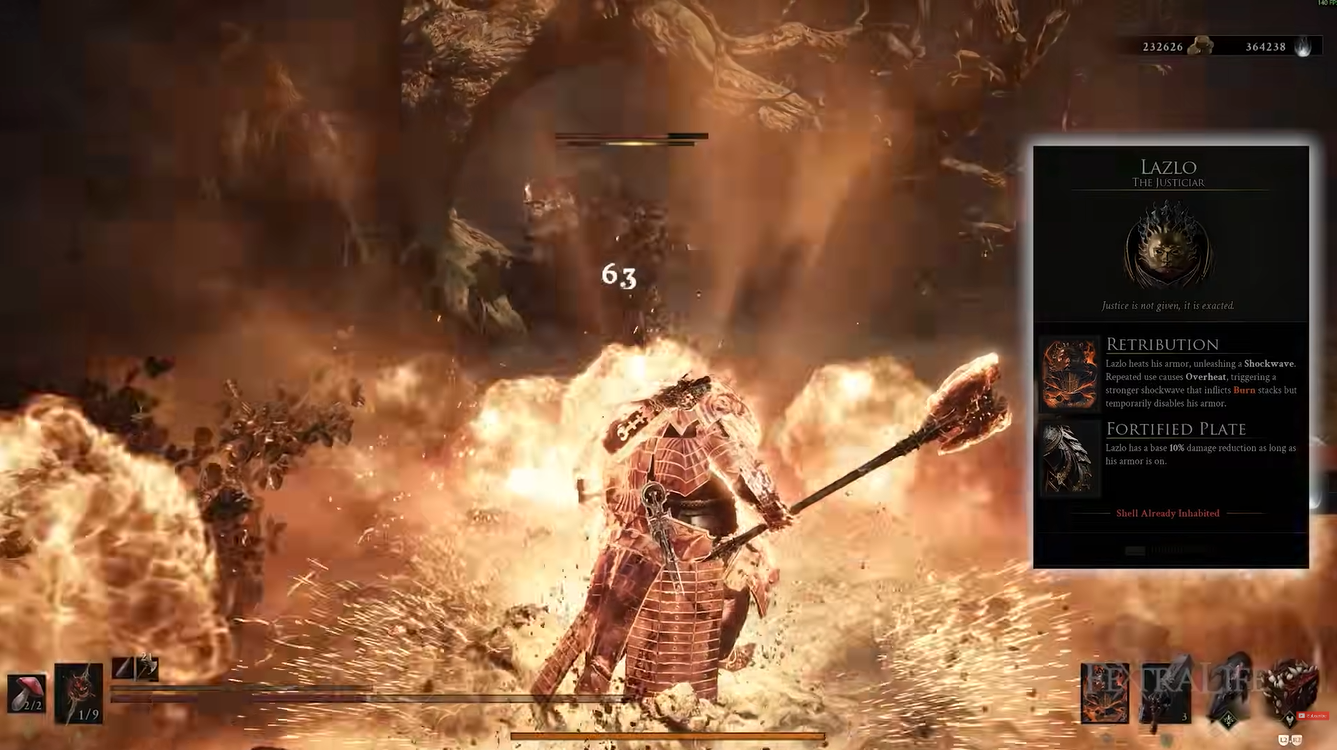
Retribution is the whole build. It fires an explosive AoE shockwave that lands Burn stacks and pushes up the Heat Meter at the bottom of the screen. The hotter Lazlo gets, the more his passives pay out — Warmed Up alone scales him toward 30% more damage, 35% more Resolve from melee, and an extra 10% damage reduction at full Heat.
Stack Retribution casts and the next one becomes an overheated shockwave: it hits hardest, lays down the most Burn, costs no Resolve — and then deactivates his armor for roughly 7-9 seconds while Retribution cools down. That is the trade. During those seconds Lazlo loses the flat damage reduction and the Heat bonuses, so firing the big blast at the wrong moment strips away the exact defenses that keep him standing. Read the room before you overheat.
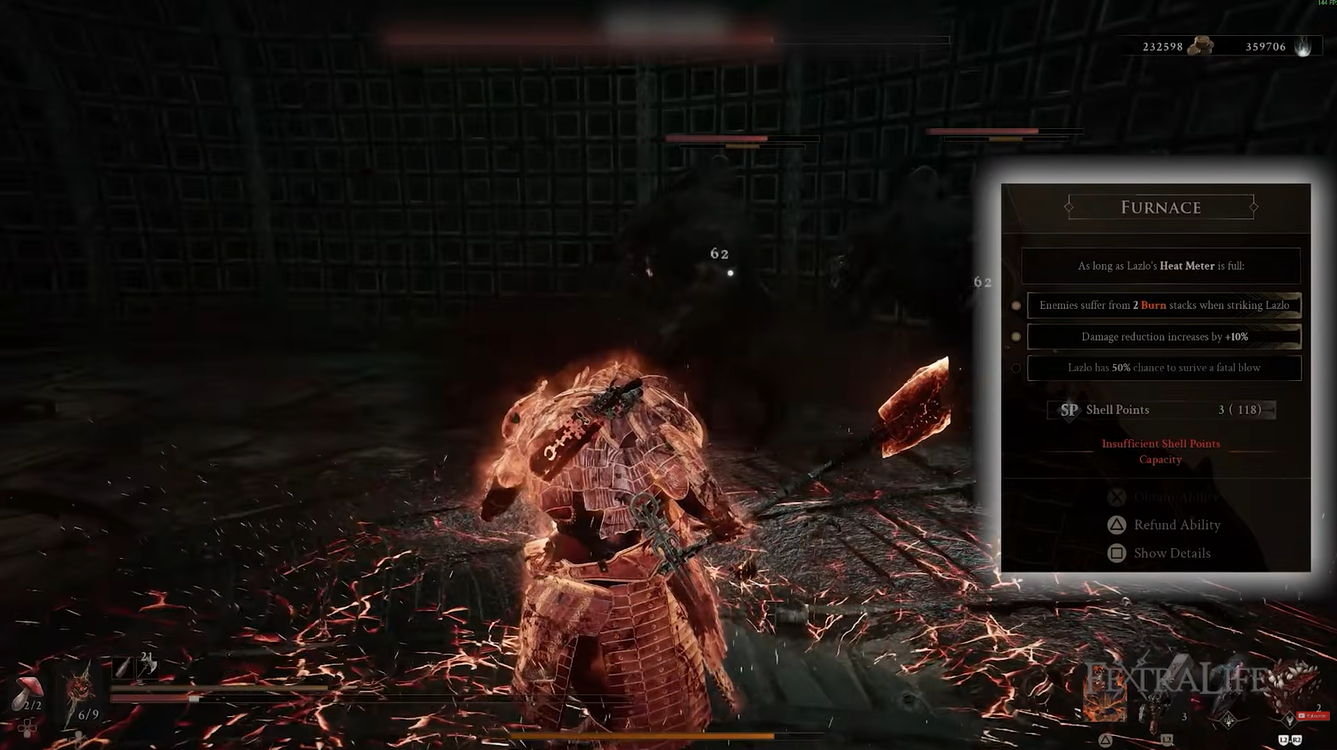
When the Heat Meter is full, the reduction really stacks up: Fortified Plate’s 10%, another 10% from Warmed Up, and 10% from Furnace put you at 30% damage reduction, and keeping Common Moonshine active as a passive pushes that to about 34%. That is why the goal is always to be heating up or fully heated — the only soft window is the armor cooldown right after an overheated blast.
Which Shell abilities to prioritize
| Ability | Priority |
|---|---|
| Warmed Up | High |
| Temperament | High |
| Incandescence | High |
| Rush | High |
| Inflamed | High |
| Breaker | Medium |
| Worthy Armor | Adjustable |
| Adaptation | Situational |
| Inner Fire | Low |
| Detonation | Low |
| Rekindle | Low |
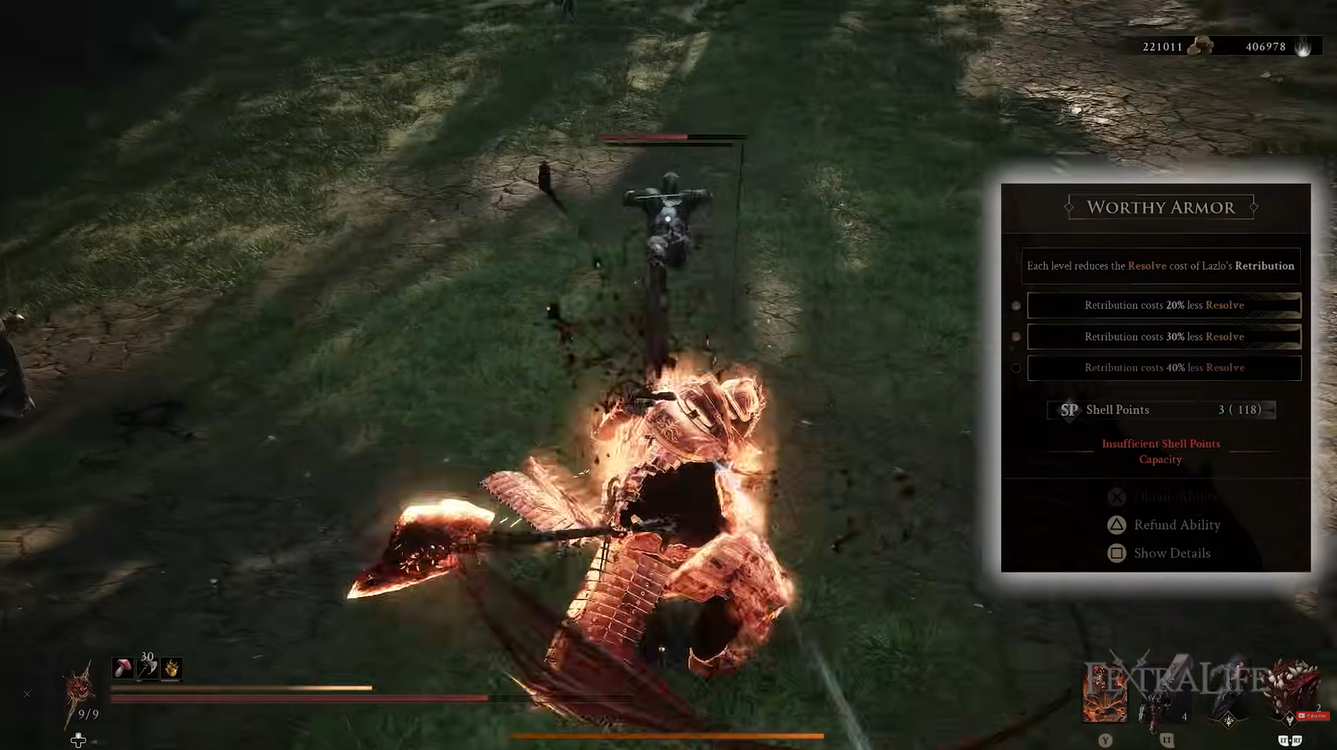
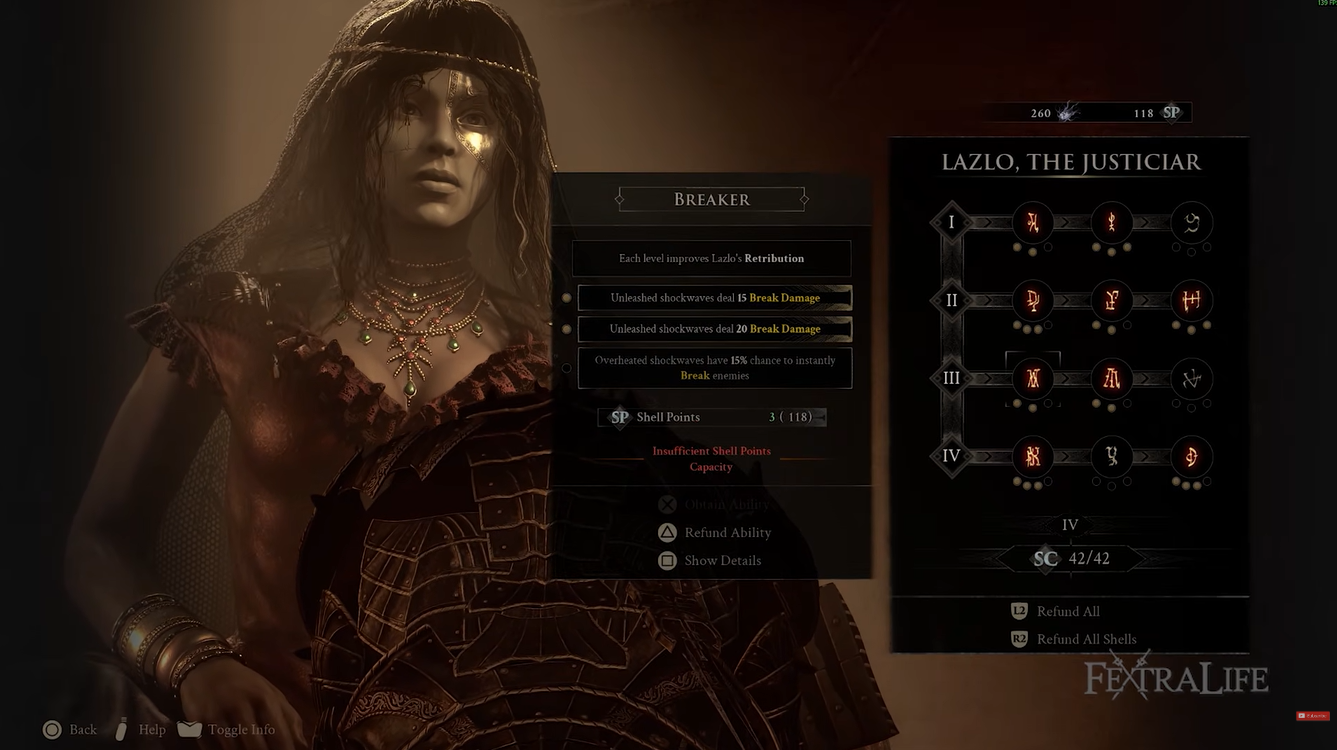
Points are tight, so spend them on the nodes that keep the Heat cycle spinning and reward the armor-down burst. Warmed Up is the backbone since you are heated most of the time. Temperament buys shockwave damage and radius so you clip more enemies. Incandescence refills your Heat by 50% when armor returns, which means two normal casts and then a free overheated blast. Rush is what makes the vulnerable window aggressive — 20 warp stacks for attack speed plus 15% crit the moment your armor drops. Breaker adds 15 break damage to knock enemies down while you swing, and Inflamed stops the Heat Meter from draining and gives the overheated shockwave a 30% chance not to deactivate armor — hit that and you can chain the big blast two, three, even four times in a row.
Worthy Armor just lowers Retribution’s Resolve cost so you can cast on cooldown — a couple of points cover it, and you can pull some back if you find you have Resolve to spare. Adaptation genuinely helps by trimming the armor cooldown, but it is point-hungry for what it returns. Skip the rest: Inner Fire only matters against the handful of enemies that inflict Burn, while Detonation and Rekindle both plan for failure — they trigger when you are knocked out of your shell or as your Heat drains, neither of which you want happening on this build.
Push the Inflamed Clawstone to permanent infusion before any other upgrade so your Veteran’s Battle Axe keeps Burn active without you re-applying it every fight.
How to use Lazlo’s Retribution in rotation
Build Heat with Retribution

Cast on cooldown to climb the Heat Meter and layer Burn on everything nearby, with Worthy Armor keeping the Resolve cost low enough to keep casting.
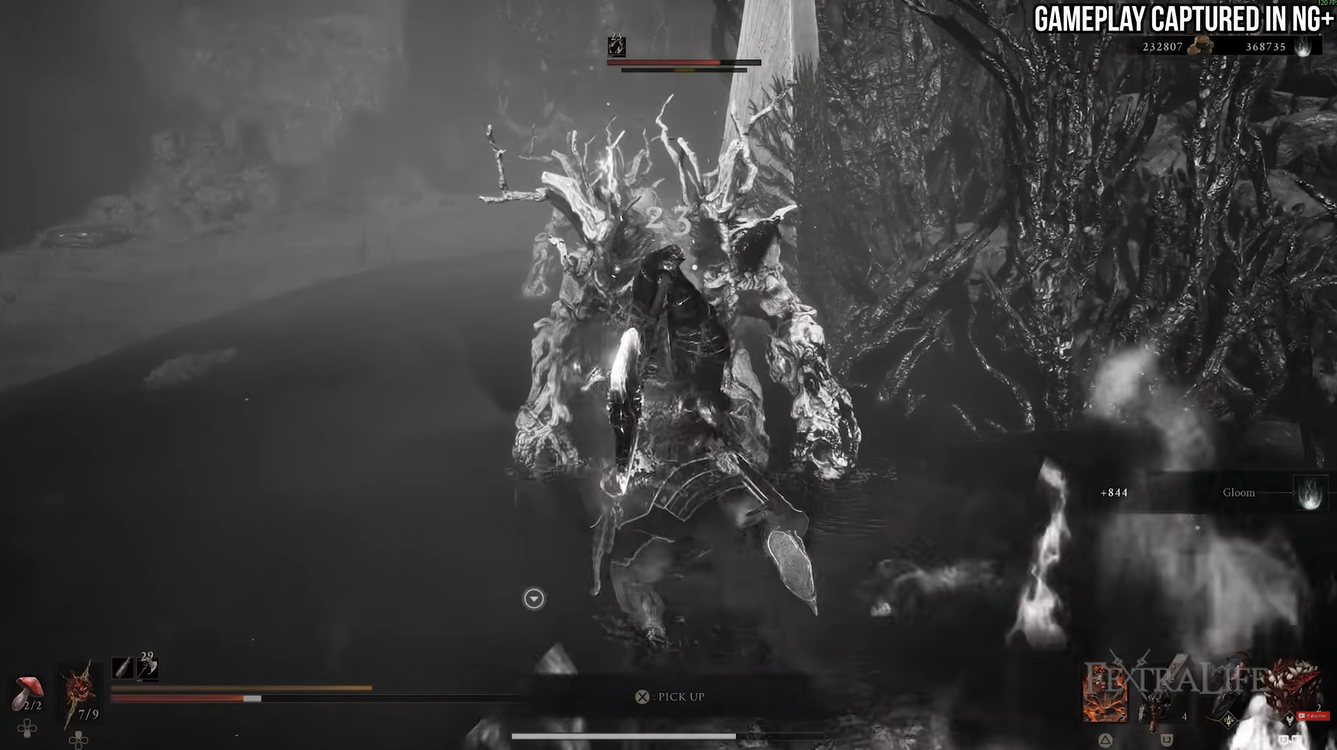
Trigger the overheated shockwave
Incandescence refills half your Heat when armor returns, so your third cast becomes the free, resource-less overheated blast that hits hardest and stacks the most Burn.
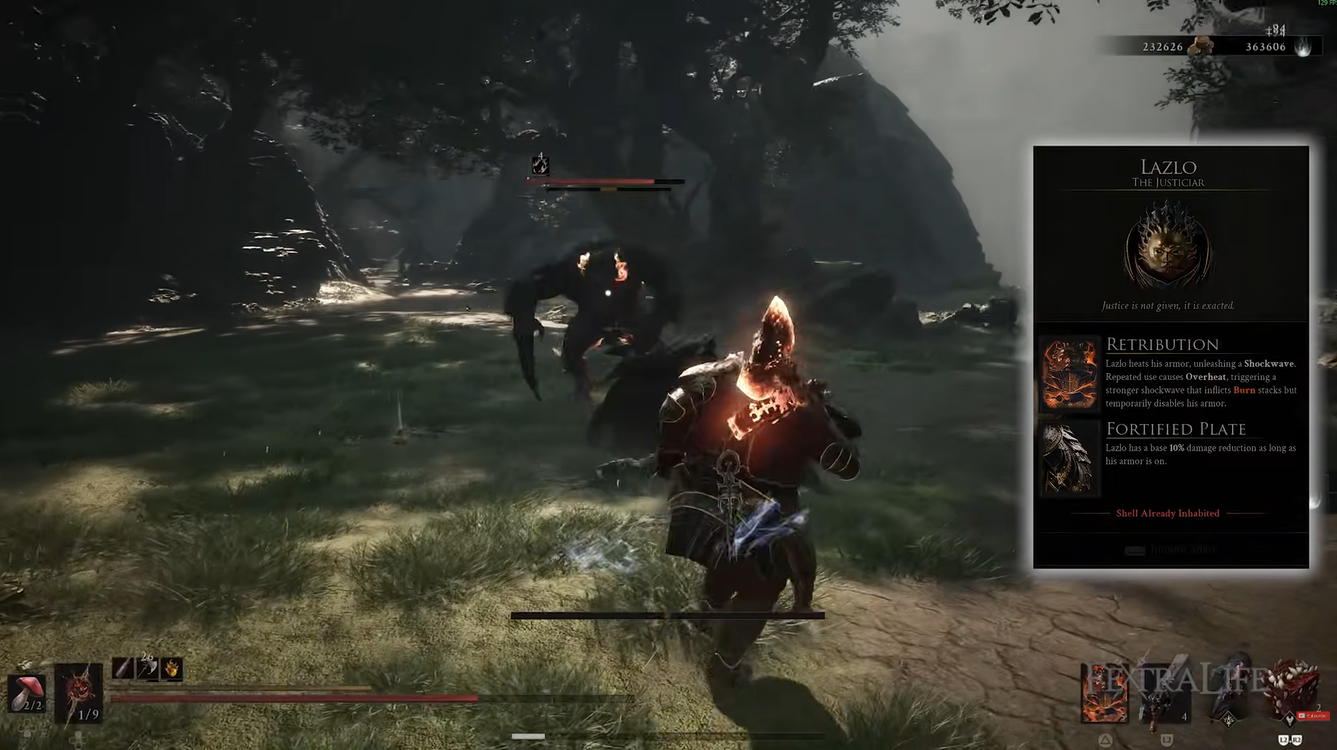
Attack while your armor is down
The blast strips your armor for about 7-9 seconds, and Rush instantly hands you 20 warp stacks and 15% crit — this is your melee window.
Cleave with the Veteran’s Battle Axe
Its running R2 sweeps hit clustered enemies while Thief’s Stone tops your warp stacks toward the 30 cap for maximum attack speed.
Reset when armor comes back
Fortified Plate returns and you are tanky again, so start rebuilding Heat and run the cycle once more.
Fighting smart with the Overheat window
Open every fight with Retribution
Leading with a shockwave puts Burn on the room early and starts your Heat climbing before enemies close the distance.
Hold the overheated blast for the right moment
Save the full-Heat shockwave for grouped or staggerable enemies, where its break damage and wide radius do the most work.
Trade hits without fear
Berserker’s Stone turns falling health into up to 65% more melee damage, and Lazlo’s huge HP pool plus stacked reduction means the trade rarely hurts.
Never freeze during the armor cooldown
Standing passive while your armor is down wastes your only vulnerable window — this is precisely when Rush’s warp stacks and crit want you swinging.
Flexible slots and stone swaps
Because your Resolve is reserved almost entirely for Retribution, the sidearm and ranged stone slots are open — run whatever you already like, since this build barely touches them. If you do want a ranged option that fits the theme, a Burn-capable pick like the forgotten crossbow keeps the fire damage flowing, but treat it as a secondary consideration rather than a core piece.
For the tarstone, Grudge Stone is a fine substitute if you do not have Thief’s Stone yet or simply want more critical hits instead of the warp-stack attack-speed spike.
How to unlock Lazlo in Mortal Shell 2
If Lazlo is not in your roster yet, head to the Royal Crypt of Mammon in the southwest of the map. Fight through the crypt to Vellen, High Lord of Mammon, defeat him, and continue into the chamber beyond the arena to claim Lazlo’s shell. He is usually one of the later shells you pick up depending on your route through the second region, so plenty of players build him well after their first few unlocks.
Related Mortal Shell 2 guides
Frequently Asked Questions
Is Lazlo good for a first playthrough?
He is one of the most forgiving shells to survive with thanks to that health pool and stacked damage reduction, but he lands around B-tier because Retribution’s payoff feels tamer than the flashier active abilities on shells like Smert or Genessa. He is reliable rather than explosive, so many players save him for a later run once they know the arenas and instead start with a higher-tier pick.
Can Retribution crit?
It is not fully settled — testing on this build showed few, if any, crits from the shockwave itself, so do not count on it. Your crit stones (Auspicious and Headman’s) definitely apply to your melee attacks, which is where the crit chance and crit damage actually pay off during the armor-down window.
What should players use if they do not have Thief’s Stone yet?
Slot the Grudge Stone instead. It leans toward extra critical hits rather than the rapid warp-stack build-up, so your armor-down burst rides on crits until you pick up Thief’s Stone and get the faster attack-speed ramp.
Video help






Leave a Reply