
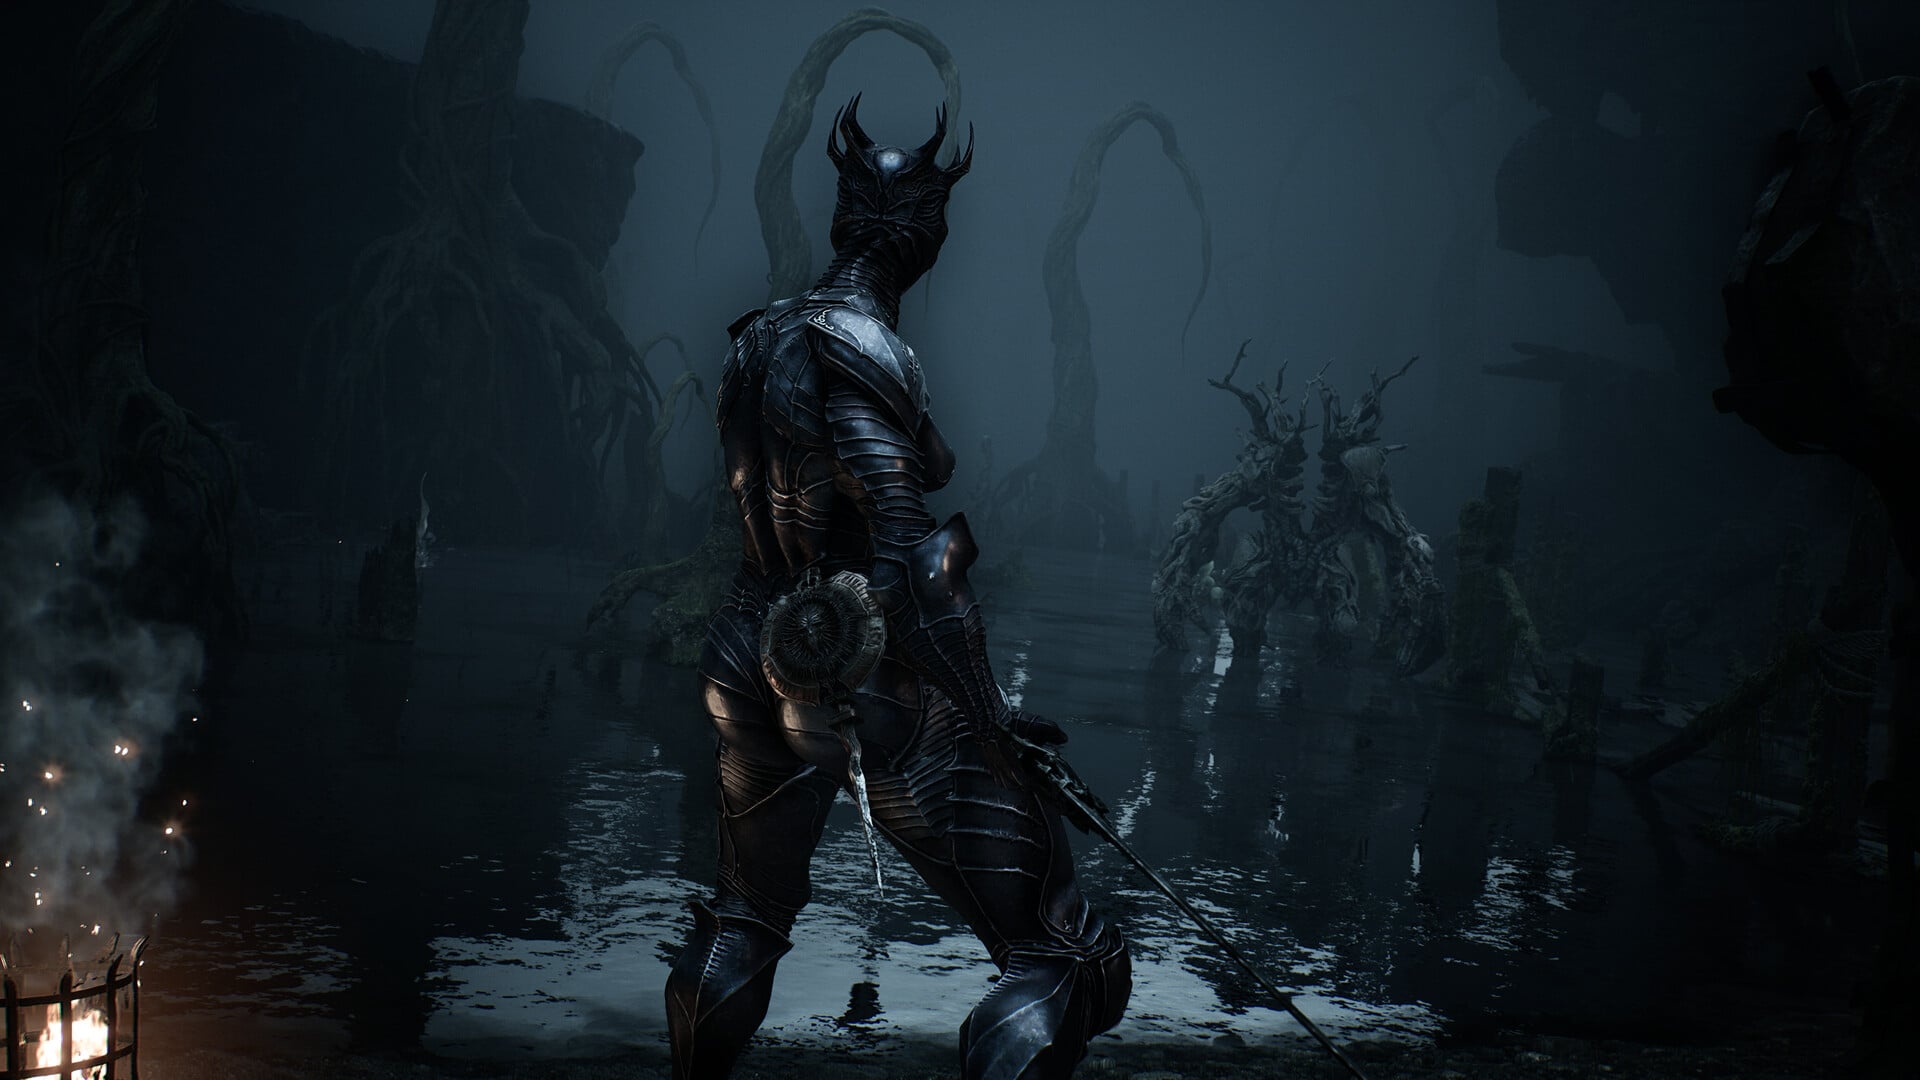
Tarstones are Mortal Shell 2’s build-defining modifiers for Support slots, weapons, and Sidearms; use this effect reference to choose which ones to equip and upgrade first.
Tarstones can reinforce a familiar playstyle or transform how an attack behaves. This reference contains 79 Tarstone names and supplied effect-line entries; collectible totals vary between 73 and 75 because some available text appears as separate effect lines rather than named stones.
- Quick answer: what Tarstones do
- Mortal Shell 2 Tarstones at a glance
- How Tarstone slots, XP, and Tarforge upgrades work
- How to choose Tarstones for your build
- Mortal Shell 2 Tarstone effects and upgrade changes
- Frequently Asked Questions
- How to use this Tarstone reference
- Complete reference: Resolve-consuming sidearm effects
- More Mortal Shell II guides
Quick answer: what Tarstones do
Tarstones provide passive bonuses, altered attacks, weapon and Sidearm infusions, projectile modifiers, and Resolve-powered abilities. Compatibility determines which Support, weapon, or Sidearm slot can accept each one.
Equipped Tarstones earn Tarstone XP through combat and enemy kills. Once upgrades are unlocked, eligible stones can be improved at the Tarforge. This is an effects and upgrade-planning reference, not a pickup-location route.
Mortal Shell 2 Tarstones at a glance
Support Tarstones — 13
| # | Tarstone | Main effect | Location / source |
|---|---|---|---|
| 1 | Auspicious Stone | +18% melee Critical Chance | Mushroom Village chest |
| 2 | Headsman’s Stone | +100% melee Critical Damage | Mammon outskirts |
| 3 | Devout Stone | +100% Resolve from melee attacks | Sester’s Abbey |
| 4 | Shattering Stone | +220% melee Stagger Damage | Collapsed Mines |
| 5 | Berserker’s Stone | Up to +165% melee damage at low HP | Temple of Vatra |
| 6 | Marksman’s Stone | +15% ranged Critical Chance | Mushroom Village Gate Trial |
| 7 | Deadeye Stone | +40% ranged Critical Damage | Sanguine Caverns Gate |
| 8 | Siegebreaker’s Stone | +150% ranged Stagger Damage | Glutted Mire Gate |
| 9 | Spite Stone | Up to +160% ranged damage at low HP | Bellkeeper’s Corner |
| 10 | Bulwark Stone | +25% Damage Reduction | Citadel of Penance |
| 11 | Retribution Stone | +20% Riposte damage | Widow’s Overlook Trial |
| 12 | Gloombound Stone | +30% Gloom from kills | Stones of Remembrance |
| 13 | Justiciar’s Stone | +30% Coin from kills | Stones of Remembrance |
Combat Tarstones — 23
| # | Tarstone | Main effect | Location / source |
|---|---|---|---|
| 14 | Wounding Stone | Melee attacks inflict Perforation | Mushroom Village |
| 15 | Grudge Stone | Every 5th attack is guaranteed Critical | Citadel of Penance |
| 16 | Duality Stone | Light-combo attacks strike twice | Ravaged Tomb |
| 17 | Unyielding Stone | Light combo gains Stagger immunity | Deserted Mine Trial |
| 18 | Parasitic Stone | Gain 3 Leech per kill | Martyr’s Tomb |
| 19 | Thief’s Stone | Gain 3 Warp per strike | Fainweald Trial |
| 20 | Stillblade’s Stone | Special Light Combo Finisher + Break | Citadel Annex |
| 21 | Zealot’s Stone | Special Light Finisher generates Resolve | Besieged Ruins |
| 22 | Clerik’s Stone | Heavy Finisher gets +30% Crit Chance | Glutted Mire |
| 23 | Tyrant’s Stone | Heavy Finisher inflicts Weak | Abbey Entrance |
| 24 | Enfeebling Stone | Projectiles inflict Fragile | Mammon outskirts Trial |
| 25 | Shuddering Stone | Projectile impact creates Knockback shockwave | Illusionist’s Cache |
| 26 | Pulse Stone | Projectile impact pulls enemies inward | Conquered Temple Gate |
| 27 | Ironpiercer’s Stone | Projectiles pierce up to 5 targets | Prisoners’ Domain |
| 28 | Myriad Stone | Fires 7-projectile arc | Feeding Grounds |
| 29 | Splitting Stone | Fires 4-projectile arc | Gate of Mammon |
| 30 | Rupturing Stone | Critical projectiles deal Break damage | Prisoners’ Domain |
| 31 | Blackblood Stone | Projectiles explode mid-air | Pulsing Caves |
| 32 | Corroded Stone | Projectiles inflict damage over time | Sunken Village |
| 33 | Squall Stone | Projectiles spin after impact | Executioner’s Pulpit |
| 34 | Charged Stone | +50% Sidearm charging speed | Nameless Pass |
| 35 | Unstable Stone | Repeated hits trigger an explosion | Mammon |
| 36 | Volatile Fragment | Ranged kills explode | Mushroom Village Gate |
Infusion Tarstones — 17
| # | Tarstone | Infusion | Location / source |
|---|---|---|---|
| 37 | Arbiter’s Prize | Bloodcurse — Weapon | Great Arbiter of Flesh |
| 38 | Serpent Stone | Poison — Weapon | Lucian |
| 39 | Voltaic Crown | Lightning — Sidearm | Nochtean Gate |
| 40 | Warden’s Stone | Frost — Weapon | Urrig |
| 41 | Curseblood Stone | Curse — Weapon | Gate of Infinity |
| 42 | Nightgrasp Stone | Phantom — Weapon | Fainweald tower |
| 43 | Torpor Stone | Stasis — Weapon | Ossinite Falls |
| 44 | Wretchcaller’s Stone | Trauma — Weapon | Gate of Mammon |
| 45 | Inflamed Clawstone | Burn — Weapon | Holding Cells |
| 46 | Hag Stone | Trauma — Sidearm | Outskirts of Nochte |
| 47 | Emberseed Stone | Burn — Sidearm | Mushroom Village Gate |
| 48 | Viletongue Hedron | Bloodcurse — Sidearm | Castigator’s Keep |
| 49 | Voltaic Amber | Lightning — Sidearm | Starved Harridan |
| 50 | Frostshard Stone | Frost — Sidearm | Conqueror’s Hoard |
| 51 | Monarch’s Vestige | Phantom — Sidearm | Abbey Entrance |
| 52 | Accursed Stone | Curse — Sidearm | Abandoned Outpost |
| 53 | Weeping Stone | Trauma — Sidearm | The Collector, Night Mode |
Ability Tarstones — 22
| # | Tarstone | Ability | Location / source |
|---|---|---|---|
| 54 | Acolyte’s Stone | Charged Light Attack | Merrick |
| 55 | Unwieldly Stone | Charged Heavy Attack | Merrick |
| 56 | Magdalena’s Memento | Aerial flurry of attacks | Magdalena |
| 57 | Captive’s Scabstone | Violent weapon arc | Nameless Captive |
| 58 | Conqueror’s Reward | Rapid piercing thrusts | Conquered Temple Gate |
| 59 | Infused Stone | Throw weapon through multiple targets | The Collector |
| 60 | Shrike Stone | Leap and plunge weapon | Glutted Mire Gate |
| 61 | Colossus Stone | Ground shockwaves | Fainweald |
| 62 | Lost Clotstone | Spin and throw weapon | Lost Child |
| 63 | Scholar’s Wormstone | Chainsaw-enhanced attacks | Faded Citadel Gate |
| 64 | Clockwork Shardstone | Chainsaw attack | Mammon |
| 65 | Hexapod Core | Rapid succession of strikes | Withered Shoals Gate |
| 66 | Solnir Shard | Heavy explosive round | Faded Citadel Gate |
| 67 | Confessor’s Keepsake | Charged devastating shot | Prisoners’ Domain |
| 68 | Fusillade Stone | Consecutive Sidearm shots | Winterglass Lake |
| 69 | Barrage Stone | Explosive projectile barrage | Gloomshade Grove Trial |
| 70 | Tarred Fragment | Tethered spinning projectiles | Tarblighted Stoner |
| 71 | Fulminant Stone | Explosive heavy-caliber round | The Collector |
| 72 | Strange Remnant | Chain-lightning-style projectile stream | Withered Shoals Gate |
| 73 | Infested Stone | Clinging explosive projectile | The Collector |
| 74 | Summoning Stone | Summon the last slain enemy | Faded Citadel Gate |
| 75 | Hand of Rock | Homing projectile swarm | One-Legged Wolf Tavern |
The list spans dependable passive bonuses, modifiers that reshape normal attacks, and active techniques fueled by Resolve. Effect-line entries remain verbatim when a corresponding Tarstone label is unavailable.
How Tarstone slots, XP, and Tarforge upgrades work
Check both a Tarstone’s category and its equipment compatibility before investing in it. Even a strong effect will remain unavailable when the chosen slot, Weapon, or Sidearm cannot accept that stone.
| Slot or system | Use |
|---|---|
| Support | Four character slots for passive critical, defensive, resource, and reward bonuses. |
| Combat | Changes melee combos, projectile behavior, or another part of a normal attack. |
| Infusion | Adds an elemental or status property to compatible attacks. |
| Ability | Grants an active technique, commonly powered by Resolve. |
| Weapon compatibility | A melee Weapon can accept compatible Ability, Combat, and Infusion Tarstones. |
| Sidearm compatibility | A Sidearm can accept compatible Ability, Combat, and Infusion Tarstones. |
| Upgrade levels | Tarstones have up to four levels, with later levels improving or transforming their effects. |
| Tarstone XP | Accumulates for an equipped stone during combat and enemy kills; each new tier requires more XP. |
| Tarforge | Upgrades eligible Tarstones in Marrow Keep after the Etching Needles unlock the relevant forge function associated with Franz. |
Tarforge upgrades use Coin, while later progression can involve Tarcore. The required XP must be earned again after each level increase, so stones left outside the active loadout will not progress.
Equip a Tarstone you expect to reuse before clearing an enemy-heavy area. Its level belongs to the stone, so it remains upgraded when moved to another compatible Weapon or Sidearm.
How to choose Tarstones for your build
Start with the attack you use most, then use the remaining slots to correct a weakness. A melee setup that generates Resolve reliably can sustain a powerful Ability stone, whereas a Sidearm-centered loadout gains more from projectile behavior, charging, and ranged critical bonuses.
| Build goal | Look for |
|---|---|
| Melee critical | Auspicious Stone for Critical Chance, Headsman’s Stone for Critical Damage, and Grudge Stone for guaranteed critical strikes. |
| Ranged critical | Marksman’s Stone for Critical Chance, Deadeye Stone for Critical Damage, and the Break Damage effect line for critical projectiles. |
| Resolve ability | Devout Stone for melee Resolve gain, paired with an Ability stone that supplies missing range or crowd pressure. |
| Projectile or Sidearm | Charged Stone, Myriad Stone, Ironpiercer’s Stone, Pulse Stone, or another compatible projectile modifier. |
| Status or infusion | Accursed Stone, Arbiter’s Prize, Emberseed Stone, Corroded Stone, Enfeebling Stone, or Wounding Stone. |
| Survivability | Bulwark Stone for broad Damage Reduction. Berserker’s Stone and Spite Stone reward low Health but do not protect you. |
| Farming | Gloombound Stone for additional Gloom or Justiciar’s Stone for additional Coin. |
| Crowd control | Pulse Stone for grouping, Shuddering Stone for Knockback, or Blackblood Stone and Volatile Fragment for splash damage. |
For a Resolve-heavy setup, pair one dependable generator with an ability you can activate at useful moments. Projectile builds should select a specific job—piercing, grouping, Knockback, delayed explosions, or splash damage—rather than filling several slots with effects that address the same problem.
Mortal Shell 2 Tarstone effects and upgrade changes
Support Tarstones
| Tarstone | Base effect | Upgrade change |
|---|---|---|
| Auspicious Stone | +18% melee Critical Chance | Increases melee Critical Chance |
| Headsman’s Stone | +100% melee Critical Damage | Increases melee Critical Damage |
| Devout Stone | +100% Resolve from melee attacks | Increases Resolve generation |
| Shattering Stone | +220% melee Stagger Damage | Increases melee Stagger Damage |
| Berserker’s Stone | Up to +165% melee damage at ≤50% HP | Improves low-health melee damage |
| Marksman’s Stone | +15% ranged Critical Chance | Increases ranged Critical Chance |
| Deadeye Stone | +40% ranged Critical Damage | Increases ranged Critical Damage |
| Siegebreaker’s Stone | +150% ranged Stagger Damage | Increases ranged Stagger Damage |
| Spite Stone | Up to +160% ranged damage at ≤50% HP | Improves low-health ranged damage |
| Bulwark Stone | +25% Damage Reduction | Improves Damage Reduction |
| Retribution Stone | +20% Riposte damage | Improves Riposte damage |
| Gloombound Stone | +30% Gloom from kills | Fragile; no upgrade tiers |
| Justiciar’s Stone | +30% Coin from kills | Fragile; no upgrade tiers |
Combat Tarstones
| Tarstone | Base effect | Upgrade change |
|---|---|---|
| Wounding Stone | 7 Perforation stacks per melee strike | Higher levels increase stacks per strike |
| Grudge Stone | Every 5th attack guaranteed Critical | Requires fewer attacks to trigger |
| Duality Stone | Light combo attacks strike twice | Doubled effect expands to later attacks in combo |
| Unyielding Stone | Light combo has Stagger immunity | Extends/improves combo Stagger immunity |
| Parasitic Stone | +3 Leech stacks per kill | More Leech stacks per kill |
| Thief’s Stone | +3 Warp per strike | Improves Warp generation |
| Stillblade’s Stone | Special Light Finisher; 25 Break Damage | Increases Break Damage |
| Zealot’s Stone | Special Light Finisher; +150% Resolve | Improves Resolve generation |
| Clerik’s Stone | Heavy Finisher with +30% Critical Chance | Improves Heavy Finisher |
| Tyrant’s Stone | Heavy Finisher inflicts 6 Weak | Improves Weak application |
| Enfeebling Stone | Projectiles inflict 7 Fragile | Improves Fragile application |
| Shuddering Stone | Projectile impact creates Knockback shockwave | Larger/stronger shockwave |
| Pulse Stone | Projectile impact pulls enemies inward | Larger/stronger pull shockwave |
| Ironpiercer’s Stone | Pierces up to 5 targets | Improves piercing |
| Myriad Stone | 7 projectiles, 35% damage each | Improves multi-projectile effect |
| Splitting Stone | 4 projectiles, 50% damage each | Improves multi-projectile effect |
| Rupturing Stone | Critical projectiles deal 20 Break Damage | Increases Break Damage |
| Blackblood Stone | Mid-air projectile explosion; 4 splash damage | Improves explosion damage |
| Corroded Stone | 15% damage every 7 sec for 30 sec | Improves damage-over-time effect |
| Squall Stone | Spins 5 sec; 10% original damage | Improves spin effect |
| Charged Stone | +50% Sidearm charging speed | Further improves charging |
| Unstable Stone | Repeated hits trigger explosion | Reduces hits required |
| Volatile Fragment | Ranged kills explode; 35 splash damage | Improves explosion damage |
Infusion Tarstones
These are particularly straightforward: the current retail database lists the final upgrade as making the infusion permanent for these stones.
| Tarstone | Base effect | Upgrade change |
|---|---|---|
| Arbiter’s Prize | 30 Resolve → Bloodcurse Weapon infusion | Infusion becomes permanent |
| Serpent Stone | 15 Resolve → Poison Weapon infusion | Infusion becomes permanent |
| Voltaic Crown | 30 Resolve → Lightning Sidearm infusion | Infusion becomes permanent |
| Warden’s Stone | 30 Resolve → Frost Weapon infusion | Infusion becomes permanent |
| Curseblood Stone | 30 Resolve → Curse Weapon infusion | Infusion becomes permanent |
| Nightgrasp Stone | 30 Resolve → Phantom Weapon infusion | Infusion becomes permanent |
| Torpor Stone | 25 Resolve → Stasis Weapon infusion | Infusion becomes permanent |
| Wretchcaller’s Stone | 30 Resolve → Trauma Weapon infusion | Infusion becomes permanent |
| Inflamed Clawstone | 30 Resolve → Burn Weapon infusion | Infusion becomes permanent |
| Hag Stone | 20 Resolve → Trauma Sidearm infusion | Infusion becomes permanent |
| Emberseed Stone | 20 Resolve → Burn Sidearm infusion; Critical Hits only | Infusion becomes permanent |
| Viletongue Hedron | 20 Resolve → Bloodcurse Sidearm infusion | Infusion becomes permanent |
| Voltaic Amber | 20 Resolve → Lightning Sidearm infusion | Infusion becomes permanent |
| Frostshard Stone | 20 Resolve → Frost Sidearm infusion | Infusion becomes permanent |
| Monarch’s Vestige | 20 Resolve → Phantom Sidearm infusion | Infusion becomes permanent |
| Accursed Stone | 20 Resolve → Curse Sidearm infusion; Critical Hits only | Infusion becomes permanent |
| Weeping Stone | 20 Resolve → Trauma Sidearm infusion | Infusion becomes permanent |
Ability Tarstones
| Tarstone | Base effect | Upgrade change |
|---|---|---|
| Acolyte’s Stone | 40 Resolve → Charged Light Attack | Resolve cost reduced to 30 |
| Unwieldly Stone | 35 Resolve → Charged Heavy Attack | Attack grants 3 Leech + 25 HP on kill |
| Magdalena’s Memento | 100 Resolve → aerial attack flurry | Each strike deals 100% Critical Damage |
| Captive’s Scabstone | 100 Resolve → violent weapon arc | Resolve cost reduced to 75 |
| Conqueror’s Reward | 100 Resolve → piercing thrust series | Resolve cost reduced to 75 |
| Infused Stone | 70 Resolve → throws weapon through targets | Each strike deals 150% damage |
| Shrike Stone | 70 Resolve → leap/plunge attack | Landing deals 25 Break Damage |
| Colossus Stone | 80 Resolve → ground shockwaves | Each shockwave deals 80 splash damage |
| Lost Clotstone | 60 Resolve → spinning weapon attack | Resolve cost reduced to 40 |
| Scholar’s Wormstone | Resolve over time → chainsaw attacks | Each chainsaw spin deals 35% weapon base damage |
| Clockwork Shardstone | Resolve over time → chainsaw held at full speed | Each spin deals 20% weapon base damage |
| Hexapod Core | 60 Resolve → rapid succession of strikes | Cost becomes 80, but continues with another barrage |
| Solnir Shard | 25 Resolve → heavy explosive round | Wider explosion |
| Confessor’s Keepsake | 60 Resolve → devastating Sidearm shot | Shot deals 350% damage |
| Fusillade Stone | 80+ Resolve → consecutive shots | Each shot gets +100% Critical Damage |
| Barrage Stone | 40 Resolve → explosive projectile barrage | Detonates 3 times; projectiles deal 14 splash damage |
| Tarred Fragment | 50 Resolve → tethered spinning projectiles | Projectiles cover 150% range |
| Fulminant Stone | 60 Resolve → explosive heavy round | Each explosion deals 20 Break Damage |
| Strange Remnant | 15 Resolve → chaining projectile stream | Projectiles deal 40 damage |
| Infested Stone | 60 Resolve → clinging explosive projectile | Explosion scatters 3 additional clinging projectiles |
| Summoning Stone | 70 Resolve → summons last slain foe | Summons 2 foes instead of 1 |
| Hand of Rock | 80 Resolve → homing projectile swarm | Firing rate +30% |
Upgrade costs
| Stage | Requirement | Result |
|---|---|---|
| Level 1 | Equip Tarstone + earn 10,000 XP | Tarstone reaches first upgrade threshold |
| Level 1 → 2 | 100 Coins | Level 2 + 1 Tarcore |
| Level 2 | Earn another 20,000 XP | Unlocks final upgrade |
| Level 2 → 3 | 150 Coins + 6 Tarcores | Maximum level; 3 Tarcores returned |
So the important progression trick is to level several less-important Tarstones from Level 1 → 2 to generate Tarcores, then spend those Tarcores on the Tarstones you actually want at Level 3.
Frequently Asked Questions
Does every Tarstone in this reference include a location?
No. Tarstones can come from story progression or pickups across different locations, but these tables are organized around effects and upgrade planning rather than individual routes, merchant inventories, or pickup directions.
Why does a Tarstone not appear for my Weapon, Sidearm, or slot?
The equipment must support that Tarstone’s type. Check whether you are editing a Support, Combat, Infusion, or Ability slot, then try another compatible Weapon or Sidearm if the stone remains unavailable.
What if Resolve costs or upgrade values differ after a patch?
Use the current in-game tooltip and Tarforge screen for exact calculations. Resolve costs, XP thresholds, Coin costs, Tarcore requirements, hit counts, and level scaling can change while the Tarstone’s core function remains recognizable.
Should I upgrade Ability or Support Tarstones first?
Prioritize the stone that affects the greatest share of your fights. A passive Support stone is the steadier early investment, but an Ability stone should go first when your build generates enough Resolve to use it consistently and its attack solves a recurring range, damage, or crowd-control problem.
How to use this Tarstone reference
Use the comparison tables to identify the Tarstone you own, then check its effect against your current weapon, sidearm, or combat plan before spending resources.
Complete reference: Resolve-consuming sidearm effects
| Tarstone | Confirmed effect wording |
|---|---|
| Infested Stone | Consumes Resolve to fire a clinging projectile that triggers a massive explosion after a brief delay. |
| Strange Remnant | Consumes Resolve to unleash a stream of projectiles that chain between multiple targets. |






Leave a Reply