
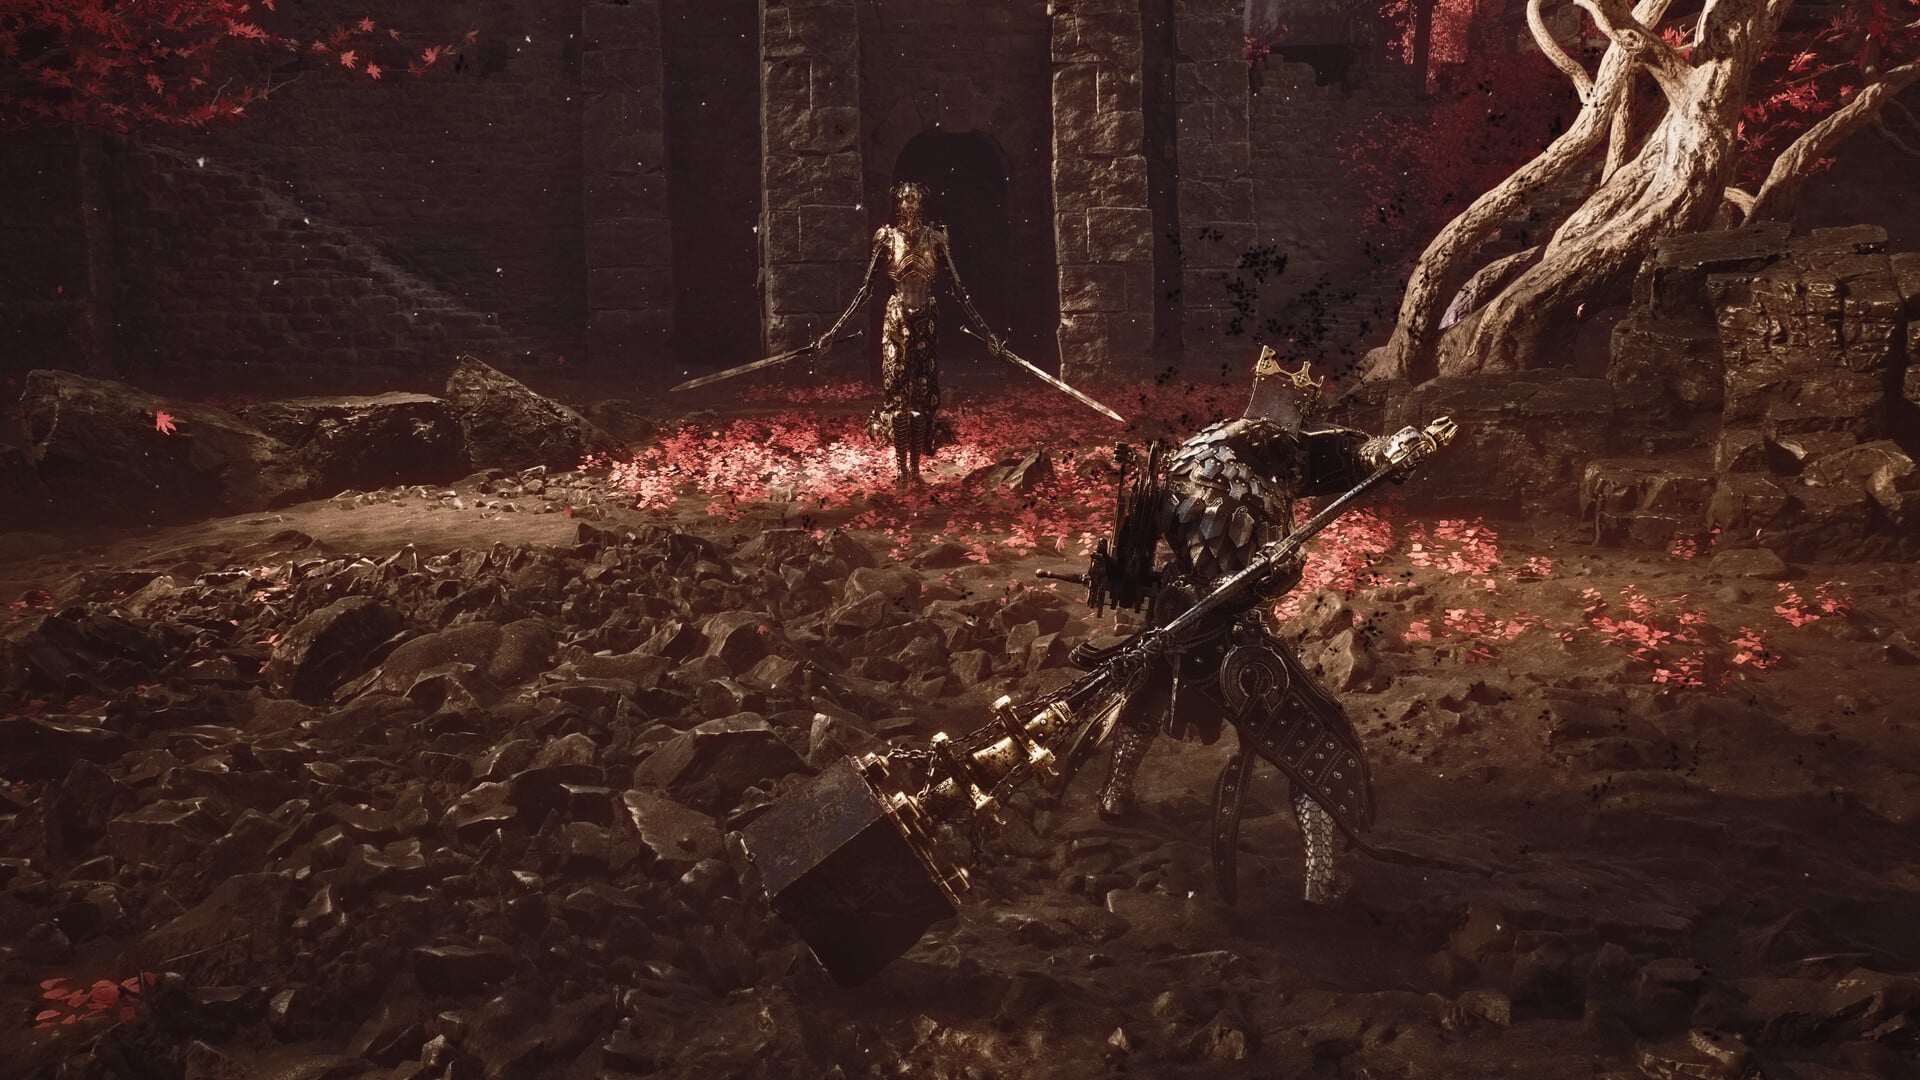
Shells are class-like mortal vessels inhabited by Lavendar, the Harbinger; the ten named entries are Eredrim, the Venerable; Genessa, the Wayward; Gragu, the Insatiable; Harros, the Vassal; Lazlo, the Justiciar; Proxima, the Broodseeker; Sariel, the Endless; Smert, the Apostate; Solomon, the Scholar; and Tiel, the Acolyte. Full ability details are available for Eredrim and Genessa, while several other Shells have identity and playstyle guidance only.
Choosing a Shell changes the foundation beneath your weapons: how safely you can pressure enemies, recover from mistakes, control space, and spend resources. Start with the roster comparison, then jump to an individual Shell for its abilities and combat focus.
Quick answer: Mortal Shell 2 Shell roster
The named reference contains ten Shell entries, while game descriptions also use a total of eight playable Shells. How those totals map to each other remains unresolved, so the list below covers every named entry without treating the ten names as ten separate playable slots.
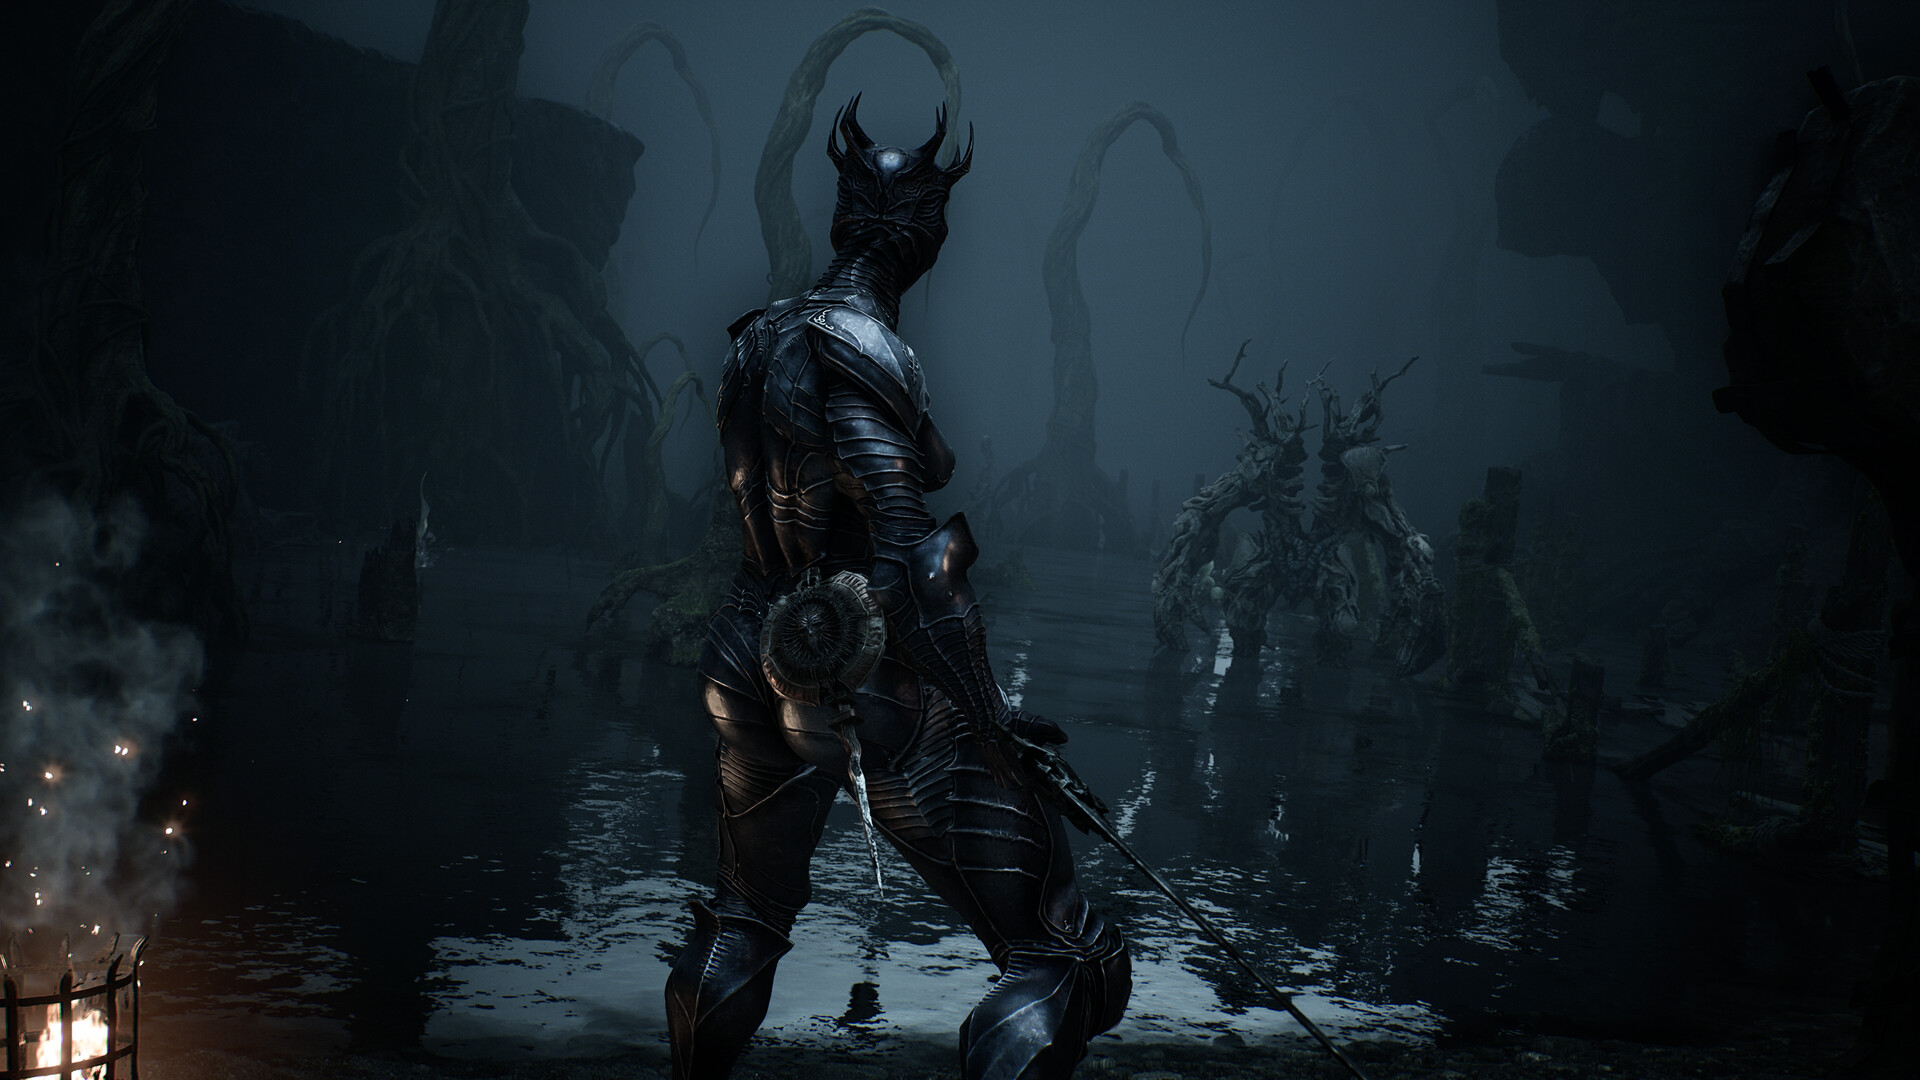
All Mortal Shell 2 Shells at a glance
| Shell | Playstyle |
|---|---|
| Eredrim, the Venerable | Durable melee fighter built for trading blows, stagger pressure, and Riposte openings. |
| Genessa, the Wayward | Doubles-focused combatant who creates distractions, control, damage, and sustain. |
| Gragu, the Insatiable | An experimentation pick whose abilities should be tested before specializing. |
| Harros, the Vassal | Balanced melee and control Shell suited to learning Stone Stun, Break, and Riposte timing. |
| Lazlo, the Justiciar | An experimentation pick whose ability timing and resource demands should determine the loadout. |
| Proxima, the Broodseeker | An experimentation pick best assessed through movement, survival, and ability use. |
| Sariel, the Endless | An experimentation pick whose activation conditions should guide later specialization. |
| Smert, the Apostate | An experimentation pick to test for defensive options and ways to create openings. |
| Solomon, the Scholar | An experimentation pick that should be judged by the sequel’s abilities and resource rhythm. |
| Tiel, the Acolyte | Fast, aggressive, and evasive, with less room for mistakes when attacks connect. |
The titles for Gragu, Lazlo, Proxima, Sariel, Smert, and Solomon establish their identities, but not exact stats, abilities, locations, or weapon synergies. Their actual combat behavior should determine how you develop them.
How Shell possession shapes combat
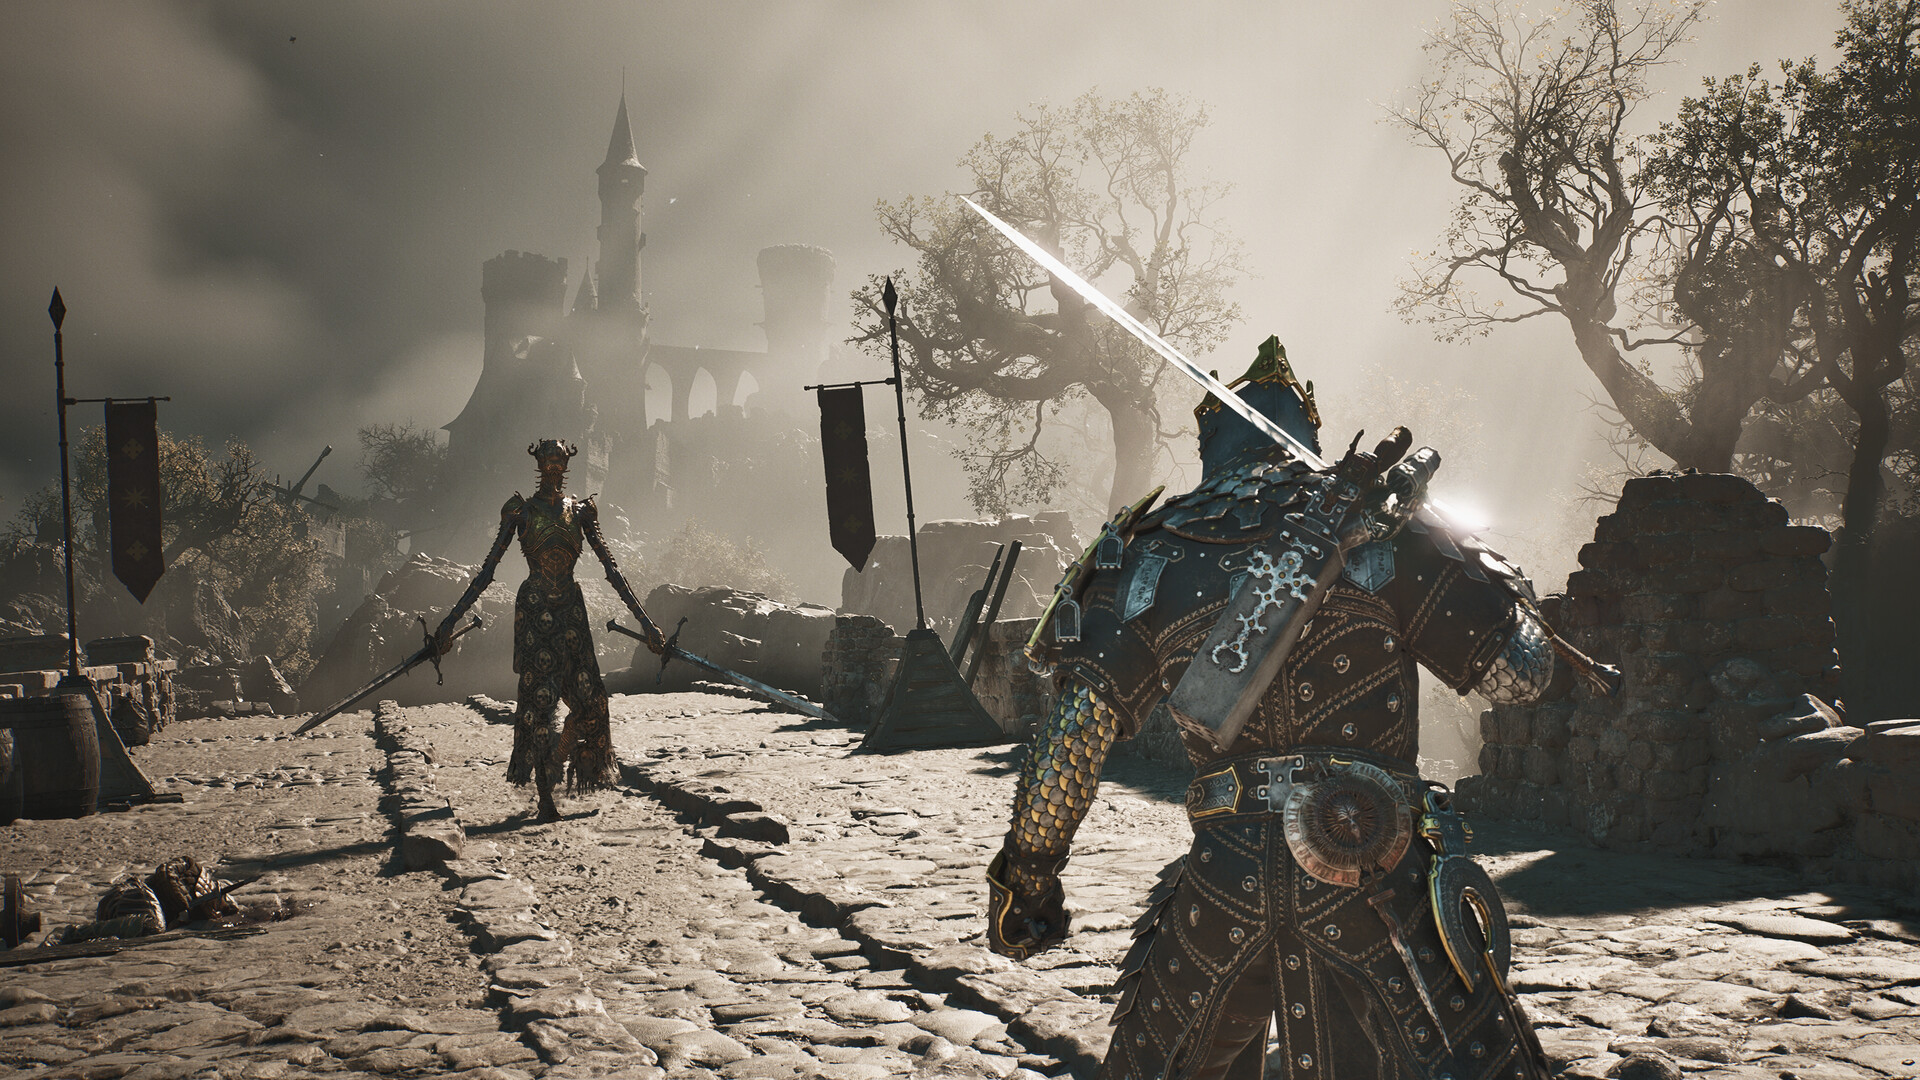
You play as Lavendar, a godling worshipped as the Harbinger. Lavendar inhabits fallen warriors, making each Shell a mortal vessel rather than a separate protagonist.
A Shell functions as a class-like combat foundation. Its mobility, defensive margin, control tools, and resource rhythm shape how you approach enemy pressure, recover from mistakes, and convert openings into damage.
Shells are not rigid weapon classes. The arsenal includes eight melee weapons and eight ranged sidearms, while free weapon swapping lets you reinforce a Shell’s strengths or cover a weakness without abandoning its underlying ability kit.
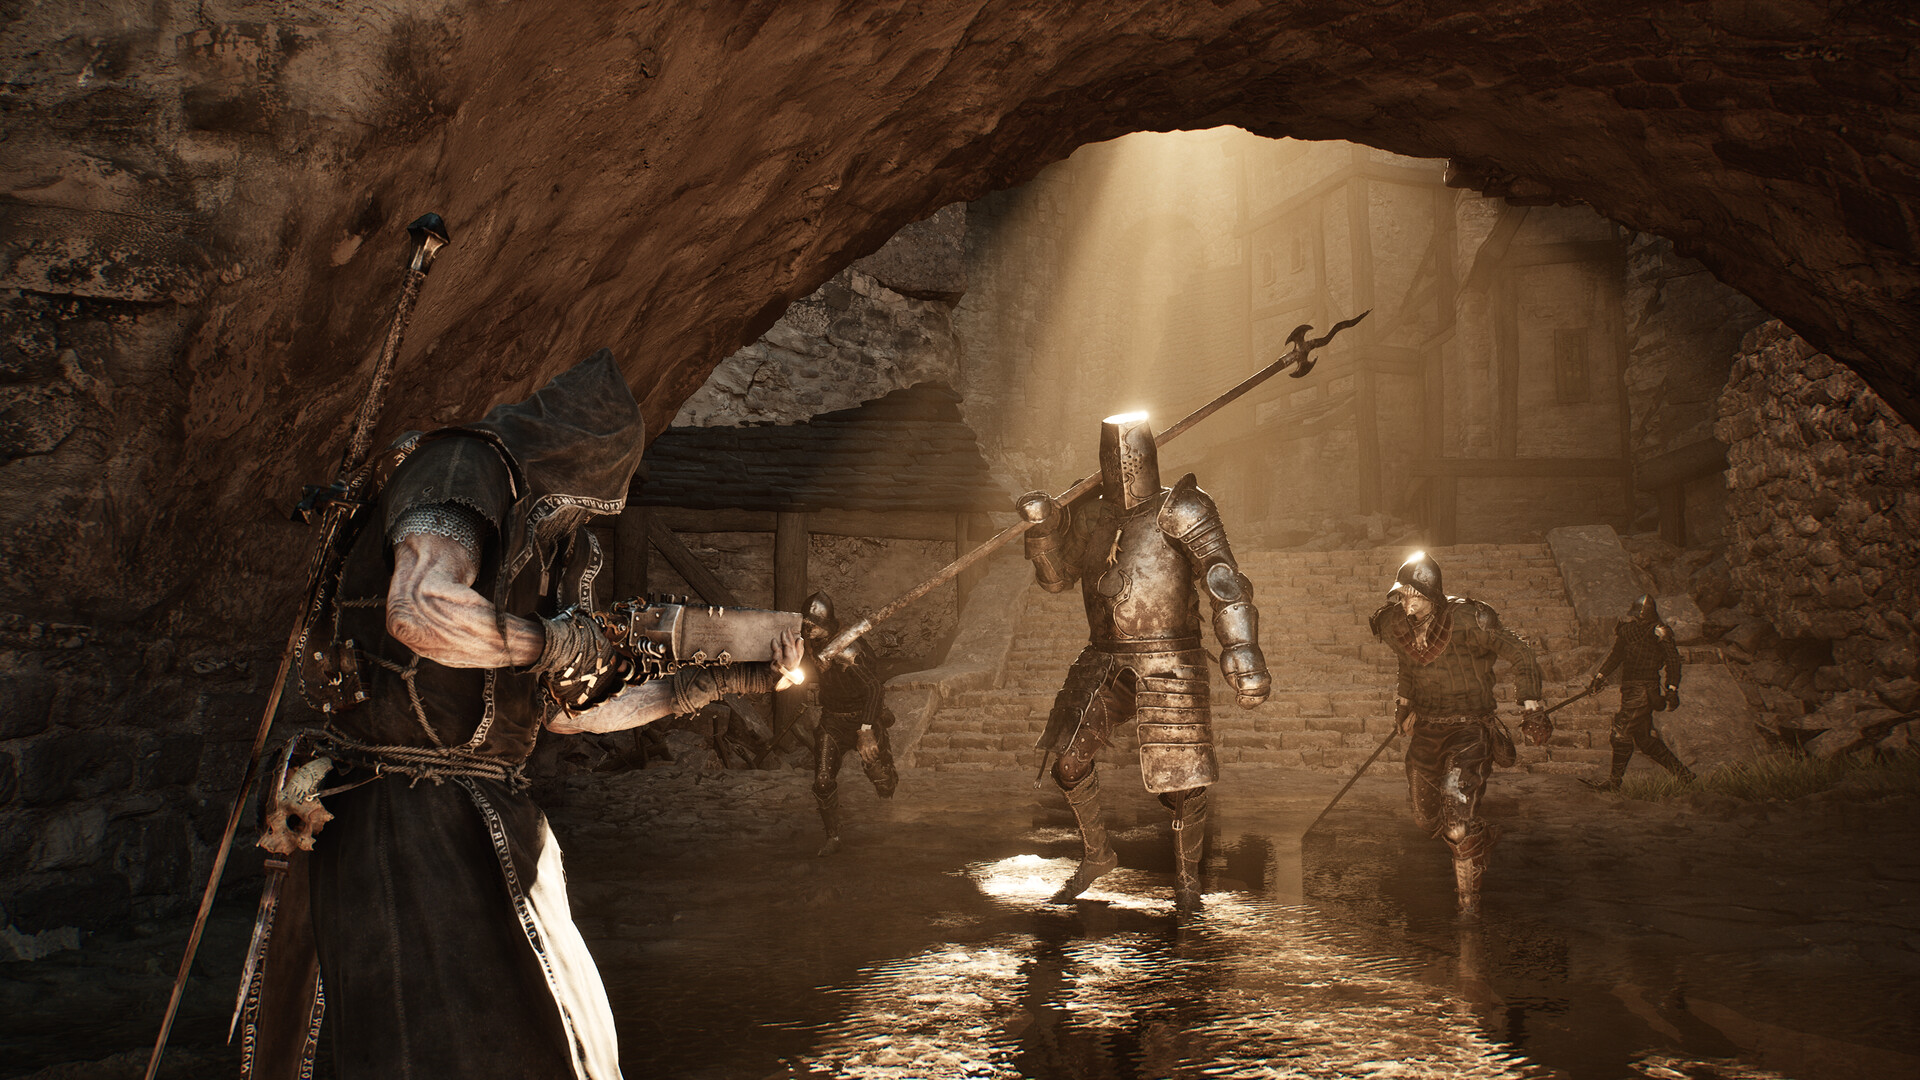
Complete reference: Mortal Shell 2 Shells
Eredrim, the Venerable
“Peace has a price.”
Eredrim is a tough, knight-like choice for players who want to remain in melee range and trade blows without immediately losing poise. His kit centers on stagger pressure, carefully timed Ripostes, Shoulder Bash, and protection against Frost.
The symbols {X}, {Y}, and {Z} represent unresolved numerical values. They are preserved so no cost, damage value, duration, chance, or stack total is invented.
| Skill | Effect |
|---|---|
| Alacrity | Shoulder Bash costs {X} Resolve. After killing an enemy with a Riposte, Eredrim’s abilities cost No Resolve for {Y}. Ethereal Diapason costs {Z} Resolve. |
| Massacre | A Riposte grants {X} Slaughterer stacks. Killing an enemy with a Riposte grants {Y} Slaughterer stacks. |
| Apathy | Eredrim has {X} Frost mitigation and Frost immunity. Eredrim deals {Y} damage to Frozen enemies. |
| Anguish | Shoulder Bash deals {X} damage, inflicts {Y} Weak stacks, and deals massive Stagger Damage. |
| Tank | Each stack grants {X} damage reduction. |
Eredrim’s Riposte and Shoulder Bash rhythm
Treat Riposte as the center of Eredrim’s offense rather than an occasional finisher. Maintain melee pressure until an opening appears, use Shoulder Bash to challenge poise, and pursue Frozen enemies when Apathy can increase the payoff.
Genessa, the Wayward
“Nothing is so broken it can’t be made whole again.”
Genessa fights through doubles that can divide enemy attention, attack at melee or ranged distance, apply Stasis, restore Resolve, and support Stray Genessa. She suits players who enjoy managing multiple sources of battlefield pressure.
The labels are mechanically distinct: Faithful Doubles, Stray Doubles, and Stray Genessa receive different effects. Match each upgrade to its named target rather than treating every doubles ability as universal.
| Skill | Effect |
|---|---|
| Distraction | Faithful Doubles have a {X} chance to be attacked by enemies. Faithful Doubles struck by enemies burst into a shockwave that inflicts {Y} Stasis stacks. |
| Astral Copy | Faithful Doubles cost {X} less Resolve to summon. Faithful Doubles regenerate {Y} Resolve on damaging an enemy. |
| Affinity | Faithful Doubles deal {X} damage and attack {Y} times before vanishing. |
| Astral Clone | Stray Doubles deal {X} melee damage and {Y} ranged damage. |
| Health Increase | Stray Genessa has {X} more Health. Stray Doubles heal Stray Genessa by {Y} Health when damaging an enemy. |
| Doubles Duration | The duration of Stray Doubles is increased by {X}. |
| Instigation | Faithful Doubles are summoned with {X} Warp stacks. |
Genessa’s double-management rhythm
Genessa rewards keeping useful bodies active instead of spending them as disposable effects. Watch which type of double is present, then use the matching bonuses to sustain pressure while enemies divide their attention.
Gragu, the Insatiable
“The heart speaks no lies.”
Gragu, the Insatiable carries an identity built around appetite, instinct, and emotional honesty. Those qualities do not assign Gragu a damage type, stat spread, or preferred weapon.
Evaluate movement, defensive recovery, ability triggers, and resource costs before committing upgrades. Let Gragu’s actual combat loop determine whether the Shell belongs in an aggressive, defensive, or utility-focused setup.
Harros, the Vassal
“A man is more than mere flesh and bone.”
Harros is a balanced melee Shell and an approachable choice for learning enemy attack patterns. He rewards applying control at the right moment instead of relying entirely on durability or speed.
Stone Stun can petrify an enemy, creating room for free attacks that raise the Break meter and produce a chance to Riposte. This control loop supports melee fundamentals while leaving room to experiment with different weapons.
Lazlo, the Justiciar
“Justice is not given, it is exacted.”
Lazlo, the Justiciar is defined by an uncompromising pursuit of justice, but that identity does not assign Lazlo a weapon category or mechanical archetype.
Assess ability timing, movement, defense, and resource consumption after adding Lazlo to your roster. Those traits provide a firmer basis for weapon selection than the Justiciar title alone.
Proxima, the Broodseeker
“Purpose gives the soul its shape.”
Proxima, the Broodseeker centers identity around purpose and pursuit. The name does not establish a transformation, stat profile, or specific combat mechanic.
Observe what Proxima changes about positioning, survival, and ability use during ordinary encounters. Those differences will reveal the Shell’s natural role before you invest in a narrower setup.
Sariel, the Endless
“That path to perfection is paved with blood.”
Sariel, the Endless presents a relentless pursuit of perfection at a violent cost. Sariel’s offensive and defensive identity ultimately comes from the ability kit rather than that character framing.
Judge each ability by its activation conditions and how often those conditions fit your normal attack rhythm. Delay specialized weapon choices until Sariel’s resource and survivability demands are clear.
Smert, the Apostate
“Truth is the final revelation before death.”
Smert, the Apostate carries an identity rooted in rejection, revelation, and death. Those ideas do not independently establish a damage type, defensive specialty, or weapon preference.
Use initial encounters to assess how Smert handles pressure and creates openings. This will show whether the Shell works better with sustained attacks, defensive play, or abilities used in short bursts.
Solomon, the Scholar
Solomon, the Scholar has a scholarly identity, but that alone does not determine Solomon’s combat role in Mortal Shell 2.
Focus on the Shell’s activation conditions and resource requirements when choosing weapons. This keeps the setup tied to the sequel’s combat loop rather than expectations carried over from the original game.
Tiel, the Acolyte
“Once you have nothing, you’re free to take everything.”
Tiel is the nimble, rogue-like Shell for fast and aggressive play. High mobility supports quick pressure and evasive movement, but a lower defensive margin makes missed reads more dangerous.
Choose Tiel when you would rather avoid incoming damage than absorb it. The Shell suits players who can maintain aggression without overextending and reposition as soon as an enemy takes control of the exchange.
How to use this Mortal Shell 2 Shell list
Start with the combat problem you want your Shell to solve. Durability, balanced control, evasive speed, and battlefield doubles each point toward a different starting choice.
| Preference | Start with |
|---|---|
| Trade hits and apply stagger pressure | Eredrim, the Venerable |
| Learn balanced melee and control | Harros, the Vassal |
| Stay mobile and maintain aggression | Tiel, the Acolyte |
| Use doubles to control the battlefield | Genessa, the Wayward |
| Experiment with an unfamiliar ability loop | Gragu, Lazlo, Proxima, Sariel, Smert, or Solomon once unlocked |
When comparing Shells, monitor movement, recovery time, defensive margin, resource flow, and ability activation conditions. Change only the Shell at first; replacing several loadout pieces simultaneously makes its strengths and limitations harder to isolate.
Keep a familiar weapon equipped during your first encounters with a new Shell; the unchanged weapon makes it much easier to identify what the Shell itself adds to combat.
Frequently Asked Questions
Are Obsidian Shell skins separate playable Shells?
No. Obsidian Shell skins are cosmetic variants, not additional class-like bodies with separate ability kits.
Should returning Shells use their original Mortal Shell stats?
No. Use each returning Shell’s Mortal Shell 2 stats, abilities, and behavior. A familiar name does not guarantee that its Resolve profile, tuning, or combat identity remains unchanged.
Is there one best Shell in Mortal Shell 2?
No single Shell is best for every player. Weapon pairing, defensive comfort, and reliable ability activation matter more than a universal ranking.






Leave a Reply