
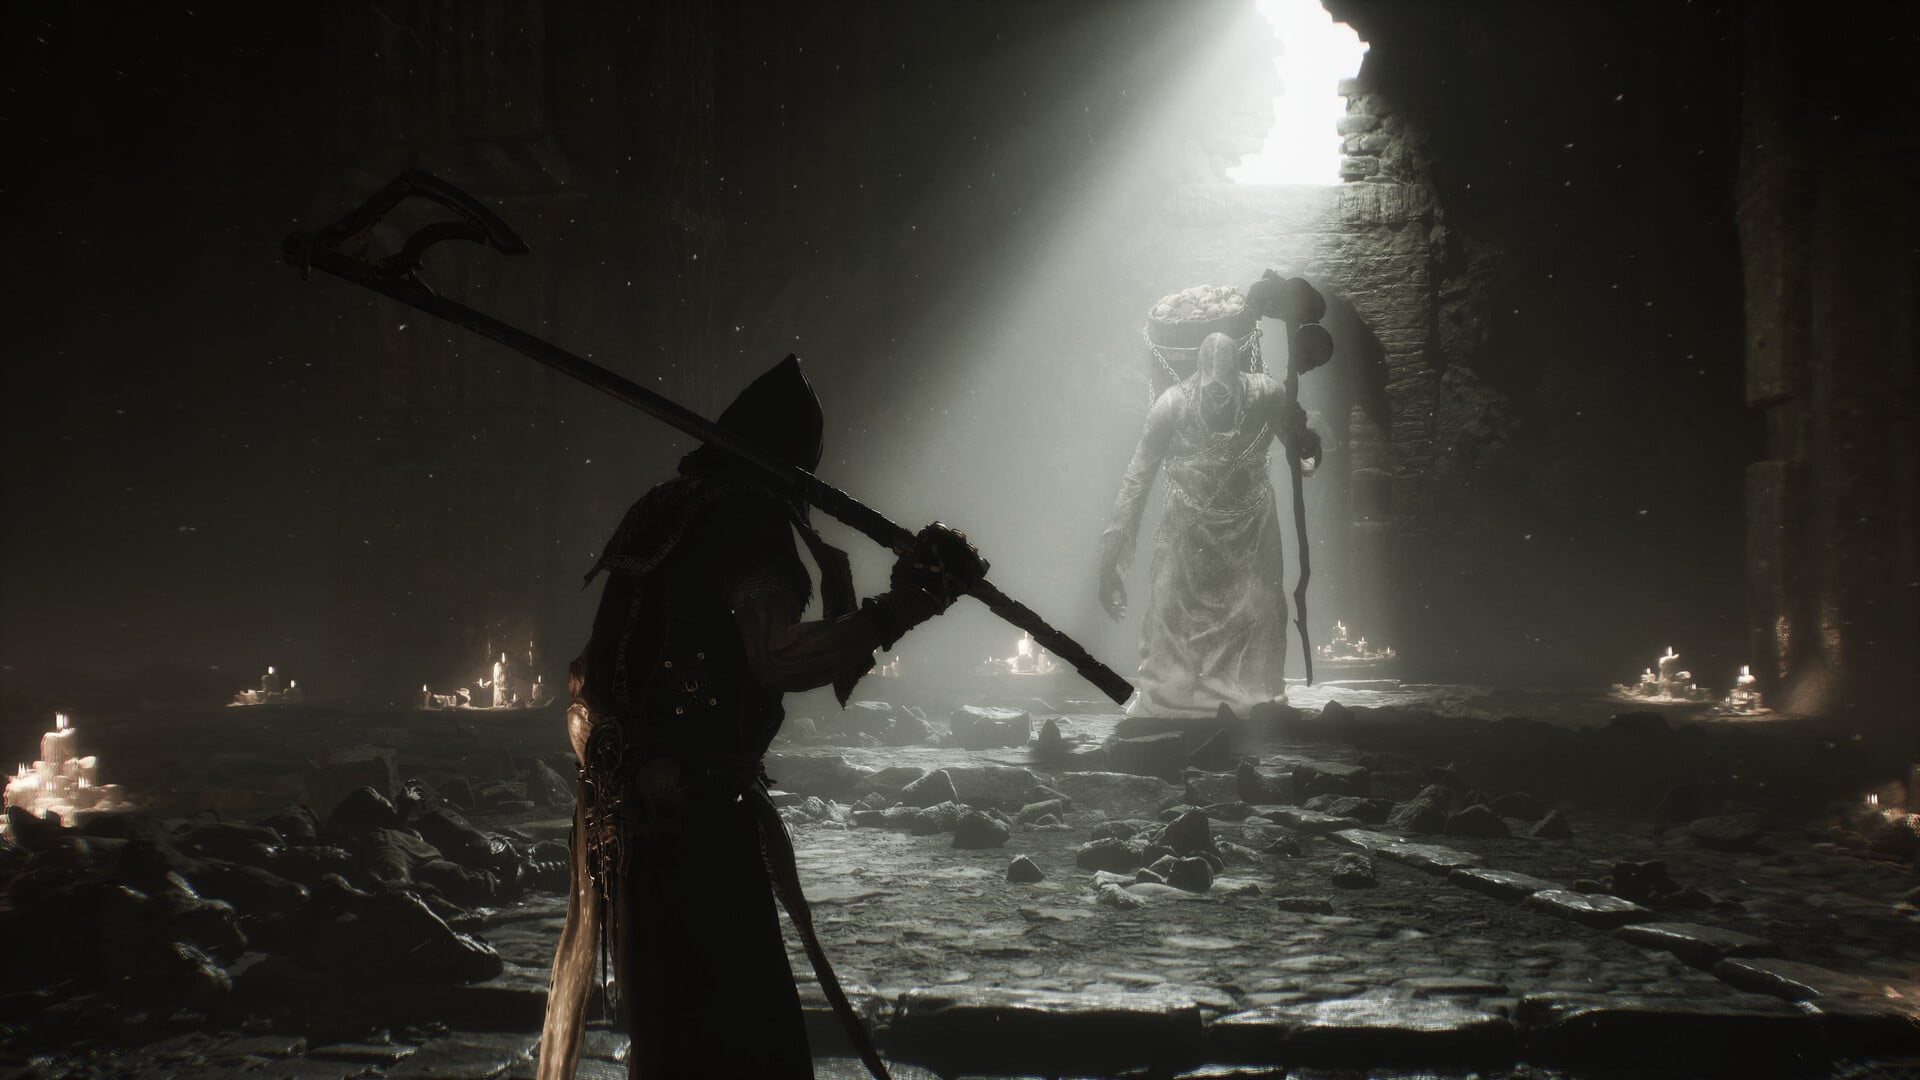
Mortal Shell 2 has eight sidearms: Naylshotte, Forgotten Crossbow, Troubadour’s Lute, Caged Hystrix, Triarch Repeater, Salvaged Trebuchaxe, Ballistazooka, and Cursed Child, each filling a different Resolve-powered offhand role.
A sidearm supplements your main weapon with ranged damage, control, burst, or sustained pressure; it does not replace your primary melee option. The right choice creates an opening for melee or solves a problem your current weapon cannot handle efficiently.
Quick answer
Jump to: Naylshotte, Forgotten Crossbow, Troubadour’s Lute, Caged Hystrix, Triarch Repeater, Salvaged Trebuchaxe, Ballistazooka, or Cursed Child.

At a glance comparison of every sidearm
| Sidearm | Best use |
|---|---|
| Naylshotte | Explosive, shotgun-like burst before returning to melee |
| Forgotten Crossbow | Precise chip damage and pulling isolated enemies |
| Troubadour’s Lute | Inflicting Confusion to disrupt groups |
| Caged Hystrix | Rapid multishot pressure against crowds or exposed targets |
| Triarch Repeater | Sustained suppression when there is time to wind up |
| Salvaged Trebuchaxe | Heavy single-target burst during clear openings |
| Ballistazooka | Slow, deliberate shots against predictable enemies |
| Cursed Child | Aggressive offense at close range |
No sidearm is universally best because firing rhythm and Resolve economy matter as much as impact. Fast options fit moving fights more naturally, while wind-up and heavy weapons reward preparation and a clean firing window.

How sidearms work in Mortal Shell 2
You can equip one sidearm at a time and swap it at Beacons. Beacons therefore serve as loadout checkpoints where you can prepare an offhand suited to the enemies ahead.
Every sidearm use consumes Resolve, the same resource needed for Shell skills. Sidearm hits do not restore Resolve, so repeatedly firing can leave an important Shell ability unavailable when the fight turns against you.
Sidearms have their own upgrade path, while Tarstones can interact with and support the equipped sidearm. Exact damage values, upgrade costs, numerical multipliers, and launch tuning may differ from earlier versions, so prioritize firing behavior and resource efficiency when planning a loadout.

Complete reference for Mortal Shell 2 sidearms
Each sidearm has a distinct mechanical identity, from controlled single shots to rapid pressure and status-based disruption.
| Sidearm | How it works |
|---|---|
| Naylshotte | Delivers an explosive, shotgun-like ranged burst. |
| Forgotten Crossbow | Fires well-calibrated bolts with precise pacing. |
| Troubadour’s Lute | Inflicts Confusion rather than acting like a conventional damage weapon. |
| Caged Hystrix | Rapidly releases multiple projectiles for sustained pressure. |
| Triarch Repeater | Winds up before reaching its full firing rate. |
| Salvaged Trebuchaxe | Launches axes as heavy single-target projectiles. |
| Ballistazooka | Fires slow, weighty shots with substantial impact. |
| Cursed Child | Produces its useful damage at close range. |
Naylshotte
Naylshotte is an explosive sidearm and the first one obtained. Its shotgun-like burst complements melee-heavy play: fire when a threatening enemy presents a short opening, then switch back to your main weapon instead of draining Resolve through repeated attempts.
Naylshotte background
Accursed arms birthed by a malevolent forge rumored to have a will of its own.
Forgotten Crossbow
Forgotten Crossbow favors accuracy and controlled pacing. Its calibrated bolts let you soften a target from relative safety or pull an isolated enemy away from a larger group before committing to close combat.
Forgotten Crossbow background
Traded to a merchant by a desperate addict, this crossbow is surprisingly well-calibrated.
Troubadour’s Lute
Troubadour’s Lute is a special control sidearm that inflicts Confusion. Confused enemies can attack one another, making the Lute particularly effective when several threats are positioned to become each other’s problem.
Troubadour’s Lute background
A relic of a simpler time. Favored by wanderers, this lute soothes man and beast alike.
Caged Hystrix
Caged Hystrix rapidly fires multiple projectiles, giving it a more sustained rhythm than single-shot sidearms. Use it to sweep pressure across lesser enemies or keep damage flowing while a durable target remains exposed.
Caged Hystrix background
The contraption pierces the creature trapped inside, prompting a violent and often useful reaction.
Triarch Repeater
Triarch Repeater needs a wind-up before reaching its full firing rate. It excels at suppressing an area or maintaining pressure through a stable opening, but distant moving targets can make it difficult to connect with the entire stream.
Triarch Repeater background
Carved bone and grafted metal reinforcements hint at this strange weapon’s otherworldly origins.
Salvaged Trebuchaxe
Salvaged Trebuchaxe delivers concentrated single-target burst by launching heavy axe projectiles. Save it for a dependable opening against an elite or another durable enemy; it also suits a sidearm setup focused on critical hits.
Salvaged Trebuchaxe background
Surprisingly sophisticated for a device that utilizes axes as projectiles.
Ballistazooka
Ballistazooka rewards deliberate timing with slow, heavy shots. Create space, wait for a predictable enemy animation, and fire into the opening rather than forcing it into a rapid skirmish.
Ballistazooka background
Heavy and unwieldy, scholars argue if the weapon was ever used in battle or just executions in Muraden.
Cursed Child
Cursed Child is a close-range sidearm that asks you to remain near an enemy to produce useful damage. It suits aggressive play where you can manage that exposure, but it gives up the comfortable distance provided by conventional ranged choices.
Cursed Child background
Stranded between life and death, this child yearns to be held and will desperately protect its caretaker.
How to use this sidearm list
Choose according to the problem presented by the next encounter rather than following a fixed ranking. A crowd-control option can be wasteful against one isolated opponent, while a slow projectile becomes awkward when several fast enemies are already pressing you.
| Need | Sidearms to consider |
|---|---|
| Safe chip damage | Forgotten Crossbow |
| Elite burst | Salvaged Trebuchaxe or Naylshotte |
| Crowd control | Troubadour’s Lute, Caged Hystrix, or Triarch Repeater |
| Sustained pressure | Caged Hystrix or Triarch Repeater |
| Deliberate heavy shots | Ballistazooka or Salvaged Trebuchaxe |
| Close-range aggression | Cursed Child |
| Confusion utility | Troubadour’s Lute |
Keep enough Resolve available for the Shell skills central to your playstyle. If your current offhand is not solving the fights ahead, swap it at the next Beacon instead of spending extra Resolve trying to force a poor matchup.
Match your sidearm to the next encounter before leaving a Beacon. The right firing rhythm saves Resolve by solving the fight with fewer forced shots.
Common sidearm mistakes
The most damaging mistake is treating Resolve like free ammunition and entering a difficult encounter with the resource already depleted. Expecting sidearm hits to refill the gauge compounds the problem, since even accurate shots cannot fund the next one.
Do not dismiss Troubadour’s Lute simply because it is not built around pure damage; Confusion serves a valuable purpose in crowded fights. Likewise, avoid forcing Ballistazooka, Triarch Repeater, or another commitment-heavy option into frantic encounters that deny the space or wind-up time it needs.
Frequently Asked Questions
Does Resolve work like sidearm ammunition?
It pays for each use, but it is a shared combat budget rather than an independent ammunition supply. Spend it when the sidearm will remove an immediate threat or create a decisive opening, and reserve it when a Shell skill offers the stronger answer.
Can sidearm hits create a self-sustaining Resolve loop?
No. Connecting every shot still will not fund continued sidearm fire, so return to main-weapon combat when you need to rebuild your resource pool.
When is Troubadour’s Lute worth equipping?
Equip it when several enemies can be caught in the same engagement and redirected against one another. Its utility falls sharply against a lone target because Confusion has no second enemy through which to disrupt the fight.
Should open-beta sidearm information be treated as launch balance?
No. The open beta covers a limited early portion of Mortal Shell 2, making it useful for recognizing broad weapon behavior but not for locking in launch damage, upgrade, or balance expectations.






Leave a Reply