

Mortal Shell 2 has 27 named conditions, and the right counter depends on whether you are stopping stack buildup, cleansing an active ailment, resisting an application, or reacting before an expiry payoff triggers.
Some conditions become stronger with repeated applications, while others deliver their main effect after enough stacks accumulate or when their duration expires. The roster also includes beneficial buffs and utility states, so the icon’s owner and effect matter as much as its name.
Quick answer for status counters
The status system covers stack-based buffs and debuffs, damage-over-time effects, Break tools, control effects, and utility states. No single response covers the entire roster: mitigation may stop an application, targeted immunity protects against its matching threat, and an appropriate item can cure Poison after it lands.
When direct protection is unavailable, counter the source instead. Disengage to halt stack buildup, interrupt repeated attacks, maintain spacing, and watch for delayed payoffs from conditions such as Bloodcurse, Chaos, Curse, Frost, Lightning, and Phantom.
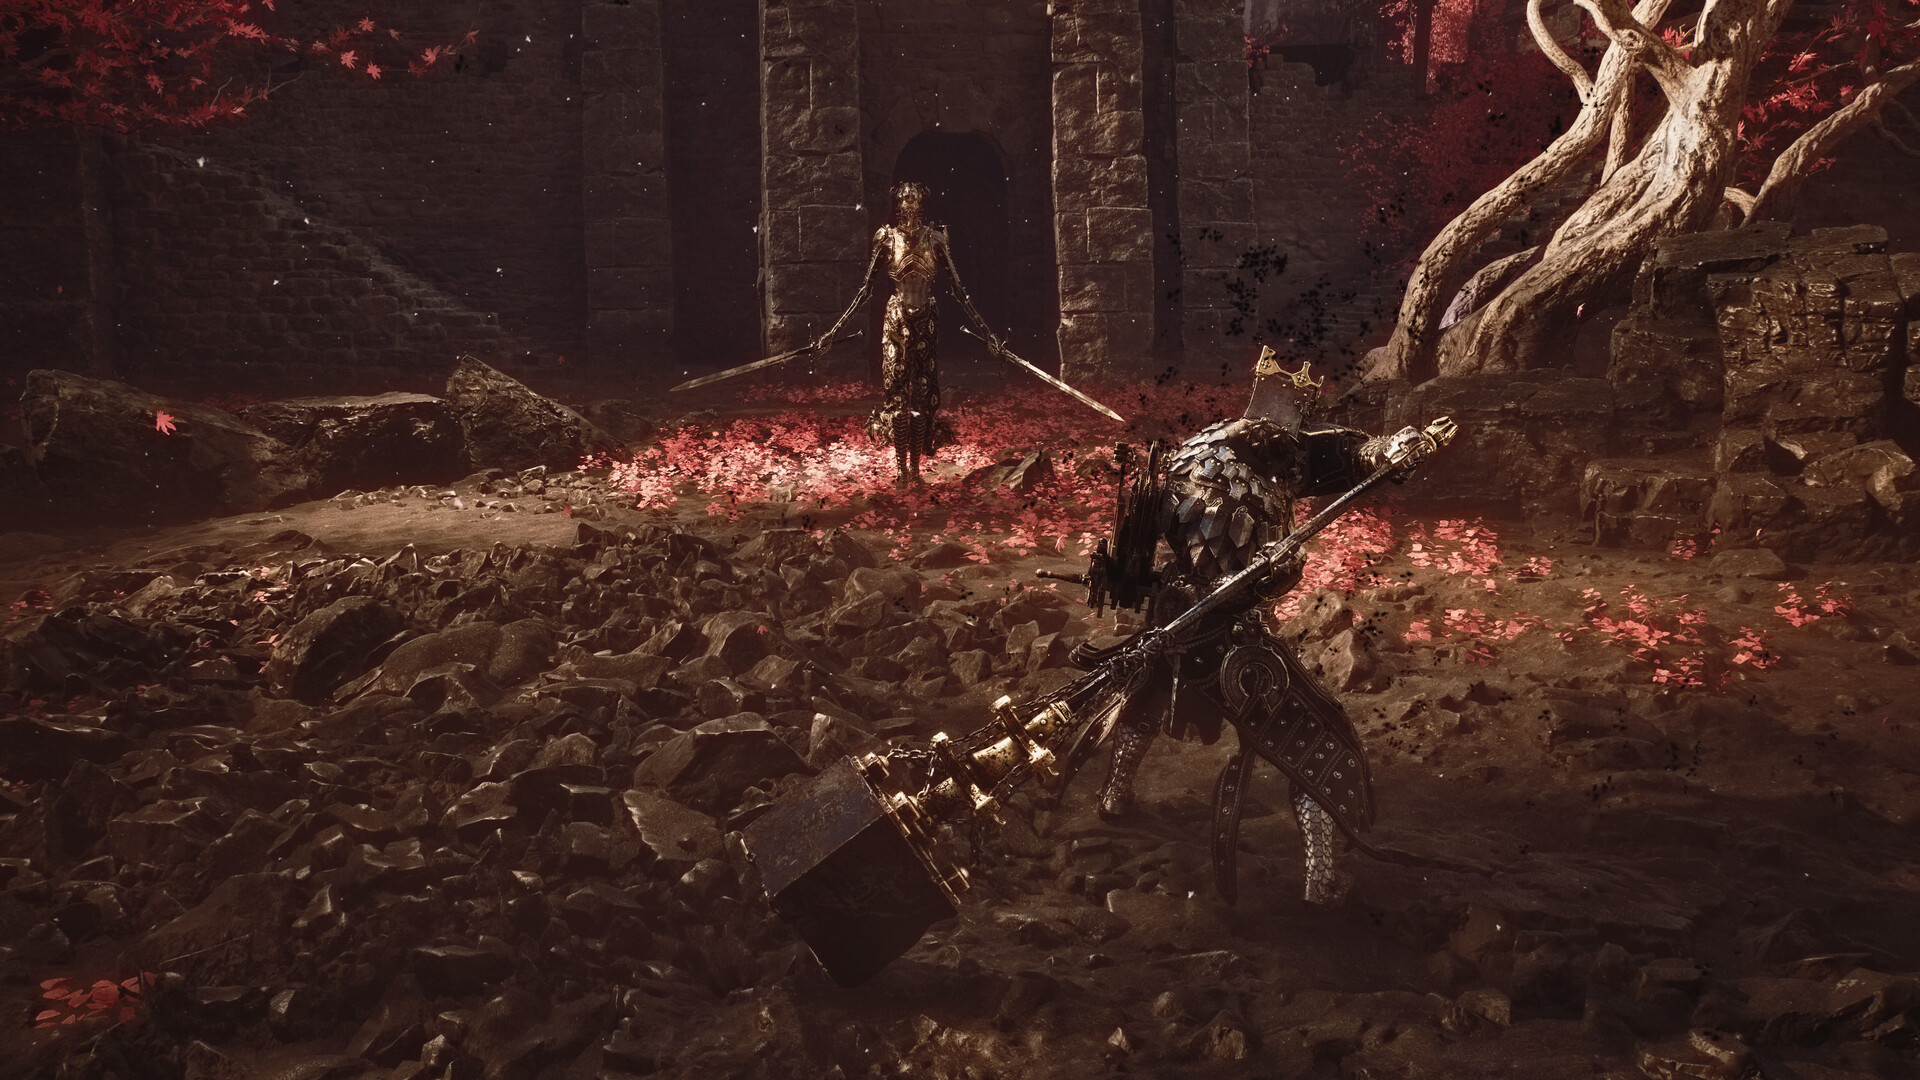
At a glance: Mortal Shell 2 conditions
| Status effect | What it does | Best response |
|---|---|---|
| Bloodcurse | Delivers massive damage after sufficient stacks. | Break contact before the stack payoff. |
| Burn | Accumulates damage over time. | Use relevant protection and stop further applications. |
| Chaos | Applies a random condition when it expires. | Create space and prepare to react at expiry. |
| Confusion | Turns victims against nearby allies or inflicts severe Break Damage when none are present. | Separate from allies and interrupt its source. |
| Cosmic Disease | Inflicts ongoing damage while weakening outgoing damage. | Disengage rather than continuing a damage trade. |
| Critical Hit | Makes a hit deal bonus damage. | Avoid trading into empowered attacks. |
| Curse | Turns the affected target’s next melee strike against them. | Stop attacking until the melee reversal is spent. |
| Execution | Adds Break Damage to melee attacks against the victim. | Deny sustained melee access. |
| Faith | Generates additional Resolve through melee attacks. | Maintain safe melee pressure or deny enemy melee uptime. |
| Fragile | Increases damage taken from Weapon attacks. | Avoid Weapon hits until it ends. |
| Frost | Freezes the target after enough stacks. | Interrupt repeated Frost applications. |
| Havoc | A named condition whose behavior is shown in its current in-game text. | Follow that text and use mitigation, spacing, or interruption. |
| Infect | Spreads Poison to an enemy that strikes the affected target. | Stop careless attacks and use Poison protection. |
| Leech | Builds Max Health through kill-earned stacks that vanish on death. | Preserve your stacks or deny an affected enemy kills. |
| Lightning | Deals ongoing damage and releases a shockwave after repeated applications. | Disengage before the shockwave triggers. |
| Mitigation | Provides a chance to resist a negative condition. | Use it against frequent status applications. |
| Pain | Creates Gray Health that can be lost in one hit or cured through melee attacks. | Recover it with safe melee strikes before taking damage. |
| Perforation | A named condition whose behavior is shown in its current in-game text. | Follow that text and apply general condition defenses. |
| Phantom | Releases accumulated splash and Stagger Damage at expiry. | Separate from other targets before it expires. |
| Poison | Inflicts long-lasting damage over time. | Use an item whose active effect cures Poison. |
| Shadow | Makes its user temporarily undetectable. | Anticipate repositioning rather than chasing the last location. |
| Slaughterer | Raises the health threshold at which enemies can be executed. | Stay clear of the expanding execution range. |
| Stasis | Slows the target more severely as stacks increase. | Escape before additional stacks restrict movement. |
| Trauma | Builds Break Damage over time. | Relieve pressure before a stagger opening develops. |
| Vomit | Stuns an enemy that is already poisoned. | Prevent or cure Poison first. |
| Warp | Slightly increases Weapon attack speed. | Adjust to the faster attack timing. |
| Weak | Reduces the affected target’s damage. | Avoid damage races while weakened. |
The most dangerous conditions are not always those dealing immediate health damage. Break pressure can create a stagger opening, while delayed conditions punish staying close long enough for their trigger to resolve.

How Mortal Shell 2 status effects work in combat
A stack represents another application of a condition, but its result varies by status. Additional stacks might strengthen a buff, deepen a slow, accumulate damage, extend pressure, or advance the target toward a separate payoff. Exact trigger thresholds are condition-specific, so use the live status display instead of assuming every stacked effect resolves at the same point.
Duration determines how long a temporary state persists or when an expiry effect resolves. Damage-over-time conditions drain health during that window, whereas Break Damage builds stagger pressure. Trauma, Execution, Phantom, and lone-target Confusion can therefore help open a target without behaving like ordinary health damage.
Prevention and recovery happen at different stages. Resisting an application stops it from taking hold; cleansing removes a compatible active ailment; disengaging prevents additional stacks; and spacing before expiry can limit a delayed condition’s impact.
| Counter type | Use |
|---|---|
| Mitigation | Gives negative-condition applications a chance to be resisted. |
| Targeted immunity or resistance | Protects against its matching status or elemental threat. |
| Cleanse | Ends active Poison when used through an appropriate curing item. |
| Disengage | Halts repeated applications and lets temporary effects expire. |
| Interrupt | Stops an enemy’s stack-applying attack sequence. |
| Target priority | Removes enemies that repeatedly inflict dangerous conditions. |
Resolve is generated through attacks and parries. It supports firearms, special attacks, spells, and some Tarstone effects, including Poison and Burn Weapon imbuements, so status-focused offense still depends on maintaining a reliable Resolve economy.
If an encounter combines Poison and Vomit, cure Poison before trading more hits; removing Poison also removes the condition Vomit needs for its stun.

Complete reference for every named condition
These entries cover harmful ailments, offensive setups, defensive buffs, and utility states. Interpret each effect from the perspective of its current owner: a useful build tool can become the condition you must counter when an enemy possesses it.
Stack payoffs, expiry effects, and control
Bloodcurse
Bloodcurse deals massive damage when sufficient stacks are inflicted. Every additional application advances the burst threat, making interruption and early disengagement more valuable than waiting for the payoff.
Chaos
Chaos inflicts a random condition when it expires. Create room before the timer ends so you can respond to the resulting condition without also managing immediate enemy pressure.
Confusion
Confusion causes the victim to attack nearby allies for its duration. If none are present, the victim instead suffers severe Break Damage, allowing the effect to retain value against an isolated target.
Curse
Applying enough stacks Curses the target, nullifying their next melee strike against you and turning it back upon them. If you are Cursed, pause before committing to another melee attack.
Frost
Inflicting enough stacks Freezes the target for a duration. Because the payoff requires continued Frost application, spacing and interruption can stop the freeze from developing.
Lightning
Lightning deals damage over time. On sufficient repeated applications, a shockwave is released, adding a delayed burst to the ongoing health pressure.
Phantom
Phantom deals accumulated splash damage and Stagger Damage when it expires. Move away from other vulnerable targets before expiry to limit the splash pressure.
Stasis
Stasis distorts time, slowing the target. Multiple stacks worsen the effect, so leaving its source early is easier than escaping after movement has already been heavily restricted.
Vomit
Vomit stuns an already poisoned enemy. Offensive setups can deliberately pair the conditions, while defenders can deny the stun by preventing or removing Poison.
Health damage, Break pressure, and vulnerability
Burn
Burn deals accumulated damage over time. Relevant protection can reduce the threat, while interrupting its source prevents the accumulated pressure from growing.
Cosmic Disease
The affected target takes damage over time and deals reduced damage. Cosmic Disease weakens both survival and offense, so continuing a direct damage trade while affected is especially unfavorable.
Critical Hit
A Critical Hit is a hit that deals bonus damage. Build around attacks you can land consistently, and avoid trading when an opponent is positioned to capitalize on the bonus.
Execution
Victims affected by Execution receive Break Damage from melee attacks. It turns ordinary close-range pressure into stagger pressure, making distance and interruption the strongest responses.
Fragile
Fragile causes affected targets to take bonus damage from Weapon attacks. It does not deal damage by itself, so the attacker must follow it with Weapon pressure during the available window.
Pain
Pain marks health as Gray Health, lost in a single hit but cured by melee attacks.
Poison
Poison is a long-lasting effect that deals damage over time. It persists until its duration ends or the affected player uses an item that cures it.
Trauma
Trauma deals Break damage over time. Its health impact may appear limited, but the continuing Break pressure can eventually expose the target to a stagger punish.
Weak
Weak causes affected targets to deal less damage. It makes aggressive enemies safer to engage, while an affected player should avoid relying on a damage race.
Defense, sustain, and utility
Faith
While in the Faith state, melee attacks regenerate additional Resolve. Maintaining controlled melee contact can therefore fund Resolve-dependent tools more quickly.
Havoc
Havoc is a named condition whose specific behavior is defined by its current in-game status text. Follow that description and use general condition counters such as mitigation, spacing, source interruption, and disengagement.
Infect
When a target with Infect is struck, it spreads Poison to the attacking enemy. This turns careless aggression into Poison exposure and makes repeated close-range attacks risky.
Leech
Gain stacks by slaying enemies. Each stack increases Max Health. All stacks are lost on death, so survival preserves the benefit while denying kills prevents an affected enemy from building it.
Mitigation
Mitigation provides a chance to resist the application of a negative condition. It acts during application rather than removing a condition that is already active, and it is separate from ordinary damage reduction.
Perforation
Perforation is a named condition whose specific behavior is defined by its current in-game status text. Use that description to choose a targeted response, with mitigation, spacing, interruption, and disengagement covering general condition pressure.
Shadow
Shadow renders you undetectable for its duration. It creates an opportunity to reposition or approach unseen; against it, anticipate movement instead of committing to the location where the target disappeared.
Slaughterer
Each Slaughterer stack raises the low-health threshold at which enemies are executed. Building stacks expands the execution opportunity, while affected opponents must respect that increasing threshold.
Warp
Warp slightly increases Weapon attack speed, with additional stacks improving the bonus. It changes attack timing rather than raw Weapon damage, creating faster follow-up swings for both the user and opponent to account for.
How to use status effects in builds and fights
Start with the result you want, then align the application method and payoff. Sidearms can deal damage, stagger enemies, and apply conditions, while Tarstones and Shell perks can reinforce status application, Break pressure, Weapon imbuements, or protection against the threats most likely to disrupt the setup.
Status protection should match the encounter rather than consume a slot without a purpose. Most Shells can select a status-immunity perk at their first Bond tier, but those options cover particular threats instead of granting blanket immunity.
There are eight Shells, and only three can be fully upgraded in one playthrough. Review how each Shell’s perks support your preferred status loop before committing heavily to its upgrade path.
| Goal | Prioritize |
|---|---|
| Survive damage over time | Poison cures, Mitigation, targeted protection, and early disengagement from Burn, Poison, Lightning, and Cosmic Disease sources. |
| Break or stagger enemies | Trauma for ongoing pressure, Execution for melee pressure, Phantom for delayed impact, and Confusion against isolated targets. |
| Control targets | Stasis for progressive slowing, Frost for freezing, Confusion for disruption, and Poison followed by Vomit for a stun. |
| Increase offense | Fragile, Critical Hit, Warp, Slaughterer, and Faith-supported Resolve generation. |
| Prevent stack payoffs | Interrupt or disengage from Bloodcurse, Frost, Curse, Lightning, and Phantom sequences before they resolve. |
| Build around Tarstones, Shell perks, and sidearms | Match a chosen status with tools that apply it consistently, then cover the setup’s main defensive vulnerability. |
Frequently Asked Questions
Do status effects stack in Mortal Shell 2?
Yes, but each condition handles stacks differently. An application might strengthen a slow, improve a buff, accumulate pressure, or advance a separate trigger, so never use one condition’s behavior to predict another’s.
Can Poison be cured?
Yes. Use a consumable whose active effect cures Poison. Active and passive item effects can differ and may change with Familiarity, so read the active description before relying on an item as your cure.
Are all named conditions harmful?
No. Conditions such as Faith, Leech, Mitigation, Shadow, Slaughterer, Warp, and Critical Hit can provide buffs or utility. Check who owns the condition before treating its icon as a threat.
What does Confusion do to a lone enemy?
When no nearby allies are available to attack, the confused enemy suffers severe Break Damage. Confusion therefore remains effective as a single-target Break tool.
Does one status immunity block every condition?
No. Immunity is targeted rather than universal. Shell options include fire protection for Lazlo, electricity protection for Proxima, and Frost protection for Eredrim, so choose protection around the condition you expect to face.






Leave a Reply