
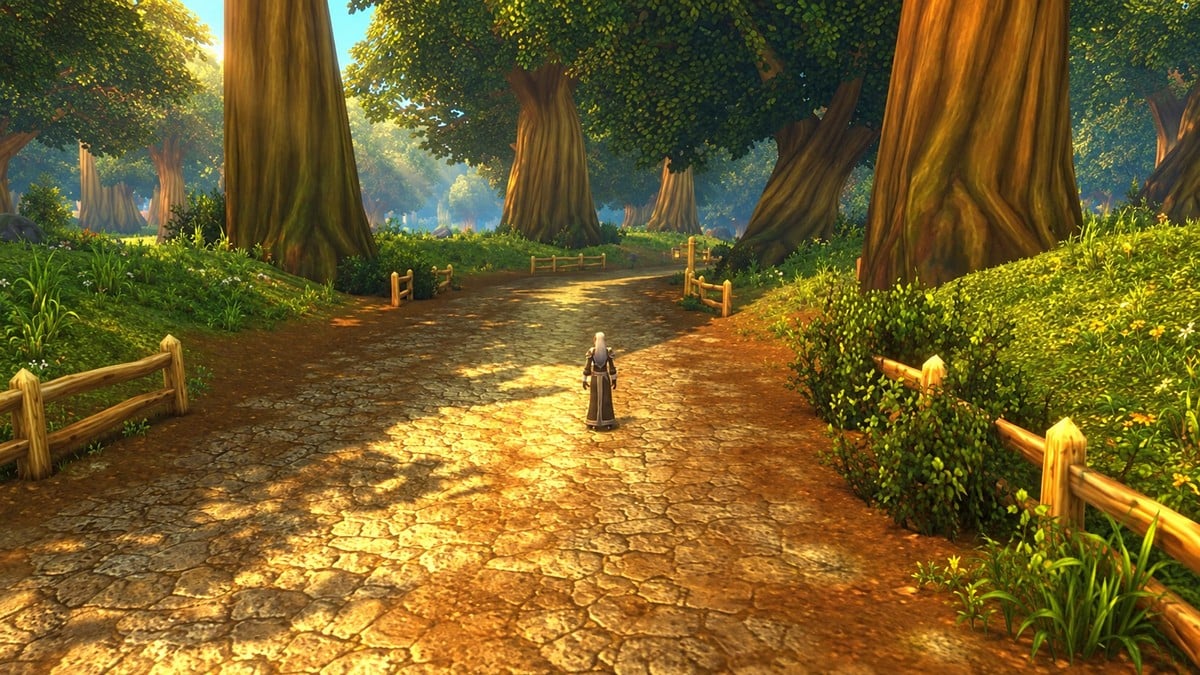
To play WoW Forever beta with a controller, enable Enable Gamepad UI (Alpha) in Options, then bind abilities and use the sticks, triggers, and bumpers.
Select that checkbox. Press R1 together with L1 to display a shortcut list; when multiple frames are open, use the triggers to change the selected frame. Your action bars use L2, R2, and L2+R2 as trigger modifiers. You don’t need a mouse to assign a selected spell, consumable potion, or usable item: press Square/X to open Bind to Action Bar, then enter the desired controller combination.
- Enable the controller interface
- How to enable Gamepad UI and assign controller bindings
- Understand action bars, movement, and camera controls
- Bind spells, potions, and usable items
- Select enemies, friendly targets, and group members
- Interact with NPCs, loot, and fight
- Use radial menus, emotes, and chat
- Manage quests and explore the world map
- Manage bags, equipment, weapons, and buffs
- Control panel focus and handle beta interface quirks
Enable the controller interface
Start with your controller switched on and the game open. The setup is complete when the interface changes to the controller layout; the setting belongs to the beta’s Gamepad (Alpha) feature.
How to enable Gamepad UI and assign controller bindings
Enable the controller layout, then use its quest controls, spell and item bindings, and contextual interactions.
STEP 1/35
3%
Turn on your controller
Switch your controller on before opening the game’s settings.
STEP 2/35
6%
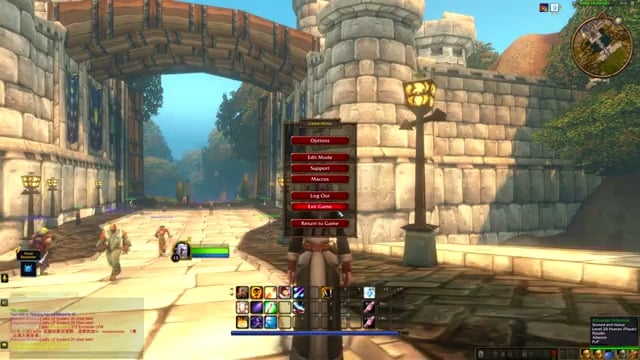
Open Options
Open the Game Menu and choose Options.
STEP 3/35
9%
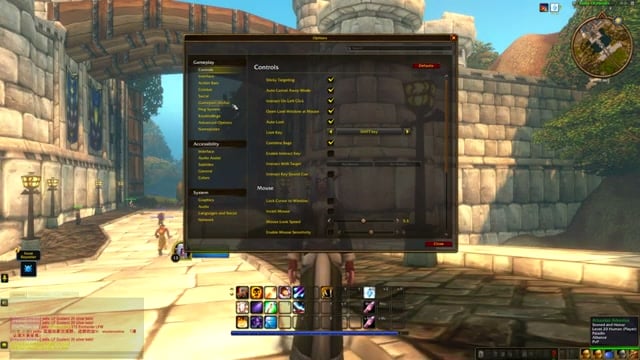
Find Gamepad settings
Under Gameplay, select Gamepad (Alpha).
STEP 4/35
11%
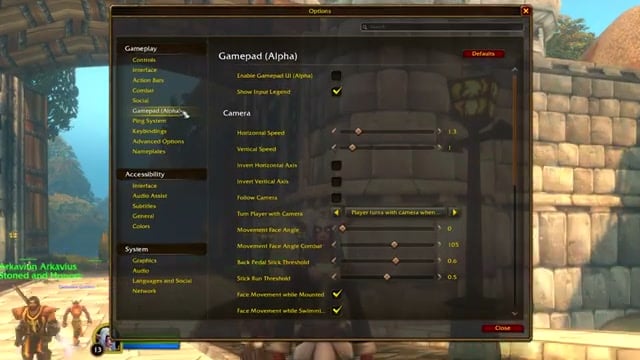
Enable the controller layout
Check Enable Gamepad UI (Alpha) to switch the interface to its controller layout.
STEP 5/35
14%
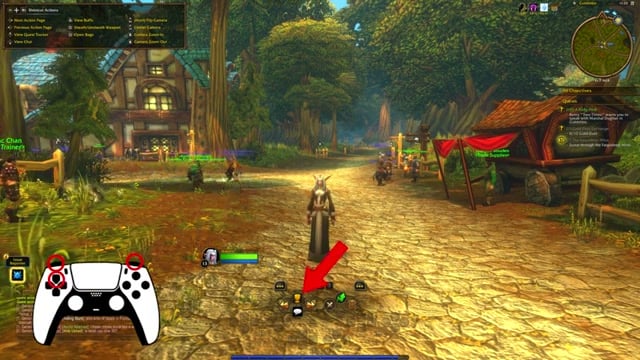
Quest management: open the quest panel
Hold both bumpers, L1 + R1 on PlayStation or LB + RB on Xbox, and press D-pad Up to open the quest panel.
STEP 6/35
17%
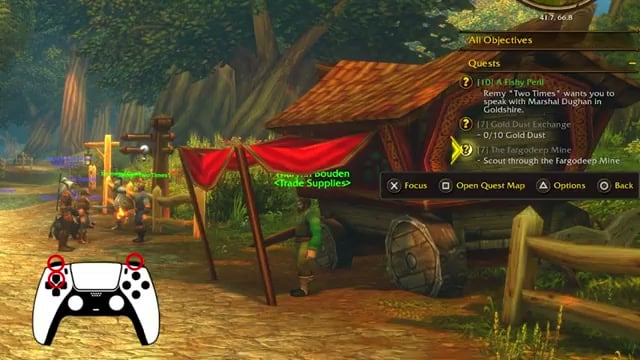
Choose your focused quest
Browse the quests in the panel and change the focus to the quest you want to follow.
STEP 7/35
20%
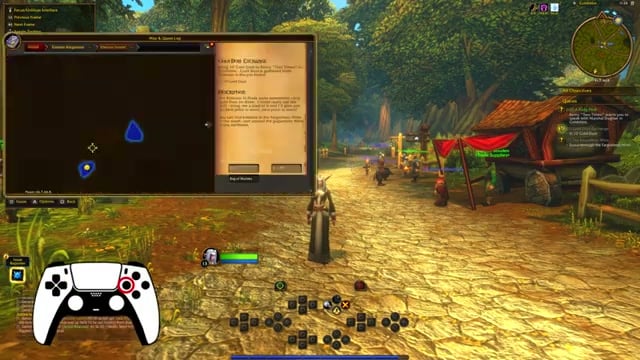
Open quest details
With a quest selected, press Square/X to open its quest-log details and map location.
STEP 8/35
23%
Return to quest-log browsing
Use the displayed Back control to browse the quest log and view quest locations on its map.
STEP 9/35
26%
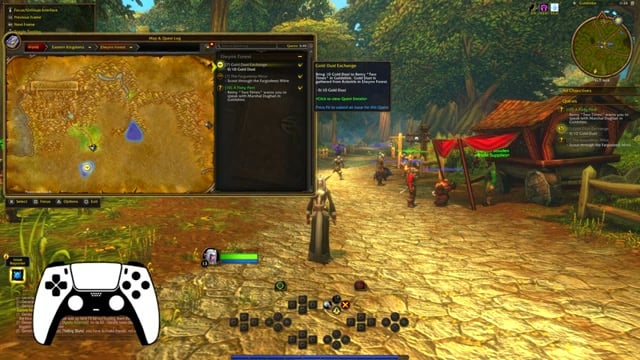
Open selected-quest options
Press Triangle/Y with a quest selected to access sharing or abandoning that quest.
STEP 10/35
29%
Move around the map
Use the D-pad to move interface focus and the right stick to pan across the map.
STEP 11/35
31%
Expand the map
Press D-pad Down while using the map to enter full-screen view.
STEP 12/35
34%
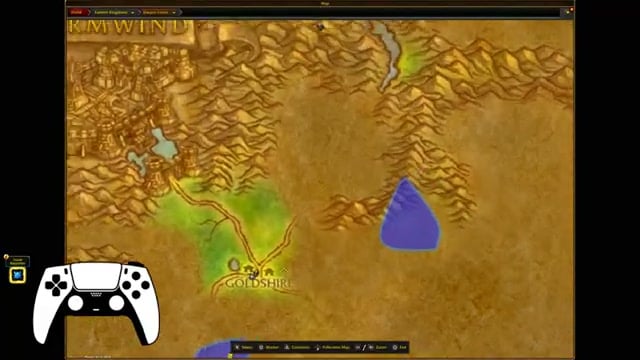
Adjust map zoom
Use the bumpers, L1/R1 on PlayStation or LB/RB on Xbox, for the map’s zoom controls.
STEP 13/35
37%
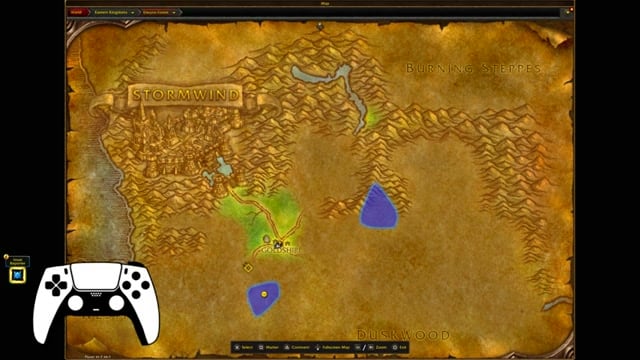
Place a location marker
Press Square/X on the map to place a marker for a location you want to track.
STEP 14/35
40%
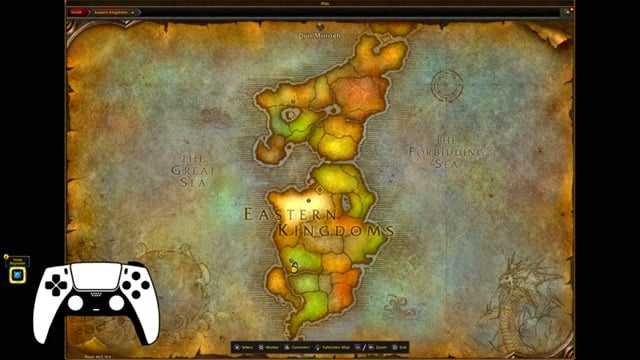
Open a broader map view
Press Triangle/Y while focused on the map to move out to a broader world-map view.
STEP 15/35
43%
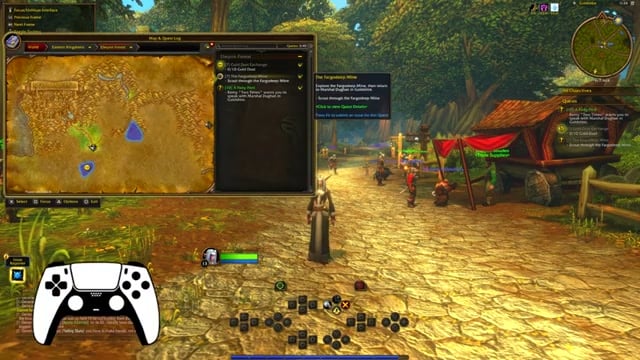
Reach the map filters
Press D-pad Up to reach the controls at the top, then use the D-pad to move through the map filters.
STEP 16/35
46%
Leave full-screen map view
Press D-pad Down again to return from the full-screen map.
STEP 17/35
49%
Press Options on PlayStation or Menu on Xbox to open the radial menu for spell setup.
STEP 18/35
51%
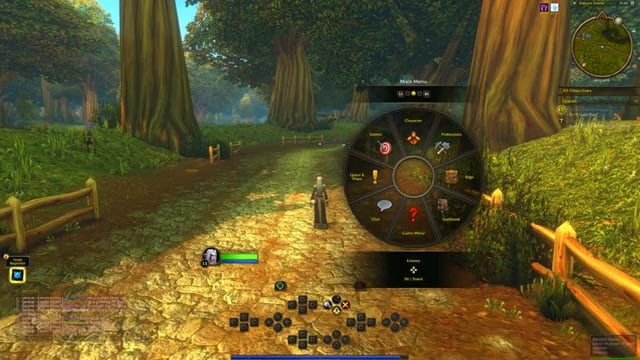
Open Spellbook
Choose Spellbook near the bottom of the menu’s middle tab.
STEP 19/35
54%
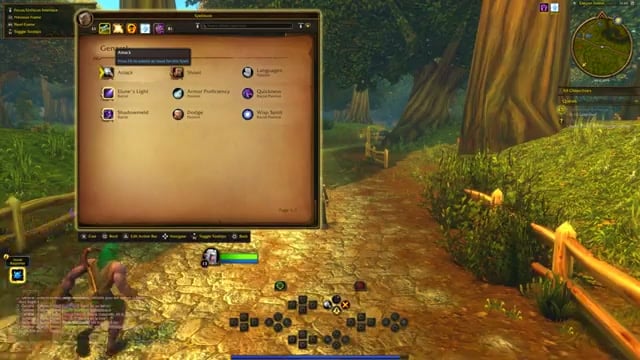
Find your spell page
Use L1/R1 on PlayStation or LB/RB on Xbox to switch between spell books.
STEP 20/35
57%
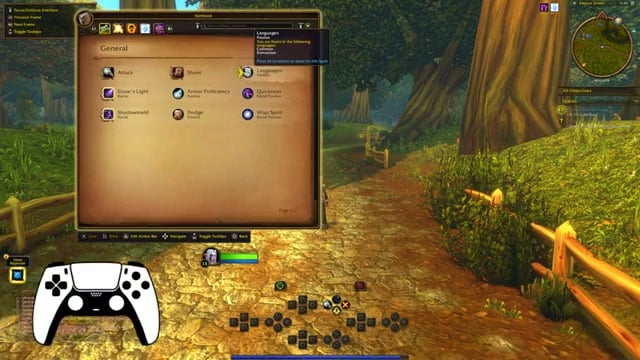
Highlight a spell
Move the selection onto the spell you want to assign so its Bind option appears.
STEP 21/35
60%
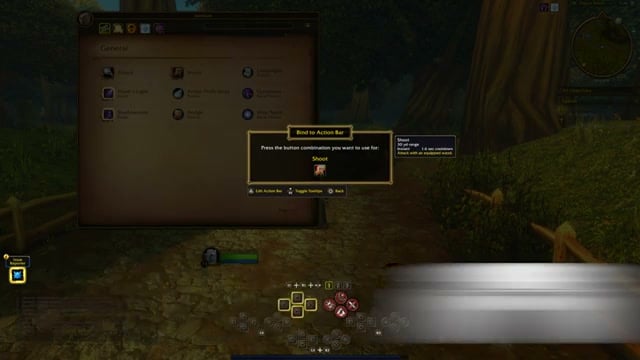
Enter spell-binding mode
Press the left face button, Square/X, to activate Bind and open Bind to Action Bar mode.
STEP 22/35
63%
Assign the spell’s slot
Enter the controller combination for the action-bar slot where you want the spell.
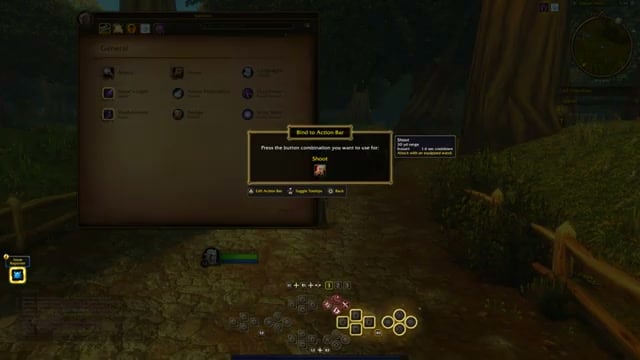
STEP 23/35
66%
Item bindings: open your bags
Open your bags to choose a potion or another usable item for an action-bar slot.
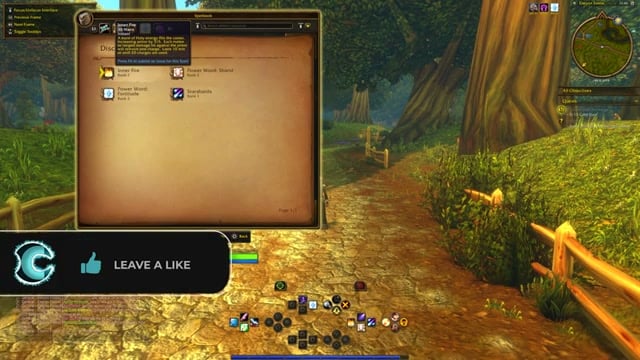
STEP 24/35
69%
Select the potion
Highlight the potion you want to assign; Lesser Healing Potion is one example.
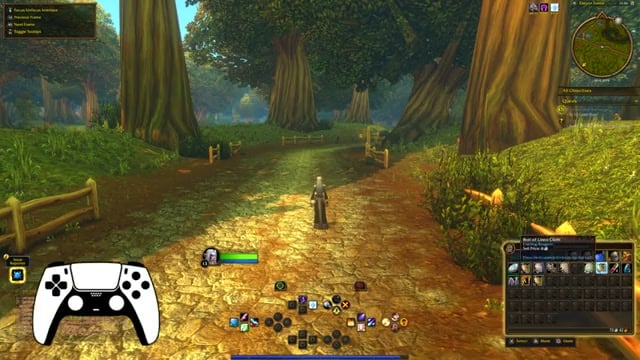
STEP 25/35
71%
Assign the item’s slot
Once the item’s binding option has opened Bind to Action Bar mode, enter the controller combination for its destination slot.
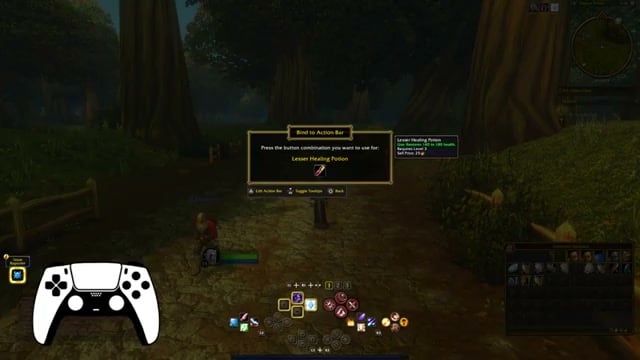
STEP 26/35
74%
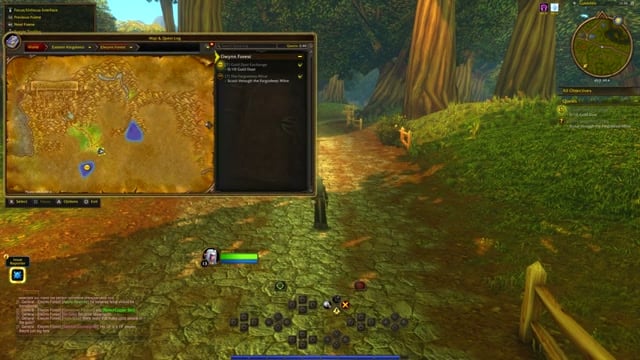
NPC interaction: approach the character
Walk up to an NPC until the left-face-button interaction prompt appears; you don’t need to select the NPC first.
STEP 27/35
77%
Start the conversation
Press the prompted Square/X button to interact with the nearby NPC.
STEP 28/35
80%
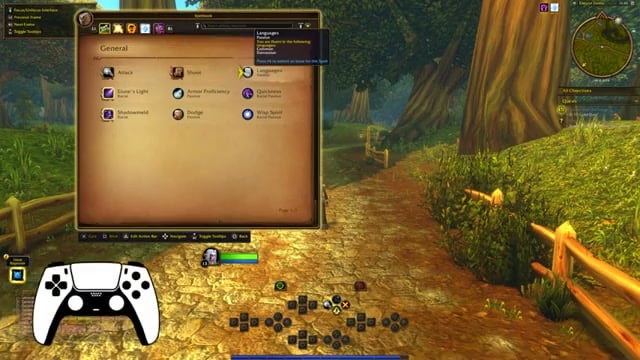
Choose a quest
Use the D-pad to select the quest you want from the conversation.
STEP 29/35
83%
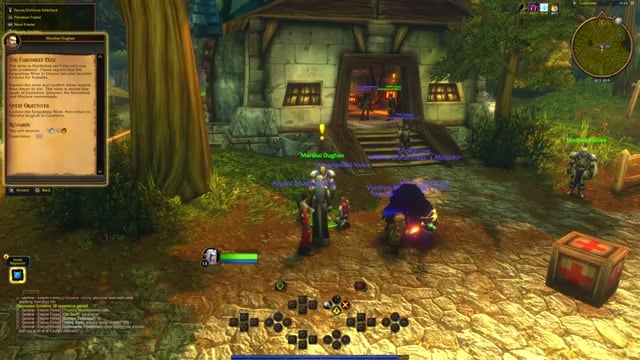
Accept the quest
Select the quest’s Accept control to take it.
STEP 30/35
86%
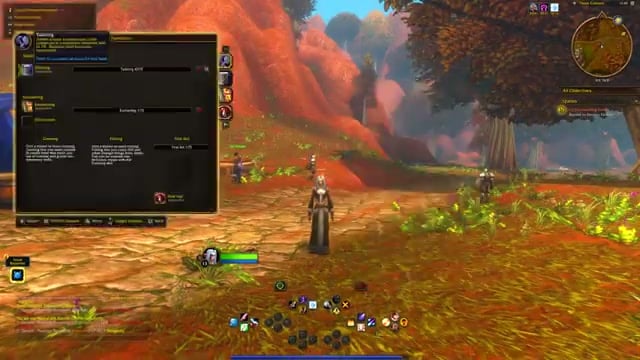
Open a profession
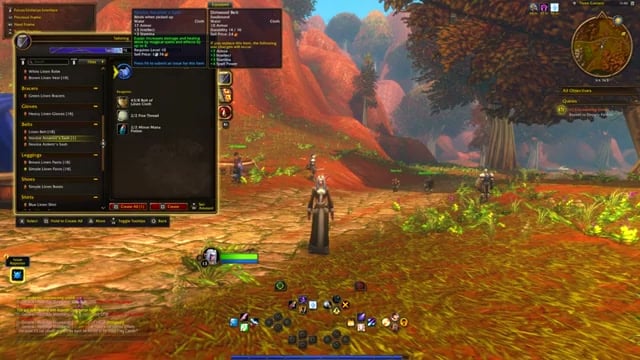
Open your profession’s crafting interface; Tailoring supports controller crafting.
STEP 31/35
89%
Craft an item
Choose an available tailoring item and craft it through the profession interface.
STEP 32/35
91%
Equip the crafted item
Equip your newly crafted gear using the controller.
STEP 33/35
94%
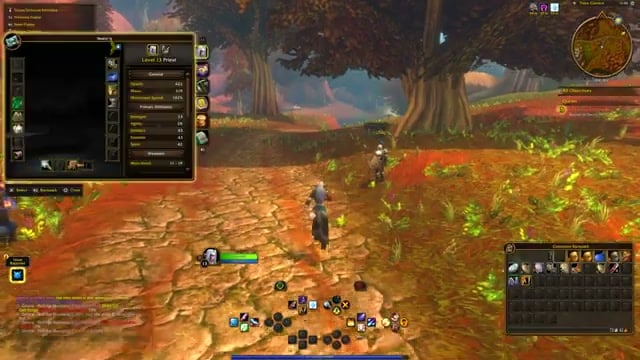
Check the equipped result
Open the character panel to see that the new item is equipped.
STEP 34/35
97%
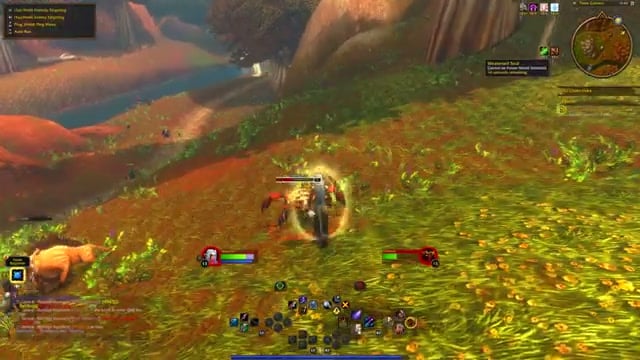
Use your combat abilities
Activate your bound abilities during combat; the priest example uses a shield and a damage-over-time spell.
STEP 35/35
100%
Start the priest’s wand attack
Activate the wand attack to begin repeated wand attacks without pressing its button for every shot.
Understand action bars, movement, and camera controls
The bottom-screen HUD uses a cross layout built around eight inputs: four D-pad directions and four face buttons. Each arrangement contains four bar layers, and there are three selectable arrangements, giving you twelve bars in total. Switching arrangements replaces the whole current group of layers.
Button position matters here. PlayStation Cross is the bottom face button, while Xbox X is the left one. Paired labels use PlayStation first and Xbox second, so Cross/A means the bottom button and Square/X means the left button.
The upper-left input legend displays controller prompts, and Show Input Legend is available in Gamepad settings. The initial camera view can be unusually close; camera zoom uses the both-bumpers modifier listed with the other camera controls.
Action layers and movement inputs
| Input | Context | Action |
|---|---|---|
| Cross/A, bottom face button | Unmodified gameplay | Jump. |
| Square/X, left face button | Unmodified gameplay | Auto-attack or melee hit against the target ahead. |
| Triangle/Y, top face button | Selected target or context actions | Open inspect/context actions, similar to a right-click. |
| Circle/B, right face button | Target, activity, or open window | Deselect, cancel, or close, similar to Escape. |
| Hold R2/RT + a D-pad direction or face button | Right-trigger layer | Use one of eight right-side slots. |
| Hold L2/LT + a D-pad direction or face button | Left-trigger layer | Use one of eight left-side slots. |
| Hold L2 + R2/LT + RT + a D-pad direction or face button | Combined-trigger layer | Access another action bar. |
| Left stick, either controller | Ordinary movement | Move your character. |
| Click left stick, either controller | Ordinary movement | Toggle Auto-Run so movement can continue without holding the stick. |
| Right stick, either controller | Ordinary camera control | Look around. |
| Click right stick, either controller | Ordinary gameplay | Ping a location. |
| Press and hold right stick, either controller | Ordinary gameplay | Open the Ping Menu. |
| Hold L1 + R1/LB + RB + move right stick backward or forward | Both-bumpers shortcuts | Backward zooms the camera out; forward zooms it in. |
| Click left stick | Both-bumpers shortcuts | Repenter the camera. |
| Press and hold right stick | Both-bumpers shortcuts | Look behind your character. |
| Hold L1 + R1/LB + RB + D-pad Right | Shortcut Actions | Switch among action-bar arrangements 1, 2, and 3. |
With a Stormwind Guard selected, the inspect/context window also provides access to HUD Edit Mode. The large X-shaped cancel symbol in the interface represents cancellation, not a physical PlayStation Cross or Xbox X button.
Bind spells, potions, and usable items
Highlight a spell in the Spellbook and press Square/X to open Bind to Action Bar. For a potion in the Backpack, press Triangle/Y for More, then choose Bind.
A set of example assignments puts Shoot on R2 + Cross or RT + A, Elune’s Light on L2 + D-pad Up or LT + D-pad Up, and Shadowmeld on unmodified D-pad Up. These are slot choices, not a prescribed build.
Binding also works for other usable items with on-use effects. Once assigned, the item’s action-bar input activates it during play.
Select enemies, friendly targets, and group members
Looking toward an enemy can display its health bar through soft targeting. It isn’t selected yet. Tap R1/RB to select the enemy ahead, or use an attack spell to select the enemy you’re soft-targeting.
Friendly NPCs and players use L1/LB: face the friendly target and tap the bumper to select it. Holding that bumper exposes Friendly Targeting Actions at the lower right. The upper-left legend labels the two controls L1 (Tap/Hold) Friendly Targeting and R1 (Tap/Hold) Enemy Targeting.
Friendly targeting modifier controls
| Input while holding L1/LB | Targeting action |
|---|---|
| Cross/A, bottom face button | Target Self. |
| Square/X, left face button | Target Pet. |
| Circle/B, right face button | Assist Target. |
| Triangle/Y, top face button | Mark Target. |
| D-pad | Select group members by their displayed position, including Target Above Group Member. |
Group selection follows the group frames. A member whose health bar sits below yours uses the downward direction; a member positioned to the right in a raid display uses the rightward direction. That gives you directional access to teammates when healing.
For a friendly target, repeating the marker input cycles through the available icons above its head, including skull and cross markers.
When healing, match the D-pad direction to the teammate’s position in the group frames to choose your target.
Interact with NPCs, loot, and fight
The nearby interaction prompt also handles lootable world objects and defeated bodies, using the same contextual button as NPC conversations. Quest turn-ins are supported on the controller too.
That contextual behavior matters because the left face button also has an ordinary combat assignment. At an NPC or lootable object, follow the interaction prompt; your assigned action-bar combinations handle the abilities and usable items you’ve placed there.
Inside the radial menu, the right stick browses its destinations. The central tab includes Character, Talents, Professions, Bags, Spellbook, Game Menu, Chat, and Quests/Map, giving you access to character systems and another route into inventory, quests, and the map.
L1/LB moves to the left tab, which contains Shop, Legacy, Group Finder, Collections, minimap settings, buffs, Social, and Communities. The right side includes PvP, Calendar, and Clock.
While the menu is open, D-pad Down toggles sitting and standing. D-pad Up opens the emote wheel, including Wave. These directions belong to the menu context.
Some radial destinations also have bumper shortcuts. For Chat, hold L1 + R1 or LB + RB and press D-pad Down to open the chat window directly.
Manage quests and explore the world map
The quest shortcut opens a panel on the right side of the screen. Quest selection and map focus give the face buttons different jobs: the selected quest exposes quest-management actions, while map focus exposes location controls.
Map zoom and camera zoom are separate controls. Working in the map changes the map view; the both-bumpers camera controls change your view of the character in the world.
Manage bags, equipment, weapons, and buffs
The Combined Backpack supports moving and equipping items, plus stack management. Splitting a stack reduces the amount held in a single slot.
Inventory and buff button mappings
| Input and context | Action |
|---|---|
| Hold L1 + R1/LB + RB + Circle/B | Open Combined Backpack. |
| D-pad inside bags | Move through item slots. |
| Displayed Select option on a bag item | Move the item. |
| Square/X on equipment in bags | Equip the selected item. |
| Triangle/Y on an item in bags | Access destruction or stack-splitting options. |
| Circle/B with bags open | Close the bags. |
| Hold L1 + R1/LB + RB + Square/X | Sheathe or unsheathe your weapon. |
| Hold L1 + R1/LB + RB + Triangle/Y | Open the buff viewer. |
| D-pad in the buff viewer | Select a buff displayed at the top. |
| Square/X with a buff selected | Cancel that buff. |
A newly received buff briefly displays a text box describing its effect. Mark of the Wild is an example with a Cancel Buff option; opening the viewer and canceling the selected effect are separate actions.
Control panel focus and handle beta interface quirks
Your PS5 touchpad gives you a mouse-like cursor, while pressing it as a button changes interface focus. Press it with the character panel open and you can run around with the panel still visible, then press again to select the panel and change gear during play. Pressing it can display a message that no interface frame is available for focus.
Got multiple panels open? The triggers switch between frames, so with your bag on the right and your character panel at the far left, press L2 to switch back to the character panel.
The beta’s issue reporter sits in the center of your screen, and you can move it out of the way with a mouse. Each loading screen puts it back. If you want to adjust how the camera responds, Gamepad (Alpha) has camera-sensitivity sliders.
Related World of Warcraft guides
Leave a Reply