

Farm Grisha Remnants over and over by using the Slayer Seal to reach the hidden Desolate Keep, killing the respawning Grisha in the lower area, leaving, resting at a Beacon, and re-entering to make it respawn.
Grisha Remnants are meant to be one of the rarer pickups in Mortal Shell 2 — most players finish the campaign with only a handful — but there is a loop in the launch build that lets you collect them as many times as you like. It runs through the hidden Desolate Keep dungeon, and it appears to be an unintended farm rather than something the game wants you doing. Because it leans on a Grisha that keeps respawning, it is the kind of thing a patch usually closes, so it is worth running while it lasts.
Requirements for Grisha Remnant farming
| Part | Detail |
|---|---|
| Required item | Slayer Seal — pick it up, do not equip it |
| Location | Desolate Keep, reached through Marrow Keep |
| Target | The respawning Grisha in the lower area |
| Reset | Leave the dungeon, rest at a Beacon, return |
| Main warning | Equipping the Slayer Seal disables achievements and trophies |
The whole loop hangs on one item and one rule. You need the Slayer Seal from Marrow Keep to open the door to the Desolate Keep, and you must leave that Seal unequipped for the entire run. Equipping it turns on an easy-mode power and permanently flips off achievements and trophies on that save file, so treat it purely as a key, not a piece of gear.
Everything else is a short circuit: teleport in, kill one Grisha for its Grisha Remnant, then reset it at a Beacon. Here is the loop at a glance before you start.
How to run the Desolate Keep Grisha Remnant farm in Mortal Shell 2
This is one continuous loop — reach the Desolate Keep once, then repeat the last few beats for every extra Remnant.
STEP 1/9
Pick up the Slayer Seal
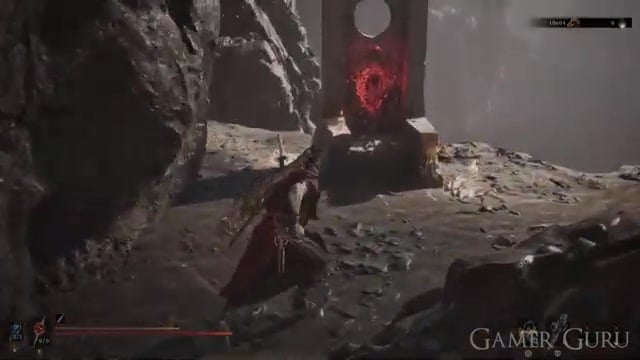
At Marrow Keep, grab the Slayer Seal from its altar but do not equip it, since equipping it disables achievements and trophies on that save.
STEP 2/9
Break the invisible wall
Head into the underground area of Marrow Keep and strike the invisible wall to reveal a chained chalice behind it.
STEP 3/9
Destroy the four chains
Attack and break all four chains binding the chalice so it becomes usable.
STEP 4/9
Commune with the chalice
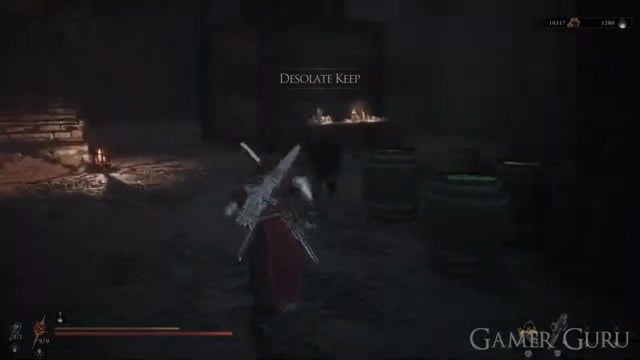
Interact with the chalice to teleport into the hidden Desolate Keep — if it just damages you and kicks you out, the Slayer Seal is not yet in your inventory.
STEP 5/9
Hit the switch on the left
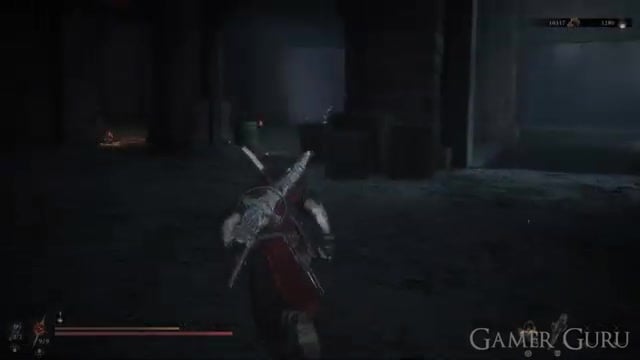
In the first large room, go left and hit the switch behind the column to spawn a ramp on the right-hand side.
STEP 6/9
Climb into the lower area
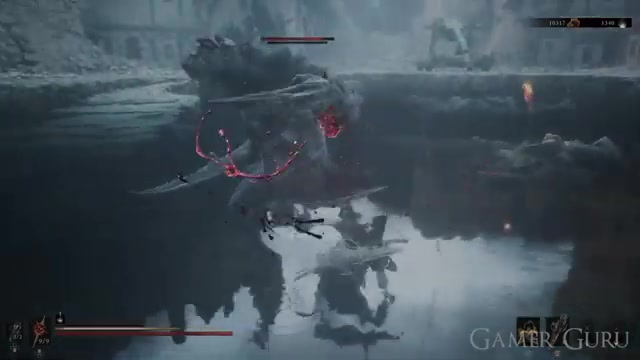
Use the ramp to cross over and drop down into the lower chamber where the Grisha waits.
STEP 7/9
Defeat the Grisha
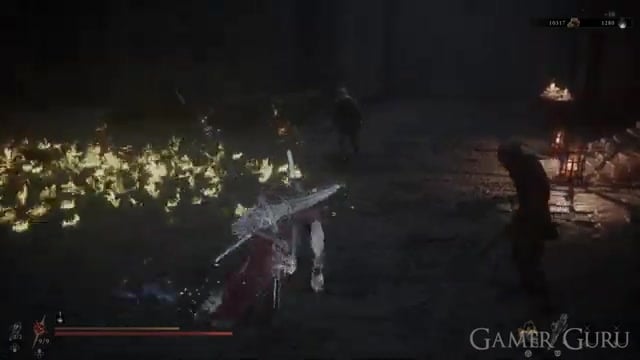
Kill the Grisha the same way you would any other to collect a Grisha Remnant (plus some Glimpse).
STEP 8/9
Exit the dungeon
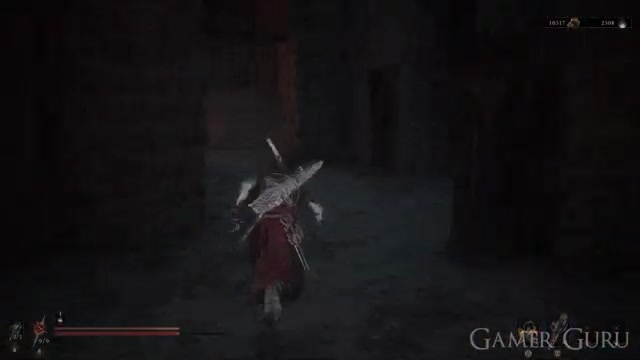
Use Mother’s Breath for the fastest exit, at the cost of the resources you banked that run, or run the dungeon route back to Marrow Keep to keep them.
STEP 9/9
Rest at a Beacon, then return
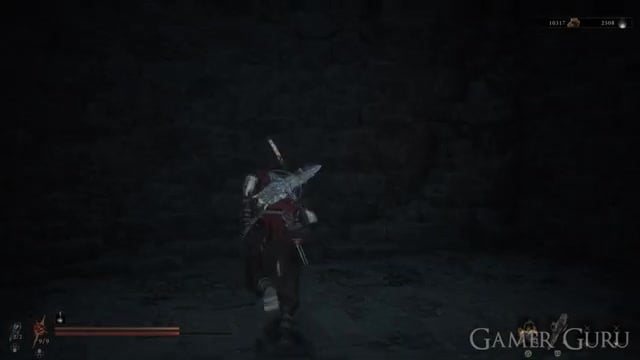
Rest at any Beacon before re-entering — the Grisha respawns each time you rest, so head back in and repeat the kill.
The respawn triggers on the rest at a Beacon, not on leaving the dungeon — if you skip the rest, the lower chamber stays empty when you return.
Video help
Why extra Grisha Remnants are worth farming
The Grisha Remnant is a Permanent Pickup, and its value scales with how many copies you own rather than being a one-and-done unlock. On its own it gives you a chance to summon a Grisha spirit that slams into your enemies — the description calls it an “on-hit” effect, but in practice it procs closer to on-swing, so even a whiffed attack can roll the summon.
Key Stacking copies is where the farm pays off. Extra Remnants raise your familiarity, which adds another active summon per rest, pushes the passive summon chance higher, and scales the summoned Grisha’s damage in proportion to how many you have collected. In other words, more Remnants means the ally shows up more often and hits harder, which is exactly why grabbing far more than the game normally hands out is worth the trips.

Where Grisha Remnants normally come from
| Source | How to get it |
|---|---|
| Hunter merchant, Mushroom Village | There is no verified current evidence that this merchant sells a Grisha Remnant for 2,000 Coins |
| Mother Grisha (Matron) | Appears among the dead Hunters after you free the Pup and rest; drops one |
| Flooded Village Grisha | Kill the Grisha trapped in the pit |
| Rabid Grisha Pack, Holding Cells | Defeat the twin Grishas for two Remnants plus the Inflamed Clawstone |
Outside this exploit, Remnants come from a short list of named hunts and events, most of them one-time. That scarcity is the whole reason a respawning source matters.
The verified named hunts and events in that list are fixed events that pay out once — miss a one-time copy or die to the Matron and that copy is gone for the playthrough. The Desolate Keep Grisha is the exception: rest, return, and it is standing there again, which is why it turns a hard cap into an open-ended supply.
If the farm stops working
This respawn looks like a bug the game did not intend — some players count only around ten Remnants across a normal playthrough — so if the Grisha stops reappearing after you leave and rest, assume the loop has been patched or changed. Short of that, an empty lower chamber almost always comes down to one of three mistakes: the Slayer Seal is not actually in your inventory, you did not rest at a Beacon before heading back, or you dropped into the wrong part of the dungeon instead of the lower area behind the ramp.
Related Mortal Shell 2 guides
Frequently Asked Questions
Does equipping the Slayer Seal permanently disable trophies on that save?
Yes. Simply carrying the Seal is fine — the flag flips only when you equip it, and once it does, achievements and trophies stay off for the rest of that save file. There is no toggling it back on, so you would need a fresh save to earn them again. Keep it unequipped and use it only as the key to the chalice.
What should I do if the chalice damages me instead of teleporting me?
That means the Slayer Seal is not in your inventory yet. The chalice checks that you are carrying it, not that you have it equipped, so go back to Marrow Keep, pick the Seal up, and return — the teleport works from then on.
Is Mother’s Breath required for the farm?
No. Mother’s Breath is just the quickest way out and it costs you the resources you banked that run, so it is optional. Any exit works as long as you rest at a Beacon afterward — if you would rather keep your haul, run the dungeon route back to Marrow Keep instead, then rest and re-enter.






Leave a Reply