
Almost every other PC manufacturer seems to have a liking for McAfee system protection software and flat out refuses to ship their PC without it. But many people are not particularly fond of McAfee products and if you’re one of them, there’s no better option than to uninstall the application.
In this guide, we’ll cover all the steps for uninstalling any variant of McAfee system protection software from your Windows 11 PC.
Here’s how you can get started.
Related: How to delete junk files in Windows 11
Should you uninstall McAfee from your PC?
Well, this is a complicated question but ideally, you shouldn’t leave your system without an Anti-Virus system. When you will remove McAfee from your system it is wise to have another AV program handy that you can install immediately.
Even if you do not install a third-party Antivirus, Windows 11 automatically starts Windows Defender on your system for maximum protection.
When initially released, Windows Defender was infamous for being a memory hog in the background that would use a significant amount of resources and slow down your system.
However, Defender has come a long way since its release, and now in Windows 11, it is considered the only utility needed to protect your system.
Hence, you can safely remove McAfee from your system as you can totally rely on Windows Defender today. That, and if you have another Antivirus in plans, uninstalling McAfee is fine.
Leaving your system is without protection is not recommended in the modern world where you are constantly connected to the internet.
Here are various ways to remove McAfee from Windows 11.
5 Ways to Remove McAfee From Windows 11
Method #01: Using Settings app
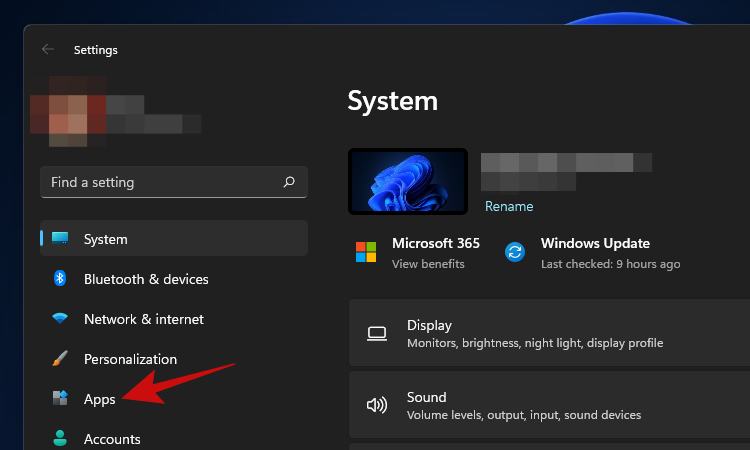
Open Settings with Windows key + i button combo, and then click on ‘Apps’.
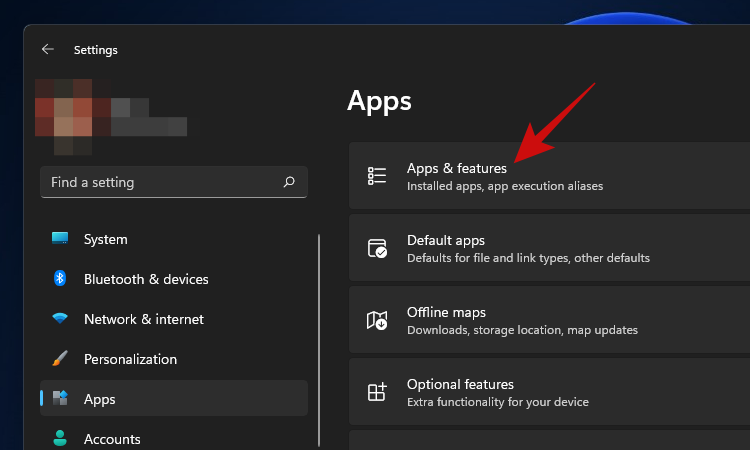
Click on ‘Apps & features’.
Scroll down to find the McAfee product you’re trying to uninstall and click the three-dot menu next to the mentioned size.

Click the ‘Uninstall’ option.

Click the ‘Uninstall’ button again to trigger the uninstaller.

Within a few seconds, you should see the uninstaller pop up. Check the boxes for all the installed McAfee products from this list if you want to remove everything from your PC that starts with the word McAfee.
And don’t forget to check the boxes that say ‘Remove all files…’ or similar, to completely remove all traces of McAfee products from your PC.
Once done, click the ‘Remove’ button.

Click on ‘Remove’ again.

Within a couple of minutes, the uninstaller should remove all of the selected McAfee products from your Windows 11 PC. Once the uninstall is complete, the uninstaller should ask you to restart your PC.
Save all your work and click on the ‘Restart’ button, or if you prefer to restart later at your convenience, click on the ‘Restart later’ button.

After the restart, your PC should be free from McAfee products.
Method #02: Using MCPR (McAfee removal tool for end-consumer)
McAfee has a product removal tool for its end consumers and individual users as well called the MCPR. MCPR is a tool that is to be used in conjunction with all these methods.
The MCPR tool on its own is designed to remove only leftovers and recovery installers from your system. It won’t remove any install McAfee products or extensions. However, in conjunction with the other methods in this guide, MCPR can help you clear everything McAfee-related from your system. Use the guide below to get you started.
- MCPR | Download Link
Note: It is recommended that you do not use previous downloads of MCPR for the removal of the latest versions of McAfee products. You should download a new tool each time you wish to run MCPR to ensure that the latest version can detect all the latest McAfee products installed on your system.
Close all programs on your system and run the MCPR executable. Click on ‘Next’ on the homepage. ‘Agree’ to the EULA and click on ‘Next’.

Verify your identity via the captcha presented on your screen. Click on ‘Next’ once you are done.

MCPR will now do its thing and detect and remove all McAfee installers, leftover files, and other things that it finds on your system. Once completed, you will be taken to the ‘Removal Complete’ page. Click on ‘Restart’ to restart your system.

When your PC restarts, all McAfee products should have been removed from your system.
Method #03: Using EPR McAfee removal tool (if you have grant number)
McAfee has an EPR tool or End Point Removal tool for all enterprise, organization, business edition users. You will need your dedicated grant number for this guide. However, if you are an end-user looking for a similar tool, then you can use Method #3 instead. Use the guide below to remove all McAfee products from your system using the EPR tool.
Start by downloading the EPR tool to your local storage. Visit this link and log in to your business account using your grant number and email address.
Once logged in, use the filters to select ‘Utilities and Connectors’ and then download the latest version of EPR to your local storage. Once downloaded, you can use the guide below to run EPR and remove any McAfee products installed on your system.
You will need to log in to the service portal to use EPR on your system. You can use this detailed guide from McAfee for step-by-step instructions on how you can remove EPR from your system.
A few things to keep in mind would be to run the tool with administrator privileges and to ensure that it is running from your local storage.
Running the tool from a NAS or a network sharing drive won’t be able to properly remove all McAfee products from your system.
Additionally, McAfee recommends that you remove specific products using command line arguments however as you are looking to remove all McAfee products from your system, you are safe to use the ‘–All’ argument when executing commands.
Related: Windows 11 Start Menu Not Working? 17 Ways to fix
Method #04: Using CMD (Command prompt)
You can also try to uninstall McAfee via the CMD if nothing seems to be working for you. Use the guide below to get you started.
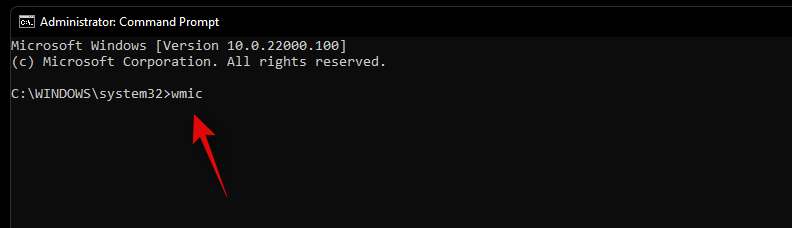
Press Windows + S on your keyboard and search for CMD. Click on ‘Run as administrator’ once the app shows up in your search results.

Now enter the following command and press ‘Enter’ on your keyboard.
wmic
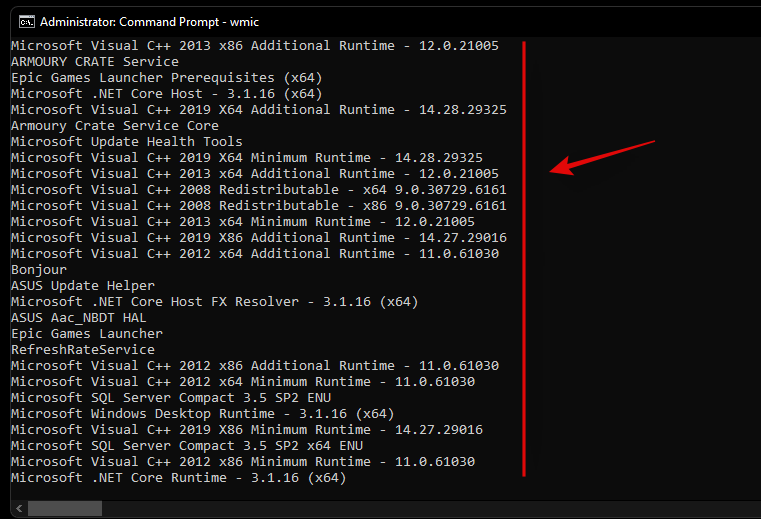
Enter the following command to get a list of all installed programs.
product get name
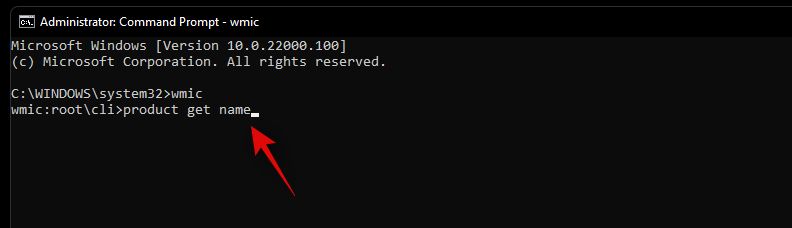
Look for McAfee products in the list on your screen and note down their names.
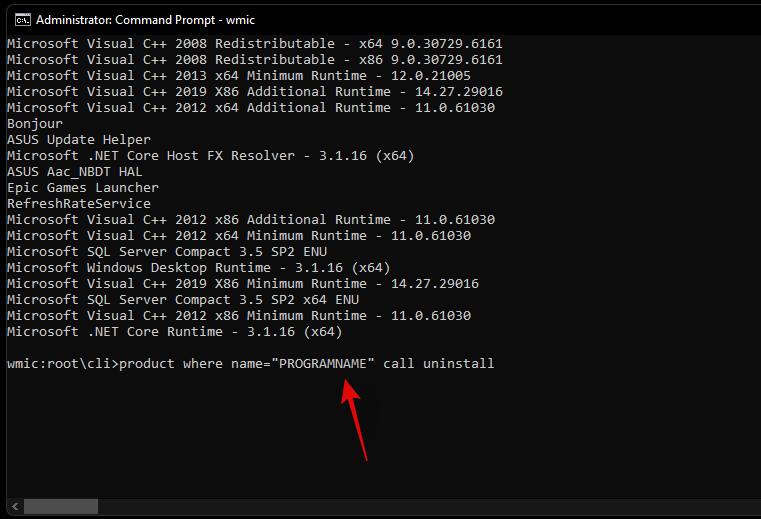
Once done, enter the following command and press Enter on your keyboard to execute it. Replace ‘PROGRAMNAME’ with the name you noted down earlier.
product where name="PROGRAMNAME" call uninstall
Note: Do not remove the quotes.
The selected McAfee program should now be uninstalled from your system. Repeat the steps above for any other McAfee programs on your system.
Method #05: Uninstall McAfee using PowerShell
You can also try to remove the concerned McAfee program from your system via PowerShell.
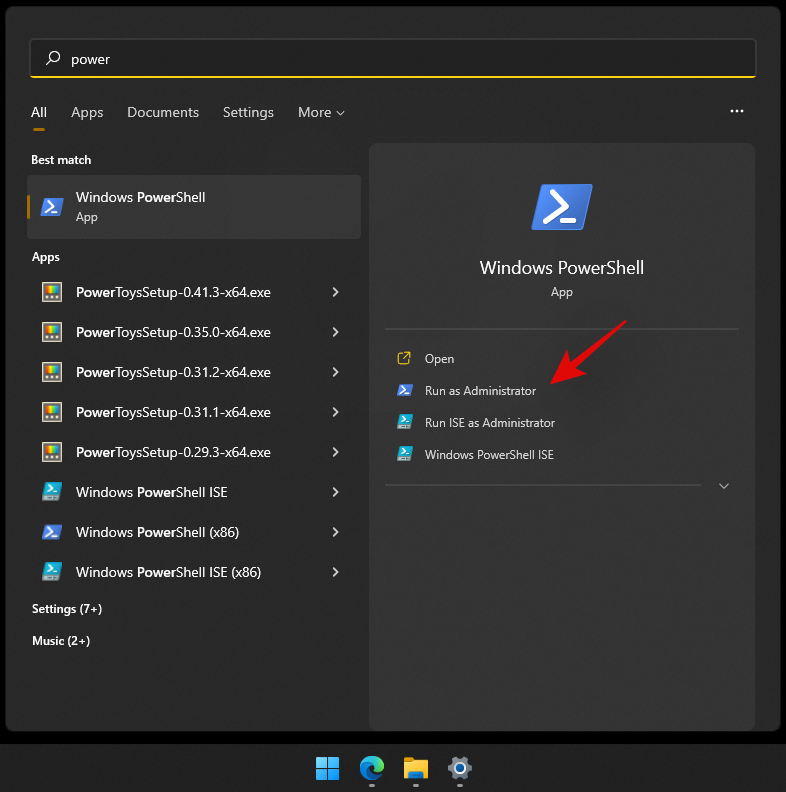
Press Windows + S on your keyboard and look for PowerShell. Click on ‘Run as administrator’ once the app shows up in your search results.
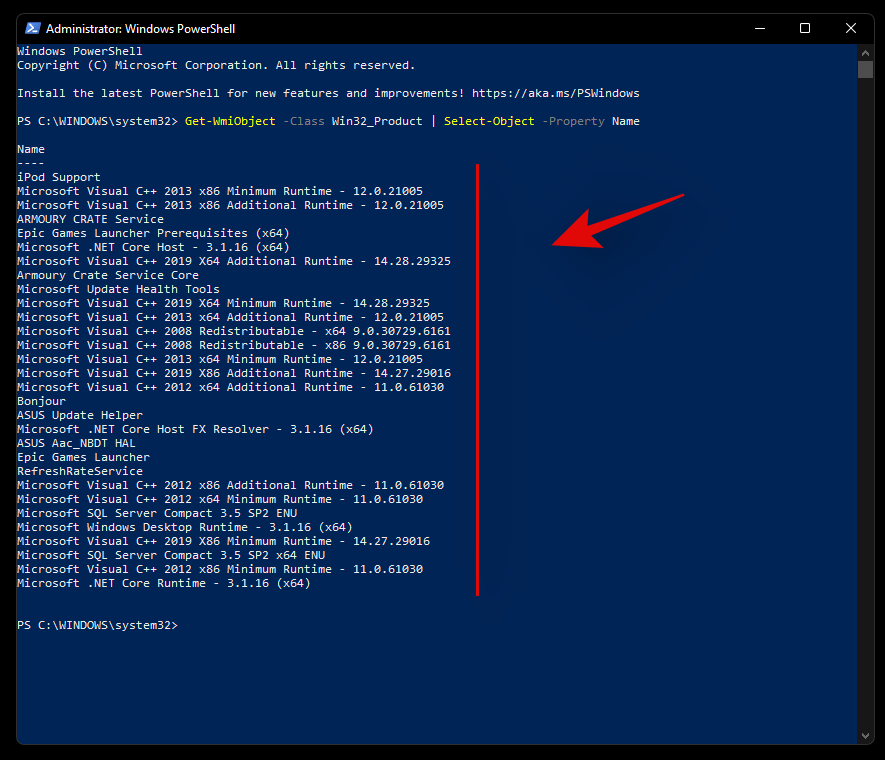
Now enter the following command to get a list of all the programs installed on your system.
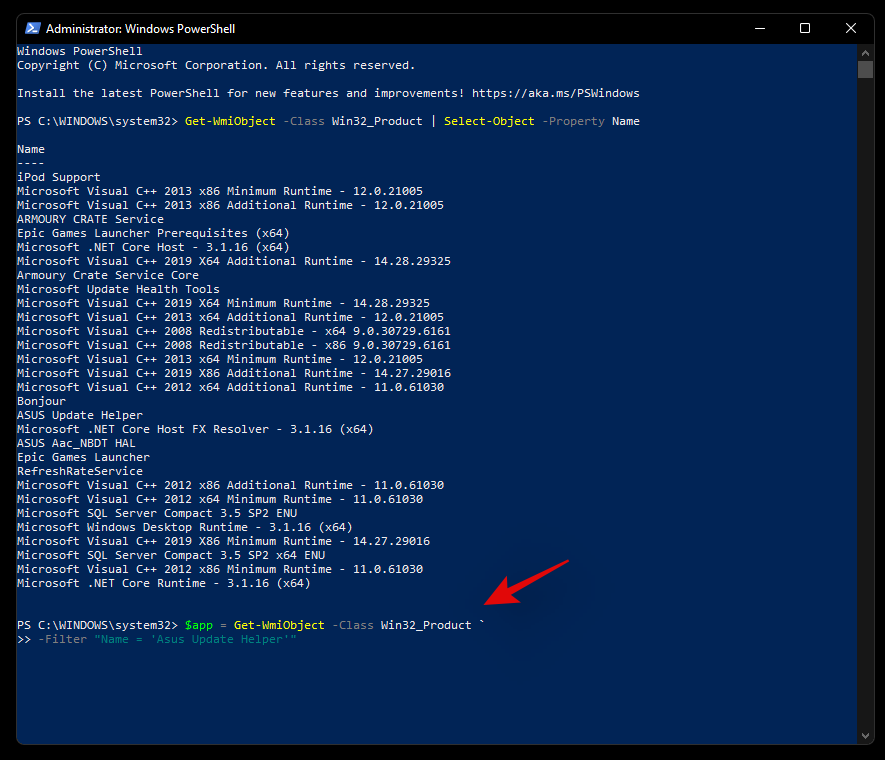
Get-WmiObject -Class Win32_Product | Select-Object -Property Name

Note down the product name for the concerned McAfee app. We will be using the ‘Asus Update Checker’ as an example for this guide.
Now enter the following command and replace ‘PRODUCTNAME’ with the name you noted down earlier.
$app = Get-WmiObject -Class Win32_Product `

-Filter "Name = 'PRODUCTNAME'"
Note: Do not remove any of the quotes in the command above when adding your program’s name.
Hit Enter on your keyboard to execute the command and the concerned app will now be removed from your system. Repeat the steps above to remove any other McAfee apps installed on your system.
Can’t uninstall McAfee? How to fix
If you are unable to uninstall McAfee programs from your system then you can use the guide below to troubleshoot uninstallation issues. However, if you still end up facing issues with your system, we would recommend you get in touch with McAfee technical support team ASAP. Here’s a list of checks that you should go through to solve potential uninstallation issues on your system.
Method #01: Change your default AntiVirus First
In case McAfee has been set as your default AV then it is likely the reason you are unable to uninstall it from your system. This could also be an enforced restriction from your organization or admin to ensure that your system is never without protection. Follow the guide below to change your default AV in Windows 11.
Press Windows + i to launch the Settings app. Now click on ‘Apps’ on your left.

Click on ‘Default Apps’.

Now look below for ‘McAfee’ in the app list. If found click on it and change any associations with default extensions back to Microsoft Defender and its other programs.

Once changed, restart your system for good measure. You can now uninstall McAfee from your system and you shouldn’t face any issues.
Method #02: Check your account privileges
If you are using a company issue machine or a system managed by your organization or educational institute then it is likely that you do not have the required permissions to remove McAfee from your system. It would be a good idea to get in touch with your admin if you wish to remove McAfee from your system as without administrator privileges this won’t be possible. However, in case you can source the grant number and license information from your admin then you will be able to remove the app on your own using the EPR guide at the top.
Method #03: Get in touch with McAfee Support
If you are still unable to remove McAfee programs from your system then it is time to get in touch with the McAfee support team. This likely indicates a unique issue to your system which will need to be individually diagnosed and resolved. You can use the link below to get in touch with the McAfee Support team.
- McAfee Technical Support | Link
- Contact Number: 1 (866) 622-3911 (USA)
How to manually delete McAfee leftover files
It’s now time to check for leftover files and delete the ones that you find. Ideally, McAfee nowadays does a good job cleaning after itself but depending on your Windows and McAfee version, you might still have some leftover folders and data. Use the guide below to check for and remove any leftover McAfee files from your system.
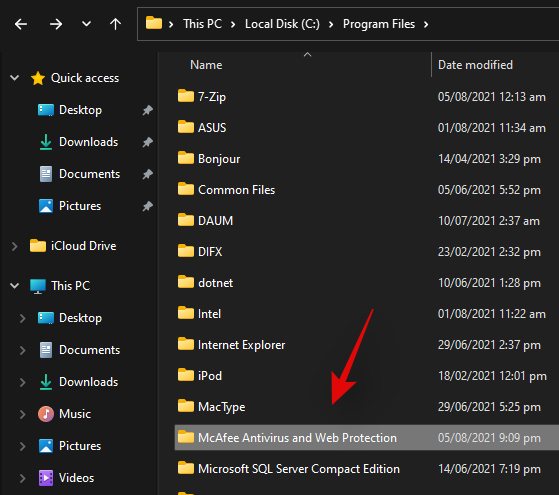
Press Windows + E keys together on your keyboard to open the File Explorer. Now navigate to the following path below. You can also copy-paste the same in your address bar. Delete any files and folders you find that are related to McAfee.
C:\Program Files
Similarly, navigate to the following paths and delete any leftover McAfee files or folders that you find. Simply replace ‘USERNAME’ with your current username within Windows.
C:\Program Files\Common FilesC:\Program Files (x86)C:\Program Files (x86)\Common FilesC:\ProgramDataC:\Users\USERNAMEC:\Users\USERNAME\AppData\LocalC:\Users\USERNAME\AppData\Roaming
Once done, you should be good to check for remaining tasks and services using the guide below.
How to stop and remove leftover tasks and services
Lastly, we can check for remaining tasks and services. While it is unlikely that a modern version of McAfee leftover remaining tasks and services on your system, older versions of McAfee can do so. And if you’re trying to remove a pre-installed version of McAfee from an older system then this could be the case. Here’s how you can check for leftover tasks and services on your system.
1. Check for leftover Tasks
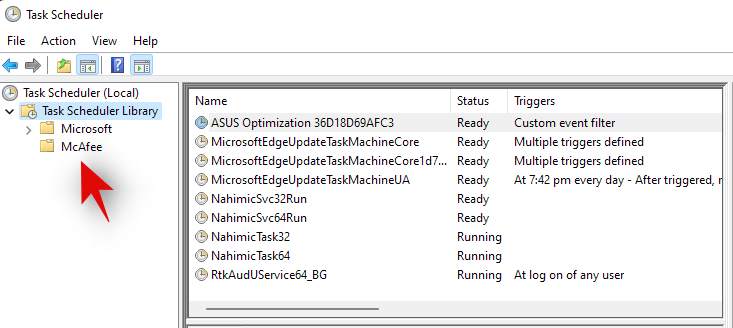
Press Windows + S on your keyboard and search for ‘Task Scheduler’. Click and launch the app once it shows up in your search results.

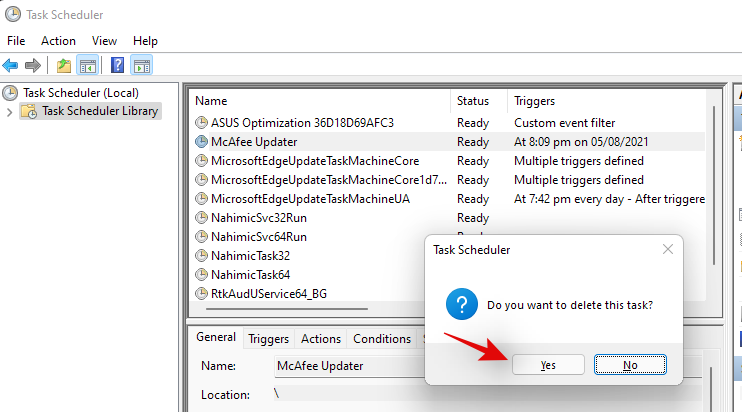
Look for McAfee tasks in the right tab with ‘Task Scheduler Library’ selected on your left.

If any are found, click and select the task and then hit delete on your keyboard. Click on ‘Yes’ to confirm your choice.
Now double click on ‘Task Scheduler Library’ on your left to expand the section.
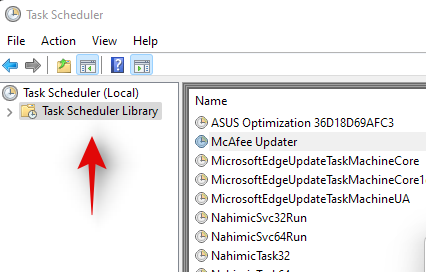
Look for a McAfee folder in this category. In case found one, delete all tasks in the contained folder and the folder itself.
And that’s it! You will now have deleted leftover McAfee tasks from your system.
2. Check for leftover Services
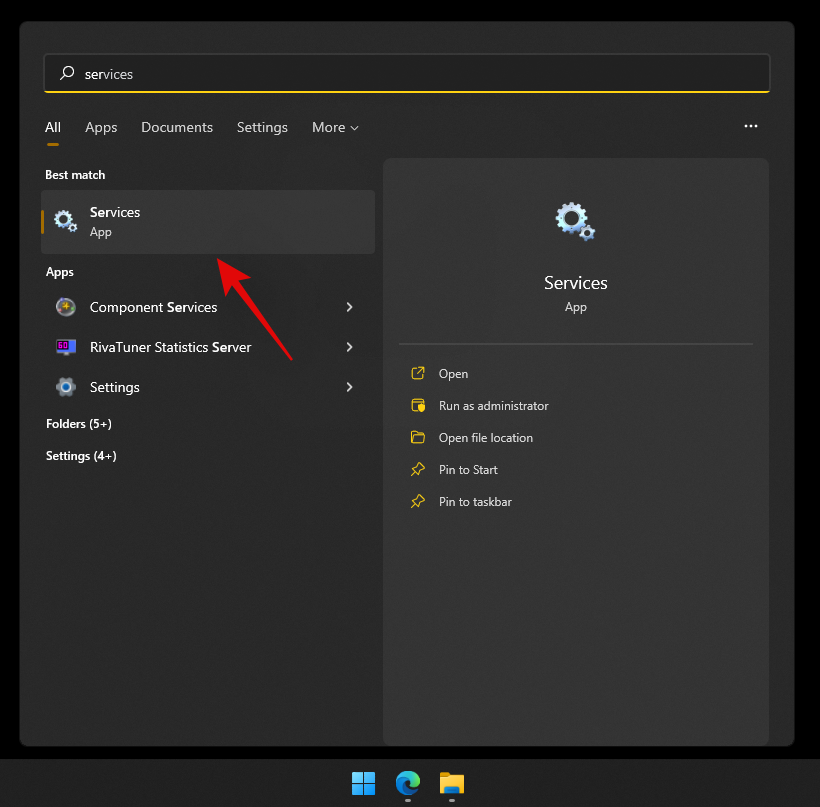
Press Windows + S on your keyboard and search for ‘Services’. Click and launch the app from your search results.
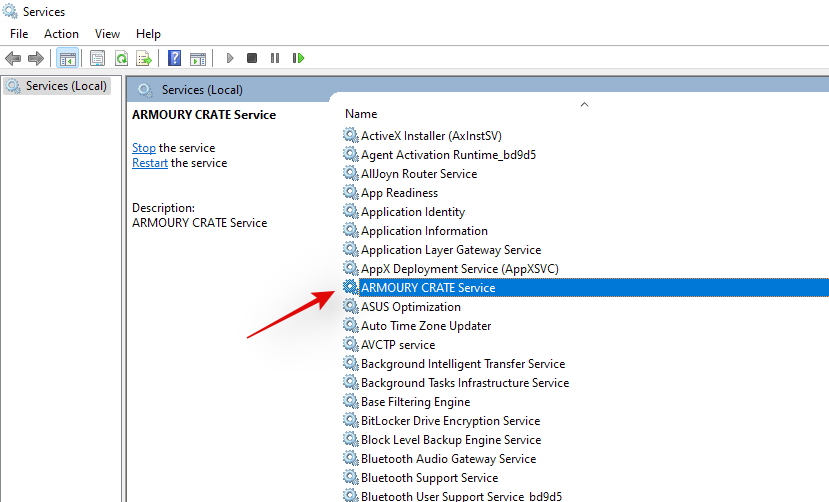
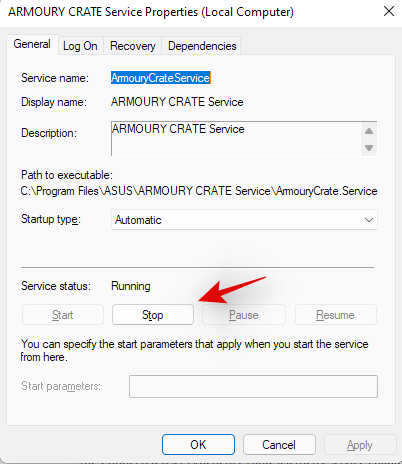
Now look for McAfee services in the list on your screen. Once found double-click on the service. As I do not have McAfee installed, we will be using Armoury Crate Service as an example for this guide.
The properties page will now open for the selected service. Make a note of the exact service name on the properties page.
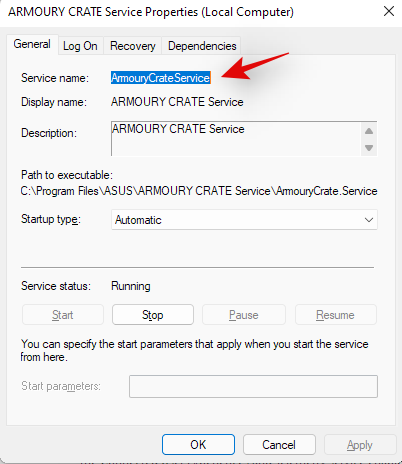
Click on ‘Stop’.
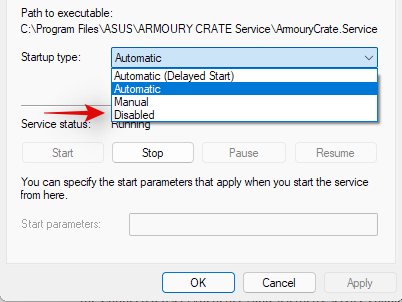
Now click on the drop-down menu and select ‘Disabled’.
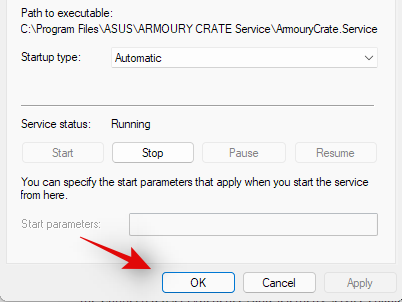
Click on ‘Ok’ to save your changes.
Press Windows + S and search for CMD. Click on ‘Run as administrator’.

Enter the following command and replace ‘SERVICE NAME’ with the name you noted down earlier.
sc delete SERVICENAME
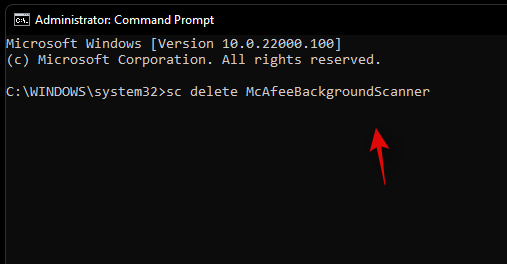
The service should now be deleted from your system. Repeat the steps above to delete other McAfee services from your system, if any.
Have a question? Let us know in the comments below.
Related:


One response to “How to Uninstall McAfee on Windows 11 [5 Ways]”
FANTASTIC RESULTS!!!!!!! first try worked like a charm, no more mcafee bs!!!! XD