Ever since TikTok came into existence, users got lured into using cool effects and video transitions on the short-form video hosting platform. Regardless of how you feel towards the app, TikTok has inspired users to try out inventive ways to make their videos stand out among others.
If you have been watching TikTok lately, you might definitely have come across this new trend where people are posting their pictures in 3D and these pictures look as if they’ve come to life. So what is it all about, what do you need to make your photos look three-dimensional, and how do you get in on this 3D photo trend? That’s what we’re going to help you with on this post.
What’s with the new 3D Photo effect on TikTok?
With the widespread use of the new 3D Photo effect on TikTok, many of you may be wondering whether the effect is possible through a new camera effect on your iPhone or a feature inside TikTok. But that’s not the case here.
https://www.tiktok.com/@haleyeahfam/video/6964801428552502534
The 3D photo effect is done using the editing app Capcut that offers a “3D Zoom” style within the app. This “3D Zoom” style zooms in on people or the subject and pulls the background in such a way that it appears to be a “three-dimensional” picture. The Capcut app lets you add this “3D Zoom” style to as many photos as you like, so you can add the style to multiple pictures to make your pictures look lively in video format.
If this is the first time you’re hearing about Capcut, it’s a video editing app that is developed by TikTok owner ByteDance. The app is available free-of-cost for iOS and Android devices and allows users to perform basic to moderate edition features like removing backgrounds, adding color filters, add stabilization, mask, apply chrome key, and more. Besides video editing features, you can also add various sound clips to your video from Capcut’s native audio library that’s available free of cost for everyone.
What do you need?
As we have explained above, using the 3D Zoom effect doesn’t require you to own a high-end camera or smartphone but just an app and your smartphone. Here’s what you need to make it work:
- An Android or iOS device
- Captcut app installed through the App Store or Google Play Store
Note: An important thing to note is that the Capcut app is available in selected countries (the US, the UK, and some other countries in Europe) and even some features inside the app are region-locked. So, even if you installed the app through an APK or some other means, the 3D Zoom style might still be unavailable for you if you’re in an unsupported region. If you find yourself in such a situation, you might want to use a VPN app of your choice to change your location to the US or other supported region, and then try using the Capcut app.
▶ What is VPN and what are the top VPN apps you can use
How to 3D Zoom your pictures with Capcut
Before we proceed, you need to make sure that you have installed ByteDance’s Capcut app on your phone from the links we mentioned in the above section. Once that’s sorted, let’s get started.
Add your favorite pictures
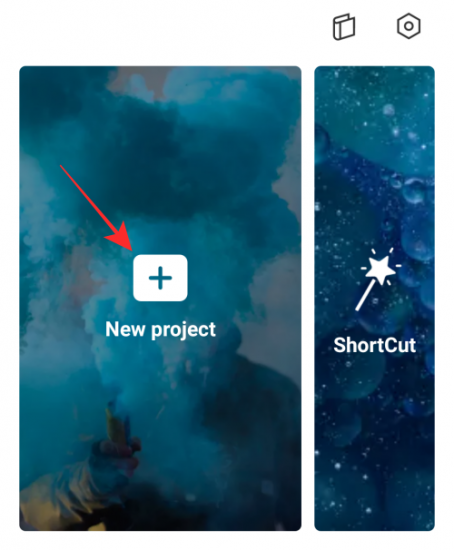
On your Android or iOS device, open the Capcut app and tap on the ‘New project’ option on the app’s Home Screen.
On the next screen, you will be asked to select multiple pictures from your phone’s library. The 3D Zoom style currently works on just photos. So make sure you select high-quality pictures with subjects that are relevant to be added together in a video.
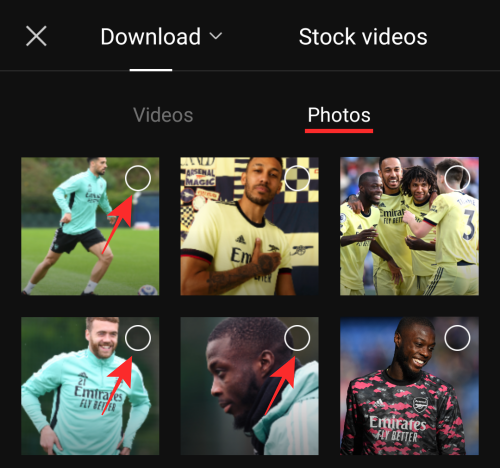
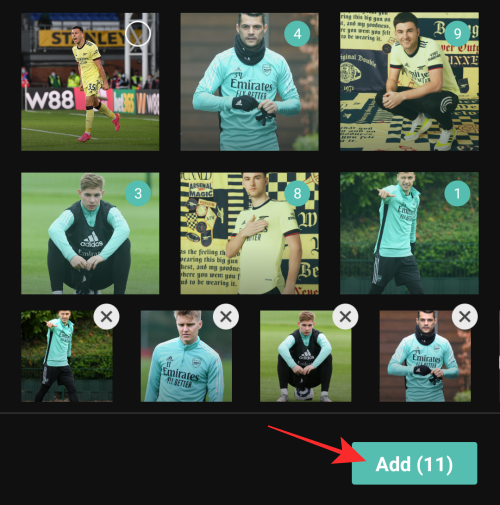
To follow the 3D Zoom photo trend on TikTok, we stuck with what others have been doing and added a total of 11 pictures. But if you want to add more pictures, you can most certainly do that too. Additionally, the pictures will be added to the video in the order of your selection; the first picture you selected will show up first and the last one will be shown at the very end. So choose pictures in the order that you wish them to be seen in your video.
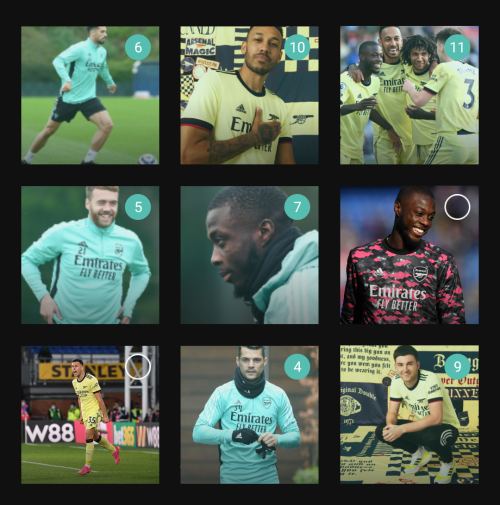
Once you have selected all the pictures you want to add to your 3D Zoom video, tap on the Add button at the bottom right corner.
All your pictures will now be added to a new Capcut project.
Add “3D Zoom” style to your photos
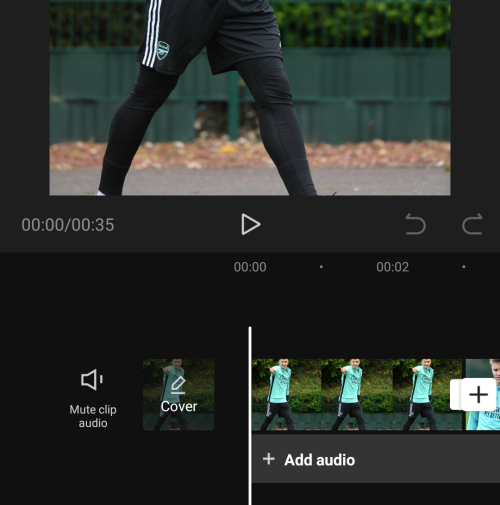
Once all the pictures are visible inside a project timeline, select a picture to highlight it.

When the selected picture is highlighted, swipe the bottom toolbar to the left until you come across the ‘Style’ option.
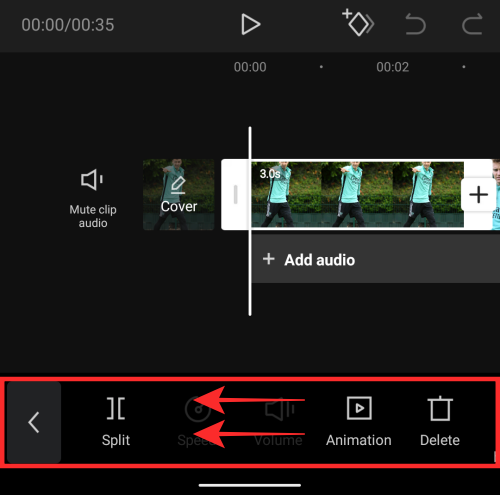
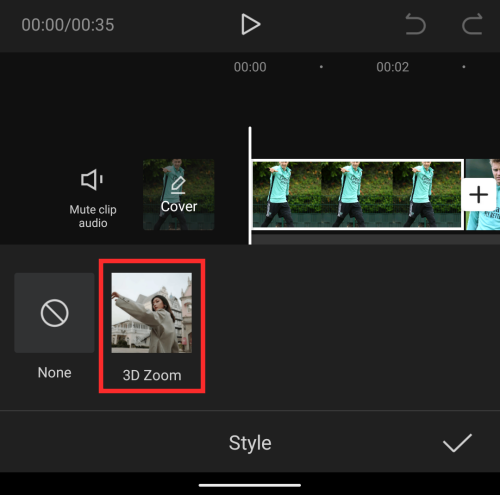
Select the ‘Style’ option from the bottom.
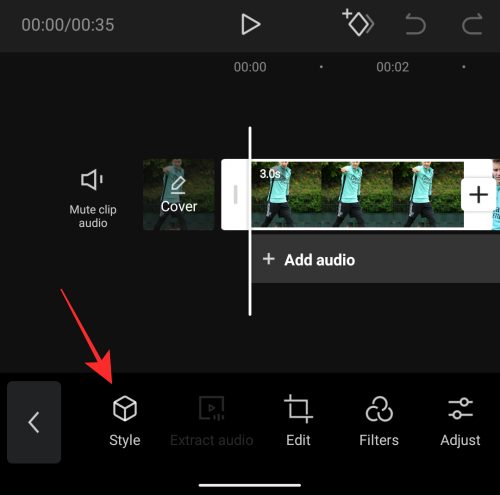
This should open the Style section on Capcut. Tap on the “3D Zoom” style from this section to apply it to the selected picture.
For some reason, we could only see the “3D Zoom” style from this section and nothing else. Comment below if you see other styles on this screen from your device.
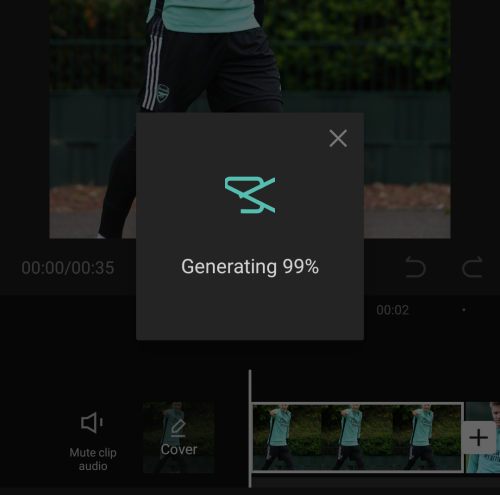
Capcut will now generate a “3D Zoom” styled clip of the picture you applied the style on.
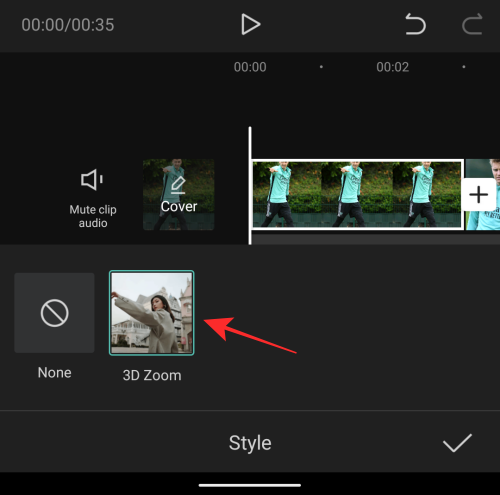
You will know that the “3D Zoom” style is applied to a picture if the ‘3D Zoom’ option is highlighted.
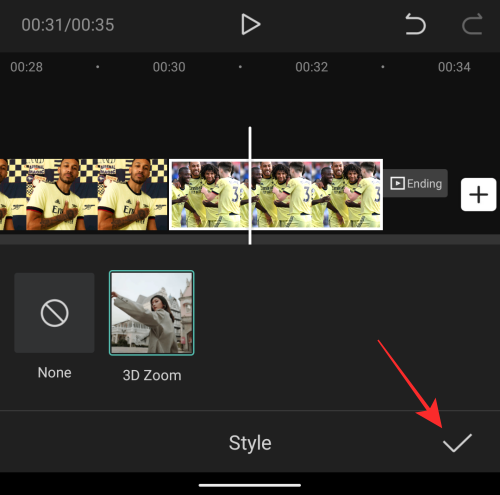
Now, you can go ahead and repeat the steps above to apply the “3D Zoom” style to the rest of the pictures. You don’t even need to repeat the steps as applying the same effect just requires scrolling through the timeline by swiping to the right and then tapping on the ‘3D Zoom’ option.

Once you have applied the ‘3D Zoom’ option on all pictures, tap on the tick mark on the bottom right corner to apply the changes.
Shorten the clips
So, you have applied the “3D Zoom” effect to your pictures on Capcut. If you’re satisfied with the results, you may go ahead and save your creation by skipping this section altogether. But if you want your video to look more lively and stay in line with the viral trend, then you may want to cut down on your clip’s duration.
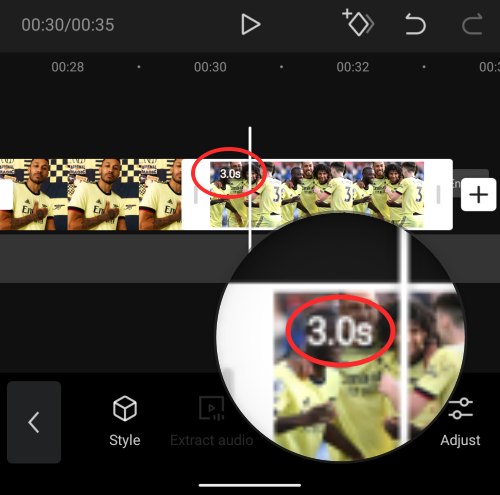
By default, each of your 3D Zoom-enabled pictures will last a total of 3 seconds.
If you added multiple pictures like us, which stands at a total of 11, the total duration of your 3D Zoom video will be 33 seconds, which is quite long for TikTok videos in general. In fact, your video would only look aesthetic if you fasten the playback from 3 seconds to a fraction of a second.
While you may choose to select any duration for your 3D Zoom clips, these are the settings that you can use if you wish to follow the 3D photo trend from TikTok – Make the first 4 clips last 0.5 seconds and shorten the rest of the clips to 0.3 seconds.
Note: If you don’t feel the need to follow others in this trend, you can keep all of your clips set somewhere between 0.5-1.0s to give each of your photos better visibility.
Now that we’ve explained why you should shorten the clip duration for your video, let’s help you get it done on Capcut.
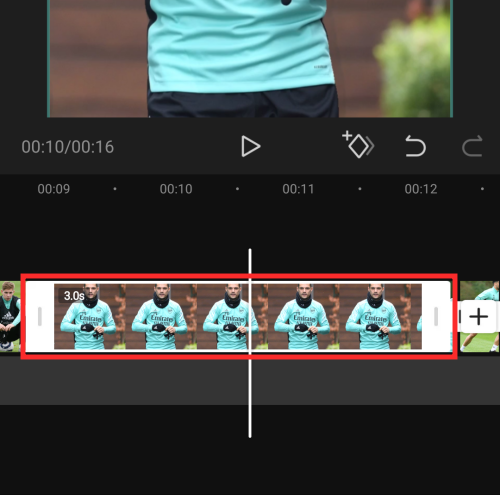
After you have applied the ‘3D Zoom’ option on all pictures, select any clip from the timeline so that it gets highlighted. You will be able to see that the clip’s default duration is 3 seconds.
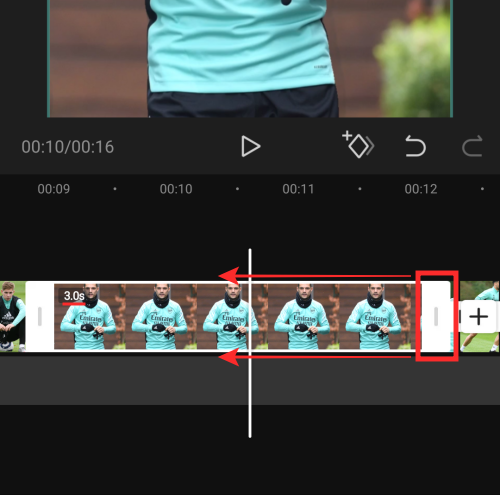
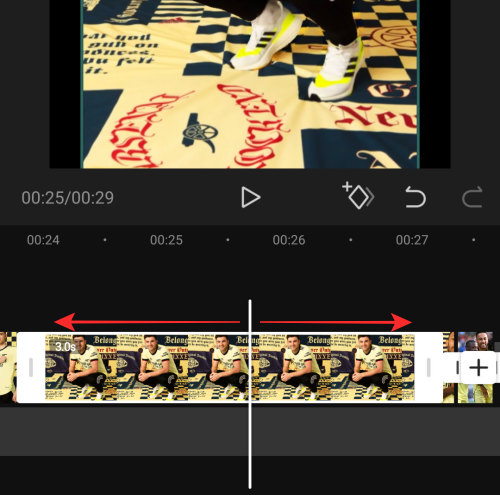
To trim down its length, drag its end tab towards the left so that its duration is reduced to either 0.5s or 0.3s depending on the effect you want to apply. The further you move a clip’s end tab towards the left, the shorter the clip will be.
At any time, the duration of a clip will be shown near its start tab.
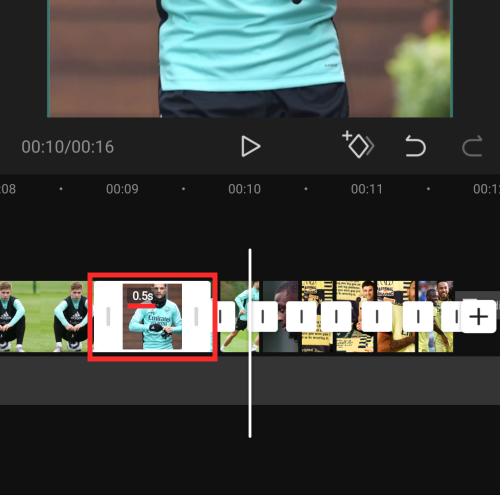
In our case, we reduced the first four clips to 0.5 seconds each and the remaining seven clips to 0.3 seconds each.
Additional tip: You can pinch out on the video timeline to accurately change the clip duration to the exact fraction. Zooming in on the video timeline doesn’t increase the clip duration but it simply lets you establish the start and end tabs better.
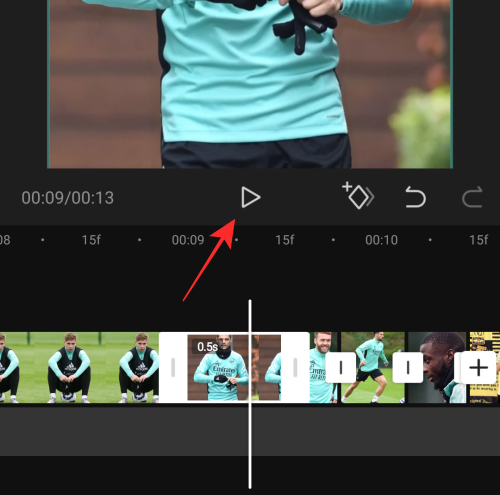
You can tap the Play icon below the preview to check how the video plays and whether or not the effect has been applied properly.
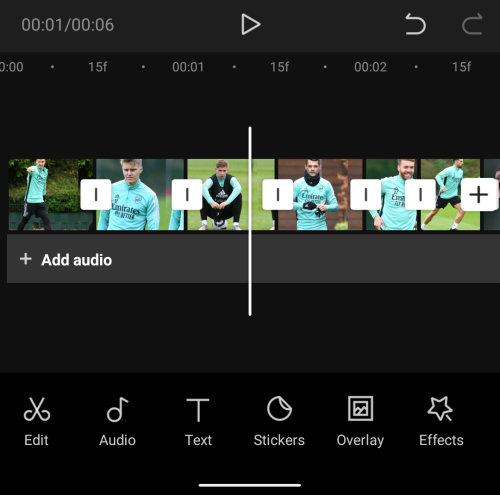
When you have reduced the duration of all the clips, it will look something like this. Now, you’re ready to save your creation.
Save the 3D Zoom
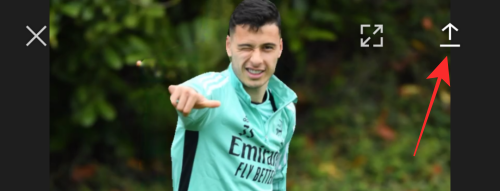
Now that you have created your 3D Zoom video, you can export your creation by tapping the Export icon at the top right corner of the screen. This icon will be marked by an upward-facing arrow on top of a dash.
When you select the Export option, you should see an overflow menu prompting you to select your preferred video resolution and frame rate. If you want the highest quality, choose 1080p as the video resolution and 60fps as the frame rate. You can lower down either of these settings to save the video at your preferred setting. The ‘Estimated file size’ at the bottom will give you a rough idea as to what your video’s end size could be.
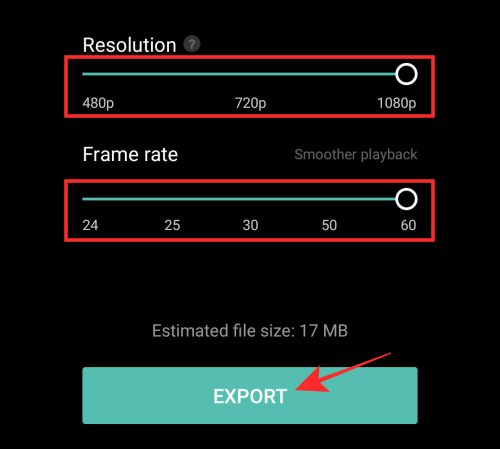
Once you’ve selected your preferred video settings, tap the ‘Export’ button at the bottom to save your video.
Capcut will now export your video. Make sure you don’t quit the app or lock your screen.
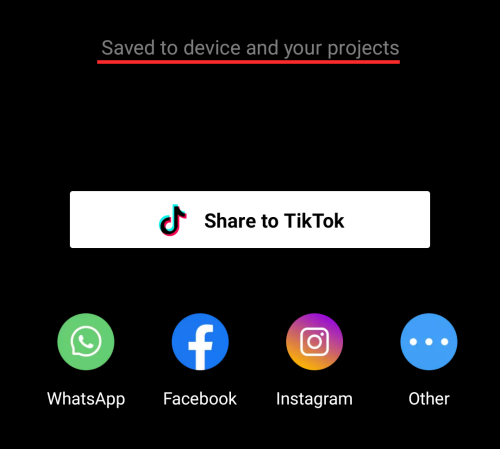
When the video has been saved to your phone’s library, you should see the “Saved to device and your projects” message on the screen. From here, you can also share the video directly on TikTok, WhatsApp, Facebook, Instagram, and other apps.
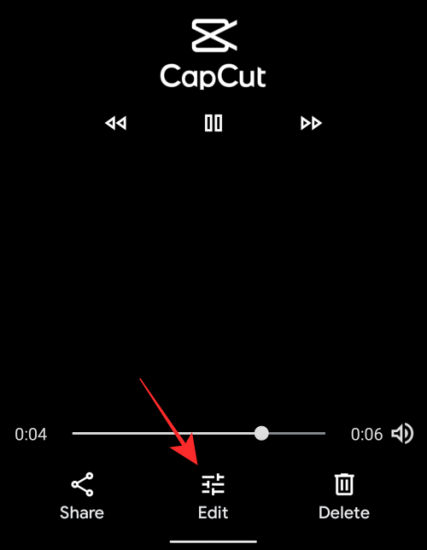
Additional tip: When you export a video from Capcut, it will feature an outro that shows the Capcut logo at the very end of your clip. You can use the native photo editor app on your phone to trim down the video to only contain the 3D zoom video and not the outro. Google Photos offers a native editor tool that lets you trim a video with ease. Just open the newly created video on Google Photos, and tap on ‘Edit’ at the bottom.
Now, move the end pointer to your desired location, and save a copy of the trimmed video.
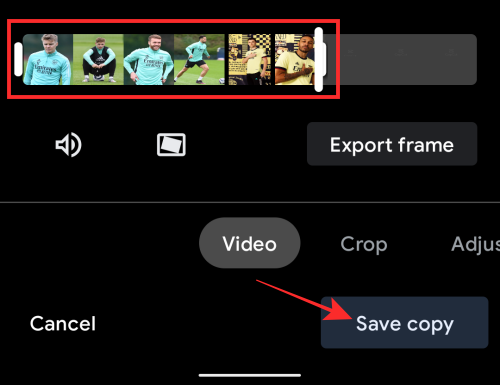
You should now be able to view your video with just your clip minus Capcut’s outro. Here’s what it should look like if you do everything as we told you to do.
That’s all there is to know about the 3D Zoom style on Capcut.
RELATED


2 responses to “How to do 3D Zoom on Capcut”
In my case the Style button has completely disappeared, rendering the app useless . Have they gotten rid of it altogether?
When I try to open up the styles button, I’m only given three filters, the 3D effect not being one of them. There’s “auto velocity” and two different “freeze frame” filters.