
With the popularity and demand for short-format videos on social media, many of you may be looking to master the art of editing videos before they get published. If you’ve been using TikTok to upload your videos, then chances are that you might have definitely come across this video-editing app – CapCut.
Developed by the team behind TikTok itself – ByteDance, CapCut is available on both iOS and Android for free. The app offers basic to moderate editing features like adding color filters, stabilization, masks, chrome key, soundtracks, modifying backgrounds, and much more, but the more popular features of the app have been 3D Zoom effect and Green screen.
If you’re looking for a way to blur a video on CapCut, you can rest assured that you can do so by following the steps mentioned below. But before you move on to adding a Blur effect to your video, make sure you have the Captcut app installed through the App Store or Google Play Store.
With that behind us, let’s get started.
Related: How to do 3D Zoom on CapCut
How to blur a video on CapCut in 4 Ways
There are different ways you can add a blur effect to your video using the CapCut app.
1. Blur an entire video
If you want to blur all the contents of a video, CapCut lets you do just that. Keep in mind that blurring an entire video will affect all parts and objects of the video through the duration of the video.
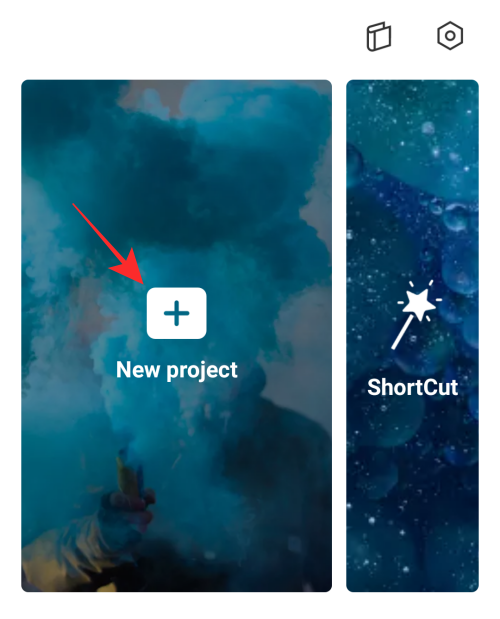
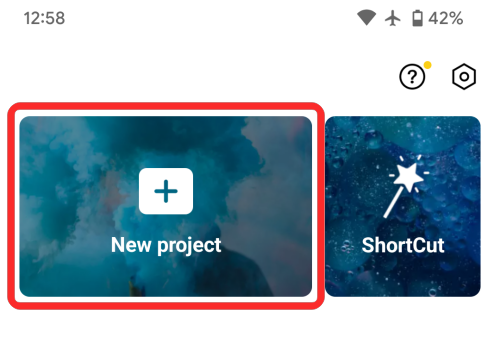
To do this, open the CapCut app on iOS or Android and tap on the ‘New project’ option on the app’s Home Screen.
On the next screen, select the video you want to edit and add a blur effect to.

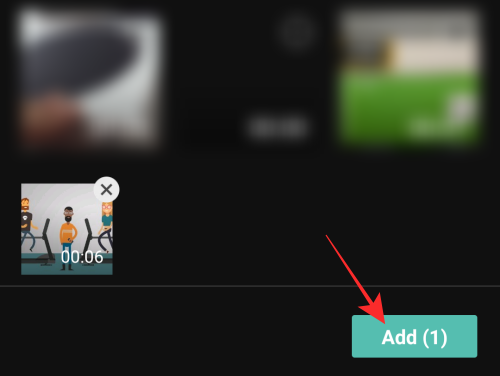
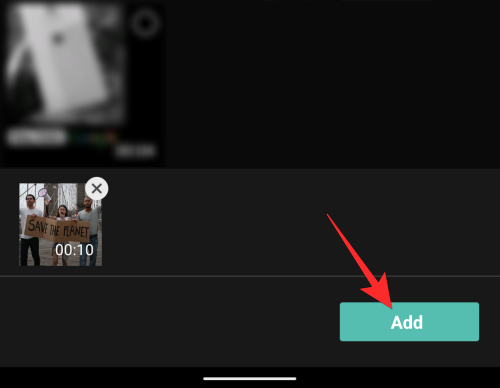
Once you have selected the video you want to edit, tap on the ‘Add’ button at the bottom right corner.
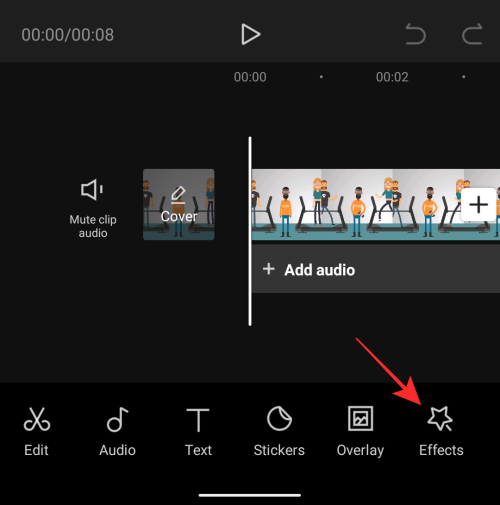
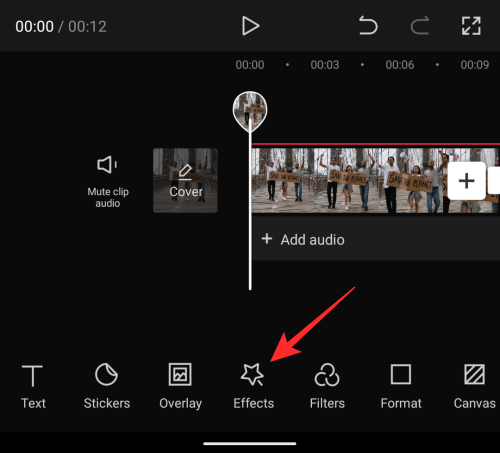
The selected video will now be added to a new CapCut project. On this screen, tap on the ‘Effects’ tab from the bottom toolbar.
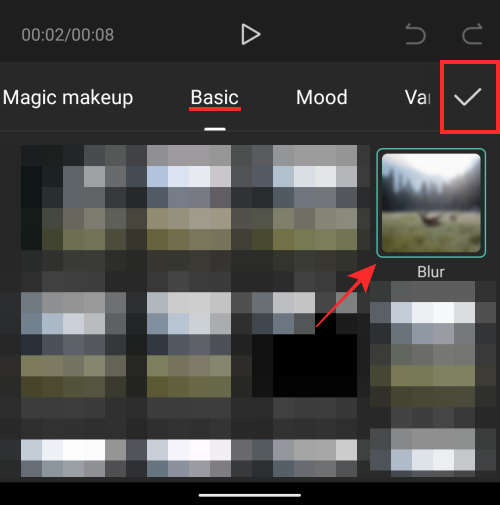
An overflow menu will now appear at the bottom portion of the screen. By default, you’ll be shown all the effects available on the ‘Trending’ tab at the top. Scroll through these tabs and find the ‘Basic’ category.
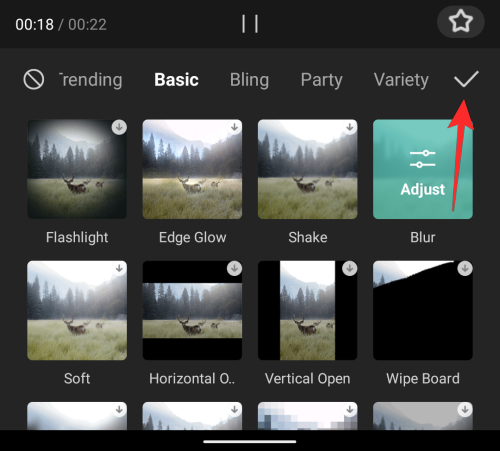
Inside the ‘Basic’ tab, scroll down, select the ‘Blur’ effect, and if you’re satisfied with the kind of blur, tap on the tick mark.
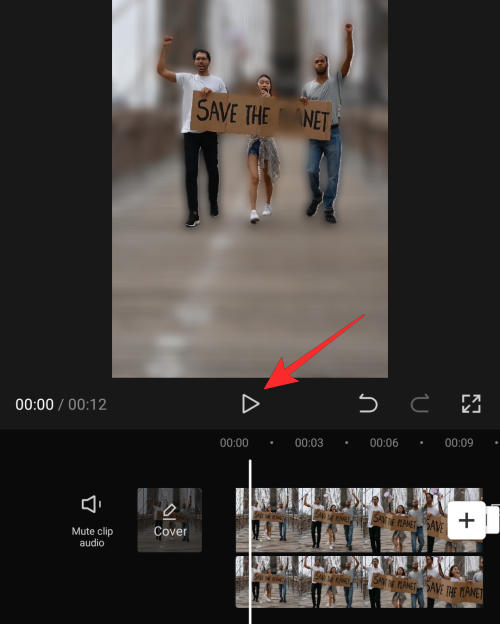
You will now be taken back to the project timeline inside CapCut where you should be able to see the Blur effect applied to your video.

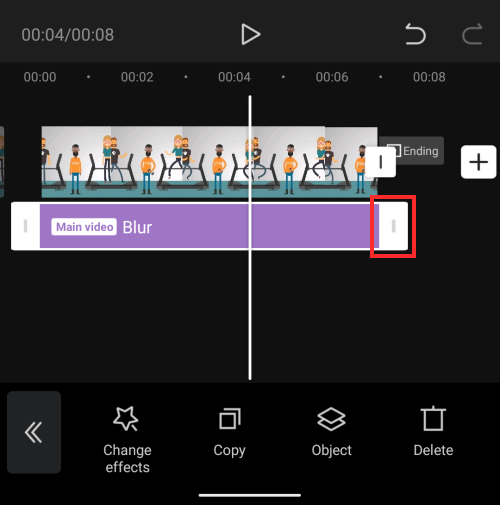
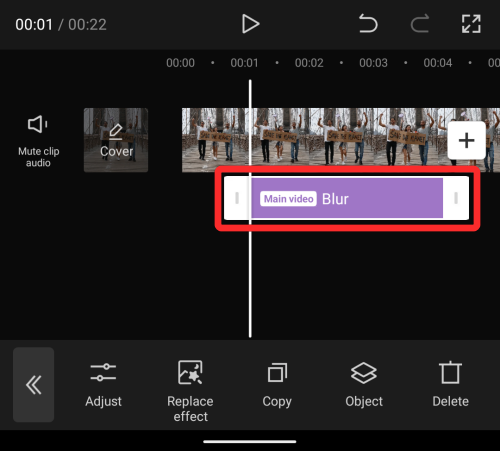
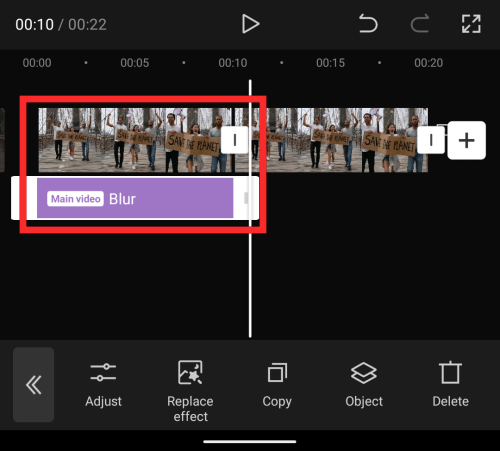
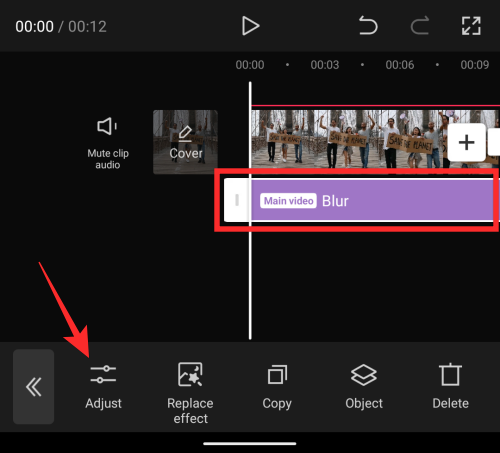
By default, the Blur effect will only be applied to a portion of your video. To expand the effect to the entire duration of the video, tap on the “Blur” bar marked here in purple, drag its end pointer, and drop it at the end of your video. This will make sure the entirety of your video is covered in blur.
When the Blur effect and your main video have the same end time, it will look like this.

You can then save your video by following the instructions provided in the last section.
Related: How To Use Green Screen on CapCut
2. Blur a portion of a video
If you want to blur only some portions of the video, like a face, then the following set of steps should help you get that done. For this, first add a video you want to blur. You can do this by creating a new project inside the CapCut app.
Now, select the video you want to edit and tap on the ‘Add’ button at the bottom right corner.
When the video is added to a new CapCut project, tap on the ‘Overlay’ tab at the bottom.

On the next screen, tap on the ‘Add overlay’ option.

Select the same video you added first as an overlay.

The overlay video will now appear on top of your main video.

Using your fingers, pinch and drag the overlaid video and position it directly over your main video. This is necessary because, for some reason, CapCut overlays the second video inside the borders of the main video. You need to make sure the border of the first and second videos are lined up perfectly.

After you have aligned the second video on top of the first one, tap on the left-facing arrow icon at the bottom left corner.

This will take you to the main toolbar at the bottom. The next step is to apply the blur effect to the entire video as you did in the previous section. For this, tap on the ‘Effects’ option at the bottom.

Next, go to the ‘Basic’ category when the Effects menu pops up, and select the ‘Blur’ effect. When you’re done selecting the effect, tap on the tick mark icon.
You should be able to see the Blur effect applied to your video.
For some reason, CapCut doesn’t apply an effect to the entire duration of the video. But you can expand it to cover the entire video by dragging its end pointer and dropping it at the end of your video.

When you have done that, select the “Blur” bar marked here in purple and then tap on the ‘Object’ tab from the bottom.
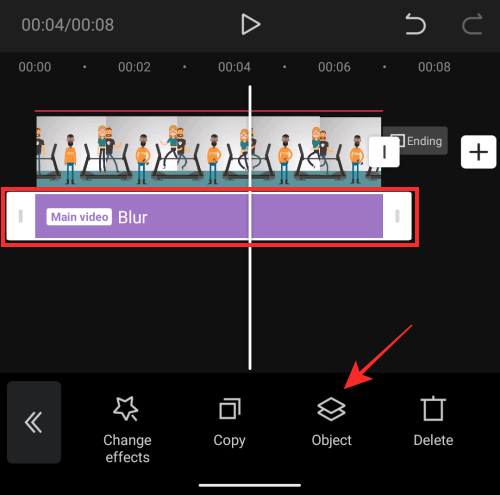
You will need to select where you want to place the Blur effect on. From the menu that appears, select the ‘Overlay’ tile and then tap on the tick mark.

Now, go back to the main project timeline by tapping the left-facing arrow icon at the bottom left corner.

On the project time screen, go to the ‘Overlay’ tab once again.

Inside the Overlay screen, tap on the second video that you added as an overlay earlier. Swipe through the bottom toolbar and select the ‘Mask’ tool.

From here, you can choose different shapes for your blur effect. If you’re attempting to blur a face on the video, we would suggest you pick the ‘Circle’ option on the screen. You can, however, choose any shape you want for the blur effect, depending on what you want to blur.

Before tapping on the tick mark, position the Blur onto your preferred position and resize it using the arrows provided at the top and right. You can also adjust the blur intensity by dragging the downward-facing arrow up and down to your preferred setting.

Once you have customized your Blur mask, tap on the tick mark at the bottom to apply it.
Now, you can leave the blur effect at it is if the subject you blurred is stationary. But since this is a video and things are often moving, you may want to consider blurring the subject as it moves. To get this done, we’ll be using Keyframes to reposition the Blur mask to different positions as the subject moves.
For this, seek through the video as it plays and check when the subject moves out of the Blur area. Seek to the spot when that happens and tap on the Keyframe icon adjacent to the play button.

When you do that, CapCut will mark the spot with a diamond icon. When this icon is colored in red, it means you have selected it. With a keyframe selected, tap on the ‘Mask’ option from the bottom toolbar.

Next, reposition or reshape the Blur mask however you prefer.

Now, tap on the tick mark at the bottom.
You can add as many keyframes as you like inside a video, provided that they’re necessary. When you add multiple keyframes, you should be able to see multiple diamond icons on the seek bar like in the screenshot below.

As the video jumps from one keyframe to the next, the Blur mask changes position and shape gradually so that the quality of the video isn’t affected.

That’s about it. You can proceed to export and save the video to your library by following the instructions we’ve explained in the last section.
3. Blur your background
CapCut also lets you blur the background behind you if it detects you or another human inside the video. However, the blur effect cannot be applied natively and you need to fiddle around the app to get the desired effect on your video.
To get started, open the CapCut app and tap on New project.
Now, select the video you want to edit and tap on Add at the bottom right corner.
CapCut will now start compressing the video you selected and then load it on your screen.

Note: To create a background blur effect for your video, you first need to create a duplicate of this video so you have two clips – one where you apply blur and the other where you remove the background while keeping the faces and bodies of people intact. After creating these two videos, you will then have to merge them together into a single video to get the desired background blur effect.
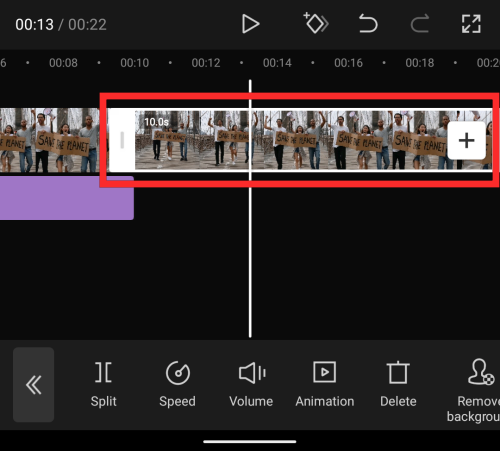
To duplicate the video you want to edit, select the clip below the video preview. With this clip selected, swipe through the bottom toolbar and tap on Copy.

This clip will now be duplicated and you should see the copied clip appear at the end of your original video.

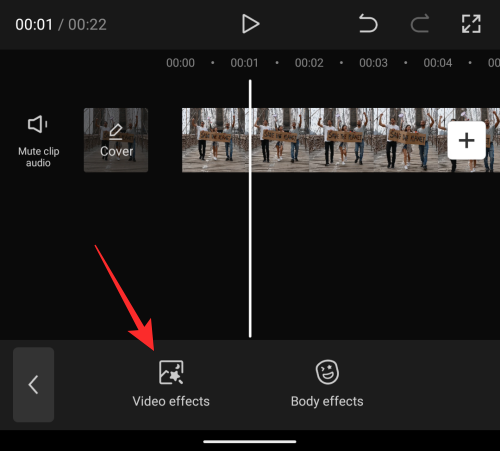
Now, scroll over leftwards to the first clip and tap on the Effects option from the bottom toolbar.

Next, select Video effects.
In the popup screen that appears, go to Basic and select Blur.
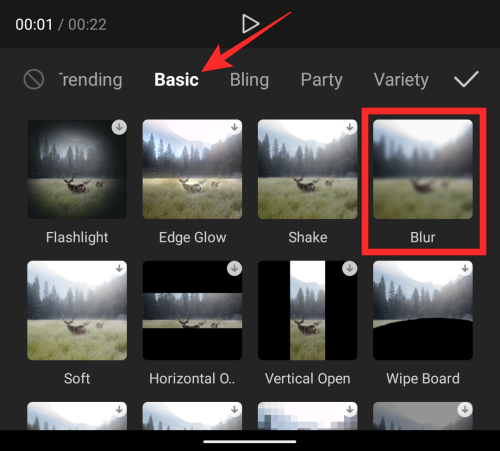
Once selected, tap on the tick mark icon to apply it.
You will now see that the blur effect has been added to a portion of the first clip and will be visible as a layer under the clip.
To make sure it’s applied for the entirety of the first clip, drag both ends of the Blur layer to cover the length of the first clip. While doing so, make sure this effect isn’t copied over to the second clip; so be precise.

When done neatly, the whole timeframe should look something like the image below. As you can see, the Blur layer appears only under the first clip, meaning only the first clip is blurred.
Now, we can move over to the second clip and remove the background from it so that only people in the video are visible.
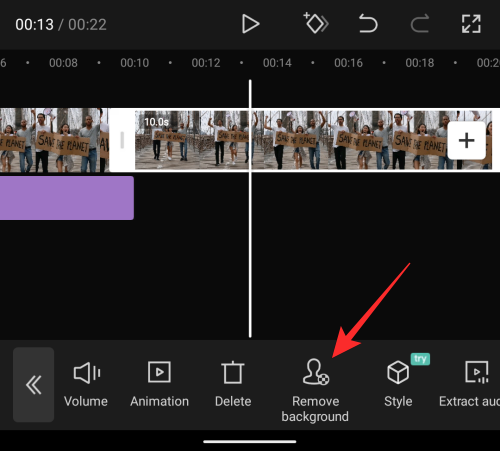
To do this, slide over to the second clip and tap on it.
With the second clip selected, swipe through the bottom toolbar and tap on Remove background.
CapCut will now start removing the background from the clip and you should be able to see its progress below the video preview above.

Once the background has been removed, you can check the result by playing the second clip or scrolling through the second clip.

If you’re satisfied with the result, you can tap on the left arrow icon at the bottom left corner.

Your job is to merge both the first and second clips into one single video. To do that, select the second clip on the next screen and tap on Overlay from the bottom toolbar.

You’ll now see that the second clip now appears in a separate layer below the first clip.
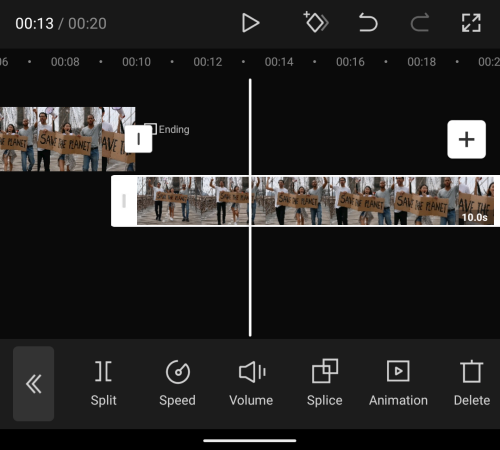
To make sure both clips are merged together, tap and hold on this second clip and drag it leftwards to the start of the first clip. It should be placed in such a way that the start and end points of both clips coincide with each other.

And that should be it; you can successfully merge both the clips. You can now tap on the Play icon to see what the final video looks like.
If you think the blur effect is a little too aggressive, you can adjust it. To modify the blur intensity, tap on Effects from the bottom toolbar.
On the next screen, select the existing Blur layer and then tap on Adjust.
You will now see a Blur slider at the bottom. Drag through this slider to get your desired blur intensity. We recommend choosing a blue anywhere between 10 and 15 as that should be optimal to make the subject(s) pop out. Once you’re done changing the Blur intensity, tap on the tick mark at the bottom right corner.

You can preview the resultant video to see it play with your desired background blur effect.

You can proceed to export and save the video to your library by following the instructions we’ve explained in the last section.
4. Blur sides of a video
Many a time you would have come across a situation where you have to upload a video in a certain aspect ratio when the video itself is in another aspect ratio altogether. CapCut lets you expand your video to different formats and also adds a blur effect to the sides that will otherwise be empty.
To add blurred sides to a video, create a new project inside the CapCut app.
Now, select the video you want to edit and tap on the ‘Add’ button at the bottom right corner.
When the video is added to a new CapCut project, tap on the ‘Format’ tab at the bottom. You will see the Format tab after swiping left on the bottom toolbar.

Next, select your preferred aspect ratio. You can choose anything from 9:16, 16:9, 1:1, 4:3, 2:1, and other options.

After you have selected a format, select the ‘Canvas’ tab from the bottom.
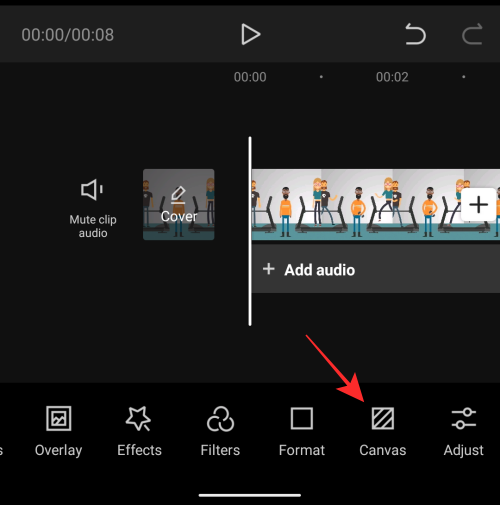
Inside the Canvas screen, tap on the ‘Blur’ option.

Next, choose a Blur effect that you want to apply to the sides of your video and then tap on the tick mark icon at the bottom right corner.

You should now be able to see the video preview at the top showing your video with blurred effects applied to the top and bottom sides. Depending on the format you choose, the blur effect will be applied on the sides that would otherwise have remained black.

The newly-blurred video is now ready to be saved. Read the section below to learn how to export your edited video on CapCut.
How to save an edited video on CapCut
After you have blurred a video the way you wanted to, you may want to directly proceed to save your video. But before you do, there’s one more important step that you need to take care of. Exporting a video from CapCut will result in an Outro that shows the CapCut logo at the very end of your clip. Fortunately for you, CapCut lets you delete this part of the video in case you want to remove it.
You can remove the outro portion from your edited video by seeking to the end of your video, selecting the Outro portion that plays the CapCut logo, and then tapping on the ‘Delete’ button from the bottom right corner.

Once that is sorted, tap on the Export icon at the top right corner of the screen indicated by an upward-facing arrow on top of a dash.

You should now see an overflow menu prompting you to select your preferred video resolution and frame rate. For the best video quality, we suggest you choose 1080p as the video resolution and 60fps as the frame rate. If you don’t want to save your video in the highest of quality, you can reduce either of these settings which will also bring down your video’s file size. After you have selected your preferred video settings, tap the ‘Export’ button at the bottom to save the video to your library.

CapCut will now export your video and once this is complete, you should see the message “Saved to device and your projects”. On the next screen, you will be given options to share the video directly on TikTok, WhatsApp, Facebook, Instagram, and other apps.

That’s all we have on blurring videos using CapCut.
RELATED


One response to “How to Blur on CapCut: Step-by-Step Guide”
This is AWESOME thank you so much!
Was perfect for blurring out a stranger’s license plate that I wanted to be respectful of.