
Reversing videos is a genuinely cool idea that can generate creative videos for your daily social media needs. While it seems like a simple enough concept, you’ll be surprised to know that your iPhone doesn’t have a straightforward way of reversing a video.
But worry not, because, in this article, we will cover all the various ways you can go about reversing a video on your iPhone so the videos you put out there never lack a tinge of creativity. Let’s get started!
There are two main ways to reverse a video on your iPhone. You can use a website to reverse a video or use a dedicated app on your iPhone from the App Store. Let’s take a look at each of these methods and how you can use them to reverse a video on your iPhone.
Method 1: Using kapwing.com
Using a website is an easy way to reverse videos on your iPhone. We recommend two websites that are easy to use with minimal hurdles. You can either use Kapwing or choose to use Ezgif instead. Follow either section below to help you reverse a video using your preferred website. Let’s get started.
Here’s how to use the Kapwing website to reverse a video on iPhone.
Short guide:
- Open Kapwing.com and sign in > Create New Project > Press to upload > Photo Library > Select video > Add > Select video in timeline > Edit video > Reverse > Export > Select Format, Resolution and Quality > Export as MP4 > Download Video.
GIF guide:

Step-by-step guide:
Here’s how you can reverse a video on your iPhone using Kapwing.com. Follow the steps below to help you along with the process.
- Visit the link below to open Kapwing.com in your preferred browser. Now tap on Get Started.
Kapwing | Link


- You will now be asked to log into your account. You can log into your existing account or sign up for a new one using the Google or Facebook option. Once you are logged in, tap on Create New Project.


- Now tap on Press to upload. Select your preferred source to select your video. Let’s add a video from the Photos app for this example. We can do so by tapping on Photo Library.


- Now tap and select the video you wish to reverse. Tap on Add in the top right corner once selected.


- The video will now be uploaded and added to your timeline. Tap and select the video in your timeline. Tap on Edit video at the top of the video preview.


- Scroll the options at the bottom to find the Speed section. Tap and check the box for Reverse. The video will now be reversed. This can take some time to process, depending on your network speed. Once done, tap on X in your timeline.


- You can now tap on the Play icon to view a preview of the video. Reversed audio might be an issue for you. If that happens to be the case, tap and hold on the video in your timeline.


- Tap on Detach audio. Next, tap and hold on the detached audio.


- Select Delete. Now tap on Export in the top right corner of your screen.


- Ensure MP4 is selected at the top under Format. Tap on your preferred resolution next. Unfortunately, 1080p and 4K resolutions are locked behind a premium Kapwing subscription.


- Use the slider for Compression Level to dictate the file size of your exported video. Drag it to the extreme right if you don’t wish to compromise on quality. Tap on Export as MP4 at the bottom of your screen once done.


- The video will now be processed, and you can track its progress at the top of your screen. Once the process has been completed, tap on Download to download it on your iPhone.


- Confirm your choice by tapping on Download again. The video will now be downloaded on your iPhone, but it still needs to be saved. So tap on the Downloads icon in your URL bar.


- Tap on Downloads and then tap on the video we just downloaded.


- Now tap on the Share icon in the bottom left corner and then tap Save Video.


- Tap Done in the top right corner. The video will now be available in your Photos app.


And that’s how you can use Kapwing.com to reverse a video on your iPhone.
Related: How to Remove Slow Motion From a Video on iPhone
Method 2: Using ezgif.com
Ezgif.com is another easy-to-use website you can use to reverse videos on your iPhone. Follow either guide below to help you along with the process.
Short guide:
- Open Ezgif.com > Video to GIF > Reverse > Choose File > Select video > Done > Upload video! > Choose Reverse sound or mute sound > Reverse video! > Save > Download.
GIF guide:

Step-by-step guide:
Here’s how you can use Ezgif.com to reverse videos on your iPhone. Let’s get started!
- Open Ezgif.com on your iPhone using the link below. Now tap on Video to GIF at the top. Don’t worry, your video won’t be converted to a GIF.
Ezgif | Link


- Tap on Reverse and then scroll down and tap on Choose File.


- Tap and select the source you wish to use to upload the video. Let’s upload a video from the Photos app for this example. For this, we will select Photo Library. Next, tap and select the video you wish to reverse from your Photo Library.


- Once done, tap on Done in the top right corner of your screen. Now tap on Upload video! at the bottom.


- The video will now be uploaded to Ezgif. This can take some time, depending on your network speed and bandwidth. Once uploaded, choose reverse sound if you wish to reverse the video’s audio as well or choose mute sound if you wish to remove the audio altogether.


- Now ensure Copy original is selected under Output format and encoding and then tap on Reverse video!.


- The video will now be reversed and available at the bottom. Scroll down and tap on Save. Tap on Download once you’re prompted to confirm your choice.


- Once the video has been downloaded, tap on the Downloads icon in your URL bar and then tap on Downloads.


- Tap and select the ezgif video that was just downloaded, and tap on the Play icon to preview the reversed video.


- If everything checks out, tap on the Share icon in the bottom left corner of your screen and then tap on Save Video.


- Your video will now be saved on your iPhone, and it will now be available in the Photos app on your iPhone.

And that’s how you can use Ezgif.com to reverse videos on your iPhone.
There are various third-party apps that can help you reverse videos on your iPhone as well. Let’s take a look at three of such popular apps and how you can use them to reverse videos on your iPhone. Let’s get started!
Related: How to Loop a Video on iPhone [2023]
Method 3: Using the Kinemaster app
Kinemaster is a powerful professional video editor available for mobile devices. You can use it to reverse videos easily on your iPhone. Use either guide below to help you use Kinemaster to reverse a video. Let’s get started!
Short guide:
- Kinemaster app > Create > Create New > Select Aspect Ratio > Create > All > Select video > Select video in timeline > Reverse > Share > Format > select format > Choose Resolution and Frame Rate > Choose quality > Save as Video.
GIF guide:

Step-by-step guide:
Here’s how you can use Kinemaster to reverse a video on your iPhone. Follow the step-by-step instructions below to help you along with the process.
- Open the link below and download Kinemaster on your iPhone from the App Store. Once the app is open, tap on Create at the bottom of your screen.
Kinemaster | Download Link


- Tap on + Create New at the top. Now tap and select your preferred aspect ratio depending on the video you wish to use. As a crude rule, you can select 16:9 for landscape videos and 9:16 for portrait videos on your iPhone.


- Once you have selected the aspect ratio, tap on Create at the bottom of your screen.

- Allow access to your photo library when you’re prompted, and then tap on All.

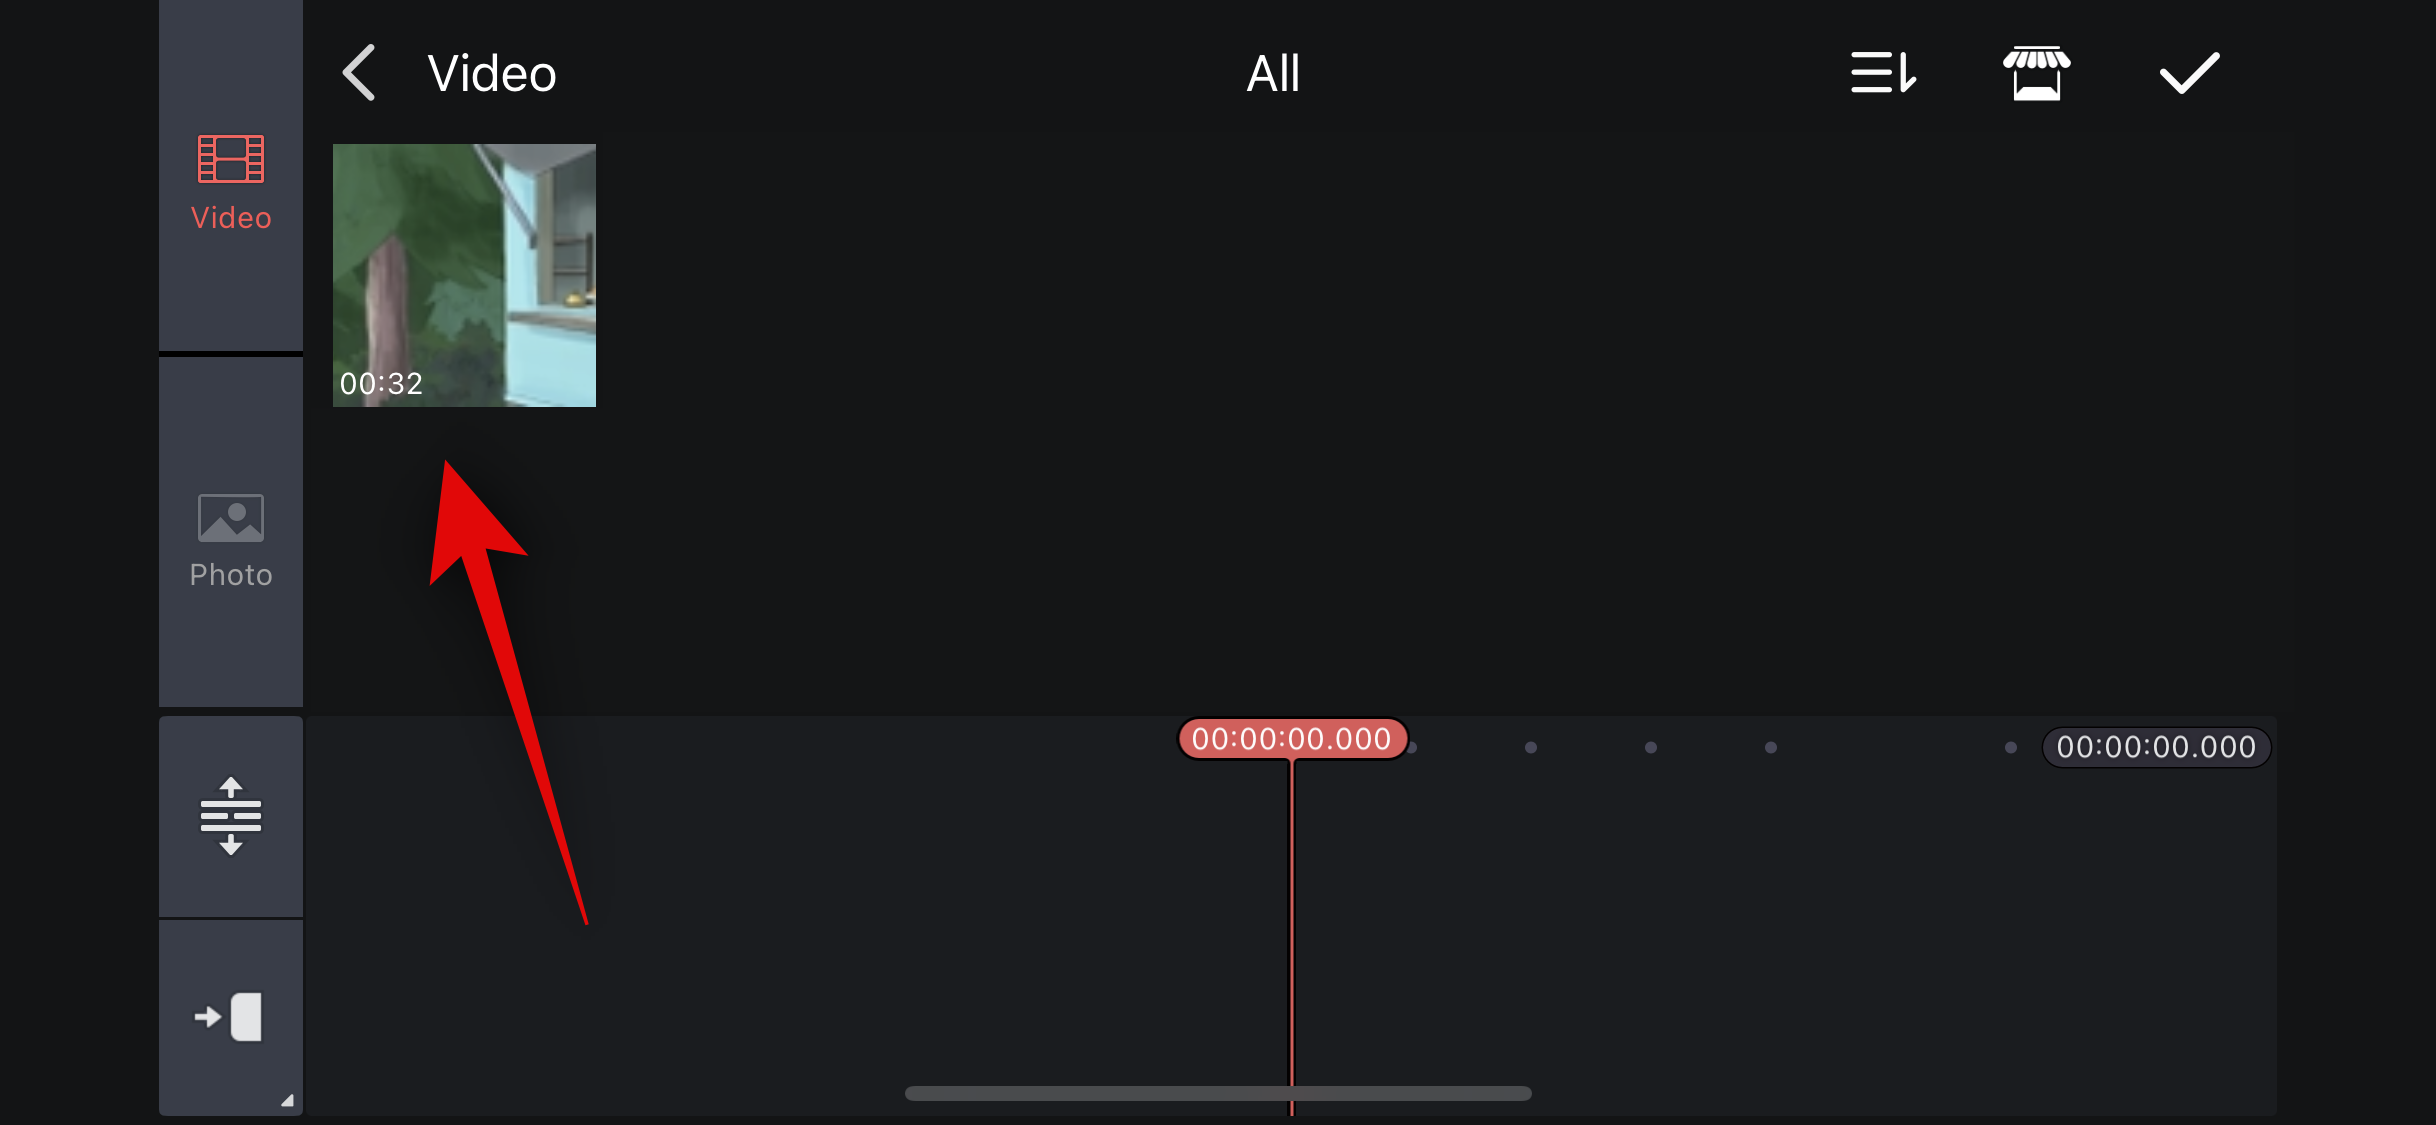
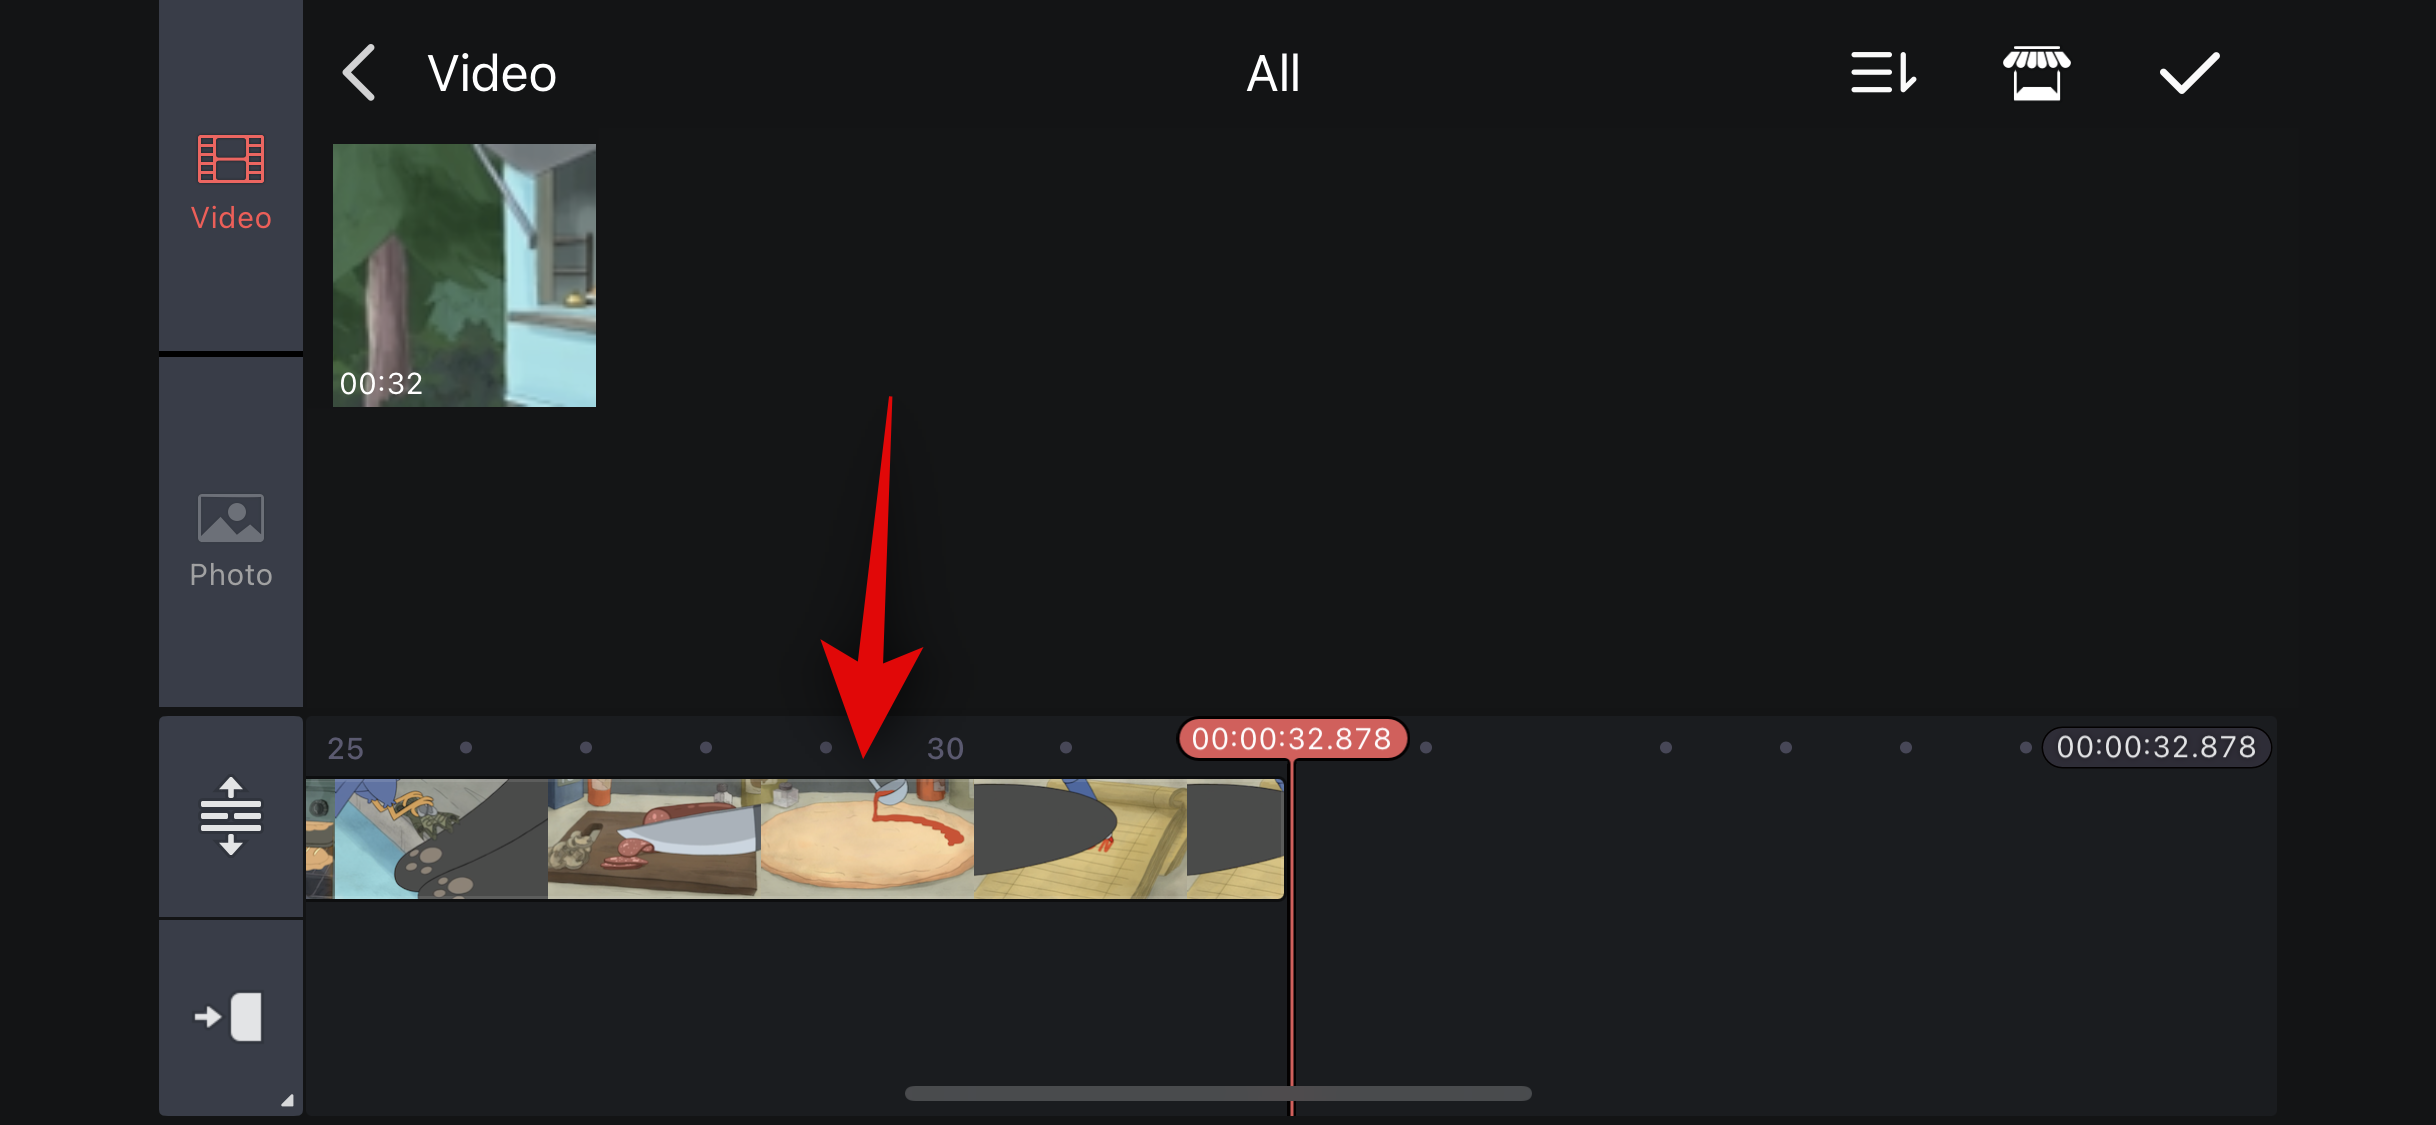
- You will now be shown all the videos in your photo library. Tap and select the video you wish to reverse, and the video will be added to your timeline. Tap on the video in your timeline to select it.
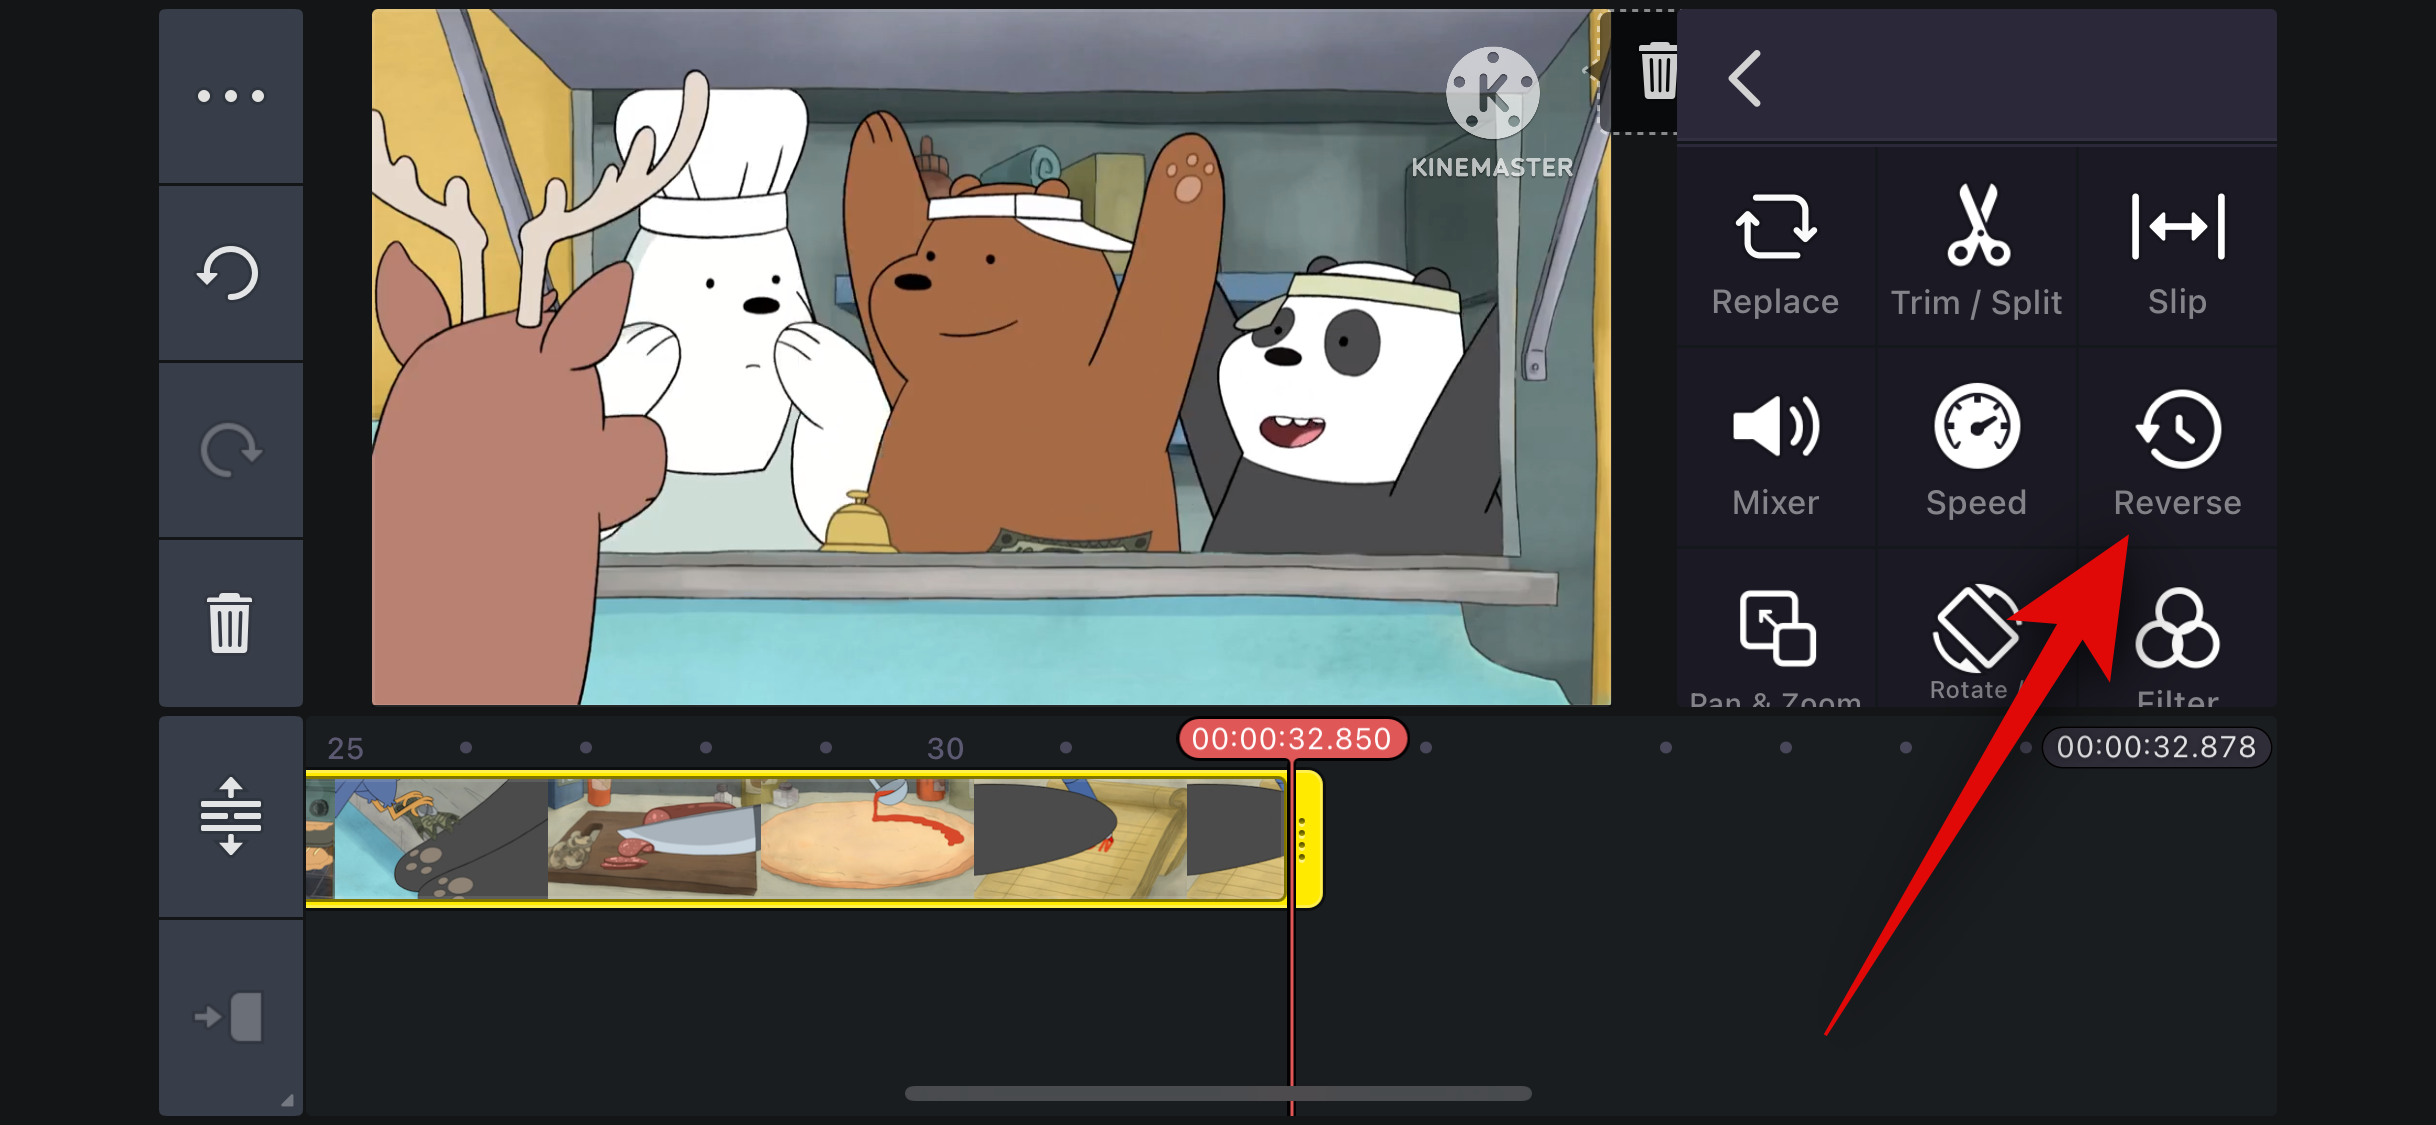
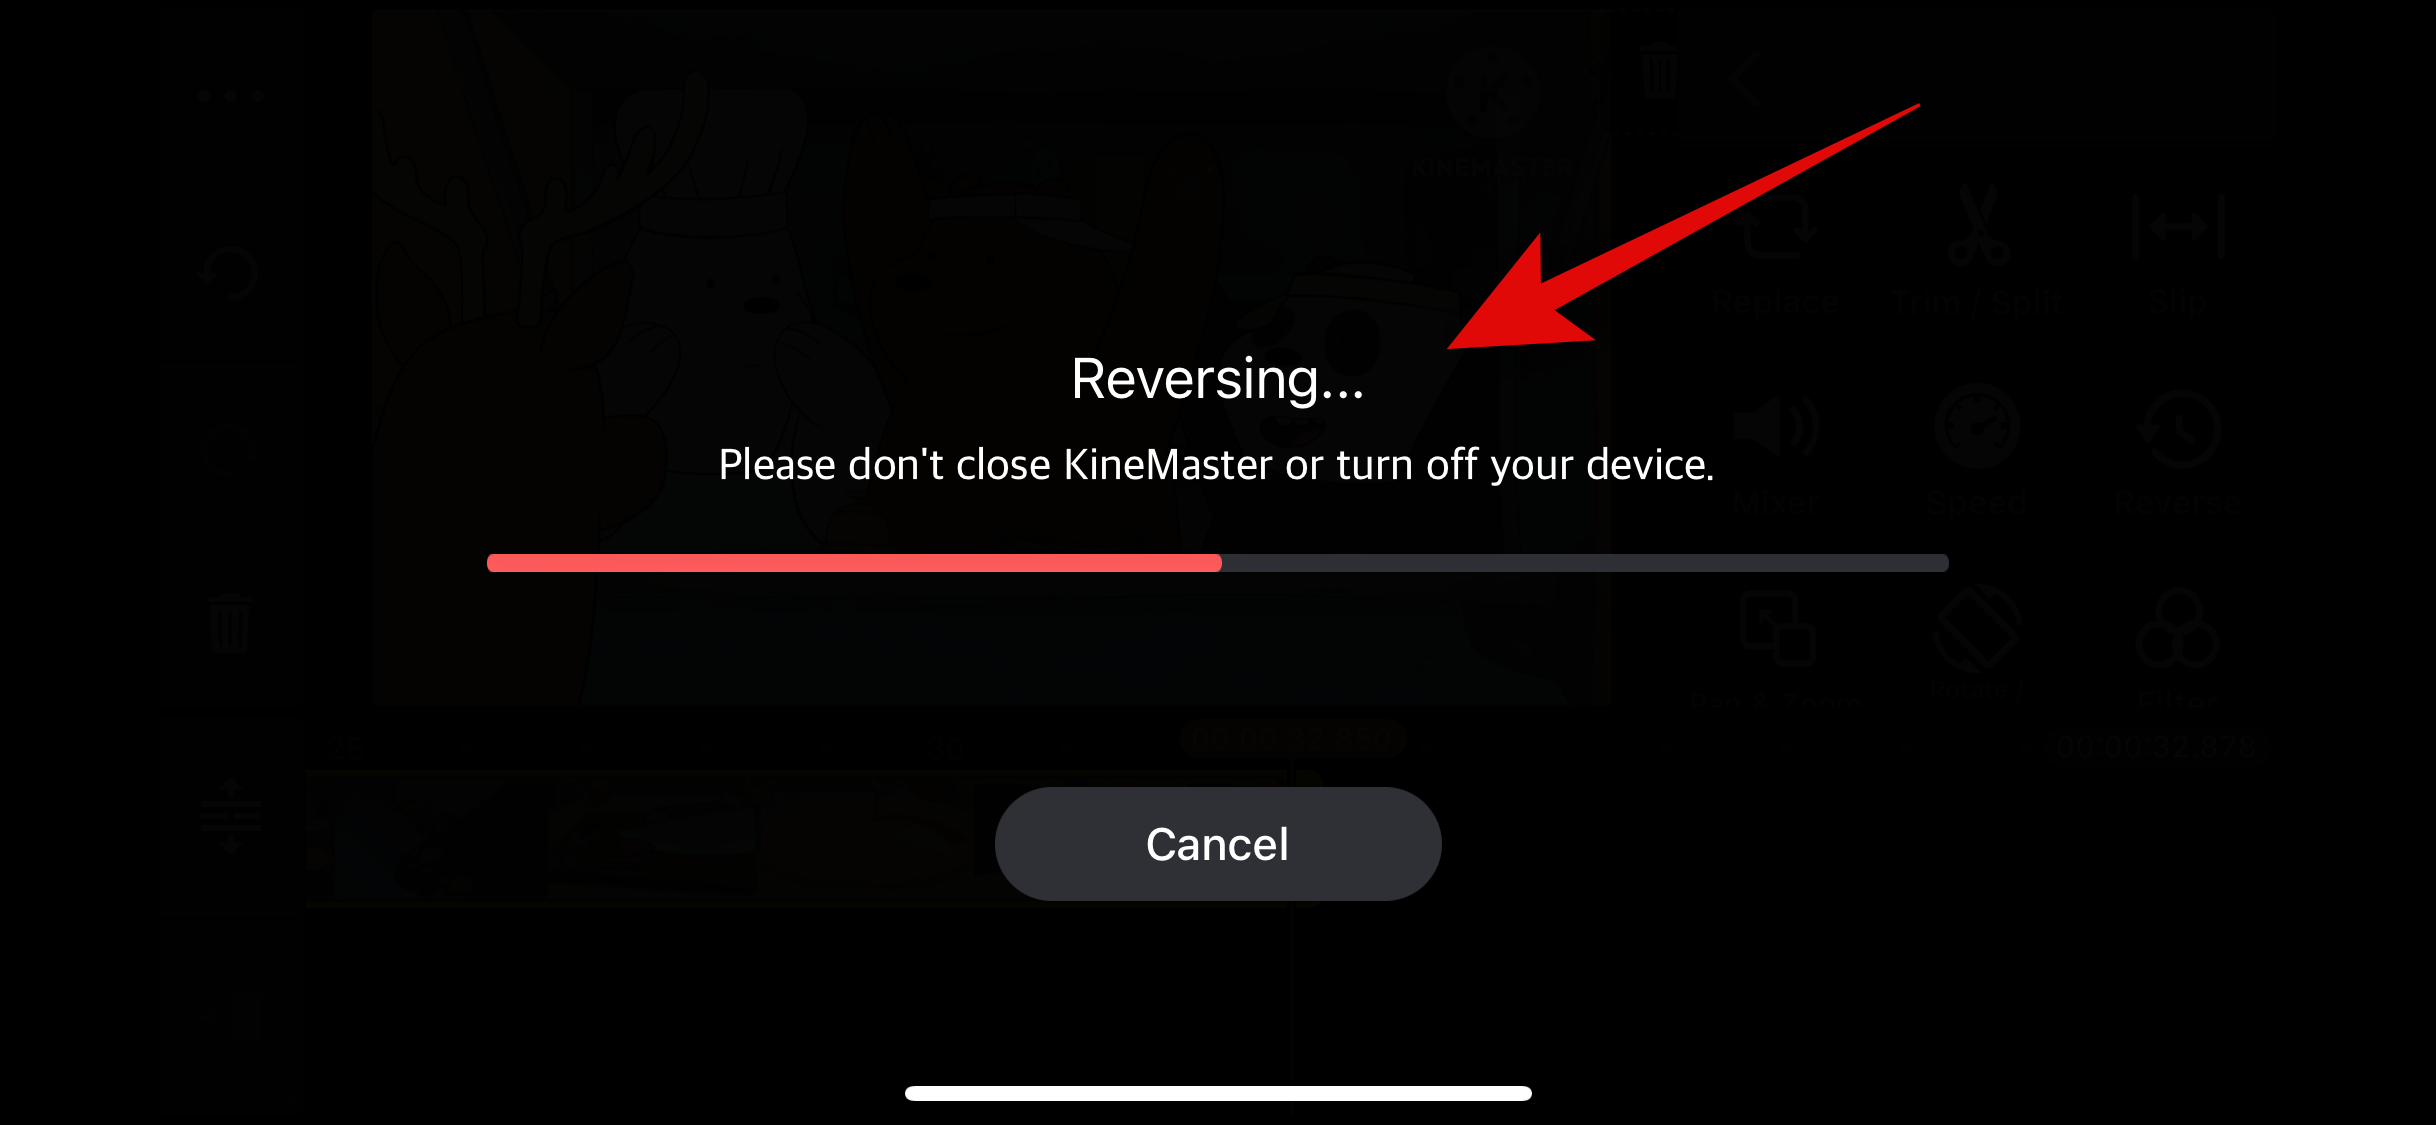
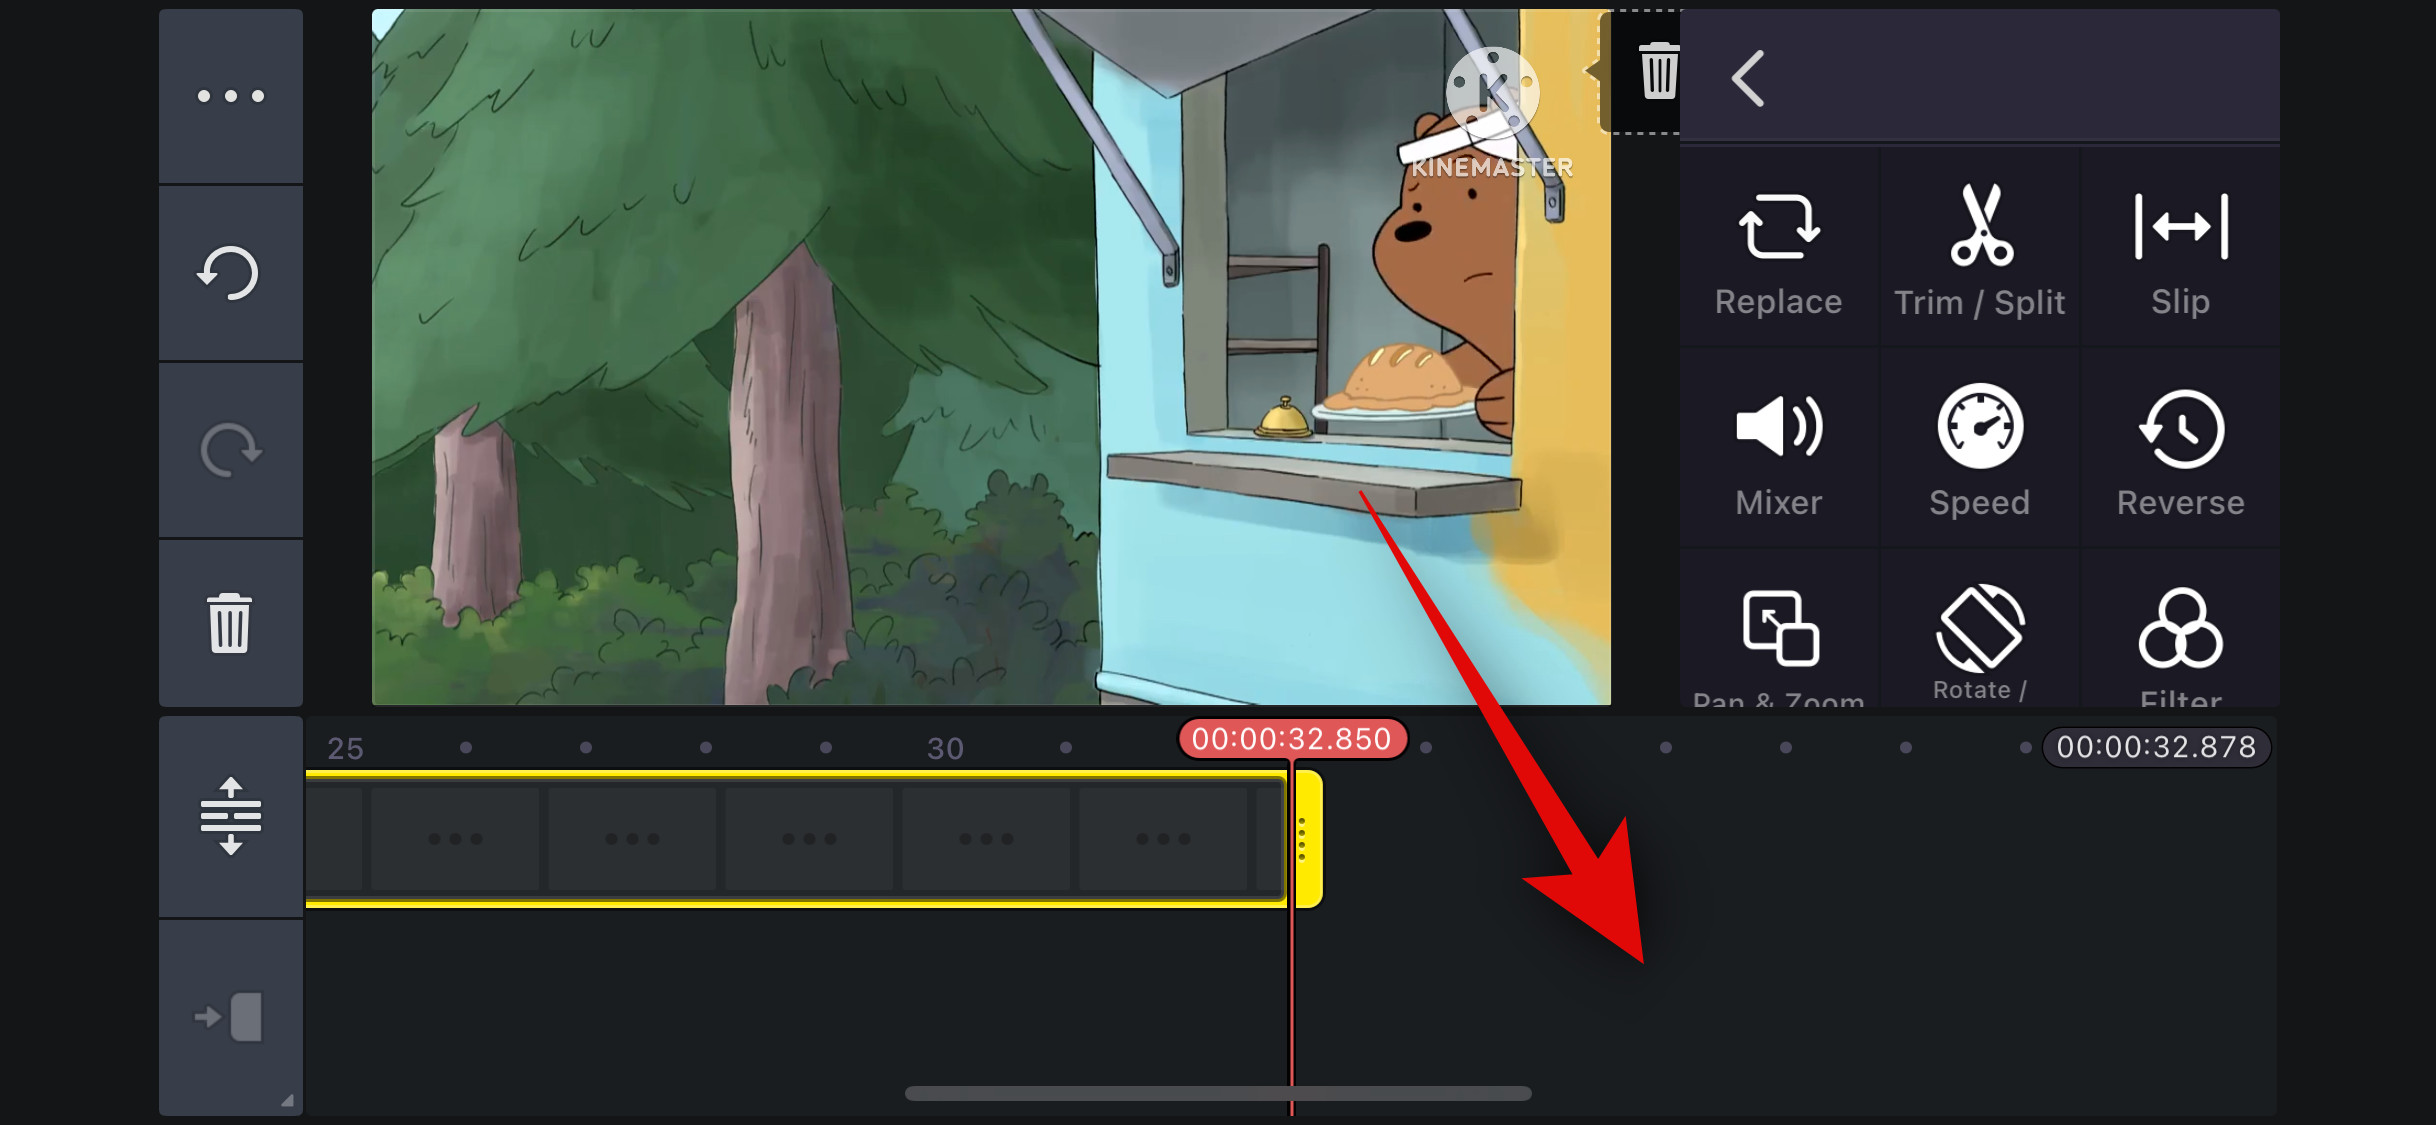
- Tap on Reverse on the options available on your right. The video will now be reversed, and you can track its progress in real-time.
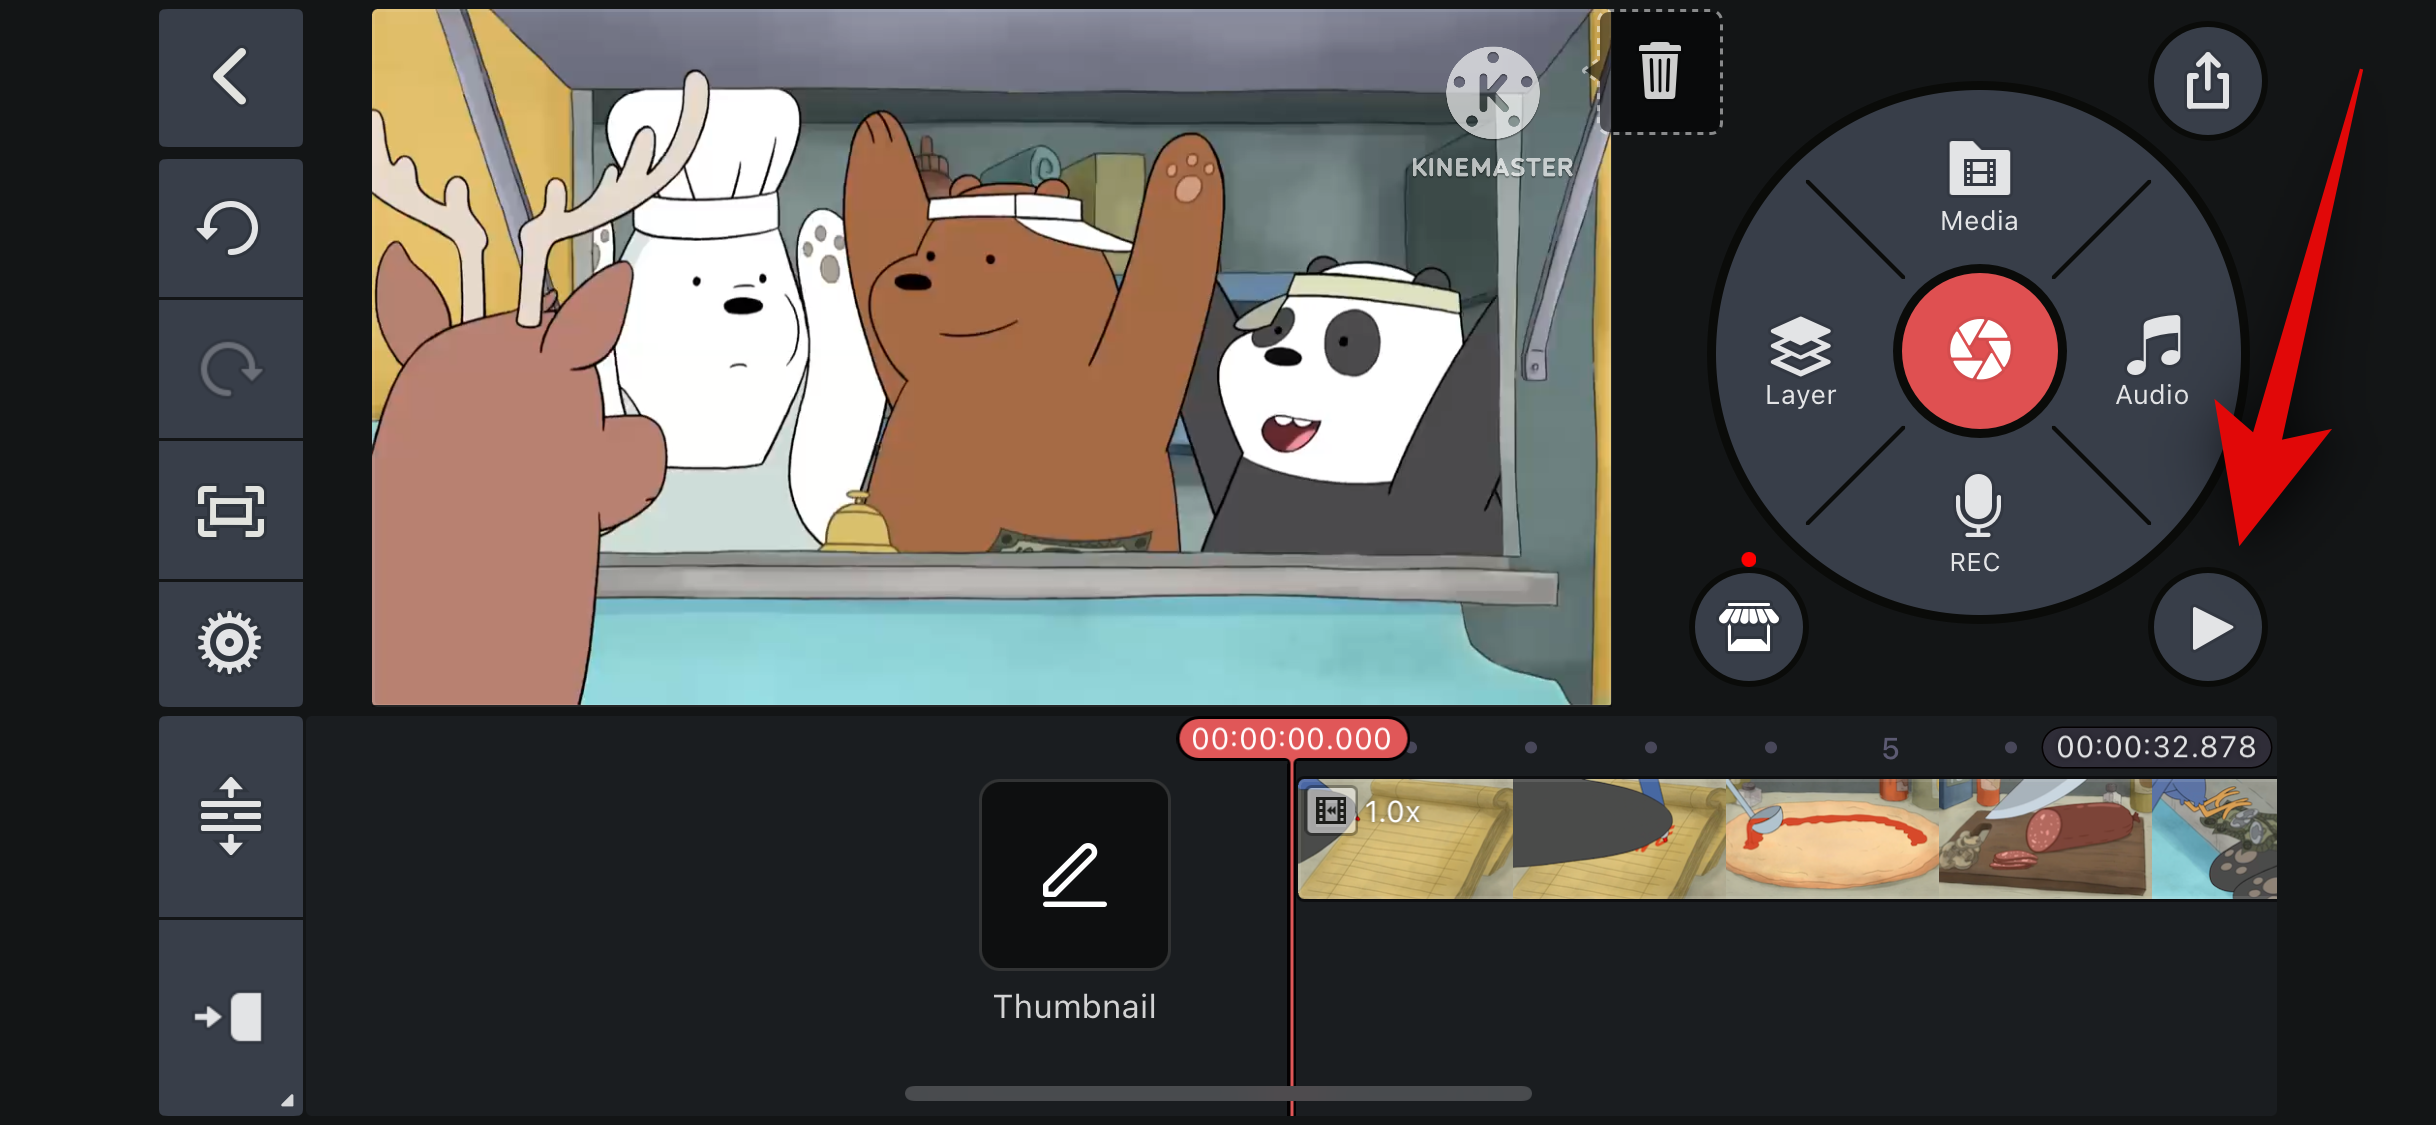
- Tap on an empty space in your timeline to deselect the video, and then tap on the Play icon to view a preview of the reversed video.
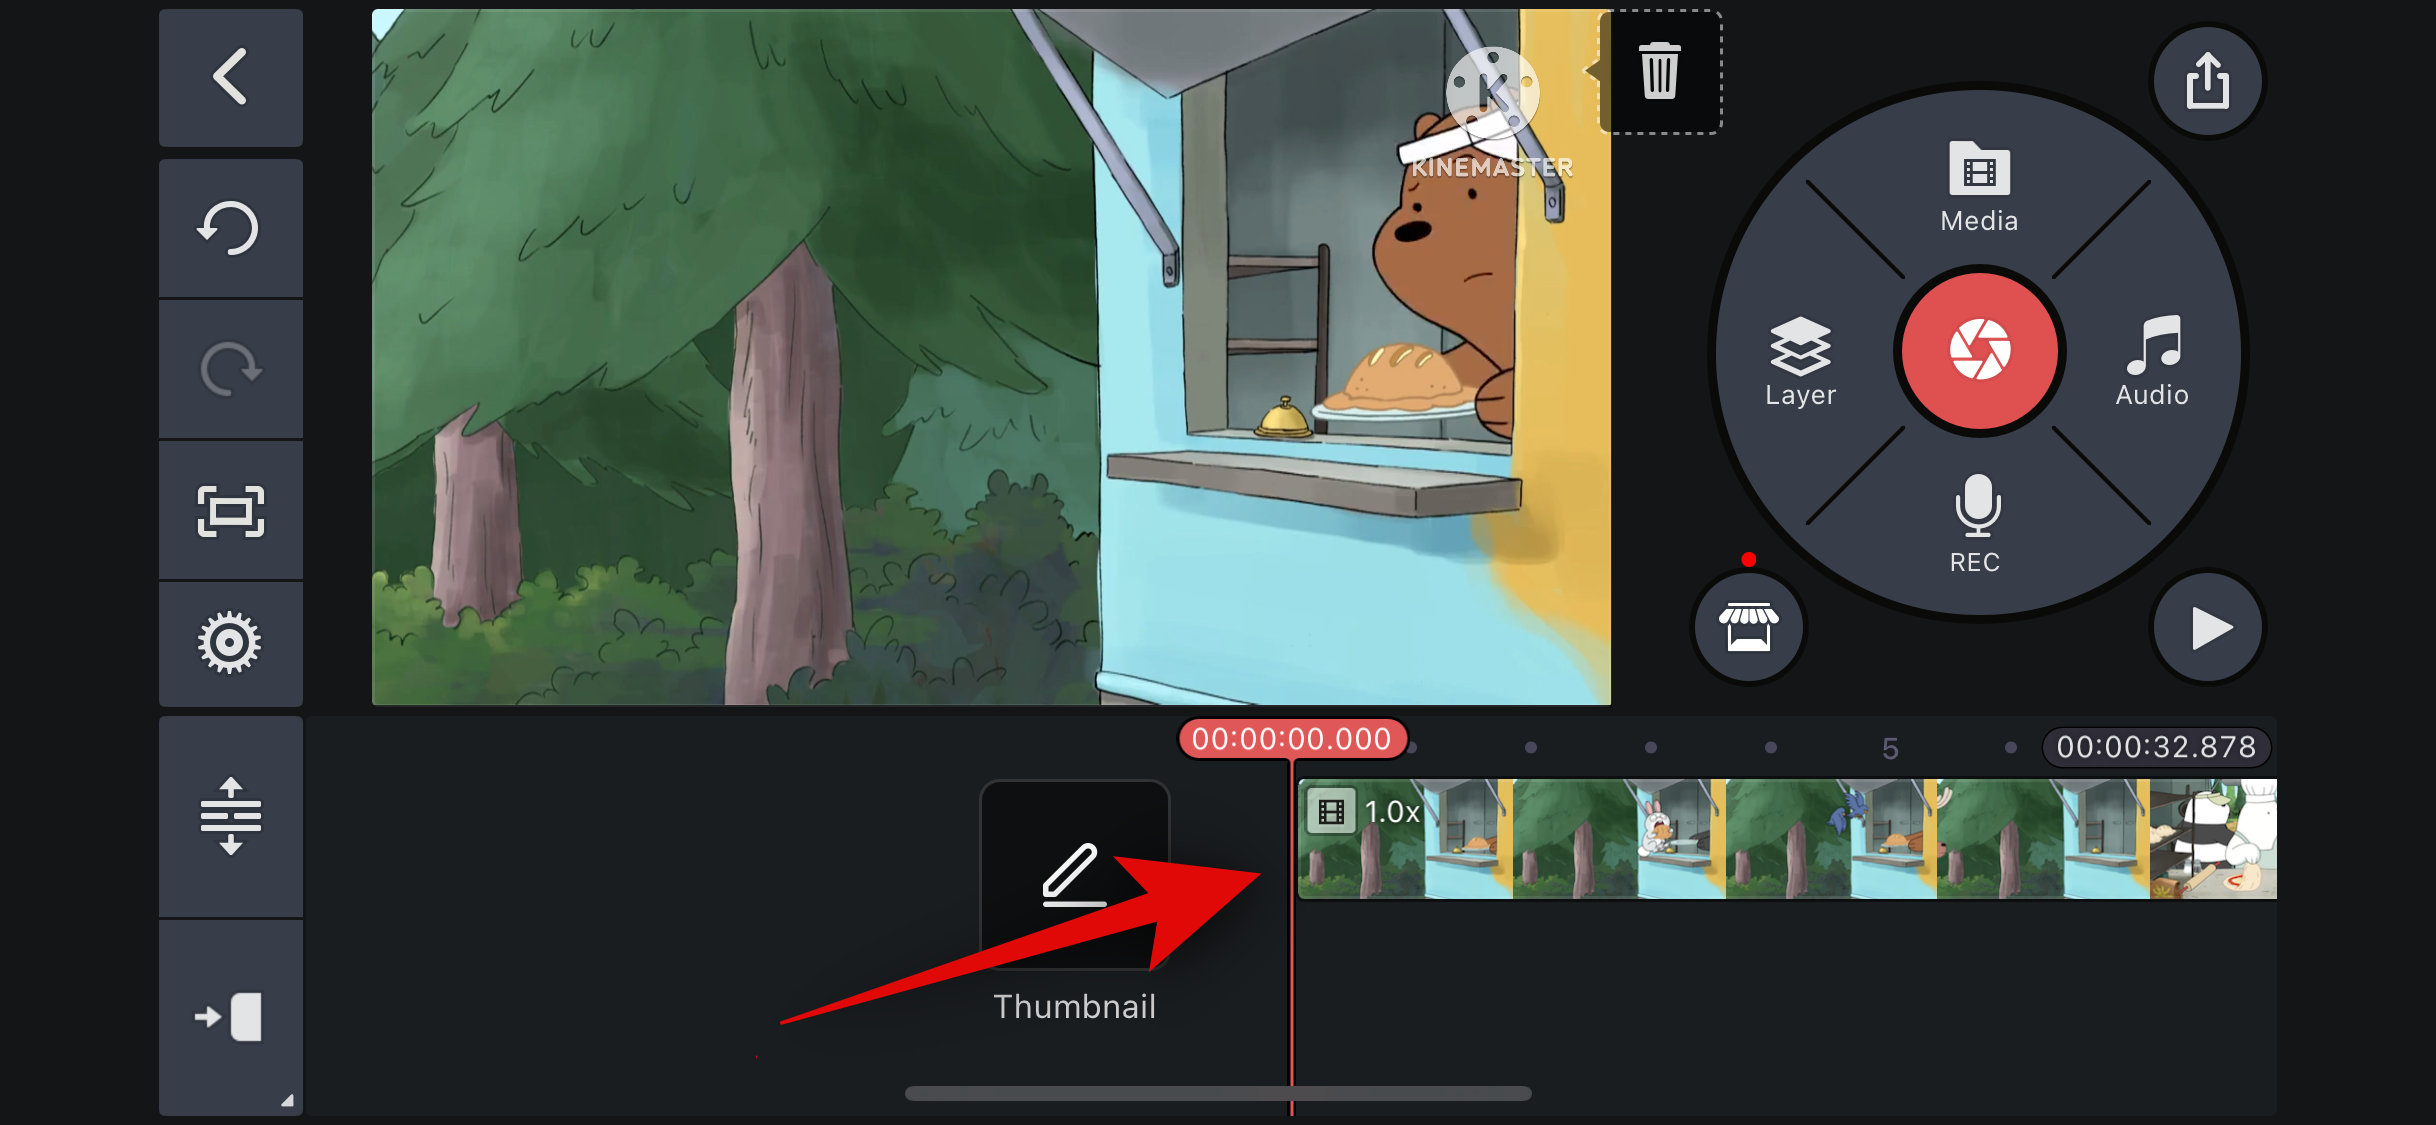
- If you wish to remove audio from the reversed video, tap and select the video in your timeline again. Now scroll the options on your right and tap on Extract Audio.

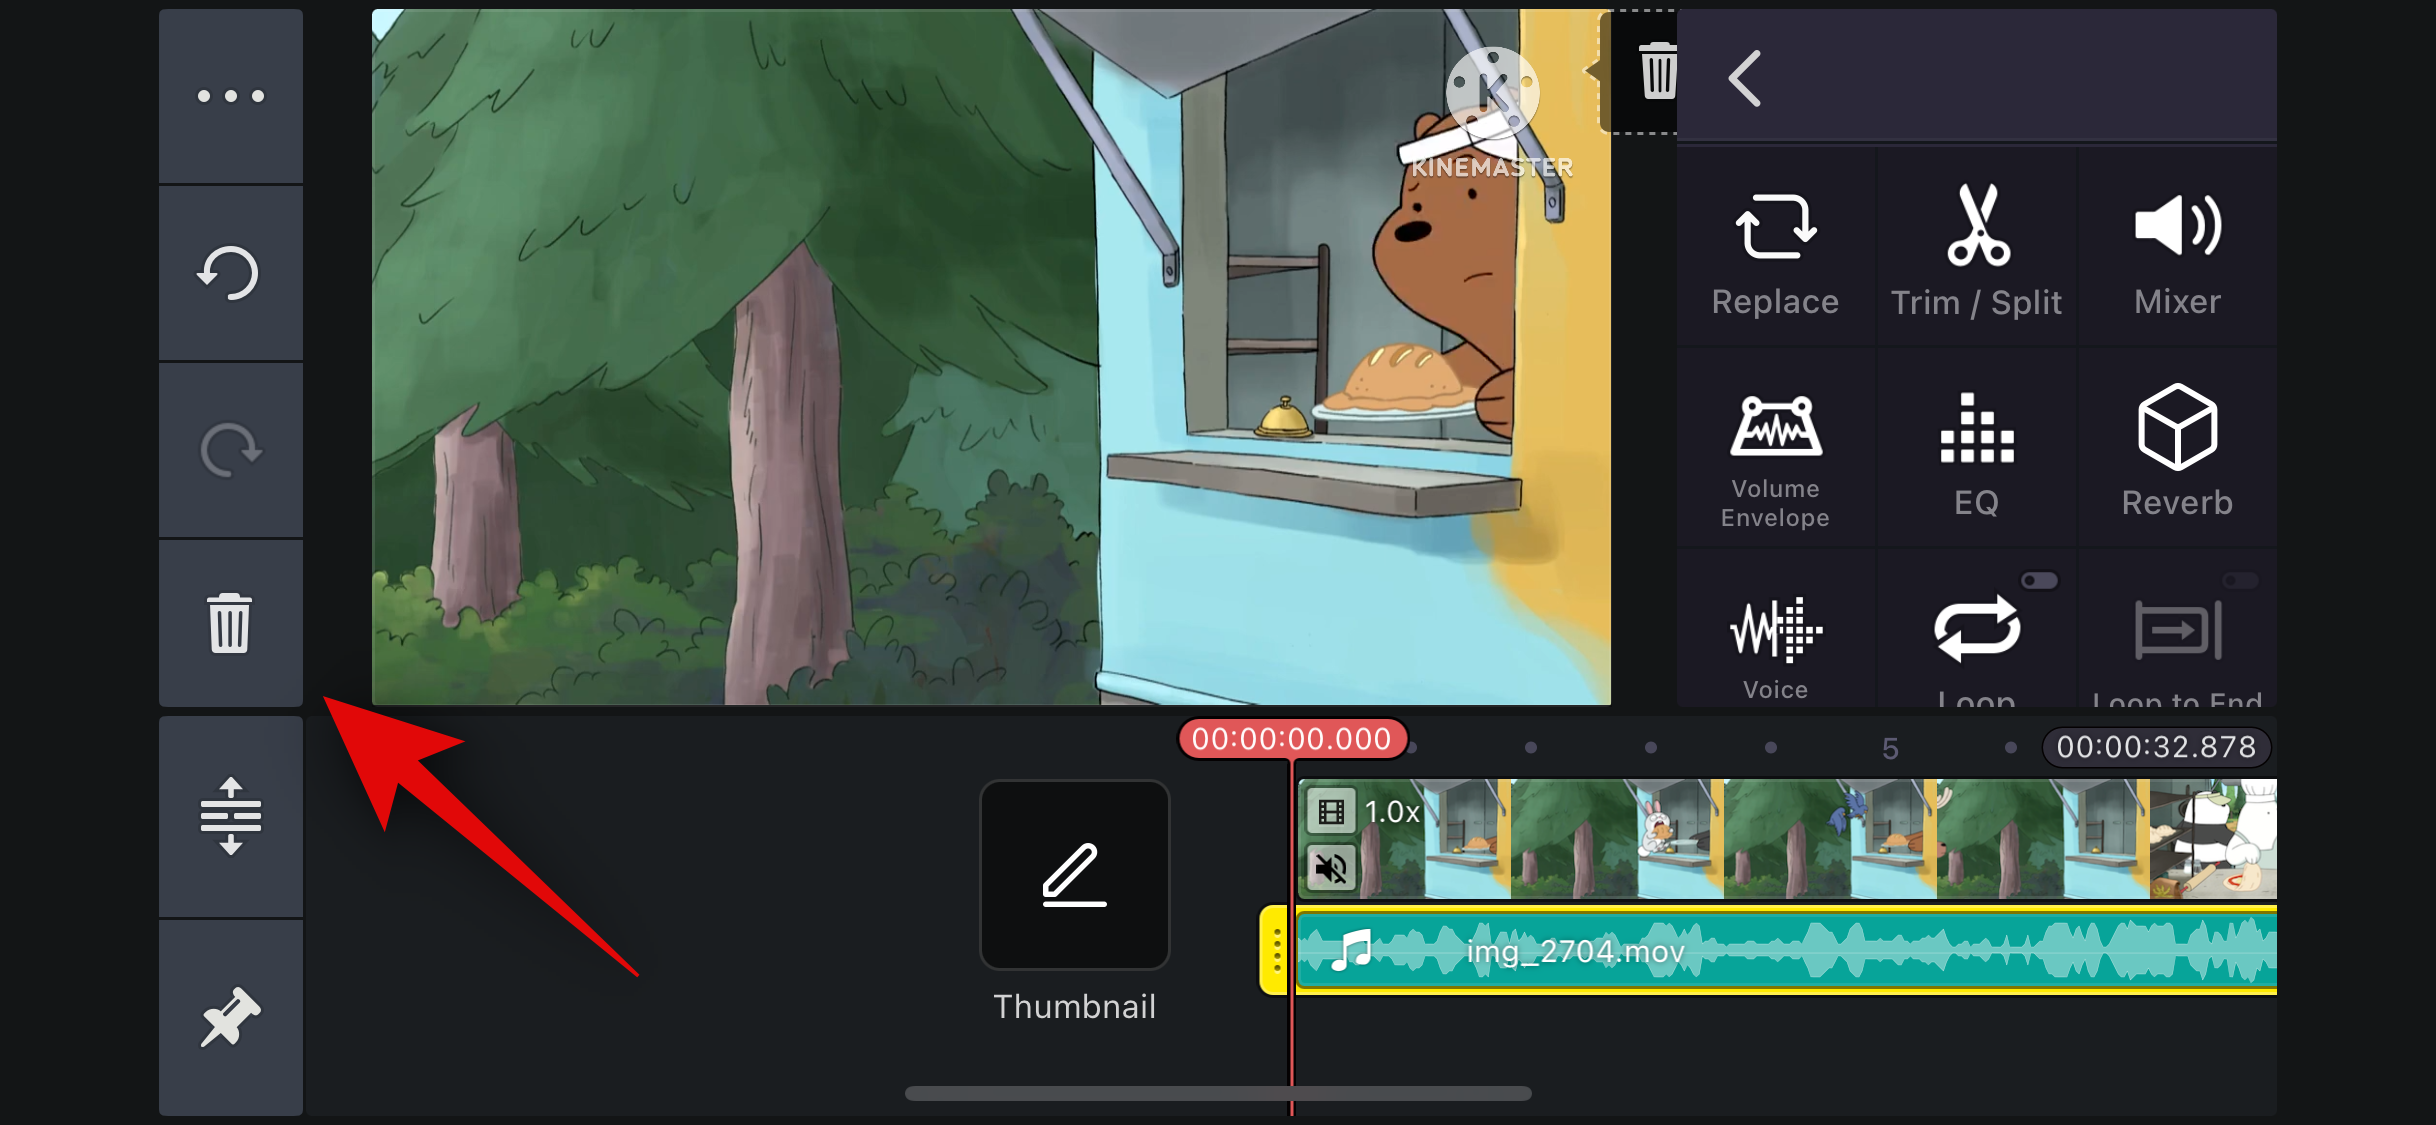
- The audio will now be extracted from your video. Tap on the detached audio in your timeline and tap the Bin icon on your left to delete the extracted audio.

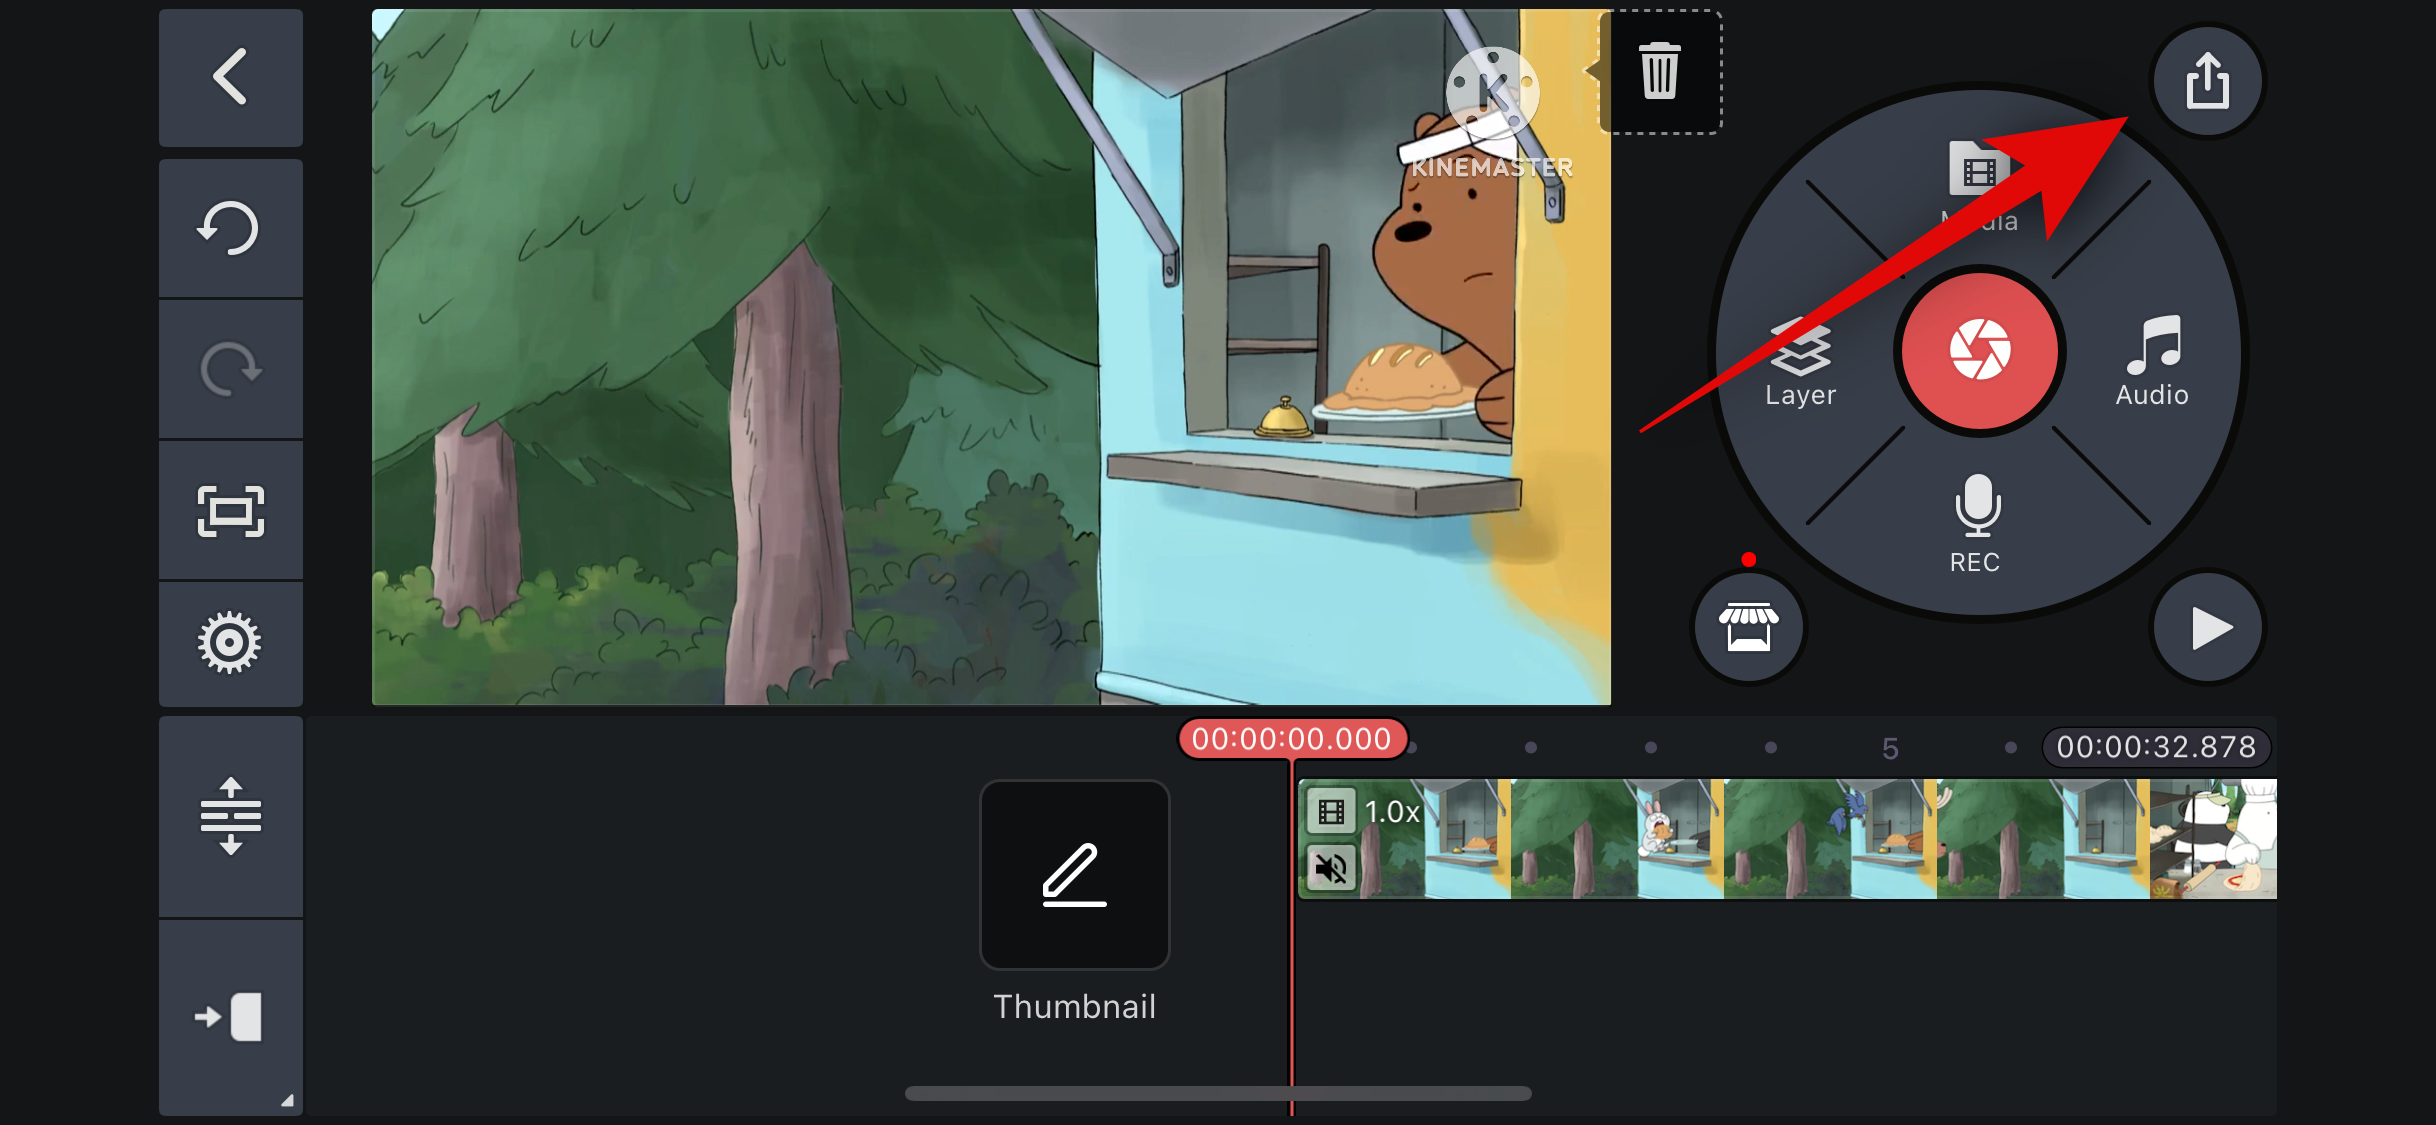
- Now tap on the Share icon in the top right corner to export your video, and tap on Format to choose your preferred export format.
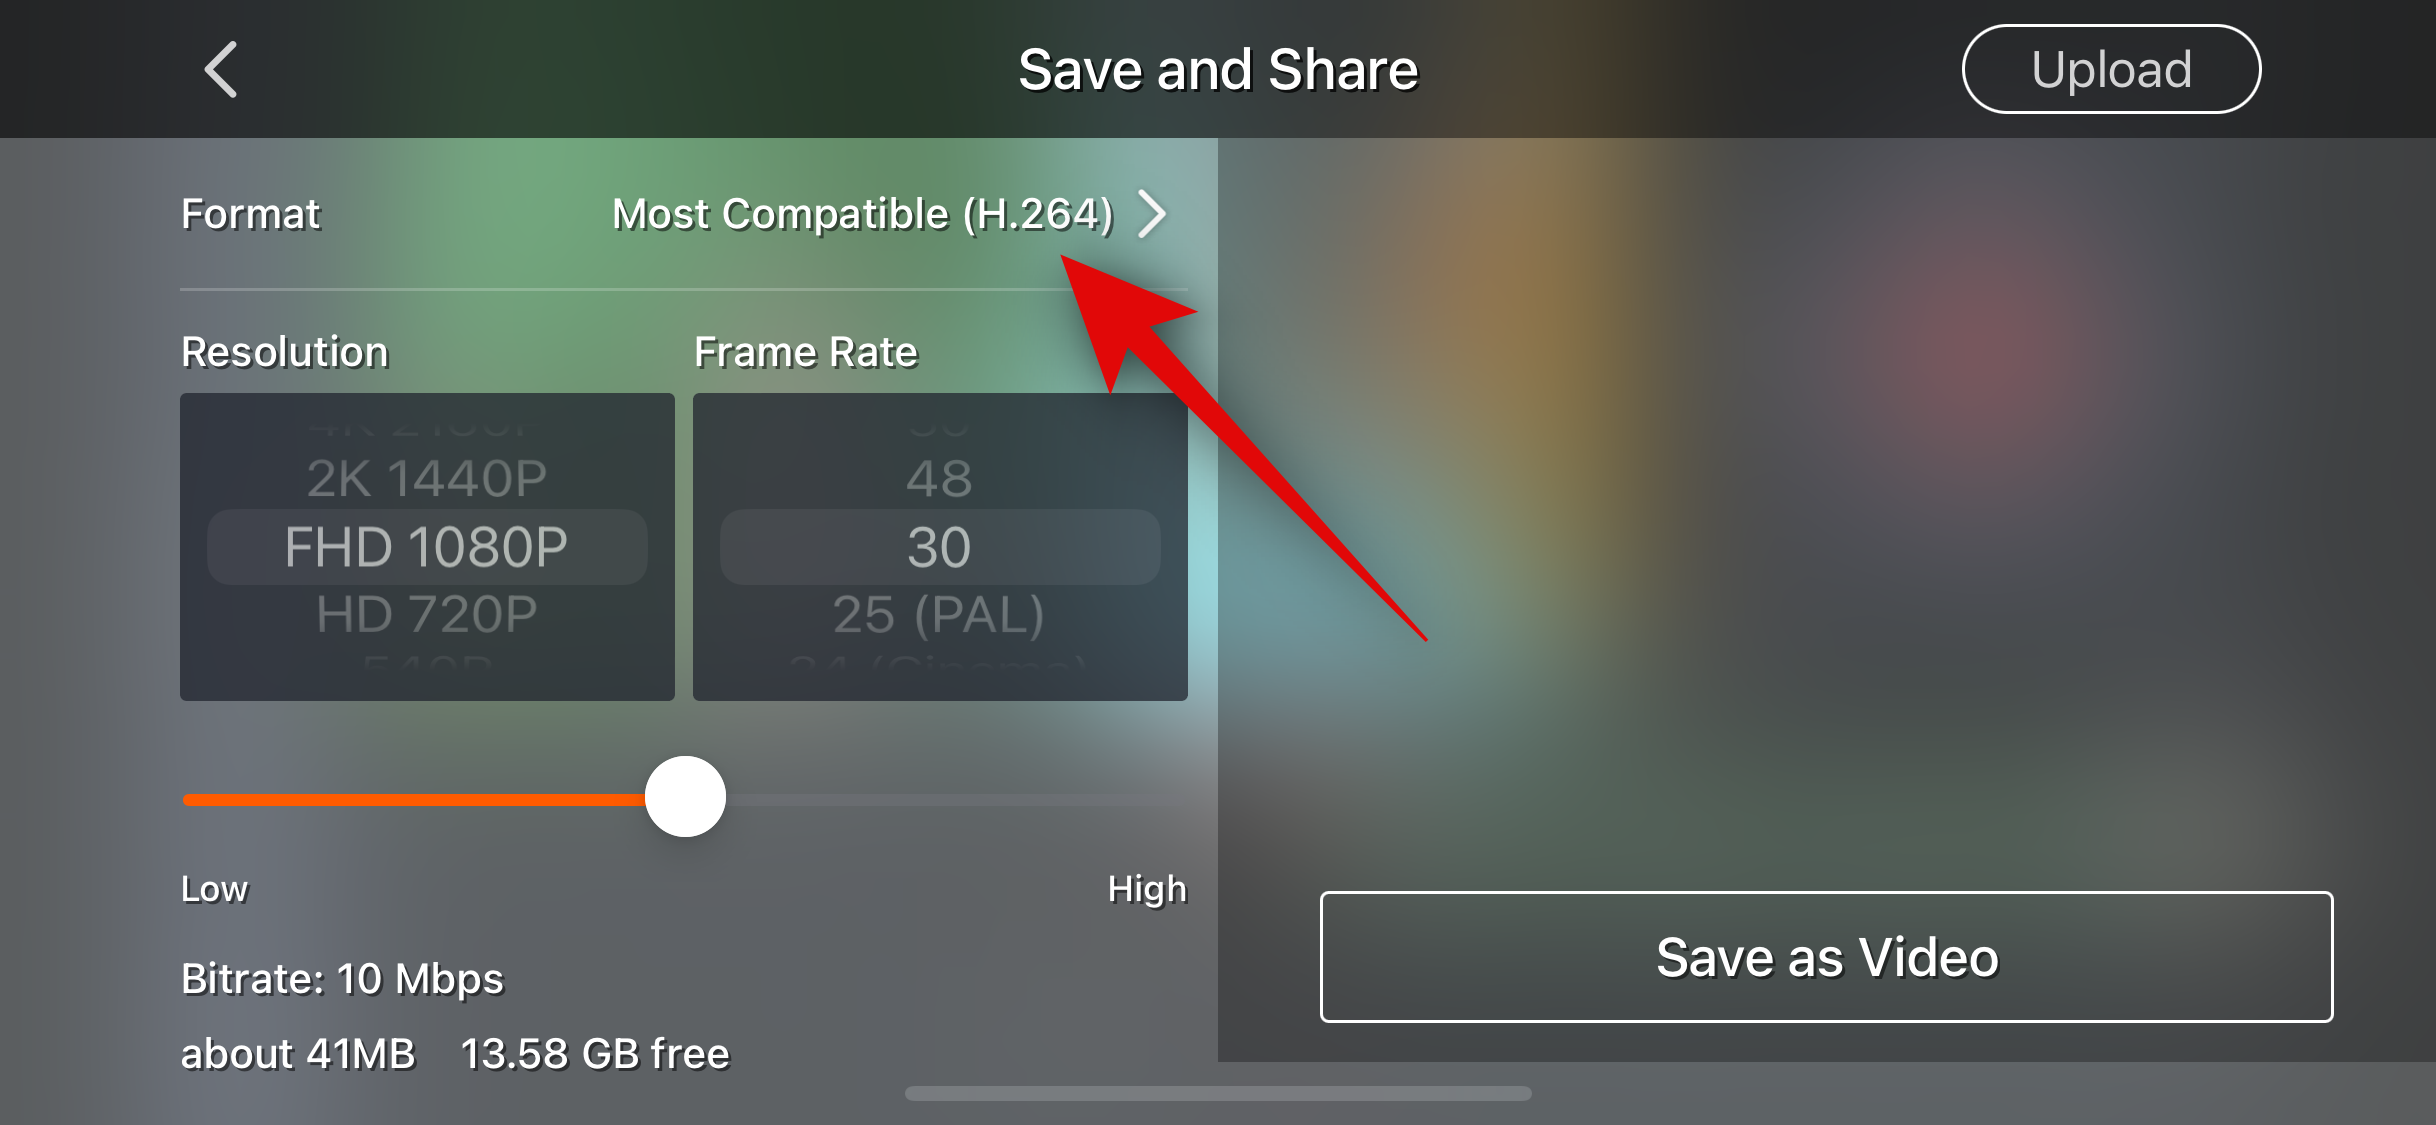
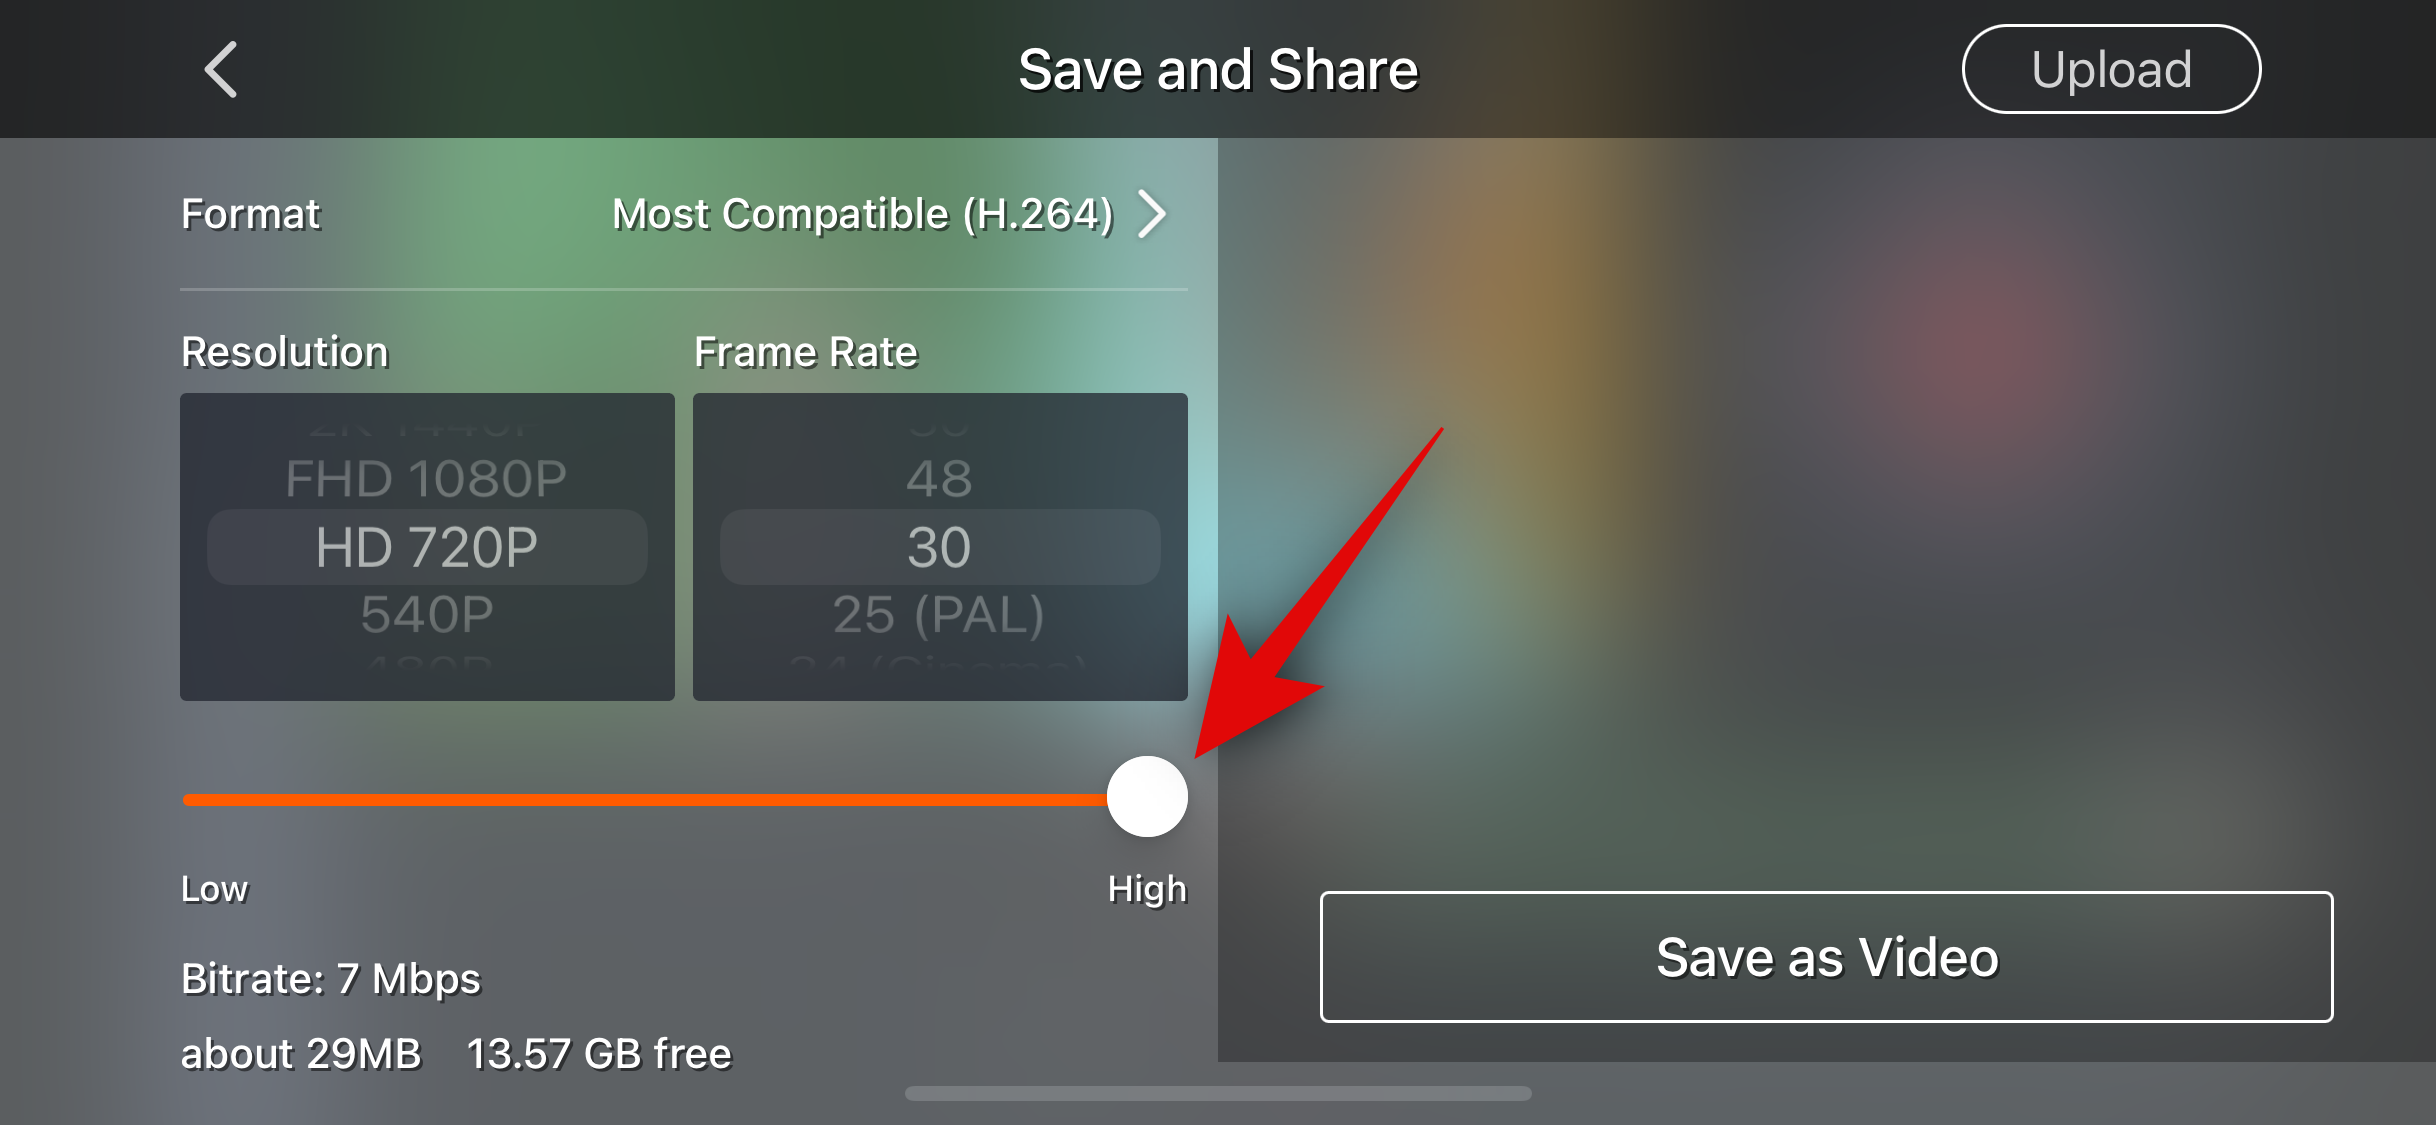
- Once done, scroll and choose your preferred resolution next and then your Frame Rate.
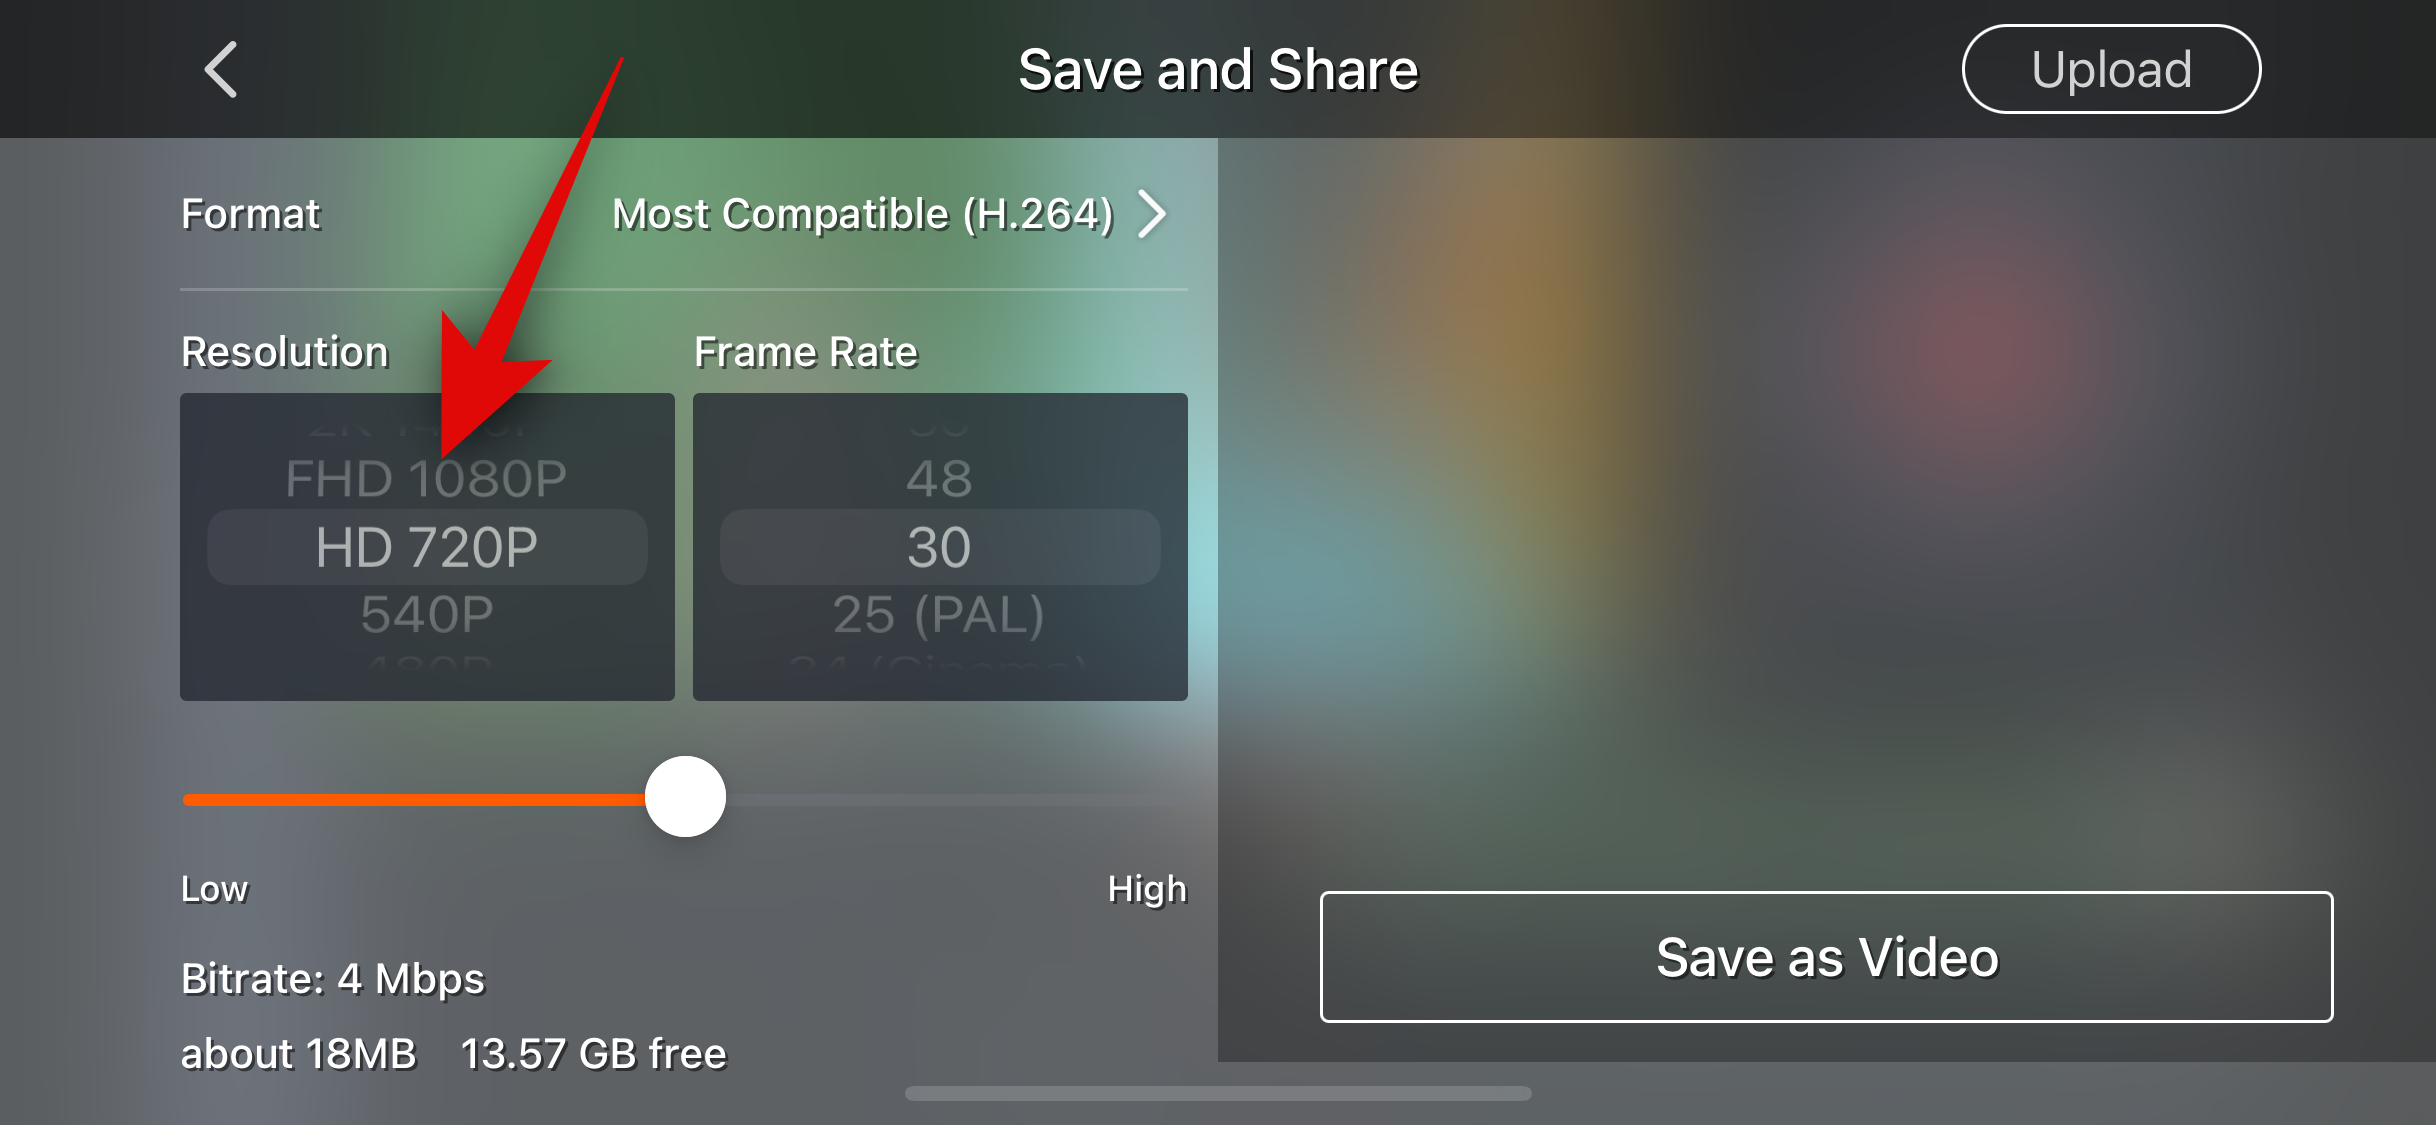
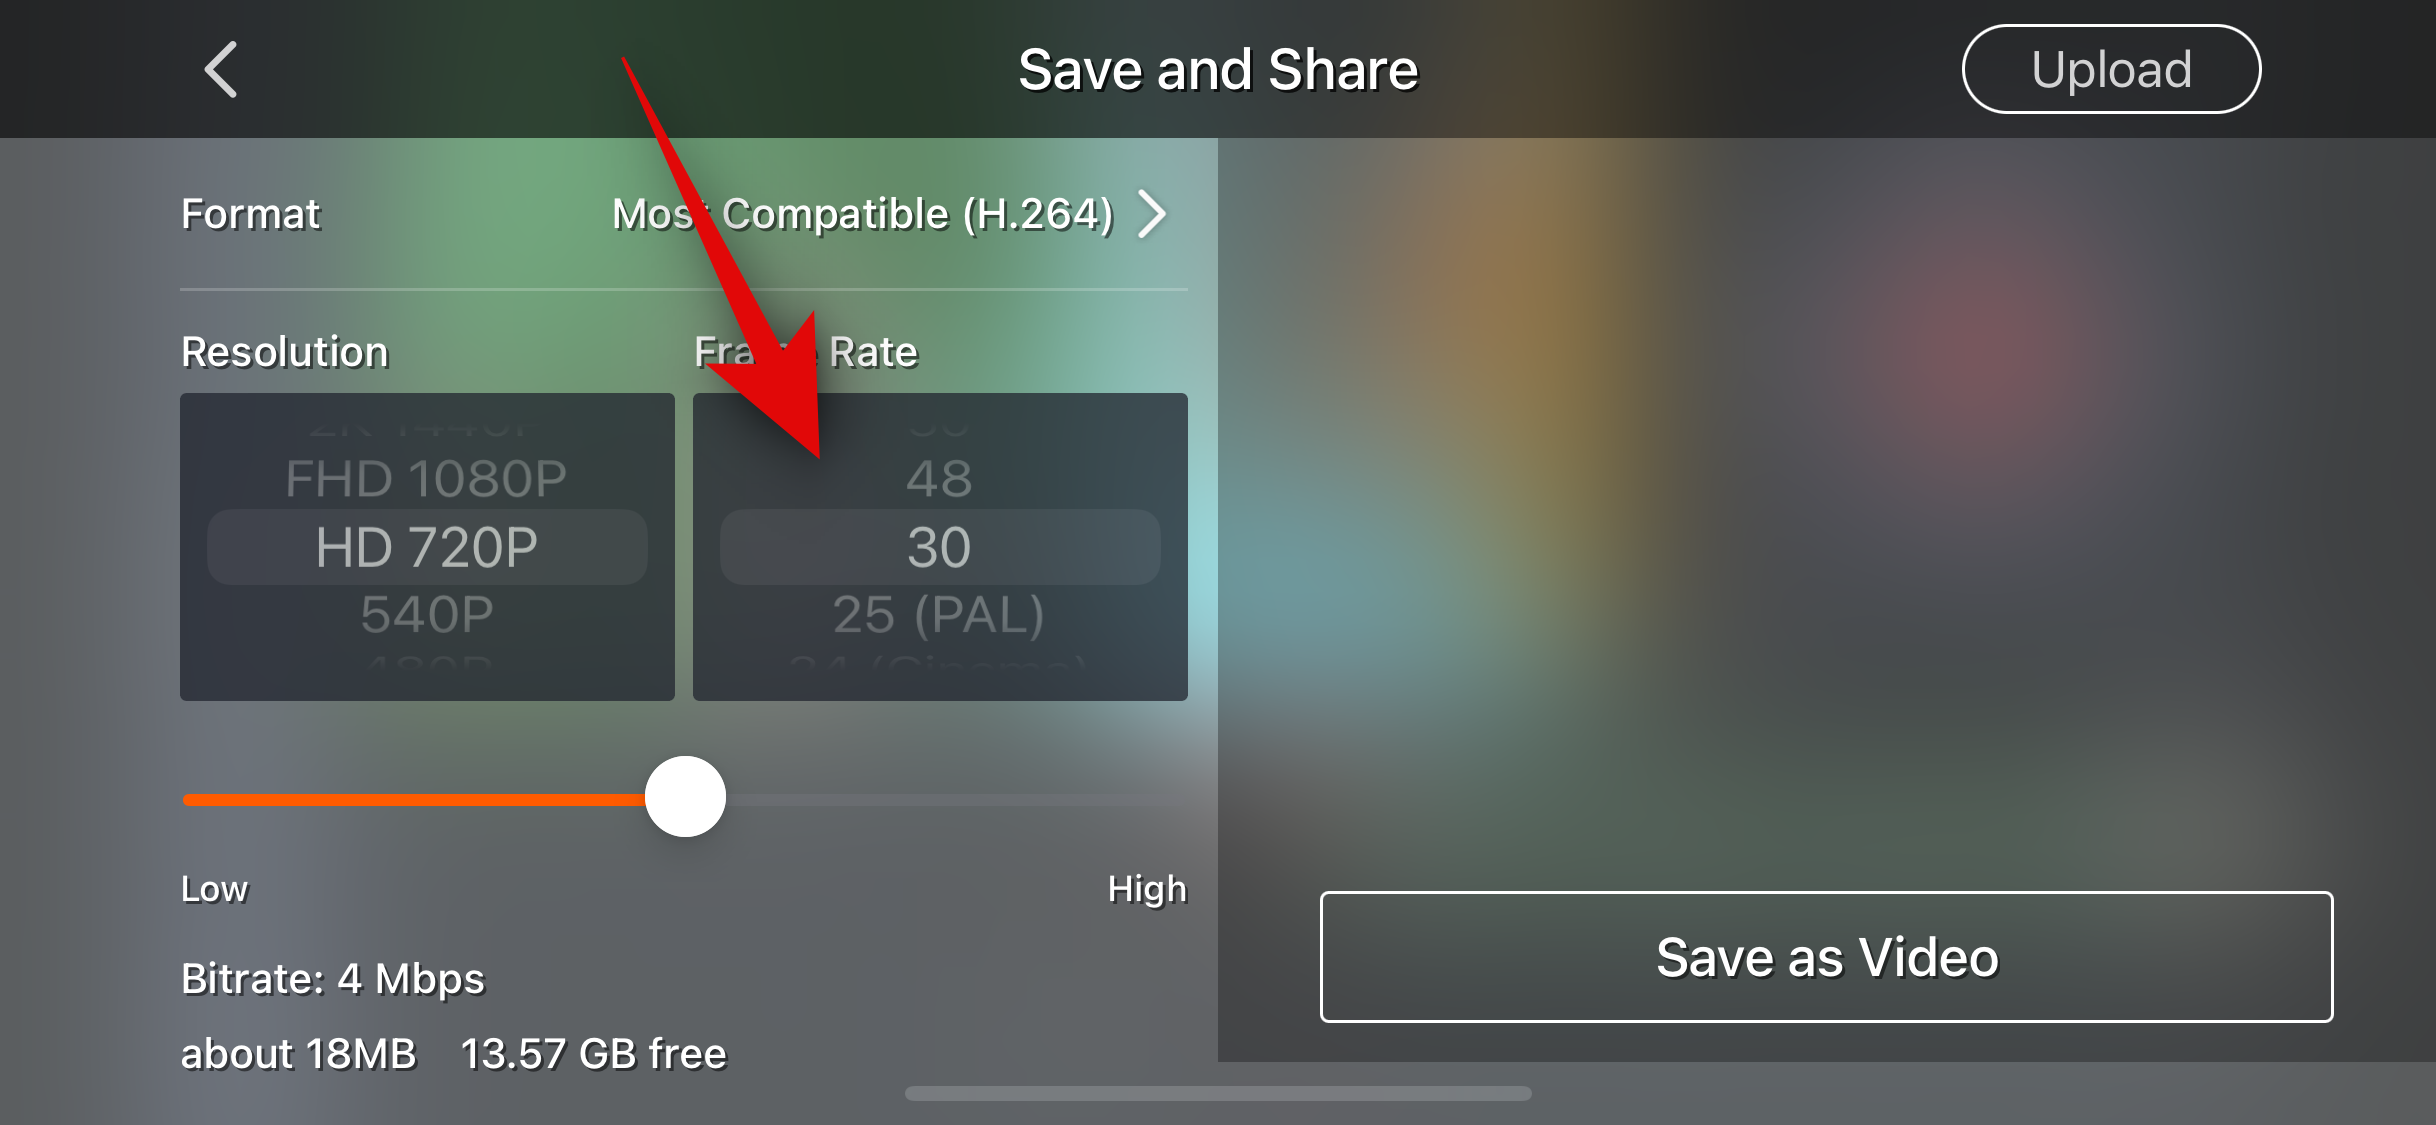
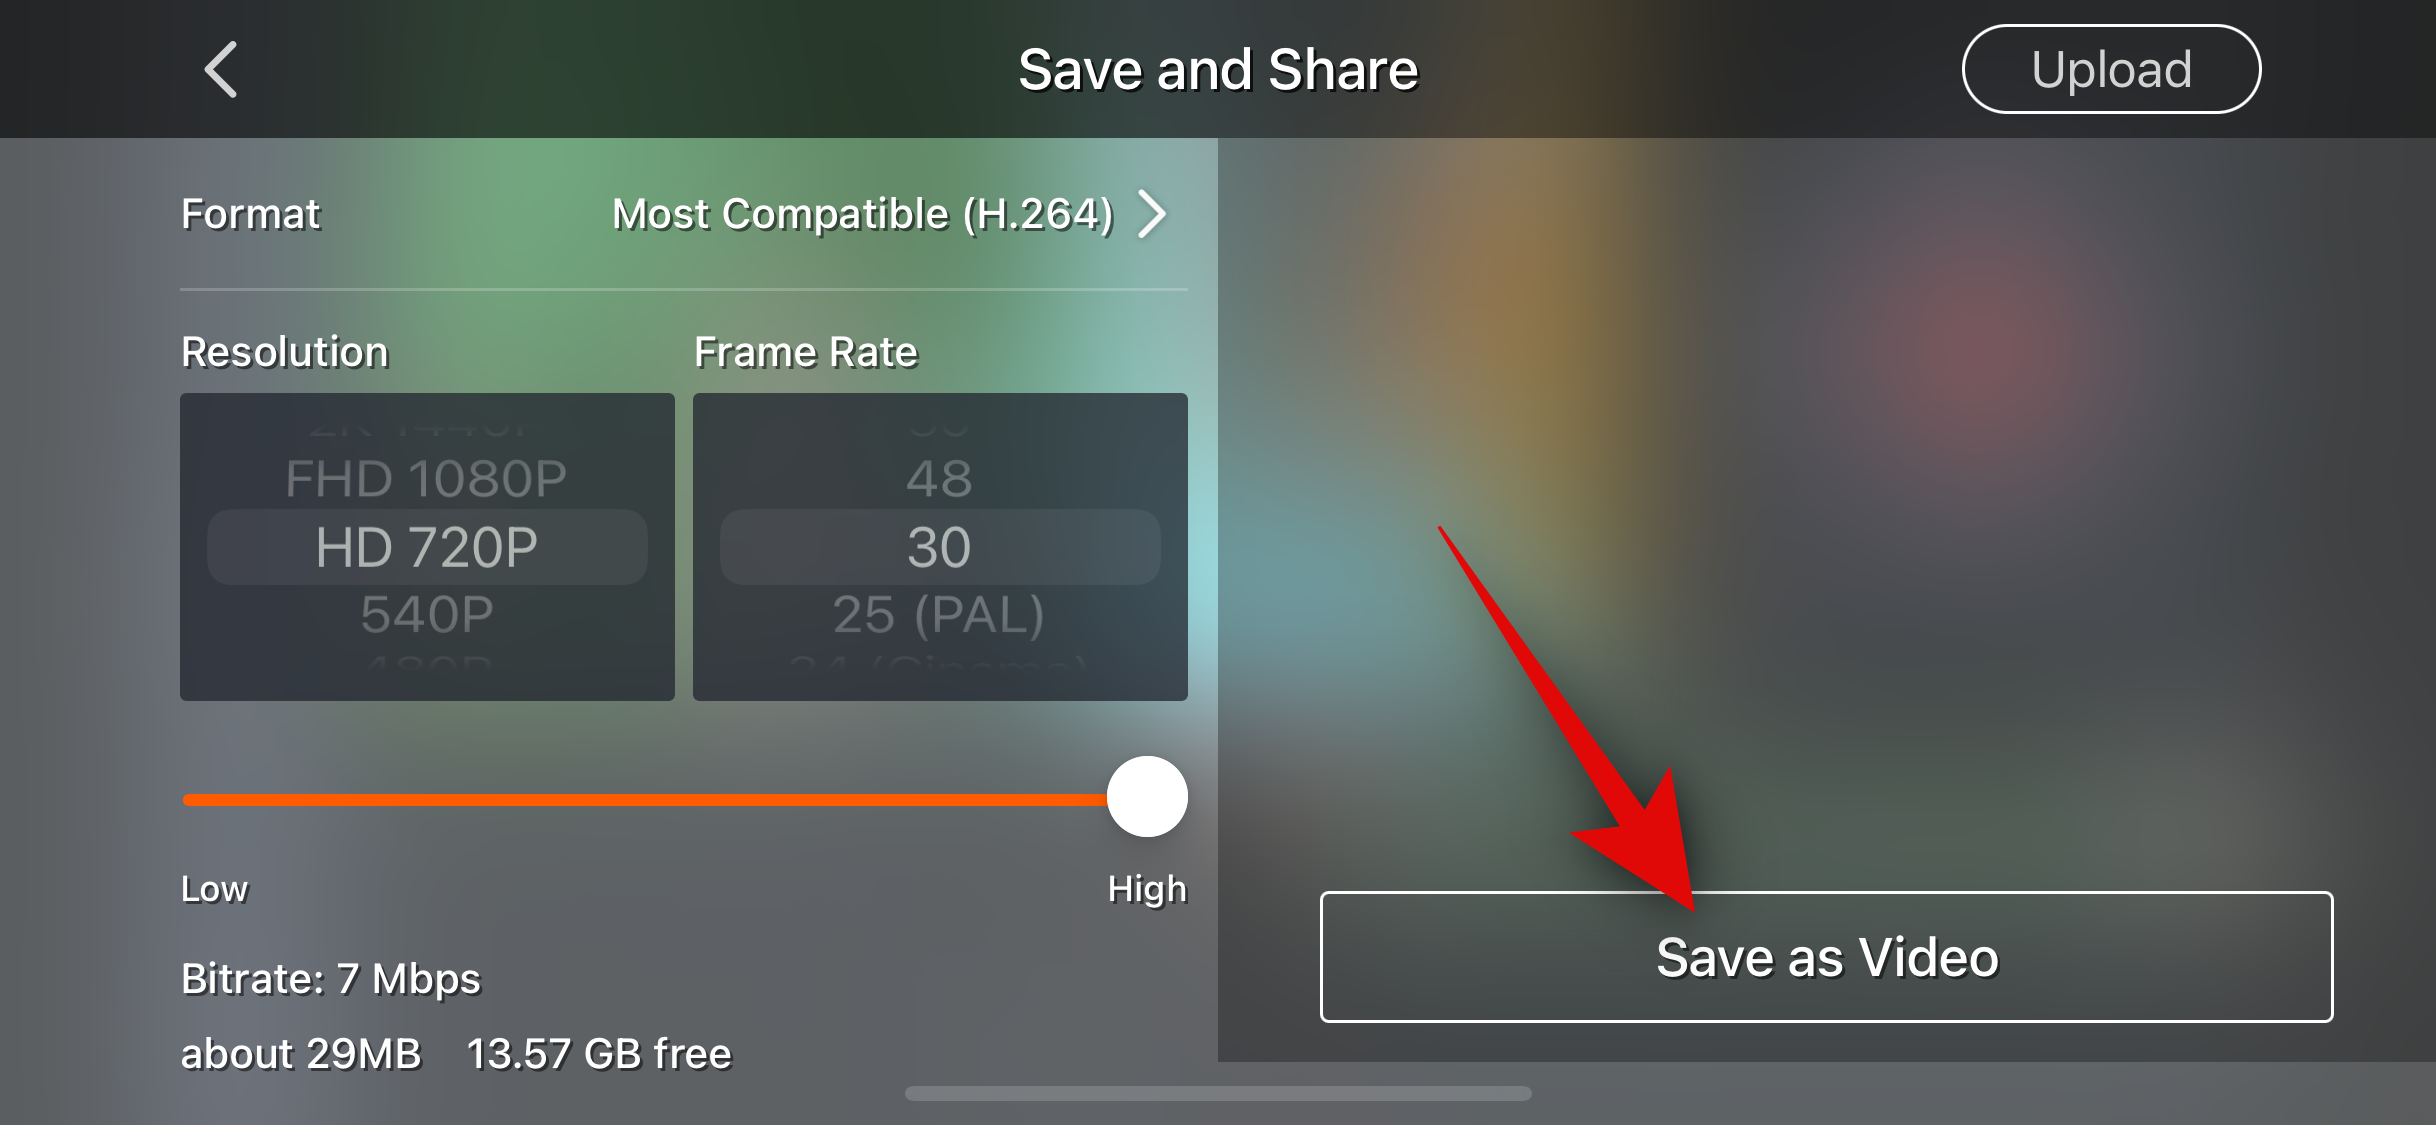
- Use the slider under the same to choose your file size. This also corresponds to the quality of your exported video. Lower quality will result in lower file size, and higher quality will result in higher file size. Once done, tap on Save as Video once you’ve made all your choices.
- When you’re prompted to subscribe for a premium subscription, you can tap on X in the top left corner of your screen. The video will now be exported, and you can track its progress on your screen.

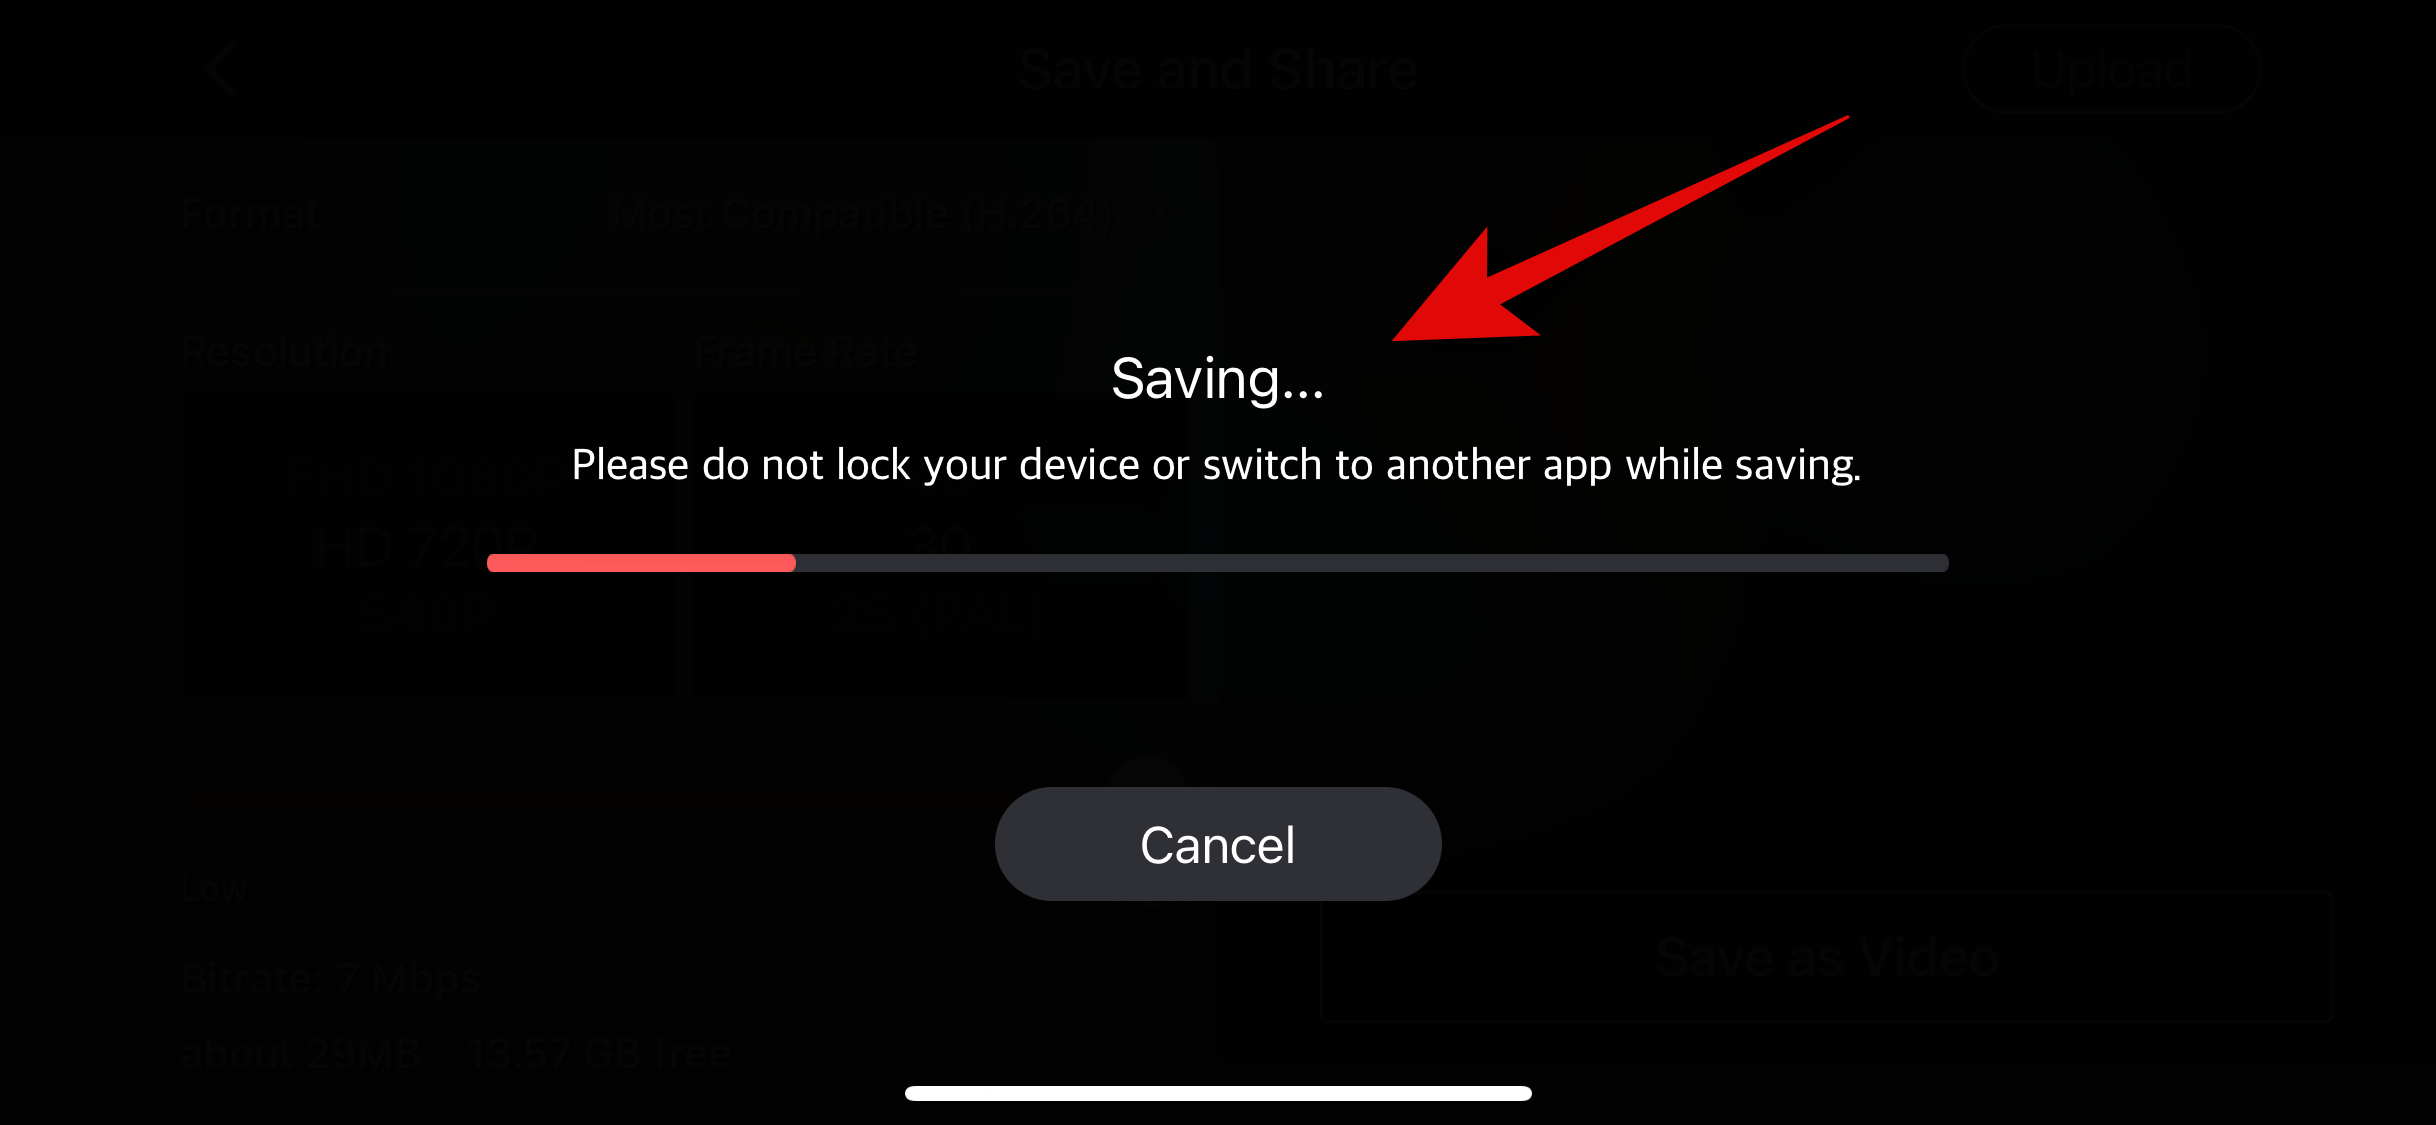
And that’s it! The exported video will now be available on your iPhone’s Photos app.
Related: How to Blur Text and Faces Inside Videos on iPhone
Method 4: Using the InShot app
Inshot is another popular video editor that you can use to reverse videos on your iPhone. Use either guide below to help you use InShot to reverse videos on your iPhone. Let’s get started!
Short guide:
- InShot app > Video > Select video > Checkmark > Select video in timeline > Reverse > Share > Select Resolution, Frame Rate, Format > Save.
GIF guide:

Step-by-step guide:
Here’s a Step-by-step guide: to help you use InShot to reverse videos on your iPhone.
- Open the link below on your iPhone and download InShot on your iPhone. Once downloaded, open the app and tap on Video.
InShot | Download Link


- Grant access to your photo library when you’re prompted, and then tap and select the video you wish to reverse from the list on your screen. Once selected, tap the checkmark in the bottom right corner of your screen.


- The video editor will now open with the video added to your timeline. Tap and select the video in your timeline, scroll to the extreme right on the options above your timeline, and tap on Reverse.


- The video will now be reversed and available in your timeline. Once done, tap on the Share icon in the top right corner of your screen. Tap on Resolution to choose your preferred resolution.


- Tap and select the preferred resolution. Similarly, tap on Frame rate and choose your preferred frame rate.


- Tap on Format and choose your preferred format to export the video. Once done, tap on Save at the top once you have made your choices.


- InShot is an ad-supported platform. You can skip the ad and open the Photos app. The exported video should now be available in your Photos app.

And that’s how you can use InShot to reverse a video on your iPhone.
Related: iOS 17: How to Search Your Videos Using Spotlight
Method 5: Using the Capcut app
CapCut is another video editor that you can use to reverse videos on your iPhone. Follow either guide below to help you use CapCut to reverse a video on your iPhone. Let’s get started!
Short guide:
- CapCut app > New Project > Select video > Add > Select video in timeline > Reverse > Export > Select Resolution and Frame Rate > Export > Done.
GIF guide:

Step-by-step guide:
Here’s how you can use CapCut to reverse a video on your iPhone. Let’s get started!
- Open the link below on your iPhone and download CapCut on your iPhone. Once the app has been downloaded, open the app and tap on New Project at the top of your screen.
CapCut | Download Link


- Grant access to your photo library once prompted and then tap and select the video you wish to reverse from the list on your screen. You will now be shown a preview of the selected video. Tap on Add in the bottom right corner of your screen.


- The video will now be added to your timeline. Tap and select the video. Then, scroll through the options available at the bottom of your screen and tap on Reverse.


- The video will now be reversed. You can now export the video directly, but if you want to remove the audio from the reversed video, tap on Extract audio at the bottom of your screen.


- Tap on the extracted audio under the video in your timeline and then tap on Delete.


- Now tap the resolution drop-down menu in the top right corner and choose your preferred export resolution.


- Next, use the slider for the Frame rate to choose your video’s export frame rate. Once done, tap the Export icon in the top right corner.


- The video will now be exported, and you can track its progress in real-time. Once done, it will be available in the Photos app.


And that’s how you can use CapCut to reverse videos on your iPhone.
We hope this post helped you easily reverse a video on your iPhone. If you face any issues or have any more questions, feel free to reach out to us using the comments section below.
RELATED


