What to know
- You can customize the shapes you added to a document on Google Docs.
- You will be able to rotate, resize, reposition, and change the color of shapes that you add to a document.
- Check out the post below to learn more about it.
You can enhance the look and appearance of a document by adding shapes in Google Docs. You can increase the legibility of your text, and add accompanying graphics, explainers, and more. In this post, we’ll explain all the ways you can customize your shapes added to Google Docs.
How to customize shapes in Google Docs [3 methods]
Here’s how you can customize shapes in Google Docs. The customizability of your shape will depend on the source you used to add your shape. Use the relevant section below depending on how you added your shape to customize it.
Method 1: Customize Shapes from the Drawing tool
If you used the Drawing option to add your image, you can use the options below to manage your drawings in Google Docs.
Reposition
To reposition your image, you can use the following steps. Unfortunately, you can’t reposition your shape using a mouse unless you have existing characters in the area. You can simply create empty spaces using the Spacebar on your keyboard and then reposition your drawing using the mouse. However, you can also use the keystrokes mentioned below, which should be much easier unless you have a large document to work with.
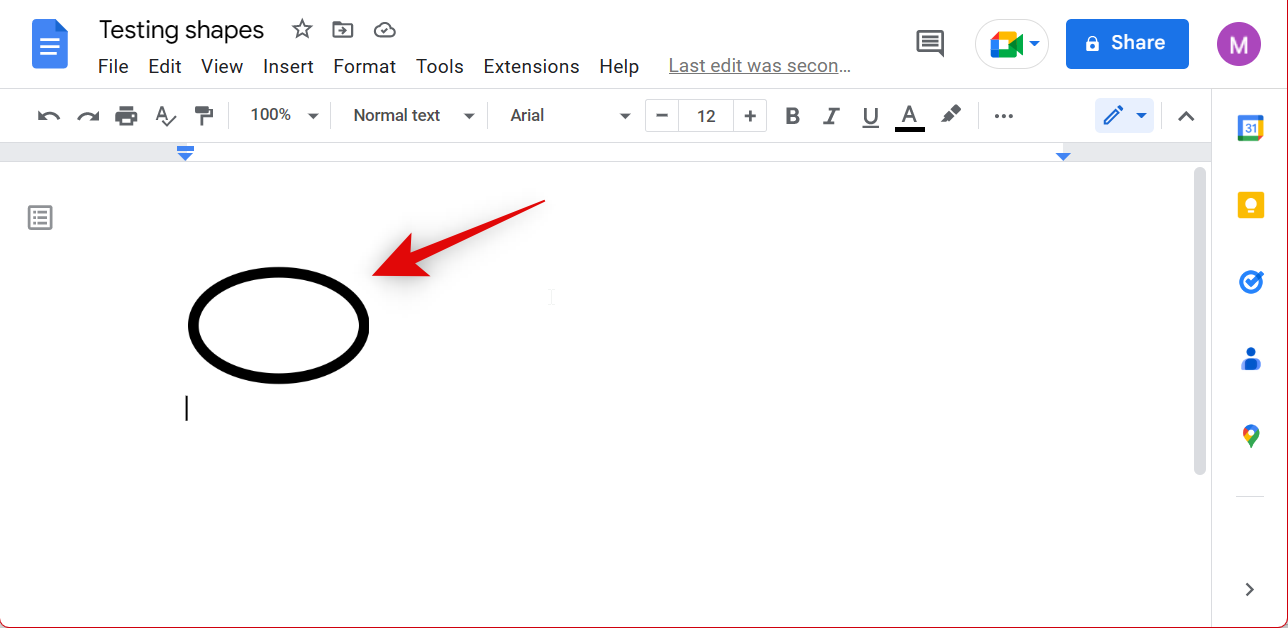
- Place your cursor before the image: This will allow you to control the image easily using keystrokes on your PC.
- Enter: Press Enter/Return on your keyboard to move the image to the next line.
- Spacebar: Use the Spacebar to move your image to the right in the current line.
- Backspace: Use the backspace to move your image to the left in the current line.
- Delete: You can use the delete key to move your image to the left in a line by placing your cursor at the start of a line.
Resize
There are two ways to resize drawings in Google Docs. You can use the click-and-drag manual method or dial in exact values using Image options. Follow either section below, depending on your preferred method.
Resize manually
Resizing drawings in Google Docs is a pretty simple process.
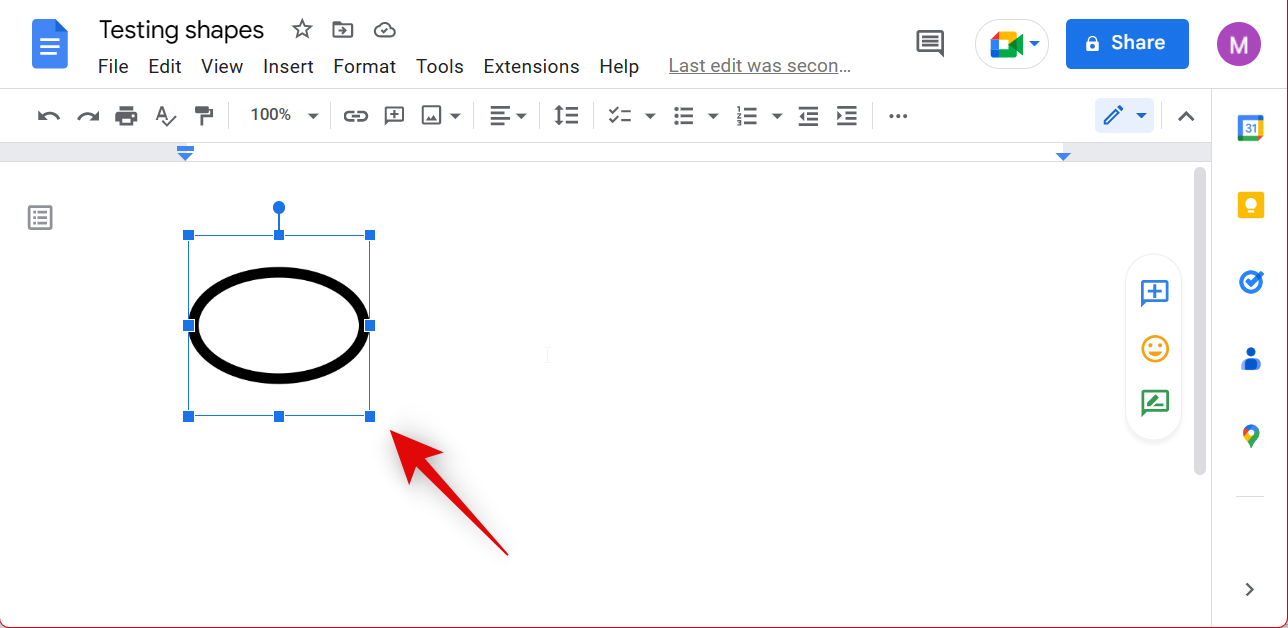
- Open the document on the Google Docs website containing your drawing and click and select the same.
- Now click and drag either corner to resize your drawing as needed.
- And that’s how you can resize a drawing using the manual click-and-drag method in Google Docs.

Resize using Image Options
Image options allow for more control by resizing your drawing using numerical values. This allows for better control over your shape size, especially if you wish to get it printed to exact sizes on paper. Use the steps below to use image options to resize your drawing in Google Docs.
- Open the Google Docs website and open the document with the drawing you wish to resize.
- Select the drawing once the document is open.

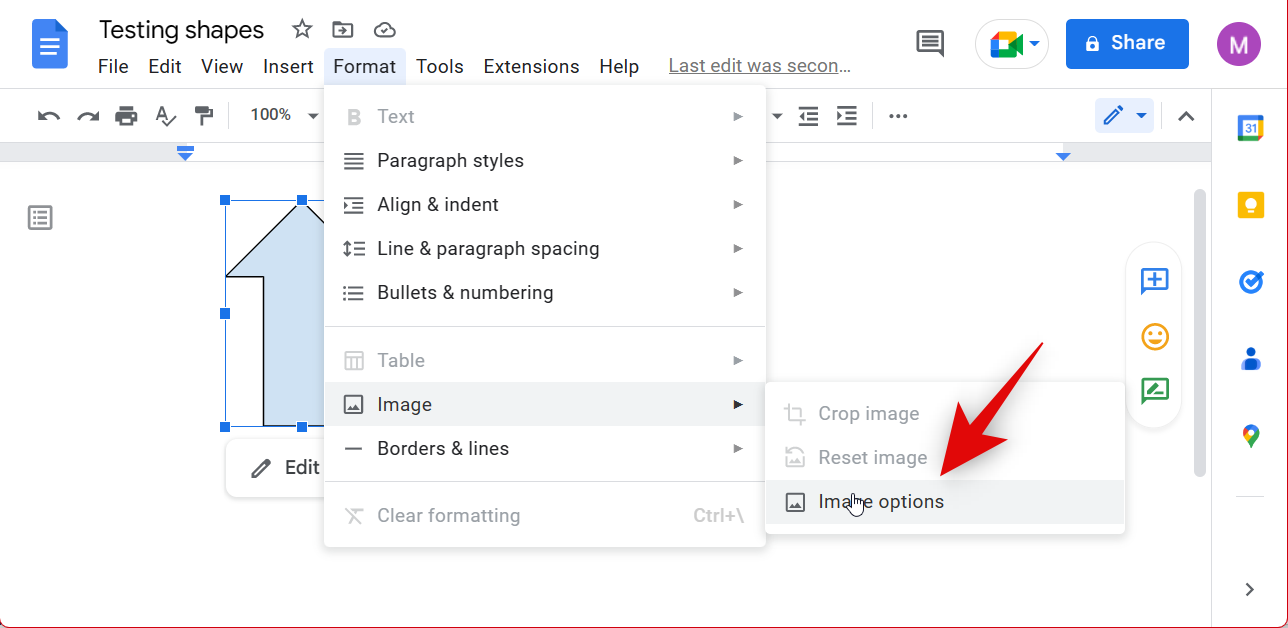
- Now click Format at the top of your menu bar.

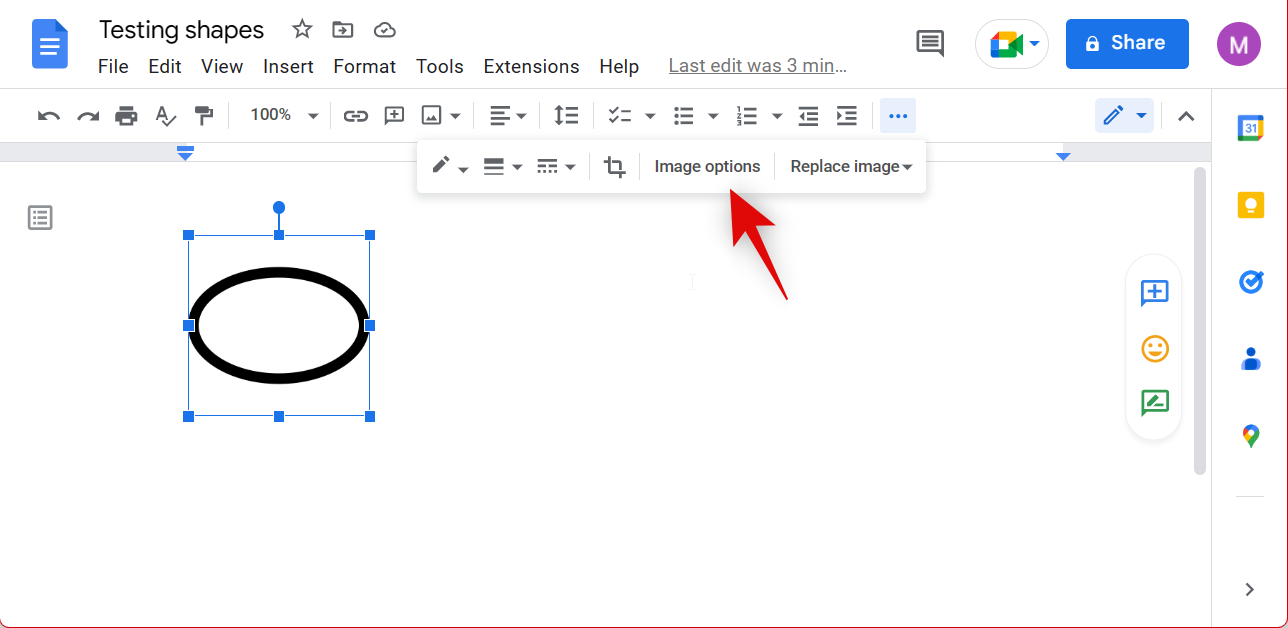
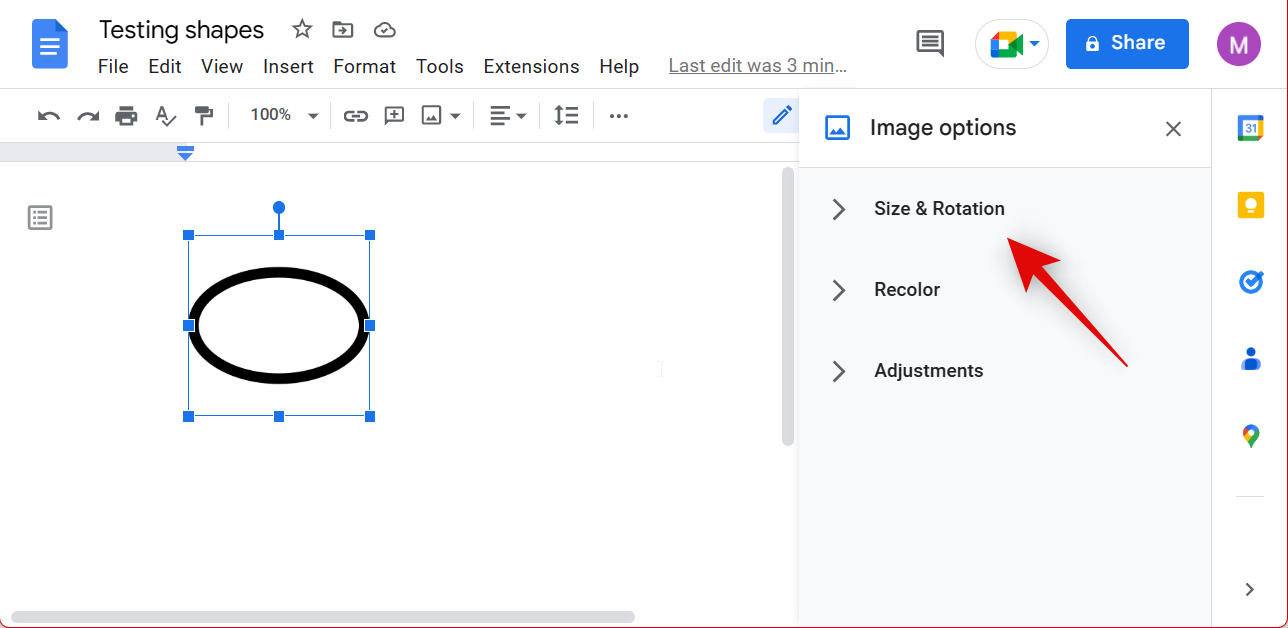
- Hover over Image and select Image options.
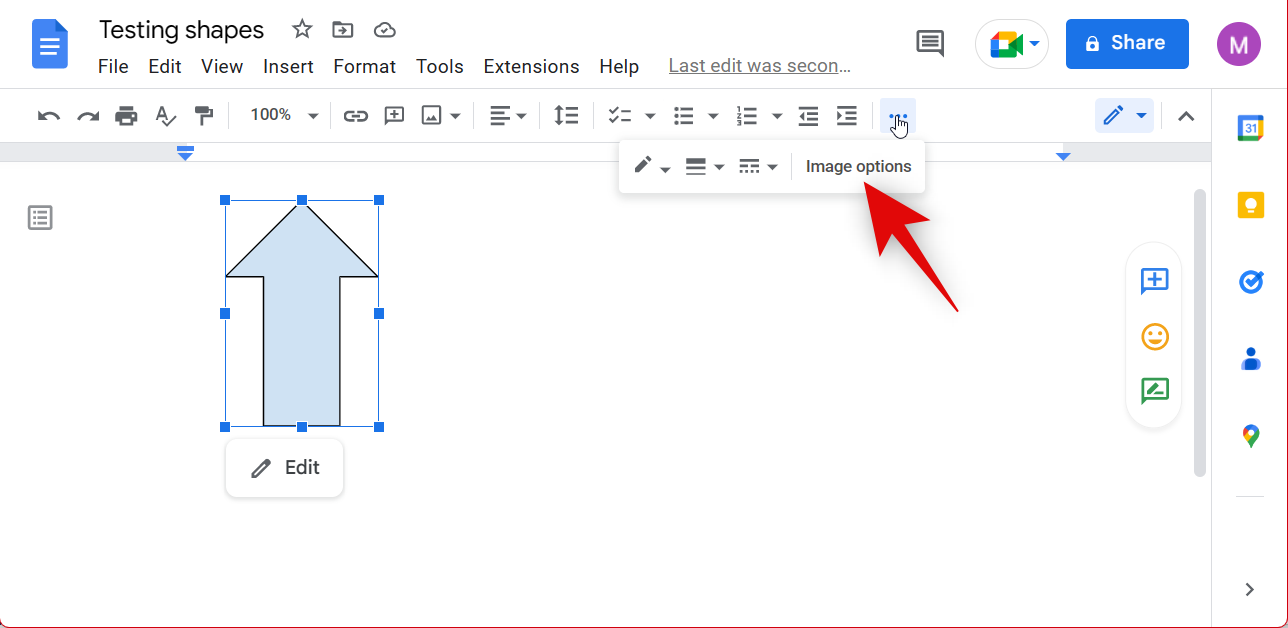
- You can also select Image options from your toolbar.
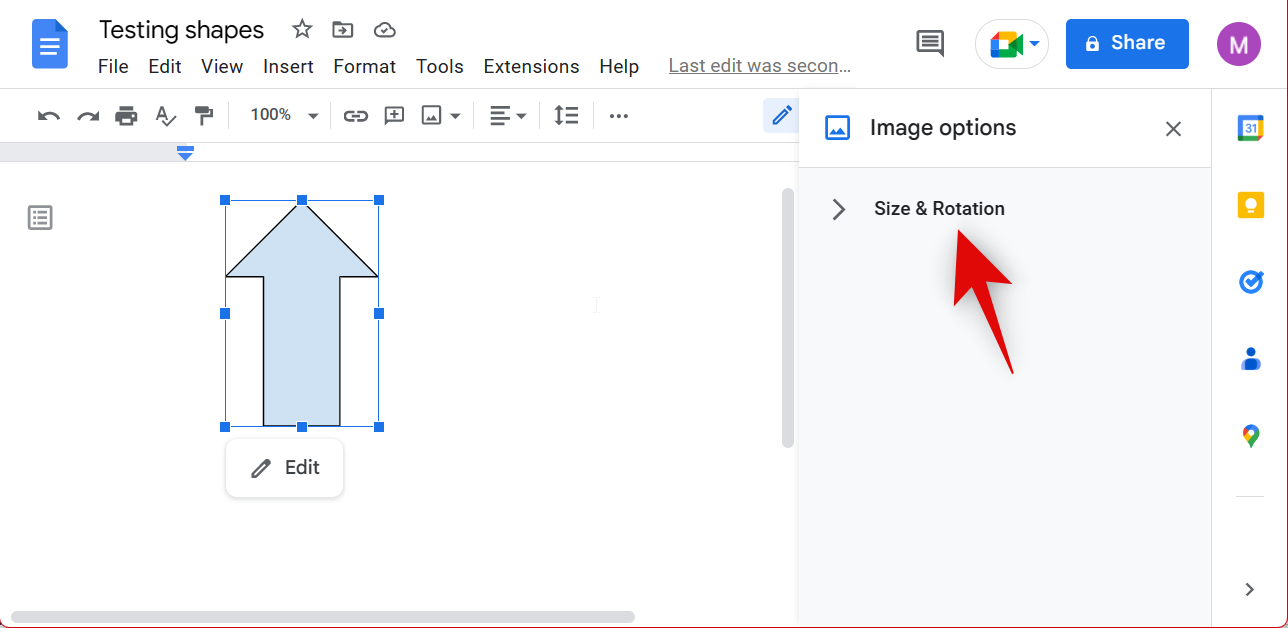
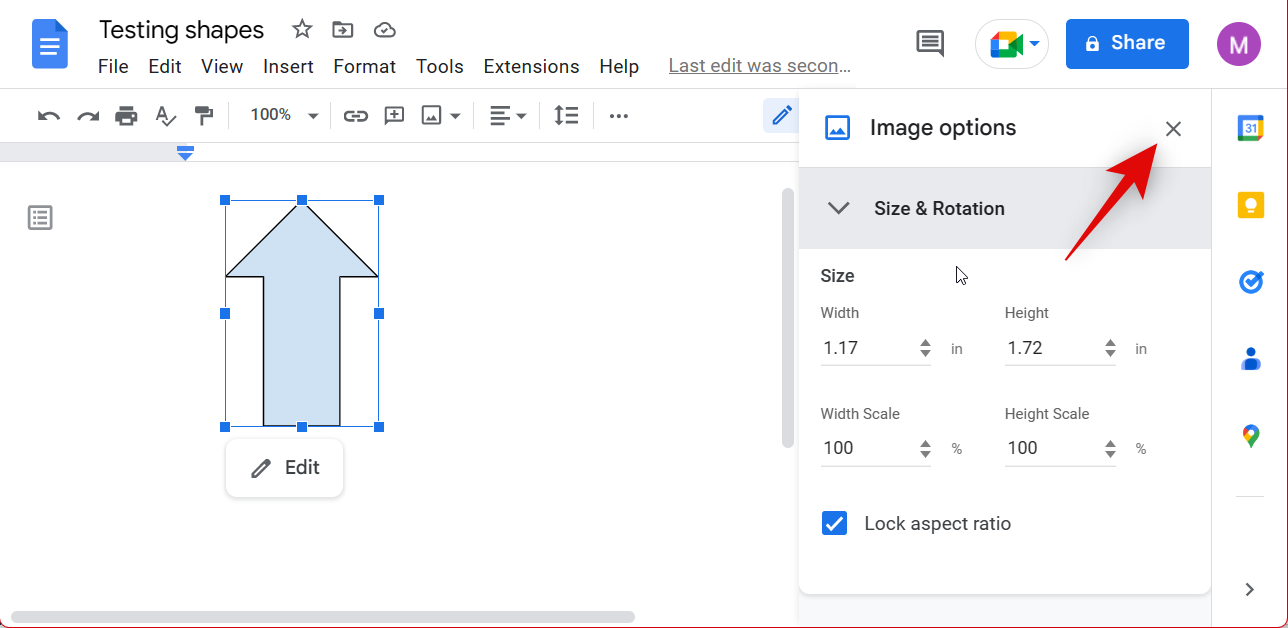
- Now click Size & Rotation from the right sidebar.
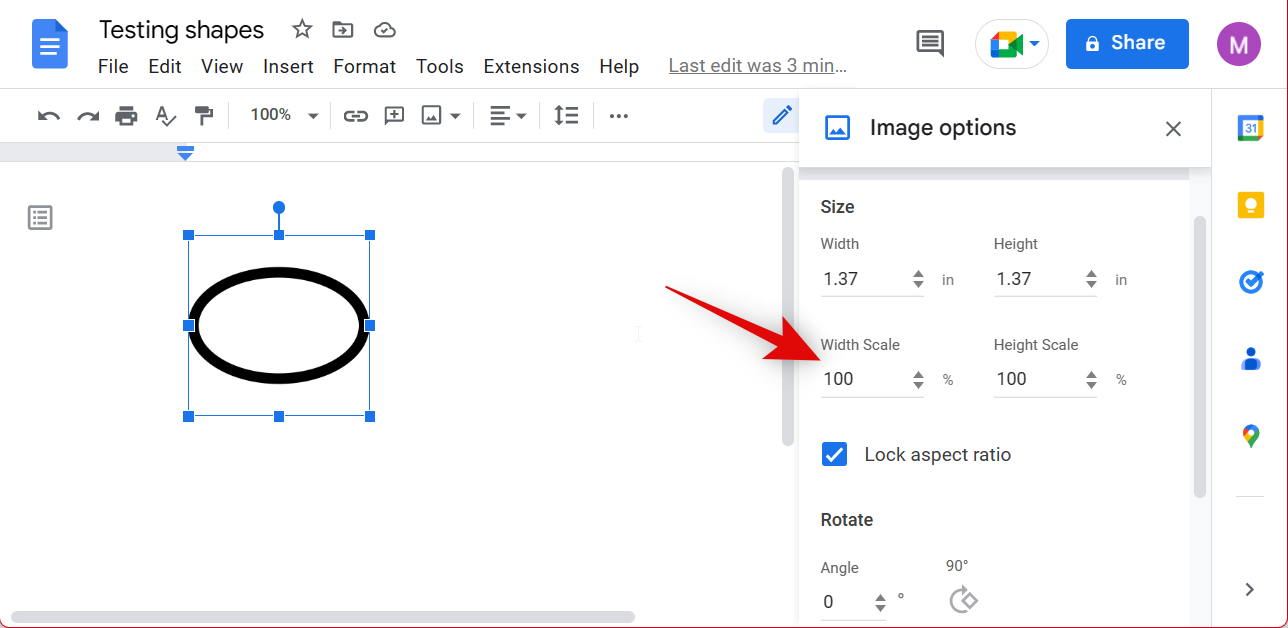
- Type in your preferred size in inches under Width and Height.
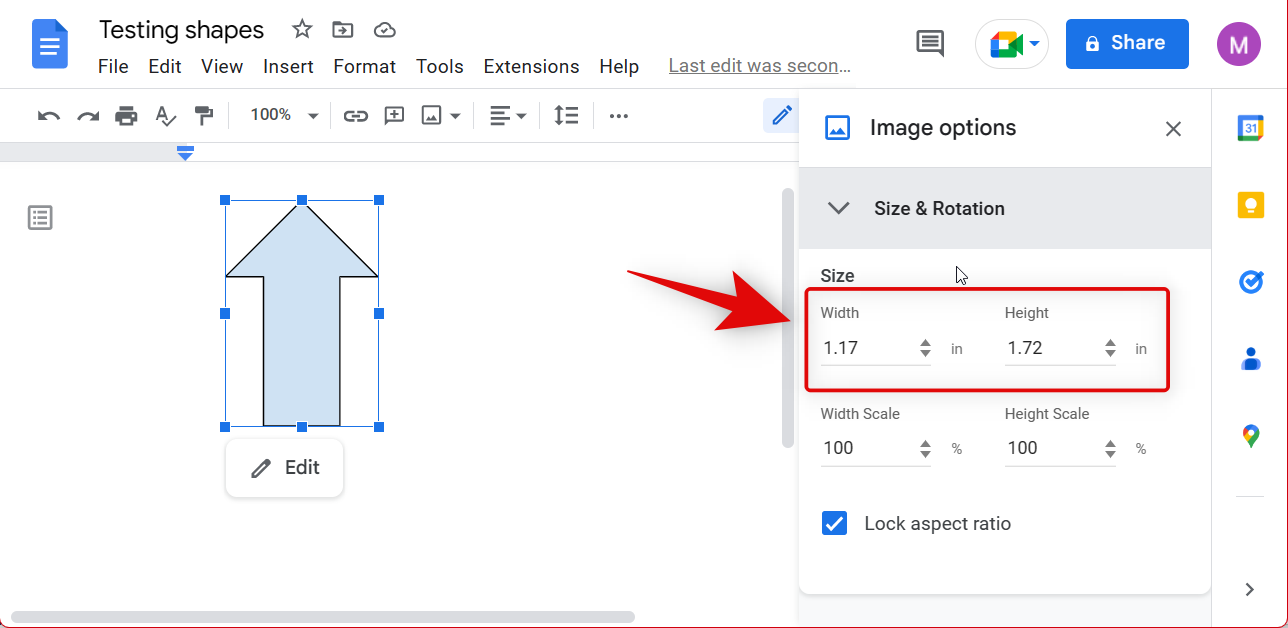
- If you’re unsure about the size in inches, you can choose to use the scale options instead. This will allow you to resize the drawing from 100 in increments that you can gauge. You can enter the desired scaling values under Width Scale and Height Scale.

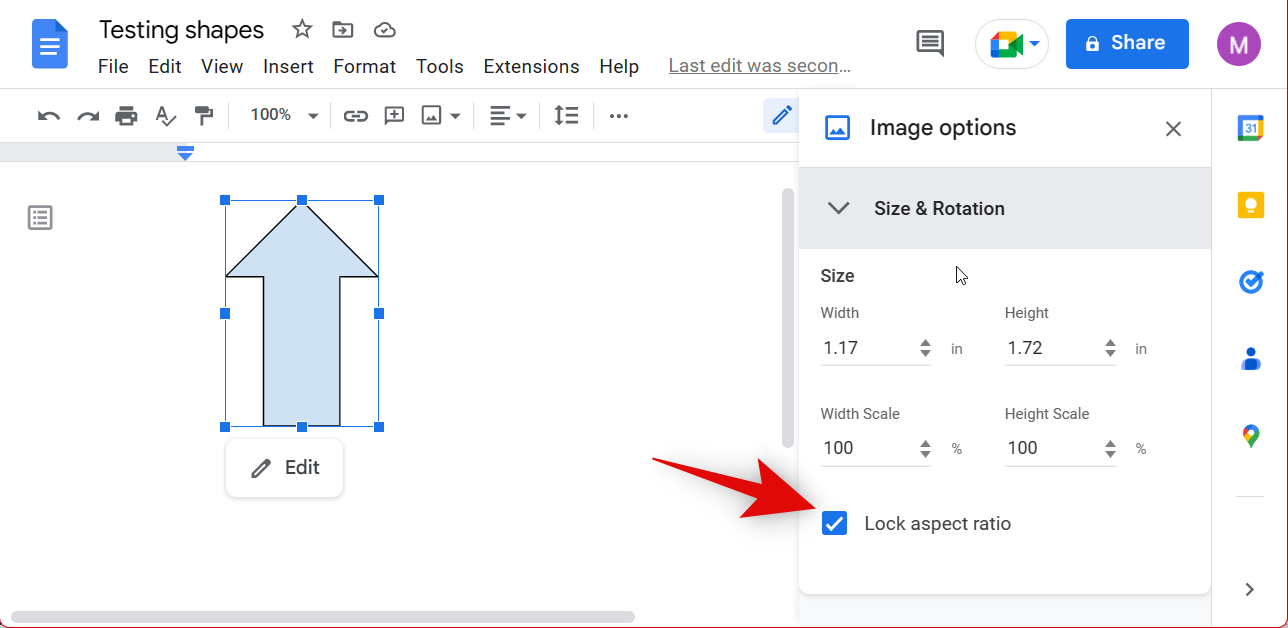
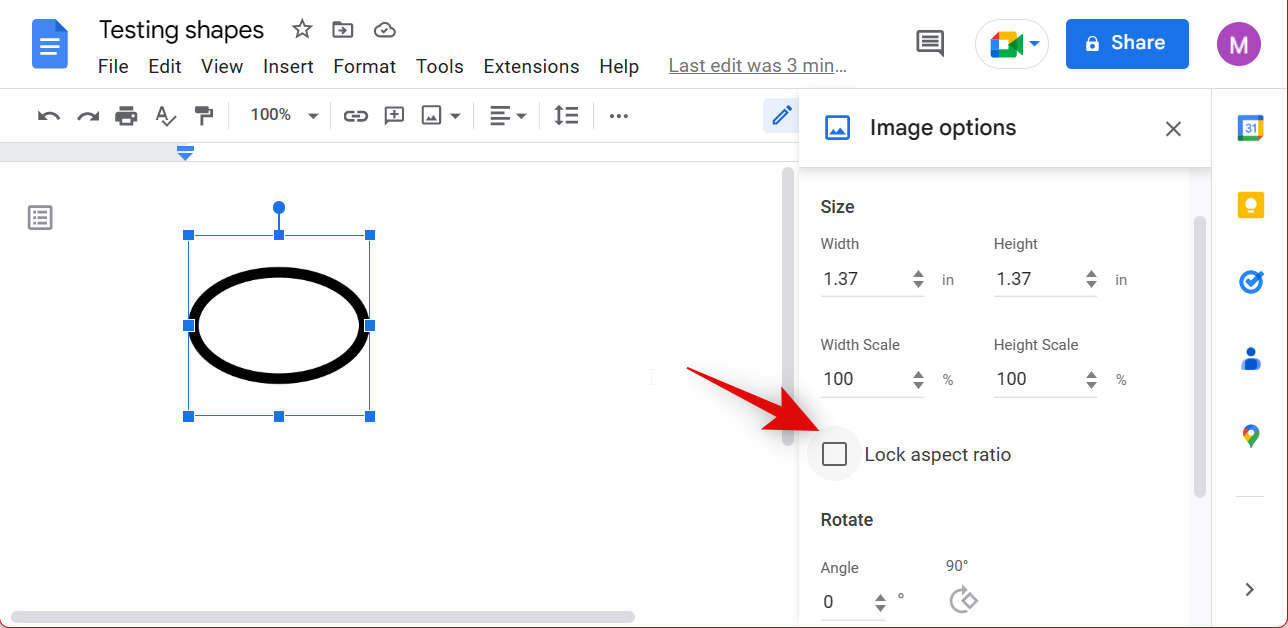
- Additionally, you can also uncheck the box for Lock aspect ratio if you wish to freely resize the drawing.
- Close Image options using the X icon once you’re done.
And that’s how you can resize the drawing using Image options in Google Docs.
Rotate
Unfortunately, you can’t rotate drawings in Google Docs using the native options available for general formatting. As you might have noticed, even though Image options offers the option for Size & Rotation, you can only control the size. Instead, to rotate your drawings, you will need to rotate and edit them in the Drawings canvas where you had created the drawing initially. Use the section below to edit your drawing and rotate it in the canvas.
Edit the original drawing
You can also edit the original drawing you used to create a shape and manipulate most aspects of it. This can come in handy if you wish to change the design throughout creating your document. Use the steps below to edit an already-created drawing in Google Docs.
- Open the Google Docs website and navigate to the document where you wish to edit the shape you created using the Drawing option in Docs.
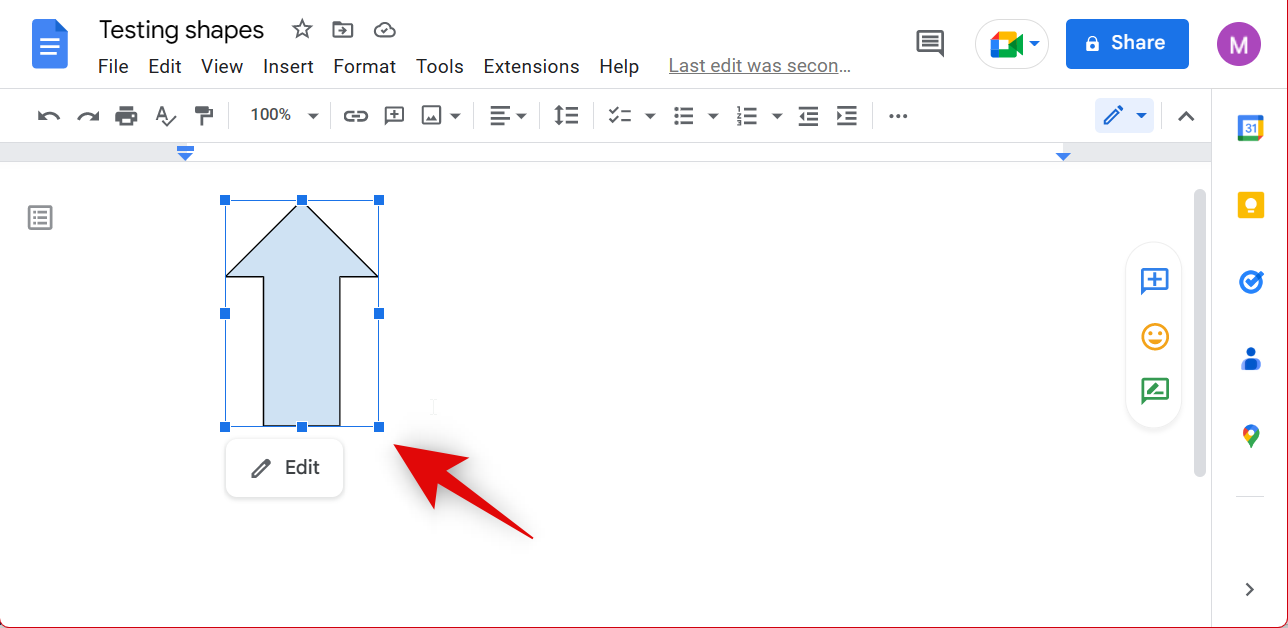
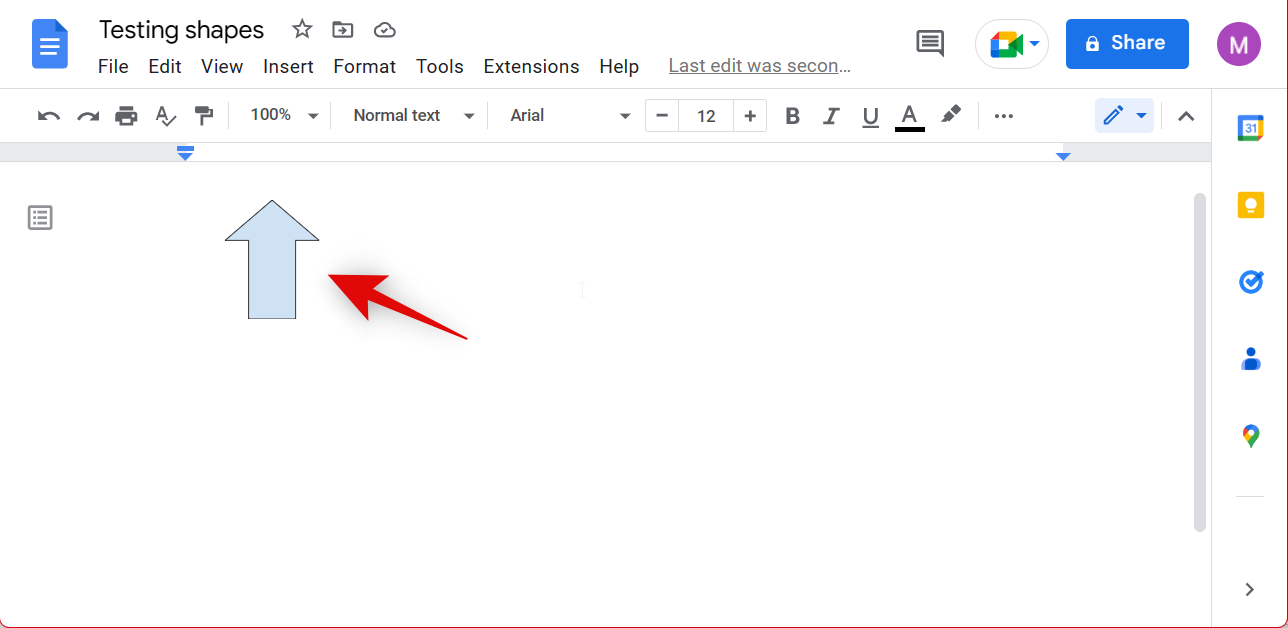
- Click and select your shape once the document opens.
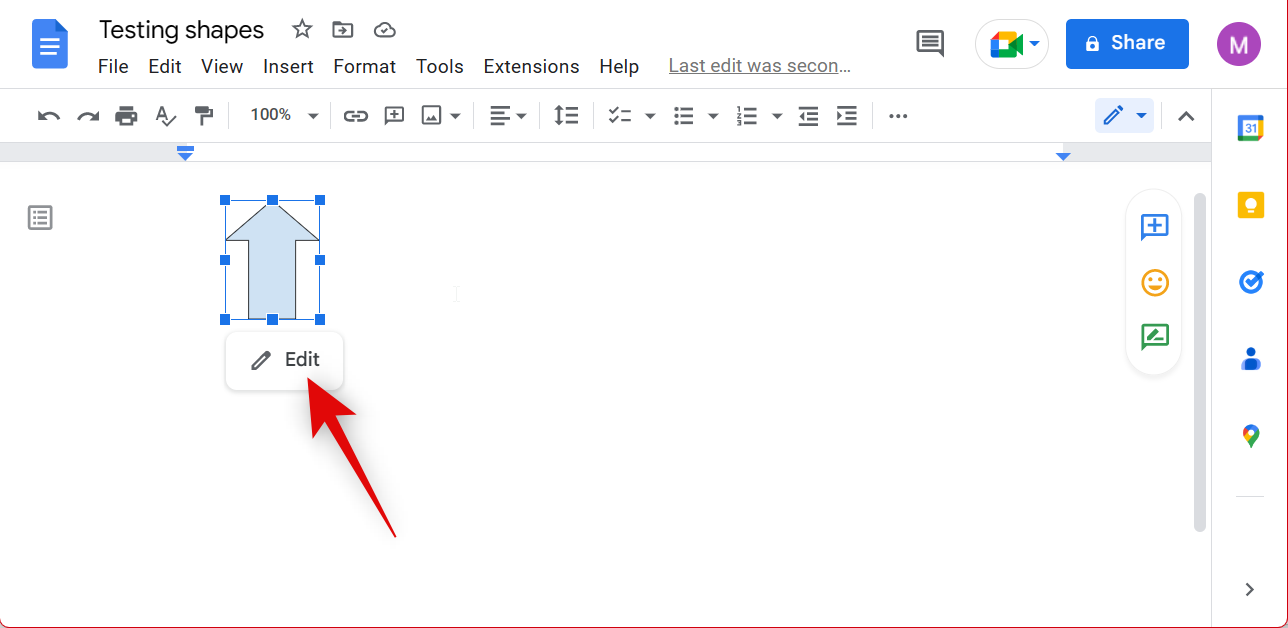
- Click Edit in the bottom left corner of the shape.
- You can now use the options at the top of the toolbar to edit and create new shapes as needed, just like we did before.
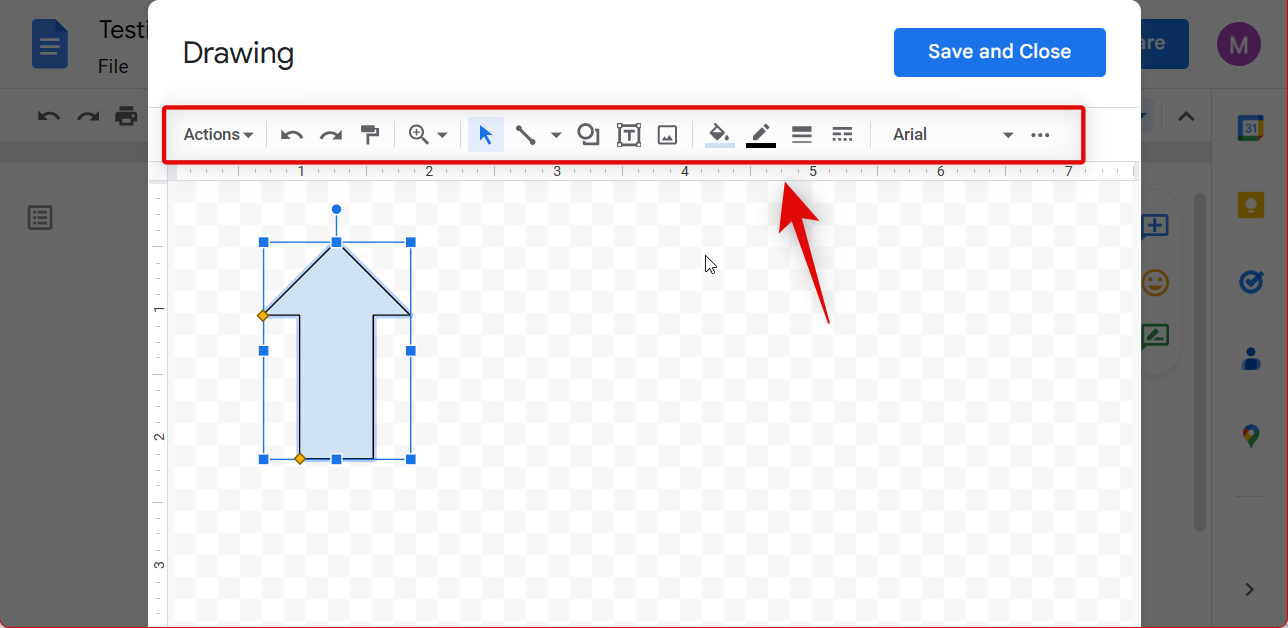
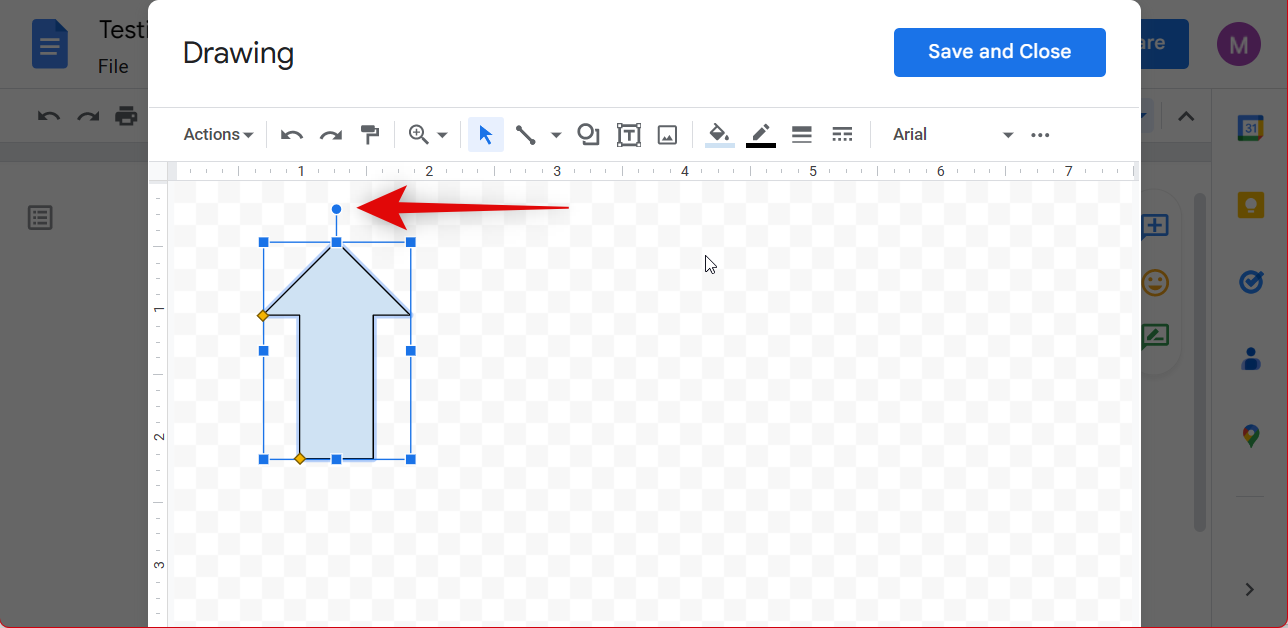
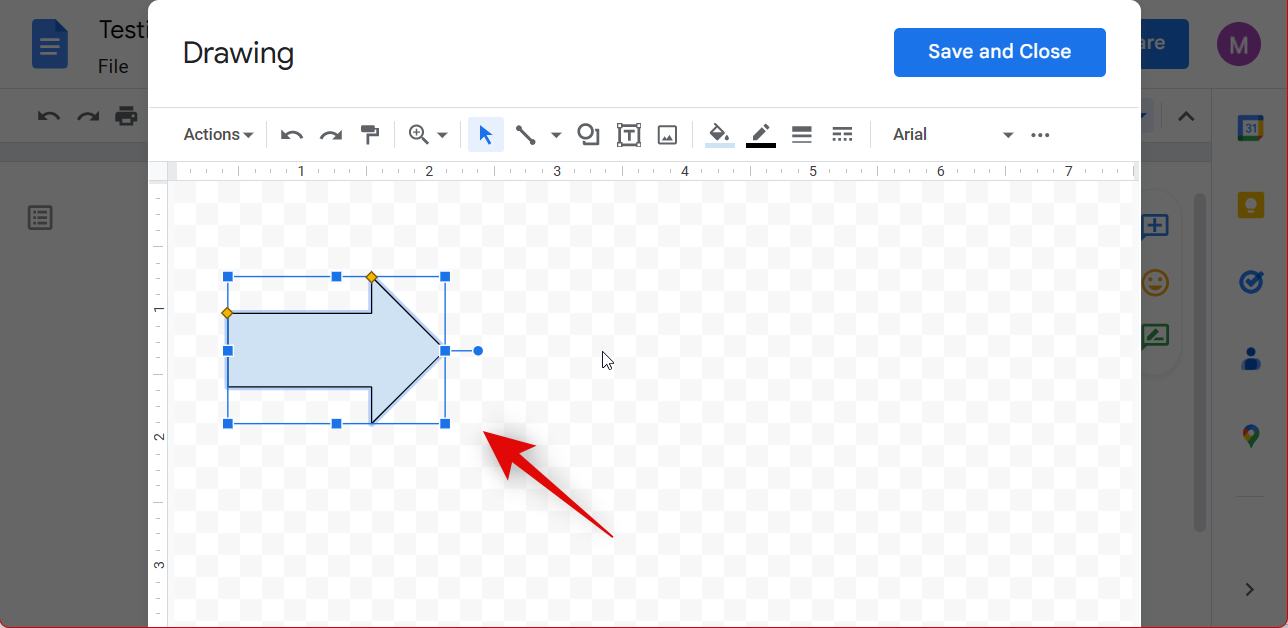
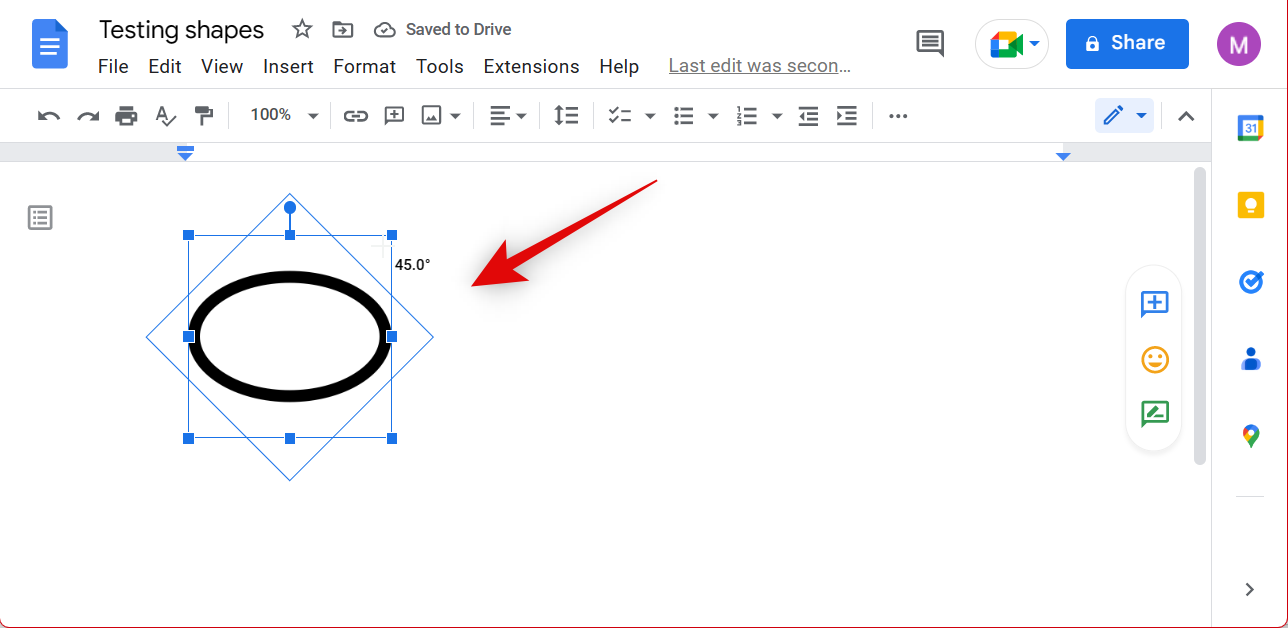
- To rotate your image, click and select the shape. Now use the marker at the top of the shape to rotate your shape manually.
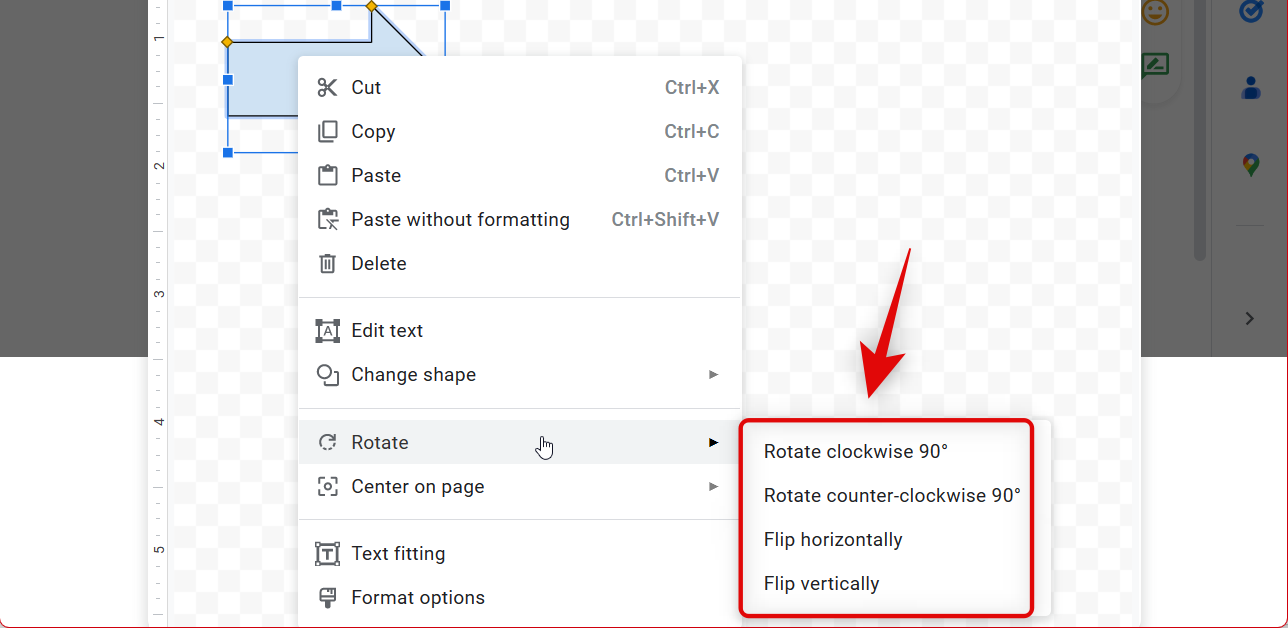
- If you need more control over your rotation, right-click the shape.
- Now hover over rotate and select one of the following options depending on what you wish to do – Rotate clockwise 90°, Rotate counter-clockwise 90°, Flip horizontally, and Flip vertically.
- Click Save and close once you’re done.

And that’s how you can edit an already created drawing in Google Docs to edit your image later on.
Related: 3 Ways to Change Margins on Google Docs: Incl One-inch, Default and Locking the Margins
Method 2: Customize images and icons
If you added shapes as images or icons, then here’s how you can manage these shapes in your document.
Reposition
Repositioning works pretty much similar to the way you would move your text around. Use the tips below to reposition your image in Docs.
- Place your cursor before the image: This will allow you to control the image easily using keystrokes on your PC.
- Enter: Press Enter/Return on your keyboard to move the image to the next line.
- Spacebar: Use the Spacebar to move your image to the right in the current line.
- Backspace: Use the backspace to move your image to the left in the current line.
- Delete: You can use the delete key to move your image to the left in a line by placing your cursor at the start of a line.
Additionally, as long as there is free space in your document, you can also use the mouse to reposition your image. However, this will only work in areas where alphabets, numbers, or spaces exist. If you wish to reposition your image using the mouse to an empty area in your document, then, unfortunately, that won’t work. You can workaround this issue by simply creating empty spaces in the area where you wish to reposition your shape and then dragging it to that location.
Resize and rotate
You can resize and rotate shapes using two ways in Google Docs. You can use the corners and manually resize and rotate your image or use image options to dial in specific sizes and rotation values for your shape. Image options allow you to fine-tune your shape size and orientation. Use the steps below to help you resize your shape depending on the method you prefer.
Resize and rotate manually
Here’s how you can resize and rotate your shape manually in Google Docs.
- Open the document inside the Google Docs website you want to edit.
- Click and select the image once it is open in your browser.
- Now click and drag any corner to manually resize your shape.
- Click and drag the top marker to rotate your image to the desired orientation.
And that’s how you can manually resize and rotate your shape.
Resize and rotate using Image options
Here’s how you can use Image options to rotate and resize your shape in Google Docs.
- Open the document inside the Google Docs website you want to edit.
- Inside the document, select your shape by clicking on it.
- Now click Image options in the toolbar at the top.
- You can also right-click the image and select Image options if you prefer. Click and select Size & Rotation in the right sidebar.
- Now enter the manual values for width and height under Width and Height. These values are in inches.

- If you aren’t sure about the size in inches, you can choose to manually scale down or scale up the shape in percentages. Enter your preferred percentage under Width Scale and Height Scale.
- You can also apply skew to your images by unchecking the option for Lock aspect ratio.
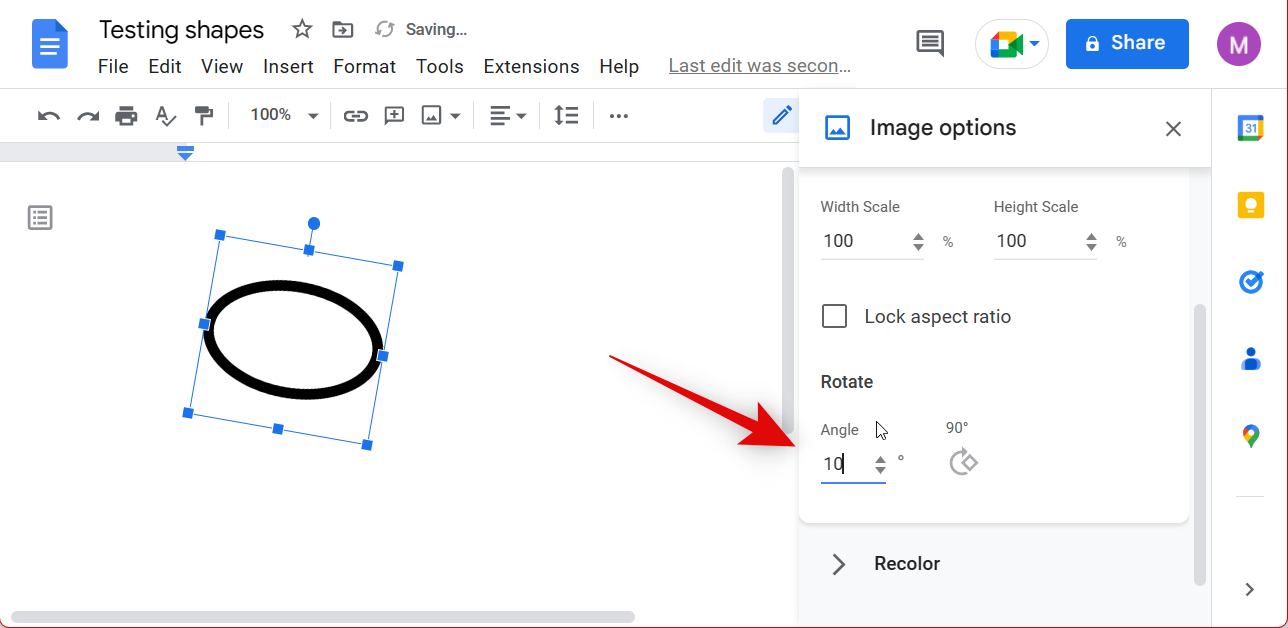
- Similarly, enter the Angle value depending on how much you wish to rotate your image.
Change color
You can change color and make adjustments to your shape using the Image options as well. Follow the steps below to help you change and adjust the color of your shapes in Google Docs. Follow the steps below to help you along the way.
- Open the Google Docs website on a web browser.
- Inside the document, select the image you want to edit.

- Now click Image options in the toolbar at the top.
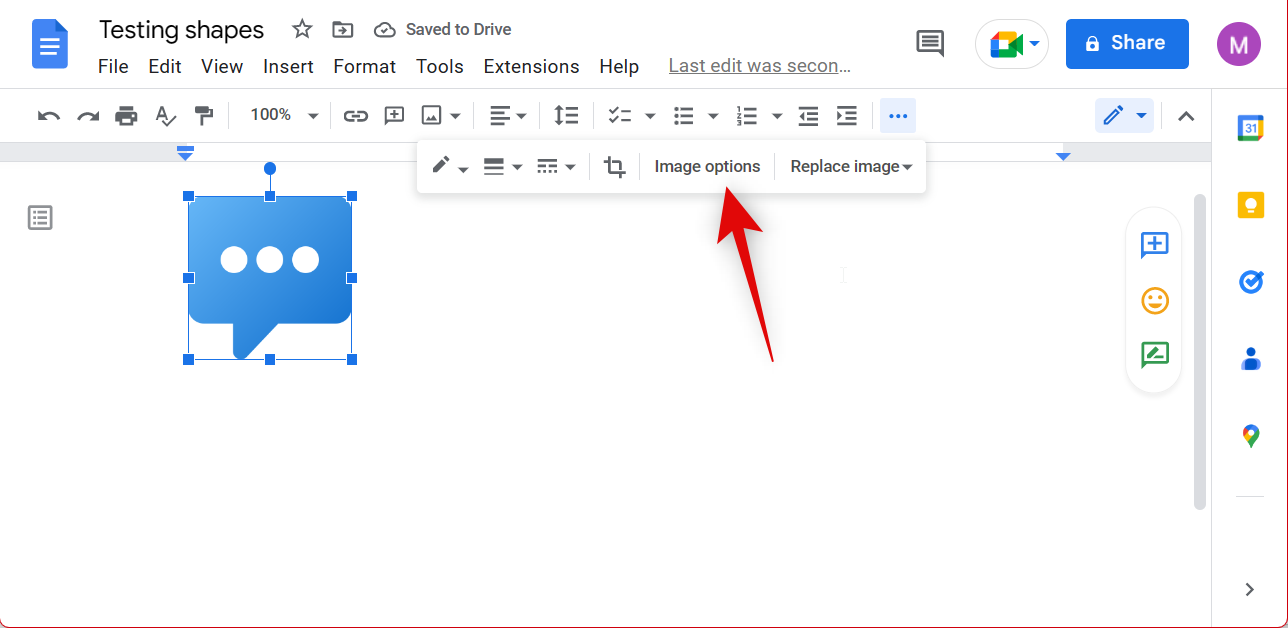
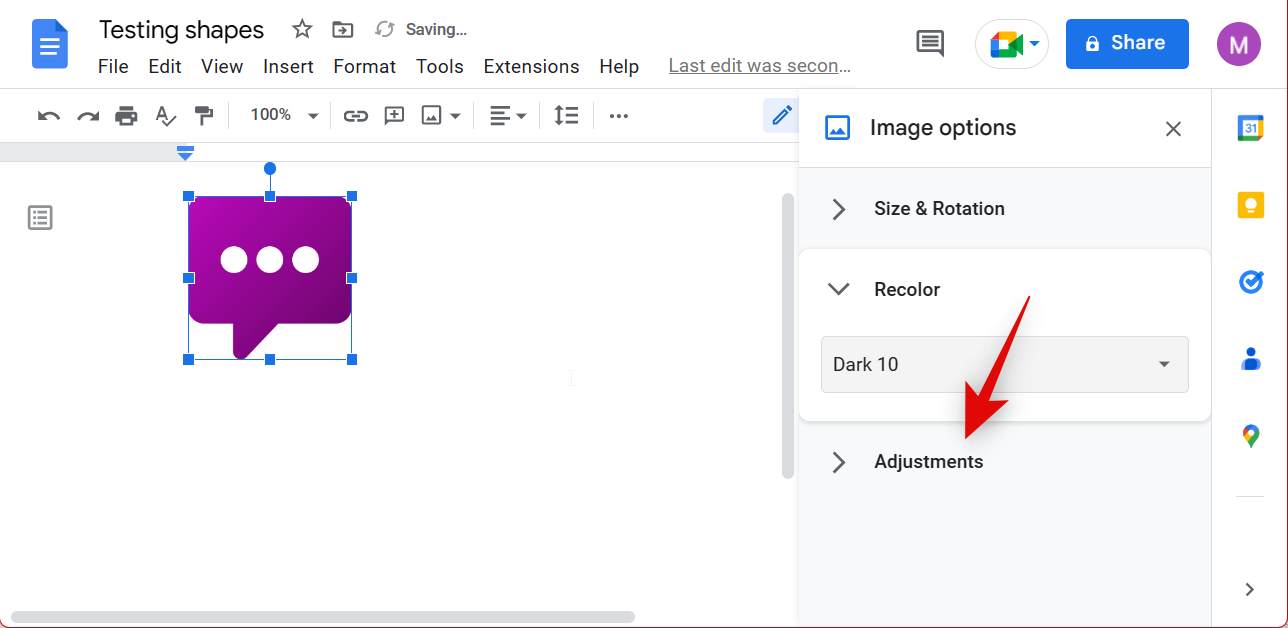
- Click Recolor in the right sidebar.
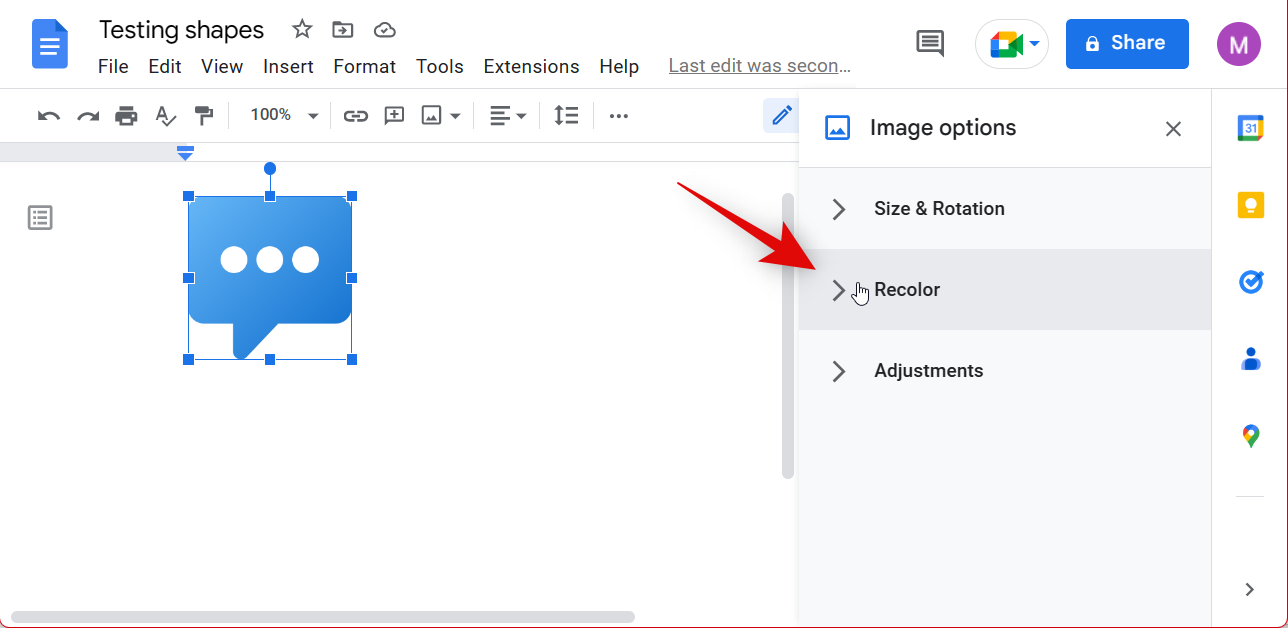
- Click the drop-down menu for No recolor.
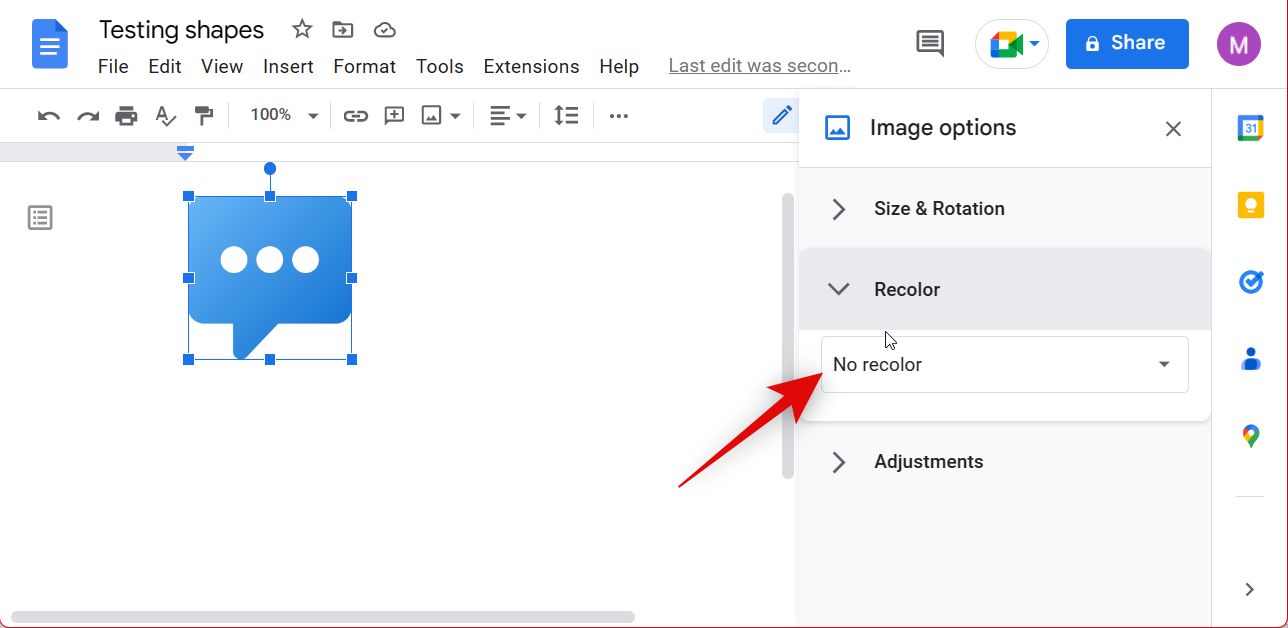
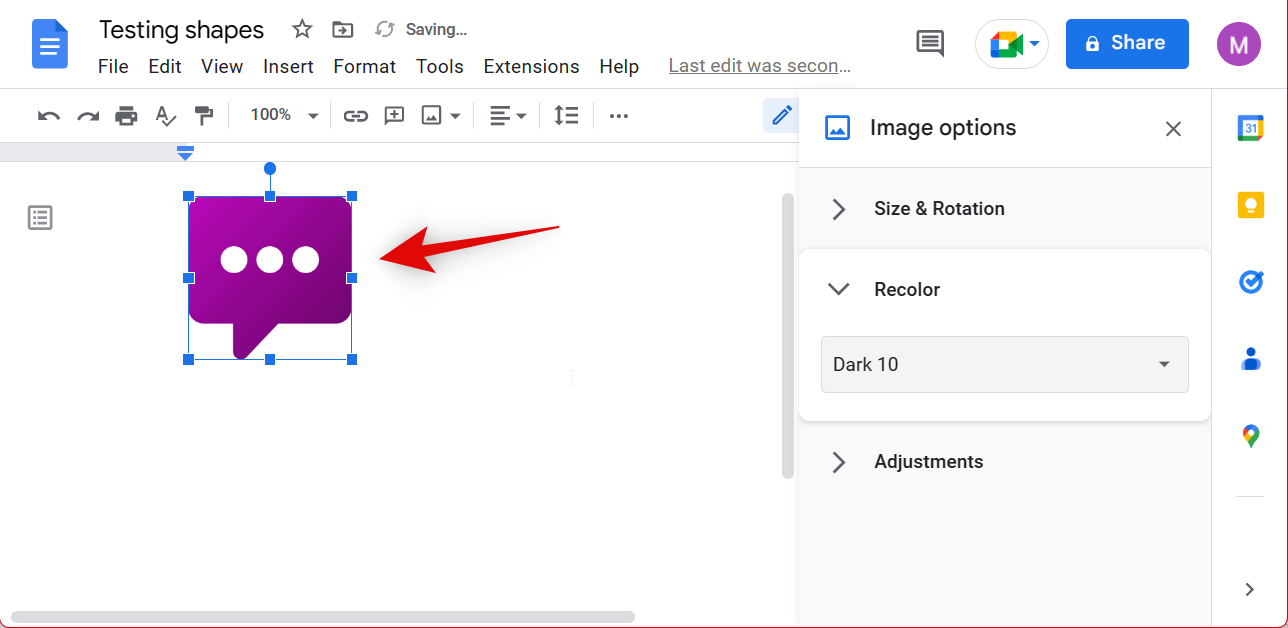
- Click and select your preferred color.

- You should be able to see recolor previews for your shape in real time.
Note: If you’ve added shapes that aren’t colored or are just line drawings, then, unfortunately, you won’t be able to recolor them in Docs. - Now click Adjustments.
- Use the slider for Transparency to adjust the opacity of your shape.
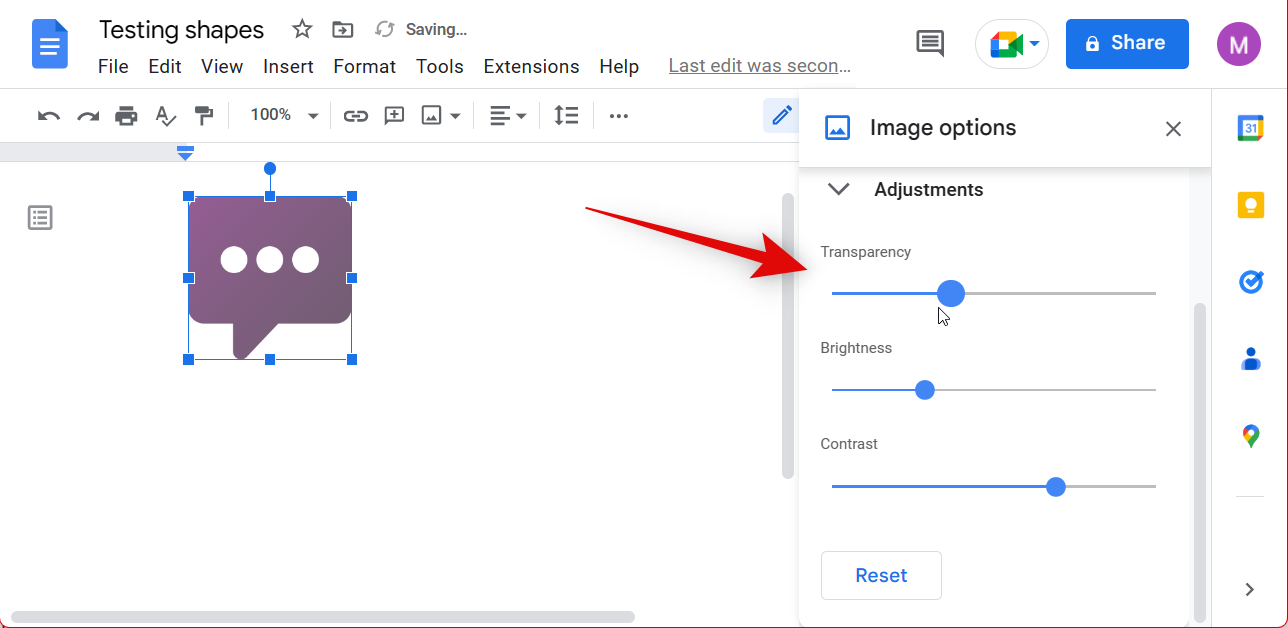
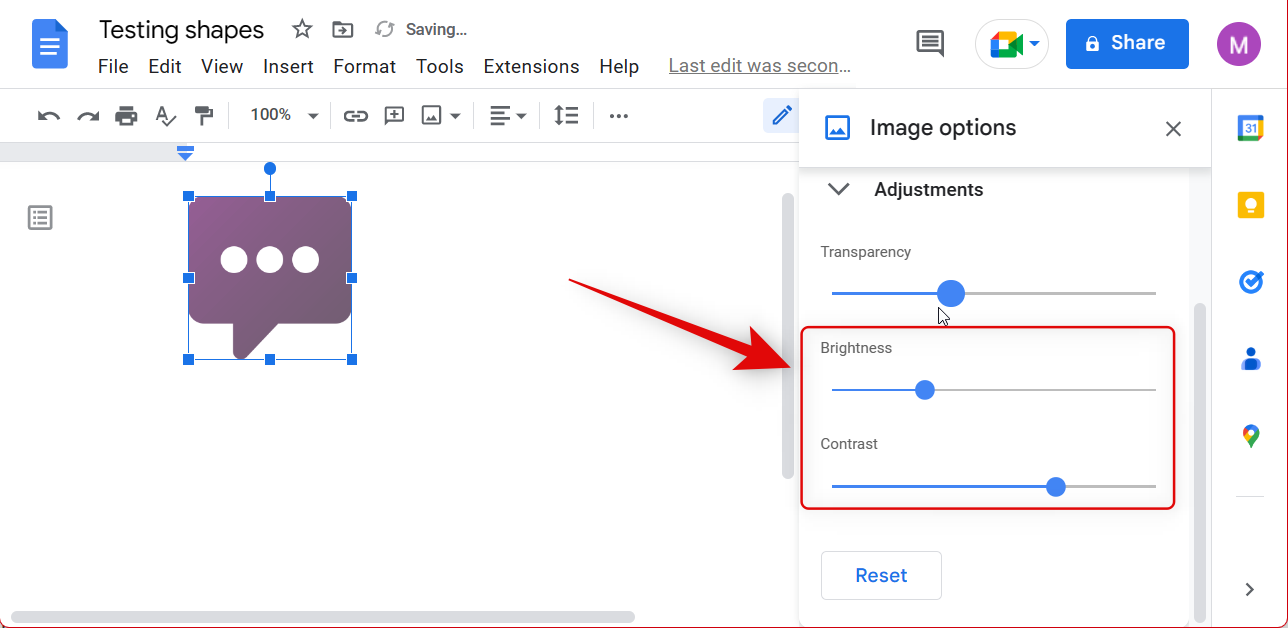
- Similarly, use the sliders for Brightness and Contrast to adjust brightness and contrast for your shape as needed.
And that’s how you can change the color for your shapes in Docs.
Related: How To Use Comments and Actions in Google Docs
Method 3: Customize Special Characters
Special characters are treated like alphabetical characters, so you can apply most formatting options available for text to special characters. This means you can change font size, bold, change color, and a lot more when using Special Characters as your shapes in Google Docs. You can use the following options to change and format your Special Character shapes as needed.
Change Size
You can simply change the font size to increase or decrease the size of your Special Characters. Follow the steps below to help you along the way.
- Open the Google Docs website on a web browser.
- Select the document where you added a shape using Special Characters.
- Select the character in your document using the mouse or keyboard. Ensure that you don’t select any text, or else the size change will be applied to your text as well.
- Now use the Font size option in the toolbar to increase or decrease the size of the special character. Click + to increase the size and click – to decrease the size.
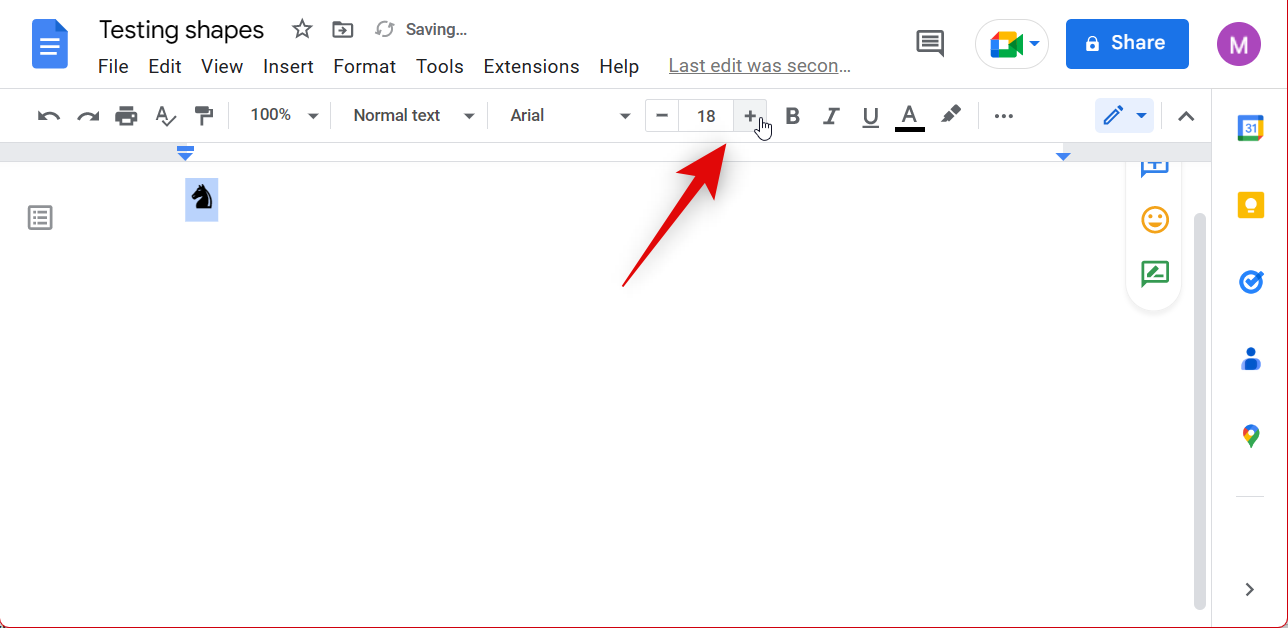
- You can also manually enter size values using the text box in the middle.
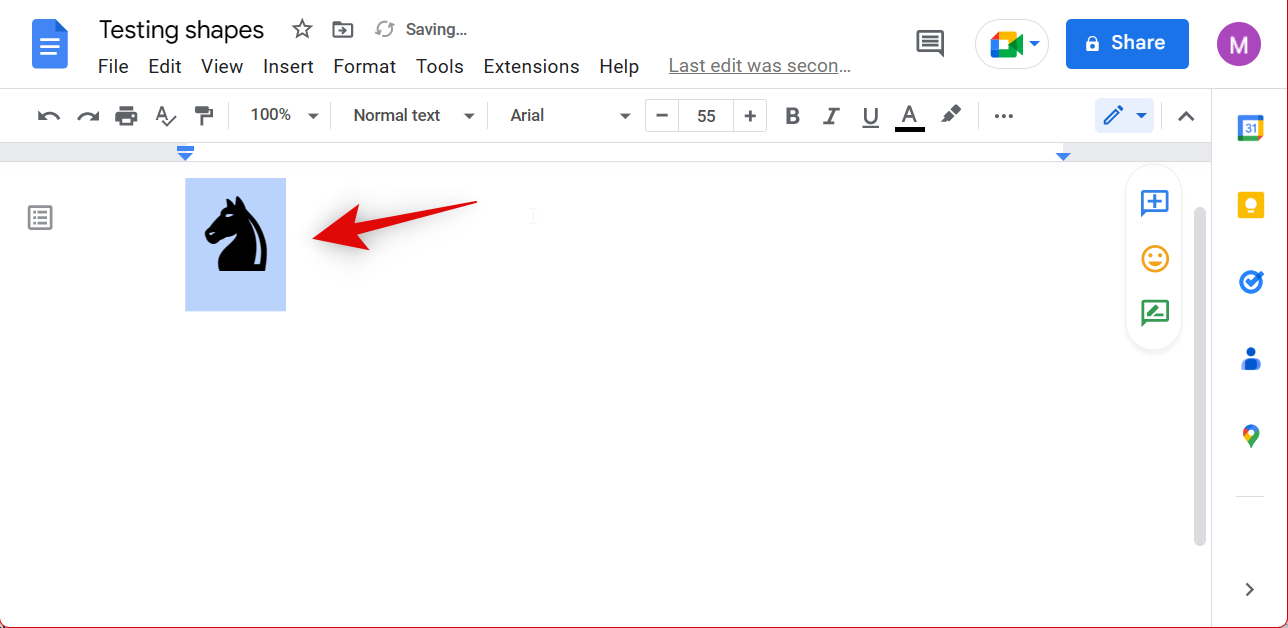
And that’s how you can change the size of Special characters you’re using as shapes in Google Docs.
Change the look
You can also change the look of Special characters using the format options available for text. Though limited, these options should make it easier for you to make your shapes more prominent in the document.
- Open the Google Docs website on a web browser.
- Select the document where you wish to change the look of Special Characters.
- Highlight the character using the mouse or keyboard.
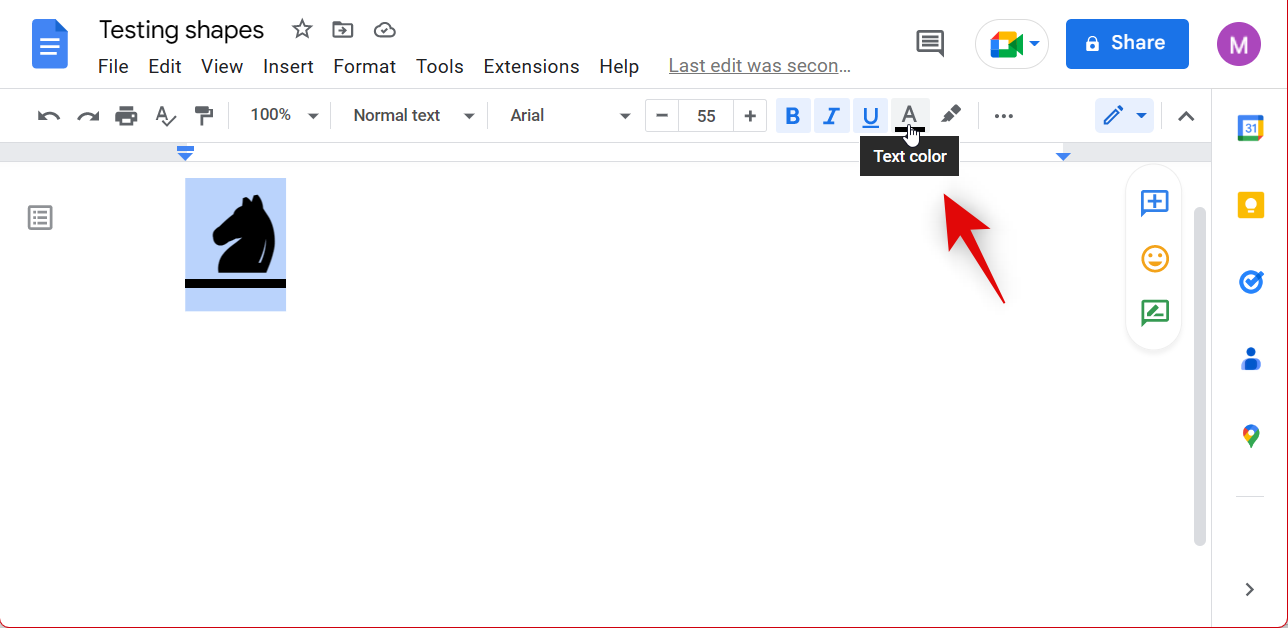
- Now you can Bold, Italicize, and Underline your character using the options in the toolbar at the top.
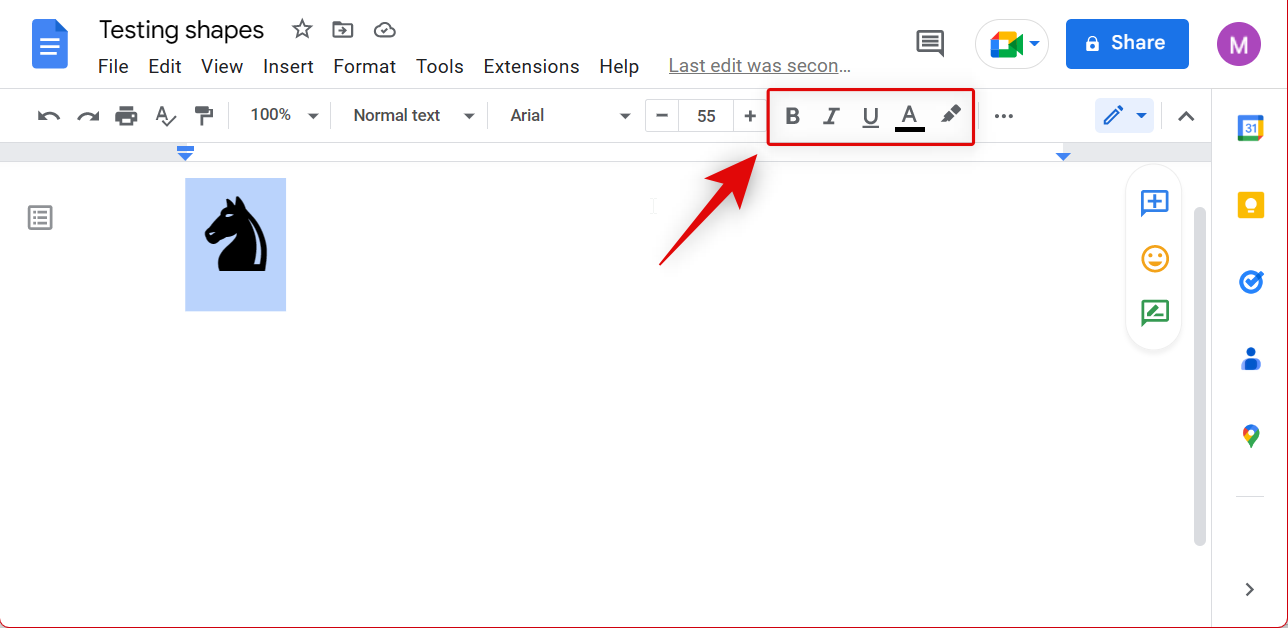
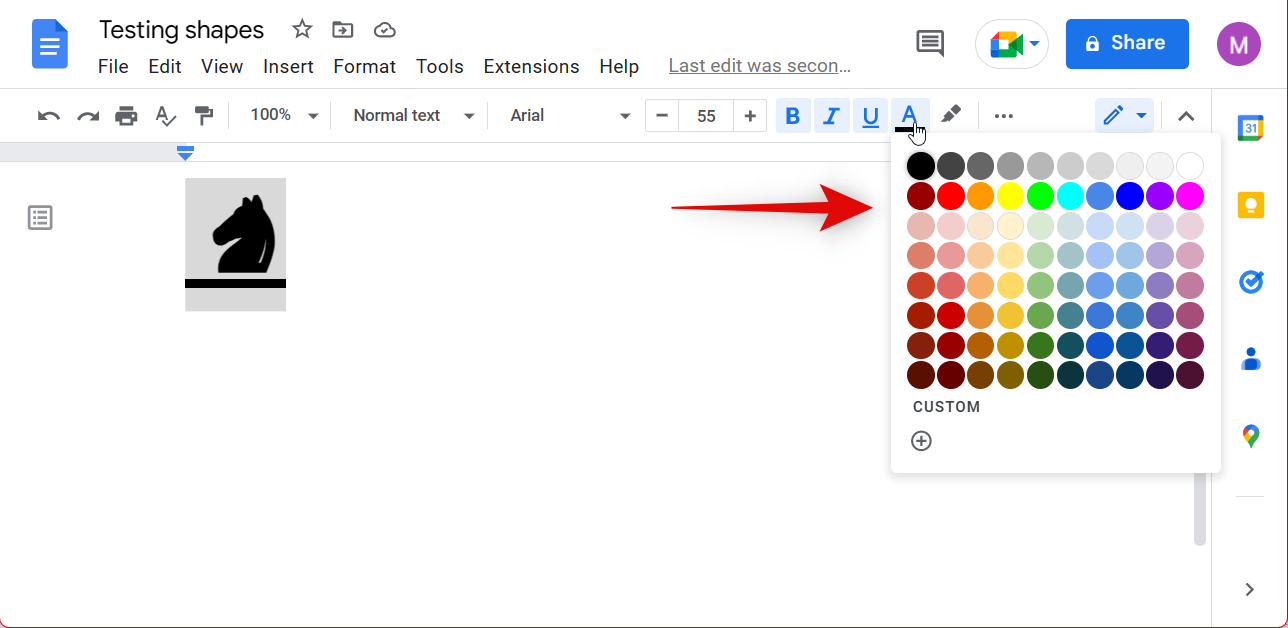
Note: Some graphical characters with colors do not support some of these functions. - Additionally, use the click the Text color icon in the toolbar to color your shape.
- Click and select your preferred color.
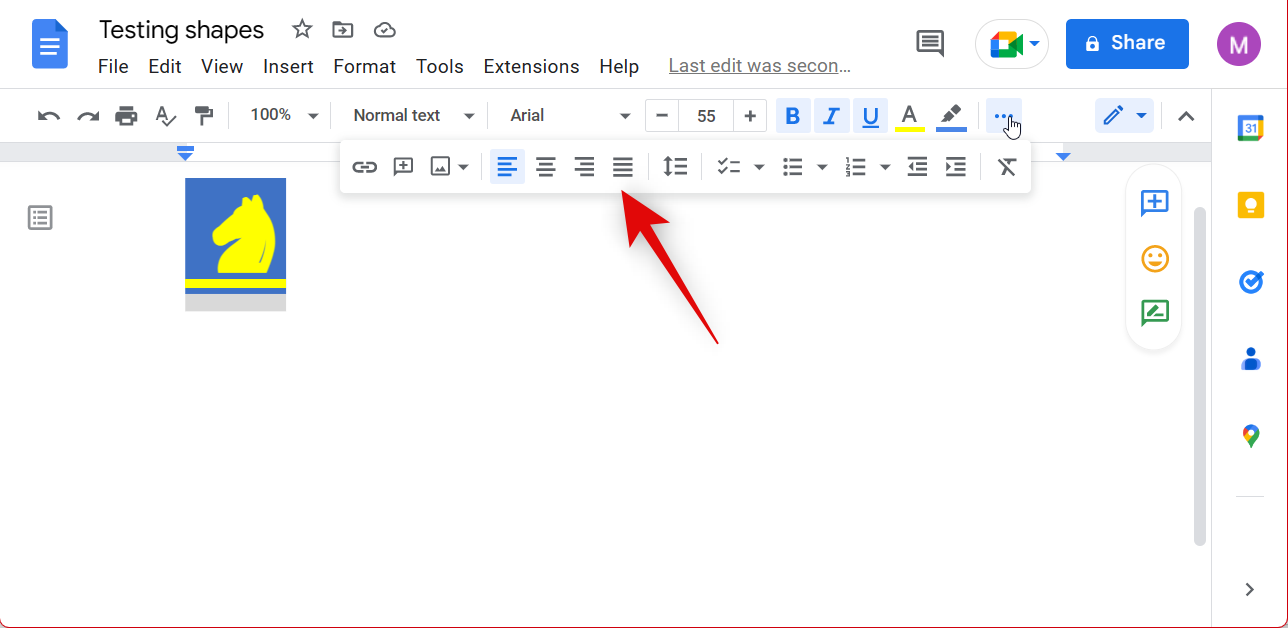
- Similarly, you can also highlight the character using the Highlight icon.

- Click and select the color you prefer.

- Additionally, you can also change the alignment depending on how you wish to position the shape in your document.
And that’s how you can change the look of your Special Characters.
We hope this post helped you easily customize your shapes in Google Docs. If you face any issues or have any questions, feel free to reach out using the comments below.
RELATED