What to know
- Google offers native ways to add shapes to a document using the Drawing tool and Special characters both of which can be added from the Insert menu.
- To add shapes, go to the Google Docs website > select a document > Insert > Drawing > + New > Shapes icon > choose a category > select a desired shape > resize, rotate, and edit it > Save and Close.
- Shapes can also be added using special characters by going to the Google Docs website > select a document > Insert > Special Characters > select a character > X icon to close menu > use + and – font size icons to resize.
- External shapes can also be added from image searches on Google or using third-party websites.
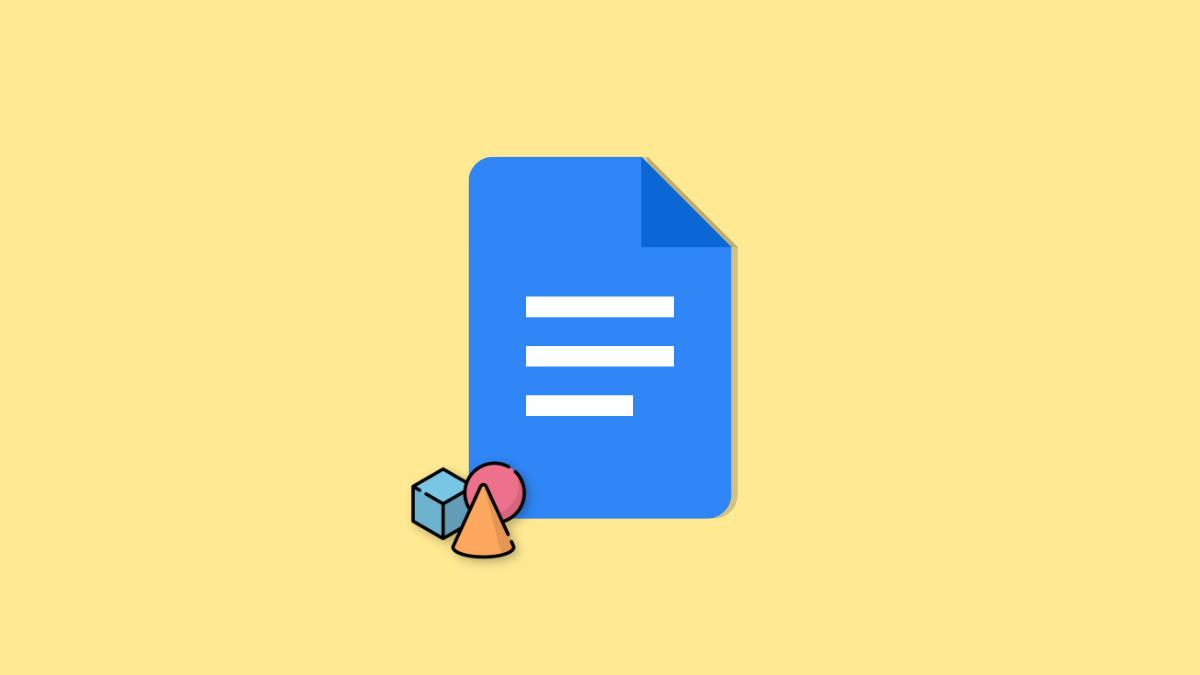
Google Docs offers the ability to add shapes and other graphics to the documents you’re working on. This way, you can customize the appearance and enhance how your document’s presentation to make it look more unique. In this post, we’ll explain all the ways you can add shapes in Google Docs on your phone and computer.
How to insert shapes on Google Docs website [4 methods]
You can add shapes in Google Docs using the following methods on a PC.
Method 1: Add Shapes using Drawing
Here’s how you can add shapes to your document using the Drawing option. Follow the steps below to help you along with the process.
- Open the document inside the Google Docs website where you wish to add shapes.
- Place the cursor where you wish to add the shape and click Insert at the top.

- Hover over Drawing and select + New.

- Click the Shapes icon in the toolbar at the top.

- Hover over a category depending on the shape you wish to add to your document. Let’s add an arrow for this example.

- You will now be shown the shapes in your selected category. Click and select your preferred shape from the choices available to you.

- Now click and drag on the canvas to draw the shape depending on your preferences.

- You can fine-tune and resize your shape by clicking and dragging the corners of your shape.

- You can also use the top marker to rotate your shape as needed.

- You can also add polyline and arrow shapes when using Drawing in Google Docs. Click the Line icon in your menu bar at the top.

- Select the preferred shape you wish to draw by clicking on it.

- Now click and draw the shape in your canvas as we did before.

- Resize and rotate your shape as we did before.

- You can also edit the color and border used by your shapes. Click and select a shape.

- Now click the Paint icon at the top and select your desired background color.

- Similarly, click the Border color icon and select the preferred border color.

- Once you’re done creating and formatting your shape, click Save and Close.

- The shape will now be added to your document. If you wish to resize or edit it, click and select the shape. Now use the corners to resize your shape as preferred.

- Similarly, click the Edit icon if you wish to make changes to your shape.

And that’s how you can use the Drawing option to create shapes in Google Docs.
Related: How to Flip Images in Google Docs on Mobile and PC
Method 2: Insert shapes using Special Characters
If you weren’t able to find the shape you wish to add or are looking for more subtle shapes that are the size of your current font, you could try using Special Characters in Google Docs instead. If you wish to enlarge your shape compared to your text, you can easily do so by changing its font. Follow the steps below to help you along with the process.
- Open the Google Docs website and navigate to the document where you wish to add shapes.
- Place your cursor where you wish to add your shape.
- Click Insert in the menu bar at the top.

- Click and select Special Characters.

- Now click and search for your desired shape using the search box.

- You can also choose a shape from the initial choices on the left side of your screen.

- Additionally, Google also offers tons of categories for Special Characters. You can access these categories using the drop-down menus at the top. Select a preferred category from these options – Symbol and Arrows.

Note: The first drop-down menu for Categories allows you to access recent characters you might have added to your document. As we haven’t added any characters yet, you can skip this drop-down menu. - Now click and select the preferred type of special character you wish to add to your document.

- You can further filter the selected category using the last drop-down menu, as shown below.

- Click and select a character you like, and it will be automatically added to your document.
- Click X or hit Esc on your keyboard to close the pop-up window.

- If you wish to change the size of the character, select it using your mouse or keyboard. Ensure you select only the characters and no letters or numbers in your document.

- Now use the + and – symbols beside font size in the toolbar at the top to adjust the size of your special character.

- Your character will automatically reflect the size of the document as shown below.

And that’s how you can use special characters to add shapes to a document in Google Docs.
Method 3: Insert shapes using images from web search
You can also search the web and add images with shapes. You can use clipart and PNG images to ensure that your shapes do not come with a background and simulate actual shapes. Use the steps below to help you search and add images using the web search in Google Docs.
- Open the Google Docs website and navigate to the document where you wish to add shapes.
- Place your cursor where you want your shape to be placed and click Insert at the top.

- Hover over Image and select Search the web.

- Google Image search will now open on your right. Use the search box at the top to find the desired shape. Let’s add a hexagon for this example.

- Click and select an image you like from your search results.

- Now click Insert at the bottom.

- The image will now be added to your document. Click and select the image.

- Now use the corners to resize the shape to fit your requirements.

- You will now have added your shape using image search. If, however, you weren’t able to find a shape without a background, you can choose to add an image using a URL. Google Image search in a dedicated tab will allow you to filter your search results by clipart which should help you find shapes without a background. Open Google Image search in a new tab in your browser.

- Now search for the shape you wish to add to your document.

- Click Tools at the top.

- Click Color and select Transparent.

- Click and select an image you like.

- Right-click the image preview and select Open image in new tab.

- Click the URL in the address bar at the top and copy it to your clipboard.

- Now open the document where you wish to add your shape and click Insert at the top.

- Hover over Image and select By URL.

- Pase the URL under Insert Image.

- The image will now be loaded in Docs. Click INSERT IMAGE at the bottom to add it to your document.

- Once added, click and select the image. You can now use the corners to resize your image as needed.

- You can also use the marker at the top to rotate your image if needed.

And that’s it! You will now have added a shape to your document using the web image search.
Method 4: Upload shapes using third-party websites
Many stock websites allow you to download free-to-use images for a price or attribution. We will be using Flaticon for this guide, but you can choose to use your preferred source as well. Here’s how you can find and add your preferred shape from Flaticon.
- Open Flaticon.com on your preferred browser. Now use the search box at the top to search for your preferred shape. Let’s add an oval shape for this example.

- Click and select a preferred shape from the search results.

- Click PNG on your right to download the image.

- Select Free download.

- Save the shape to a convenient location on your PC. Flaticon allows you to easily attribute the artist using a link. Click Copy link to copy the attribution link to your clipboard. You can then add it in the appropriate section in your document to attribute the artist.

- Now open the Google Docs website and place your cursor where you wish to add your shape. Open the image on your computer and copy it to your clipboard. If you’re using a PC, select the image and press Ctrl + C. If you’re using a Mac, then press CMD + C instead.

- Switch back to Google Docs and press Ctrl/CMD + V to paste the shape.

- The shape will be automatically added to your document. You can now use the corners to resize your shape as needed.

And that’s how you can add shapes using a third-party website in your document in Google Docs.
Alternative websites where you can download images
Here are a few alternatives in case you aren’t able to find the desired shape on Flaticon.
How to add shapes on Google Docs app [iPhone/Android]
You can add shapes when using the mobile app by finding relevant images that you can insert into your document. Sadly this is the only way you can add shapes in the Google Docs mobile app. We recommend using the following methods to source your images depending on the mobile you use. You can then use the section below to add and format the image in the document as preferred.
Step 1: Source and download your shapes
Let’s start by sourcing the shapes you wish to add to your document. You can add a shape by downloading it from a website, and we recommend using Flaticon. Follow the steps below to help you along with the process.
- Open Flaticon.com on your mobile browser.

- Now use the search bar to find your preferred shape. Let’s look for the text box for this example.

- Tap and choose your preferred shape from your search results.

- Tap Download at the bottom of your screen.

Note: Ensure you download the correct sized image as you won’t be able to resize it in the mobile app. - Now tap Free Download.

The file will now be downloaded to your mobile device. You can now use Step 2 below to add the shape to your document in the Google Docs mobile app.
Alternative websites to download shapes
You might need to use different websites to finally find the perfect shape you wish to use in your document. Here are our top alternatives to Flaticon in case you weren’t able to find the perfect shape based on your current requirements.
Step 2: Add the shapes to your document
We can now download the shape(s) to your document. Follow the steps below to help you along with the process.
2.1: Add shapes to your document
Here’s how you can add the downloaded shapes to your document in Google Docs.
- Open the Google Docs app on your phone and select the document you want to edit.
- Now tap the Edit icon in the bottom right corner.

- Tap and place your cursor where you wish to add your shape. Now tap the + icon in the top right corner of the app.

- Tap Image.

- Tap and select your source.

- Now tap and select your image and upload it to the Docs app.

Note: You might need to tap Add once you select your shapes in the Google Docs mobile app for iOS devices.
The image will now be added to your document. You can now use the next section to manage and edit your shape to better fit your document.
2.2: Manage shapes in your document
Your options are pretty limited when managing shapes and images using the Google Docs mobile app. You can only change the alignment, reposition, and insert a border around your shape. Unfortunately, there is no way to resize your image when using the Google Docs mobile app.
- Open the Google Docs app on your phone and navigate to the document where we added the shape.
- Select the shape in your document. Use the alignment icons at the bottom to change the alignment for your image as needed.

- Now tap the Format icon in the top right corner if you wish to add a border to your shape.

- Select Border color.

- Tap and choose the preferred color for your border.

- Tap the <(Back) icon.

- Now tap Border weight.

- Choose the line weight for your border.

- Now go back as we did before and tap Border dash.

- Choose your preferred border style from the choices on your screen.

- Tap anywhere in your document to stop editing your image. And that’s how you can add shapes to your document using the mobile app for Google Docs.
We hope this post helped you easily add and manage shapes in Google Docs. If you face any issues or have any more questions, feel free to reach out using the comments below.
RELATED