What to know
- In the Snipping Tool app, click on the three-dot icon (top right), and select Settings. Next to ‘Screenshots are saved to’, click on Change and select your new folder.
- To change where the screen recordings are saved, click on Change next to ‘Screen recordings are saved to’.
- The option to change default location for screenshots and recordings is available on version 11.2408.13.0 and above of the Snipping Tool. Get the update from Microsoft Store if you’re on the latest Windows Insider build.
The Snipping Tool automatically saves your screenshots and screen recordings in Windows 11. But the all important C system-drive where these are saved can fill up quickly. Thanks to a recent Windows update, there is now a way to change that. Here’s how you can change the default location where Snipping Tool saves all your snaps and videos.
Requirements
The option to change where your screenshots and recordings are automatically saved is available on Snipping Tool’s app version 11.2408.13.0 and above.
For those on the latest copy of Windows Insiders, Canary, Dev, and Beta build, updating the app from the Microsoft Store will fetch them the feature.
How to change screenshot and screen recordings folder location in Snipping Tool
The default folders where Snipping Tools saves the media is as follows:
- Screenshots: C:\Users\username\Pictures\Screenshots,
- Screen recordings: C:\Users\username\Videos\Screen Recordings.
Here’s how to change it:
Open the Snipping Tool app. Then click on the three-dot icon in the top-right corner and select Settings.
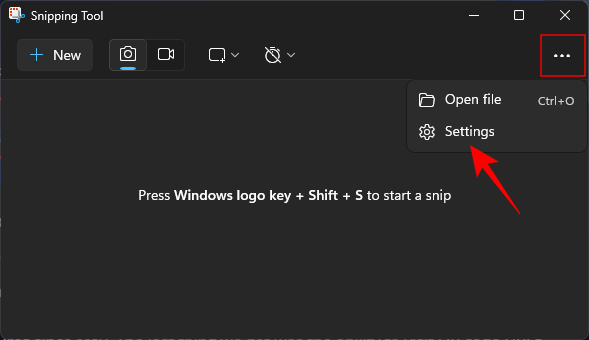
Tip: Expand the Snipping Tool window for a better view.
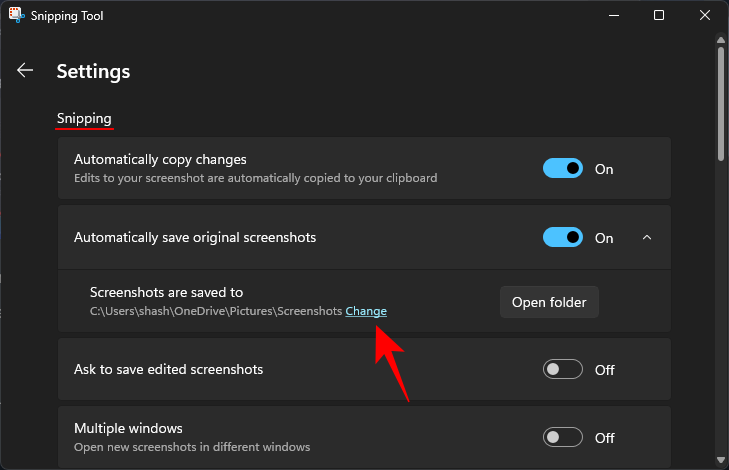
Under the ‘Snipping’ section, you’ll see where the screenshots are saved to. Click on Change next to the location.
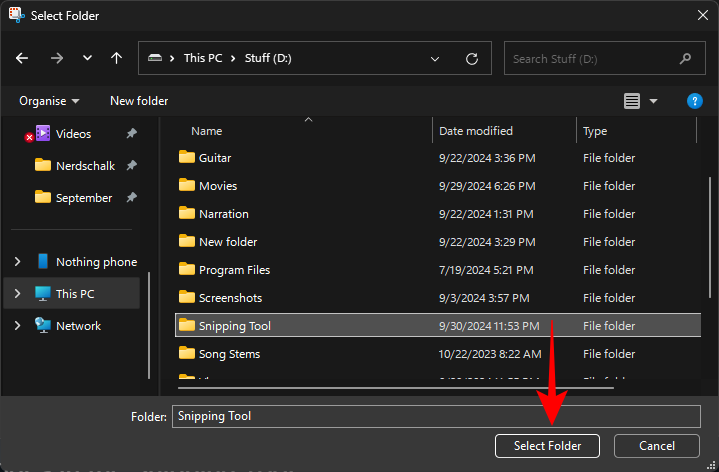
Select the folder where you want your screenshots to be saved from now on.
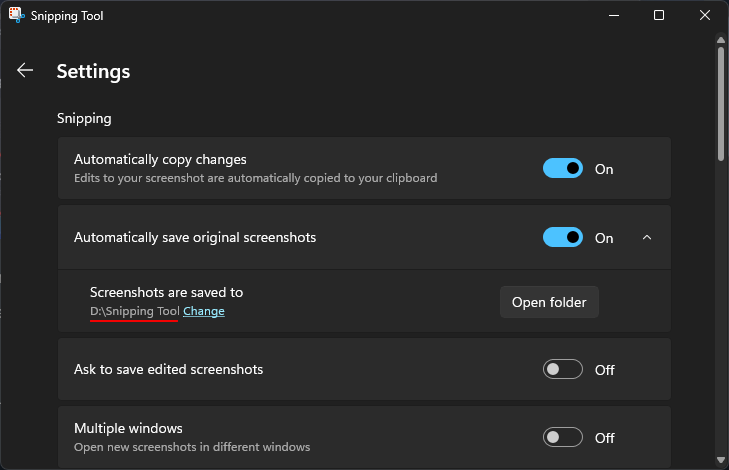
This will now become your new default folder for saving screenshots.
For videos, scroll down to the ‘Screen recording’ section. Next to ‘Screen recordings are saved to’, click on Change.

Select the folder for your screen recordings.
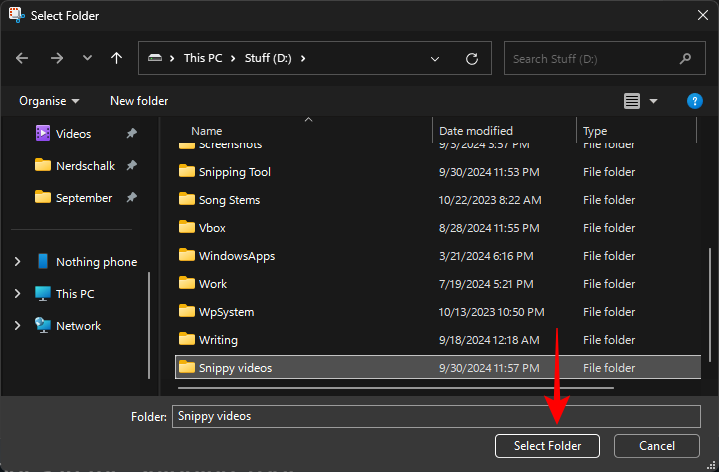
And this will become your new default folder for saving screen recordings.
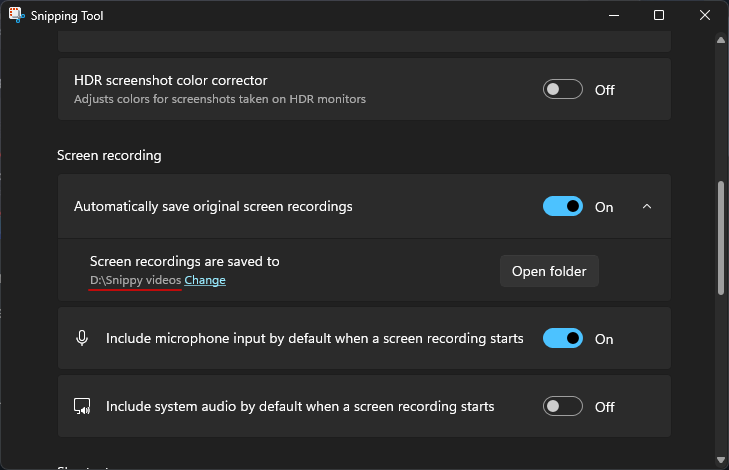
You can open the folders by clicking on the ‘Open Folder’ option next to them.
Of late, Microsoft has made a bunch of changes in Snipping Tool that’s made it a highly functional native screen capture tool for Windows. Although the option to change the default location for screenshots and recordings isn’t a big feature update, it’ll at least let you manage your storage better.