
To find the last symbol in Chapter 5, solve the color-lens chamber by routing the green, red, and blue beams into their matching charge points on the central column — once all three light up, the final trial symbol is revealed.
The Find the last symbol objective in Chapter 5: Desolation It Wrought drops you into an underground color-lens chamber — a light-splitting puzzle where three colored beams have to be aimed onto matching points on a central column. It looks fiddlier than it is: the whole thing comes down to clearing the dust first, then bouncing green, red, and blue light into the tower. Here’s the route in and the exact solution.
Reaching the light-puzzle chamber
Reach the locked metal door
Follow the hallway past the tree until you hit the large locked metal door at the end.
Take the ladder behind you
Turn around from the door and climb the ladder up the cliff to the upper light-puzzle area.
Grab the optional collectibles
A couple of collectibles sit up here and near the mirror area — good for ability points, but entirely skippable.
Activate the pillar on the left
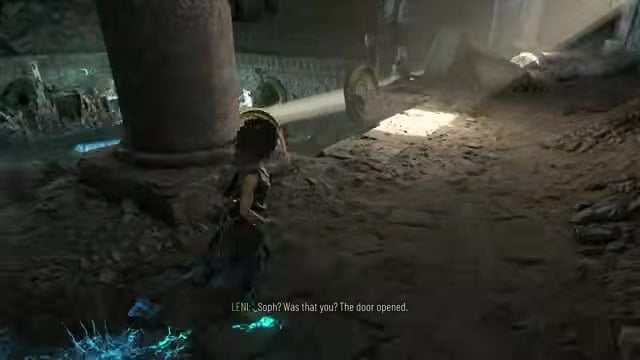
Interact with the pillar on the left to switch on the main light beam and open the way down.
Descend into the puzzle room
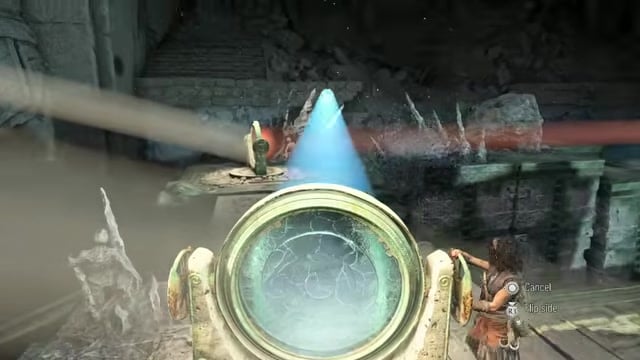
Head back to the center and rope down into the color-lens chamber below.
Solving the color-lens chamber
| Light beam | How to route it to its symbol |
|---|---|
| Green | Shine it straight across to the opposite lens, then cross over and redirect that lens into the green point on the column. |
| Red | Bounce it from the right-side lens to the far-left lens, then angle that lens so the beam just clips the red point. |
| Blue | Send it behind the left boulder to a hidden lens, burn the dust below to reveal a new lens, move the red beam right to free its lens, then chain blue into the last point. |
Your goal is to charge the green, red, and blue points on the central column. The column can’t be rotated, so every beam has to be bounced across the room through the fixed lenses. Here’s the routing at a glance before the full walkthrough.
How to route the green, red, and blue beams into the central column
Clear every dust patch first, then route each colored beam — green, red, and finally the tricky blue — into its matching point on the column.
STEP 1/8
Clear the dust with the blue beam
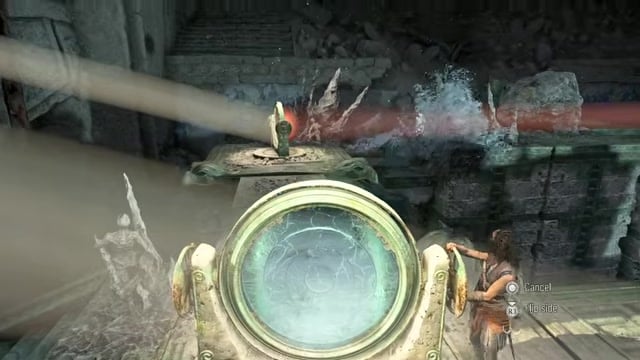
Use the central blue projector to burn away the dust on the left, middle, and right platforms so the lenses are free to move.
STEP 2/8
Burn the red-side growths
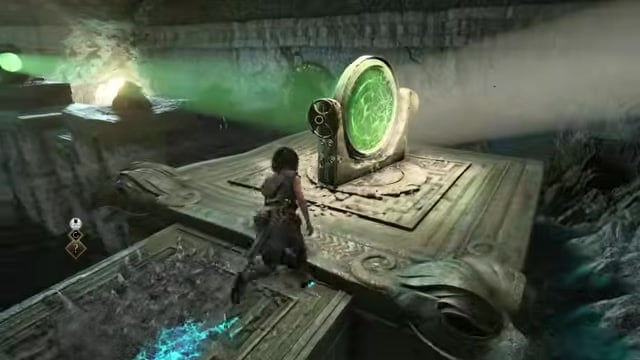
Move to the red lens on the left and clear the remaining dust patches blocking that side.
STEP 3/8
Route the green beam across
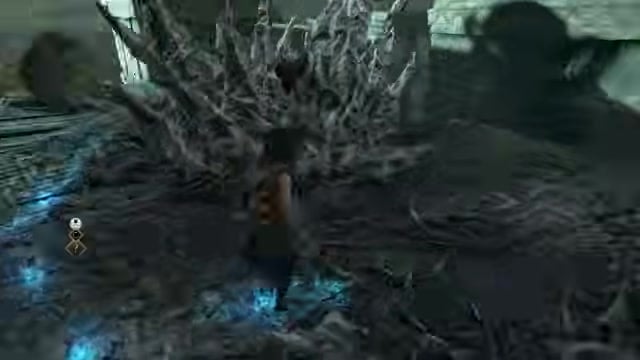
From the front, shine the green lens straight to the lens on the far side, then cross over and redirect it into the green point on the column.
STEP 4/8
Bounce the red beam to the far left
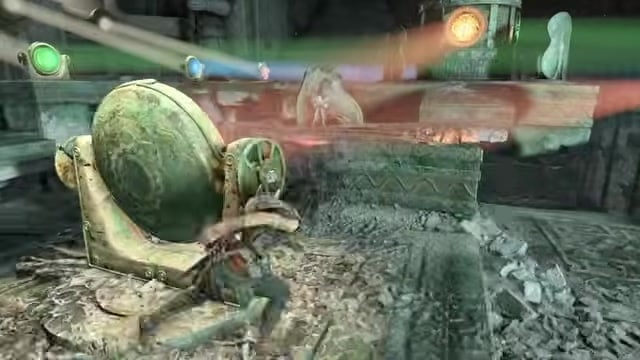
Rotate the right-side red lens toward the far-left lens, then angle that lens so the red beam just clips the red point — it barely touches, but that’s enough.
STEP 5/8
Send the blue beam behind the boulder
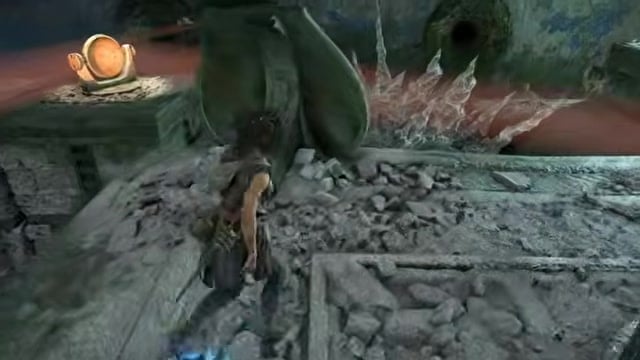
Rotate the front blue lens to the left so its beam points behind the large rock toward a hidden lens.
STEP 6/8
Reveal the new lens below
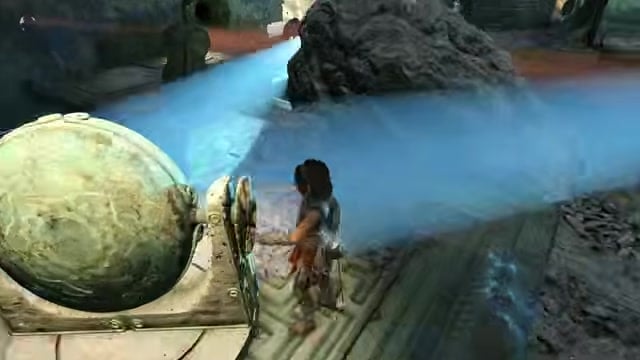
Aim that hidden lens downward to burn the last dust patch, uncovering a fresh lens in the lower area.
STEP 7/8
Move the red beam to the right
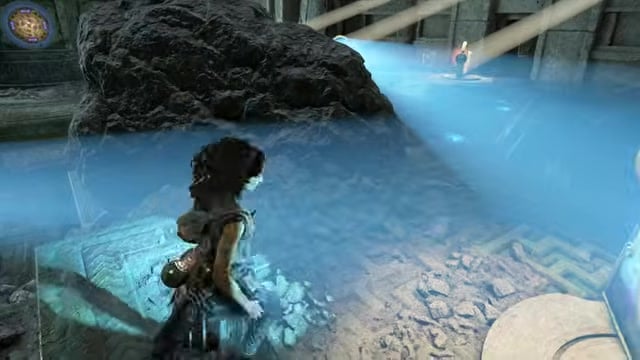
Back at the front, shift the red lens to the right side so it still hits the red point but frees the lens the blue beam now needs.
STEP 8/8
Chain the blue beam into the last point
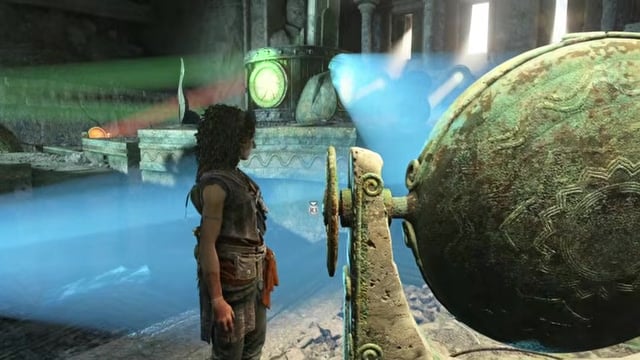
Run the blue beam from the front, behind the boulder, through the new lens, and into the final point to light the last symbol.
Burn every dust patch with the beams before you touch a single lens — leftover growths block the reflectors and make the puzzle look unsolvable.
Video help
The trial symbol versus the backward-P legacy glyph
Once all three points are charged, a symbol appears on the column — a “0” ringed by four radiating lines, shown on the nearby door as a circle resting on a rectangle. That’s the “last symbol” this puzzle is really asking for: take it to the Receptacle by that door, set the dial to the newly revealed glyph, and the way forward opens.
The confusing part is that Chapter 5 has a second “last symbol” further on. Beyond the door you enter an arena trial, fight through waves of enemies, and then take on Cadmos. After the fight, the Herald tells you to claim the last symbol, and the final pedestal reveals the ultimate glyph — the one shaped like a backward “P”.
Key That backward-P is the story’s “legacy” symbol, and it works differently: you can’t input it anywhere at that point. It’s automatically recorded in Sophia’s book to be used later. So if the game says “find the last symbol” while you’re still in the light chamber, it means the color puzzle — not the glyph you earn after Cadmos.
Mistakes that stall the puzzle
The most common miss isn’t the puzzle itself — it’s the collectible on the right side. Grab it before you drop down into the mirror area, because it’s easy to jump down too early and lock yourself out of an easy reach. It feeds into ability points, so it’s worth the few extra seconds.
The other sticking point is the blue chain. If a beam simply won’t reach the column, you’re usually not missing a lens — you need to reposition an earlier one. Moving the red beam to the right frees the shared lens the blue beam has to pass through, and that single adjustment is what unlocks the final point for most players.
Related A Plague Tale: Requiem guides
Frequently Asked Questions
Do the three beams have to be solved in a specific order?
No — the green, red, and blue points can be charged in roughly any order, so if the blue chain is giving you trouble, do green and red first and come back to it. The sequence above is just one clean route through, not a fixed one.
Where do you actually use the backward-P legacy symbol from after the fight?
You don’t input it during Chapter 5 at all. It joins the other glyphs that Sophia’s book tracks across chapters, and it’s used to unlock later doors deeper in the story rather than at the pedestal where you claim it.





Leave a Reply