What to know
-
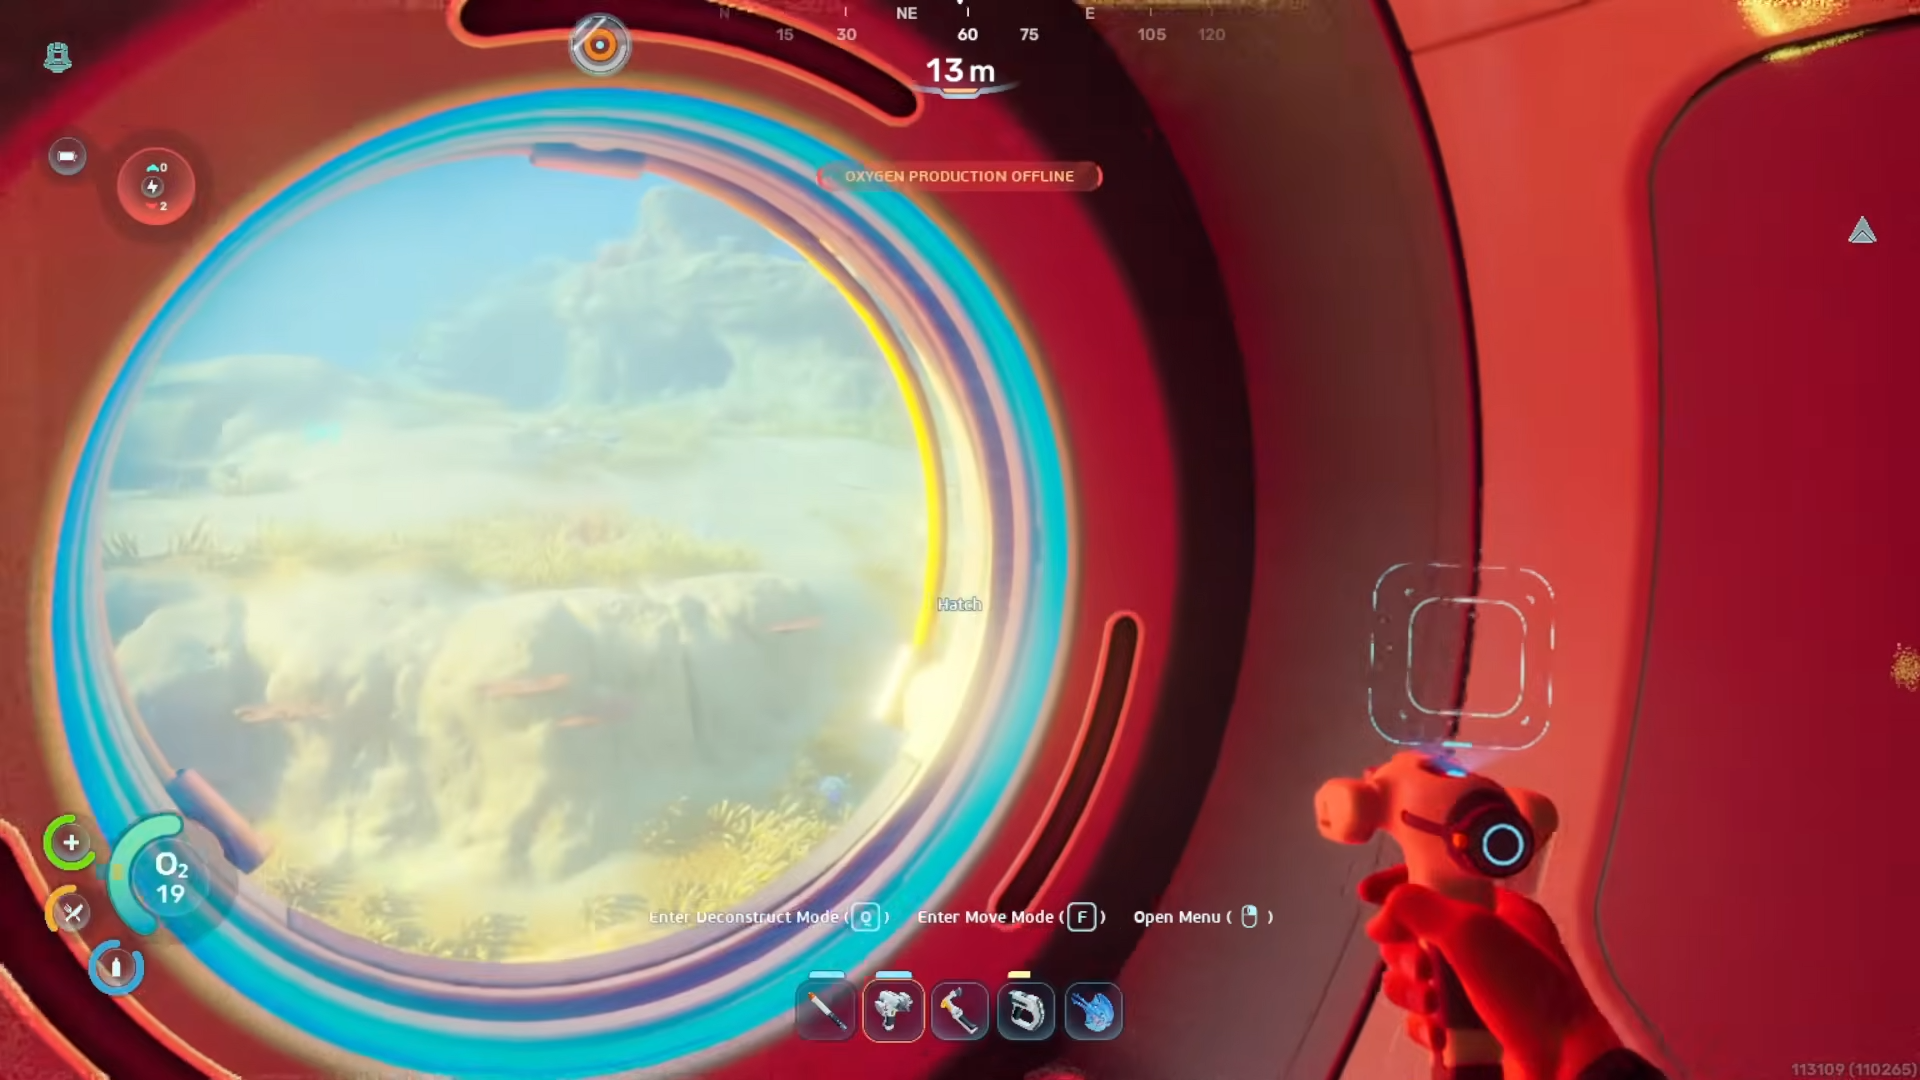
A newly built habitat does not produce oxygen on its own.
-
You need a hatch to enter the habitat first.
-
The fix is to use the Habitat Builder and place a solar panel on the habitat’s exterior.
-
After the solar panel is installed, the habitat gains power and oxygen becomes available inside.
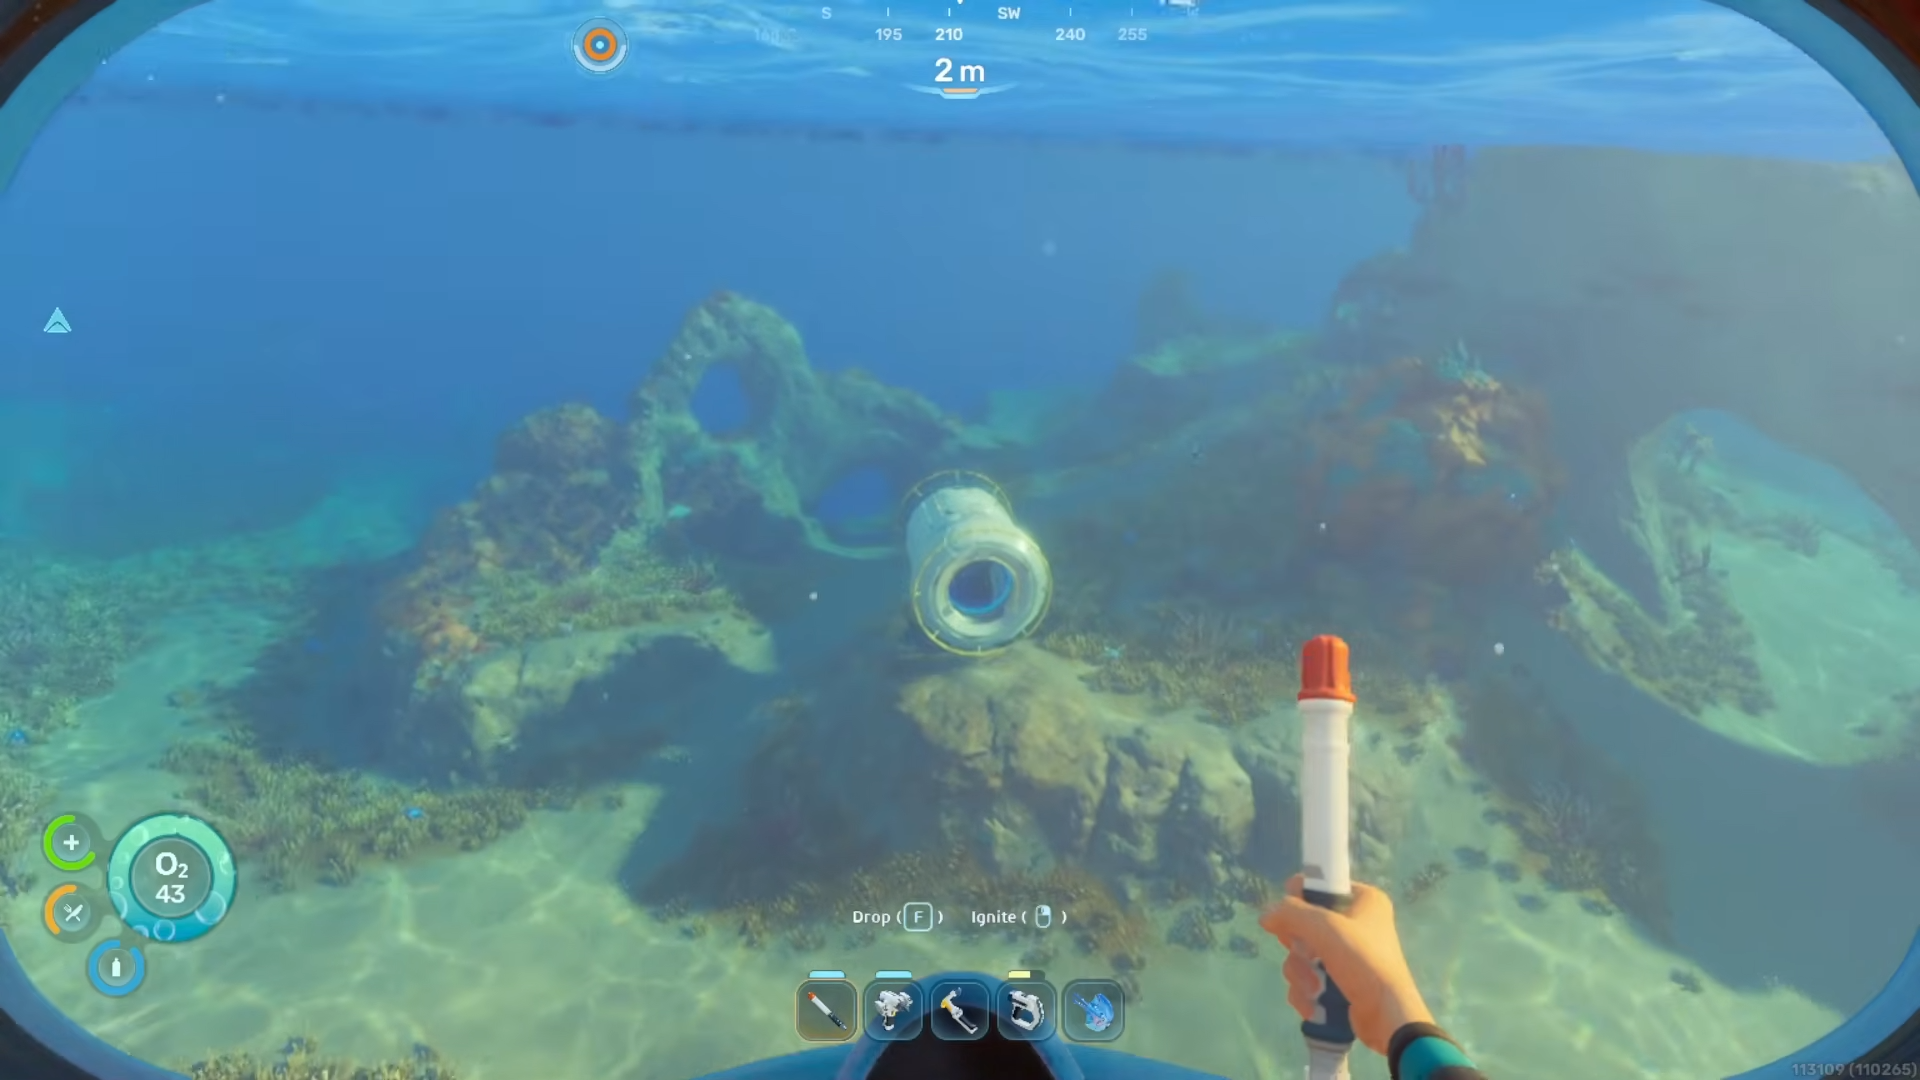
When you first finish a habitat in Subnautica 2, it may look ready but still behave like an empty shell. The important missing piece is power, because the habitat needs electricity before it can provide breathable air.
Getting air in your habitat (details)
How to get air in your habitat
Step 1
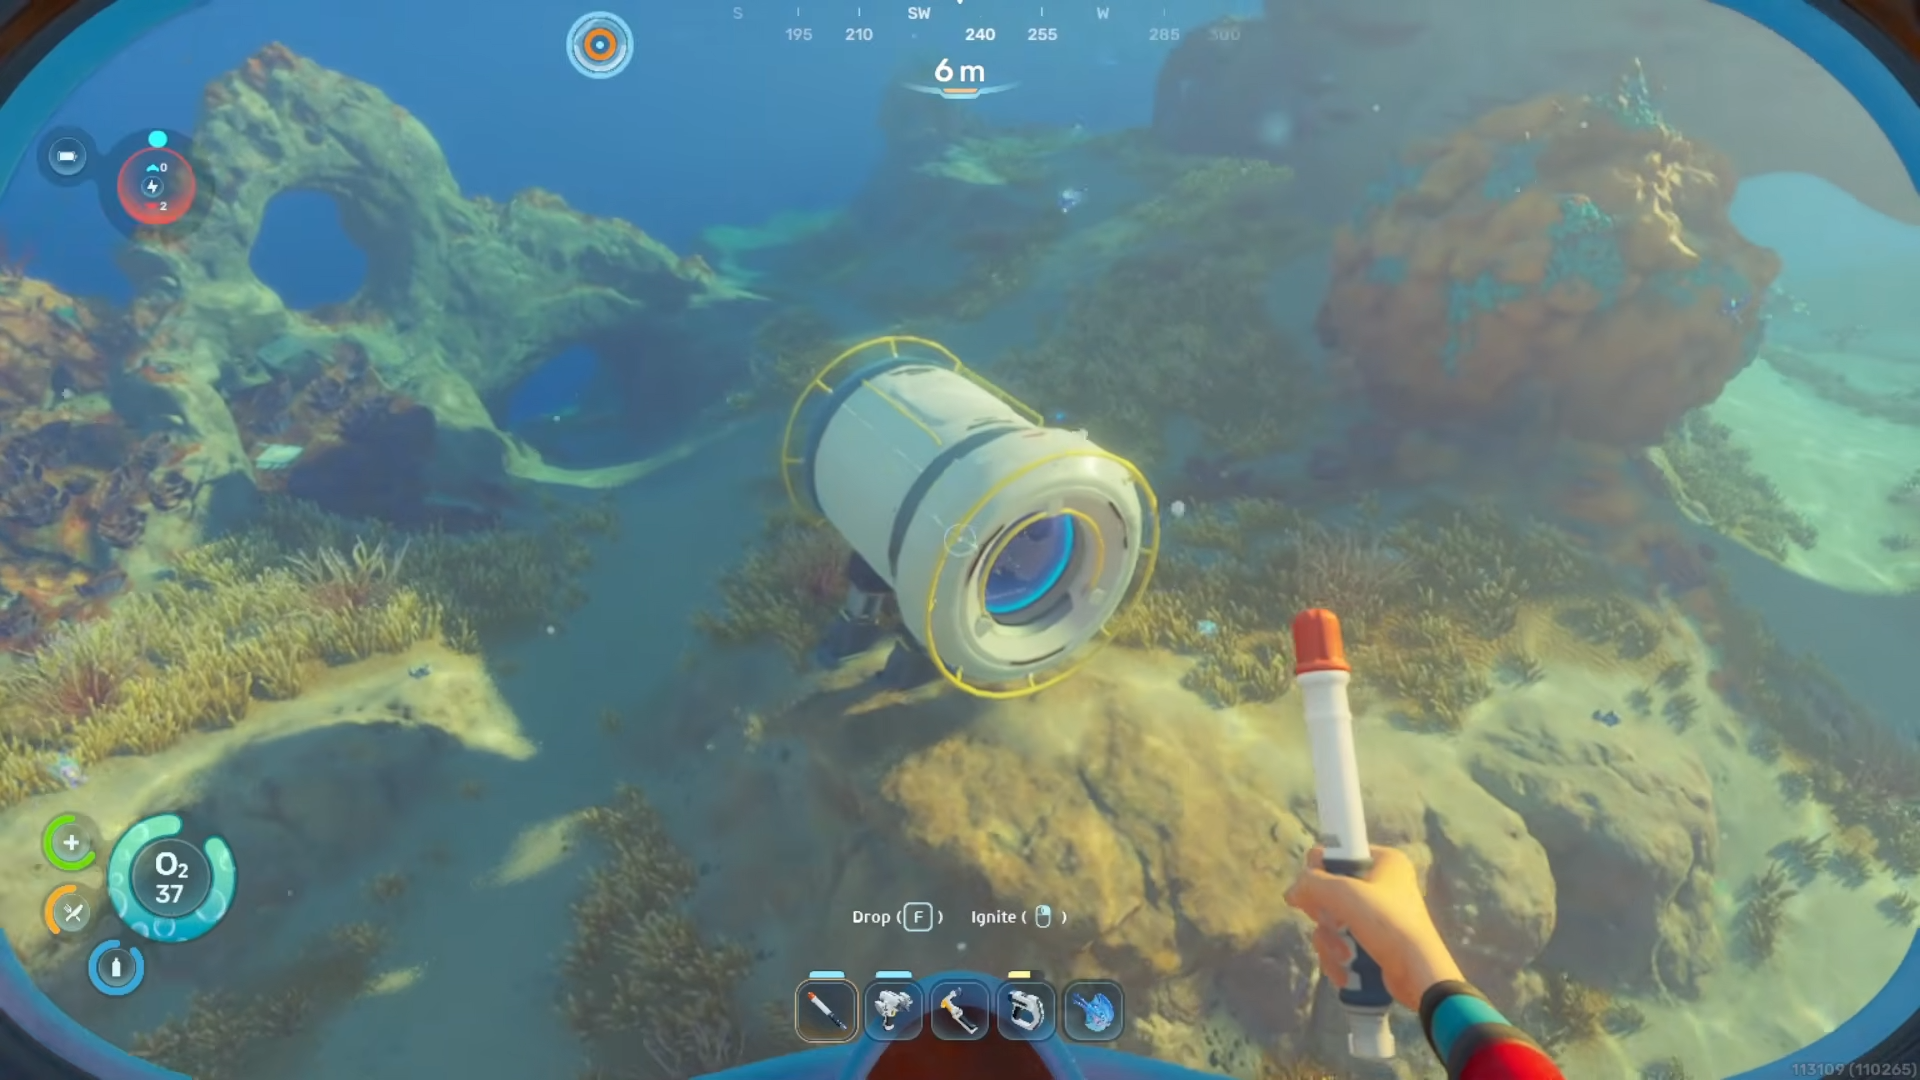
Build your habitat first. This applies whether your habitat is small or large, as long as it is already constructed.
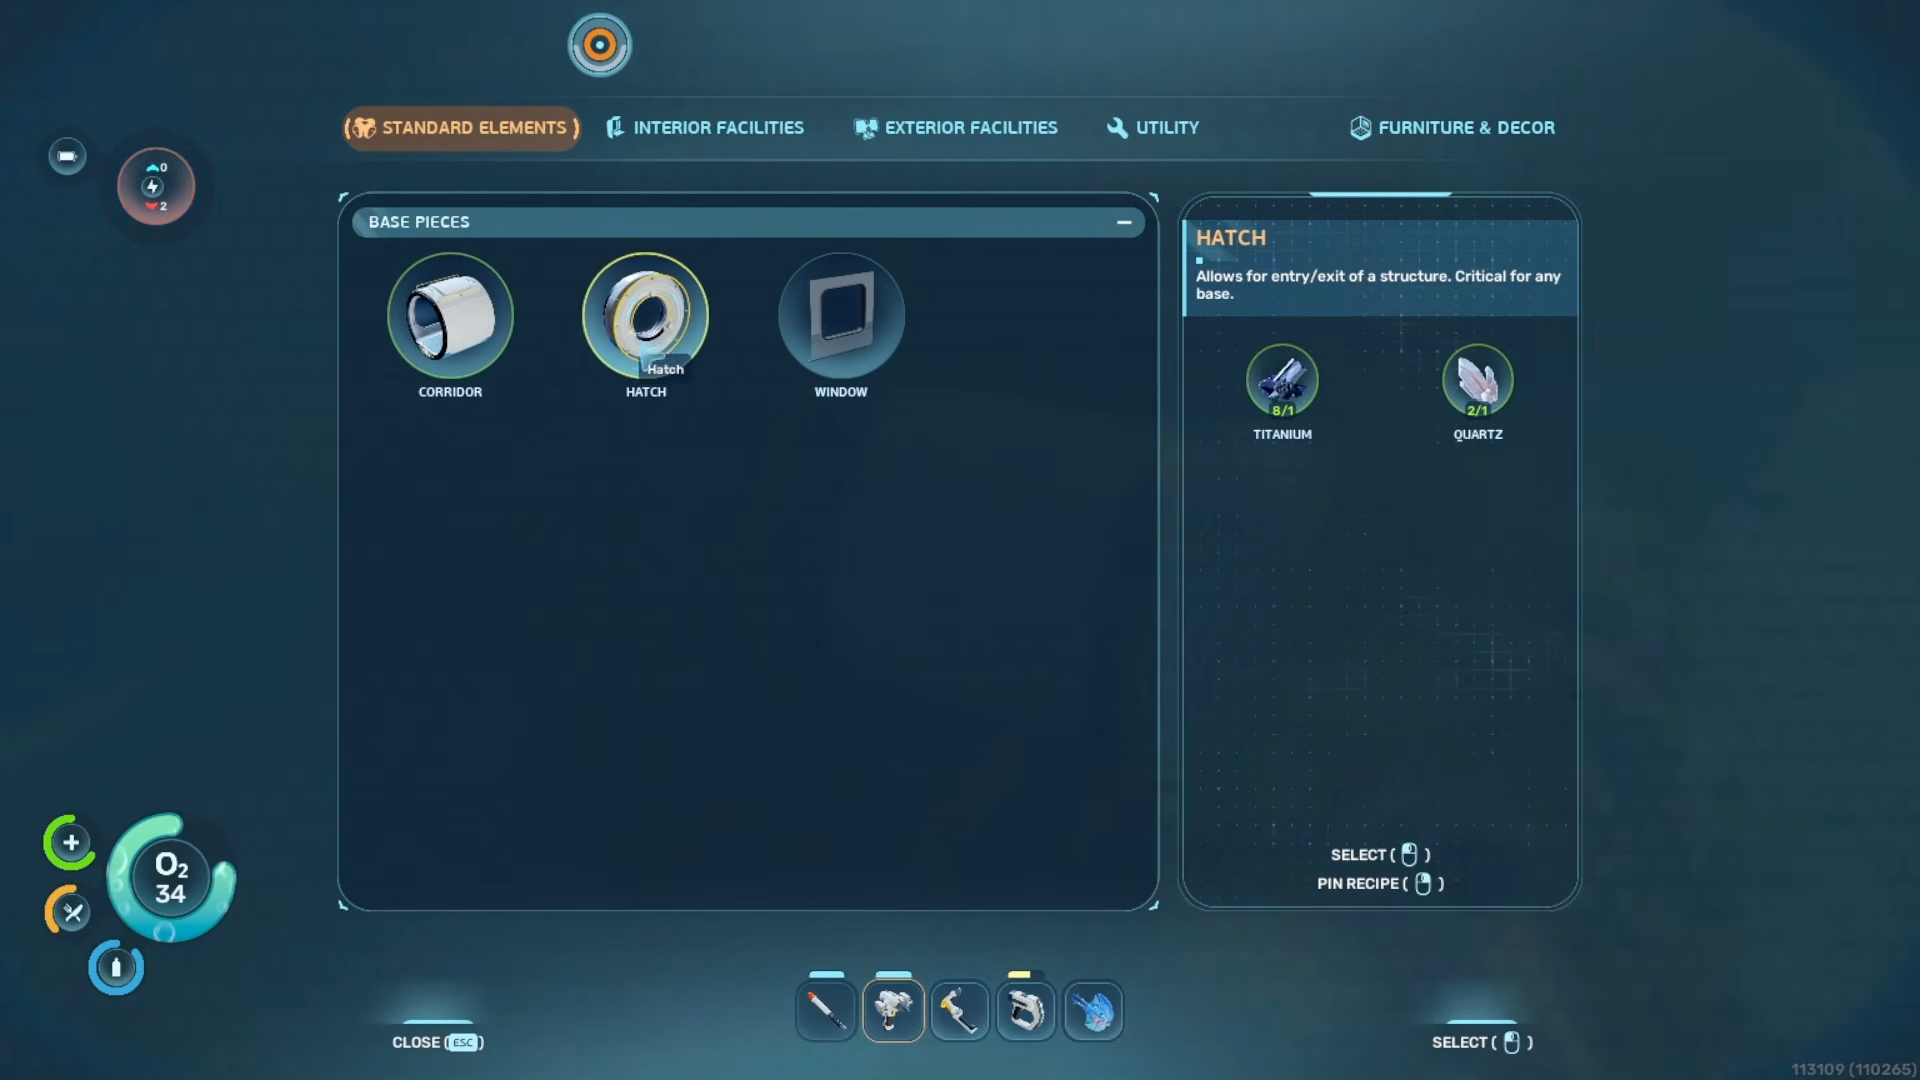
Step 2
Attach a hatch so you can get inside the habitat. Without a hatch, you cannot enter the base to check whether the air supply is working.
Step 3
Enter the habitat and notice that there is no oxygen being produced yet.
At this stage, the base is not functional as a safe living space.
Step 4
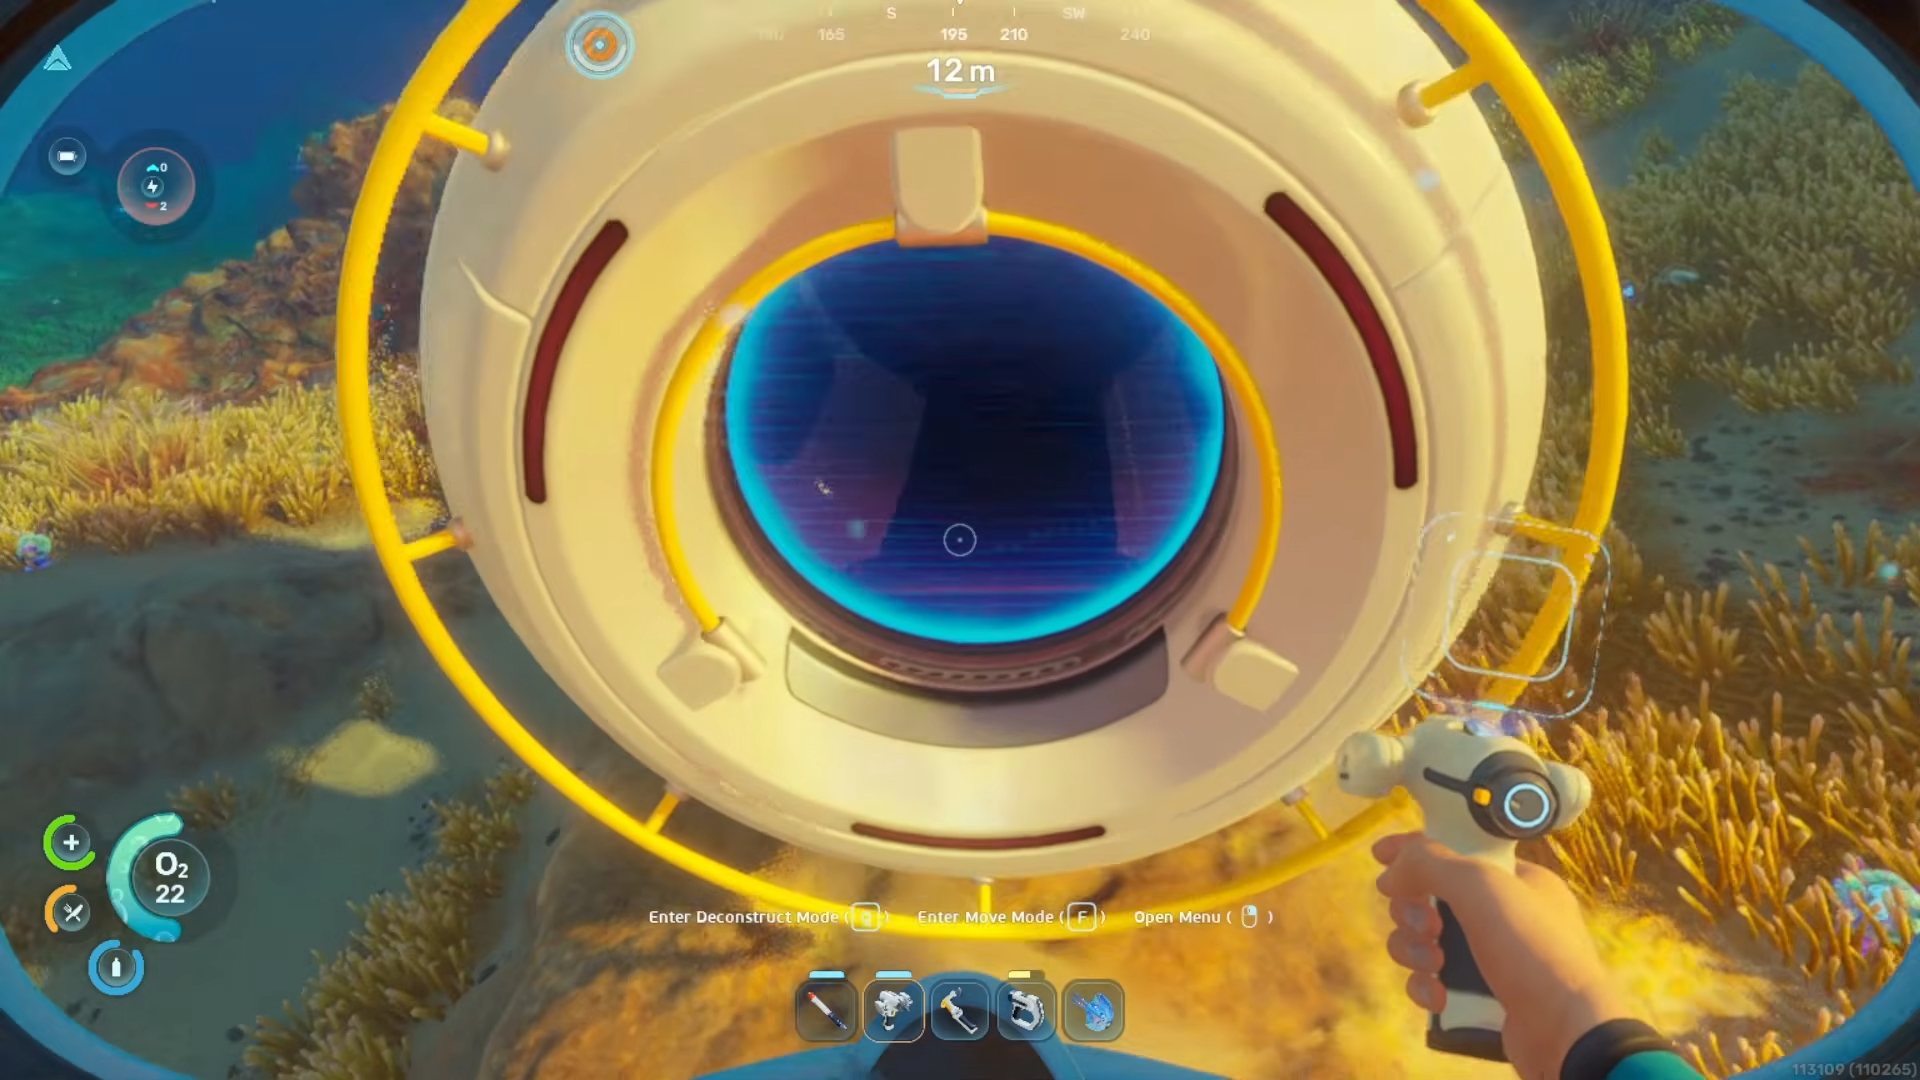
Use your Habitat Builder and open the exterior facilities category. This is where the power solution for the habitat is placed.
Step 5
Create a solar panel from the exterior facilities menu.
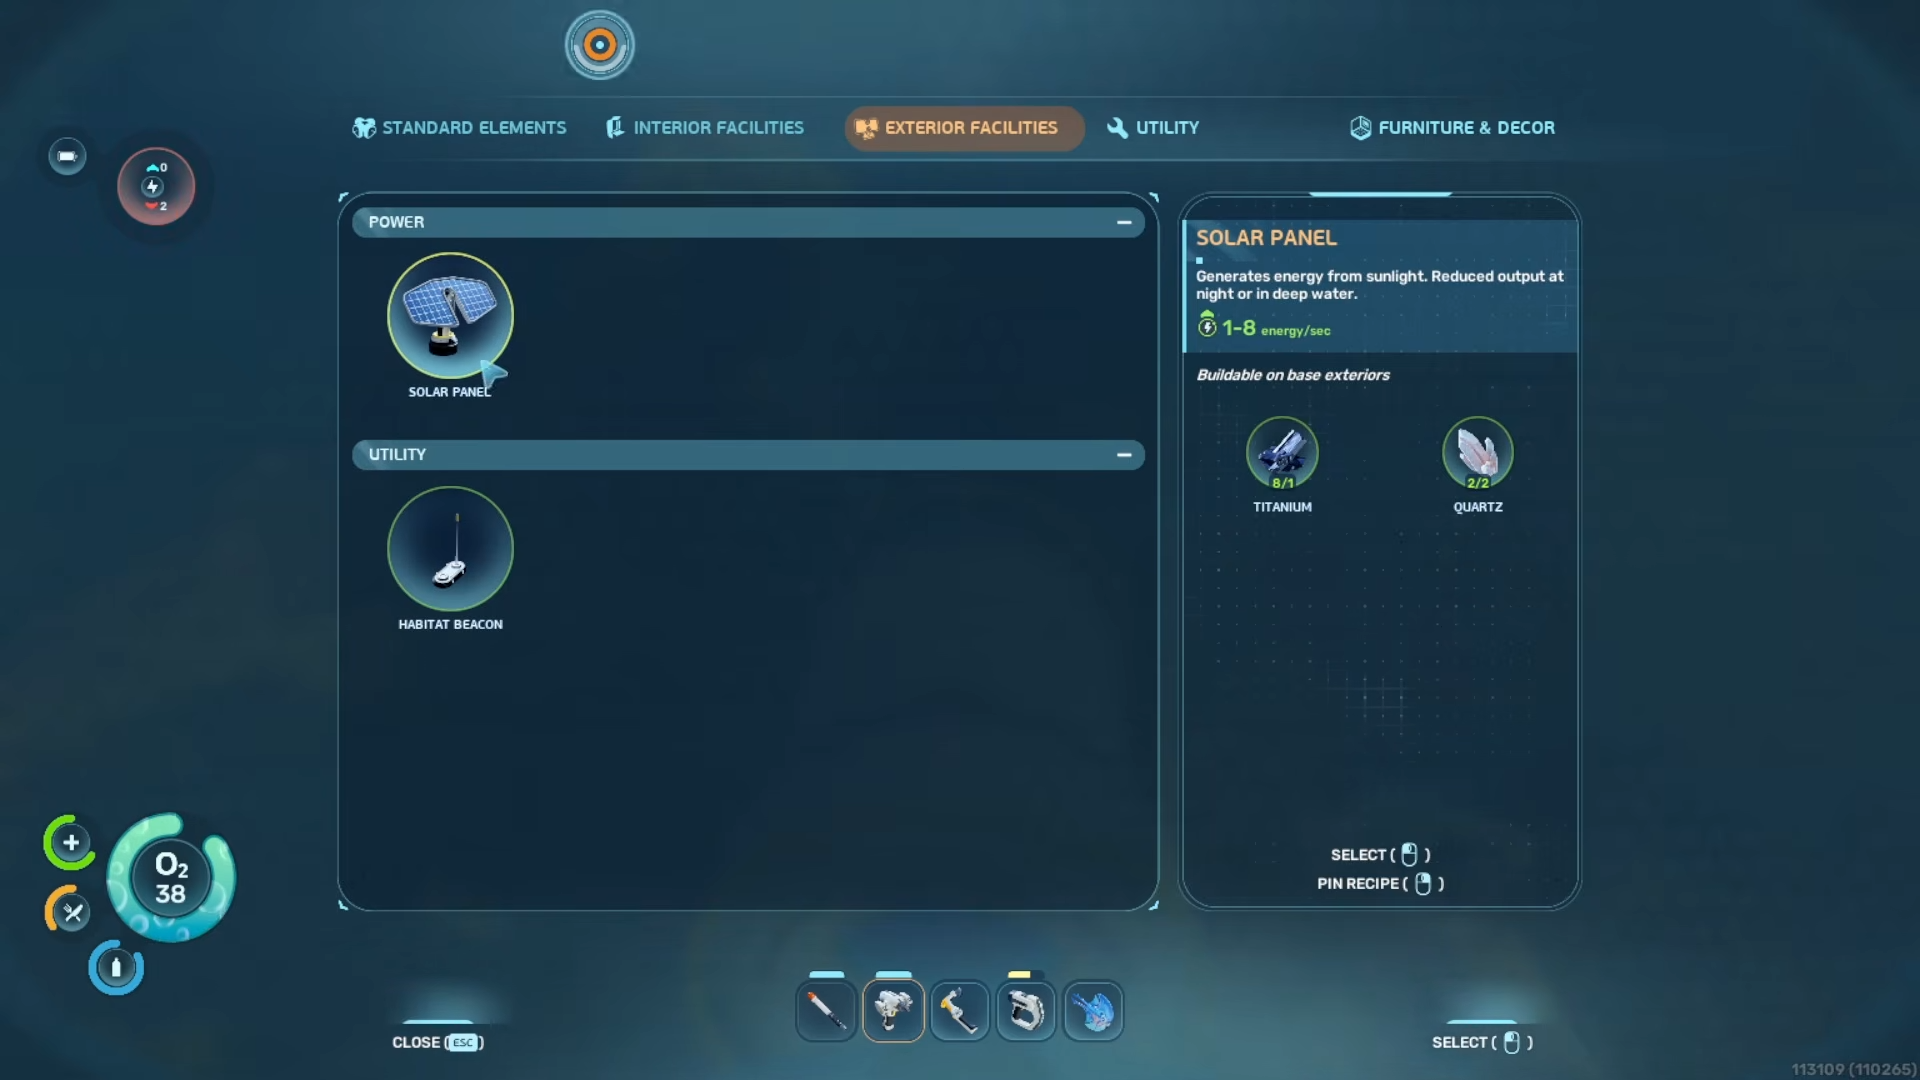
This is the required component for turning the habitat into a powered base.
Step 6
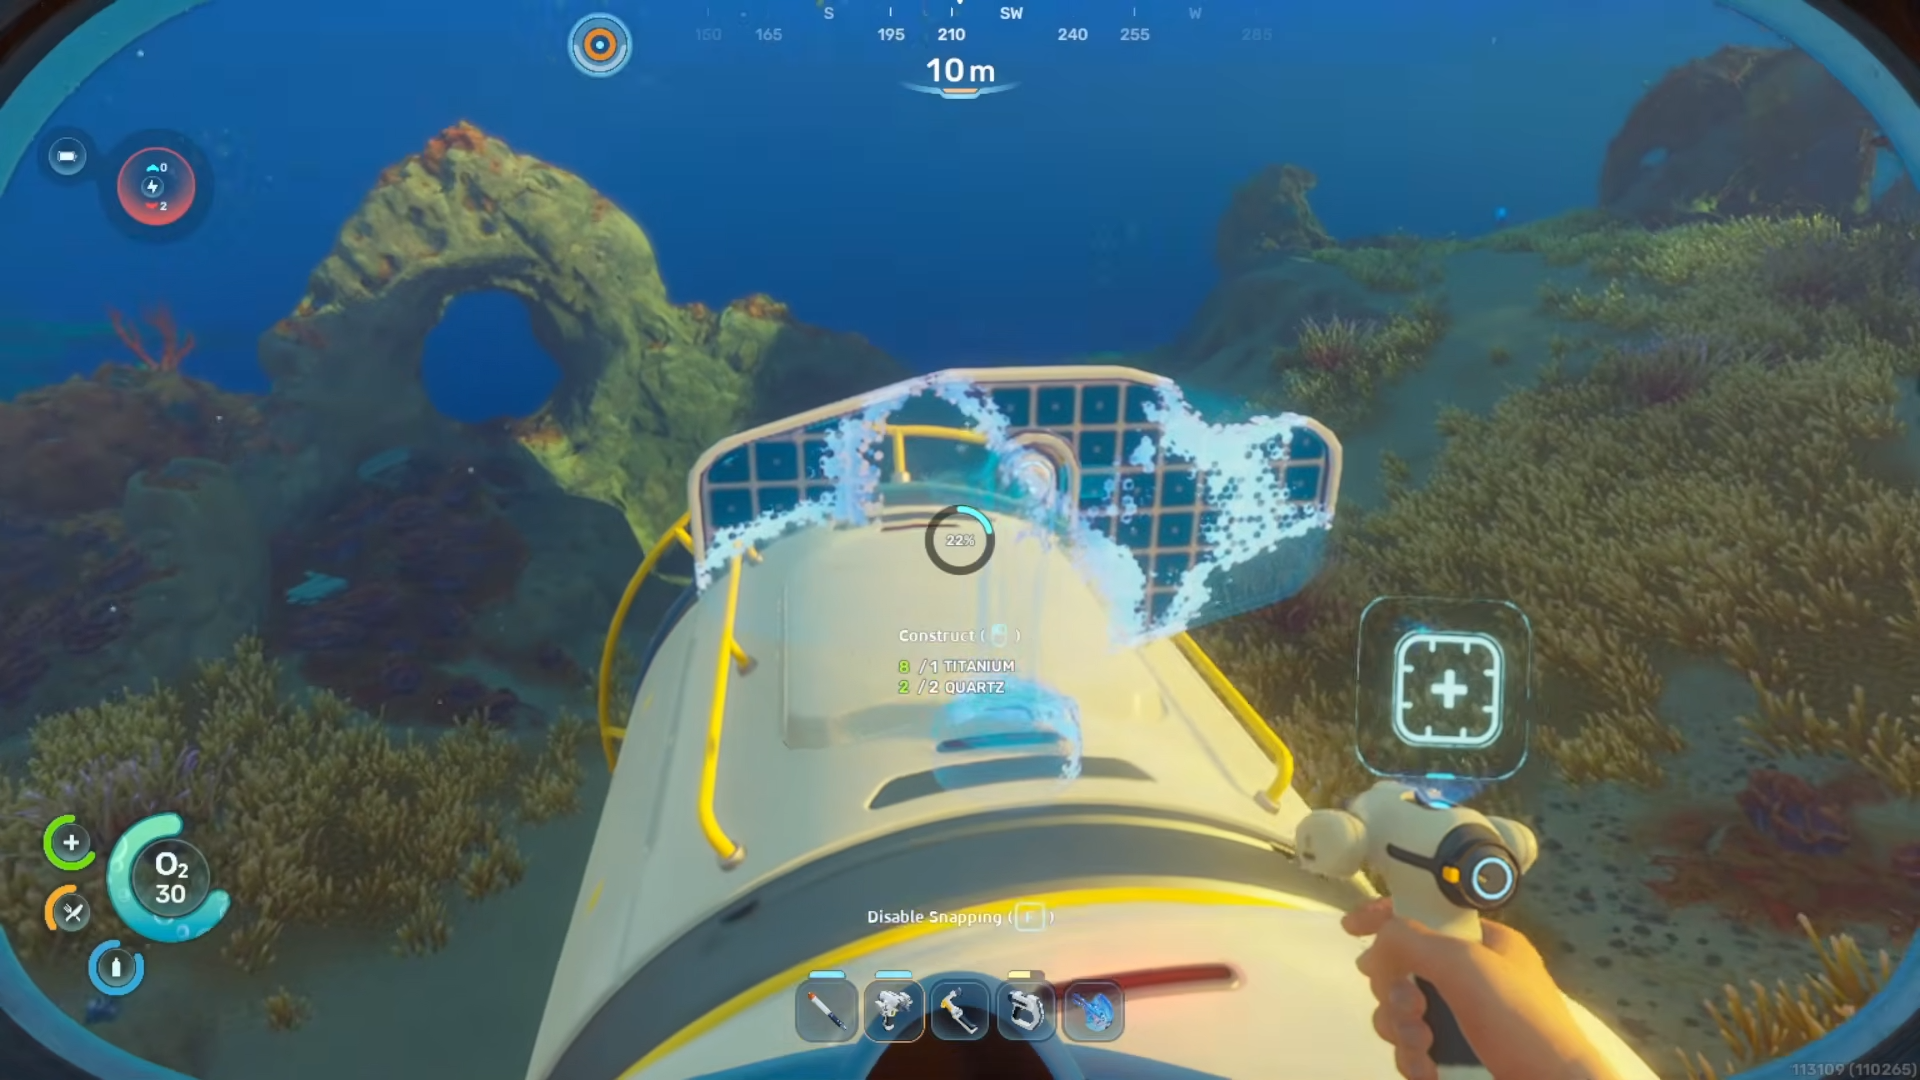
Attach the solar panel to the outside of the habitat.
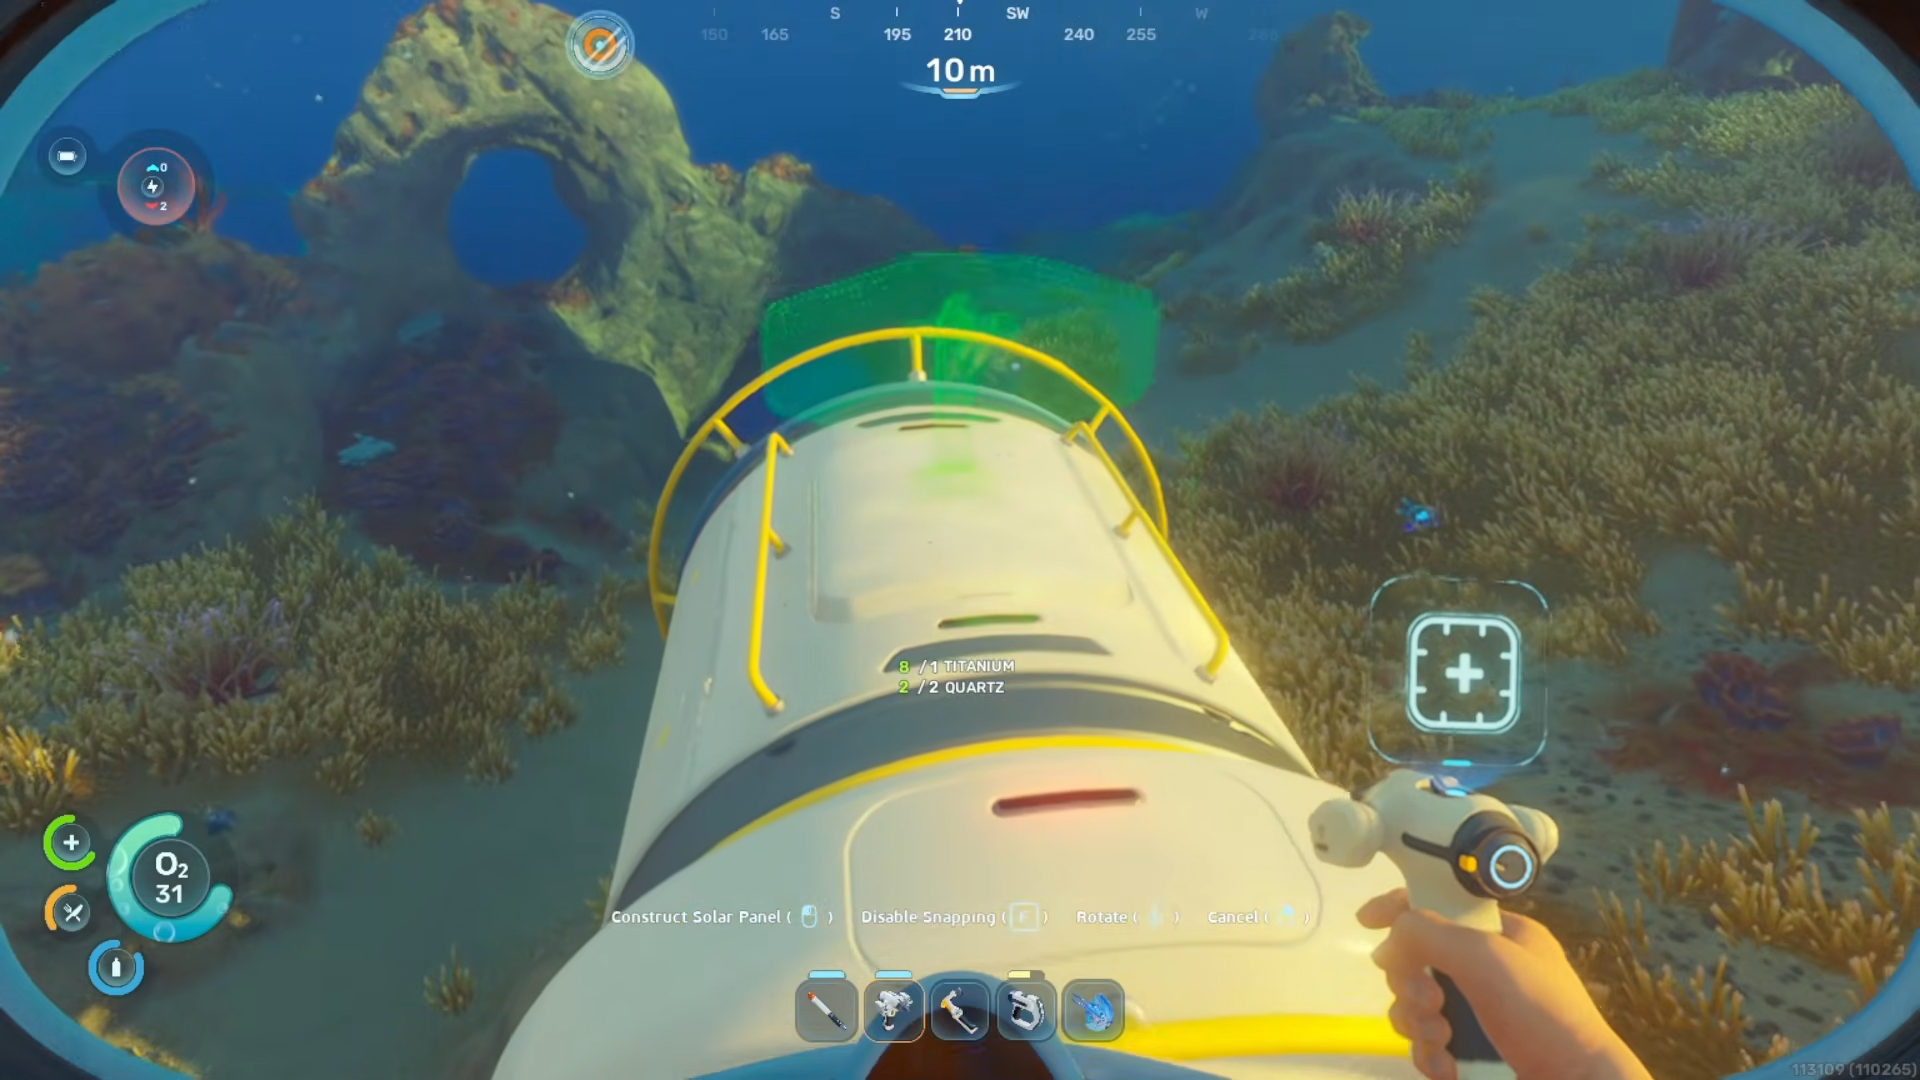
Once it is placed, the habitat gains electricity.
Step 7
Go back inside the habitat and check the result. With power restored, oxygen is now available in the building, making it fit to use as a base.
What changes after power
Once the solar panel is attached, the habitat has electricity and can do its job. That means the interior now contains oxygen, so you can breathe inside the base.
The process is straightforward for an early-game setup. No extra steps are needed beyond adding the hatch, using the Habitat Builder, and placing the solar panel.


Leave a Reply