
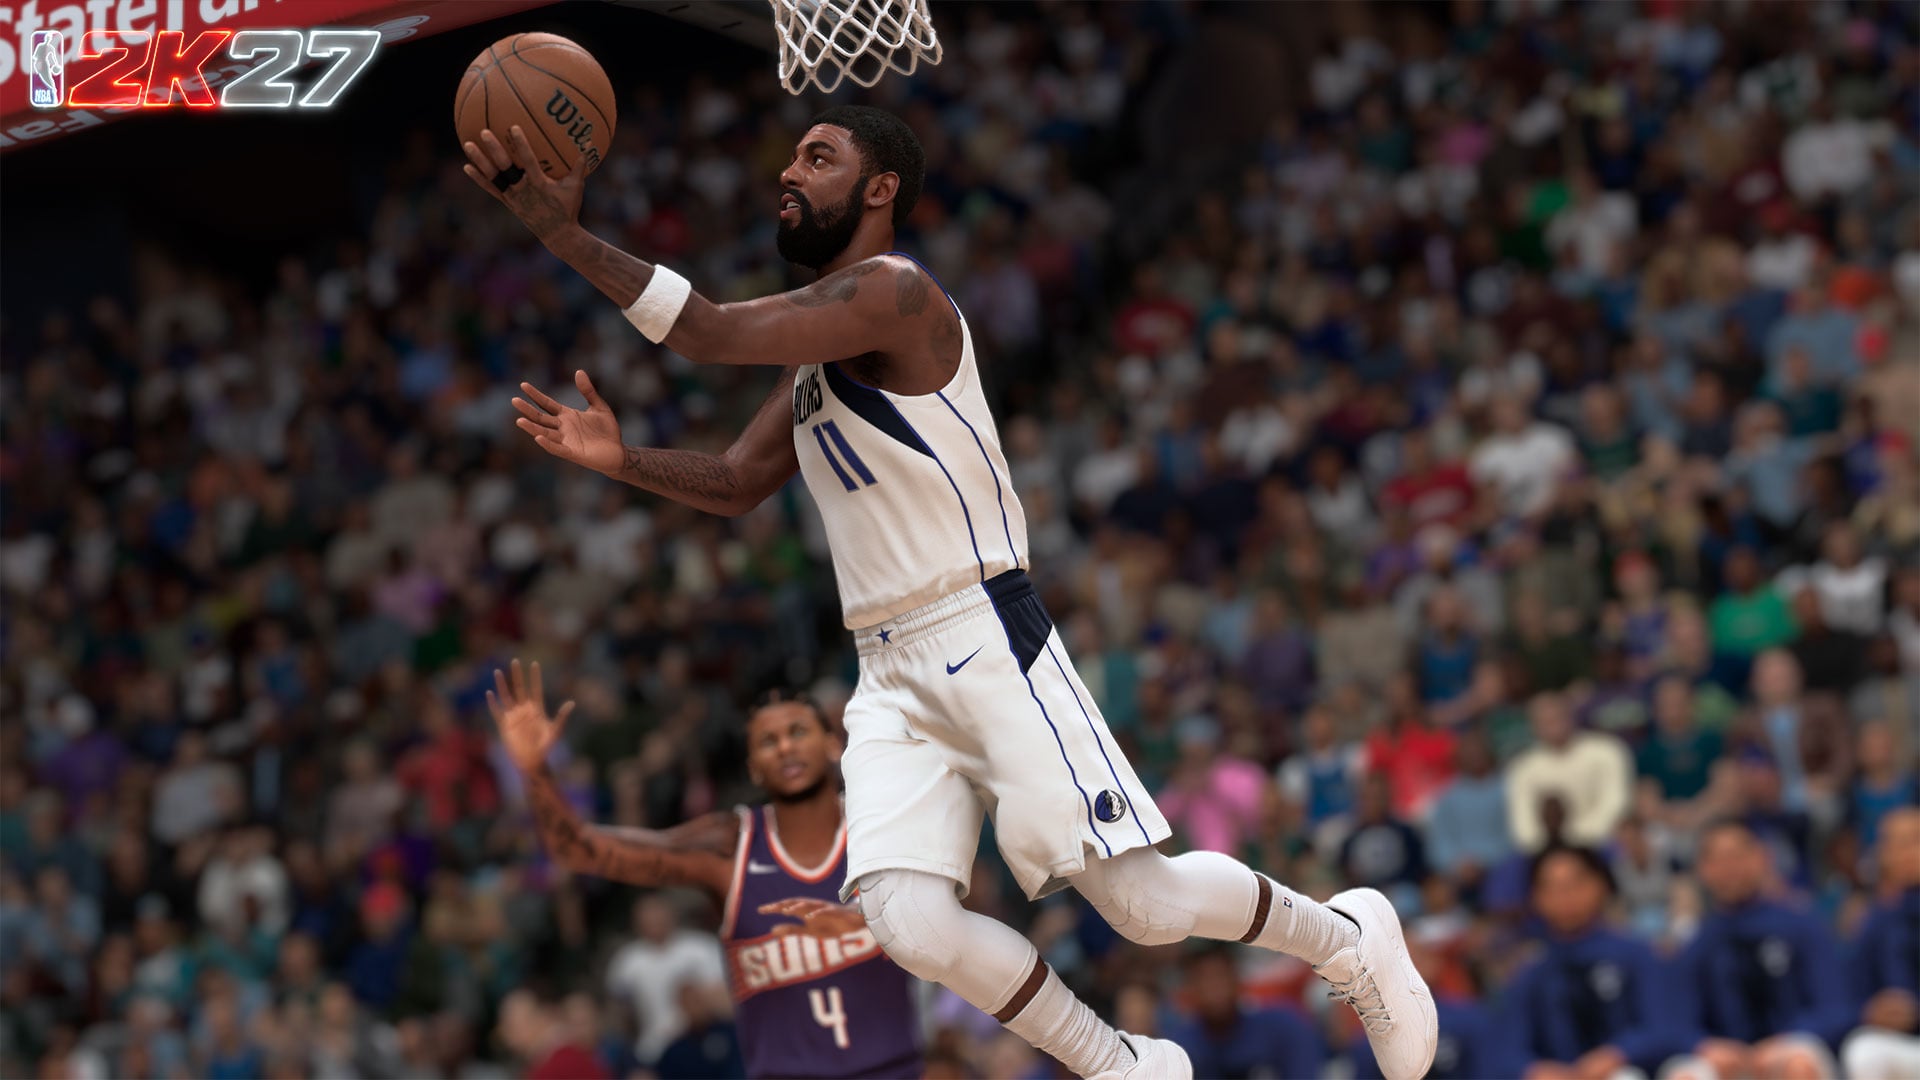
NBA 2K27 treats the gather and finish as separate choices, while step-through attempts begin with a pump fake and use one of five Pro Stick directions to trigger the corresponding step-through attempt.
Advanced layups in NBA 2K27 are less about memorizing one long command and more about reading the possession in stages. In the current Early Access build, your approach, the defender’s position, and your finishing choice combine as the attempt develops. Once you recognize those separate decisions, hop, Euro, spin, reverse, and step-through attempts become situational tools instead of moves to trigger at random.
How gathers and finishes combine
Think of the gather as the approach choice that brings your player into the attempt. It determines how the attacker enters the space around the basket, while the finish is the shot choice that follows. NBA 2K27 combines those components in real time according to the matchup and situation.
This means you should not lock yourself into the entire attempt as soon as the drive begins. Read the primary defender when choosing the gather, then account for the rim protector or other help defender when committing to the finish. A useful gather can create a better angle, but it cannot rescue a finish directed straight into a waiting contest.
Your input expresses the move you want, while the surrounding players influence how that selection appears on the floor. Judge the attempt by the space it created and the contest it encountered, not solely by whether it produced the exact animation you pictured before the drive.
Advanced layup and step-through controls
| Action | Control |
|---|---|
| Choose an advanced attempt | Select the gather during the approach, then choose the finish as the play develops. |
| Step-through layup or jumper | Perform a pump fake, then push the Pro Stick in one of five directions. |
The most distinct advanced sequence is the step-through. It begins from a stationary fake rather than flowing directly out of an uninterrupted drive. After the pump fake is established, the next directional command determines which step-through branch follows.
Key Each of those five Pro Stick directions represents a corresponding layup or jumper rather than acting as an interchangeable movement. Make the pump fake and directional input two deliberate decisions; blending them together can prevent the game from entering the step-through state.
Use your platform’s in-game control display for its exact controller glyphs and direction labels. The sequence here remains platform-neutral, and the incomplete alternate tap route for a Hop Step Layup is intentionally omitted.
Choosing hop, Euro, spin, reverse, or step-through
| Move | Best situation | Mistake to avoid |
|---|---|---|
| Hop | A defender occupies the direct driving line and another takeoff angle is available. | Hopping sideways into the help defender you should be escaping. |
| Euro | The defender commits to the first side of your approach, leaving space across the lane. | Starting it when both sides of the lane are already occupied. |
| Spin | An on-ball defender shades one side and space exists beyond that defender’s shoulder. | Rotating toward a second defender or into traffic under the rim. |
| Reverse | You have a baseline route and the rim protector is positioned on the near side. | Forcing it without enough space to reach the far side of the basket. |
| Step-through | A nearby defender reacts to the pump fake, creating room for a close shot. | Leaving the ground before the fake has drawn the defender’s commitment. |
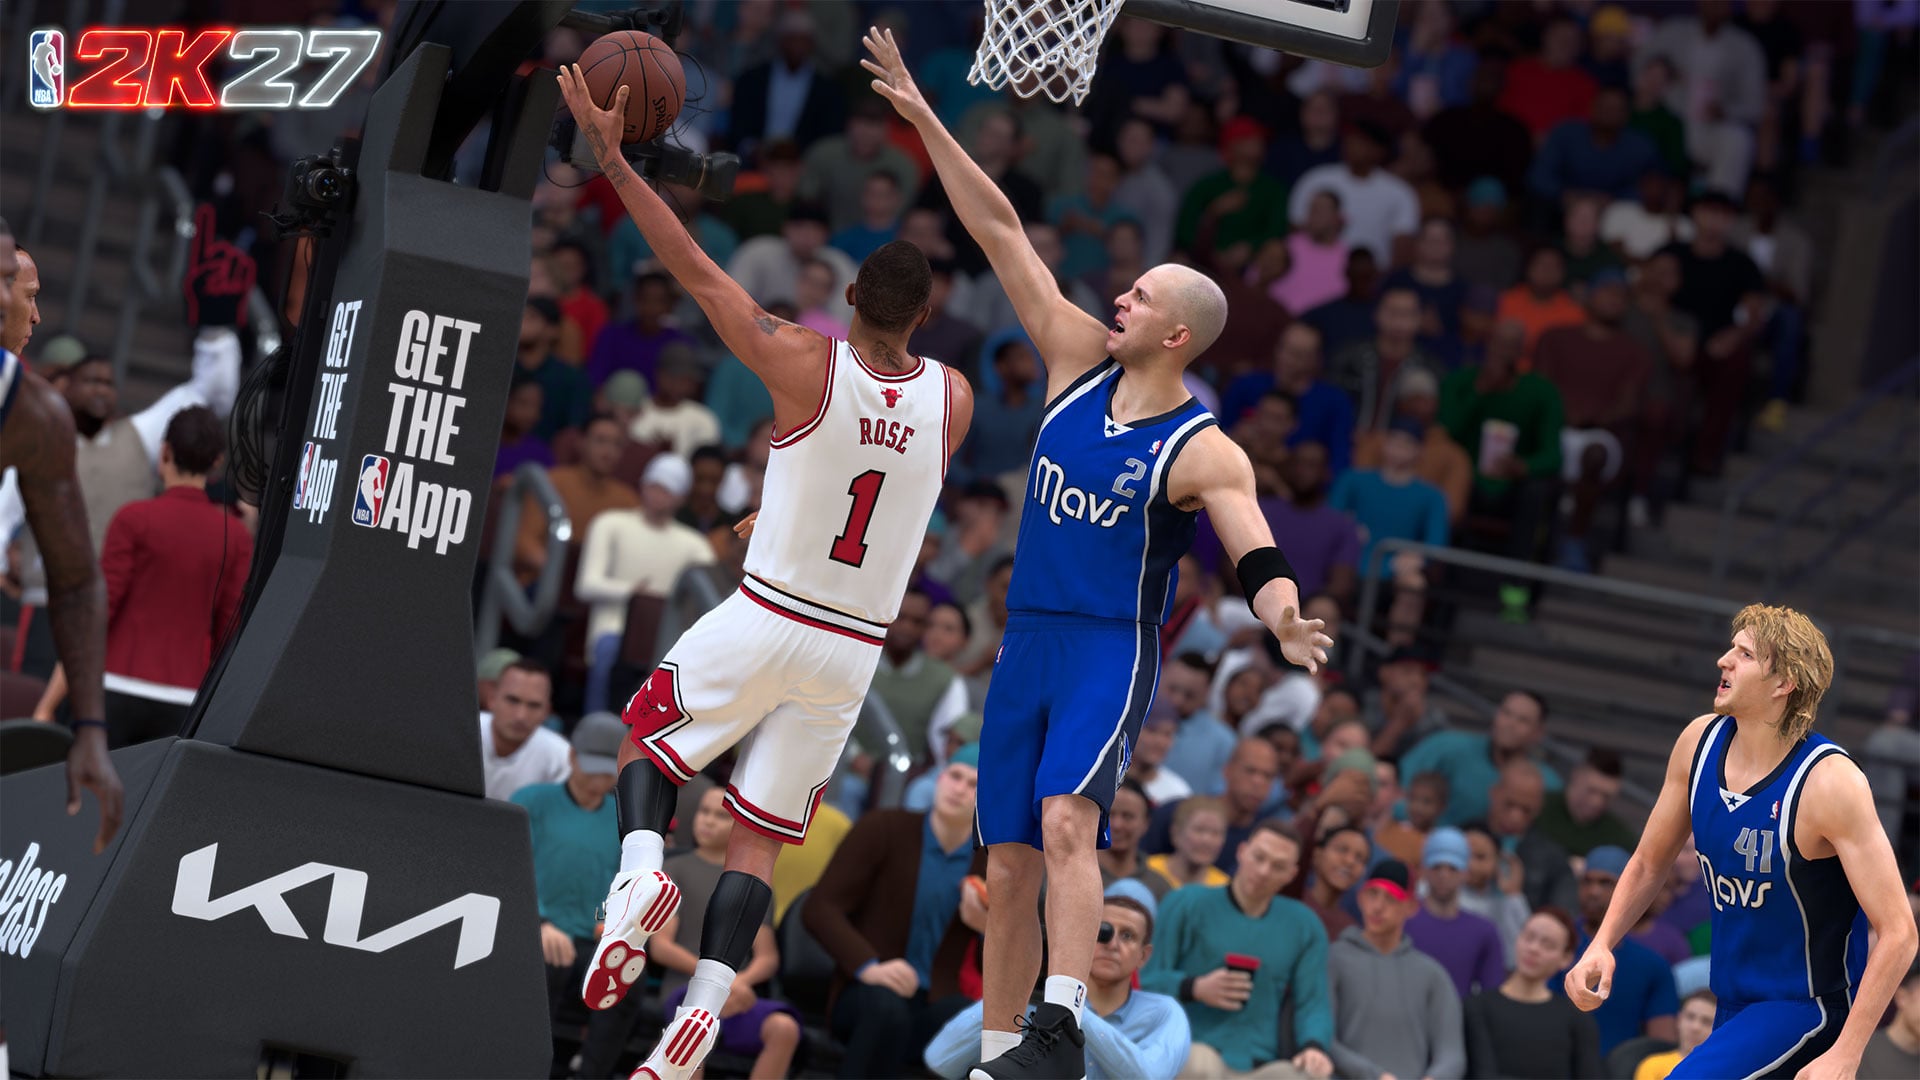
Use this as a defender-reading chart, not a fixed hierarchy. The best option is the one that carries the ball away from the contest while preserving a viable finish. If the defense has already surrendered a clean lane, adding another gather can give help defenders time to recover.
Player capability matters as well. Some finishers are better equipped for particular close-range attempts, and elite dunkers can extend Euro, Hop Step, and Spin gathers into dunk attempts by maintaining the required hold through takeoff. That possibility does not make those gathers automatic dunks or the right response to every defender.
Read the help defender before choosing the gather. If the move carries you into the second defender, change the approach instead of trying to force a different finish through the same traffic.
Contextual finishes and mid-air hand changes
The Dynamic Layup Engine can alter the shooting hand in mid-air when a capable finisher encounters a rotating rim protector. The adjustment lets the resulting finish respond to a contest that develops after the initial approach.
This response is layered onto your selected gather and finish. You still choose how to enter the attempt and what kind of shot to pursue; the engine can then adapt the release to the defensive rotation. A hand change therefore does not mean the original command was ignored.
It is also contextual rather than guaranteed. The finisher must be capable of making the adjustment, and the position and movement of the rim protector help determine whether it occurs. Identical commands can consequently produce different shooting hands when the defensive picture changes.
Fixing missed inputs and bad layup choices
If an advanced gather does not appear, first inspect when the command began. An input made too early may occur before the drive has created the intended approach, while one made too late can arrive after the player has already committed to takeoff. Reset the possession and compare the input against the moment your player is driving into the available lane; there is no need to chase an unsupported universal timing value.
When a step-through turns into an immediate shot or an unrelated movement, watch the pump fake. It must exist as its own action before the directional Pro Stick command. Slow the sequence enough to see the fake register, then enter one direction cleanly. Pressing through both parts as one continuous motion makes it harder to tell which part failed.
If the intended move appears but the attempt is still heavily contested, the problem is probably selection rather than execution. Look at where the gather moved the ball relative to the defender’s body. A clean Euro, hop, or spin input is still a poor choice when its path enters the defender’s strongest position or delivers you directly to rotating help.
Finally, do not diagnose every unexpected release as the wrong animation. When the initial gather matches your input but the shooting hand changes as a rim protector arrives, you may be seeing the dynamic finishing response. Focus on the gather path, the defender’s rotation, and the final contest separately so you can distinguish a mistimed command from a contextual adjustment.
Practice advanced gathers and finishes
Separate the two choices
Enter a drive while consciously treating the gather as the approach decision and the finish as a later response to the space around the basket.
Test different finish decisions
Use the same general approach while changing your finish choice, watching how the matchup alters the resulting attempt.
Learn the step-through branches
Establish a pump fake before trying each of the five Pro Stick directions, noting the layup or jumper produced by each direction on your platform.
Compare hop, Euro, and spin gathers
Approach defenders from different angles and watch whether each gather creates space or moves your player toward the defender’s body.
Add reverse attempts
Attack from the baseline and evaluate whether the reverse route places the rim between the ball and the rotating protector.
Read the final animation
Track the chosen gather, the help defender’s movement, and any mid-air shooting-hand change as separate pieces of feedback.






Leave a Reply