
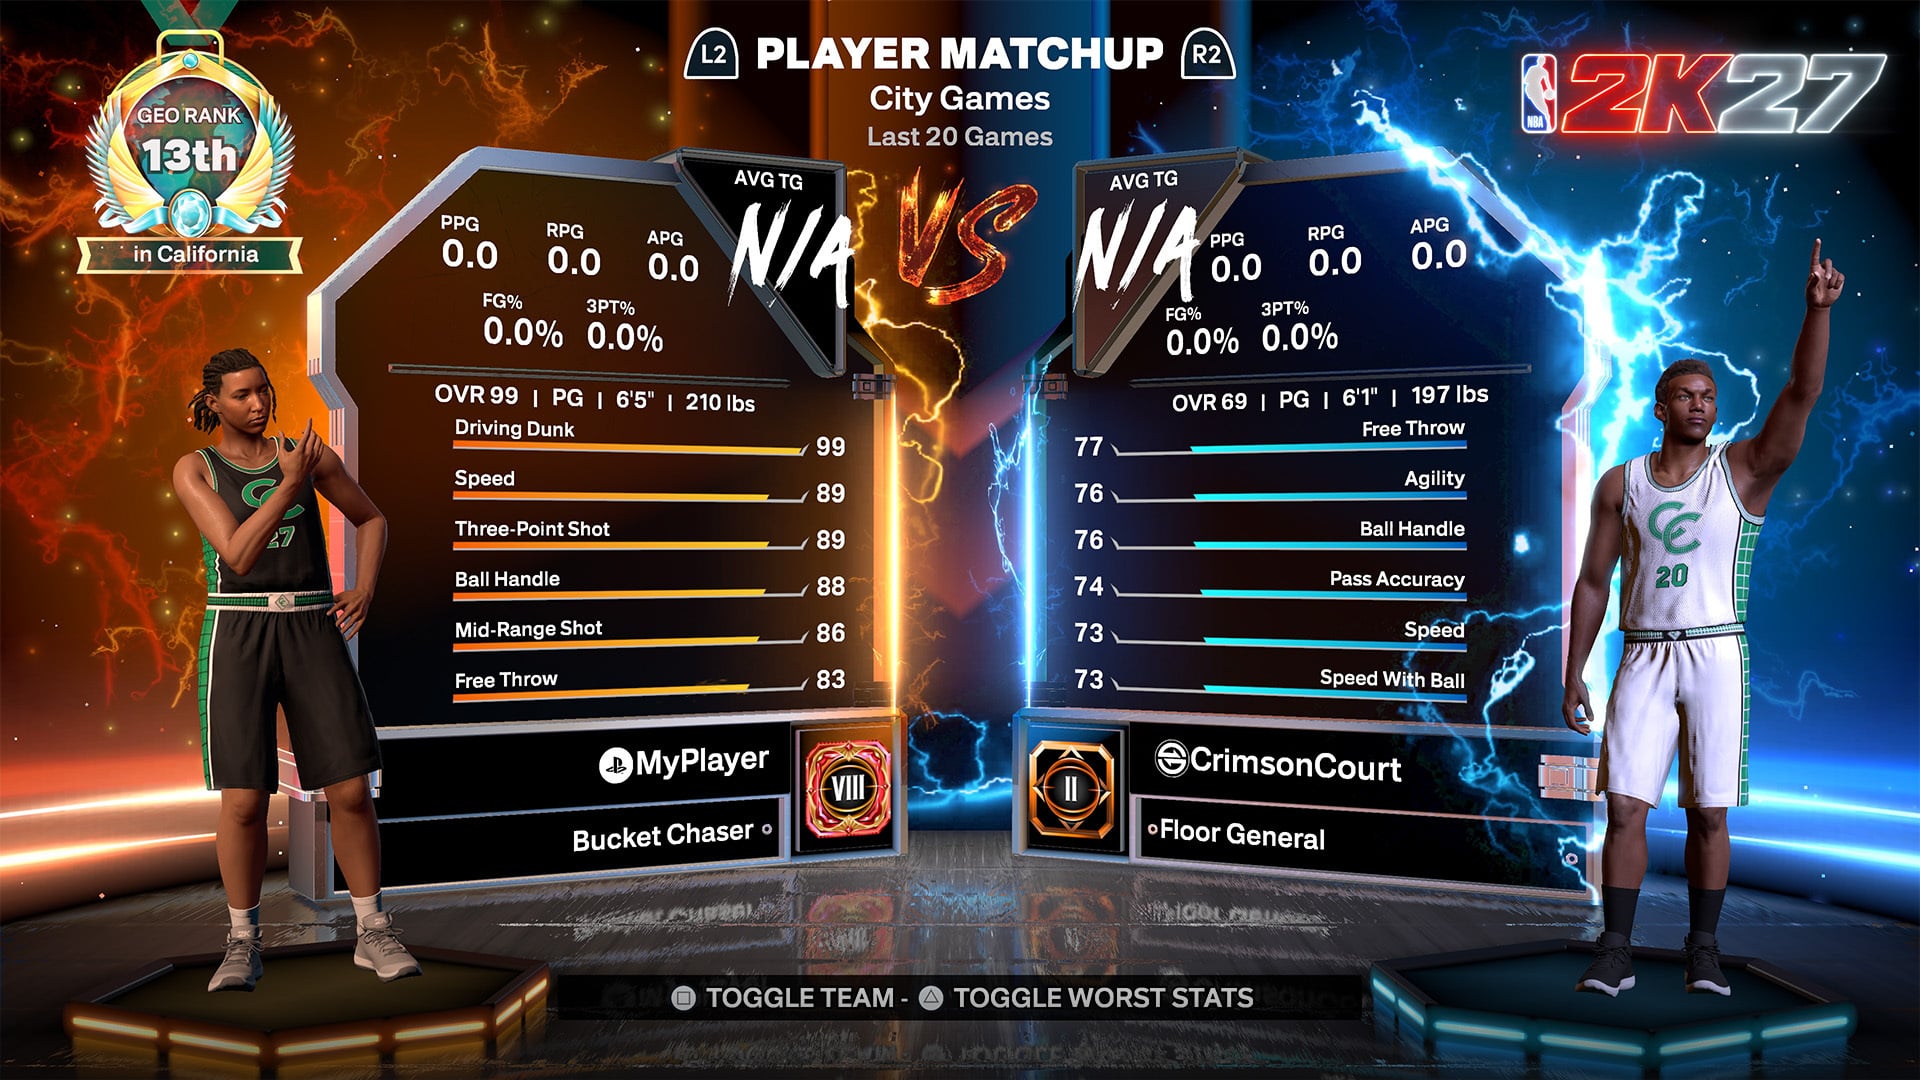
Apply Cap Breakers through Progression > Attributes > Cap Breakers, but check the Builder preview, the award’s discipline restriction, and your Build Specialization options before committing.
A Cap Breaker can push an attribute beyond the potential cap established when you created your build. The menu path is straightforward; deciding which attribute deserves the increase is the part that demands planning. Your target should be the finished build, not merely the version you can assemble on day one.
How Cap Breakers change your build
Cap Breakers extend eligible attributes beyond their original potential, allowing the build to reach a result that its initial allocation could not. That can change how you distribute attribute points during creation because an attribute does not necessarily need to begin at its eventual target.
The useful question is not simply, “Which rating can I raise?” It is, “Which increase completes the build I intended to make?” An extra point has much more value when it reaches a relevant animation, badge, or gameplay threshold than when it lands on an attribute without changing the build’s capabilities.
Plan around a current limit of no more than five Cap Breaker applications on one attribute. For now, you should also treat every applied breaker as permanent and unavailable to move. Those constraints make the original Builder plan important: a careless allocation can leave valuable increases stranded on the wrong target.
Check the Cap Breaker preview in the Builder
Before committing a new build, raise it to the 99 OVR Builder view and open the Cap Breaker preview through the Builder Glossary. This view shows how much each eligible attribute can rise, giving you a picture of the build’s eventual room for improvement rather than only its starting ratings.
Compare that preview with the specific thresholds your build is designed to reach. If you want a particular animation, badge requirement, or role-defining rating, note that target and verify that the displayed increase can actually reach it. Do not choose an allocation merely because an attribute appears close; the preview should connect the starting cap to a deliberate finished rating.
The preview can also expose wasted planning. An attribute may already reach everything you need without a breaker, while another may require space that the build does not have. Moving ordinary Builder points between those attributes before creation can produce a stronger final layout without changing the build’s overall purpose.
Expect the ultimate ceiling for an attribute to remain bounded by the build’s height, weight, and wingspan. Two builds aimed at a similar playstyle may therefore display different Cap Breaker headroom. Use the values shown for the exact build in front of you rather than carrying assumptions over from another body profile.
Take a screenshot of the 99 OVR Cap Breaker preview before leaving the Builder. It gives you a clean reference when deciding where to spend each award later.
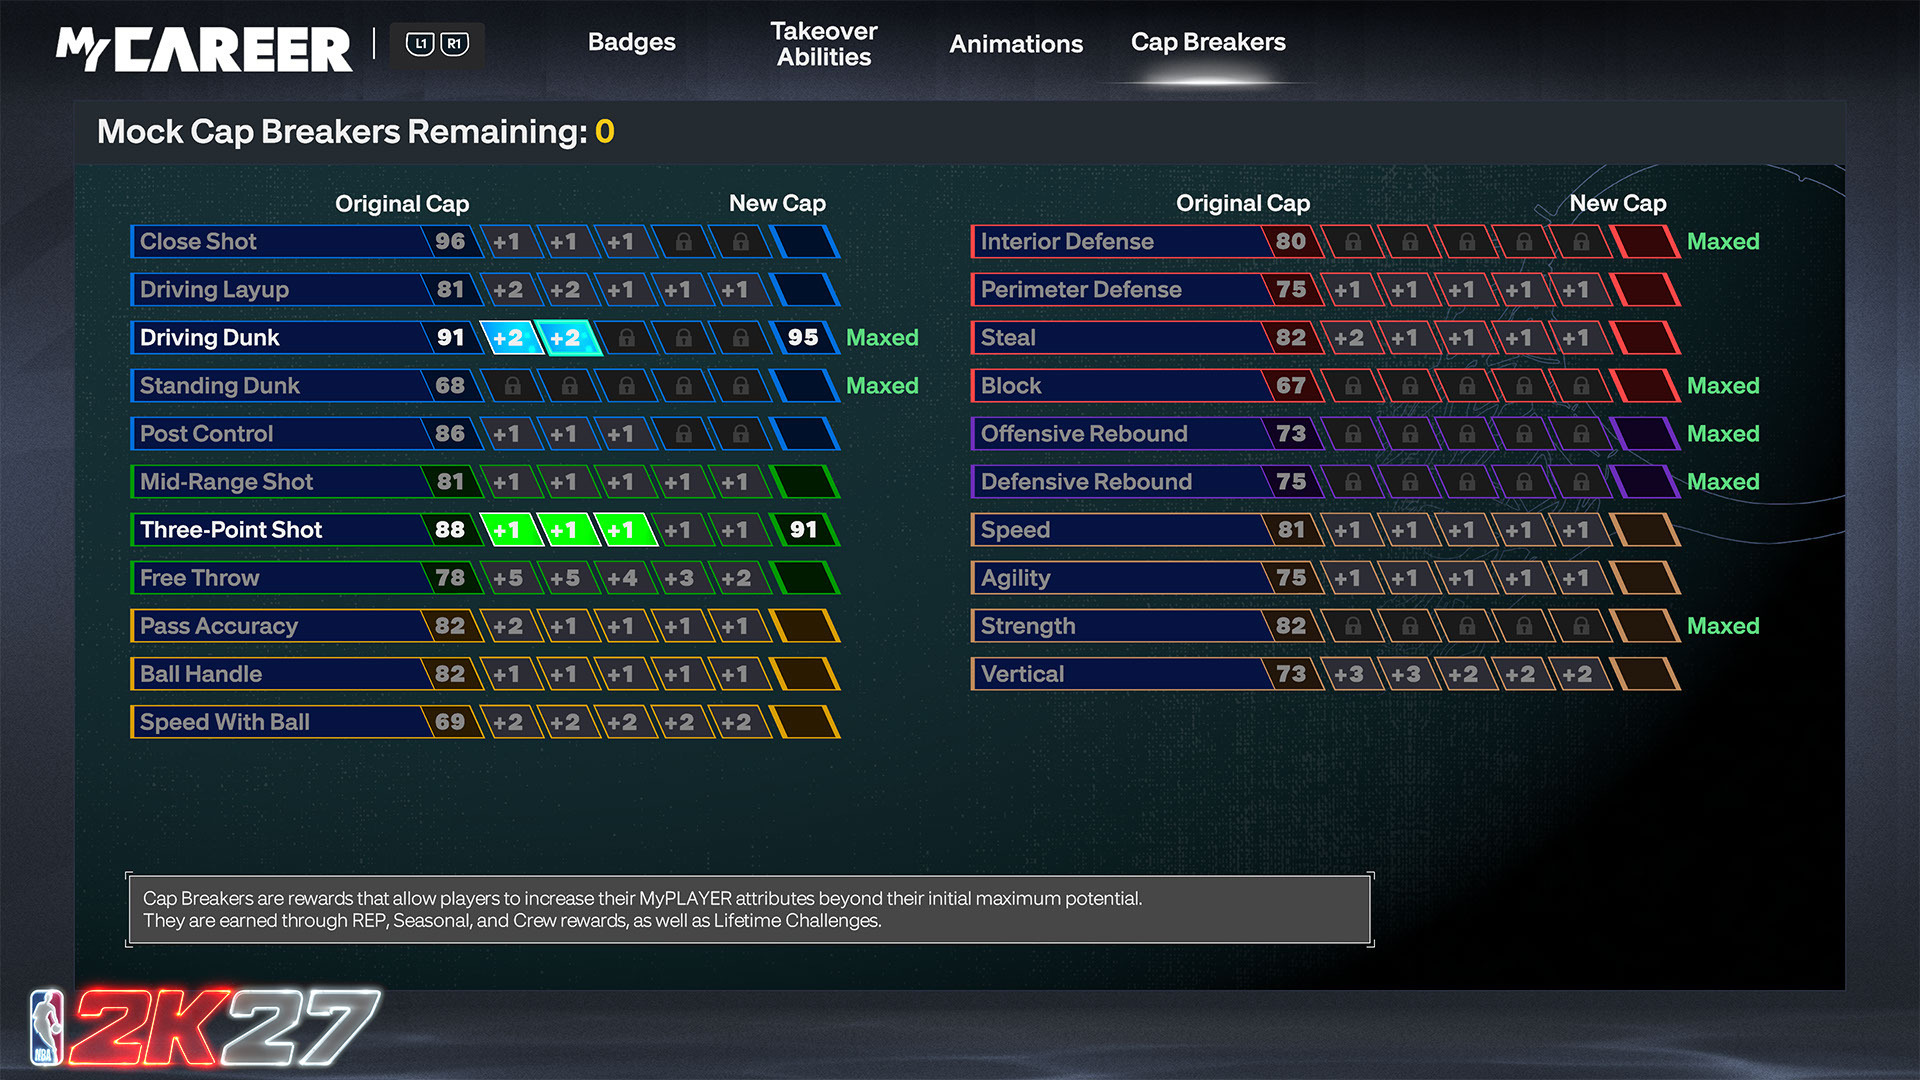
How to apply a Cap Breaker in NBA 2K27
Open the main menu
Open the main menu while using the build that will receive the Cap Breaker.
Enter Progression
Select Progression to open the build’s development options.
Choose Attributes
Open Attributes for the selected build.
Open Cap Breakers
Select the Cap Breakers option to see the awards and attributes currently available.
Inspect eligible attributes
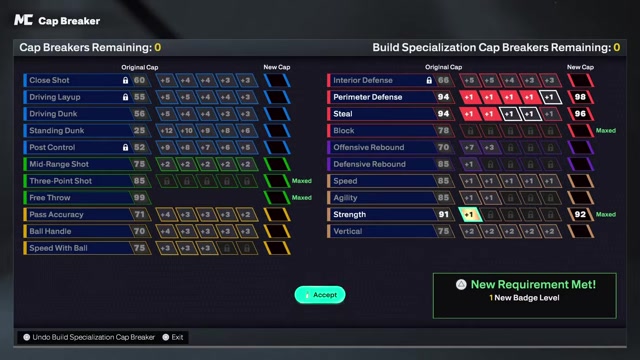
Compare the available targets with the award’s displayed discipline and color restriction.
Review any specialization warning
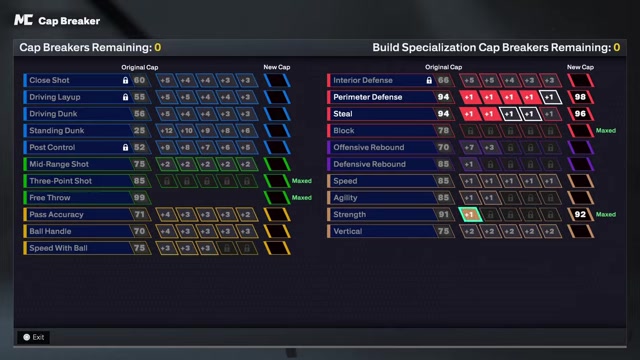
If the game warns about remaining or potential Build Specialization breakers, pause and reconsider which type of breaker should cover that attribute.
Commit the allocation
Apply the regular Cap Breaker only after checking its restriction, the expected increase, and your specialization plan.
Cap Breaker discipline and color restrictions
| Breaker discipline | Eligible attribute categories |
|---|---|
| Shooting (green) | Shooting (green) or Physical (tan) |
| Finishing (blue) | Finishing (blue) or Physical (tan) |
| Playmaking (orange) | Playmaking (orange) or Physical (tan) |
| Defense (red) | Defense (red) or Physical (tan) |
| Rebounding (purple) | Rebounding (purple) or Physical (tan) |
The discipline and color displayed on an awarded breaker are spending rules, not cosmetic labels. A breaker cannot be treated as a universal point that will work on any attribute you choose. Read the restriction attached to that specific award and make sure your intended target belongs to one of its listed categories.
This distinction matters when planning several future increases. You may know how many attributes you eventually want to raise, but that does not mean every award can fill every slot in that plan. Match each anticipated award with an eligible target so that a restricted breaker does not arrive after you have already spent the suitable attribute space elsewhere.
Reserve targets for Build Specialization breakers
The MyPLAYER Builder offers six Build Specialization tracks: Shooting, Finishing, Playmaking, Defense, Rebounding, and Physicals. Your selected specialization is permanent for that save, and its Cap Breakers are restricted to attributes within that specialization. That makes the specialization part of your allocation plan, not merely a separate progression reward.
NBA 2K27 can interrupt a regular Cap Breaker application with one of two related warnings. One appears when you still have Build Specialization Cap Breakers remaining. The other appears when there are potential specialization Cap Breakers that may still become available. Both warnings mean the regular breaker is being aimed at an attribute that your specialization can also boost.
Key When that happens, consider reserving the target for the specialization-restricted breaker. A regular breaker may have another useful destination outside the specialization’s attribute pool, subject to its own discipline restriction, while the specialization breaker cannot simply move to an unrelated category. Spending the regular award on the shared target can leave you with fewer useful choices later.
This does not mean you must earn every specialization reward before using any regular breaker. The warning is an allocation prompt, not an instruction to delay all progress. You can continue when the regular breaker is genuinely the better fit, but the choice should account for both the specialization breakers already available and those your build may still obtain.
Final checks before spending a Cap Breaker
Before committing, make sure the intended increase matches what you saw in the Builder preview and reaches a result your build actually uses. Check the award’s color and discipline, and include a Physical attribute only when Physical is displayed as an eligible category for that award.
Also account for any remaining or potential Build Specialization breakers. If the target falls within your permanently selected specialization, ask whether a specialization breaker can cover it while the regular award serves another eligible attribute. The better allocation is the one that leaves the fewest restricted rewards without a meaningful destination.
The two common mistakes are assuming every Cap Breaker works everywhere and dismissing the specialization warning as an ordinary confirmation message. Neither the award nor the warning is generic. Review the exact restriction, compare the available targets, and commit only when the increase supports the finished version of your build.






Leave a Reply