
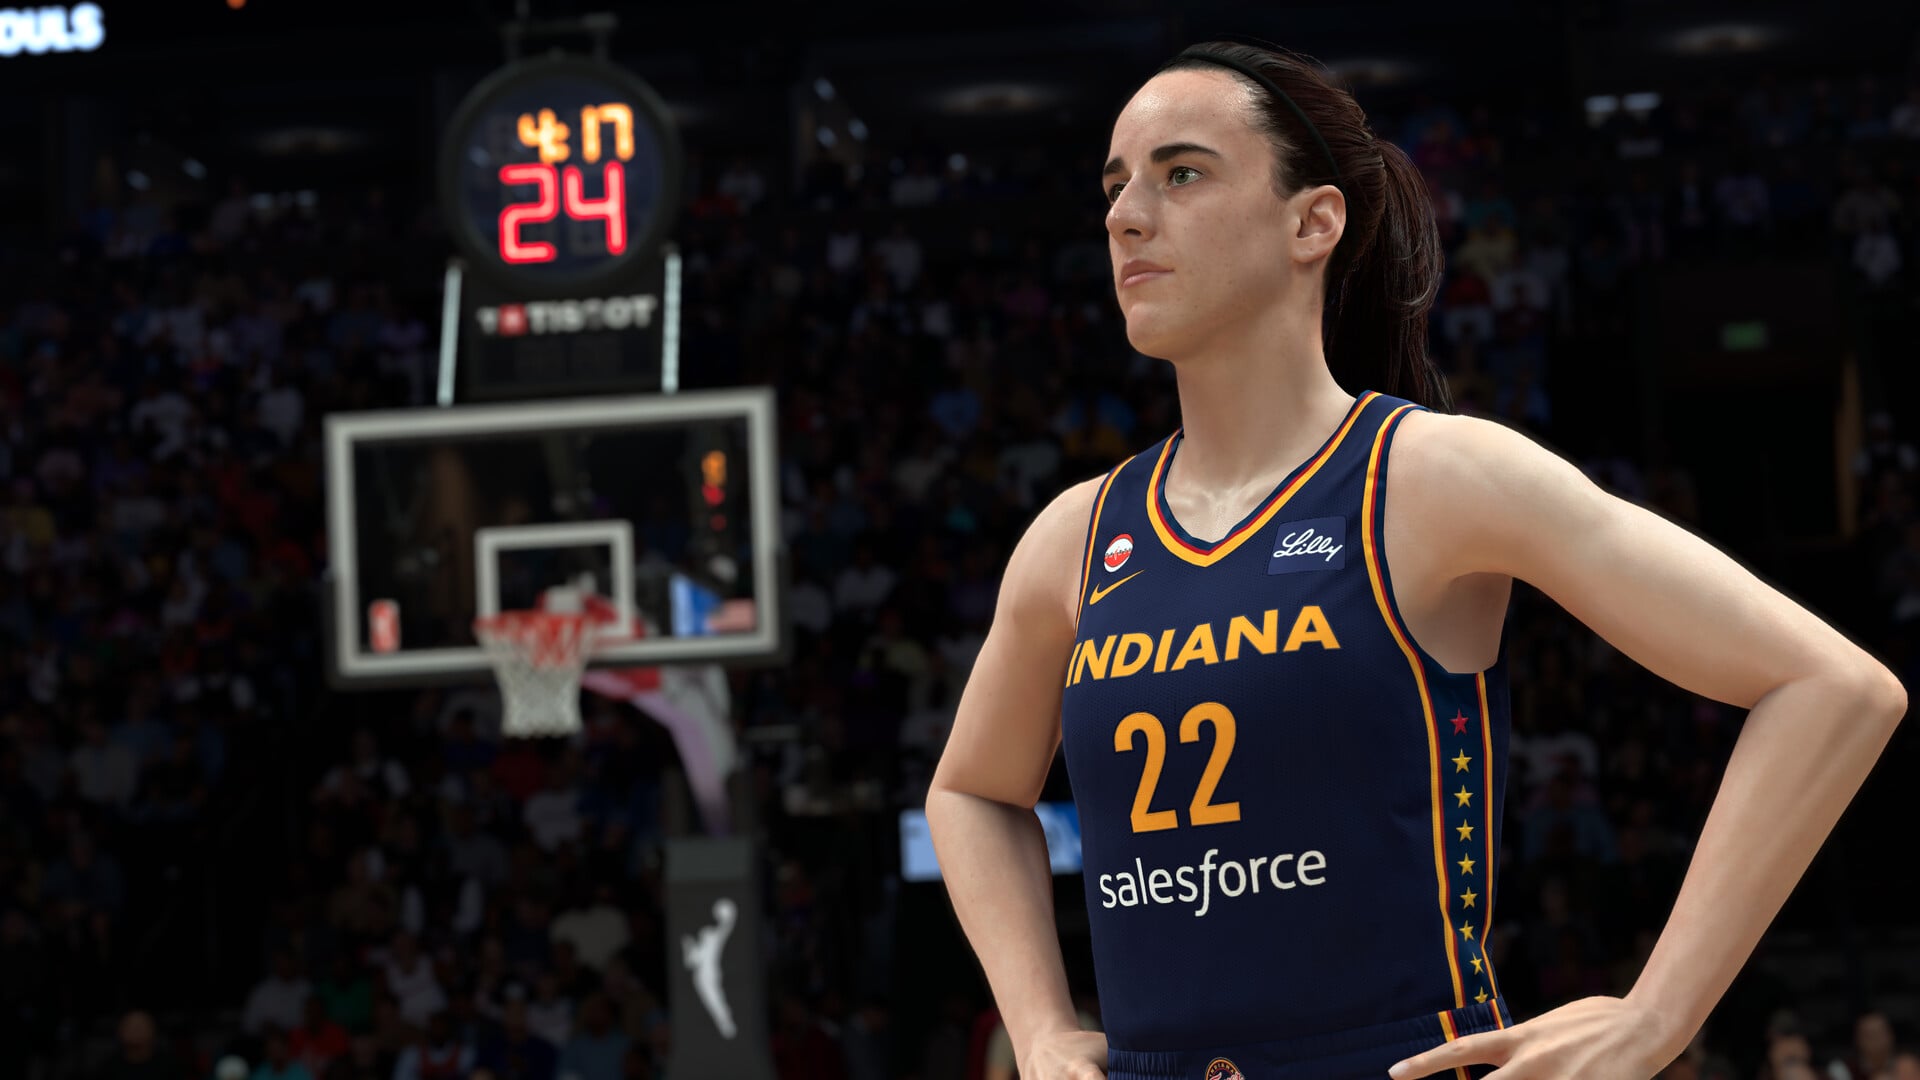
The Art of Shooting is a City facility where you choose shooting zones to train, complete a drill, and potentially upgrade Hot Zones to Lethal status, with earned boosts able to last up to three weeks.
The facility rewards a deliberate shooting plan. Pick areas that fit your MyPLAYER, perform the drill, and then use the result to decide where your next practice session should focus.
What the Art of Shooting does in NBA 2K27
| Mechanic | How it works |
|---|---|
| Hot Zones | Court areas tied to your shooting profile that you can select for targeted improvement. |
| Lethal status | An upgrade a selected Hot Zone can reach when your drill performance is good enough. |
| Drill boost | A temporary next-level benefit earned by making shots during the facility drill. |
The Art of Shooting is a facility in the City dedicated to improving specific parts of your shooting profile. Instead of treating the session as general free-shooting practice, you choose the court zones you want to develop and attempt shots from those areas.
Three closely related mechanics appear during this process, but they serve different purposes:
The most useful way to approach the gym is with a defined purpose. Decide which part of your normal offense needs attention before committing your selections, rather than using valuable training on an area that rarely produces a shot during real games.
How to complete an Art of Shooting drill
Enter the Art of Shooting facility
Head into the City, find the Art of Shooting facility available in your current build, and enter the gym.
Review your shooting habits
Think about the locations your build regularly reaches during games and identify the areas that would provide the most useful improvement.
Choose one or more zones
Select the zone or zones you want to work on when the facility asks you to set your training targets.
Take the required shots
Attempt every shot presented during the drill, concentrating on a repeatable release instead of rushing after an early miss.
Finish the full session
Continue through the remaining attempts so the drill can evaluate your performance across all selected areas.
Read the drill result
Check which zones received a boost and whether any reached Lethal status; the required score or made-shot count is not specified, so use the displayed outcome instead of assuming a fixed threshold.
When selecting multiple areas, give each one the same attention you would give your favorite spot. A strong opening from one zone does not tell you how the entire session will finish, and chasing faster releases after a miss can make your timing less consistent across the remaining attempts.
After the drill, separate the result from how the shots felt. The outcome tells you what happened to the chosen zones, while your makes and misses reveal whether your release remains repeatable from different court positions. Both are useful, but they answer different questions.
Which shooting zones should you train?
Prioritize zones that match your build, role, and actual shot selection. A primary ball handler who creates off the dribble may need different areas than a teammate who waits for catch-and-shoot opportunities. Your attributes matter, but so does the offense you regularly play within.
The elbows are a useful example rather than a universal best choice. They can suit a player who frequently creates space or receives the ball around those areas, but training them offers little immediate value if nearly every real attempt comes from somewhere else. The same logic applies to any attractive-looking zone that your normal movement never reaches.
Use recent Park and competitive possessions as a reality check. Pay attention to where you are open, where teammates expect you to stand, and which areas you can reach without forcing an awkward attempt. A zone that repeatedly appears within your natural offense should usually take priority over one selected only because it seems powerful in isolation.
Use your recent competitive shot locations as the tie-breaker when two zones seem equally valuable, because the area you reach more often gives the boost more chances to matter.
Art of Shooting boost duration
Making shots during an Art of Shooting drill can boost the selected Hot Zones to the next level for one full week. Earned boosts can also last for up to three weeks, giving a successful session value beyond the day you complete it.
The conditions that separate the one-week duration from the three-week maximum are not stated. Check the duration attached to your result and plan around that window rather than assuming every successful run receives the longest possible boost. This is especially useful when deciding whether to train an immediate weakness or prepare an important scoring area for upcoming games.
Carrying drill practice into real games
A comfortable Art of Shooting run does not guarantee identical timing in Park or other competitive play. The facility gives you a controlled place to repeat shots, while a live possession adds movement, defenders, pressure, and less predictable opportunities. Treat clean drill makes as proof that you can reproduce the release under controlled conditions, not as a promise that every similar attempt will fall.
Start by building a release you can recognize instead of relying only on the rhythm of consecutive practice attempts. Reset between shots, watch the same visual point in the animation, and avoid speeding up merely because the previous attempt missed. A repeatable process makes it easier to identify what changed when you move into a live game.
Next, test the shot through situations that resemble your role. If you usually operate as a spot-up option, practice getting set after movement and recognizing when your feet are ready. If you create with the ball, compare clean attempts with shots taken after a pull-up or change of direction. The goal is to learn how your release feels across the situations you genuinely use, rather than judging the jump shot entirely from open gym attempts.
In competitive play, begin with clean opportunities and observe how the timing responds. Defensive pressure, stamina, the type of catch, and whether you shoot from a standstill or off the dribble can change the feel of an attempt. Test several representative possessions before deciding that your release needs replacing.
Key Also separate zone improvement from shot execution. A useful boost supports shots from the trained area, but you still need appropriate spacing, shot selection, and manual timing. If your makes fall after leaving the gym, review the quality and context of the attempts before blaming the facility result.
Common Art of Shooting mistakes and fixes
Training rarely used zones: If the reward seems absent during games, the selected areas may not fit your normal offense. Review where your attempts actually occur and use the next session on locations your build can reach consistently without forcing the possession.
Expecting an automatic Lethal upgrade: Choosing a Hot Zone only makes it eligible for focused work; it does not guarantee Lethal status. If the area remains below Lethal after the drill, treat that as the performance result rather than a facility error.
Treating a boost as guaranteed makes: The boost improves the trained zone, but it does not remove the need to create space and time the shot correctly. A rushed or heavily pressured attempt can still fail, so evaluate the possession before concluding that the boost is not working.
Changing your jump shot because the gym feels different: Facility timing alone is a poor reason to rebuild a release that otherwise fits your MyPLAYER. First test it through realistic catches, movement, stamina states, and defensive pressure. Change the shot only after the problem persists in the situations that define your actual role.
Frequently Asked Questions
Can the Art of Shooting provide progression as well as zone boosts?
Yes. Scrimmages at the Art of Shooting Facility can provide a chance to earn extra progression or boosts for the upcoming NBA season. Treat progression as a possible facility reward rather than something automatically awarded by every drill.






Leave a Reply