
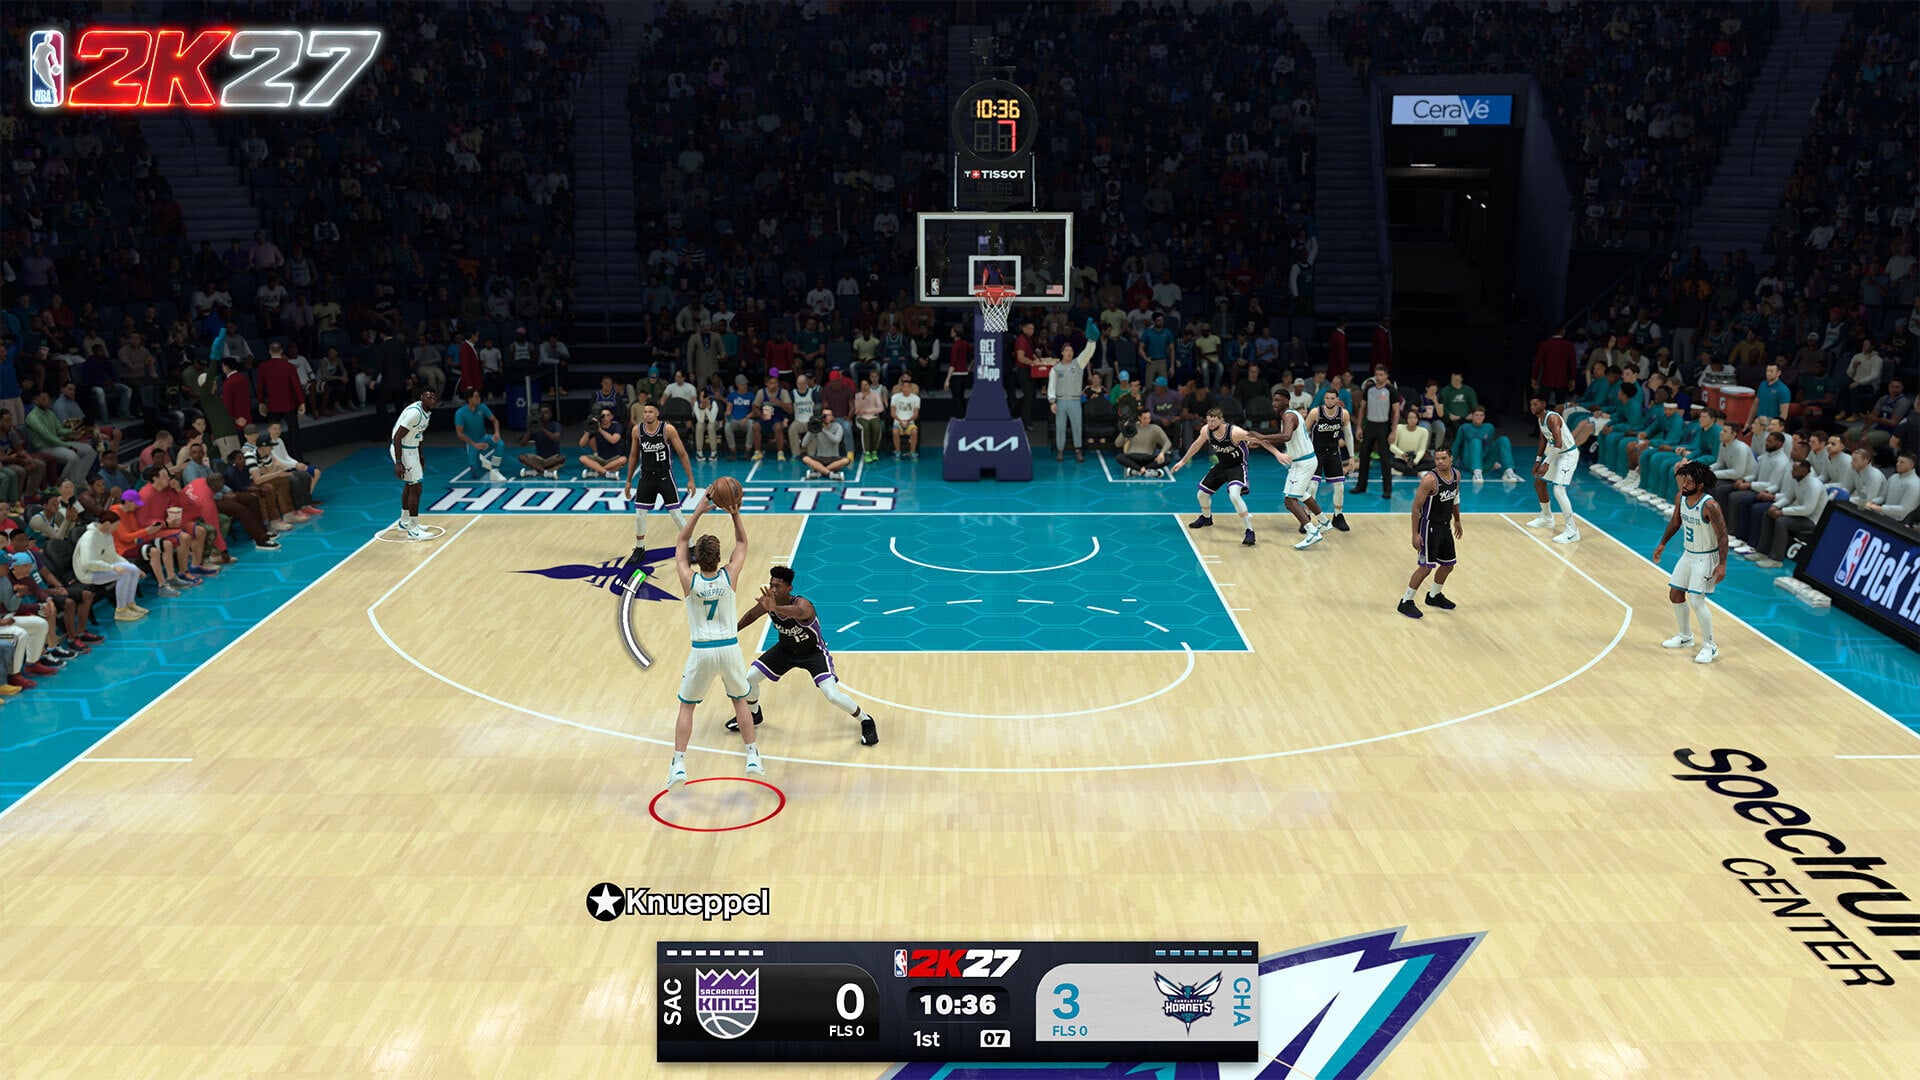
NBA 2K27 Rhythm Shooting uses a straight-down then straight-up Pro Stick motion: your Timing must land green for the shot to go in, while matching the shooter’s Tempo widens that green window.
Rhythm Shooting asks you to reproduce the flow of a player’s shooting animation instead of relying on a single button release. In NBA 2K27, the returning mechanic includes a real-time Tempo tick, giving you immediate visual feedback on the speed of your upward input. Consistency comes from learning both halves of the motion without treating them as one hurried flick.
Rhythm Shooting separates Timing from Tempo
| Component | What it controls |
|---|---|
| Timing | Whether the release lands green. A Rhythm shot will not go in unless its Timing is green. |
| Tempo | How closely the upward stick motion matches the speed of the shooter’s release. A closer match widens the Timing green window. |
Rhythm Shooting begins when you move and hold the Pro Stick straight down, then move and hold it straight up as the player releases the ball. Although this is one continuous shooting action, the game evaluates Timing and Tempo separately.
Key The relationship between them is important: good Tempo gives you a larger target for green Timing, but it cannot rescue a release that lands outside that target. Rushing or dragging the upward movement has the opposite effect, reducing the room available for a successful release.
Tempo is also tied to the individual shooting animation. There is no single upward speed that fits every player, so the motion that feels right for one shooter may be too fast or too slow for another. Your goal is to recognize the player’s cadence and make the stick movement follow it naturally.
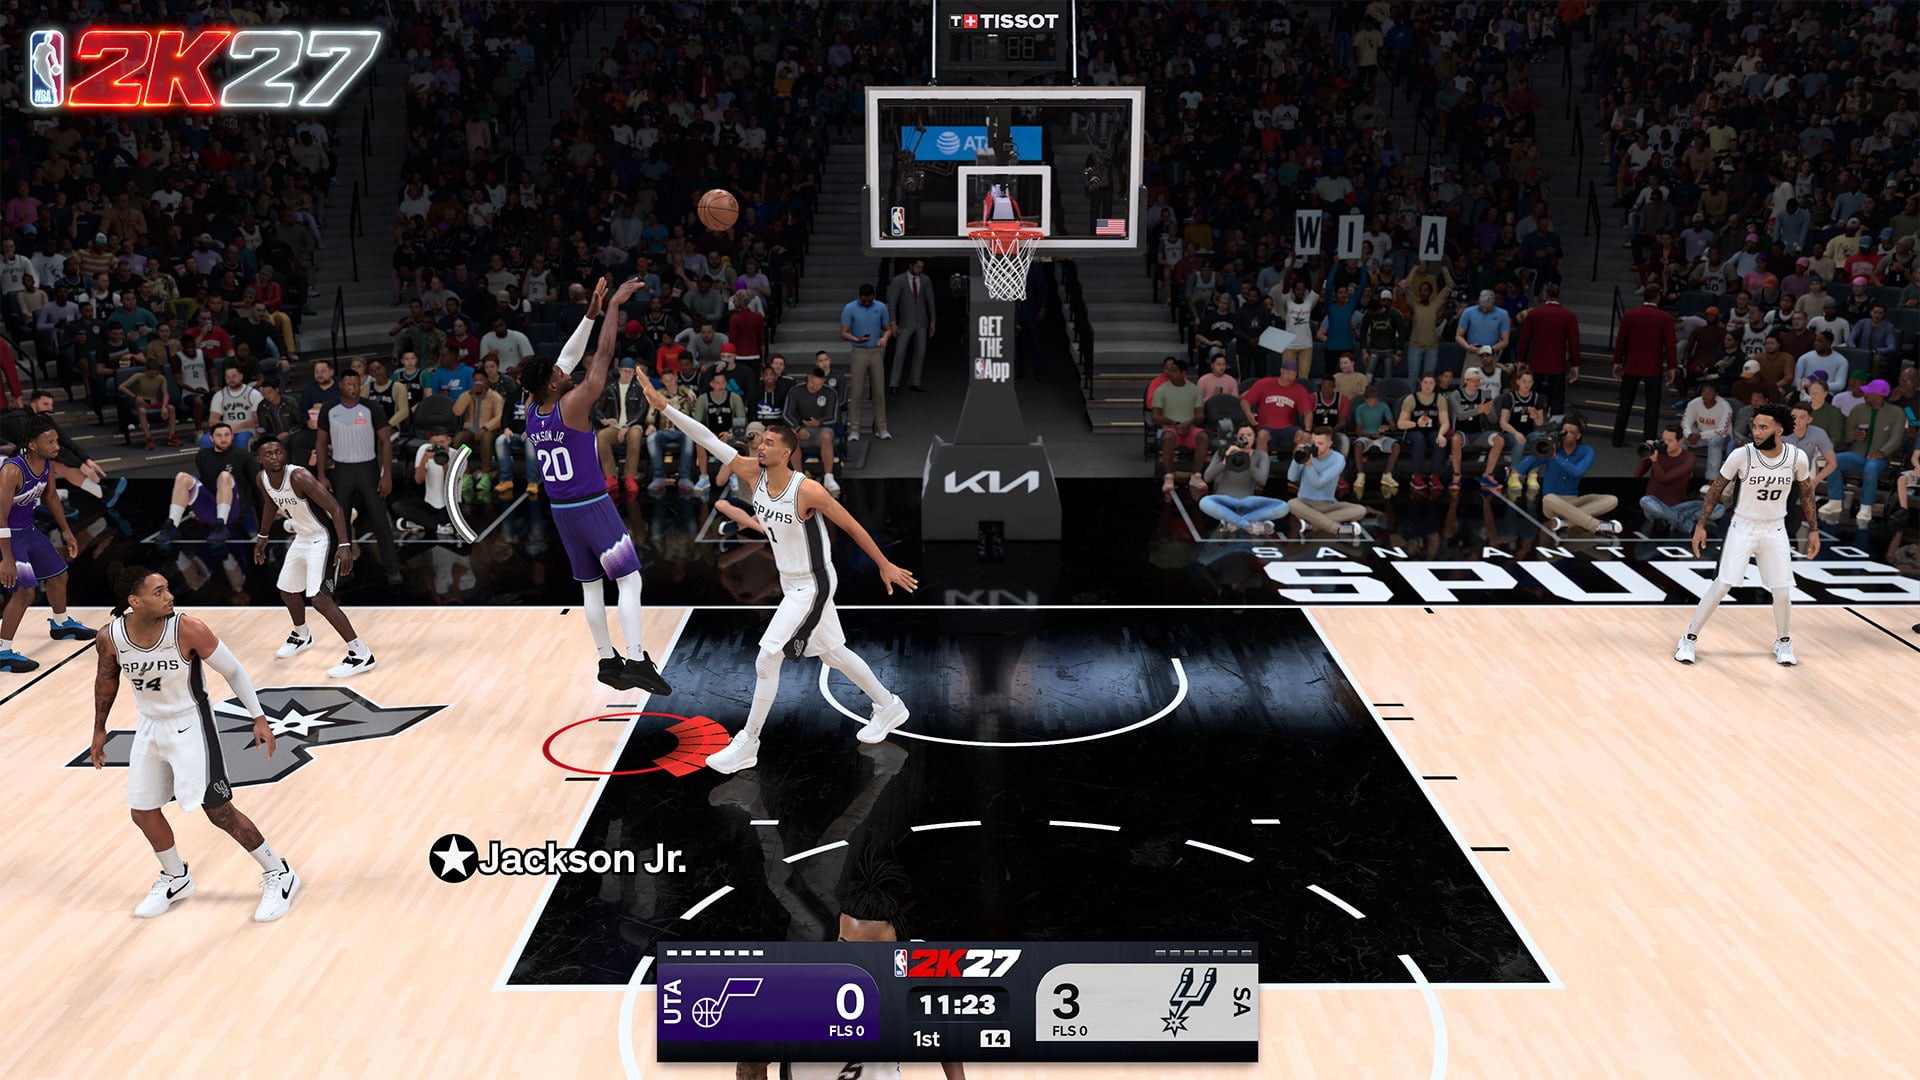
Perform the down-then-up Pro Stick motion
Begin the shot
Move and hold the Pro Stick straight down to start the shooting motion.
Read the release
Keep watching the shooter’s animation and use the release motion as your cue for the transition.
Move straight up
Move the Pro Stick from straight down to straight up while matching the speed of the player’s release.
Hold the finish
Keep the Pro Stick held straight up long enough to complete the input and receive both Timing and Tempo feedback.
Think “down, then rise” instead of “down, then snap”: the upward motion should follow the shooter’s pace rather than race to the top.
Read the meter, Tempo tick, and shot feedback
| Feedback | Adjustment |
|---|---|
| Early Timing | Shift the release timing slightly later while keeping the upward pace unchanged. |
| Late Timing | Shift the release timing slightly earlier while keeping the upward pace unchanged. |
| Fast Tempo | Ease the speed of the upward motion while preserving the same release cue. |
| Slow Tempo | Quicken the upward motion while preserving the same release cue. |
With the shot meter visible, the real-time Tempo tick moves as you press upward. Read that movement alongside the regular Timing display: one helps you see the cadence of the upward input, while the other shows whether the release reached the green window.
After the attempt, use the two feedback labels as separate diagnostic signals. An Early or Late Timing result describes the release outcome; it does not reveal the exact instant at which your upward stick motion began. Make a small adjustment to one variable, keep the other stable, and watch how the next result changes. Altering Timing and Tempo together makes it difficult to identify which correction actually worked.
Build consistent Rhythm Shooting muscle memory
Choose a familiar shooter
Enter Learn 2K, use a player whose release you recognize, and keep the shot meter visible.
Stabilize Timing
Repeat the same clear shooting look while concentrating on the animation cue that produces green Timing.
Tune the upward Tempo
Once the release cue feels repeatable, shape the upward Pro Stick motion around the speed of that player’s animation.
Diagnose both results
Read the Timing and Tempo labels after every attempt instead of judging the shot only by whether the ball went in.
Make a small correction
Change the release cue or upward pace incrementally while preserving the part of the motion that already works.
Remove visual dependence gradually
Shift more attention from the meter to the player’s animation once you can reproduce the cadence reliably.
Test realistic situations
Carry the learned motion into the shot types, movement, angles, and defensive pressure you expect to encounter during games.
Do not rush through this routine just to accumulate attempts. Stay with each phase until the feedback becomes predictable: first you should understand why Timing changed, then why Tempo changed, and finally how both respond when the shooting situation is less controlled.
If a new player’s release produces different feedback, treat that animation as a new cadence rather than forcing your existing stick speed onto it. The underlying down-then-up input stays the same, but the visual cue and upward pace must fit the selected shooter.
Use Rhythm Shooting at the free-throw line
Watch the free-throw motion
Focus on the shooter’s individual setup and release so you have a clear animation cue.
Start straight down
Move and hold the Pro Stick straight down to begin the free throw.
Follow the release upward
Move and hold the Pro Stick straight up at the pace of the player’s free-throw release.
<
p class=”vg-step-title” id=”read-both-labels” style=”margin:16px 0 6px”>Read both labels
Use the resulting Timing and Tempo feedback to make one small correction before the player’s next free throw.
The controlled setting of a free throw makes it easier to concentrate on the animation, but it does not create a universal cadence. Apply the rhythm you learned from that player’s free-throw motion rather than copying the pace of their jump shot or another player’s release.
Fix Rhythm Shooting problems and choose your input
A rushed upward motion usually comes from treating the second half of the input as an indiscriminate flick. A dragged motion often appears when you wait on the cue and then guide the stick upward too cautiously. In either case, return to the full animation and let its pace determine how assertively you move the Pro Stick.
Direction can be just as disruptive as speed. If your thumb wanders diagonally or takes a different route on every attempt, your input will be difficult to reproduce even when you recognize the correct release. Rehearse a clean straight-down to straight-up path and avoid compensating for a miss by simultaneously changing both release Timing and upward Tempo.
Switching between several shooting animations before learning one cue also slows the feedback loop. Establish a dependable reference with a familiar shooter, then adapt that process to other releases. Once the motion works in an uncontested practice look, test it in the situations you actually play; practicing only stationary, open attempts will not prepare the cadence for changing game conditions.
Button shooting remains a useful option, especially when its release cue is the input you reproduce more reliably. Rhythm Shooting suits players who can feel and repeat animation-specific cadence while managing two distinct pieces of feedback. Choose the method that produces the most consistent execution for you, and return to Learn 2K whenever a new animation makes that execution uncertain.






Leave a Reply