
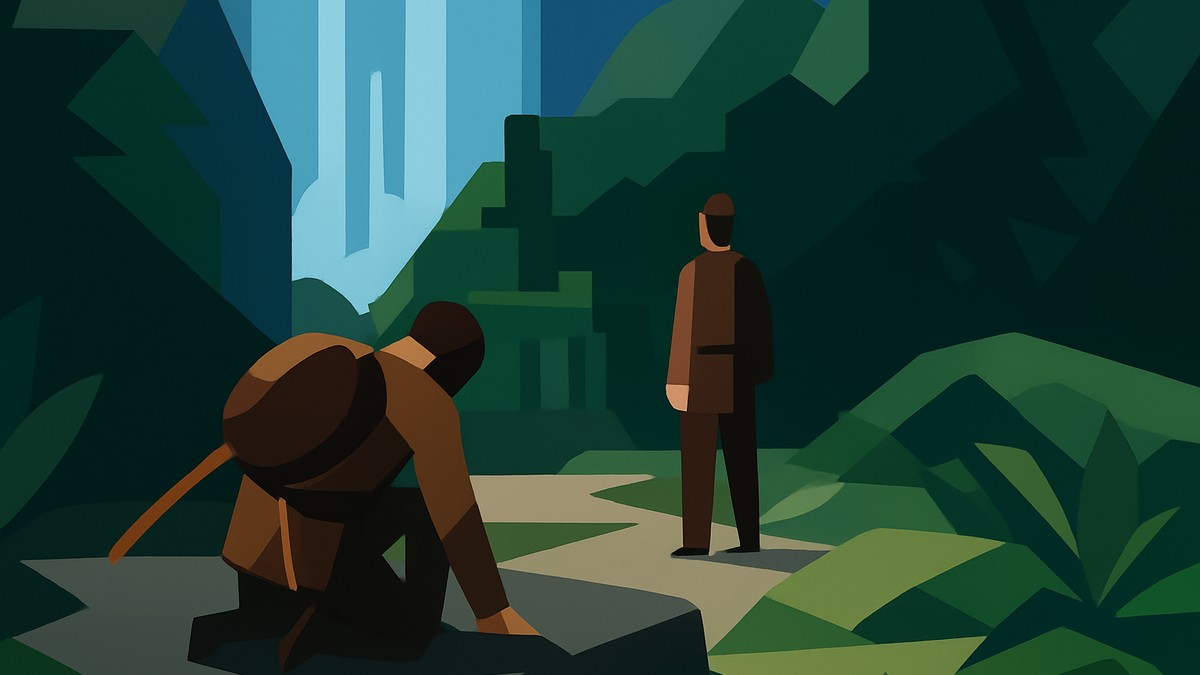
There are three statue puzzles in The Sage’s Buried Secret: lower each colored head or block onto the matching floor color, with the final chamber solved by locking blue first, then green, then red after using the gray counterweights.
You hit these puzzles while following James Kidd through the Mayan Temple in the main-story mission The Sage’s Buried Secret. The rule stays the same from the first door to the last chamber: red goes on red, blue goes on blue, and green goes on green, but the final room makes you use gray counterweights before the colors can settle.
Three statue rooms and the color objective
| Puzzle | What |
|---|---|
| Puzzle 1 | Drop the red and blue side blocks to open the first two doors. |
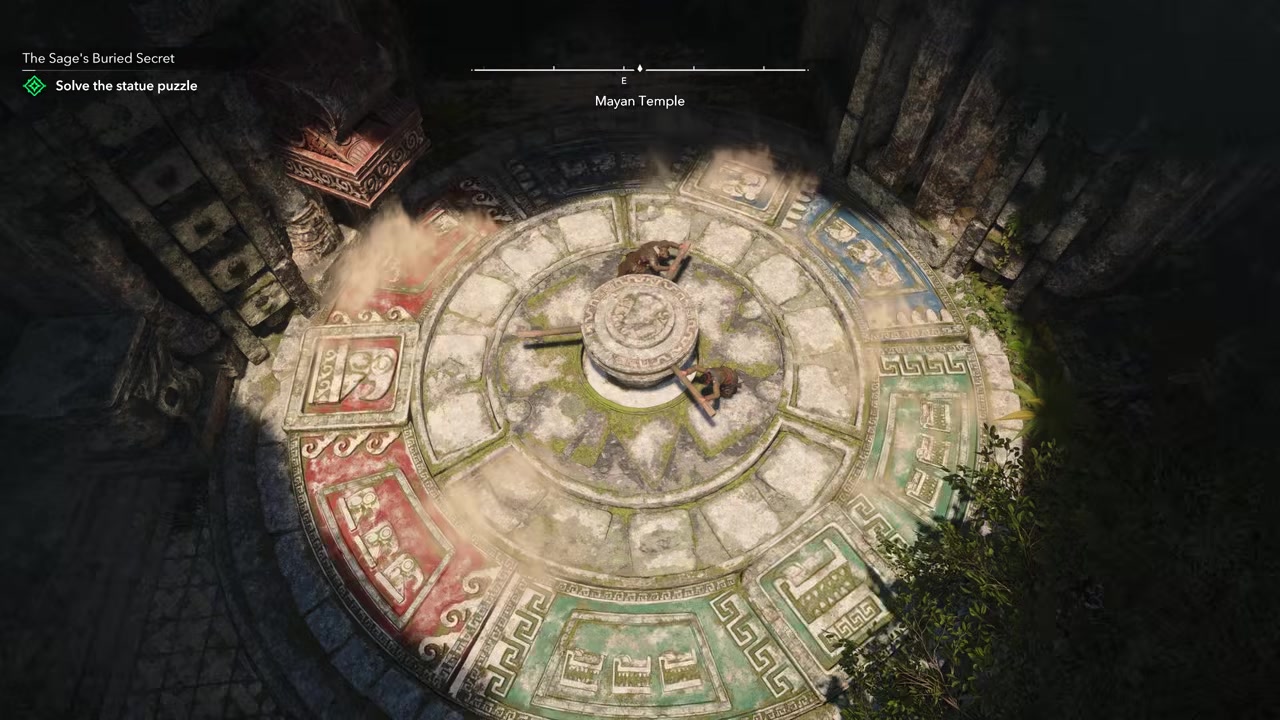
| Puzzle 2 | Rotate the dial until the red floor section sits under the red block, then drop red onto red. |
| Final chamber | Use the gray counterweights, then lock blue, green, and red onto their matching colors. |
KEY!Treat this mission as three statue puzzle rooms, not one long puzzle. The first room teaches the weight mechanic, the second adds a rotating floor dial, and the final chamber combines that dial with gray or uncolored heads that raise misplaced blocks back up.
The game may present the pieces as statue heads or blocks, but the solution is the same: Edward’s weight lowers the colored piece, while gray heads are used to lift pieces that need to be moved again.
How to solve the statue puzzles in The Sage’s Buried Secret
Work through the Mayan Temple in order and match every colored block to the same floor color. Rotation directions can vary by starting position, so use the final color alignment instead of counting fixed clockwise or counterclockwise turns.
STEP 1/15
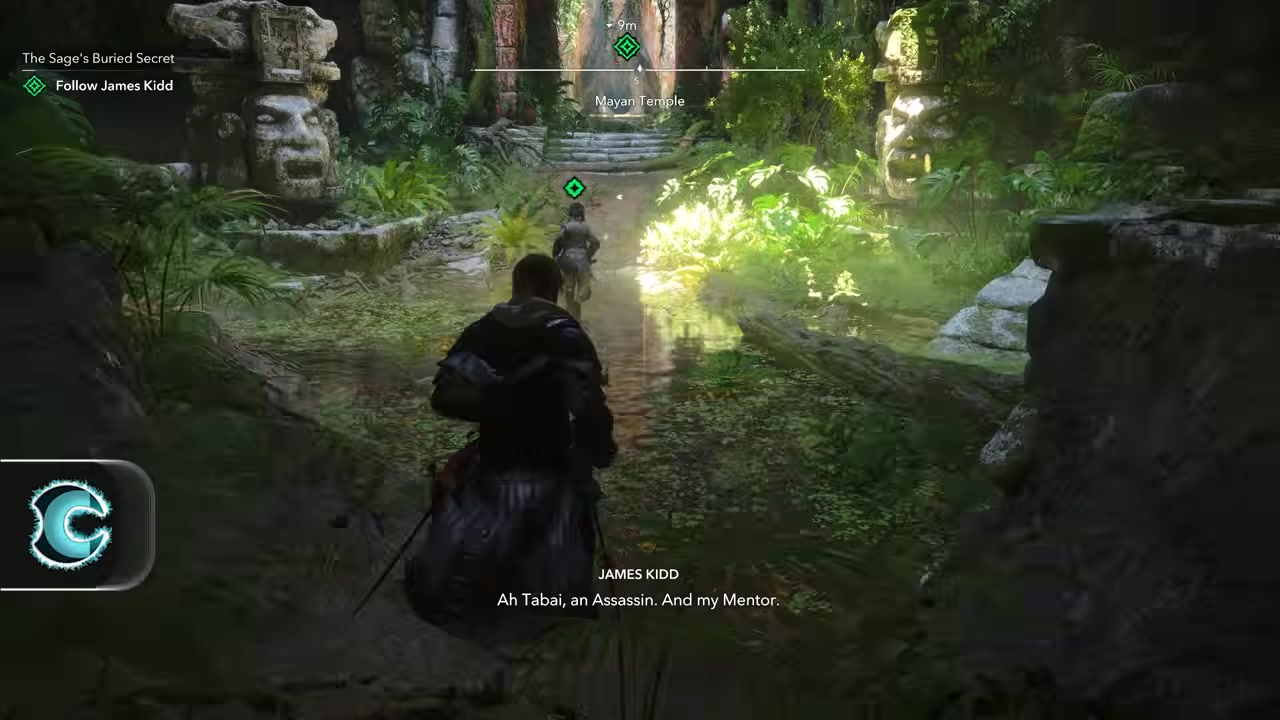
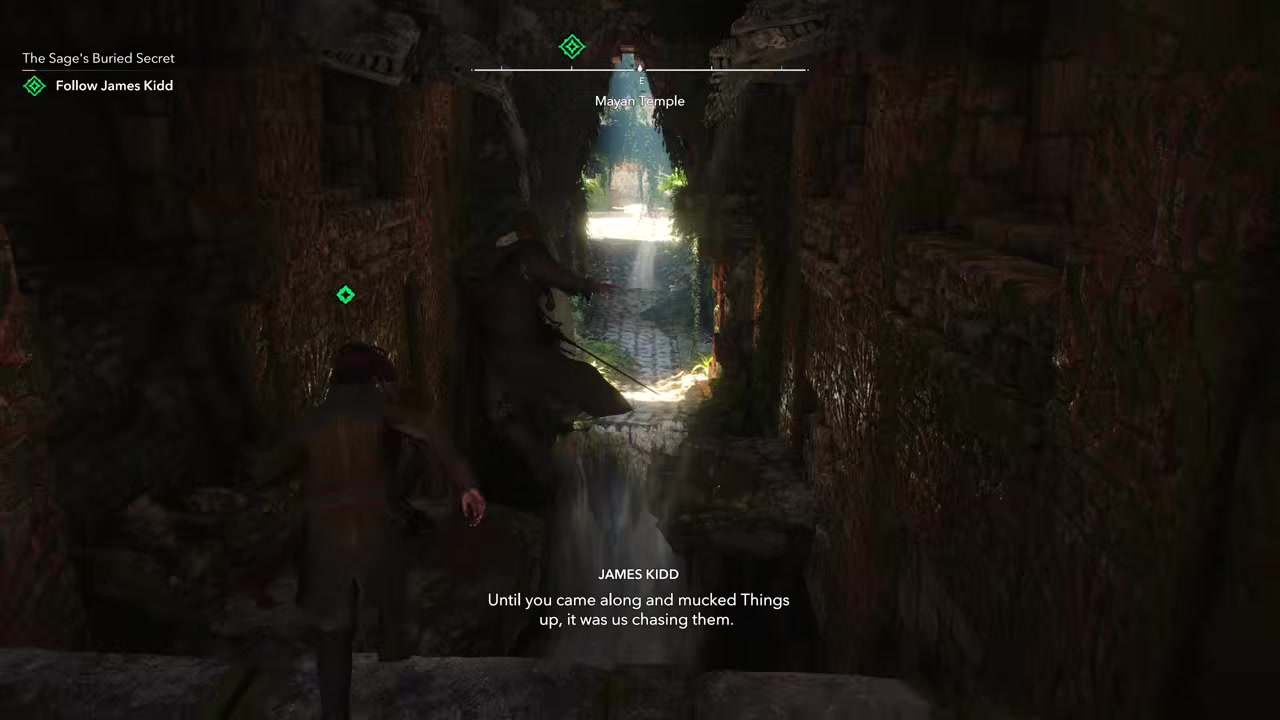
Follow James Kidd to the first puzzle
Stay with James Kidd through the temple until you reach the first color-coded red and blue blocks.
STEP 2/15
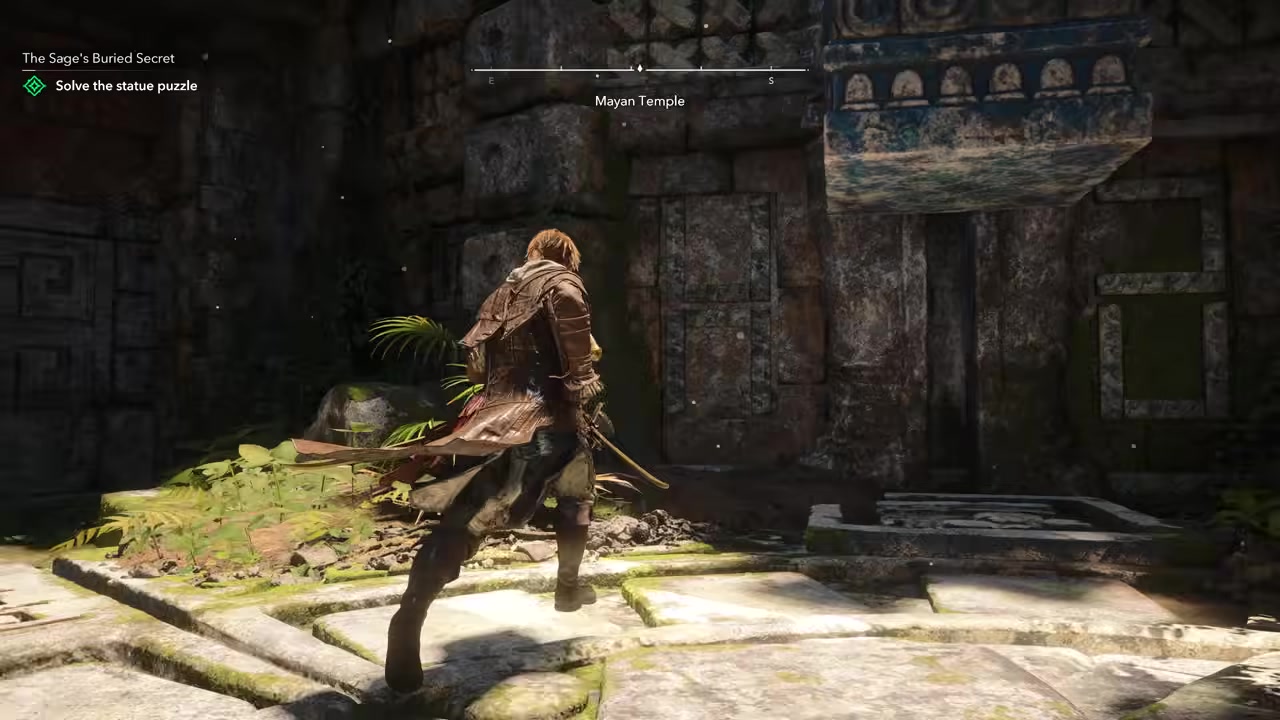
Drop the first side block
Climb along the side, get onto the colored block, and let Edward’s weight pull it down to open the first door.
STEP 3/15
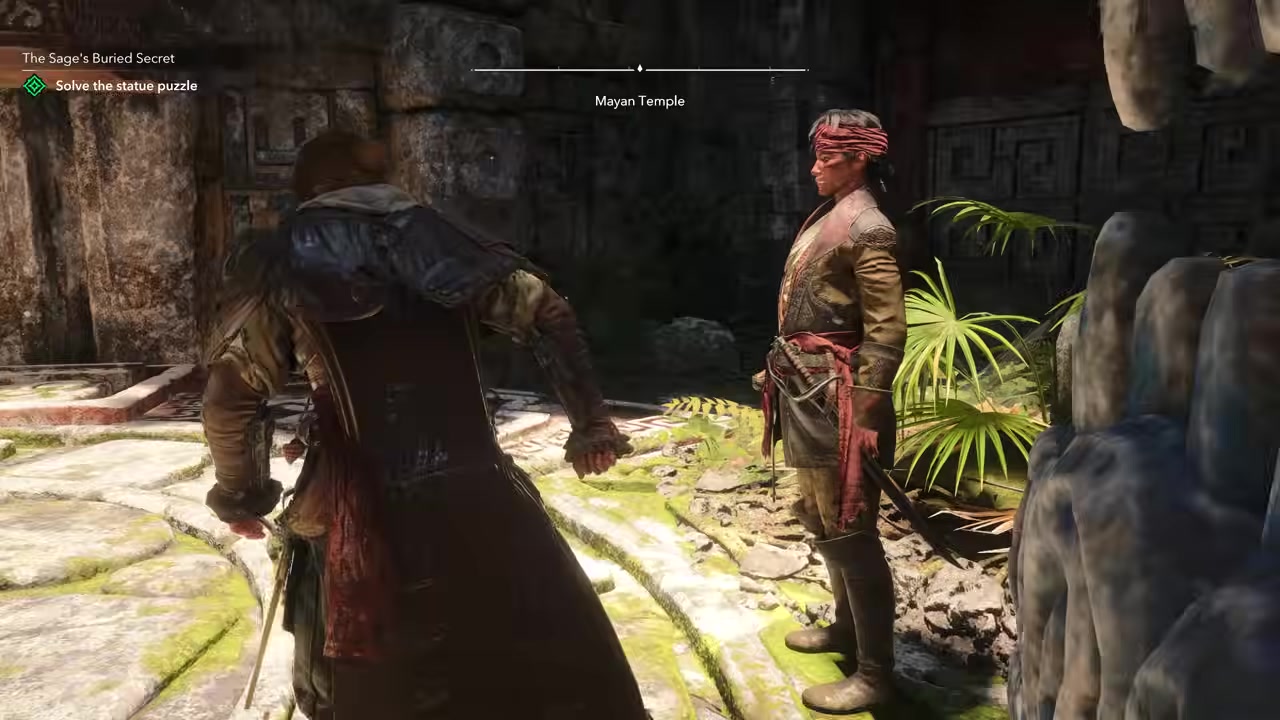
Drop the second side block
Repeat the same move on the opposite side so the second block plugs into place and opens the next door.
STEP 4/15
Rotate the capstan for red
In the next room, turn the lever/capstan until the red floor section sits directly under the red block.
STEP 5/15
Lower the red block
Climb onto the red block and let it fall onto the red section to open the door.
STEP 6/15
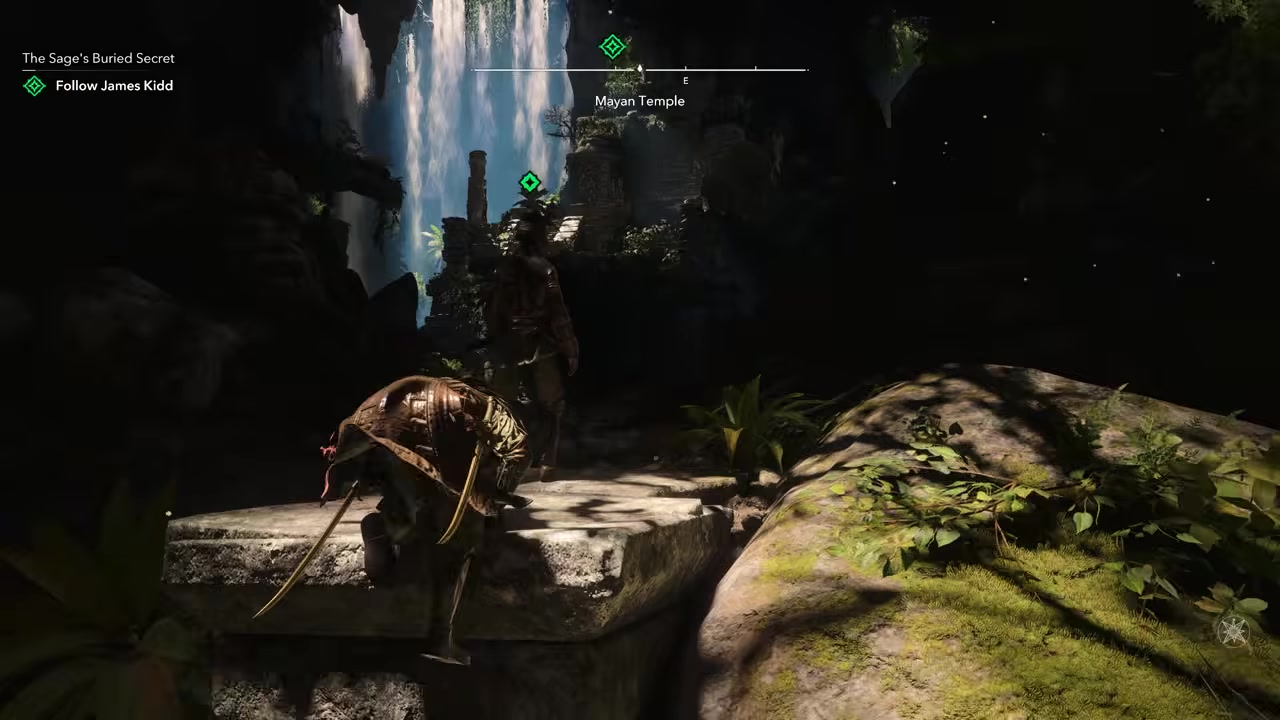
Reach the upper statue chamber
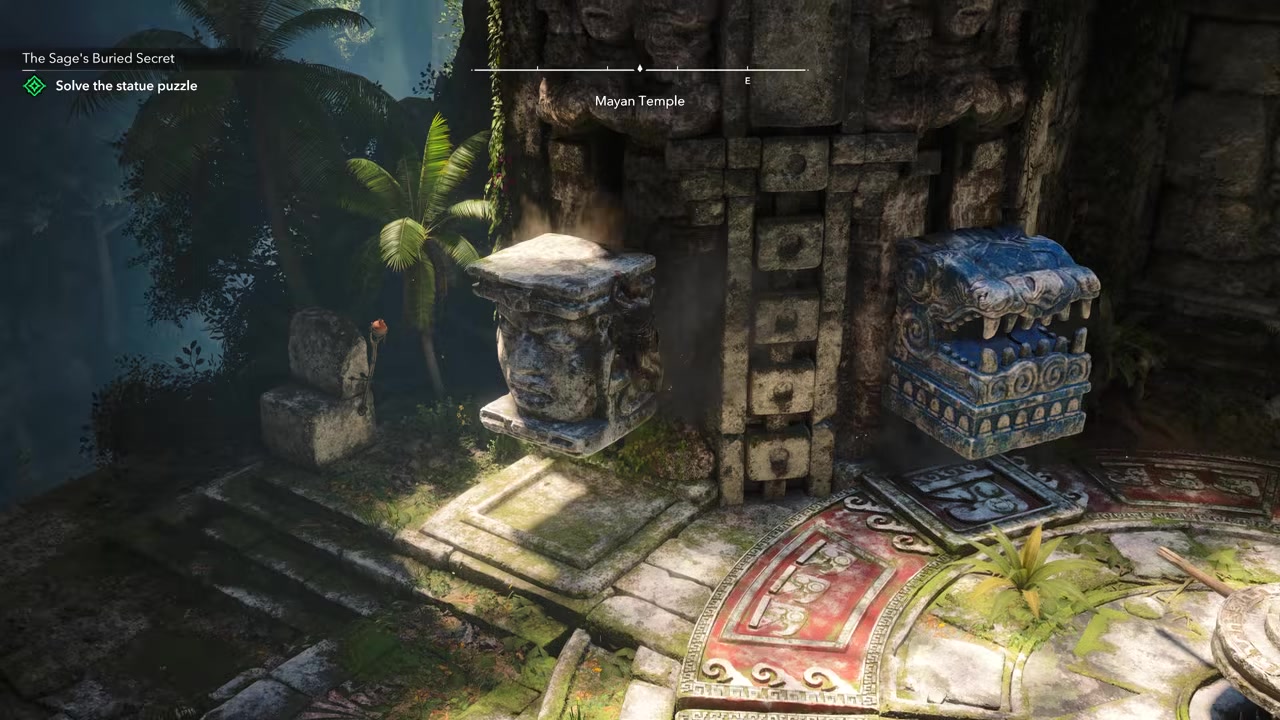
After the swim and climb, continue to the larger room where the red block is on green and the blue block is on red.
STEP 7/15
Raise the blue block
Step onto the side counterweight so the misplaced blue block lifts out of its current slot.
STEP 8/15
Align the blue floor section
Use the lever to rotate the dial until blue is directly under the raised blue block.
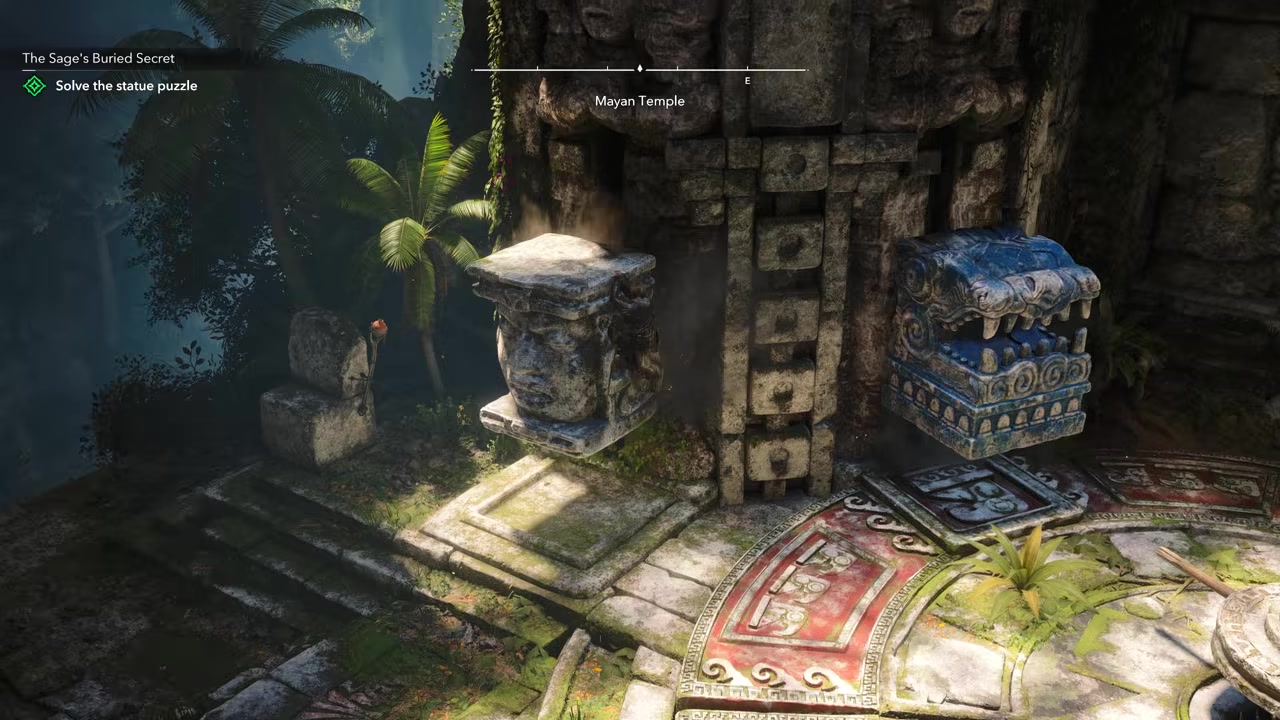
STEP 9/15
Lock blue onto blue
Climb onto the blue block itself so Edward’s weight lowers it into the blue slot and opens the first door.
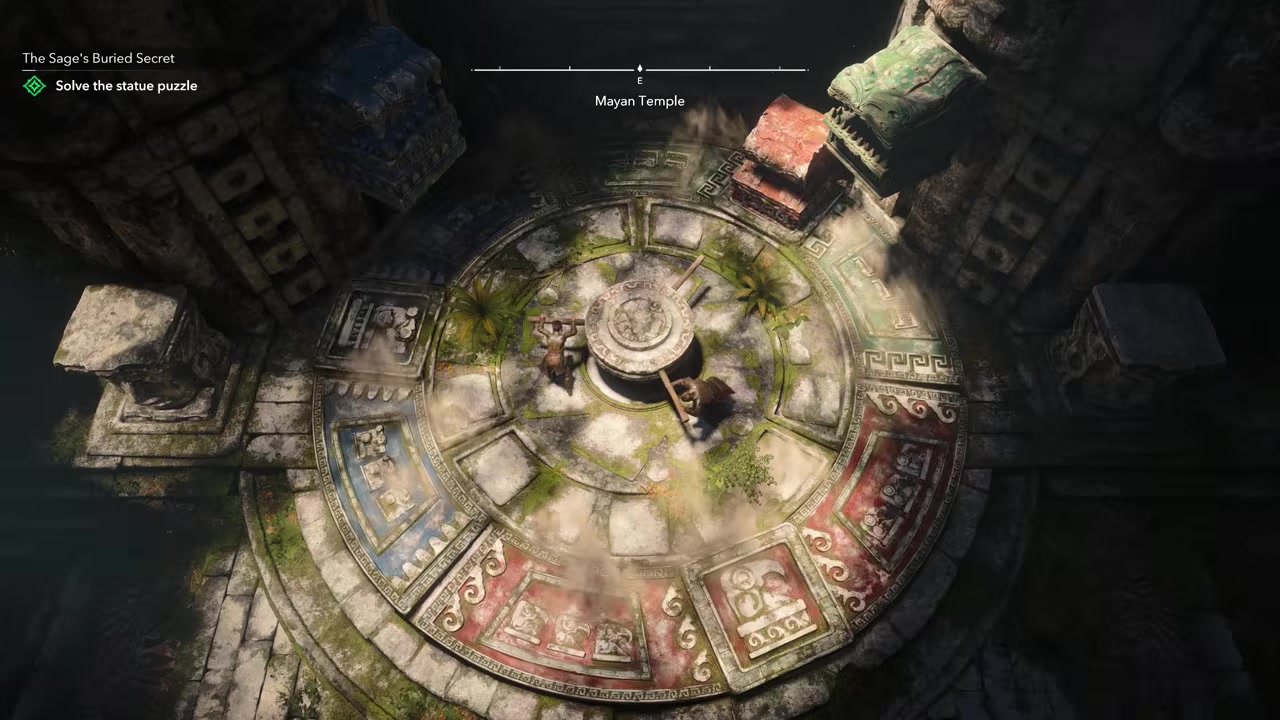
STEP 10/15
Rotate red to the lift position
Turn the lever again until the red block moves to the top-left lift position.
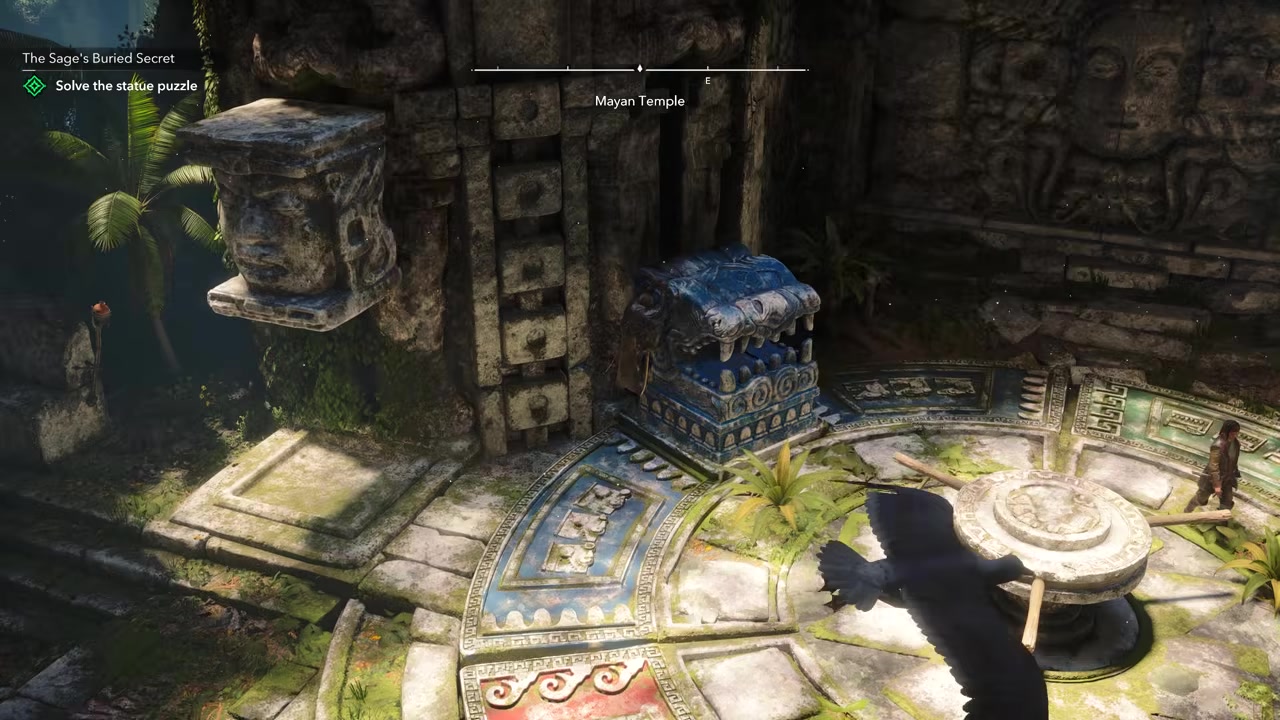
STEP 11/15
Raise the red block
Stand on the gray counterweight to pull the red block out of the wrong green slot.
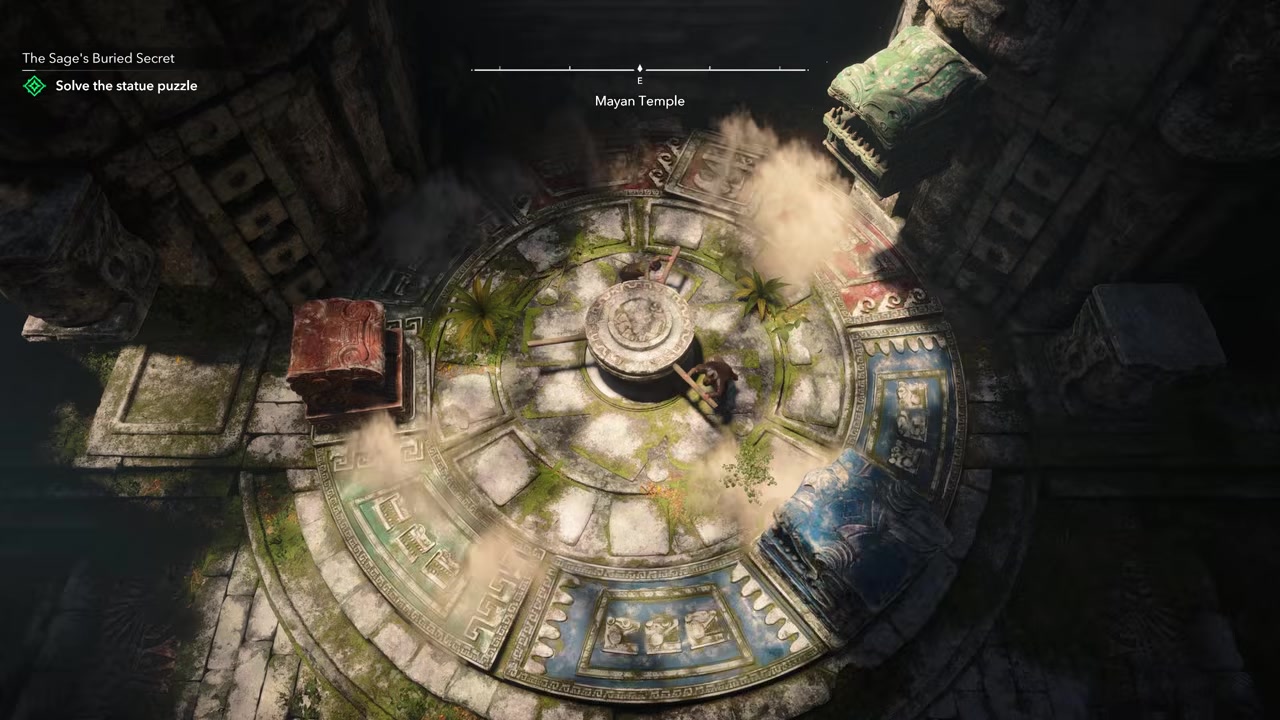
STEP 12/15
Align the green floor section
Rotate the dial until the green section lines up with the green block on the right-hand side.
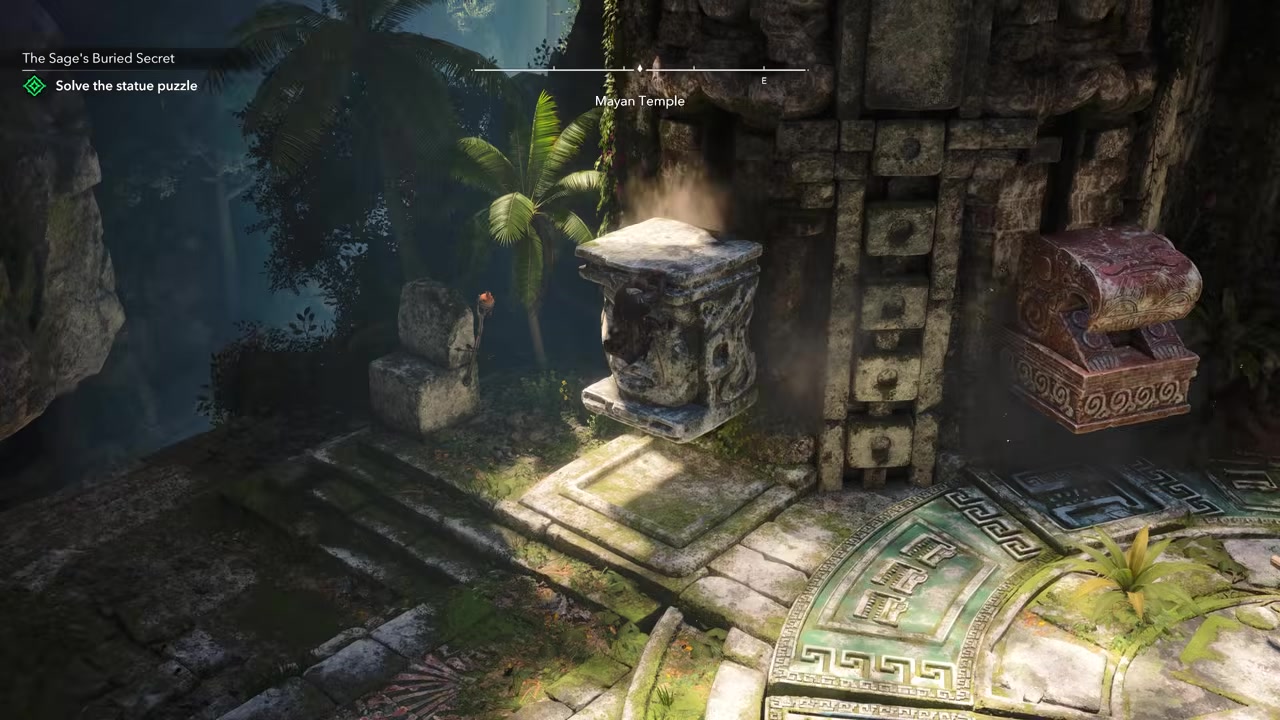
STEP 13/15
Lock green onto green
Climb onto the green block so it drops into the green slot and opens another door.
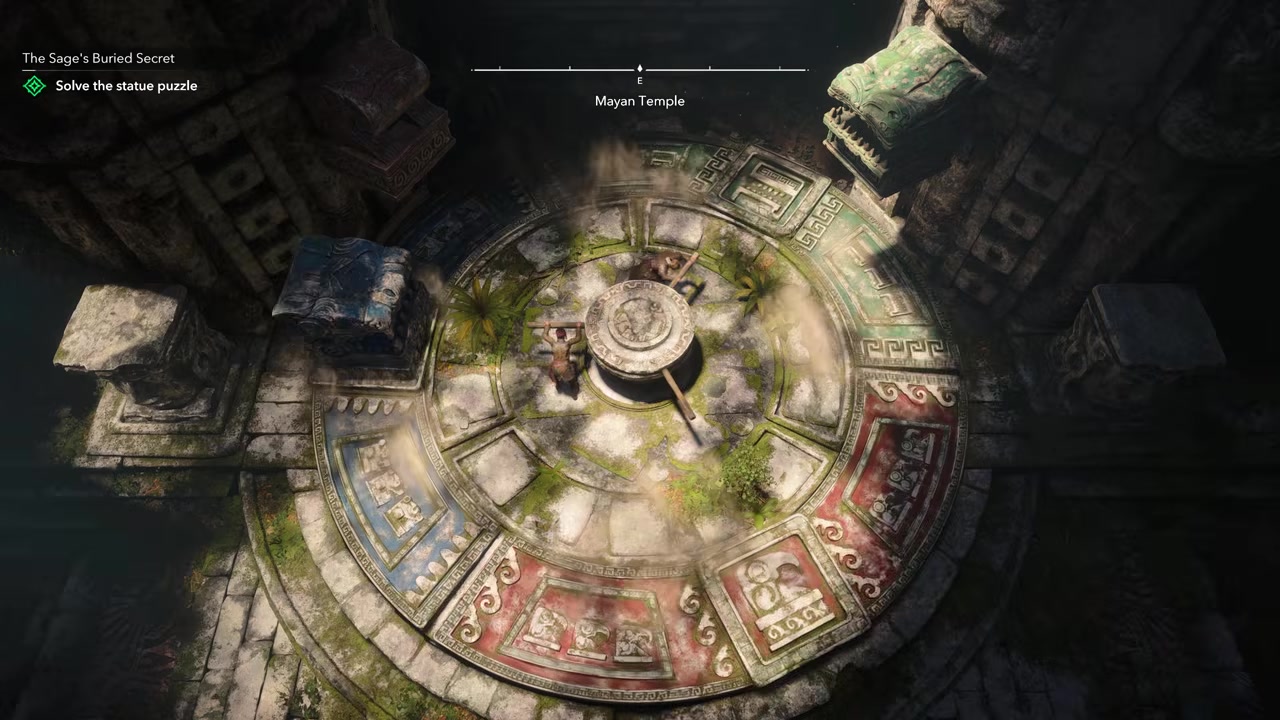
STEP 14/15
Align the red floor section
Return to the capstan and rotate until red is in the correct position for the red block.
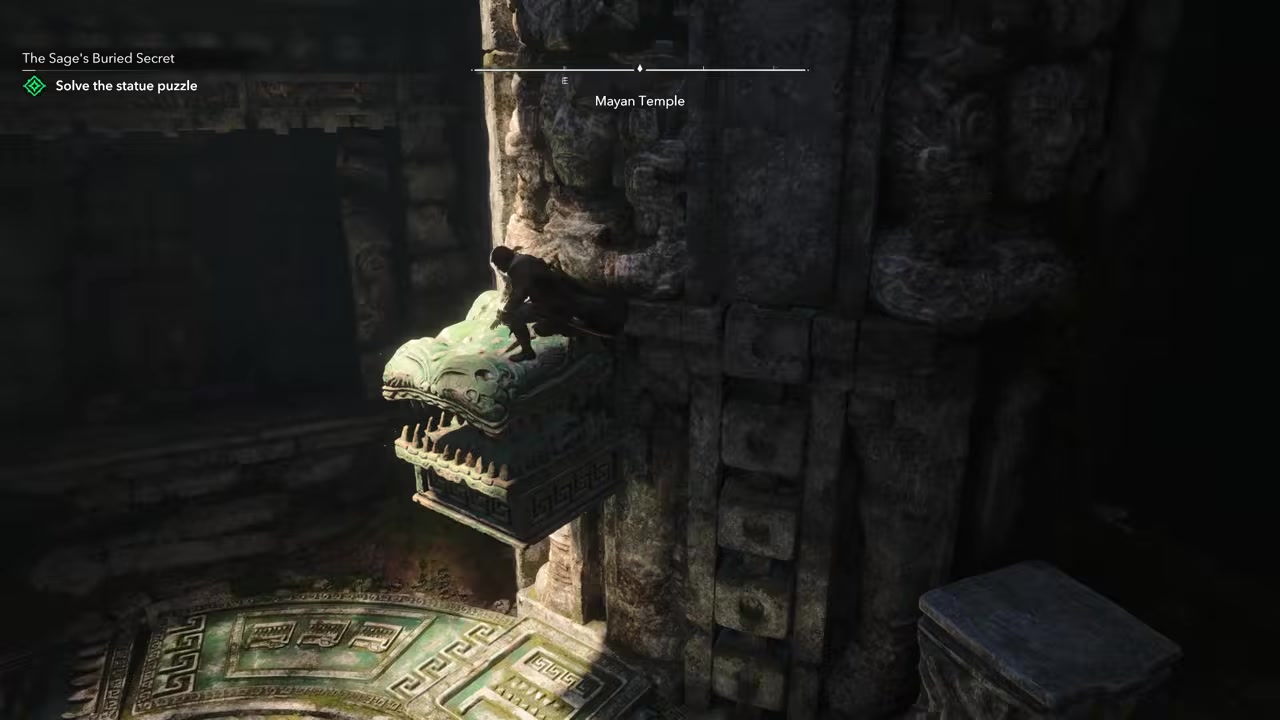
STEP 15/15
Lock red onto red
Climb onto the red block so it drops into place, opens the last door, and reveals the head.
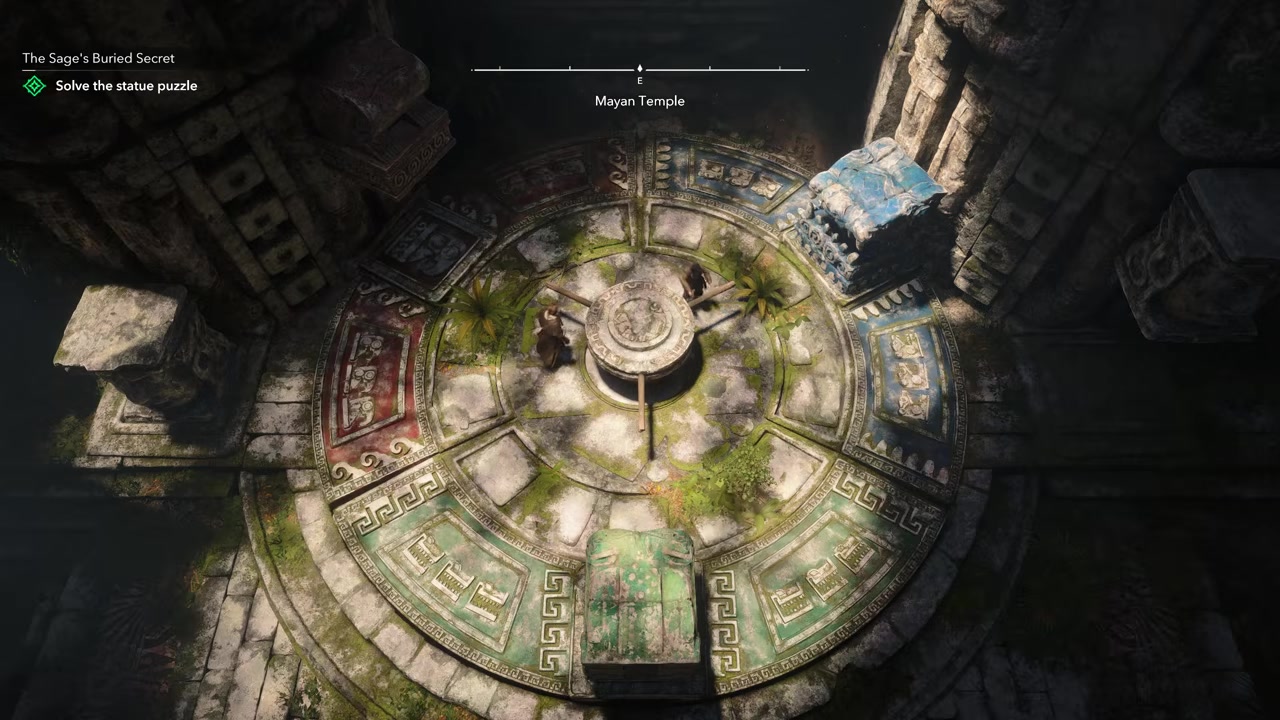
Use a gray counterweight before rotating whenever a colored block is stuck in the wrong slot; the uncolored head raises that block so the floor can move underneath it.
Video help
Common statue puzzle mistakes and fixes
If the first room feels like it has only one solution point, check both sides of the door. There are two pull-down pieces there, and each one opens a separate door segment when Edward climbs onto it.
In the capstan room, the red block should not be dropped until the red floor section is directly underneath it. If you lower it onto the wrong color, use the gray statue head to raise it again, rotate the dial, and then drop it onto red.
The final chamber usually goes wrong when a colored block is left stuck in the wrong slot while you keep rotating the dial. Before you try to move the floor under a misplaced block, raise that block with the nearby gray counterweight; then rotate, climb onto the colored block itself, and let Edward’s weight lock it into the matching color.
After the last red block drops
Once the final red block plugs into the red section, the last door opens and the chamber reveals the head, moving the mission forward. The next mission is Overrun and Outnumbered, and Edward receives the Blowpipe after the cutscene.
Frequently Asked Questions
How many statue puzzles are in The Sage’s Buried Secret?
There are three statue puzzle rooms: the first red/blue door room, the red capstan room, and the final chamber with blue, green, red, and gray counterweights.
What order should the final colored blocks be placed in?
In the final chamber, place blue first, then green, then red. Each colored block locks only when Edward climbs onto that block and drops it onto the matching floor color.
What do the gray statue heads or counterweights do?
The gray or uncolored heads are reset tools. They raise a colored block out of its current slot so you can rotate the floor and line up the correct color underneath it.
What should I do if a colored block is stuck in the wrong slot?
Climb onto the nearby gray counterweight to lift that colored block, rotate the dial until the matching floor color is underneath, then climb onto the colored block itself to lower and lock it.
Can unlimited oxygen help during this mission?
Yes. The mission includes an underwater section before the upper temple chamber, and Unlimited Oxygen can be turned on from the Gameplay options. It helps with the swim, but it does not change the statue puzzle solution.




Leave a Reply