

Shadow-n-Seek is a limited-time Prop Hunt-style event in Neverness to Everness where one Hunter hunts five Hiders, and the fastest way to farm Paper Cup Phone currency is to play rounds efficiently, use decoys and spectator mode as a Hider, and scan anomalies aggressively as the Hunter.
Shadow-n-Seek turns each match into a short hide-and-seek round built around disguises, scanning, decoys, and quick reads. It is live on the global server for the current run, with an event window of up to 30 days, so the best plan is steady farming rather than trying to empty the shop immediately.
Shadow-n-Seek match rules and rewards
| Detail | Value |
|---|---|
| Mode type | Limited-time Prop Hunt-style hide-and-seek |
| Players per match | 6 |
| Teams | 1 Hunter, 5 Hiders |
| Currency | Paper Cup Phone |
| Shop | Shadebound Shop |
| Event duration | Up to 30 days |
Each match has six players: one Hunter and five Hiders. Hiders transform into objects and survive as long as possible, while the Hunter searches the map, scans suspicious areas, and shoots props that look wrong.
KEY!The event currency is Paper Cup Phone, which is spent in the Shadebound Shop. The mode is worth doing even if you are not trying to min-max every round, because the important shop resources are reachable through normal participation across the event window.
Paper Cup Phone caps and shop priorities
| Reward | Priority |
|---|---|
| Analyt | Buy first |
| Fonts | Buy first |
| Cinema Tickets | Buy first |
| Other Shadebound Shop items | Buy after the main resources |
| BEO Coin | Lowest priority |
Hiders can earn around 1,250 Paper Cup Phone per round, while a successful Hunter can earn up to 2,500 per round. The event cap rises over time, starting at 4,000, then increasing to 8,000, 12,000, and onward, so there is no need to force a full shop clear on the first day.
The main rewards to buy first are Analyt, Fonts, and Cinema Tickets. Their combined cost is roughly 4,000-plus Paper Cup Phone, while the BEO Coin tab sits comfortably behind the higher-value resources.
Use every Hider decoy early with F, because decoys can trigger Hunter scan feedback and buy you the time that turns into more Paper Cup Phone.
How to play Hider and Hunter in Neverness to Everness
These role procedures follow the actual round flow: Hiders win by wasting time cleanly, while Hunters win by scanning, reading the map, and spending shots before the clock runs out.
STEP 1/18
Check your Hider transformation
Start by checking what object you have become, because your hiding spot only works if the prop belongs in that area.

STEP 2/18
Place decoys with F
Use your decoys with F before settling in, since they can mislead Hunter scans and create false targets.
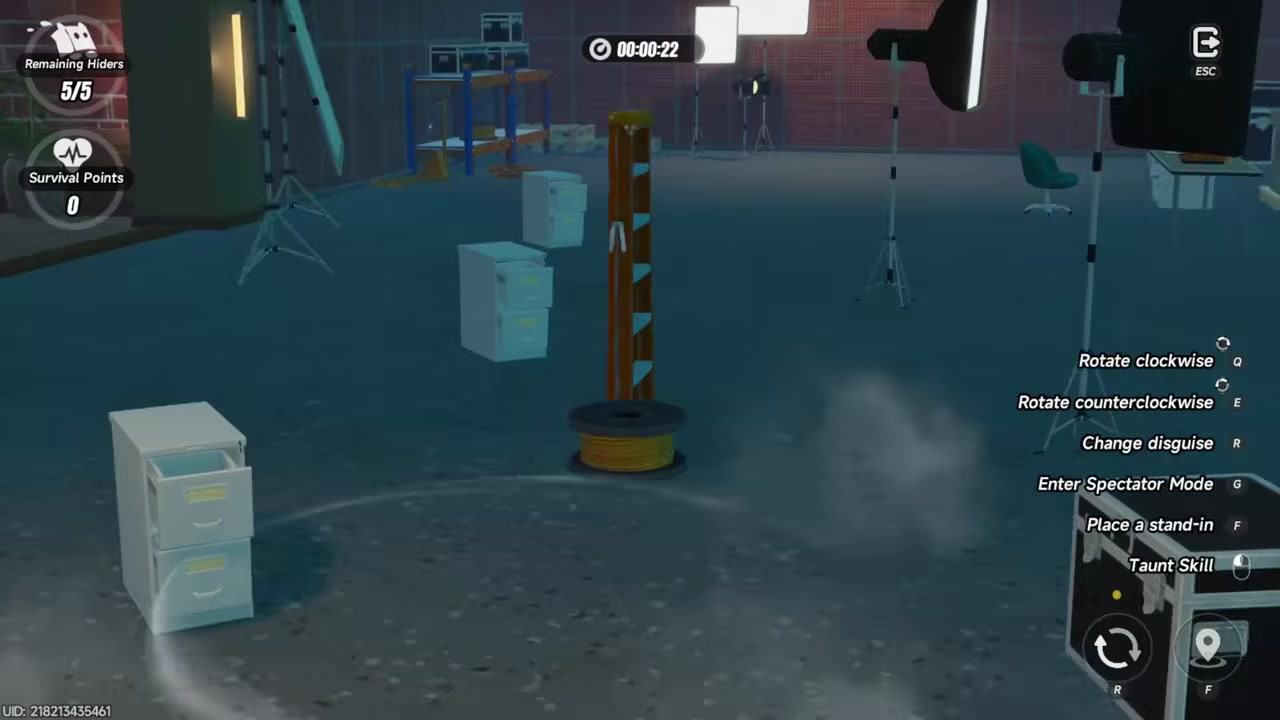
STEP 3/18
Tuck into a corner or wall
Push your object into corners or against walls when the shape allows it, reducing the exposed surface the Hunter can see.
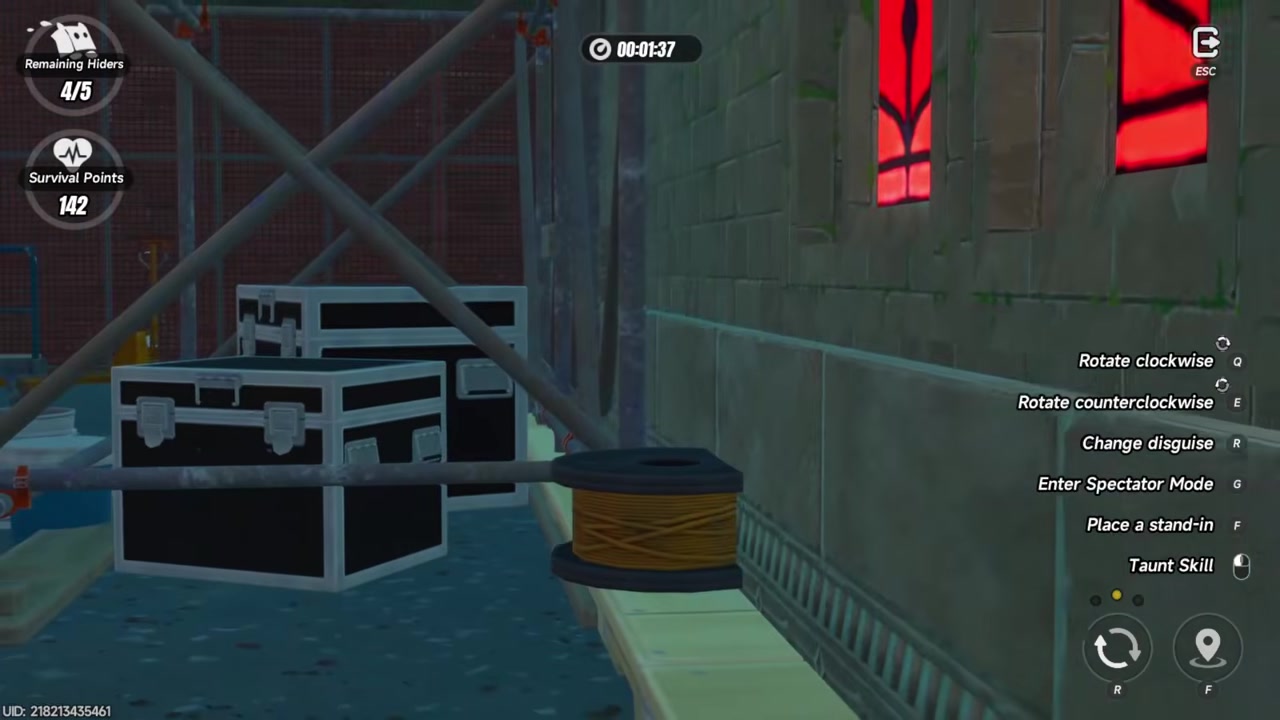
STEP 4/18
Enter spectator view
Press G to watch the Hunter move through the map and learn safer hiding routes while your prop stays hidden.
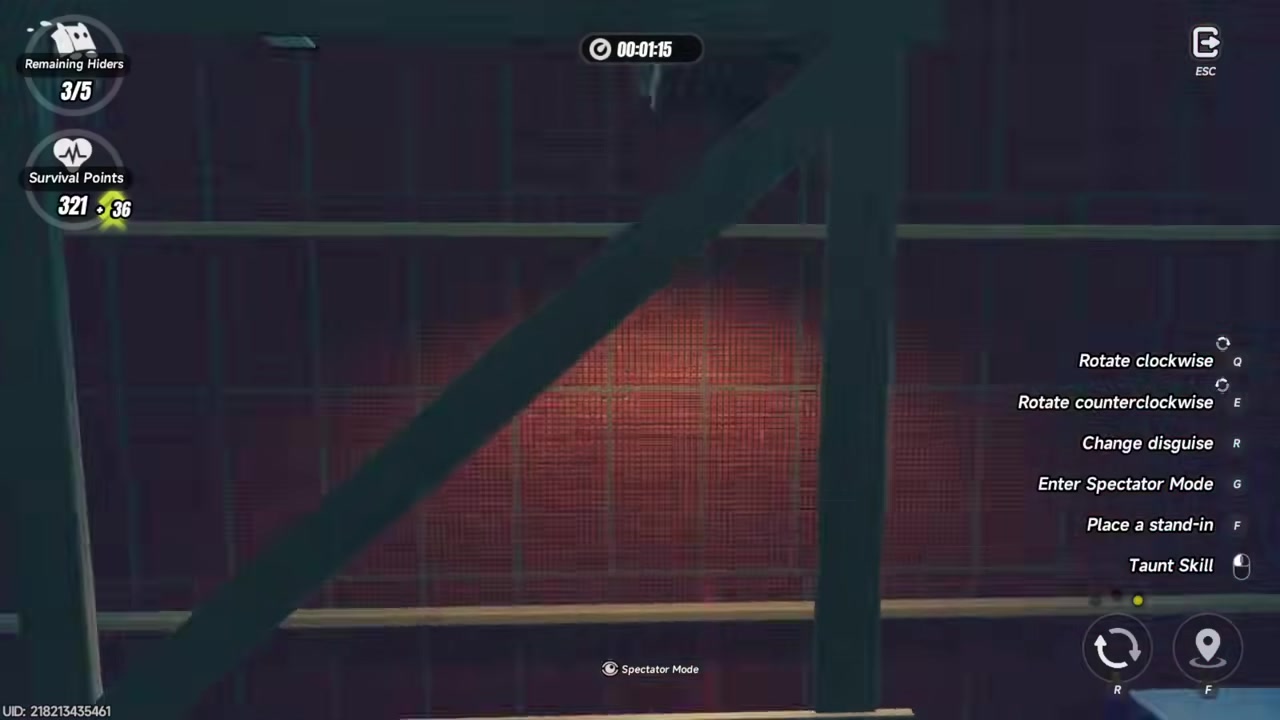
STEP 5/18
Survive as long as possible
Prioritize survival time over risky movement, because longer survival increases your match points and final cup payout.
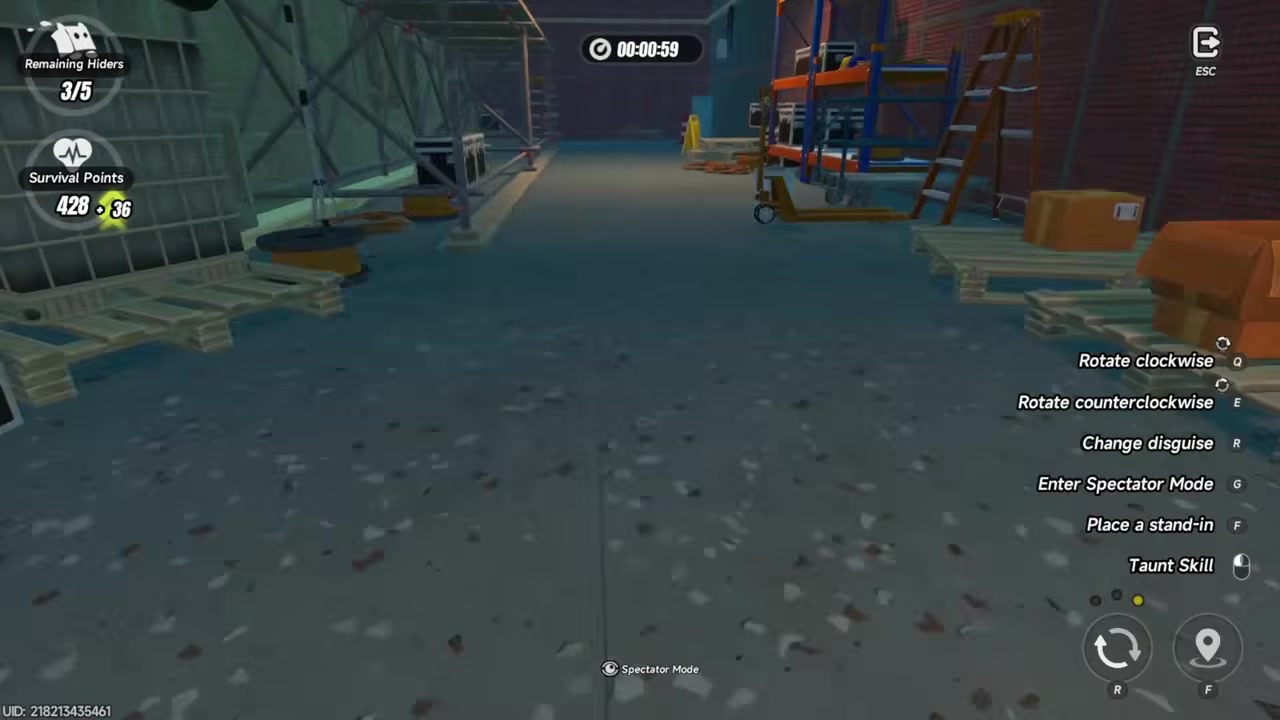
STEP 6/18
Move only when the Hunter is away
If your spot becomes unsafe, relocate only after checking the Hunter’s position so you do not cross open sightlines.
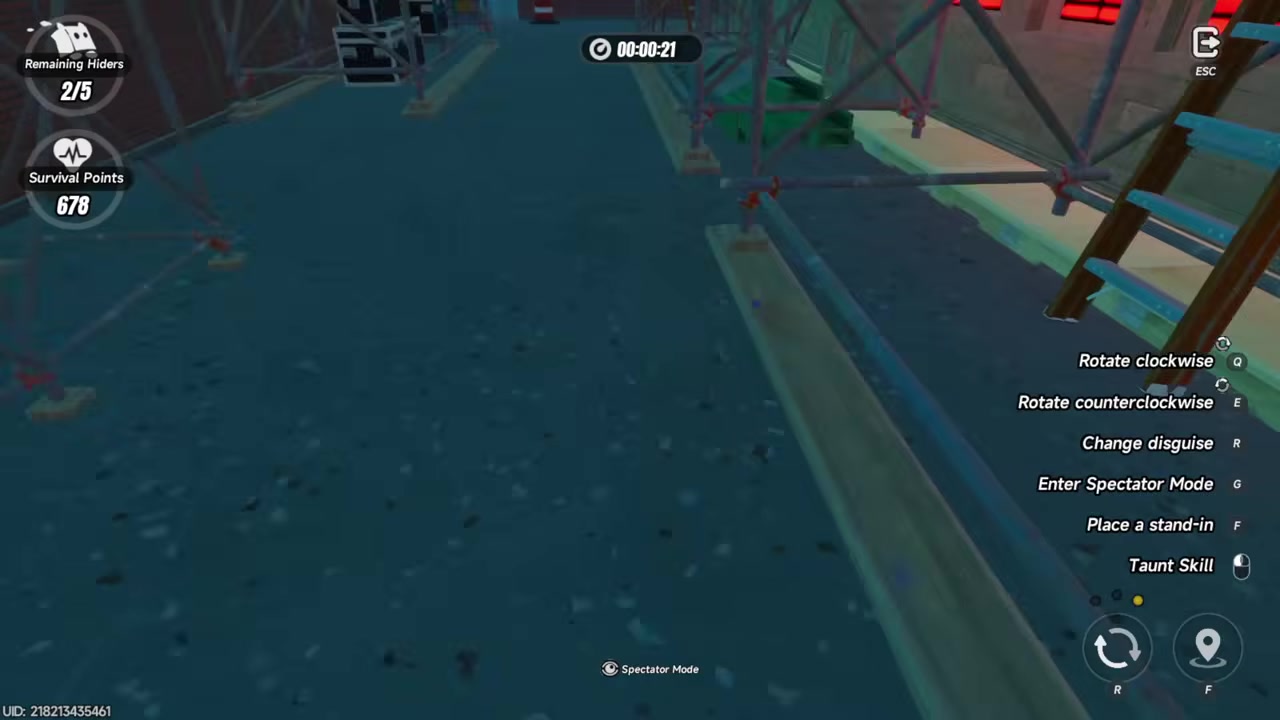
STEP 7/18
Recheck large disguises
If a disguise looks too big or strange for the room, change position or look for a prop arrangement that makes it seem natural.
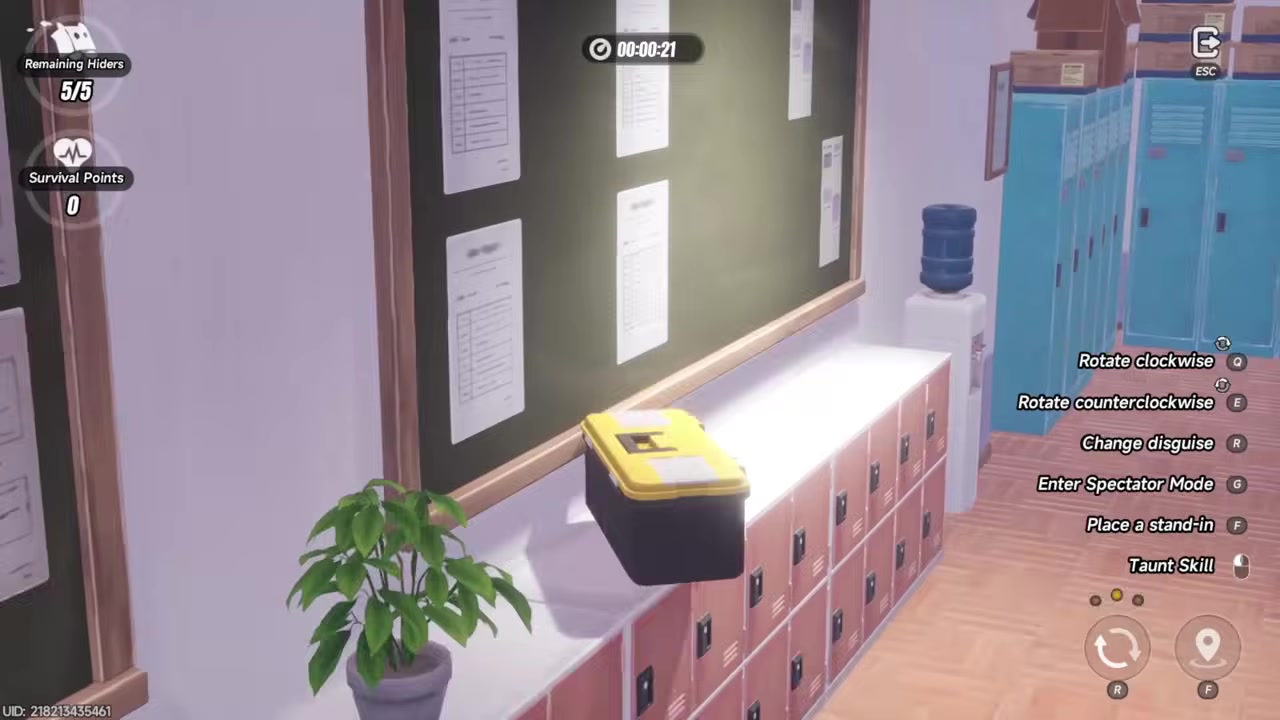
STEP 8/18
Use small props to evade shots
Small transformations such as the classroom ball are harder to hit, even when the Hunter notices movement.
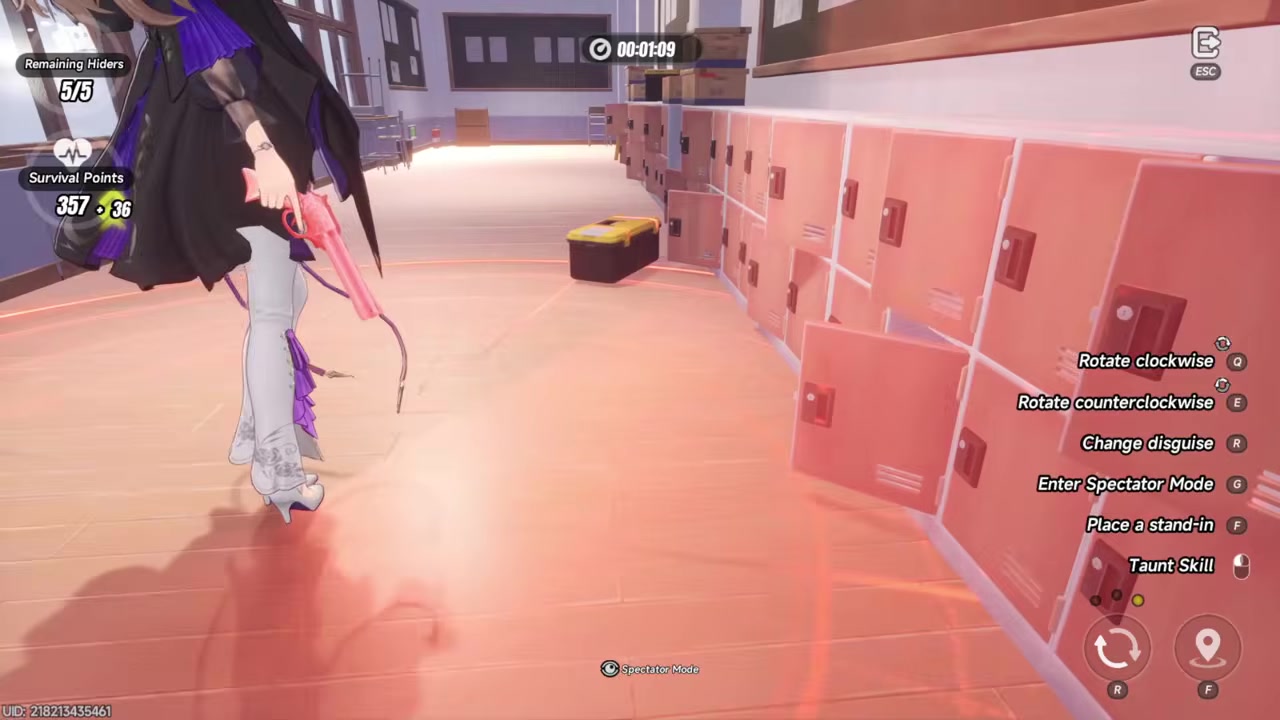
STEP 9/18
Aim as Hunter
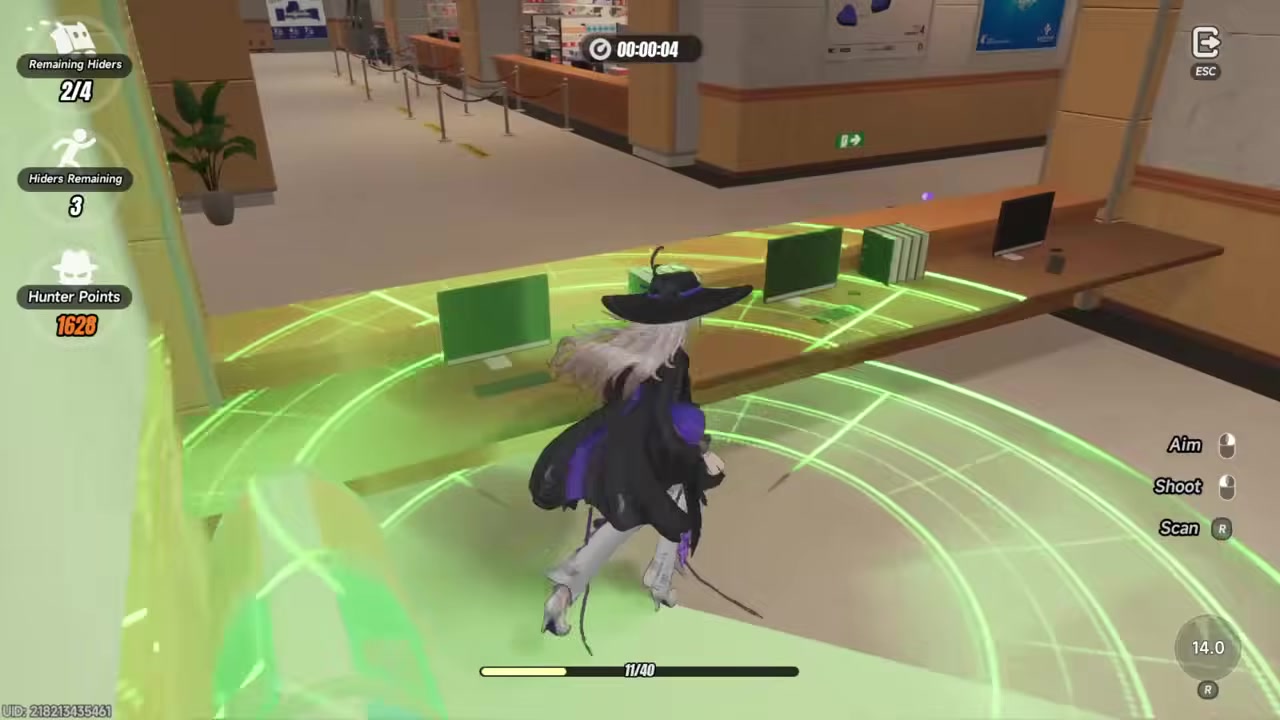
Press R or hold the right mouse button to aim before firing at a suspicious prop.
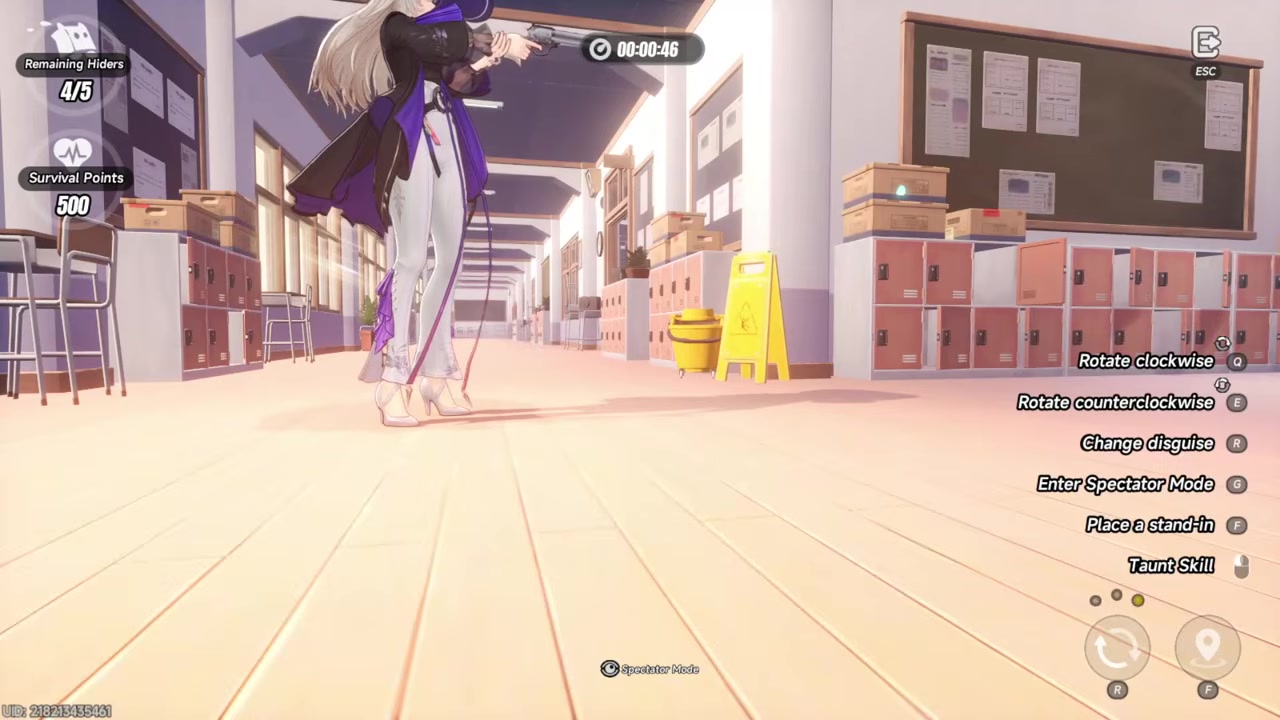
STEP 10/18
Fire with the left mouse button once your aim is on the suspected Hider.
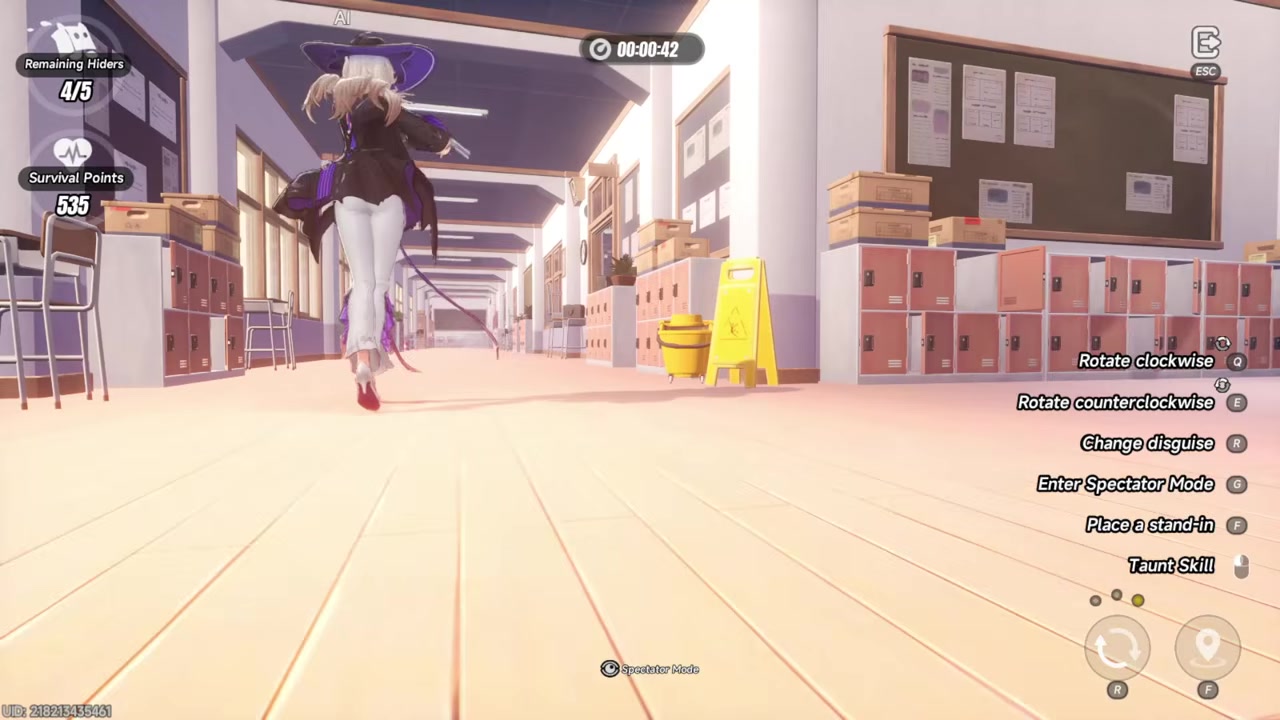
STEP 11/18
Watch the Hunter bullet bar
Treat the bottom bar as your shot supply before rapid fire, with around 40 shots available.
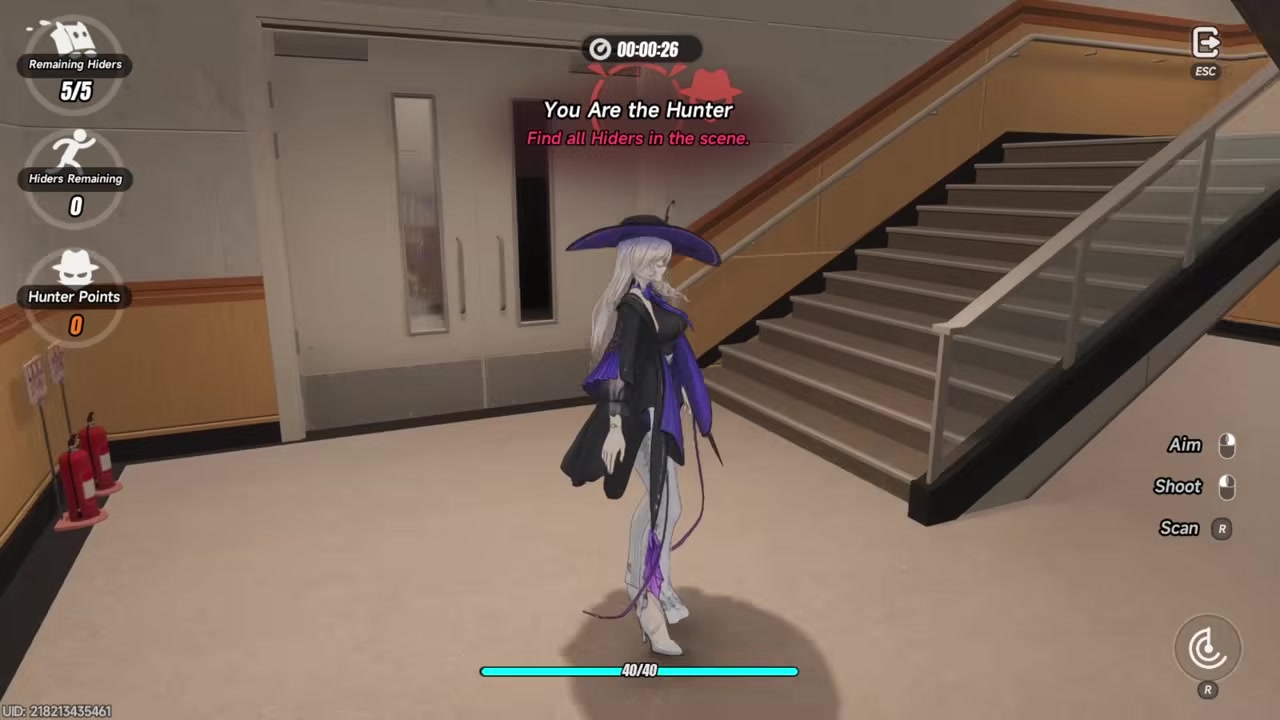
STEP 12/18
Scan as soon as the round opens
Use the scan skill immediately after the waiting period ends, then keep using it whenever it is available.
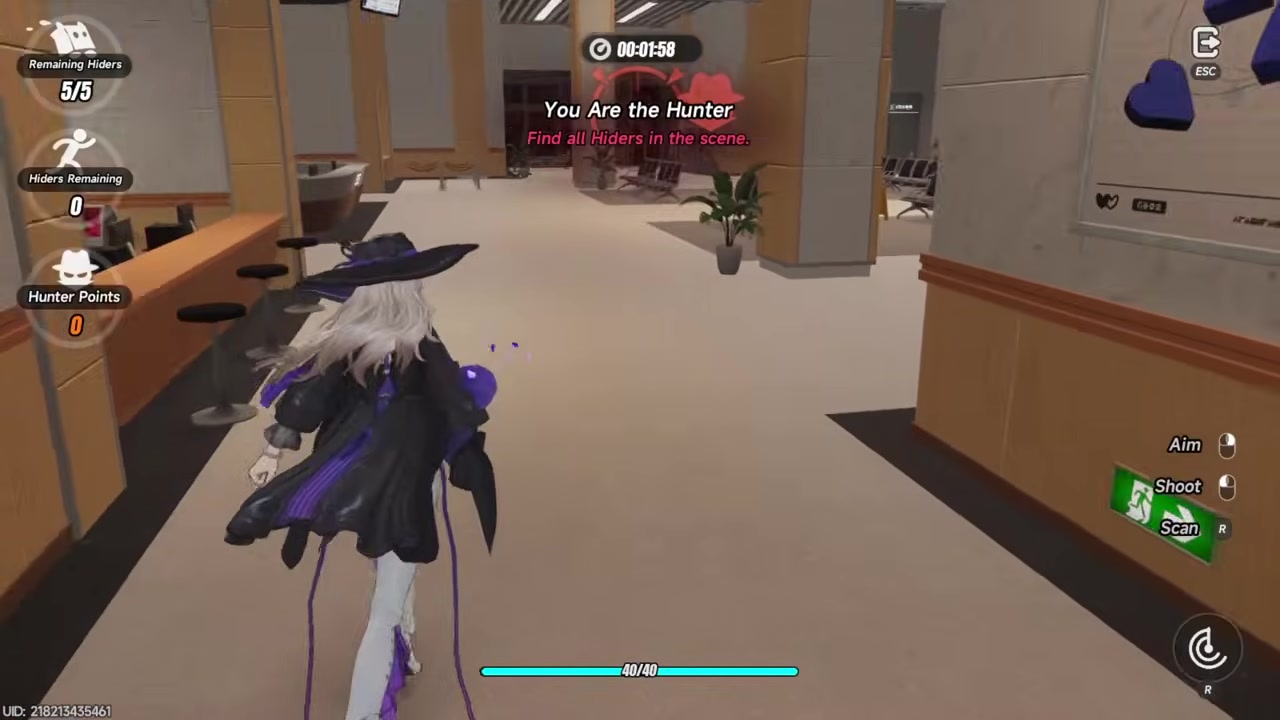
STEP 13/18
Read red scan feedback
A red scan means something nearby is suspicious, but it can be either a real Hider or a decoy.
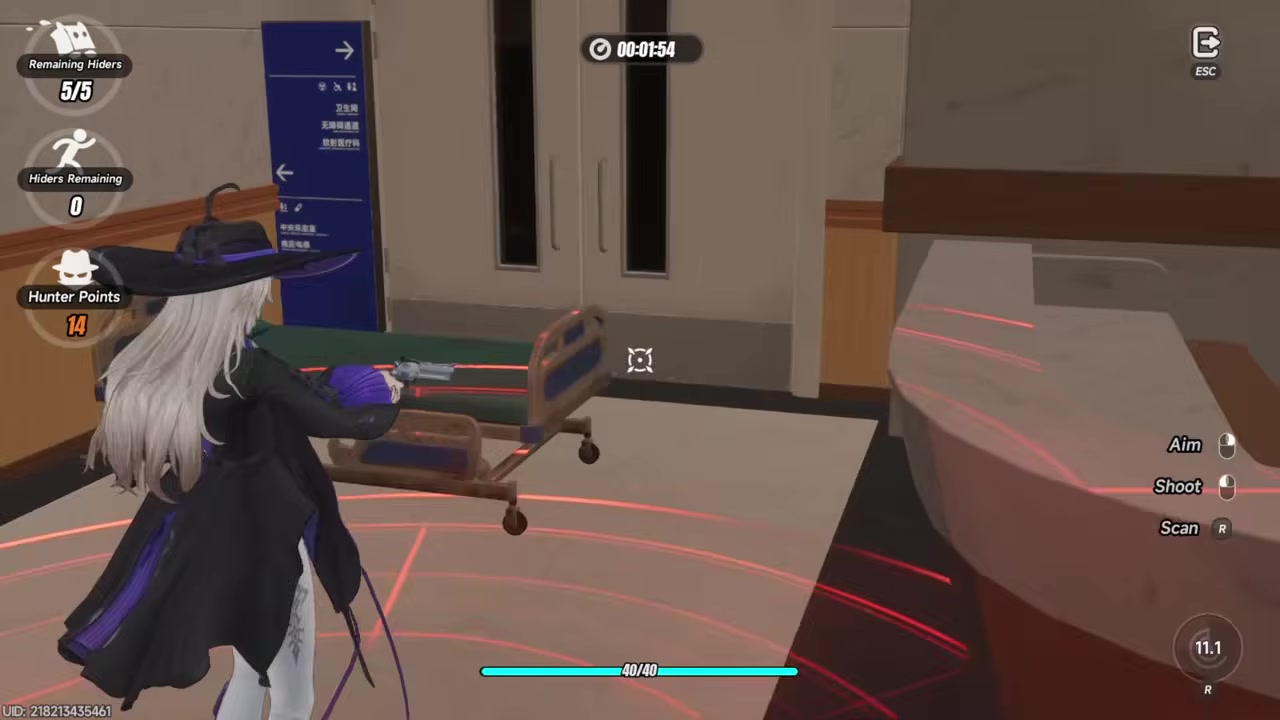
STEP 14/18
Close in before firing
Move toward red scan areas and shoot the objects that look most out of place.
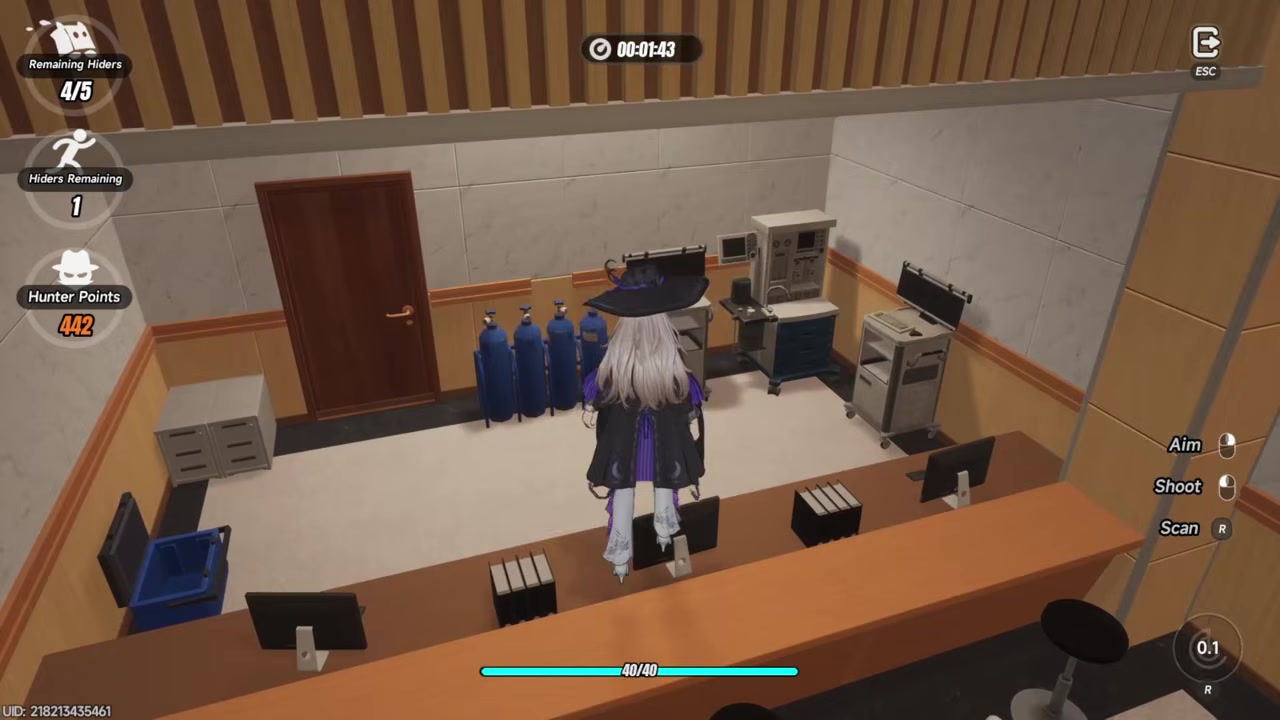
STEP 15/18
Rescan suspicious zones
Scan again after clearing a spot, especially when one object or cluster still feels wrong.
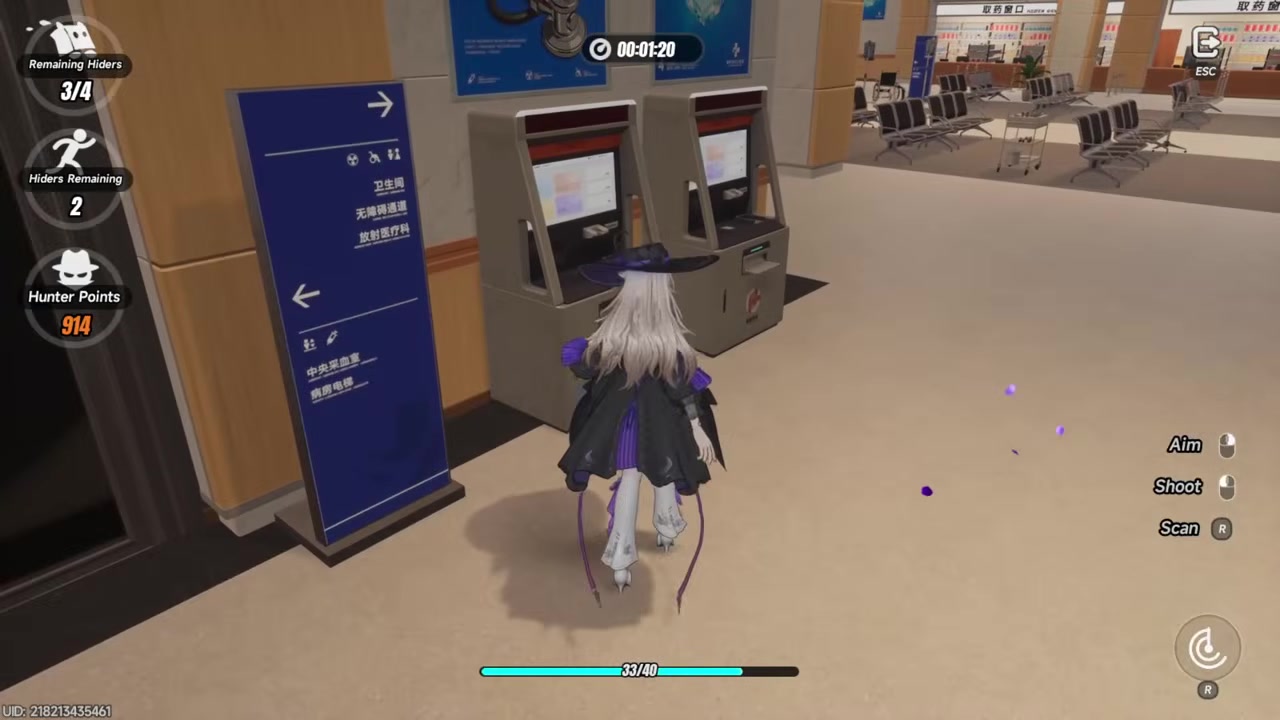
STEP 16/18
Walk while scanning
Keep moving as you scan so the detection sweep covers more of the room instead of wasting the skill in one tiny area.
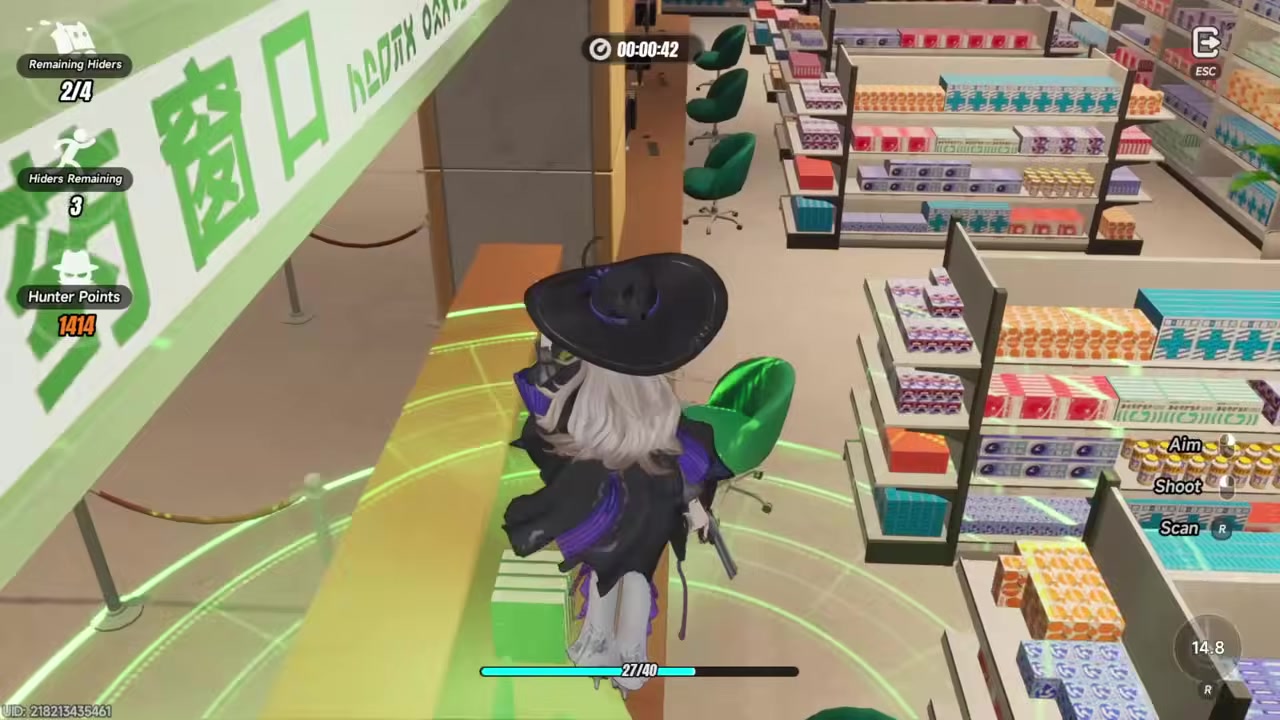
STEP 17/18
Test obvious anomalies
Shoot props that look unnatural for the space, but remember that some suspicious objects are only decoys.
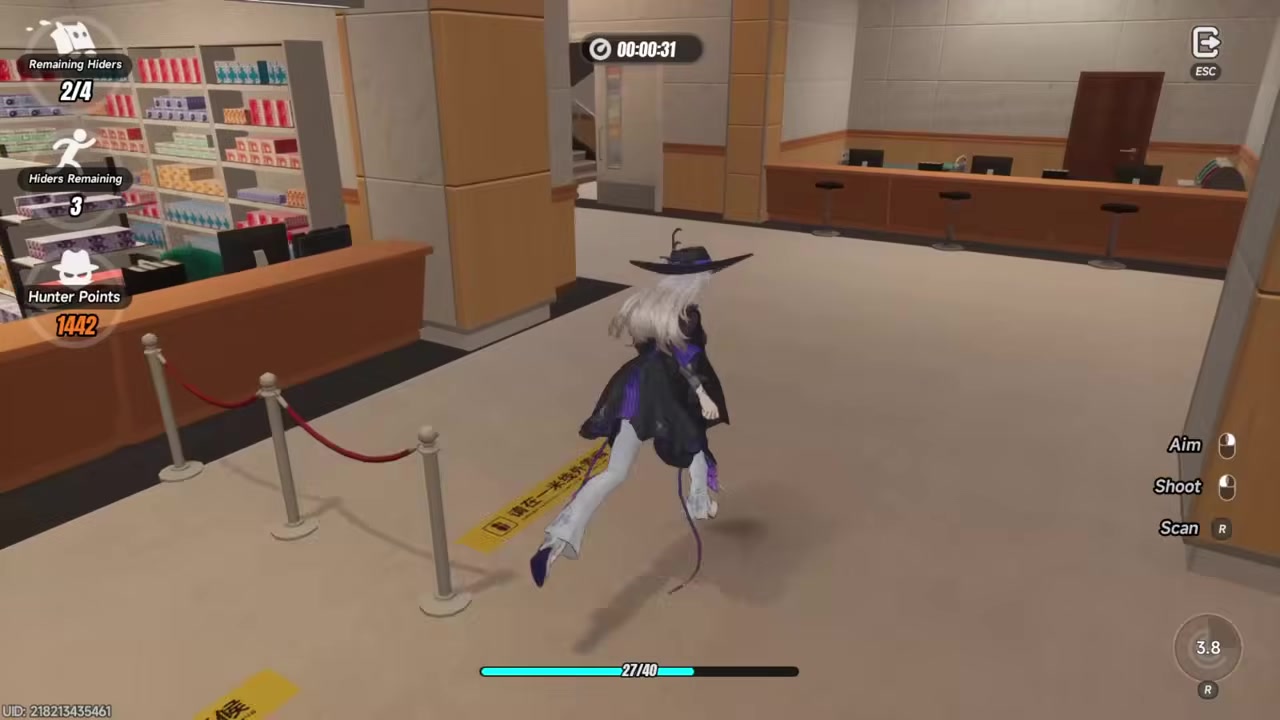
STEP 18/18
Use the rapid-fire phase
Near the end, take advantage of rapid fire to pressure remaining hiding spots before the timer expires.
Video help
Shadow-n-Seek maps and hiding environments
| Map | Best approach |
|---|---|
| Small studio-style map | Better for the Hunter because the area is compact and easier to sweep. |
| Classroom | Strong for Hiders using small or blendable objects such as balls, boxes, chairs, and toolboxes. |
| Large office/runway-style area | Excellent for Hiders because it has multiple rooms, many objects, and a long runway space. |
| Hospital | Favors careful Hunter reads because open areas make odd props stand out quickly. |
The maps shown in Shadow-n-Seek favor different roles depending on clutter, room count, and how many believable props are already present. The labels below are descriptive, because the event is easiest to learn by recognizing each environment rather than relying on map names.
On smaller maps, Hiders need cleaner placement because the Hunter can cover ground quickly. On larger maps, the Hunter has to combine scan discipline with object memory, since there are far more decoys, rooms, and believable hiding angles to clear.
Round-winning habits for both roles
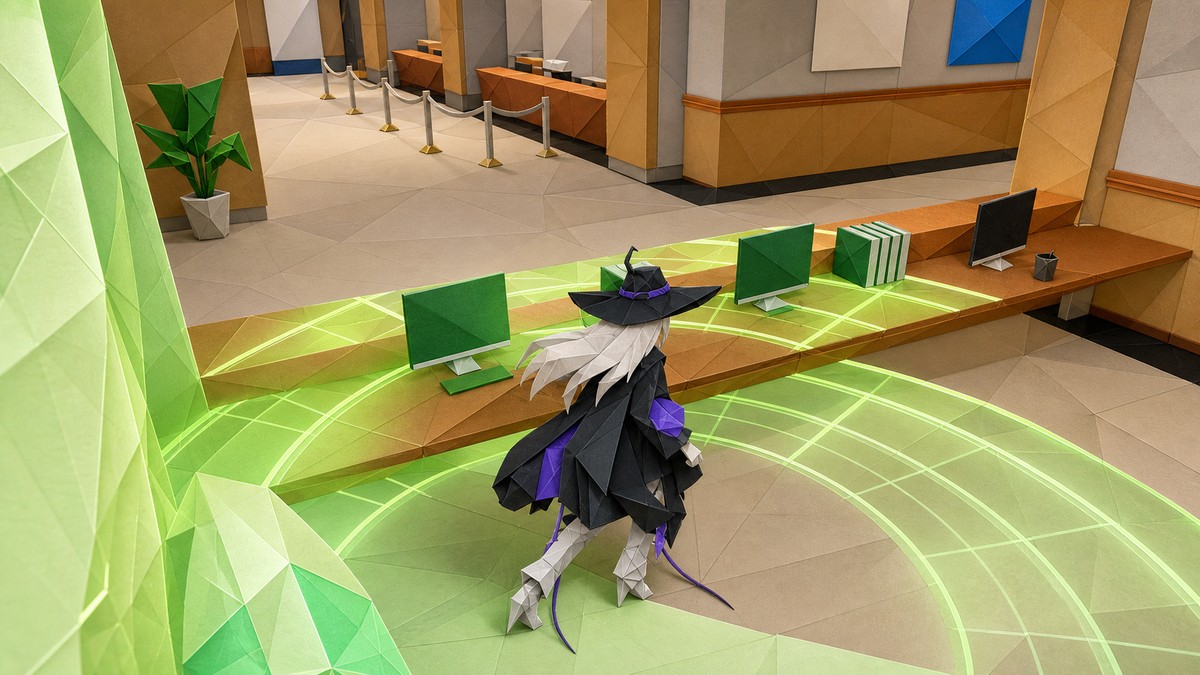
As a Hider, spend decoys early, hide near similar objects, and avoid props that look oversized for the room. Corners are especially valuable when they let part of your model sink visually into the environment, and spectator mode should be your default way to decide whether moving is safe.
As the Hunter, learn what normal object placement looks like on each map. Red scan feedback should make you investigate, not panic-fire at everything, because decoys can trigger the same kind of warning. Low-clutter spaces are where weird objects are easiest to punish, so sweep those areas with extra attention.
Best farming plan for Shadow-n-Seek
Hunter is the faster farming role if you can catch players consistently, because its per-round ceiling is higher. Hider is still the calmer, reliable option: survive, use decoys well, and collect steady Paper Cup Phone without needing perfect aim.
The cleanest plan is to play enough rounds across several days as the currency cap rises, buy Analyt, Fonts, and Cinema Tickets first, then clean up the rest of the Shadebound Shop as your remaining cap allows.
Frequently Asked Questions
How many players are in a Shadow-n-Seek match?
A Shadow-n-Seek match has six players: one Hunter and five Hiders.
Is Hunter or Hider better for farming Paper Cup Phone currency?
Hunter is better for fast farming when you can catch players, because its round cap reaches up to 2,500 Paper Cup Phone. Hider rounds cap around 1,250, but they are more relaxed and consistent.
Do you need to finish the Shadow-n-Seek shop on day one?
No. The event cap rises day by day, and the current run gives players up to 30 days, so spreading your farming across the event window is the intended pace.
What does a red Hunter scan mean?
A red scan means something suspicious is nearby, but it does not guarantee a real Hider. A decoy can also trigger the scan, so check the surrounding props before spending too many shots.
How do Hider decoys work?
Hider decoys are placed with F. They act as fake props that can interfere with the Hunter’s scan reads, making it harder to tell which nearby object is the real player.
More questions⤵
What are the best rewards to buy first?
Buy Analyt, Fonts, and Cinema Tickets first. After those, move through the remaining Shadebound Shop items, leaving BEO Coin for last.




Leave a Reply