

Use Shinku to sprint through empty travel stretches while MC with the Time Bandit arc opens vaults in batches, then prioritize high-value vaults, collectibles, golden enemies, and a safe phone-booth escape before the timer ends.
The updated Pink Paws Heist route with Shinku is built around one rhythm: move fast when there is nothing to loot, swap back when there is, and let MC handle locked vaults in batches. Once the mode is open through City Tycoon Rank 10, roughly 1,510,600 Fons earned, and House Collection level 3, this is one of the fastest repeat farms for Fons, Paw-Paw Coins, and Pink Paw’s tokens.
The route name is a community shorthand, not an official in-game route label, so the exact room value changes from run to run. The important part is the priority system: Shinku for travel, MC for vault clusters, Lacrimosa for income and lasers, then escape before the timer punishes greed.
- What the Shinku route optimizes
- Best team for the Shinku route
- Rules before starting the Shinku route
- How to farm Pink Paws Heist with Shinku in Neverness to Everness
- Loot priorities for faster Pink Paws Heist runs
- Timing, rewards, and safe escape targets
- Mistakes that slow the Shinku route
- When to adjust the Shinku route
- Frequently Asked Questions
What the Shinku route optimizes
The goal is to make each Pink Paws Heist run faster without cutting the valuables that actually matter. Shinku reduces the dead time between rooms, stairs, long halls, and return paths, so you spend more of the run looting vaults and less of it walking.
This does not turn Shinku into the main damage unit. Her value here is Surging Crimson mobility: she covers empty distance quickly, while MC handles the expensive part of the route by opening vaults with the Time Bandit arc.
Best team for the Shinku route
| Character | Use |
|---|---|
| MC | Fast runner and Time Bandit arc user for batch-opening locked vaults. |
| Shinku | Uses Surging Crimson to sprint through empty halls, backtracking, and safe straight paths. |
| Lacrimosa | Adds a 20% income boost and makes laser movement easier with her smaller model and bat utility. |
| Flexible fourth slot | Use Nani for forced fights, or a collectible-reveal option to spot higher-value pickups. |
The core of the route is only MC plus Shinku. MC is fast on foot and can equip the Time Bandit arc, which lets you open multiple vaults after you have interacted with them. Shinku then speeds up the cleanup by sprinting back through cleared space.
Lacrimosa is the strongest quality-of-life third slot because her 20% income boost improves Fons and coin efficiency, and her short model or bat movement helps in laser sections. The fourth slot is flexible: bring Nani if you need faster kills, or a collectible-reveal option if your account has one available.
Rules before starting the Shinku route
Transform into Shinku only when the next stretch has no immediate loot. She is best for empty corridors, backtracking through cleared rooms, straight travel paths, and returns to vaults that MC has already opened.
Do not stay transformed while loot is nearby. In Surging Crimson, Shinku cannot pick up items, so using her inside drawer rooms, vault rooms, or collectible-heavy areas costs time instead of saving it.
KEY!The other rule is just as important: touch or interact with locked vaults first, then use MC’s opening ability. Keep that ability cycling whenever a cluster is worth revisiting, but do not waste it on a far side room you are not going back to.
Touch every vault in a cluster before using MC’s opener so one activation opens the whole room instead of only saving time on a single lock.
How to farm Pink Paws Heist with Shinku in Neverness to Everness
This route uses Shinku only for movement gaps while MC and the rest of the team handle vaults, loot rooms, lasers, and the final escape.
STEP 1/32
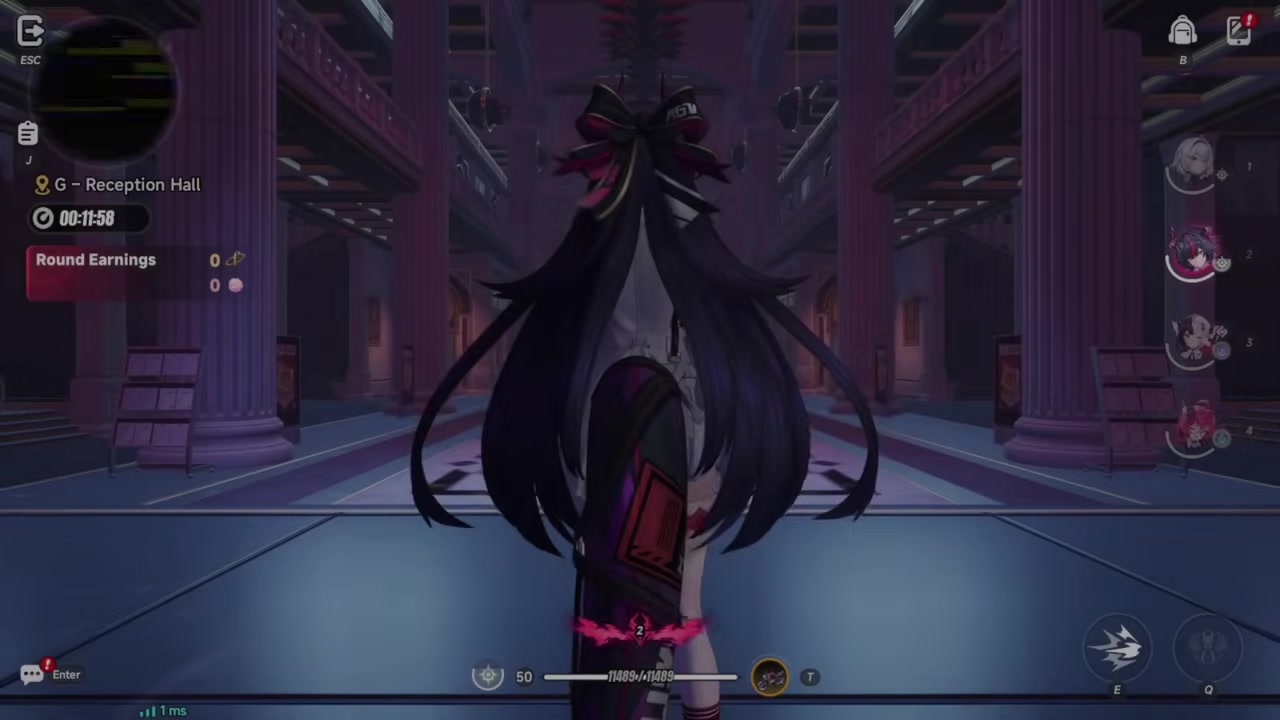
Swap to Shinku at the start
Change to Shinku as soon as the run begins so the first long travel stretch is faster.
STEP 2/32
Sprint to the first door
Transform and run directly to the opening door, using Shinku only because this stretch has no loot to collect.
STEP 3/32
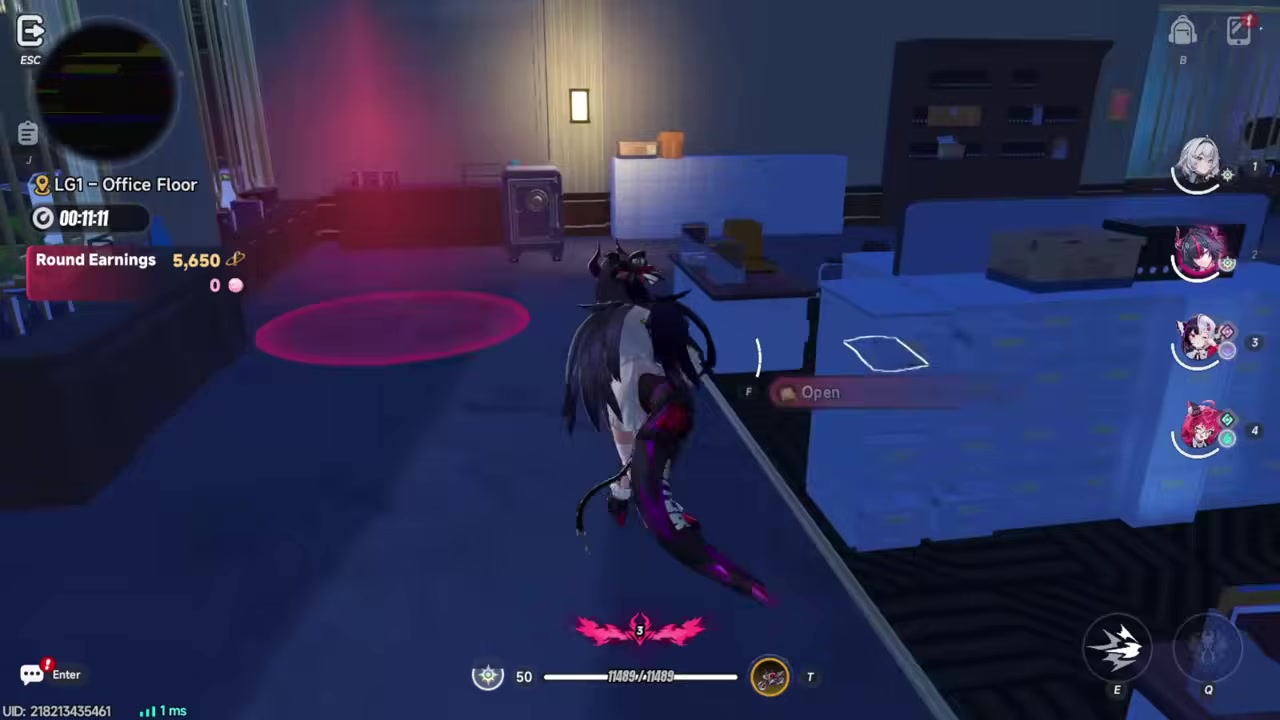
Prime the first vault locks
Force-open or interact with the locked vaults before using MC’s opener so the batch unlock works cleanly.
STEP 4/32
Check the first vault pair
Loot the usual two-vault area, but avoid pulling nearby enemies unless they are already triggered.
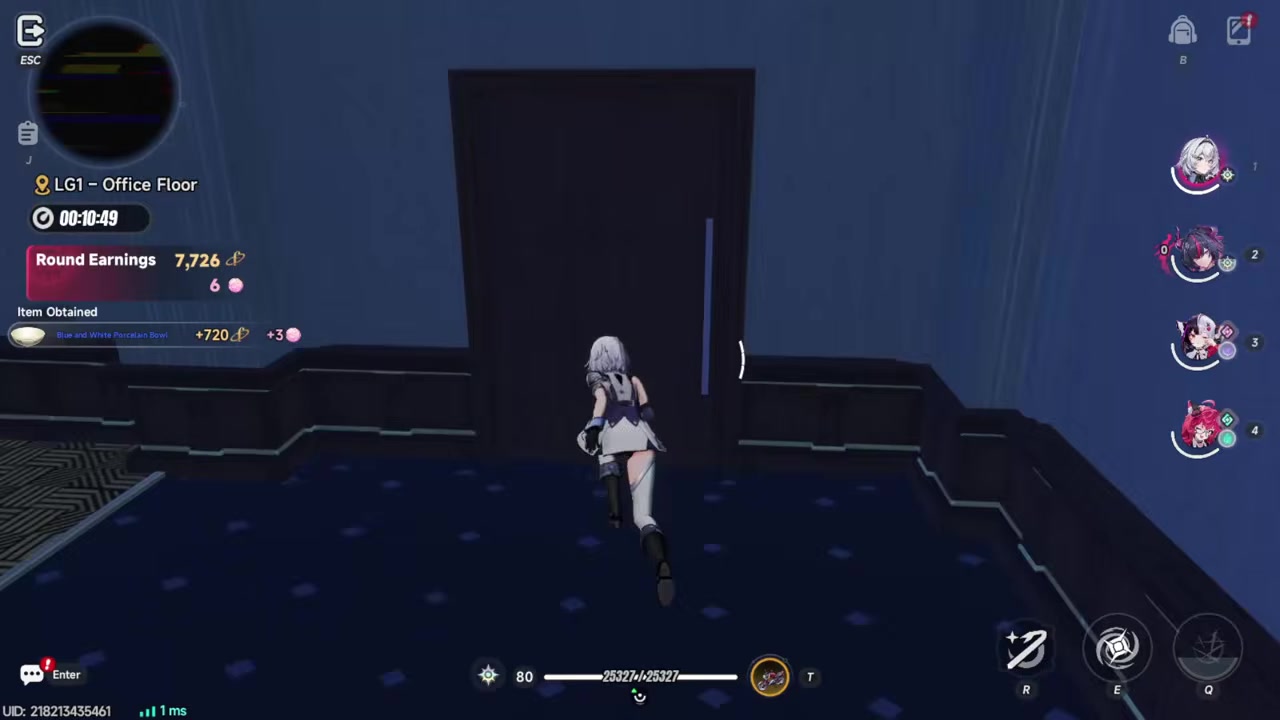
STEP 5/32
Stay untransformed in drawer rooms
Swap out of Shinku when containers and drawers are nearby because transformed Shinku cannot loot them.
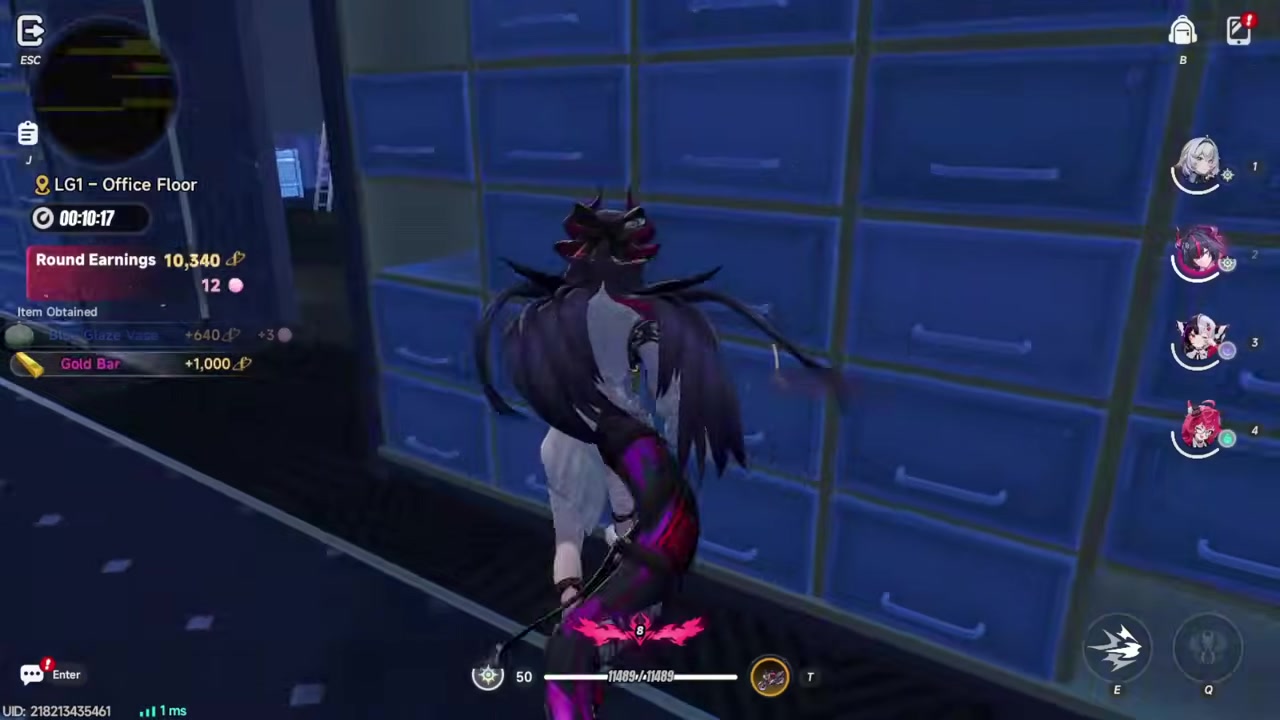
STEP 6/32
Spend MC’s vault opener early
Use MC’s opening ability once the nearby locks are ready so it goes back on cooldown instead of sitting unused.
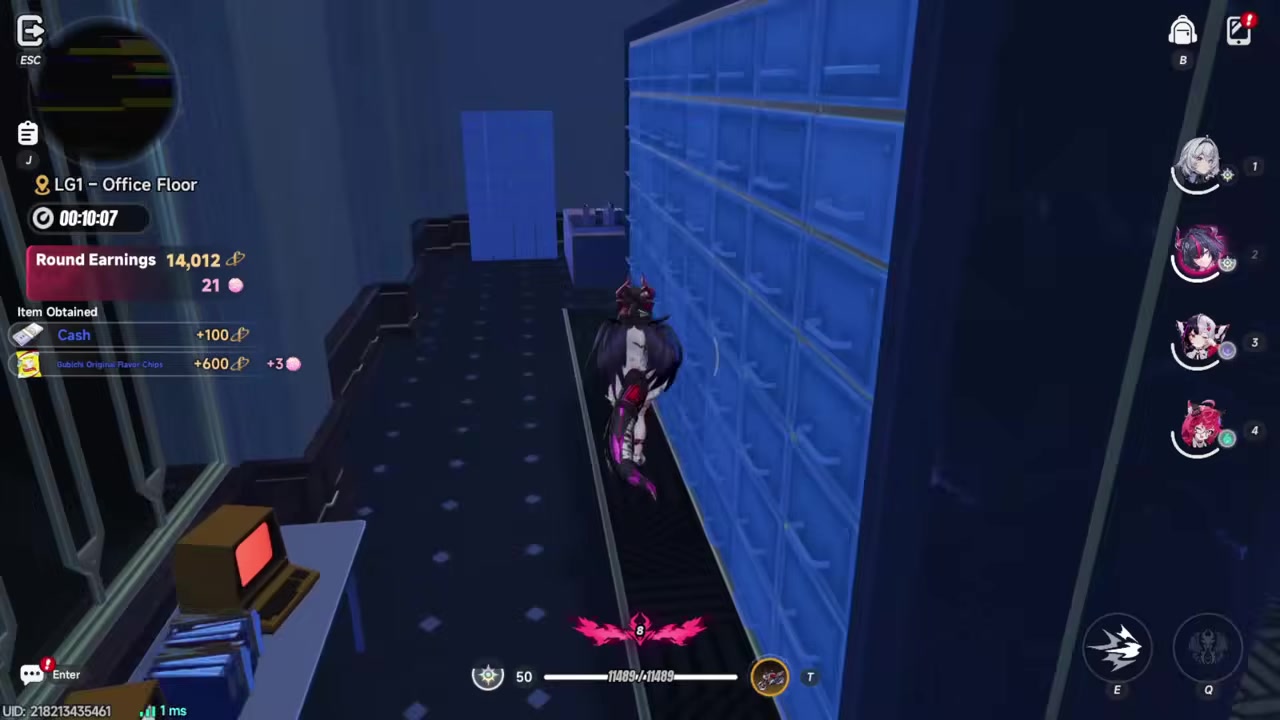
STEP 7/32
Touch the next vault cluster
Run through the room and interact with each vault first, then prepare to open them together.
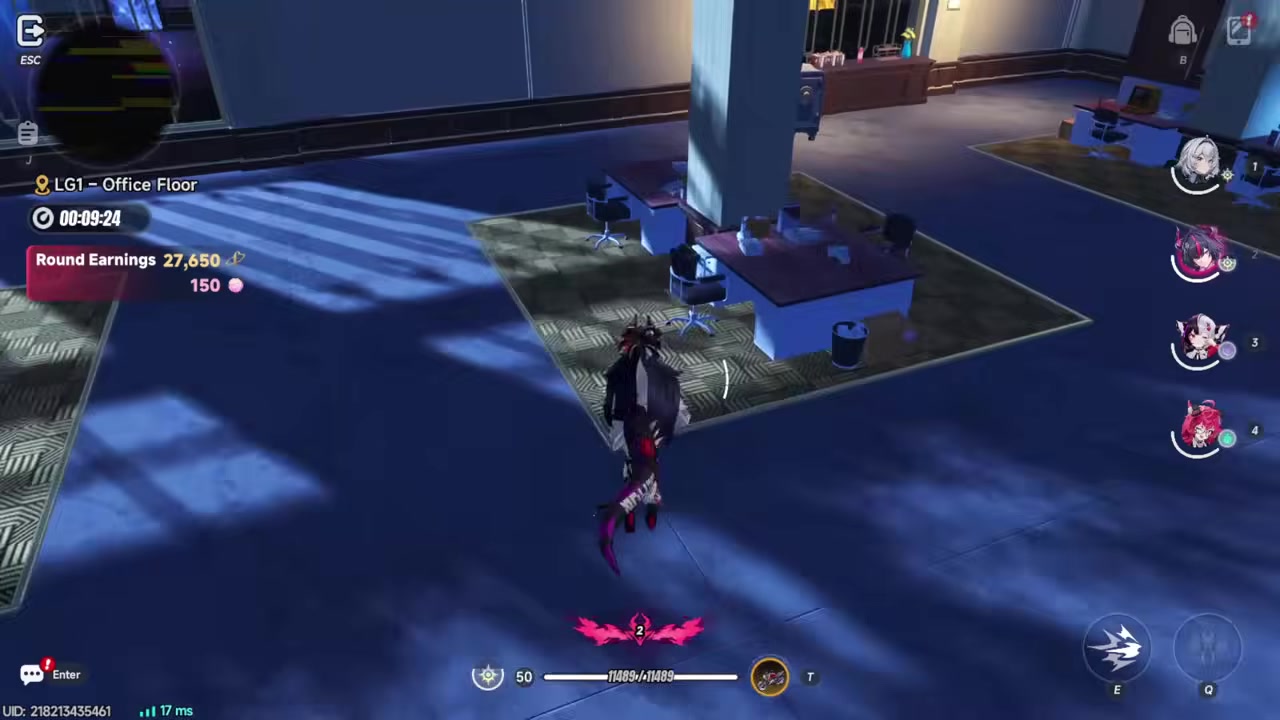
STEP 8/32
Open the cluster in one cast
Use the Time Bandit arc ability after the vaults are touched so the room opens in seconds.
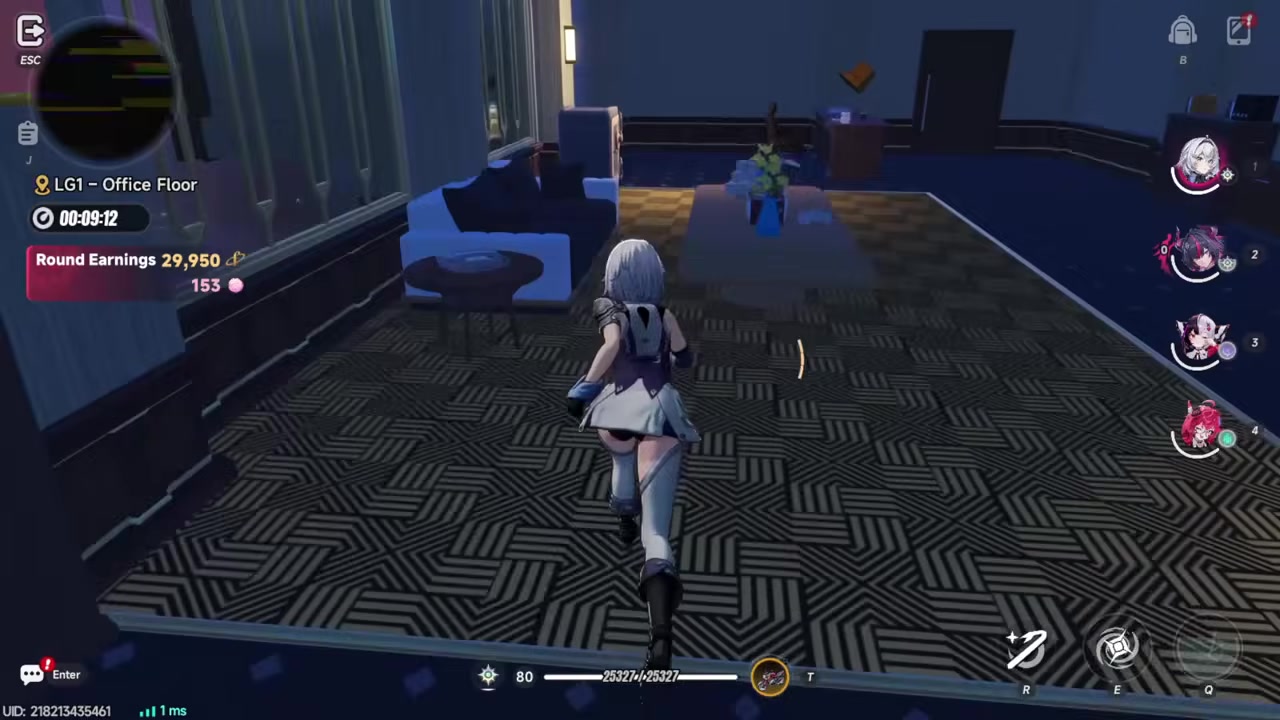
STEP 9/32
Transform for the return path
Switch back to Shinku after the locks are open and use her speed to collect from cleared vaults faster.
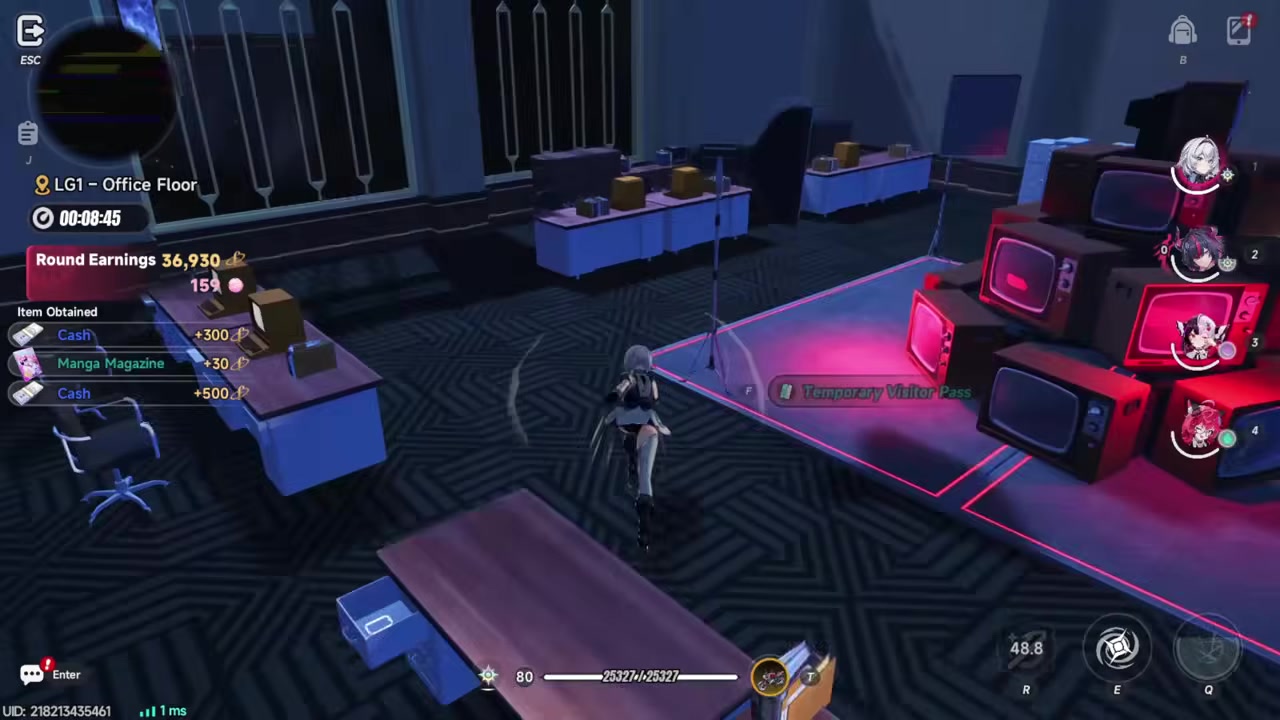
STEP 10/32
End accidental fights quickly
If enemies trigger, kill them fast and get moving because unnecessary combat is the main reason runs slip past clean timing.
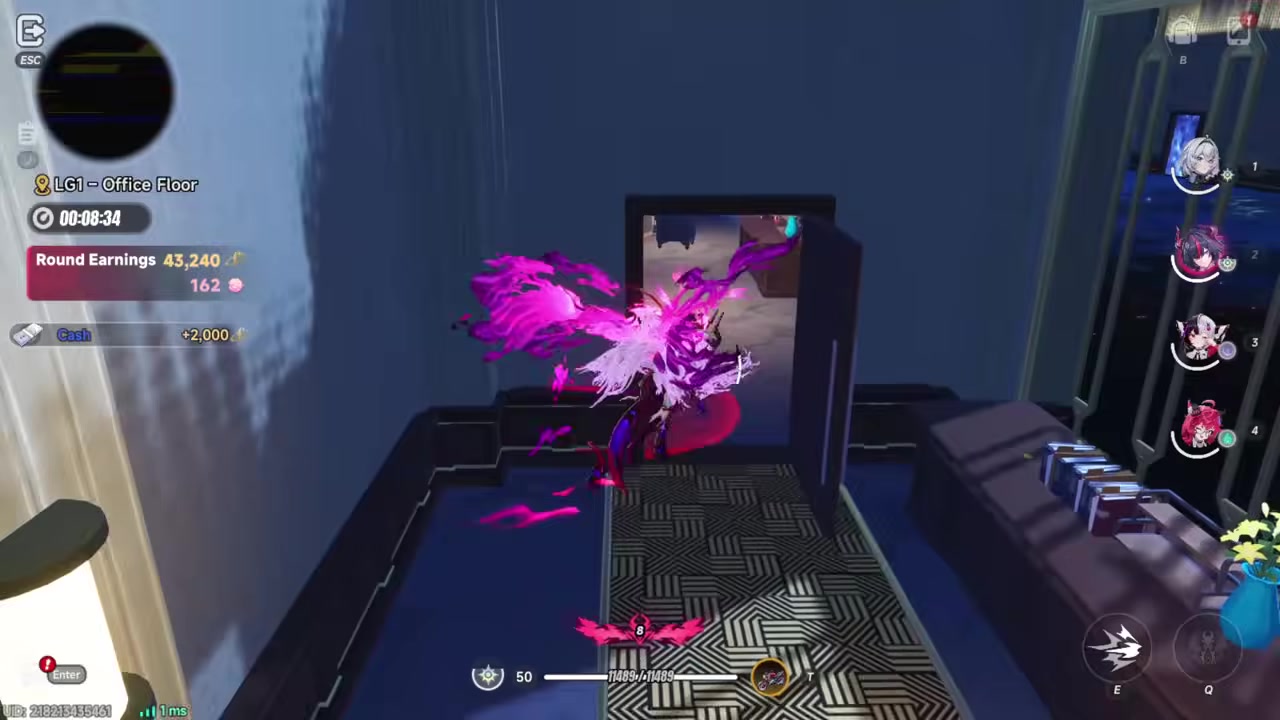
STEP 11/32
Use Shinku after the laser door opens
Open the path first, then transform for the straight stretch where there is nothing valuable to pick up.
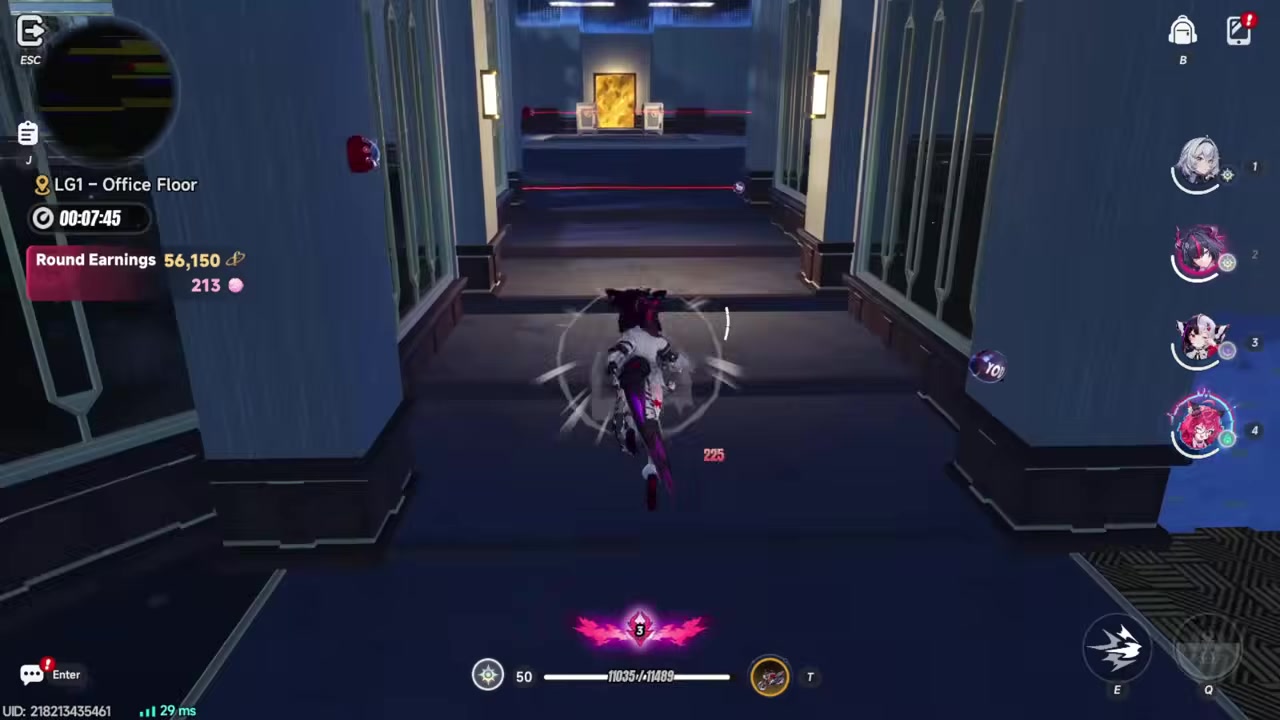
STEP 12/32
Use Lacrimosa or a short unit near lasers
Around laser rooms, switch to Lacrimosa or a smaller character so you do not clip beams as easily.
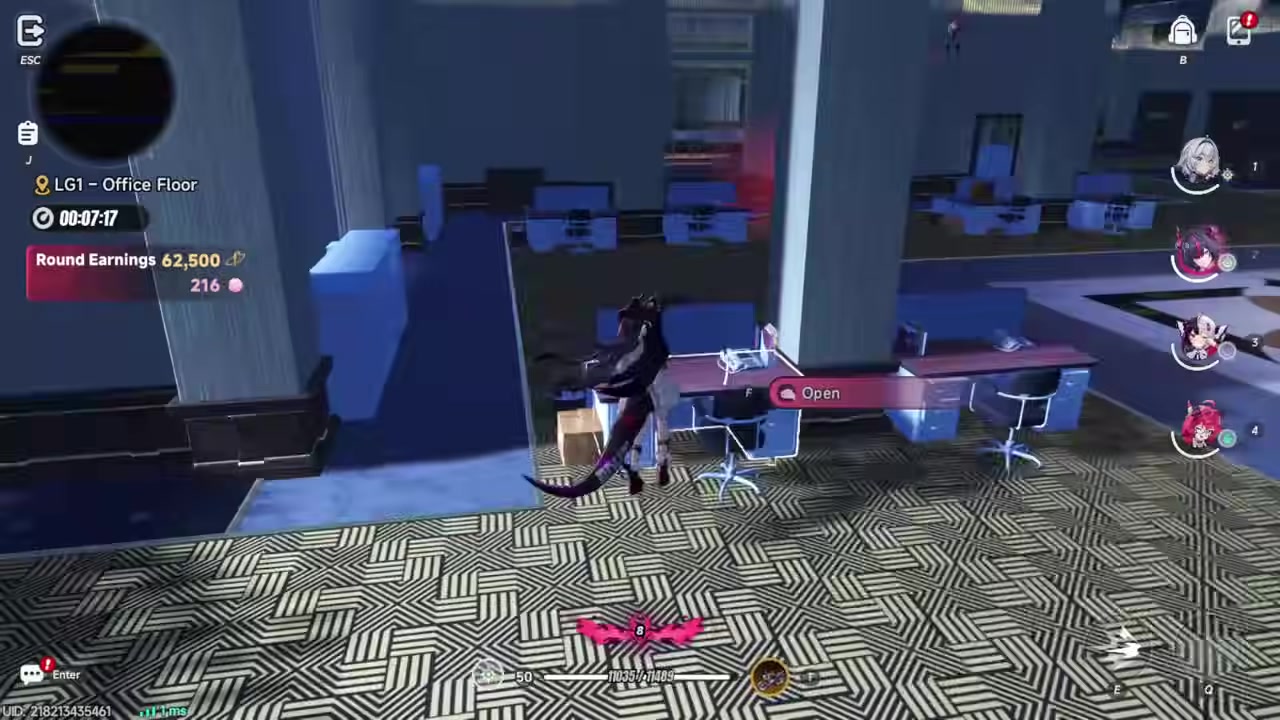
STEP 13/32
Use MC when the opener refreshes
Keep looting the room while the ability cools down, then fire it as soon as the room’s locks justify it.
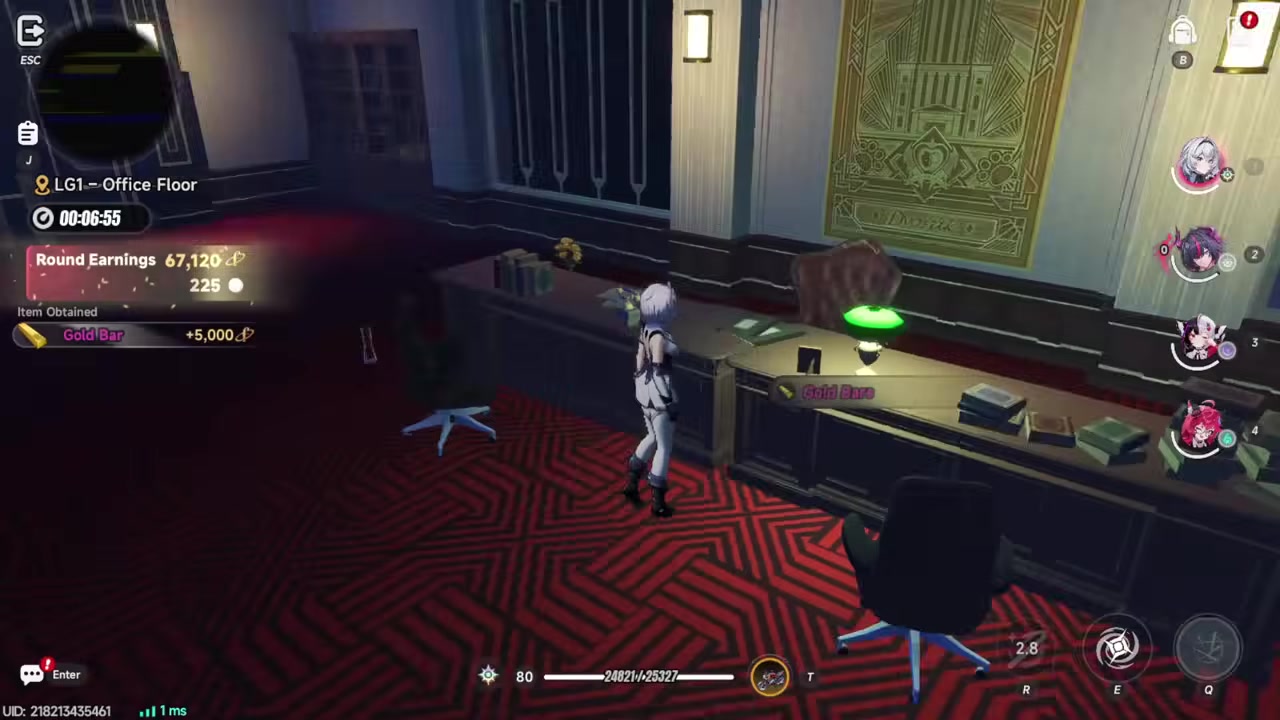
STEP 14/32
Transform after the laser section
Once the tight laser movement is done, switch back to Shinku and sprint through the safer corridor.
STEP 15/32
Favor the consistent right-side route
Take the reliable right-side path when damage is low, since the boss room route is more variable and combat-heavy.
STEP 16/32
Touch every vault before casting
When MC’s ability is ready, interact with the vaults first so the opener hits the whole cluster.
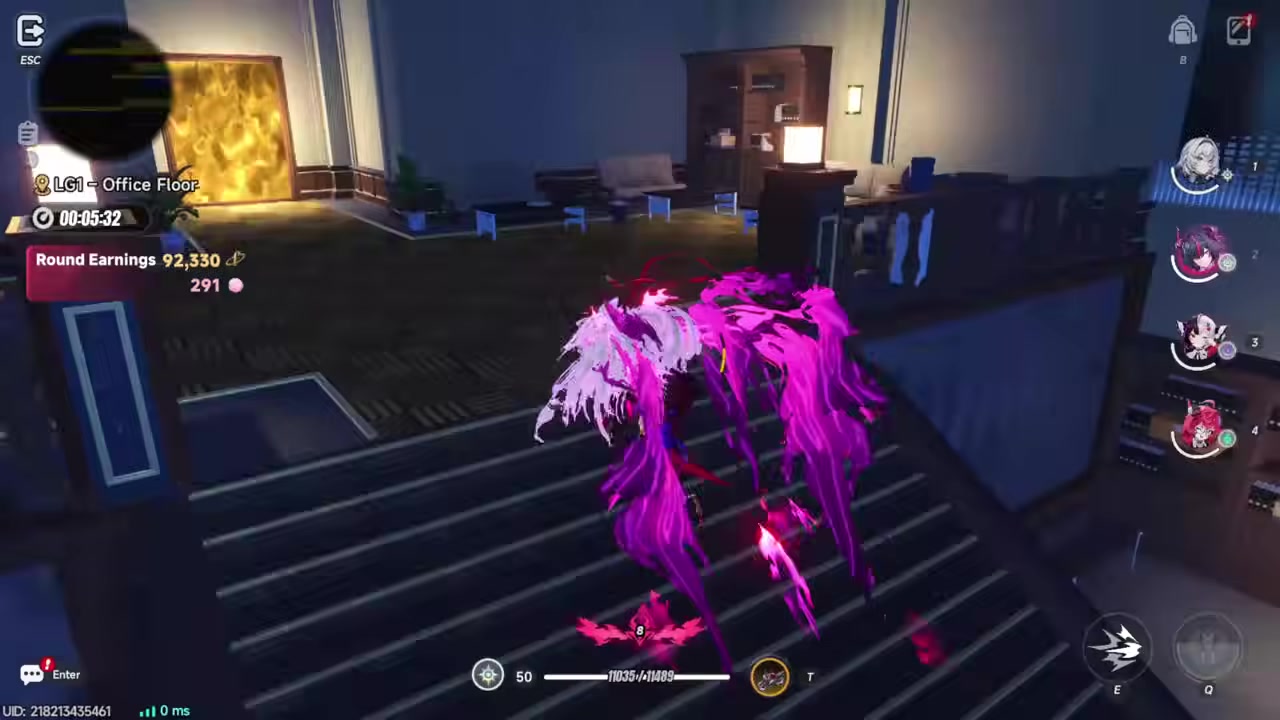
STEP 17/32
Skip the avoidable battle room
Leave the room once the vaults are open if the fight is not needed for the farm route.
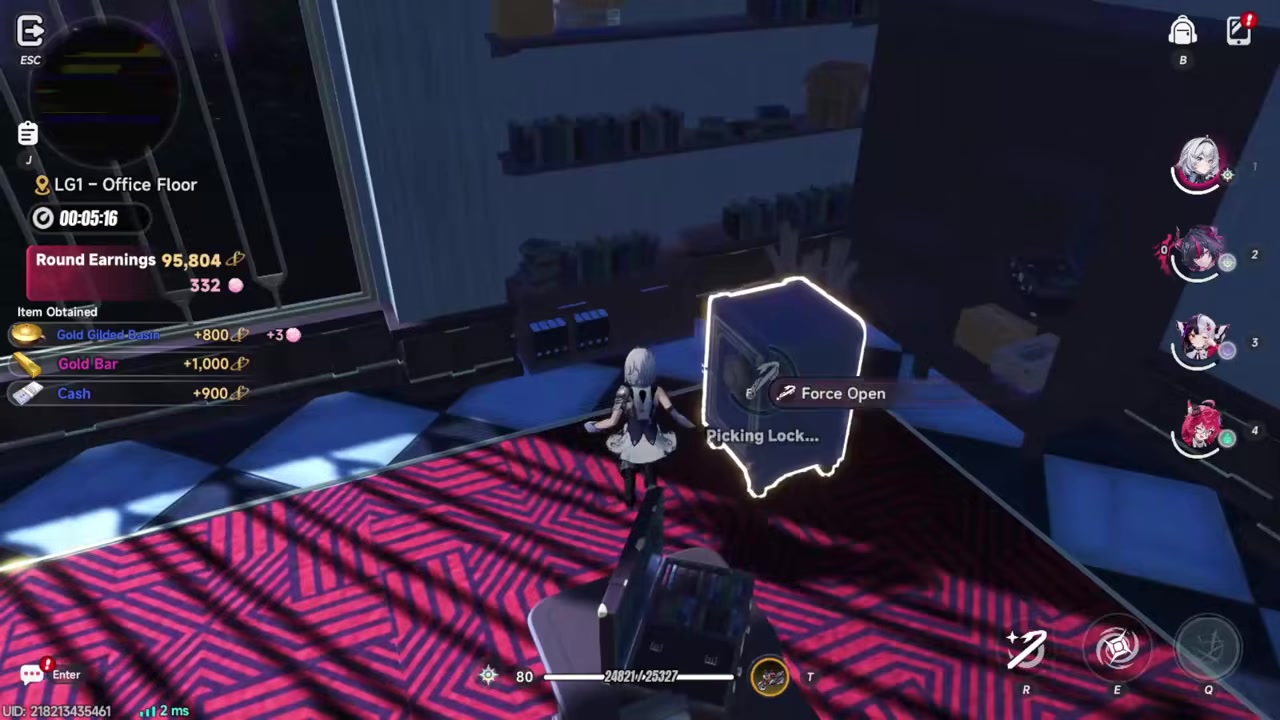
STEP 18/32
Clear forced monsters fast
Take required fights only when they block the route or sit on valuable loot, then group enemies and burst them down.
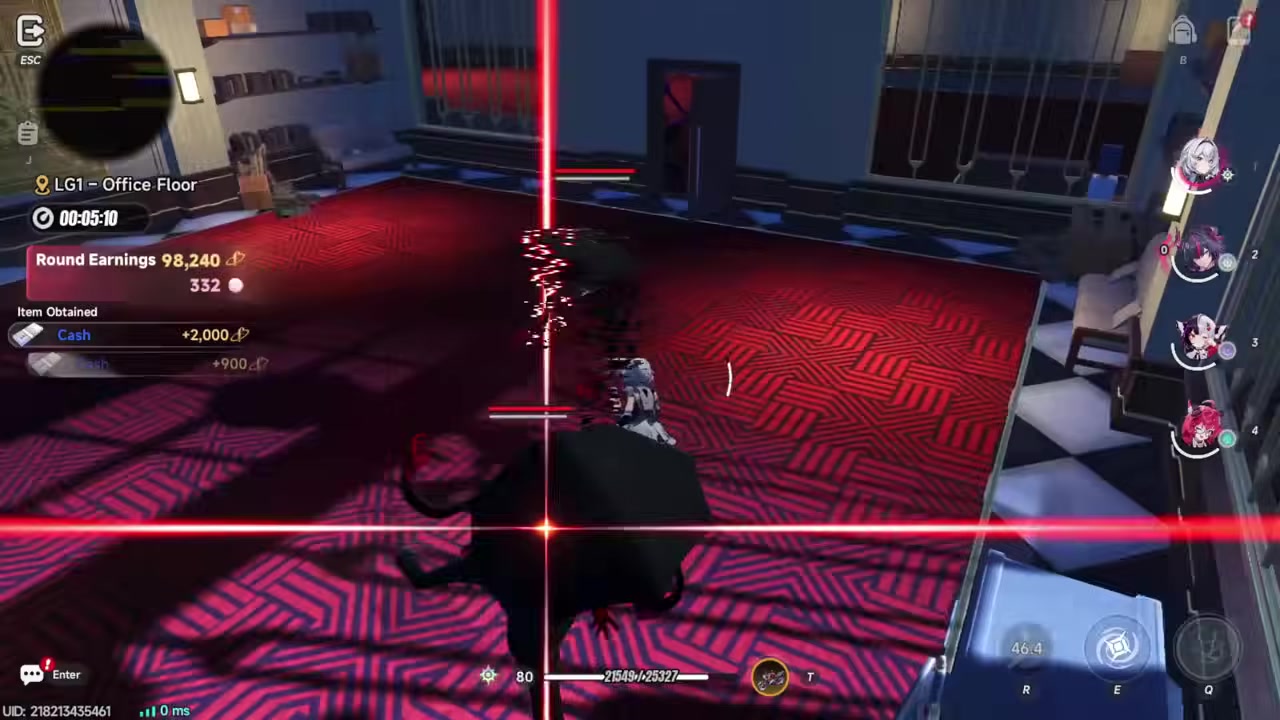
STEP 19/32
Sweep the combat room pickups
After a forced fight, collect the nearby room loot quickly before moving to the next travel stretch.

STEP 20/32
Use Shinku for the next jump run
Transform again when the route becomes empty, especially on ramps, jumps, and longer return paths.
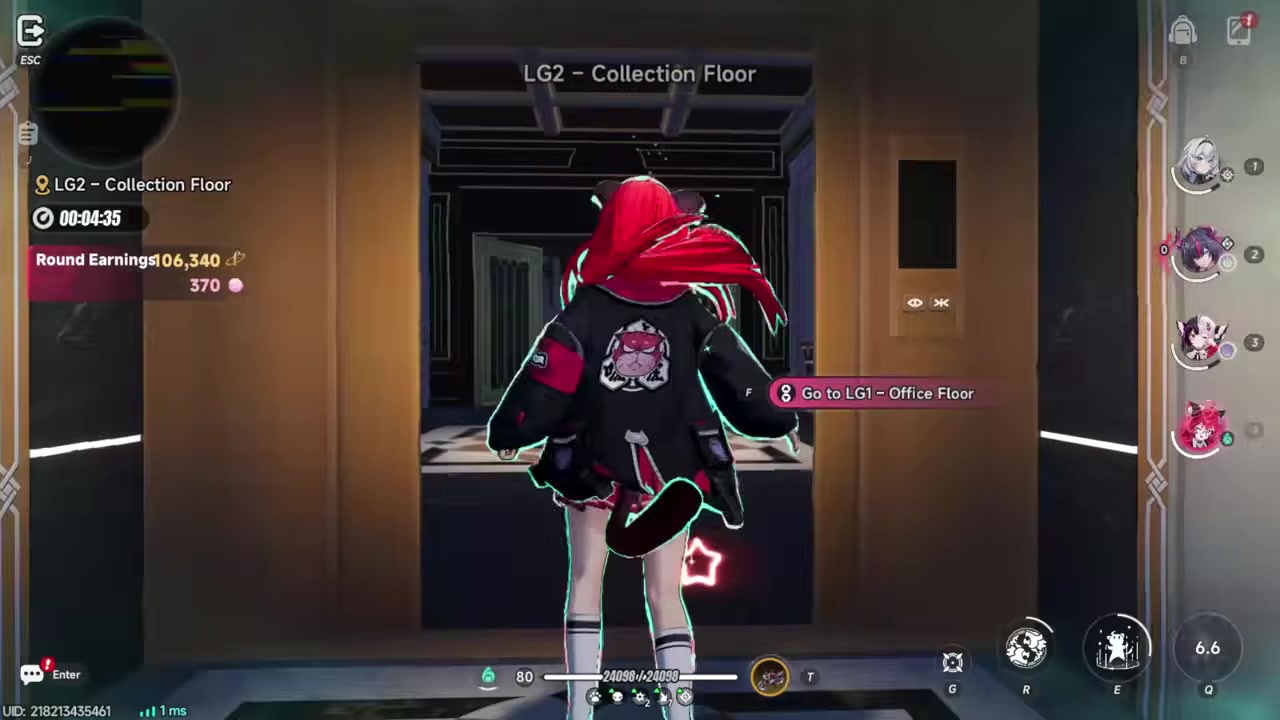
STEP 21/32
Cast before the drawer-only stretch
Use MC’s ability before moving through drawers if the next vault timing still lines up with the cooldown.
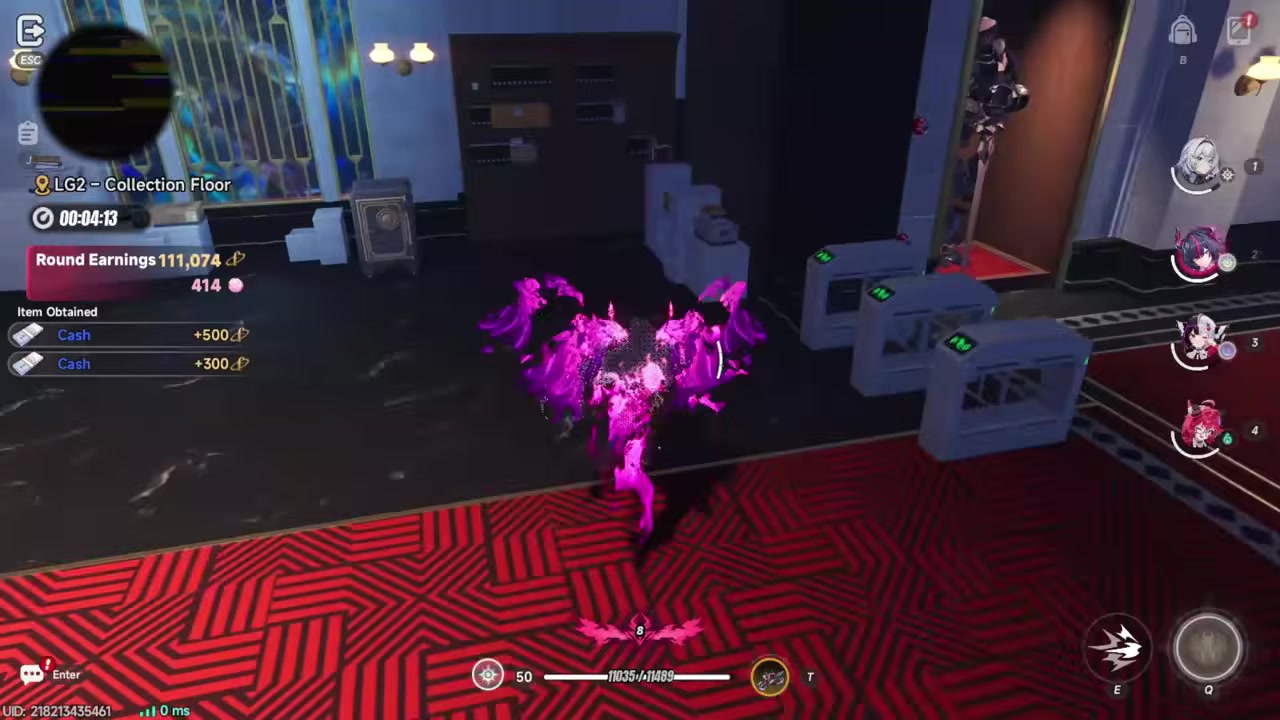
STEP 22/32
Manually unlock when needed
If MC’s opener is still cooling down and there is only a small lock nearby, open it normally and keep moving.
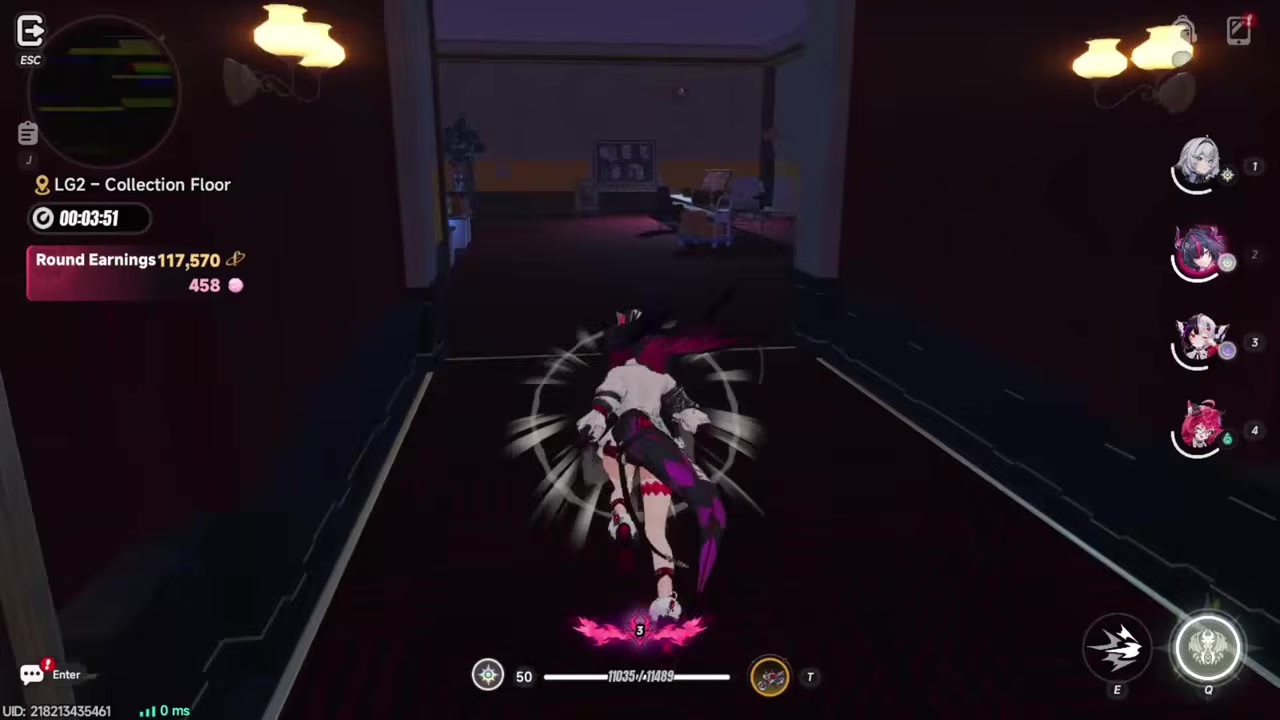
STEP 23/32
Sprint up empty paths with Shinku
Transform for uphill or backtracking sections where there is nothing important to pick up.
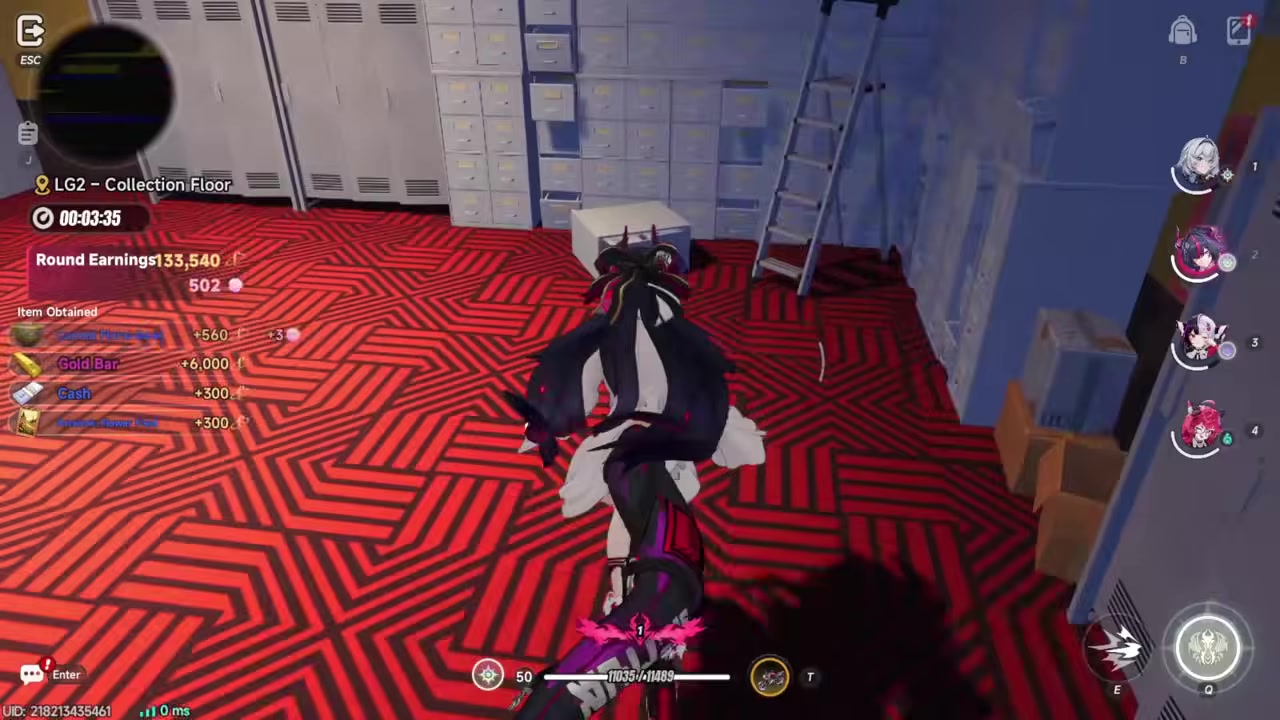
STEP 24/32
Use a short unit in tighter laser rooms
For tighter rooms, use Lacrimosa or another small model, and skip the risky path if movement feels inconsistent.
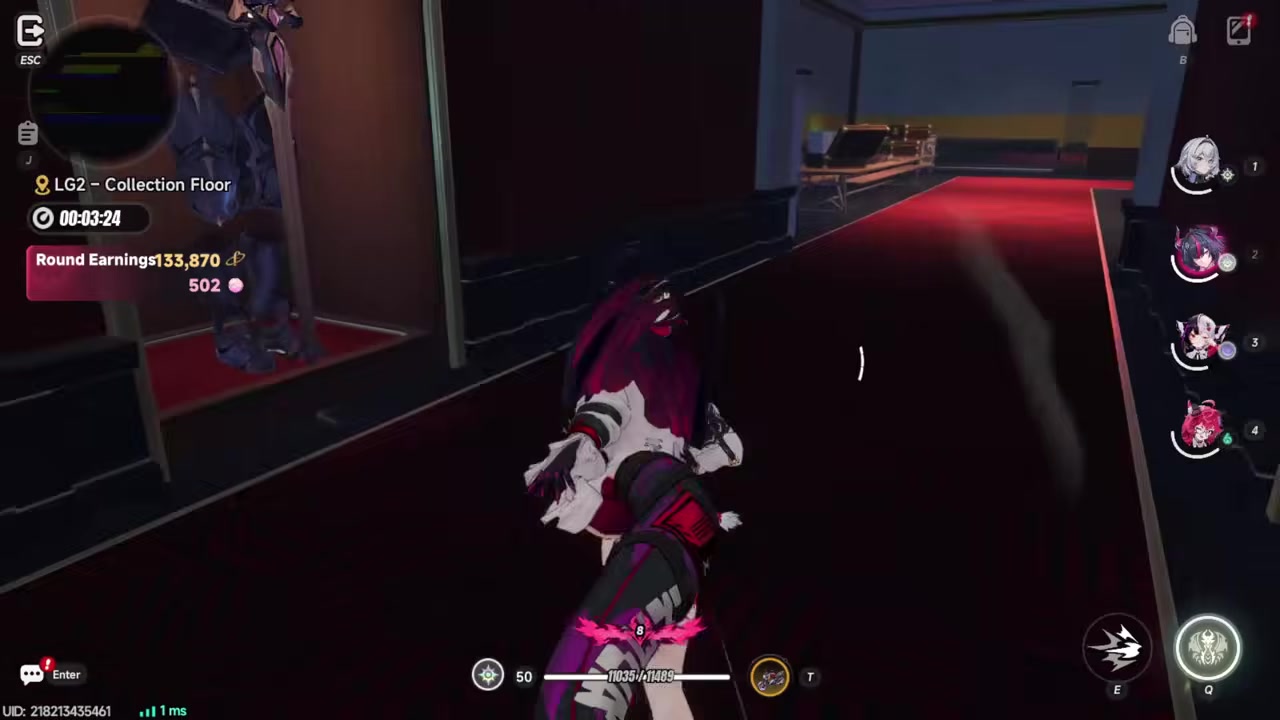
STEP 25/32
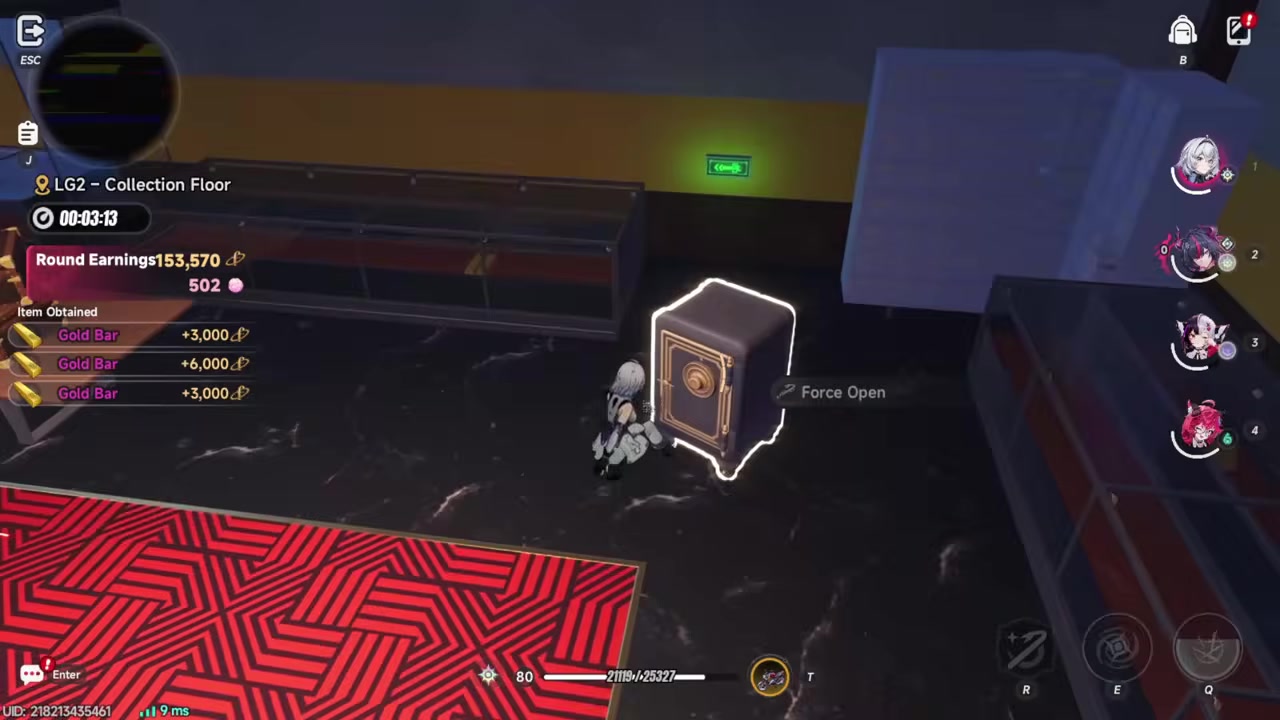
Batch-open the next vault room
Use MC’s instant unlock as soon as the room is primed because it saves more time than manual lockpicking.
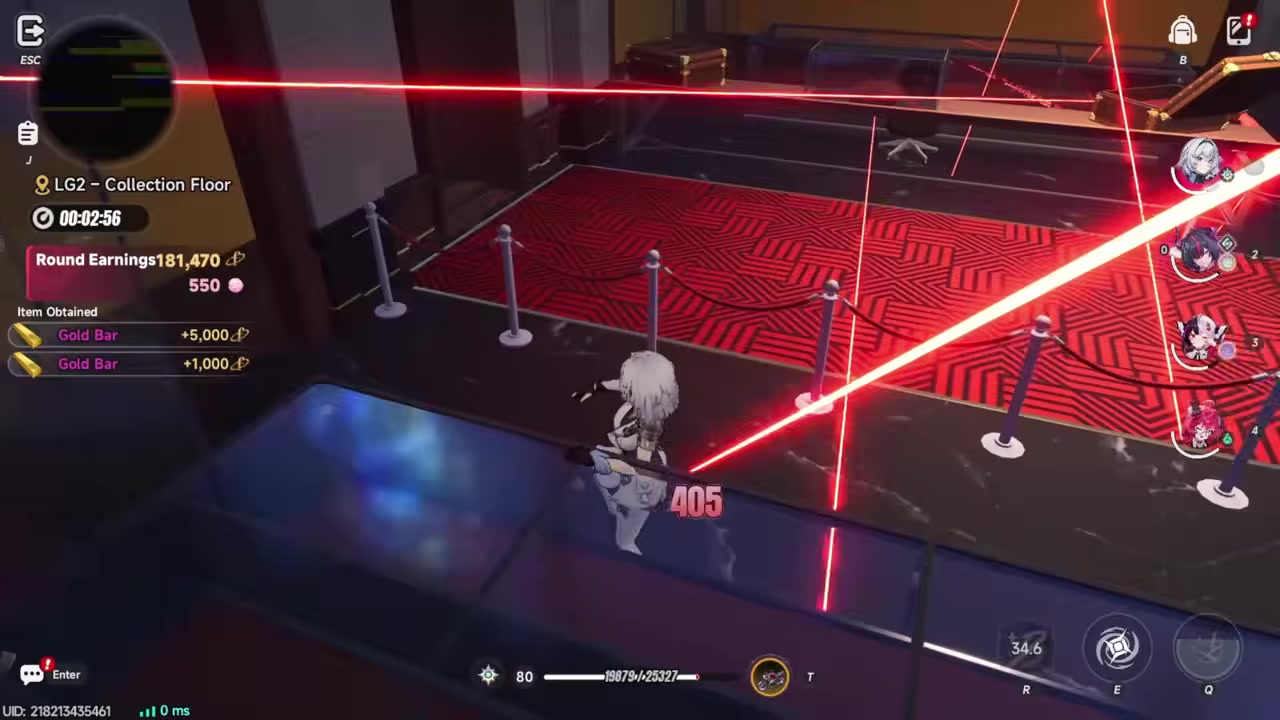
STEP 26/32
Grab the next high-value collectible path
Move toward the next valuable pickup lane and collect fast without overchecking empty corners.
STEP 27/32
Transform through another empty gap
Whenever the path has distance but no loot, use Shinku again instead of walking it normally.
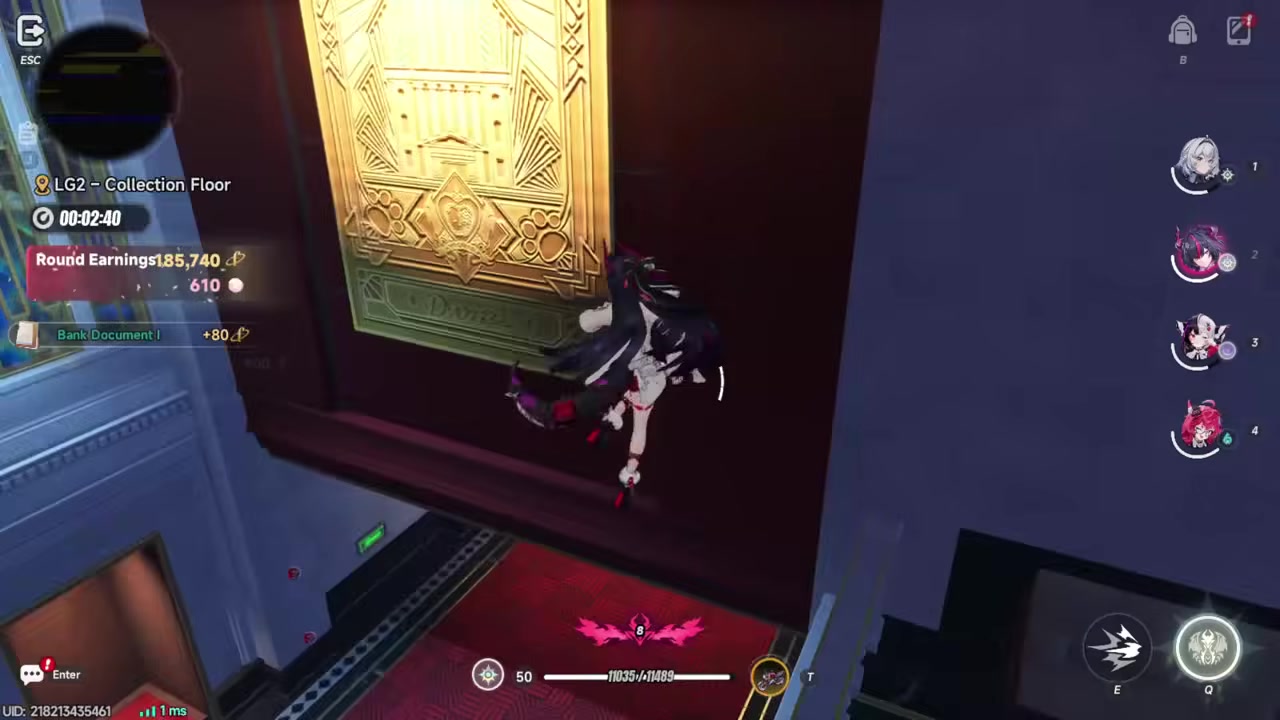
STEP 28/32
Return on the safe Shinku path
Use the known safe return path to run back up quickly after the lower collectible sweep.
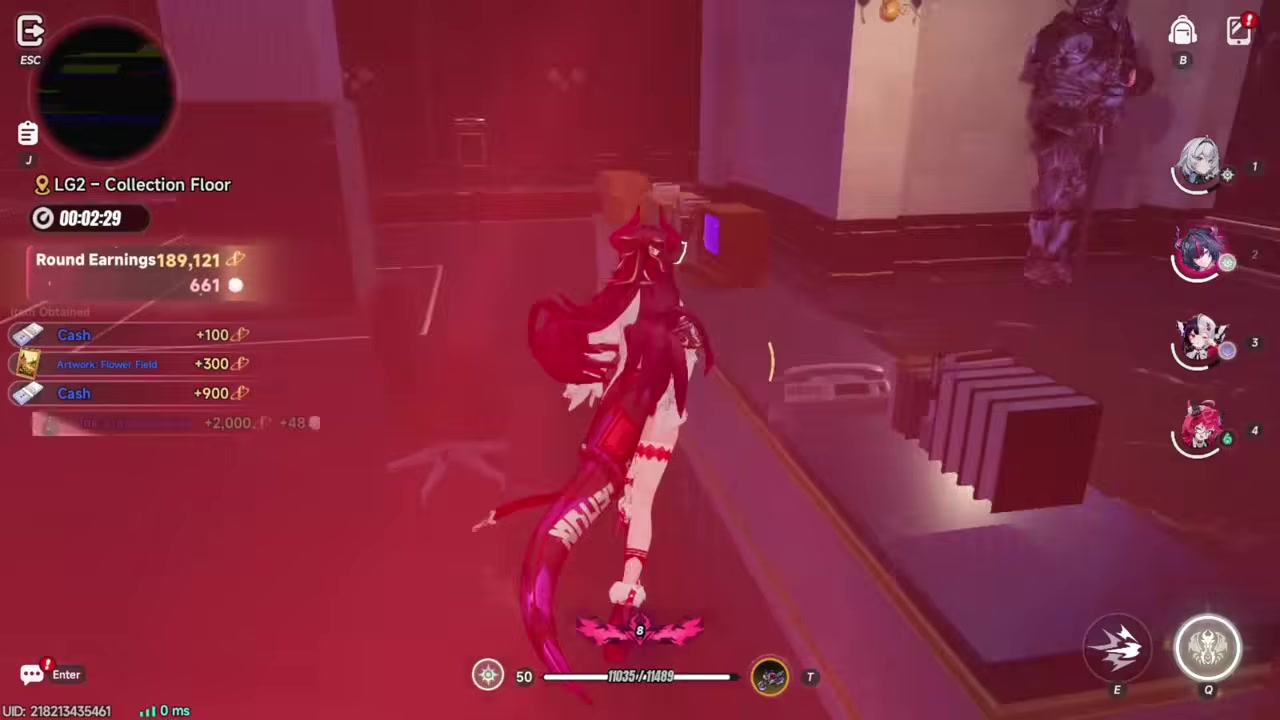
STEP 29/32
Use the opener on the final lone vault
If there are no more vaults beyond the current point, spend MC’s ability on the last lock instead of saving it.
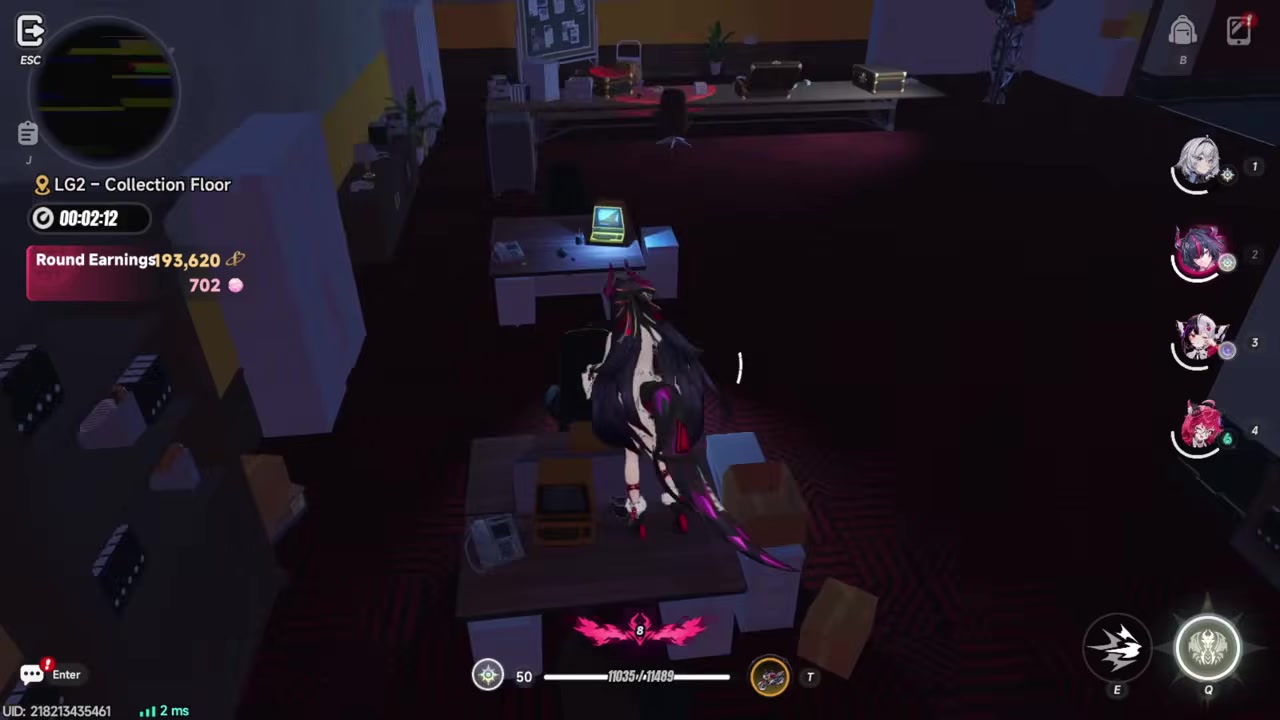
STEP 30/32
Start moving to escape near two minutes
Begin heading toward the teleportation door or red phone-booth escape with roughly two minutes left.
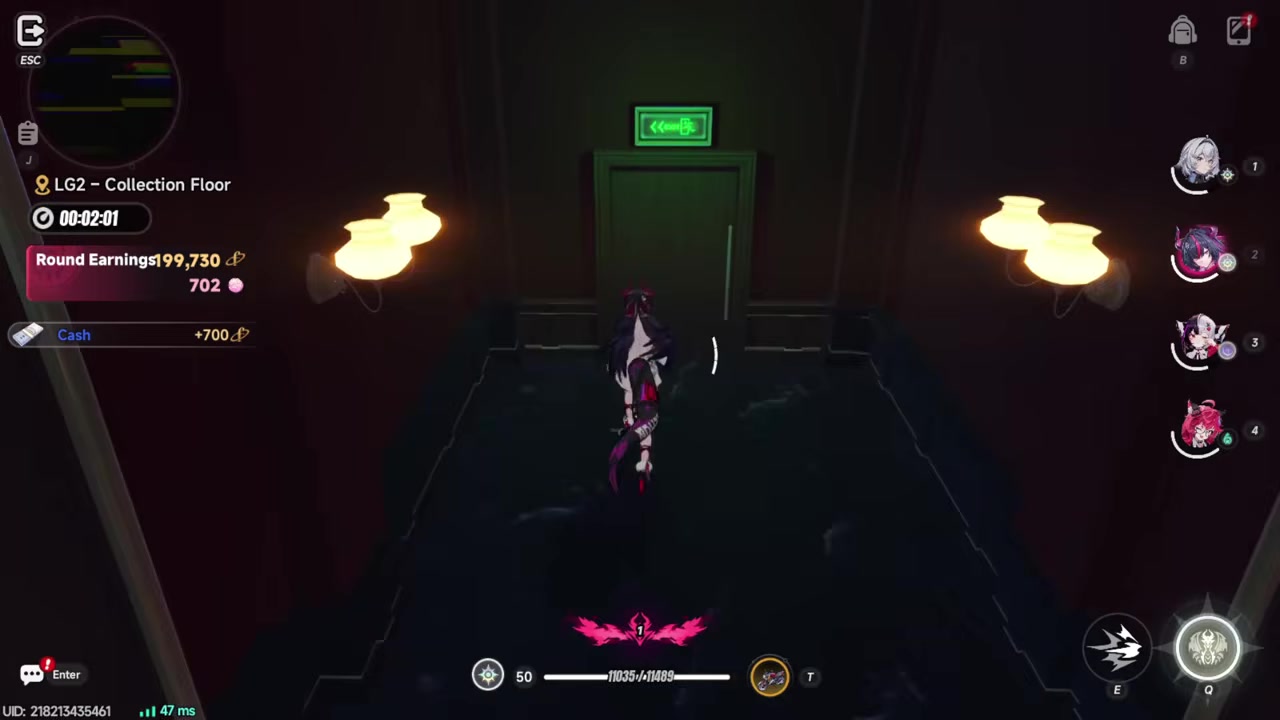
STEP 31/32
Sprint through the exit path
Use Shinku for the last empty stretch to the door after the final pickups are done.
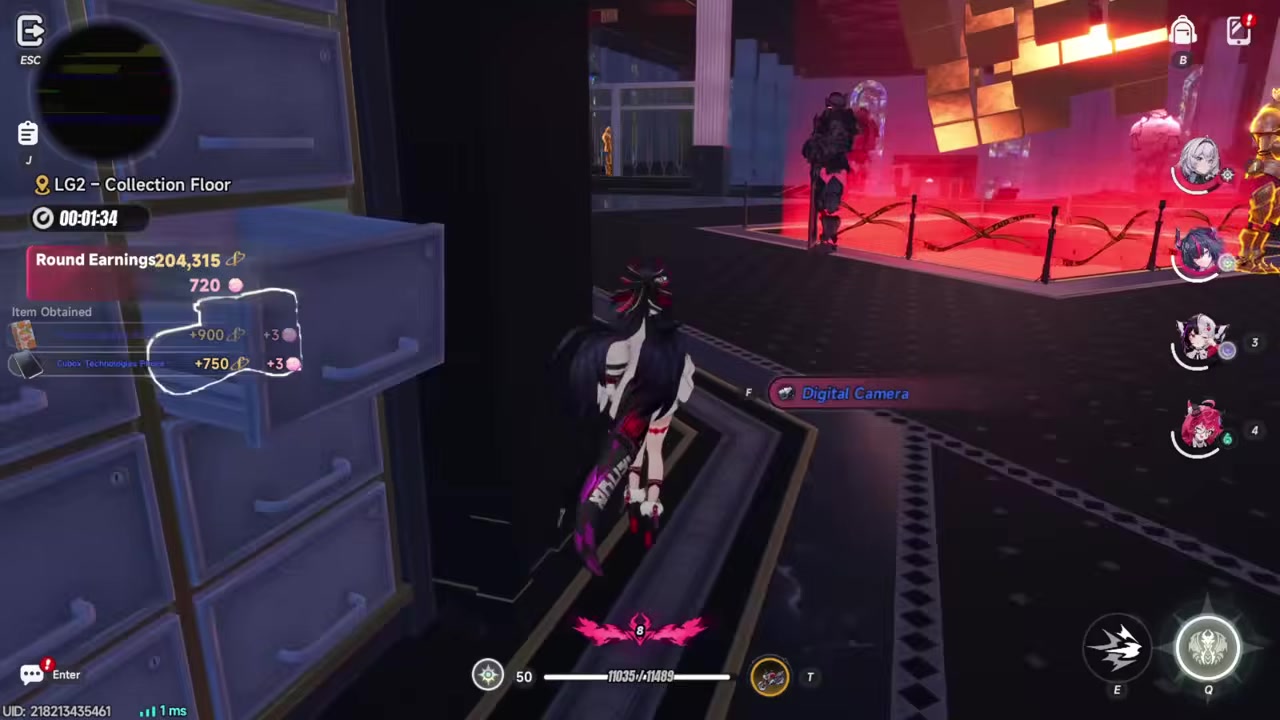
STEP 32/32
Leave once earnings are capped or time is low
Escape immediately when the run is maxed out or the timer is close enough that another detour risks the rewards.
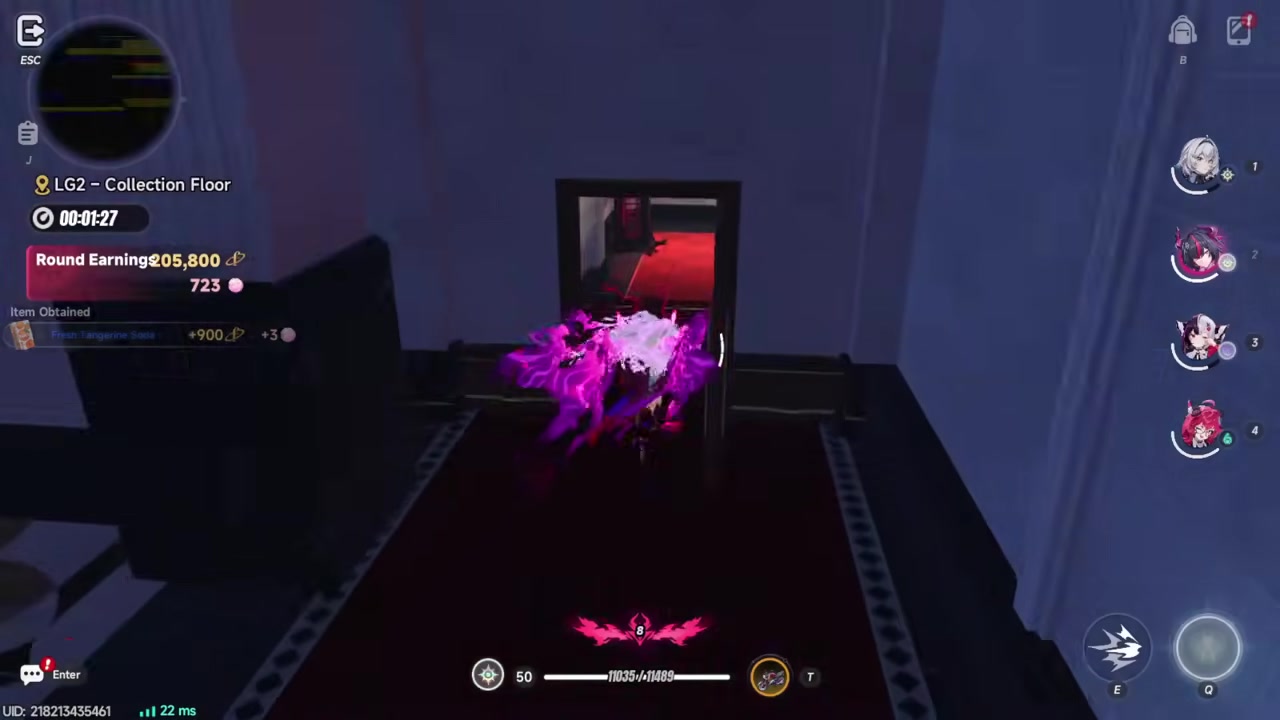
Video help
Loot priorities for faster Pink Paws Heist runs
| Priority | Action |
|---|---|
| Grab immediately | Vault clusters, golden enemies on the route, high-value safes, glowing objects, and visible premium collectibles. |
| Take if nearby | Drawers, desks, stands, couches, display cases, and side-room loot that does not add a long detour. |
| Skip in fast runs | Empty rooms, low-value backtracking, unnecessary non-golden fights, risky off-route Access Card rooms, and late boss paths. |
This route is not a full clear. Your best time comes from taking vault clusters, visible high-value collectibles, golden enemies that sit on the route, and quick drawer or display-room loot while ignoring low-value branches.
Spawns and item values vary, so treat the route as a priority order more than a fixed checklist. Access Cards such as Vault Pass, Collection Floor Pass, Assistant Manager Office Access Card, and Recreation Room Access Card are useful when they land naturally, but off-route card rooms can wreck a fast farm.
Timing, rewards, and safe escape targets
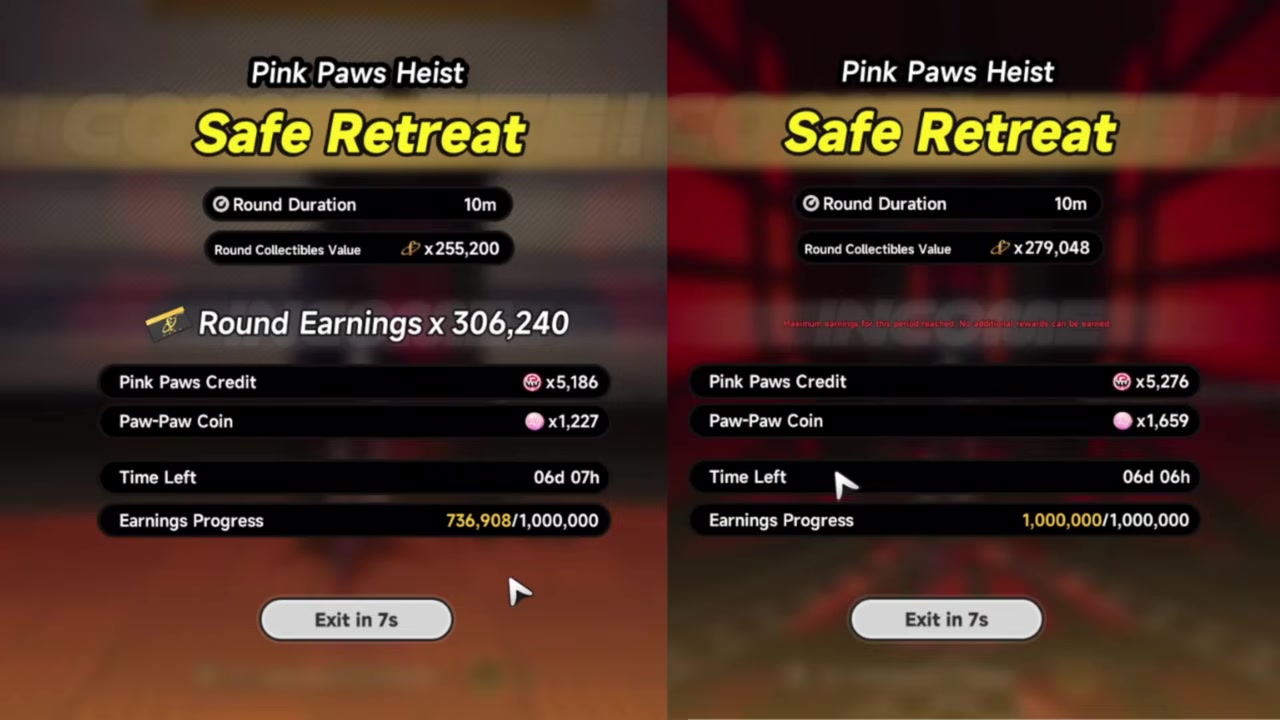
A clean Shinku run can land under about 9 minutes, but forced fights and laser mistakes can push it longer. The better target is to start moving toward escape with roughly 2 minutes left, especially once your Fons and coin gains are already strong.
The hard failure point is the timer. If you do not escape before the 11-minute limit, the run ejects you and you lose the collected rewards, so a red Rerorero Telephone Booth is more valuable than one more uncertain room at the end.
Strong runs can reach roughly 250,000-300,000 Fons, and Lacrimosa’s 20% boost can push Pink Paws efficiency near the 150,000 mark, but totals change with loot values, spawns, boosts, fights, and execution. The mode also has a 1,000,000 Fons cap per 2-week update cycle, and it does not consume City Stamina.
Mistakes that slow the Shinku route
The most common mistake is transforming while loot is still in reach. If there are drawers, desks, vaults, or visible collectibles nearby, stay on a character who can actually pick them up instead of sprinting past money.
Combat is the other big time sink. Do not fight every enemy, chase every side room, or commit to Mammon when the goal is fast farming; the consistent right-side route is better for weaker teams because it avoids more unnecessary battles.
MC’s opener also loses value if you use it carelessly. Touch the vaults first, use it on clusters you will revisit, and avoid burning it on a room that is too far off the route. In laser rooms, tall characters can clip beams more easily, so use Lacrimosa or a shorter unit when movement is tight.
The final mistake is staying too long. If the run is already near its reward target and the timer is dropping, leave through the phone booth instead of gambling the whole haul on another room.
When to adjust the Shinku route
Mobile players should trim tighter rooms and laser paths if the controls make them inconsistent. A slightly lower total with a clean escape is better than losing time to awkward movement and missed pickups.
Weaker teams should avoid more fights and favor the consistent right-side route, while stronger teams can add extra combat rooms if they clear enemies quickly. If you own Lacrimosa, keep her in the team for the 20% income boost and easier laser handling.
Frequently Asked Questions
Do you need Shinku built for damage to use this route?
No. Shinku is used mainly for mobility, so she does not need heavy damage investment for this route. As long as she can enter Surging Crimson and sprint through empty stretches, she is doing her job.
Is Lacrimosa required for the farm route?
No, but she is a major upgrade. Lacrimosa adds a 20% income boost for Fons and coins, and her smaller movement profile helps around lasers, so she improves both payout and consistency.
Why should you not stay transformed as Shinku the whole time?
Transformed Shinku cannot loot. Use her for empty movement, then swap back before vaults, drawers, containers, collectibles, and other pickups so you do not sprint past the rewards you came to farm.
Should you fight Mammon during this farming route?
Usually, no. Mammon is better for boss-focused runs with enough time and damage; this route is built for fast Fons and coin farming through safer vaults, collectibles, golden enemies, and escape timing.
What happens if you do not escape before the timer ends?
If you are still inside when the 11-minute limit hits, you lose the collected rewards from that run. Start heading for a red Rerorero Telephone Booth with time to spare, especially once your earnings are already strong.




Leave a Reply