
To get inside the mountain in Chapter 10: Parallel Paths, reveal all six ring symbols with the Sphere’s light, then use the three pedestals to set the green gem to the snake, the red gem to the arrow, and the blue gem to the ‘chair’ symbol, and finally stand in the central light and use the Light Splitter ability to open the door.
The Find a way inside the mountain objective in Chapter 10: Parallel Paths is really two puzzles stacked on top of each other — a light-and-mirror hunt that fills in six ring symbols, and then a three-pillar alignment on the door itself. Most players get stuck right at the door with the beam refusing to line up, so the fastest fix is below, and the full walkthrough underneath it starts back at the ruins for anyone blocked earlier.
Which gem goes on which door symbol
| Gem color | Door symbol | Weapon fresco |
|---|---|---|
| Green | Snake | Book clue only |
| Red | Arrow | Bow |
| Blue | ‘Chair’ | Spear |
Key The pairing follows the book’s clues — the bow fresco points you to the arrow (red gem) and the spear to the odd angular mark (blue gem), while the green gem lines up with the serpent symbol. That last one is the symbol the game labels a ‘chair’ in the top-left of the ring (some players read it as an M with an extra line) — match it by shape against the on-screen icon rather than the name. Once the three markers sit on their symbols, stand on the central light spot and use the Sphere’s Light Splitter ability to send the split light across to the markers.
How to reveal all six symbols and open the mountain door in Resonance: A Plague Tale Legacy
This runs from the ruins outside all the way to the door, so jump in at whichever point you’re currently stuck.
STEP 1/11
Follow the red cloth out of the ruins
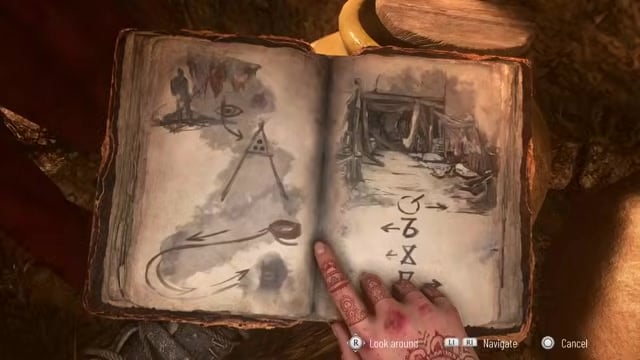
Head right through the ruins to the red cloth, open the book to match its triangle-with-three-dots clue to the marking on the mountain wall, then follow the rope along the ground to the ladder and climb up.
STEP 2/11
Match the cave symbols to the book’s arrows
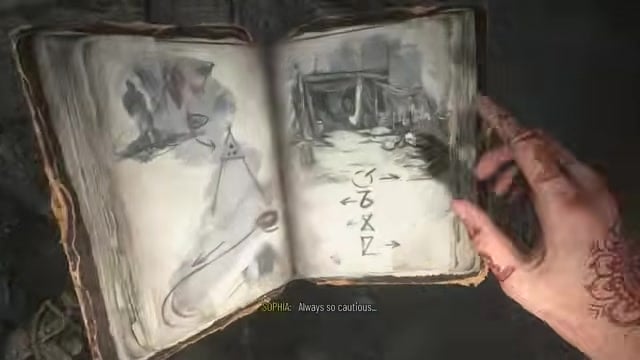
Inside the desolate cave, stop at every white symbol painted on the wall, open the book, and turn the way the arrow beside that symbol points; at a junction with no symbol, head toward the nearest one.
STEP 3/11
Reveal the first ring symbols at the door
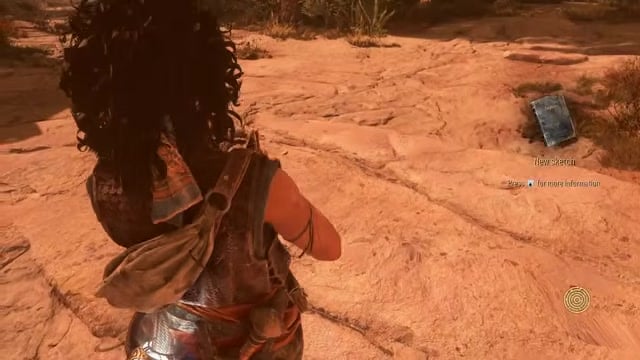
At the locked door, use the Sphere’s lens ability on each pedestal mirror to uncover its symbol — the book tracks six rings in total, and the first bow mirror gives an upward arrow.
STEP 4/11
Climb the rocks for the next mirrors
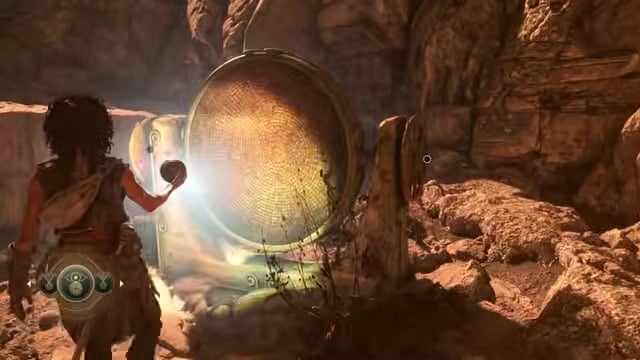
Jump up the rocks at the back and cross the small stream to reveal the symbols on the higher pedestals; the shaded ones stay blank for now because no light is reaching them yet.
STEP 5/11
Turn on the light in the side cave
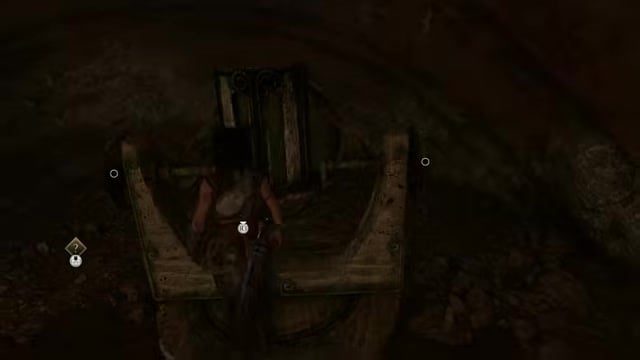
Enter the dark cave on the left, crank the light projector on, and aim its beam out of the cave toward the reflective brass mirror waiting outside.
STEP 6/11
Bounce the beam to reveal the spear symbol
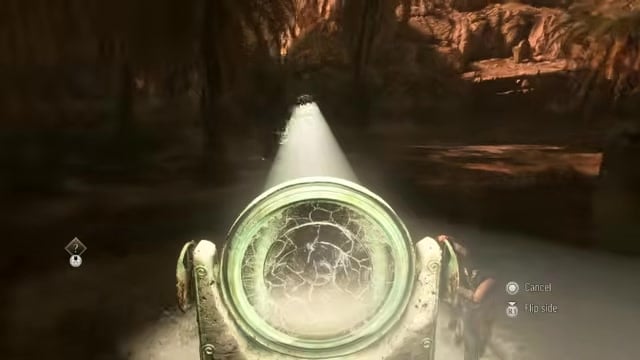
Rotate the brass mirror so the beam falls on the previously unlit pedestal, then use the lens ability to reveal the spear symbol; two slots remain after this one.
STEP 7/11
Redirect the beam to the central pillar
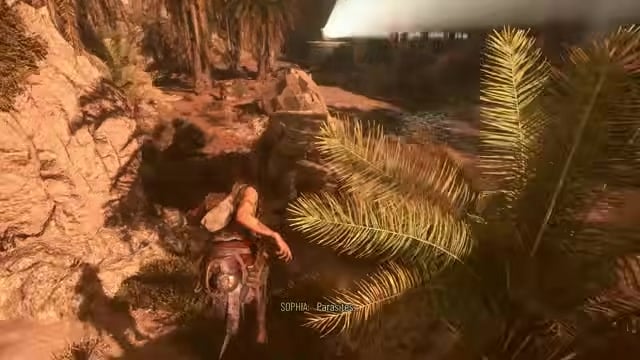
Aim the mirror up the mountain and across to the center so Faro can hold the beam from the top pillar, and clear the soldiers and parasites that ambush you before carrying on.
STEP 8/11
Reveal the crescent symbol on the right
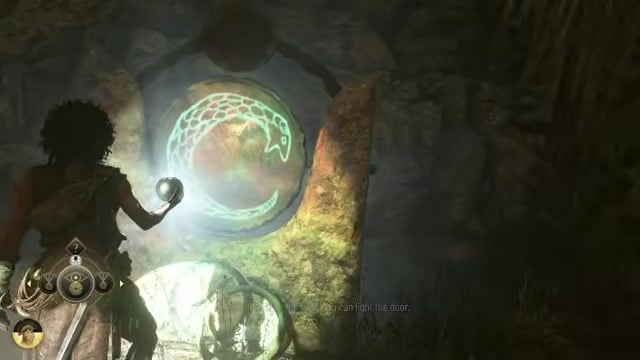
With Faro aiming the light from the pillar, stand at the right-side pedestal so he swings the beam onto it, then reveal the crescent symbol.
STEP 9/11
Reveal the final symbol on the far left
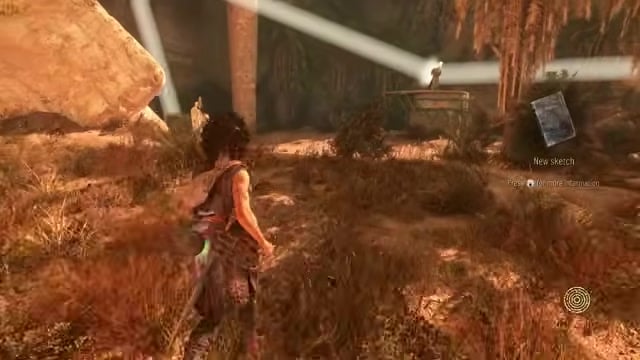
Cross to the small recess on the far-left cliff and reveal the last pedestal’s double-ring symbol — the book should now show all six slots filled.
STEP 10/11
Align the three gem pedestals
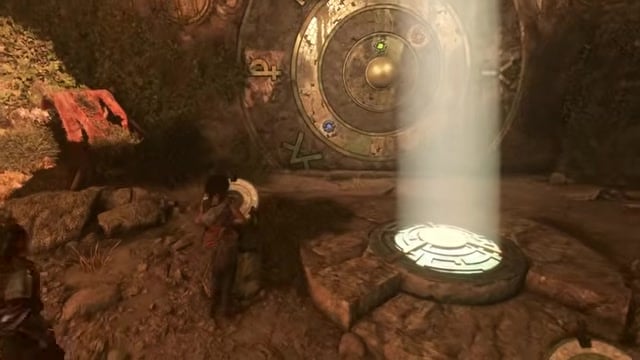
At the door, use the left pillar to put the green marker on the snake symbol, the center pillar to put the red marker on the arrow, and the right pillar to put the blue marker on the ‘chair’ symbol in the top-left.
STEP 11/11
Split the light to open the door
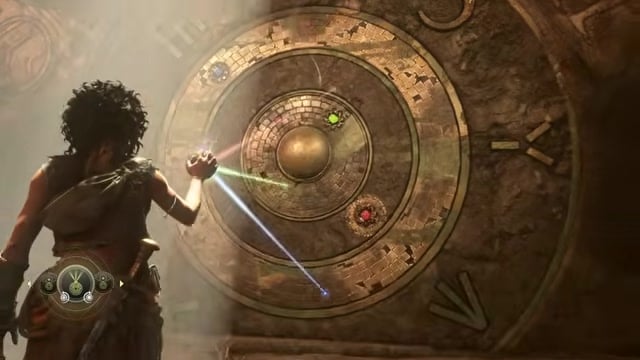
Stand in the central light and use the Light Splitter (redirect) ability so the split beam connects to the three markers, and the door grinds open.
Stand dead-center on the light spot before you split the beam — step even slightly off it and the three rays won’t reach their markers, so the door stays locked no matter how well the gems are aligned.
Related A Plague Tale: Requiem guides
Video help
Frequently Asked Questions
Why won’t a mirror reveal its symbol even when I use the lens?
Because that pedestal is sitting in shadow. The lens only uncovers a symbol on a mirror that light is actually touching, so you have to route the beam onto it first — turn on the projector in the side cave and rotate the brass mirror dishes until the beam lands on that pedestal, then reveal it.
What do you do right after the mountain door opens?
Just head through into the temple — there’s no Daedalus’s Key step here. The mountain door is opened by the light-splitting puzzle itself, so once your redirected beam lines up with the three aligned markers the door grinds open, completing “Find a way inside the mountain” and carrying you on into the temple beyond.





Leave a Reply