

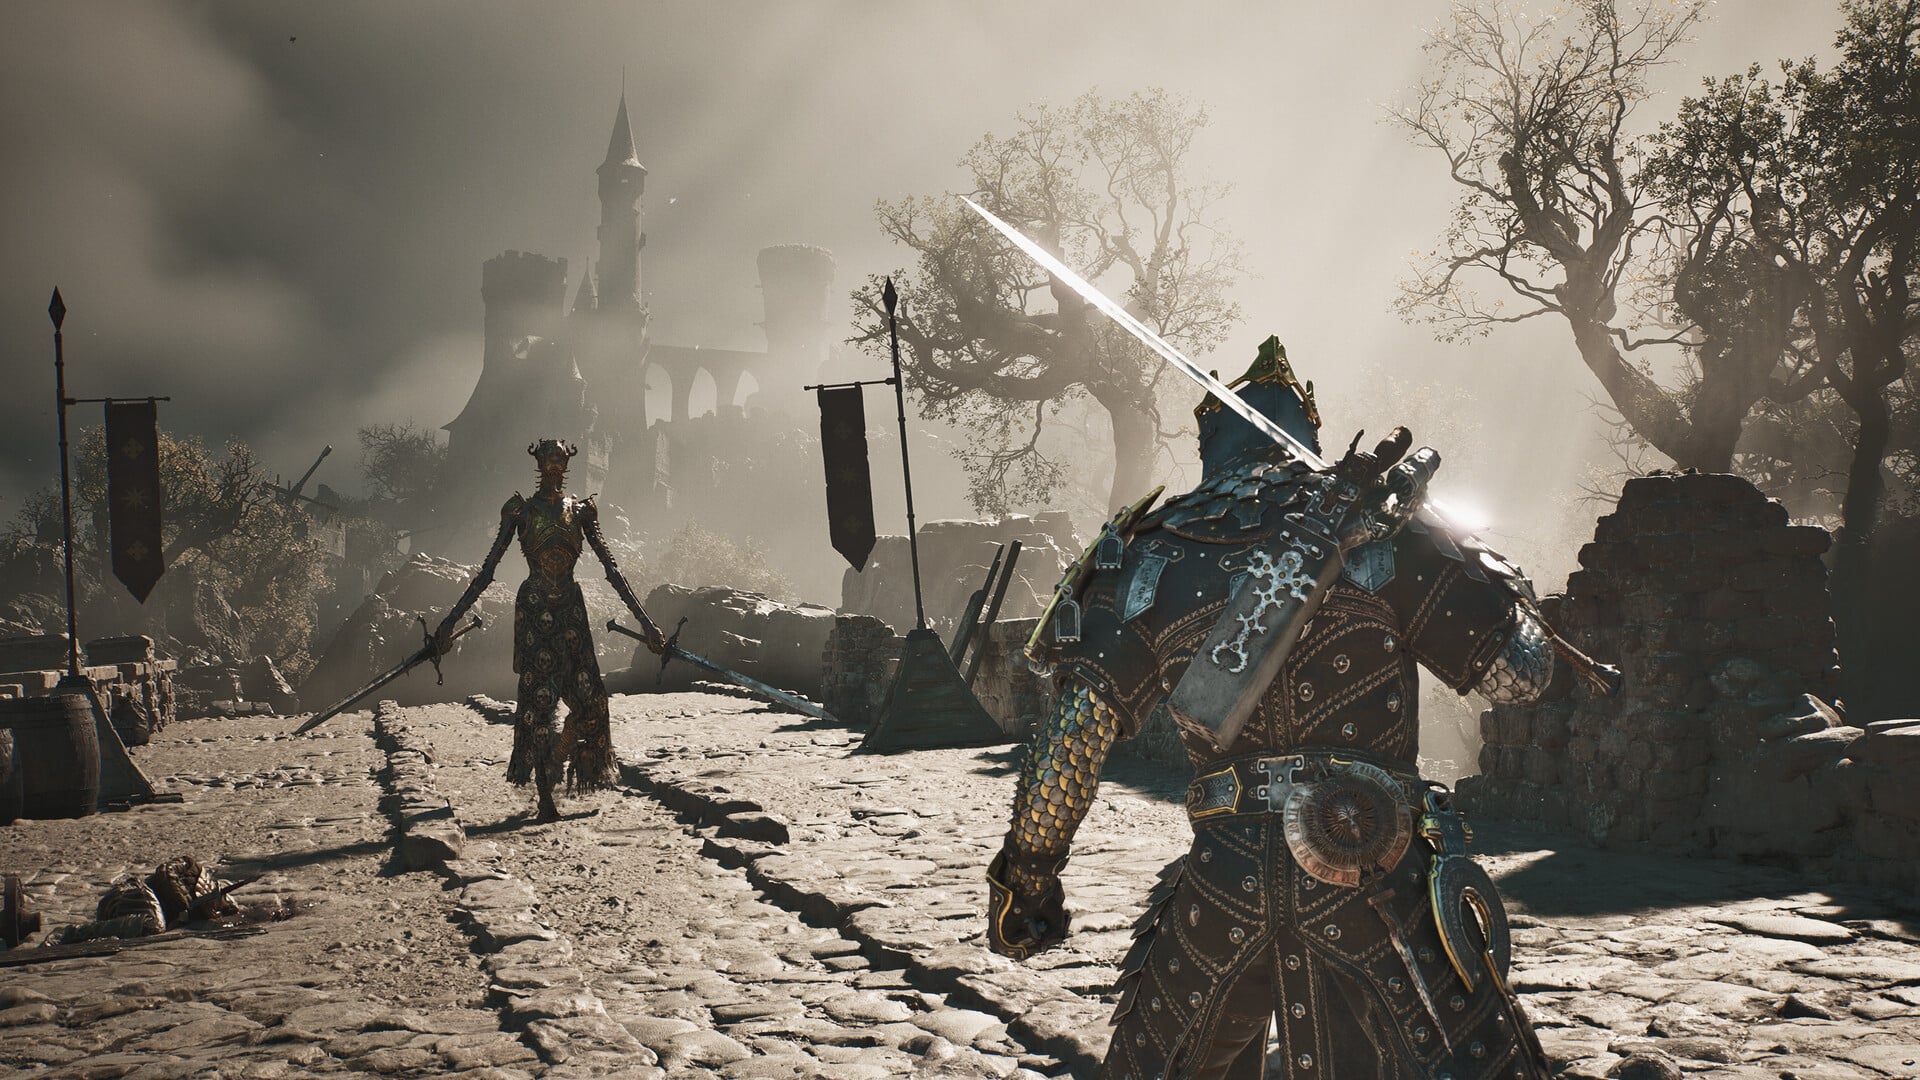
The Hall of Murmurs in Mortal Shell 2 is easy to overlook because its entrance does not immediately look like a major dungeon. If you are exploring Castigator’s Keep thoroughly, however, it is worth entering because the area contains useful materials and currency without requiring a difficult boss fight.
- Hall of Murmurs quick overview
- Where to find the Hall of Murmurs in Mortal Shell 2
- How to enter and get through the Hall of Murmurs
- What happens when you take the Laterite?
- Mortal Shell 2 Hall of Murmurs rewards
- Is there a boss in the Hall of Murmurs in Mortal Shell 2?
- What should you do after clearing Hall of Murmurs?
Hall of Murmurs quick overview
| Detail | Hall of Murmurs |
|---|---|
| Region | Castigator’s Keep |
| Type | Standard dungeon |
| Difficulty | Short optional dungeon |
| Boss | None |
| Enemies | 5 |
| Chests | None |
| Main currency | 750 Coins |
| Material | Laterite |
| Main feature | Elevator and passive-to-hostile enemy encounter |
The current dungeon database lists Hall of Murmurs as a standard layout with five enemies, no chests and no traps.
Where to find the Hall of Murmurs in Mortal Shell 2
The Hall of Murmurs is in the Castigator’s Keep region in Outskirts of Mammon. The easiest landmark is the Castigator’s Keep beacon.
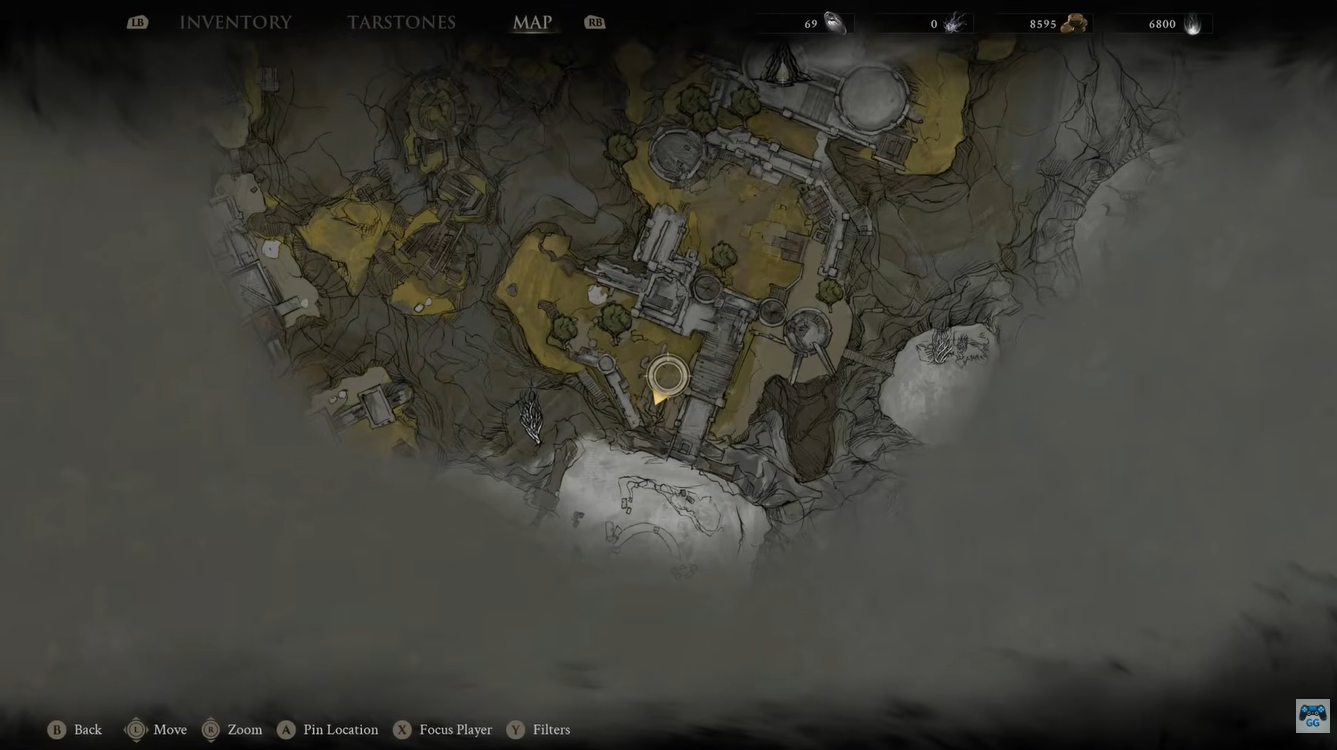
From the beacon, head southwest through the central part of the area. Continue past the central courtyard and look for a set of stairs leading down into the ground. This underground entrance leads toward the Hall of Murmurs. A current dungeon-location guide specifically identifies the area as the southwest Castigator’s Keep route and points to the descending stairs beyond the central courtyard.
There is also a nearby route involving the area around the small enemy camp, candlelit hallway and elevator. This can make the entrance somewhat confusing if you are exploring the region from a different direction.
How to enter and get through the Hall of Murmurs
Step 1 — Enter the underground passage
Once you locate the stairs descending from Castigator’s Keep, head underground. The initial section of the Hall of Murmurs is relatively linear, so there is little chance of getting seriously lost.
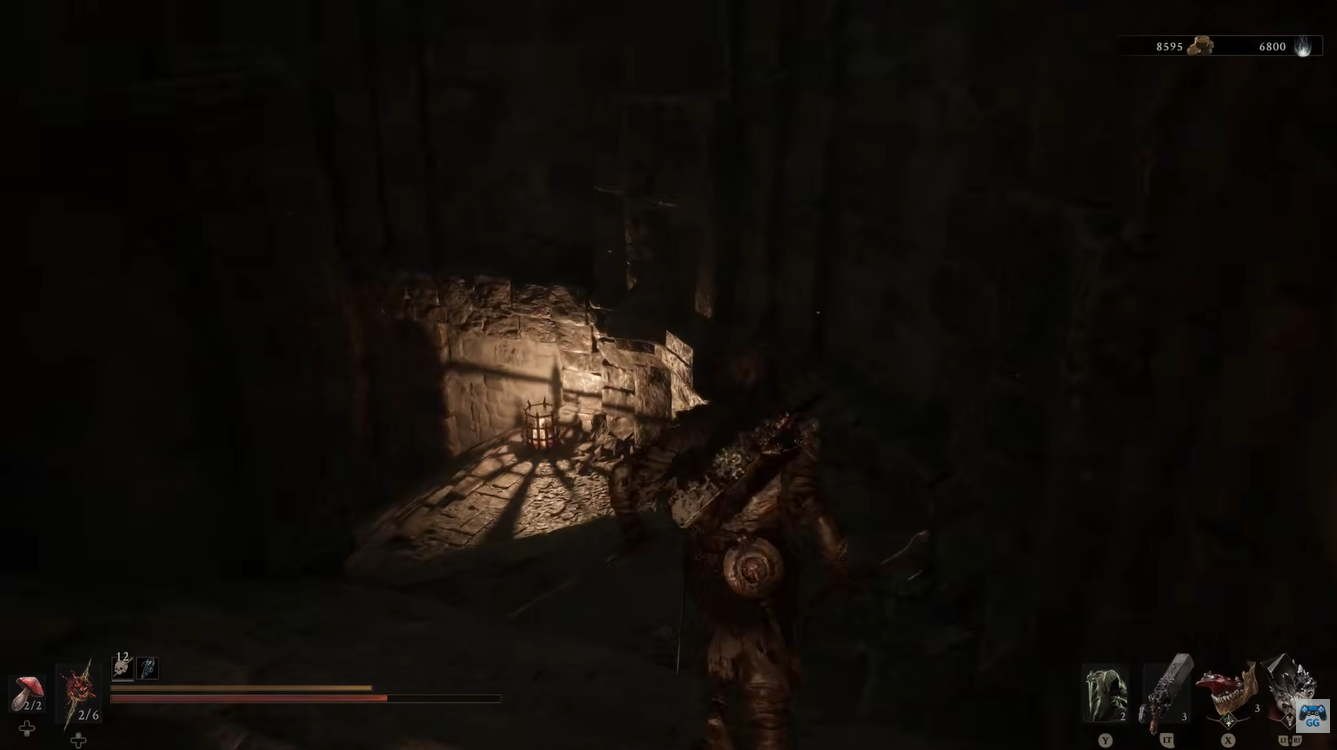
You will encounter enemies along the route, but there is no major boss waiting at the end. The dungeon database currently records five enemies in total.
Step 2 — Find the elevator lever
Continue along the passage until you reach what initially appears to be a dead end. Instead of turning around, check the right side of the area.
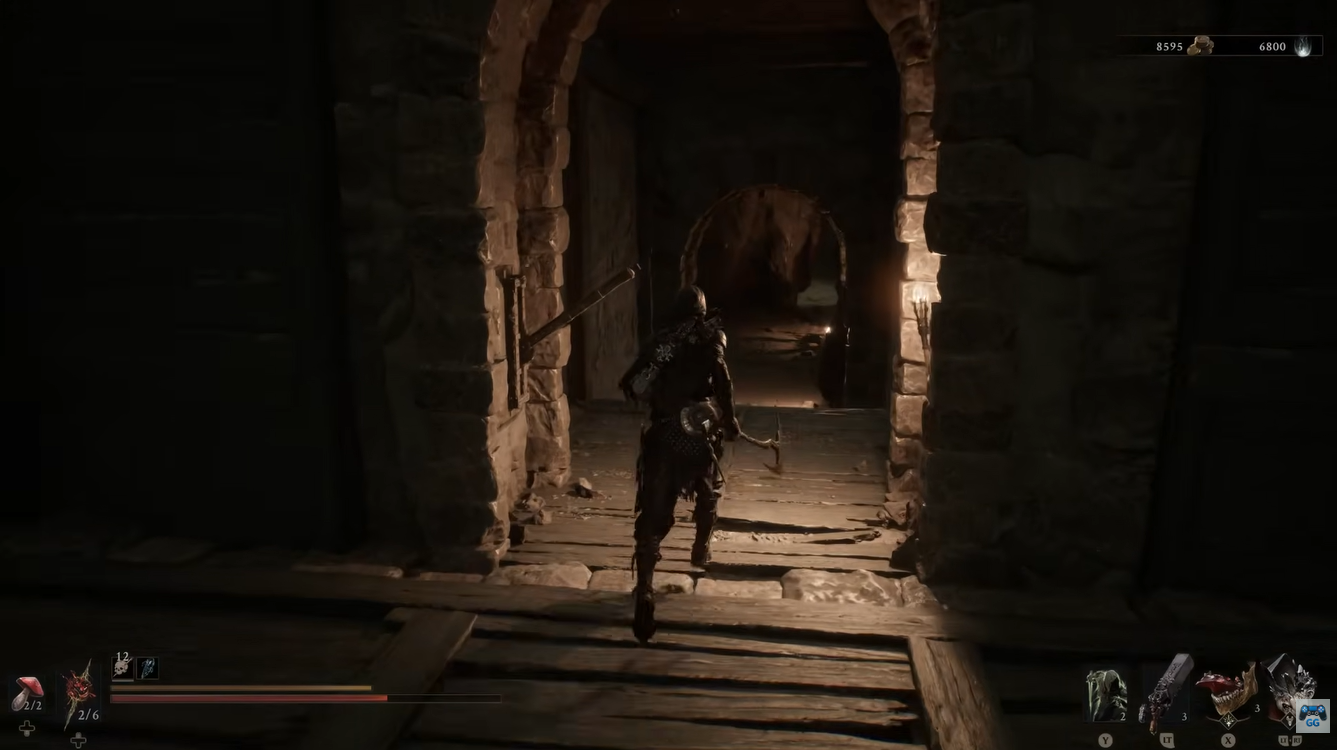
There is a lever here. Interacting with it raises an elevator and opens the way forward. Take the elevator down and continue deeper into the dungeon.
This is probably the most important thing to know about the Hall of Murmurs: the apparent dead end is actually the route forward.
Step 3 — Clear the next room
After taking the elevator, continue until you reach another room containing a group of enemies. Deal with them before exploring the room further.
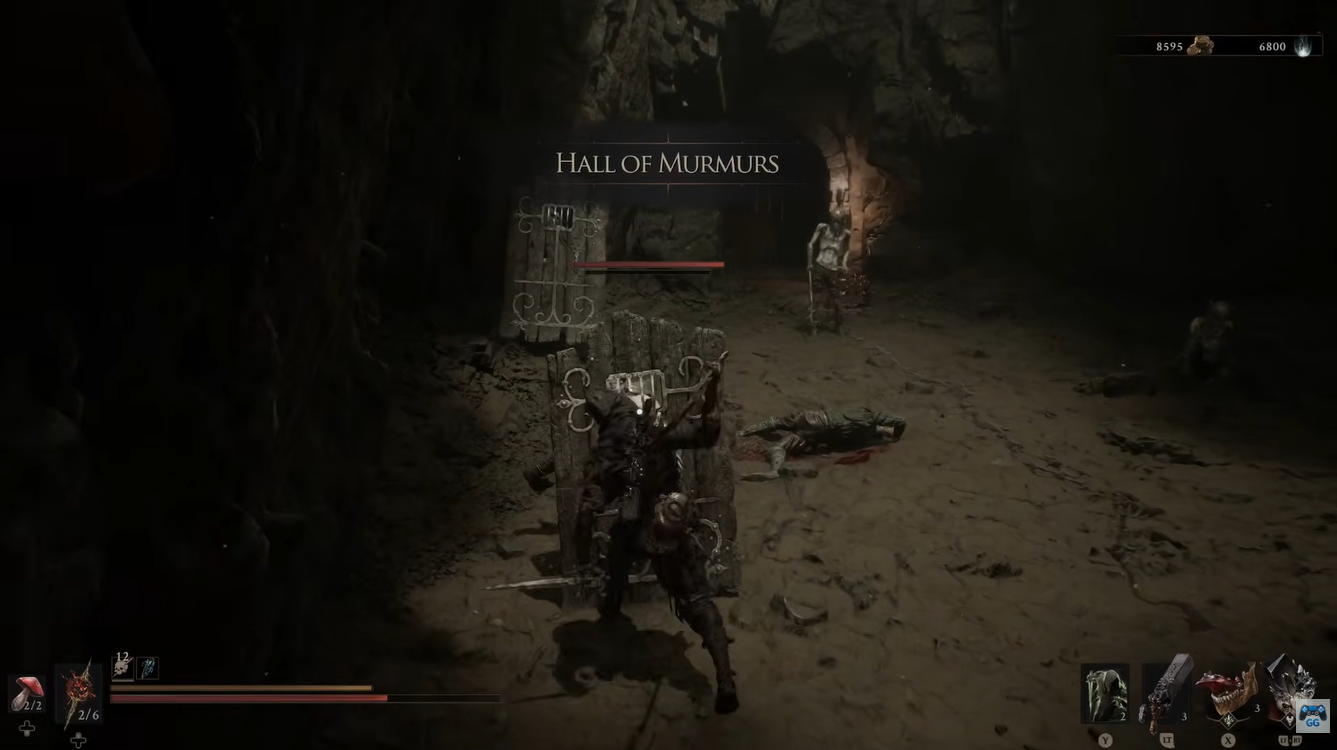
Once the enemies are defeated, look toward the opposite side. You can break through the door there to access the next section.
Step 4 — Collect the Coins
The next room contains the dungeon’s main currency rewards.
A pouch containing 500 Coins can be found on a caged box to the left of the doorway. There is another 250 Coins behind it, giving you 750 Coins in total from this section.
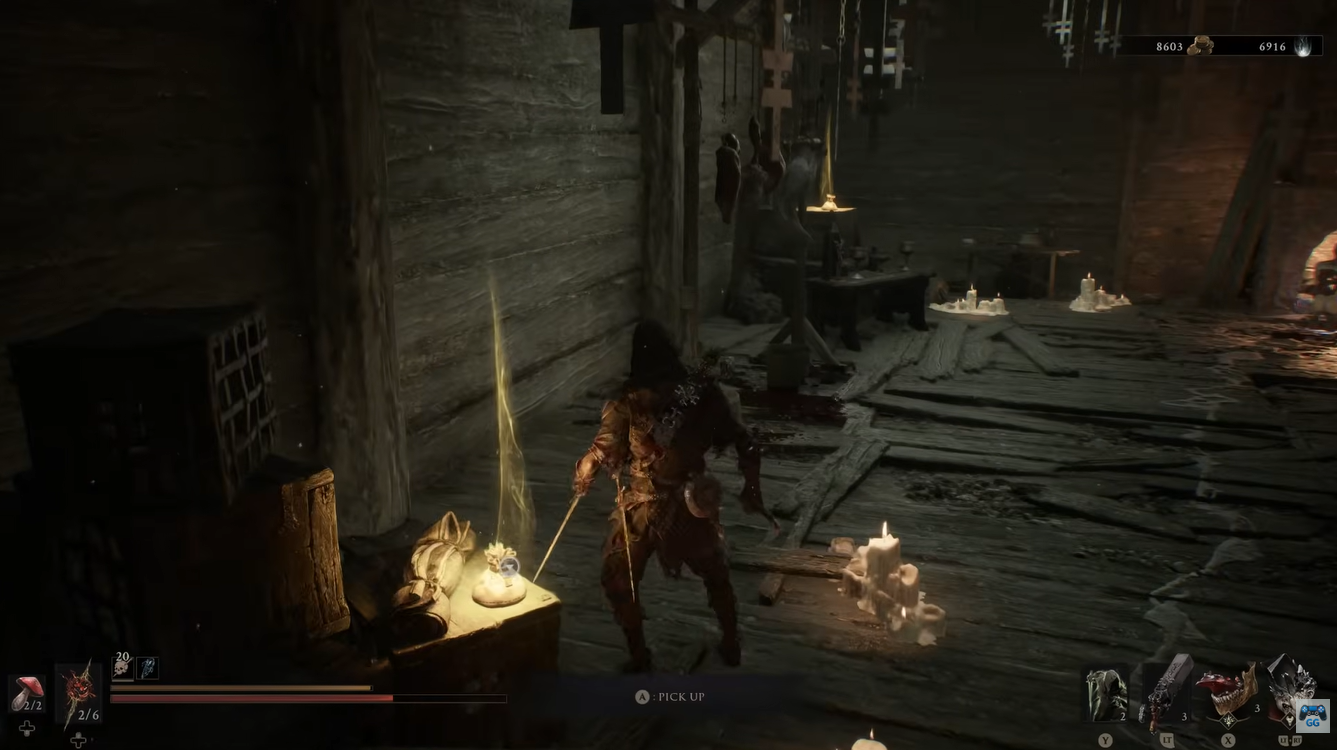
The current database also confirms that Hall of Murmurs has two coin-pouch rewards and no conventional chests.
Step 5 — Take the Laterite from the fireplace
After collecting the Coins, look to the right. You will find an enemy kneeling near a fireplace.
Initially, this enemy is passive and will not attack you. That changes when you interact with the Laterite in the fireplace.
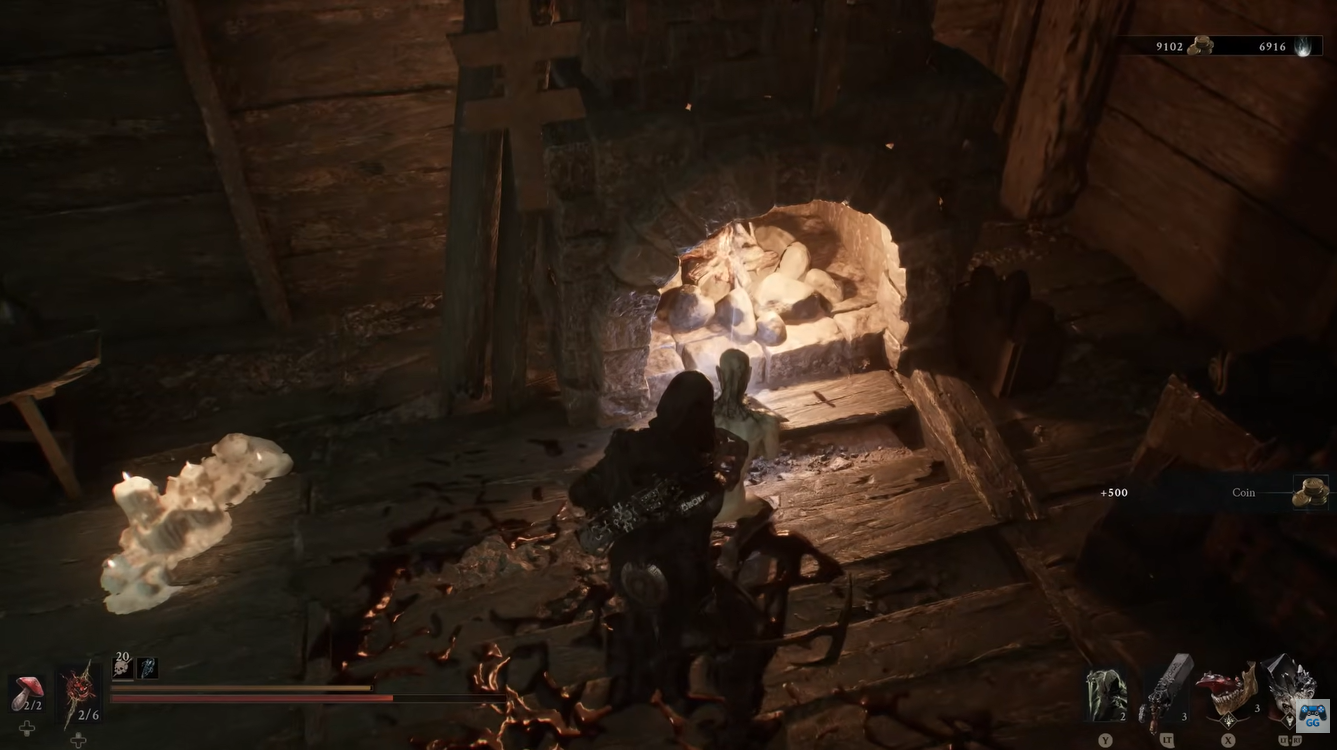
Take the Laterite and the enemy becomes hostile. Defeat it, then you can safely finish looting the area and leave the dungeon.
What happens when you take the Laterite?
This is the main surprise in the Hall of Murmurs.
The enemy near the fireplace does not immediately attack when you enter. It appears to be inactive until you take the Laterite. Picking up the Laterite is what turns the encounter hostile.
So if you are wondering why an apparently harmless enemy suddenly attacks, you have not triggered a hidden quest or boss fight. It is simply the dungeon’s loot-triggered encounter.
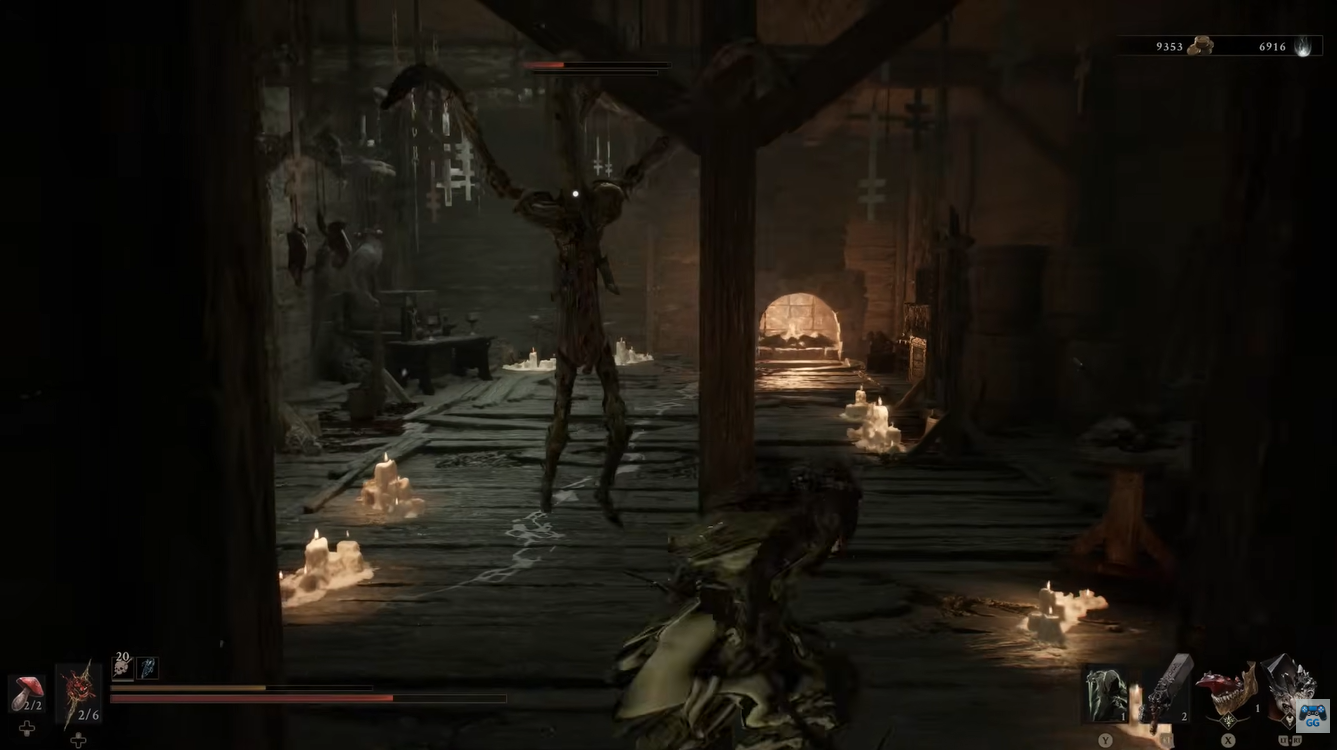
The Laterite itself is useful as a forge material, so there is a practical reason to trigger the encounter rather than simply leaving it untouched.
Mortal Shell 2 Hall of Murmurs rewards
| Reward | Amount | How to obtain |
|---|---|---|
| Coins | 500 | Caged box near the doorway |
| Coins | 250 | Behind the first coin pouch |
| Laterite | 1 | Fireplace |
The dungeon’s current database records one forge-material pickup and two coin-pouch rewards, while the walkthrough confirms the combined 750 Coins and Laterite.
Is there a boss in the Hall of Murmurs in Mortal Shell 2?
No. The Hall of Murmurs does not contain a boss fight.
That makes it considerably shorter than several of Mortal Shell II’s larger optional dungeons. The current database categorizes it as a standard dungeon with five enemies, zero chests and zero traps.
If you are expecting a named boss because of the dungeon-like entrance, you can safely explore it without preparing specifically for a boss encounter.
What should you do after clearing Hall of Murmurs?
Once you have collected the Coins, taken the Laterite and defeated the enemy that becomes aggressive, there is no additional objective inside the Hall of Murmurs. You can simply return to the entrance and leave.
It is worth completing while you are already exploring Castigator’s Keep because the dungeon is relatively short and gives you currency plus a forge material. It also appears on the wider list of Mortal Shell II’s named dungeons and hidden areas, so completing it contributes toward fully exploring the region.
One useful point for exploration is that the Hall of Murmurs is not a progression-critical dungeon. If you encounter it before you are ready to explore every side area, you can leave it for later and return without missing a major story sequence.






Leave a Reply