

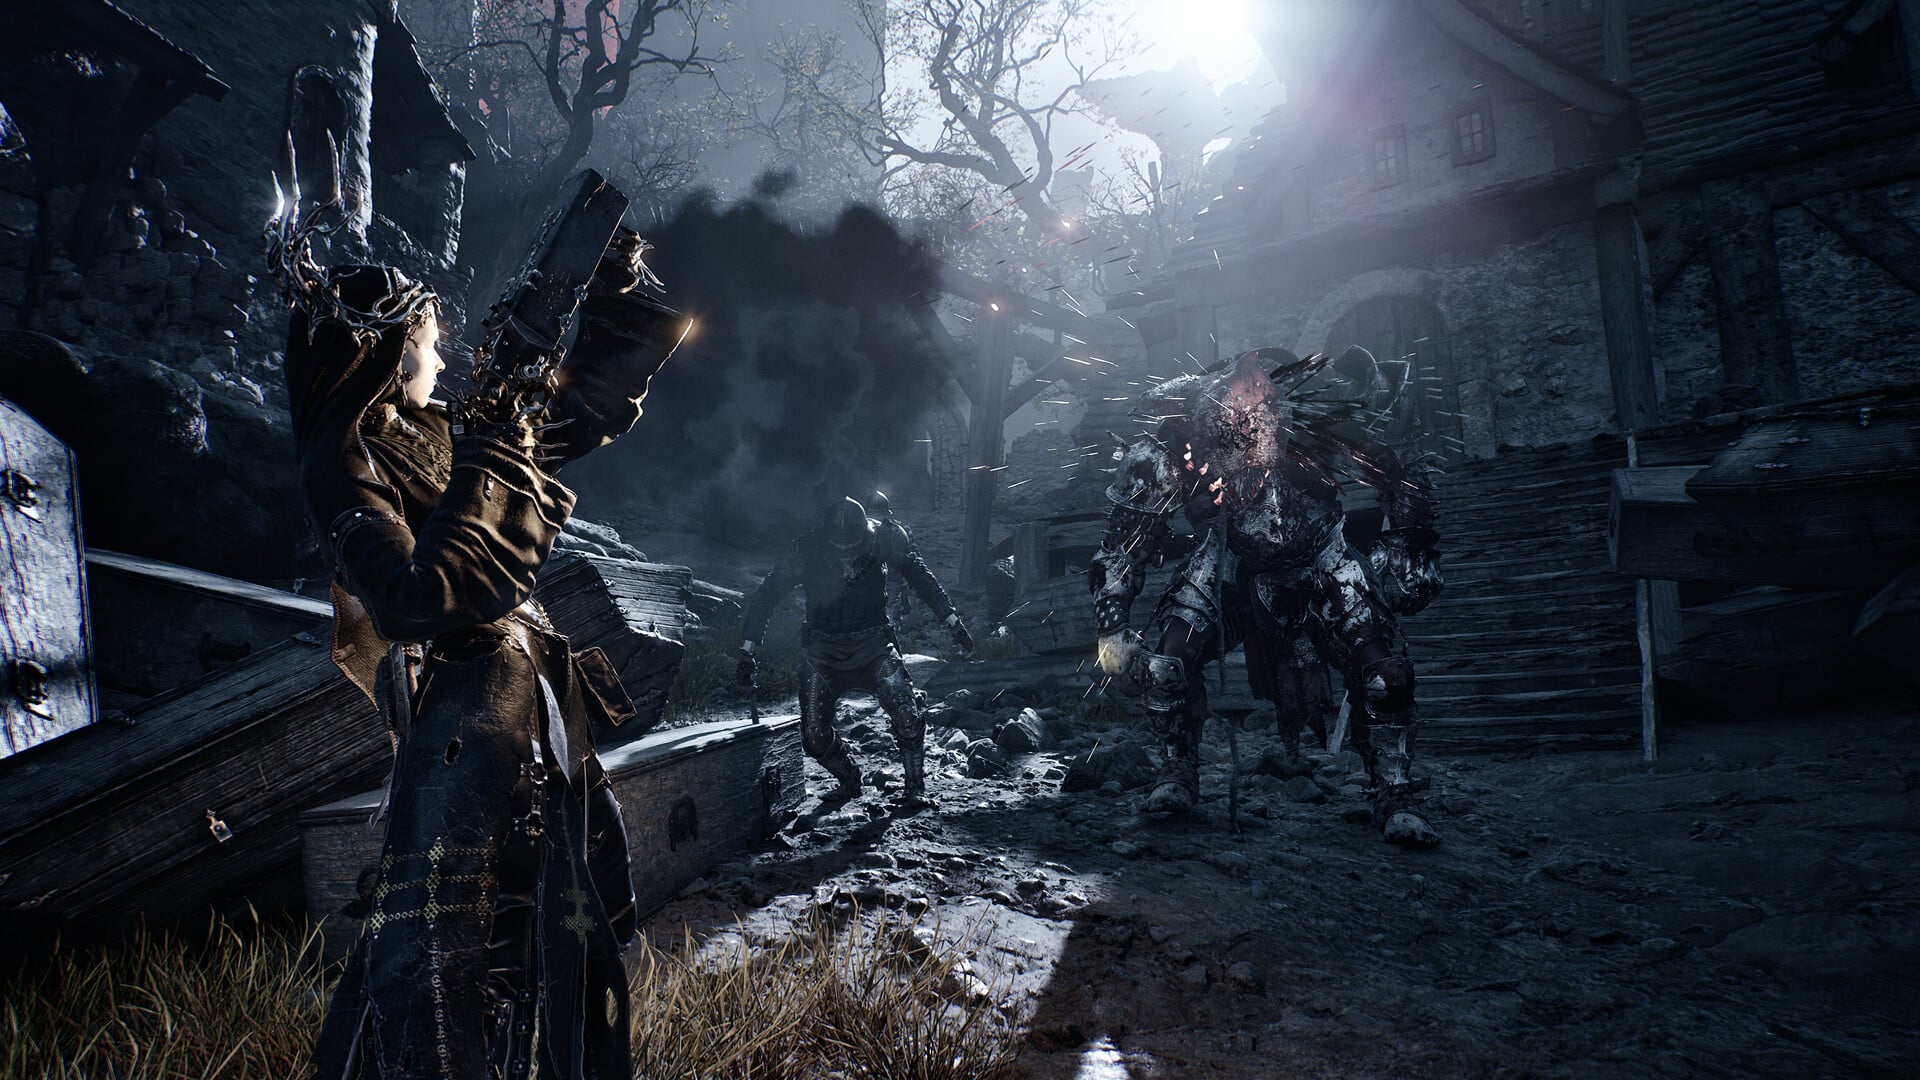
If you are building around a crossbow or another ranged Sidearm in Mortal Shell 2, the Deadeye Stone is one of the most useful Support Tarstones to pick up. Unlike stones that improve general ranged damage, Deadeye specifically increases the damage dealt by critical ranged attacks. At its highest level, it provides a 40% increase to ranged Critical Damage, giving critical-focused projectile builds a substantial boost.
| Quick overview | Details |
|---|---|
| Tarstone | Deadeye Stone |
| Category | Support |
| Equipment | Sidearm |
| Location | Sanguine Caverns |
| Starting point | Widow’s Overlook |
| Main requirement | Cleanse the Stonebled Gate beacon |
| Level 1 | +20% ranged Critical Damage |
| Level 2 | +30% ranged Critical Damage |
| Level 3 | +40% ranged Critical Damage |
Deadeye Stone location in Mortal Shell 2
The Deadeye Stone is located in a chest around the first camp area inside the Sanguine Caverns route. Current location references consistently place it north of the Sanguine Caverns area, with the actual pickup sitting after the first cave section and a drop to the left.
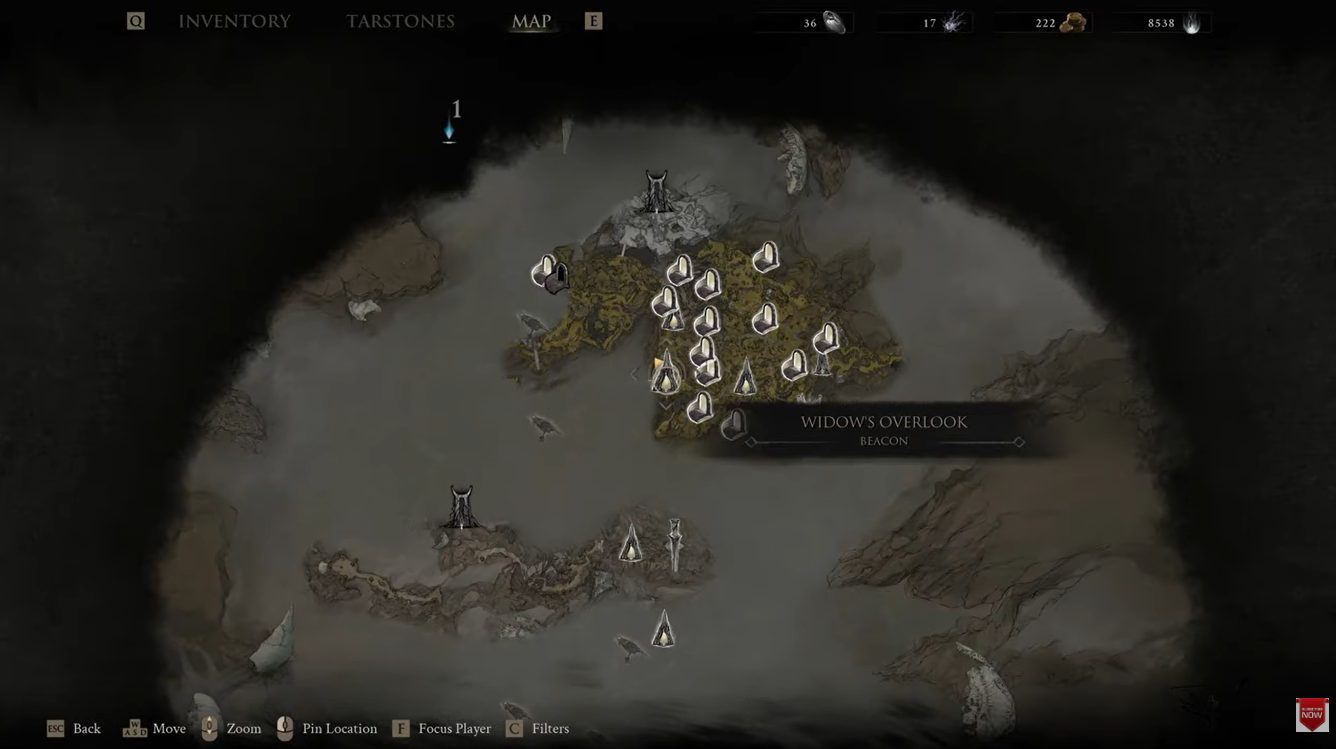
The easiest approach is to begin at the Widow’s Overlook beacon and follow the route toward the Sanguine Caverns. The path takes you through the Blackridge Pass and Blackridge Cliffs before you reach the cavern area. The important part of the route is cleansing the beacon at Stonebled Gate, because doing so opens access through the Corrupted Gate.
How to get the Deadeye Stone in Mortal Shell 2
Step 1: Start at Widow’s Overlook
Fast travel to the Widow’s Overlook beacon and begin heading toward the Sanguine Caverns. Follow the available path through the Blackridge area rather than trying to approach the chest directly from another direction.
Step 2: Enter the Sanguine Caverns route
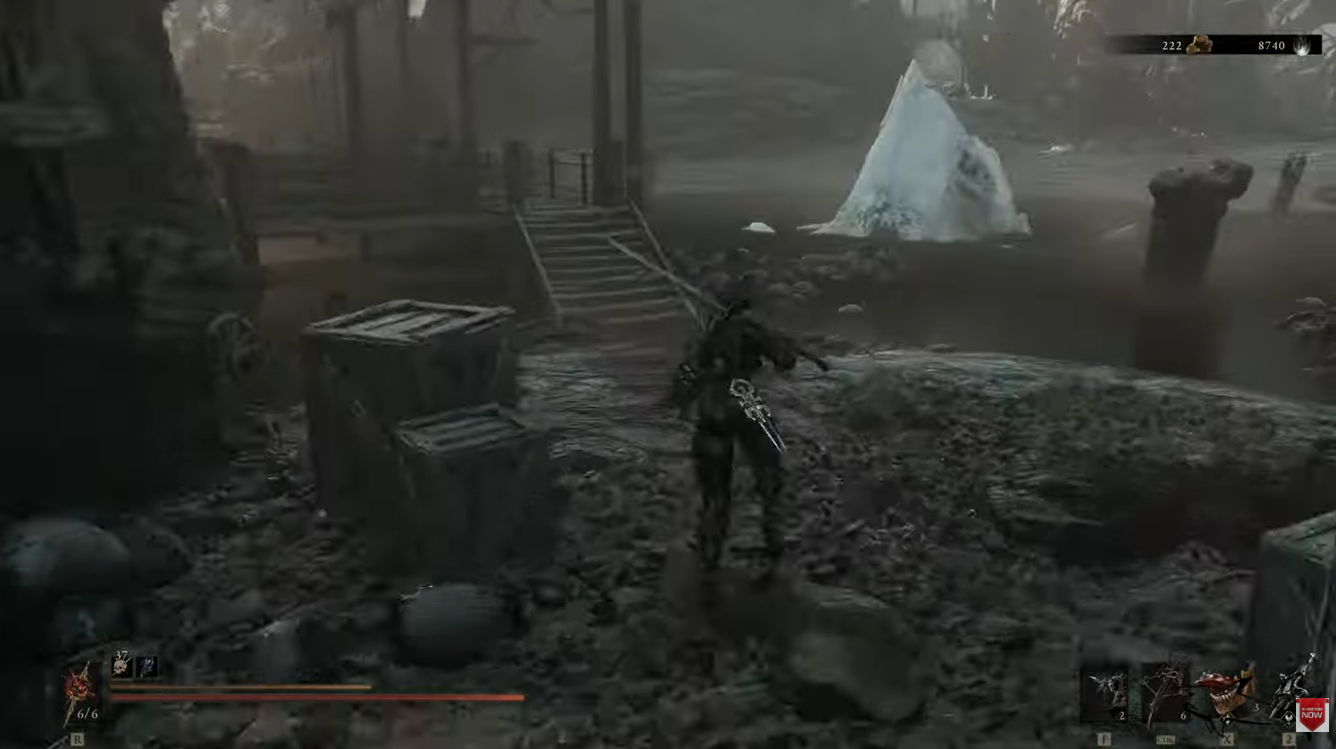
Continue through Blackridge Pass and Blackridge Cliffs until you reach the Sanguine Caverns section. Keep progressing through the area until you reach the Stonebled Gate beacon. The Deadeye Stone is nearby, but you need to complete the gate setup before reaching the correct chest area.
Step 3: Cleanse the Stonebled Gate beacon
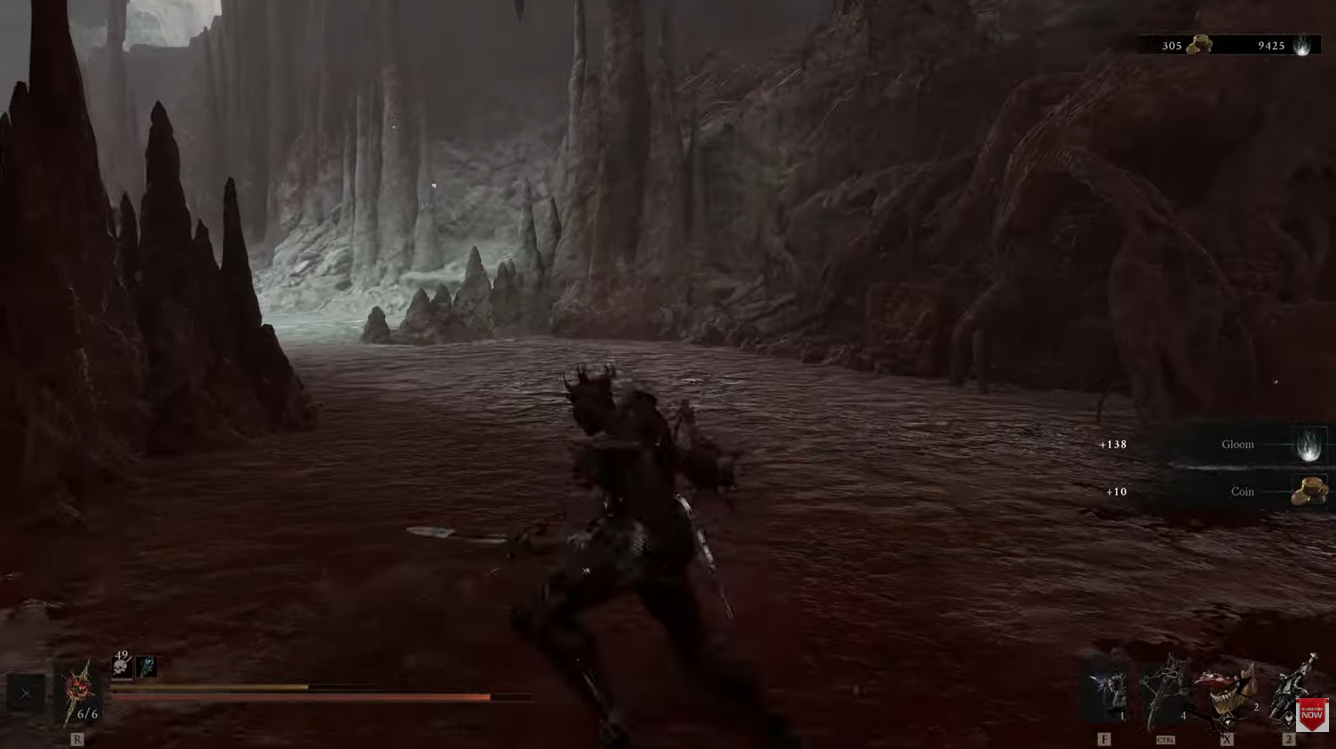
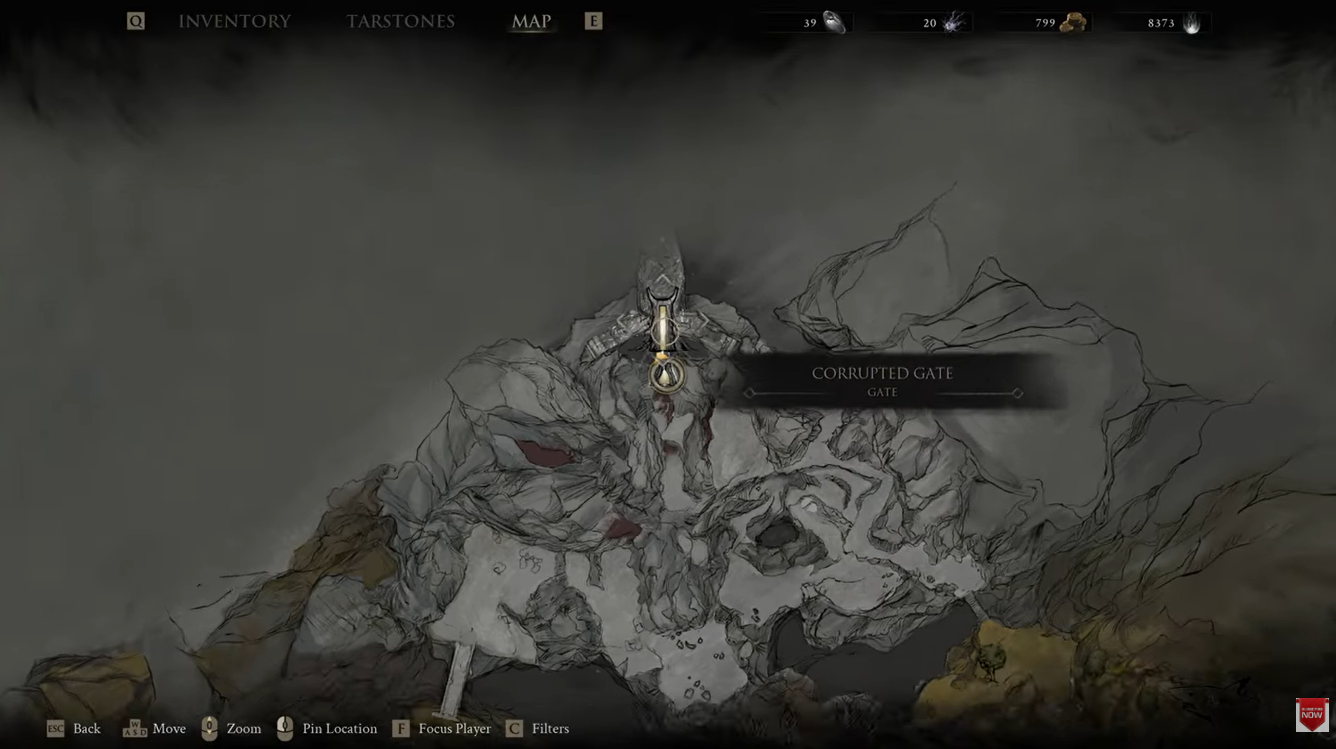
Reach the Stonebled Gate beacon and cleanse it. This is the key progression point for the route because cleansing the beacon unlocks the Corrupted Gate. If the gate is still closed, make sure you have completed the beacon interaction before continuing.
Step 4: Pass through the Corrupted Gate
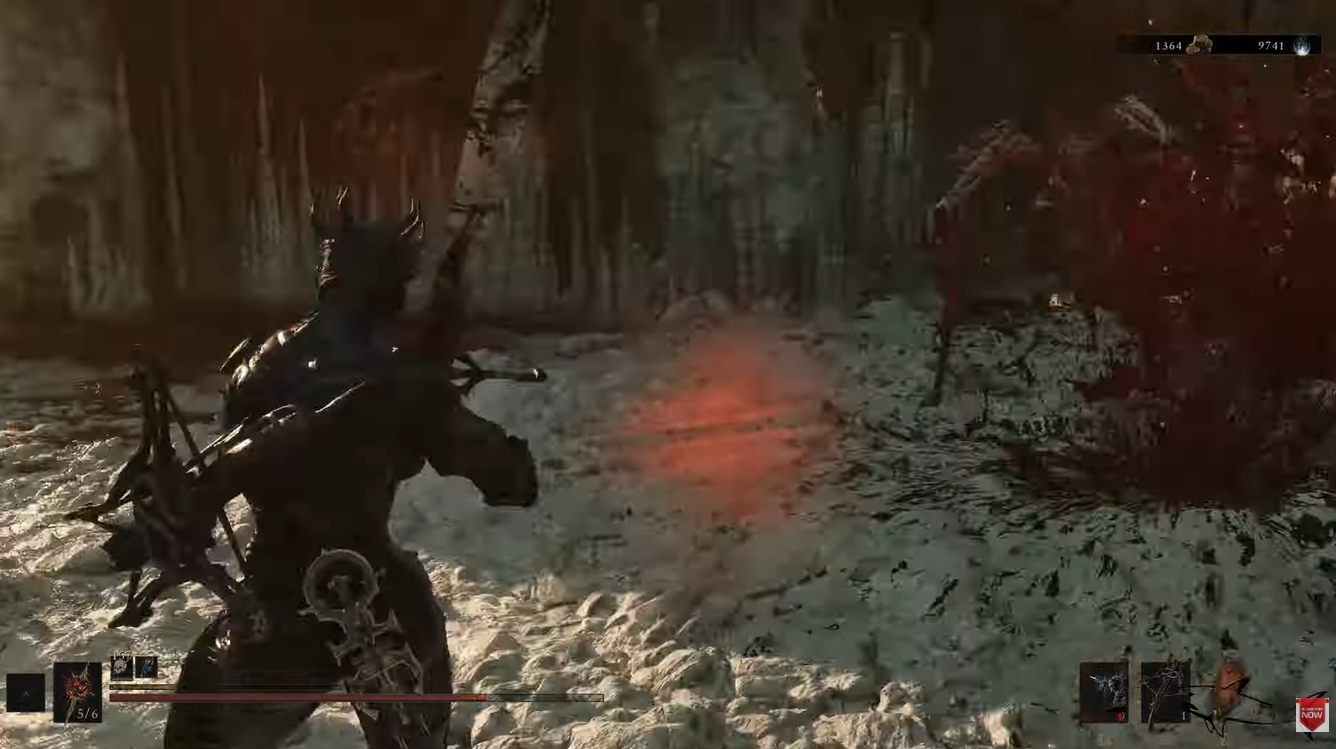
Once the beacon has been cleansed, go through the newly accessible Corrupted Gate. Continue into the next section and watch for the first camp area. You do not need to travel deep into the entire Sanguine Caverns area to collect the Tarstone.
Step 5: Drop down to the first camp on the left
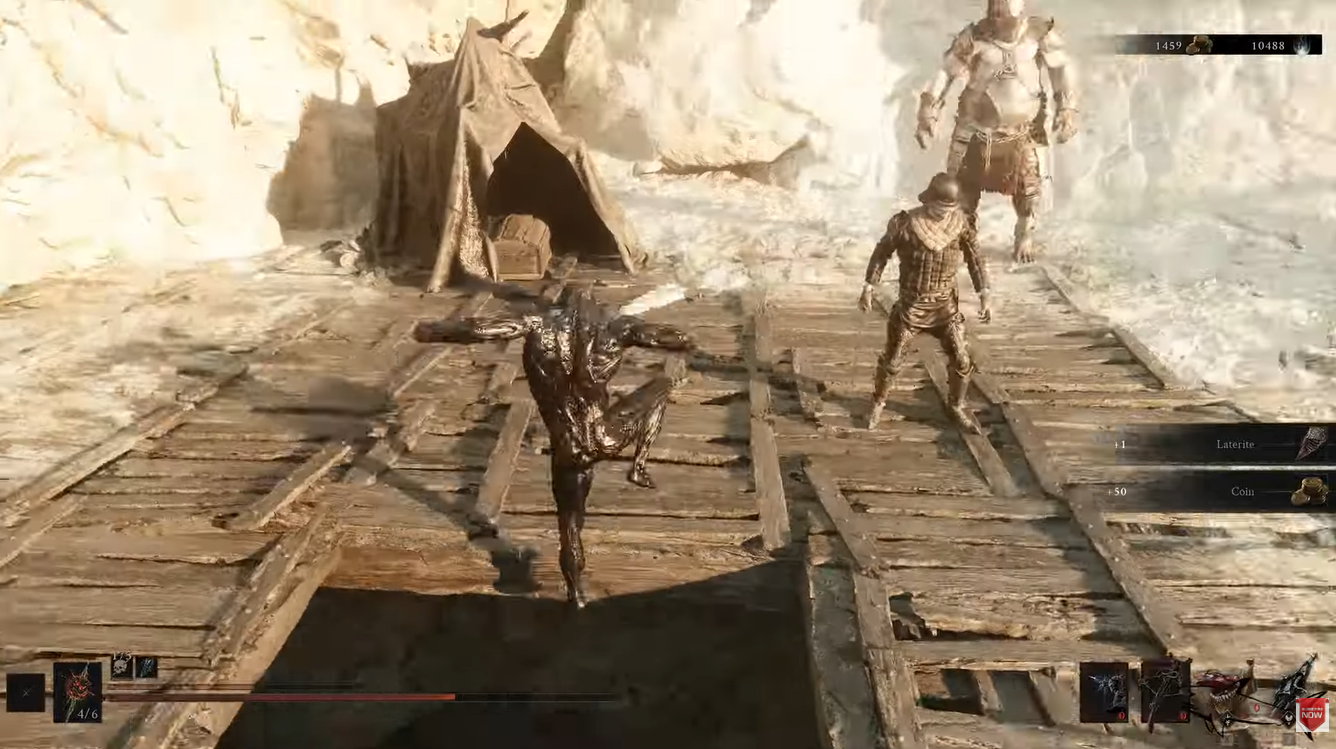
After leaving the first cave section, look toward the left side of the route and drop down to the first camp area. This is the important landmark for the Deadeye Stone. Multiple current guides identify this first camp ledge as the location of the chest.
Step 6: Open the chest
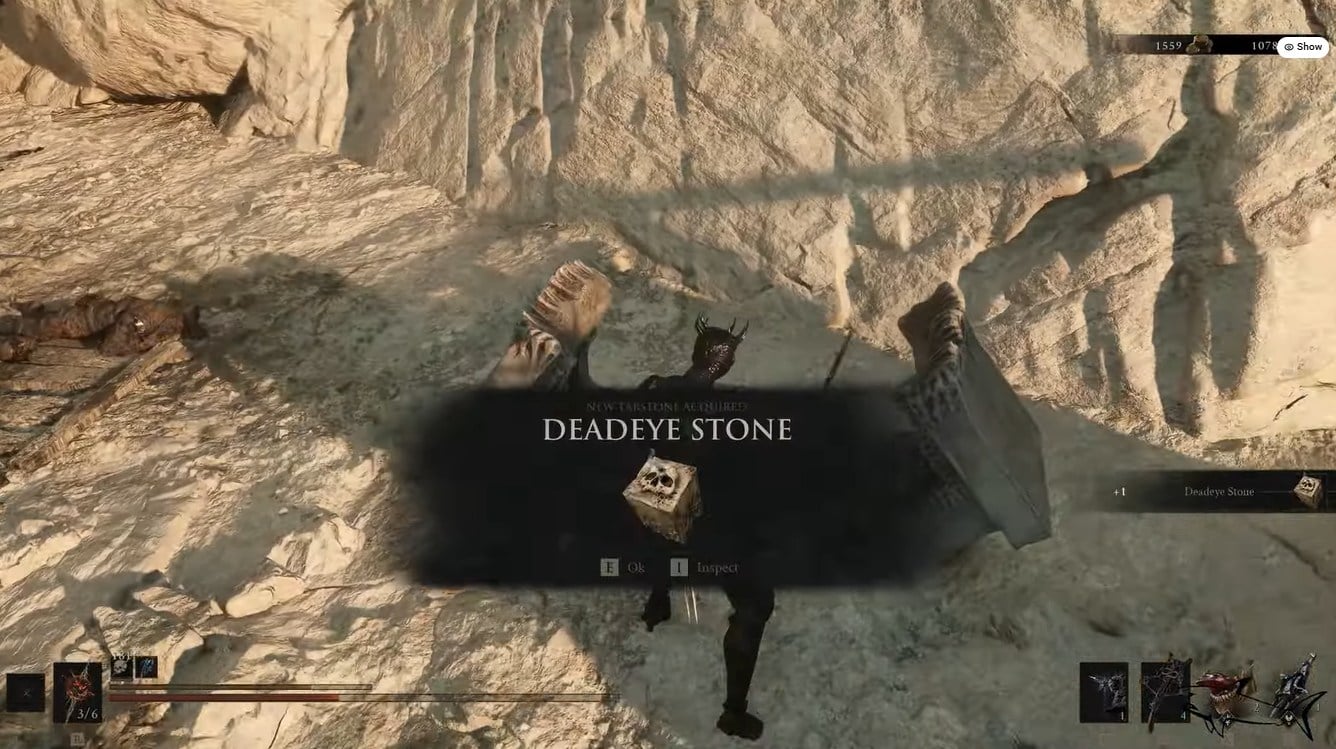
Clear any enemies around the camp if necessary, then approach the chest and open it. The Deadeye Stone is inside the chest, so you do not need to defeat a major boss or complete a separate quest to obtain it.
What the Deadeye Stone does
Deadeye Stone is classified as a Support Tarstone for Sidearms. Its purpose is straightforward: it improves the Critical Damage of ranged attacks. This makes it particularly valuable when your build already has ways to increase ranged Critical Chance, since more frequent critical hits give the damage bonus more opportunities to matter.
| Deadeye Stone level | Ranged Critical Damage |
| Level 1 | +20% |
| Level 2 | +30% |
| Level 3 | +40% |
The first level already provides a noticeable benefit, but Level 3 is the main target for a dedicated ranged critical build, thanks to the +40% bonus. Current Tarstone references list these three progression values consistently.
How to use Deadeye Stone with a ranged build
Deadeye Stone works best when you are deliberately building around critical ranged attacks rather than simply using a Sidearm as a secondary weapon. For example, the Marksman’s Stone improves ranged Critical Chance, while Deadeye improves the damage dealt when those critical hits occur. That makes the two effects naturally complementary.
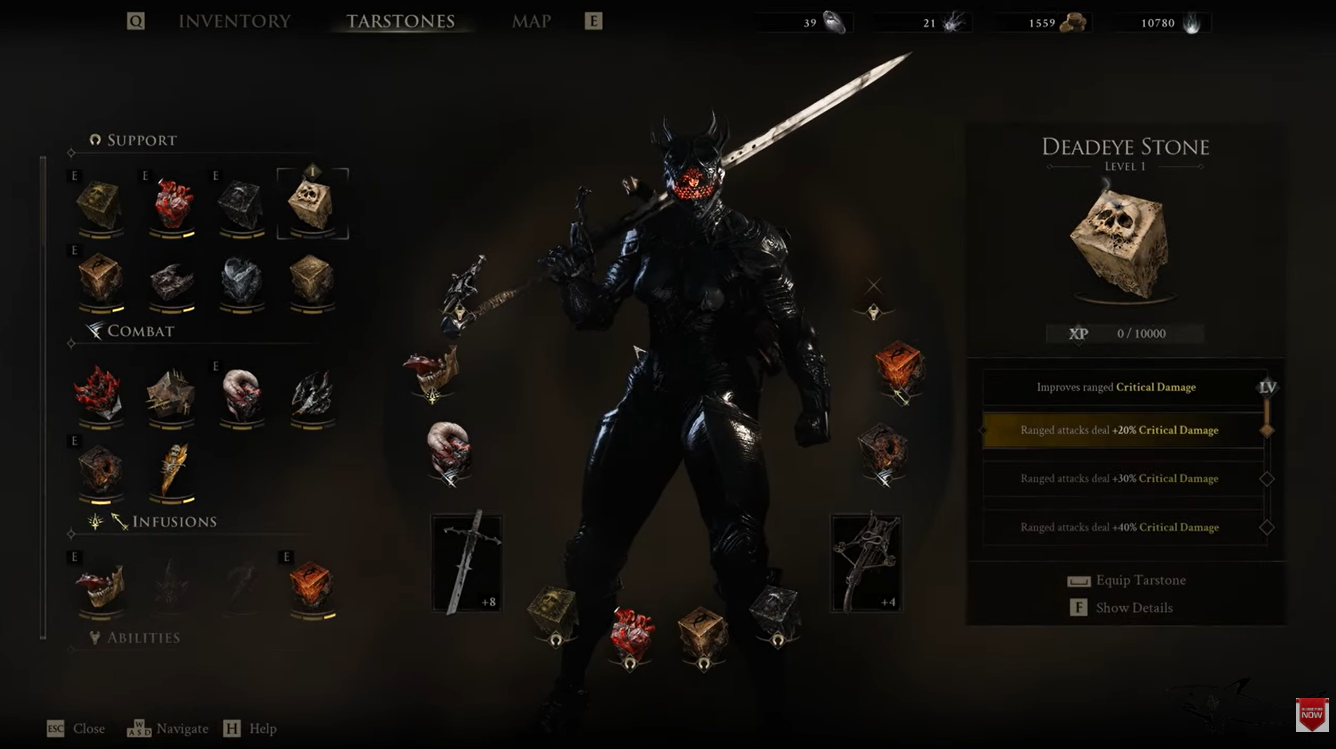
You can also pair Deadeye with ranged Combat Tarstones that change how critical projectiles behave. One current build reference, for example, recommends Deadeye alongside Rupturing Stone, which causes critical projectiles to contribute Break Damage. This creates a more specialized critical-projectile setup instead of relying only on raw damage.
The important distinction is that Deadeye does not increase your overall ranged Critical Chance. It increases the damage of the critical hits you actually land. If your build rarely produces critical attacks, another Support Tarstone may provide more immediate value. If you already have strong critical-hit consistency, however, Deadeye becomes considerably more attractive.
Deadeye Stone versus other ranged Support Tarstones
Several Support Tarstones can occupy the same general ranged-build space, but they serve different purposes. Marksman’s Stone focuses on Critical Chance, Siegebreaker’s Stone improves ranged Stagger Damage, and Spite Stone increases ranged damage as your health falls. Deadeye is specifically focused on the payoff from critical attacks.
| Tarstone | Main benefit | Best use |
|---|---|---|
| Deadeye Stone | +20% to +40% ranged Critical Damage | Critical ranged damage |
| Marksman’s Stone | Up to +15% ranged Critical Chance | Increasing critical frequency |
| Siegebreaker’s Stone | Up to +150% ranged Stagger Damage | Stagger-focused ranged builds |
| Spite Stone | Up to +160% ranged damage at low Health | High-risk ranged builds |
This makes Deadeye particularly straightforward to slot into a critical-focused Sidearm setup. If you are already investing in Critical Chance, Deadeye helps increase the reward from every successful critical hit.
Deadeye Stone reward and upgrade values
The chest itself provides the Deadeye Stone rather than a separate currency reward or boss drop. Once acquired, the Tarstone can be used through the appropriate Tarstone equipment system and upgraded as you progress. Current references list the stone’s progression at three damage tiers, ending at +40% ranged Critical Damage.
| Reward | Value |
|---|---|
| Deadeye Stone | Obtained from the Sanguine Caverns chest |
| Type | Support Tarstone |
| Slot | Sidearm |
| Level 1 effect | +20% ranged Critical Damage |
| Level 2 effect | +30% ranged Critical Damage |
| Level 3 effect | +40% ranged Critical Damage |
How to make the most of the Deadeye Stone
The simplest way to get value from Deadeye is to combine it with equipment and Tarstones that make ranged critical attacks more reliable. Deadeye is a damage multiplier for the critical hits your build is already trying to produce, so it becomes stronger as your Critical Chance and overall ranged attack setup improve.
If you are still experimenting with ranged weapons, collecting Deadeye early is worthwhile because it does not require a difficult boss reward. The main challenge is navigating to the correct Sanguine Caverns section and remembering to drop down at the first camp on the left rather than continuing farther into the area.
For players using a dedicated ranged build, the combination of Marksman’s Stone for Critical Chance and Deadeye Stone for Critical Damage is an especially logical starting point. You can then use the remaining compatible Tarstone slots to specialize around Break Damage, Stagger Damage, projectile quantity, charging speed, or another effect that matches your weapon.
Video help:




Leave a Reply